It is tricky to squeeze in weaving around teaching and my shifts at the Shelburne Arts Co-op, since weaving is a time consuming process, multi-step. I usually have to break a project into incremental tasks. That way I can do a step even if I only have a small window of time, and still feel like I am making progress.
After I wove off the Hop Vine bookcloth, I planned to weave a new batch of bookmarks. For this wintery season, I planned to weave a huck lace snowflake motif, based on a project I developed for my Master Weaver Certificate. I called the original design “No Two Snowflakes Are Exactly Alike,” because the project featured 7 different snowflake motifs. To make it work with the same threading and treadling for each, I changed the tie-up between each snowflake. This was a time-consuming way to do it, and I decided it was impractical for items that I intended to sell. So, I decided to just pick one snowflake motif for this batch. I planned to use 40/2 linen naturally dyed with woad from my garden.
For this snowflake bookmark project, a lot of the steps were already done. The yarn was dyed (though still in skeins). The designing was already done. Often times I have to do some math to figure out if I have enough yarn of a given color to make a given project. For this project, I already knew how much dyed yarn I had and roughly how much I needed, based on my calculations from the heart-motif bookmarks.
I wanted to bring some bookmarks to my co-op shift on Sunday December 16th, so over the weekend of December 8th and 9th, I put the yarn on a cone, wound the warp, beamed on, and threaded. For the rest of that week, my remaining to do list was pretty short:
- change the reed
- sley
- tie-up
- tie on
- weave
I thought it would be helpful to show what some of those steps entail, since a lot of weaving vocabulary is not familiar to non-weavers.
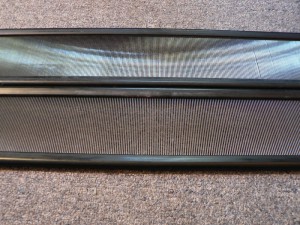
The reed goes in the beater, which is the part of the loom that presses each new weft thread into place in the cloth. The reed has little metal bars that are spaced in specific increments. I believe that in the past, these were typically made of reeds or thin pieces of wood, hence the name. The consistent spacing allows you to spread out the yarns evenly, and to control how densely the threads are spaced. This density is called the sett. My last project was threaded at 30 threads per inch, or “ends per inch” because each warp thread is called an end. This gets shortened to epi. Each space in the reed is called a dent. In a 15 dent reed, there are 15 spaces per inch. I threaded the last warp through a 15 dent reed at 2 ends per dent. My new project was going to be 36 epi, so I needed to switch to a 12 dent reed and thread at 3 ends per dent. Here are the two reeds:
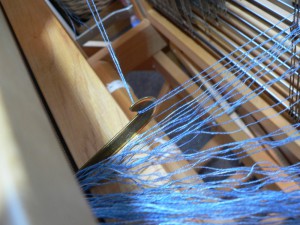
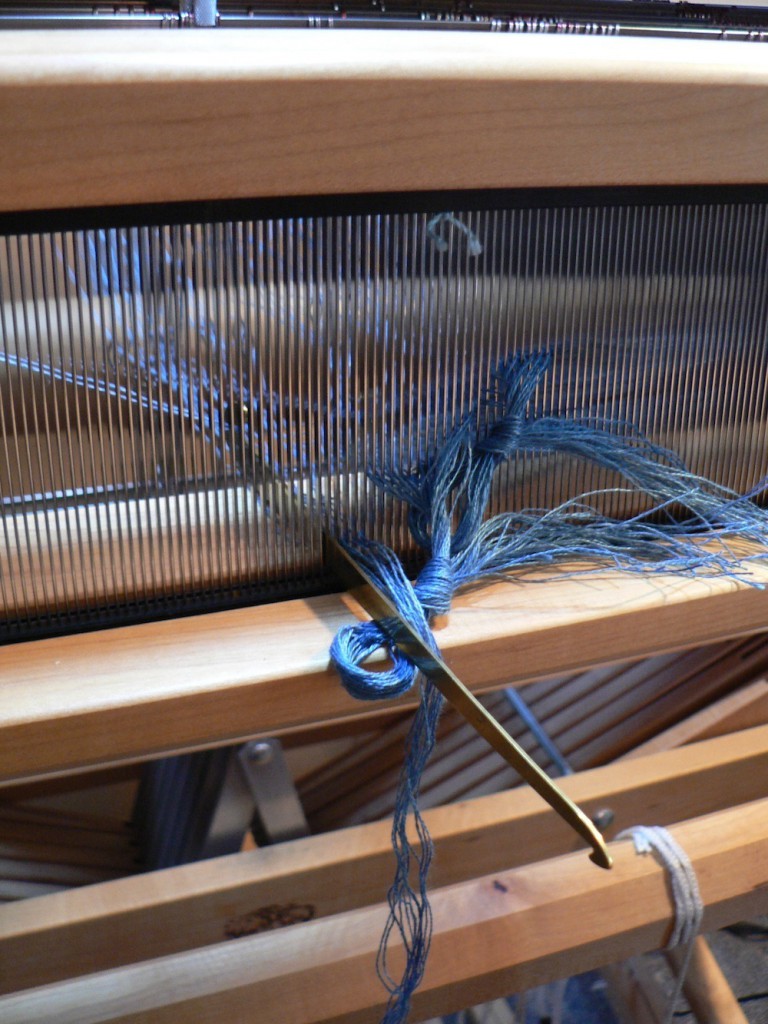
Sleying is the process of drawing each thread through the dents in the reed, using a sleying hook.
This is the view from behind the reed. In this photo I am sleying the last two ends at the selvedge. There were 79 ends in this warp, which doesn’t divide evenly by 3. So, at the edges, there were only two ends per dent.
In the photo above you see the reed from the front. The warp ends that I already sleyed are tied into bundles so they don’t pull out.
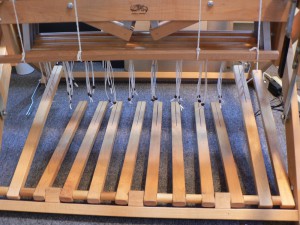
Next, the tie-up. I have an eight harness Schacht with ten treadles that can be arranged in a system called “multiple tie-up.” With multiple tie-up, you can attach each treadle to several shafts, so you only need to step on one treadle at a time to raise multiple harnesses. This makes the treadling much easier for complicated patterns. Not that huck lace is all that complicated, but my pattern is an eight shaft draft, and I need to raise four or even five treadles at a time. Not every loom has this capability. On some looms, each treadle can only control one harness, or shaft, so it’s called “direct tie-up.” The down side of direct tie-up is that you have to physically be able to step on all the treadles you need to raise the shafts you need. This gets tricky if it’s more than two (if you have two feet), or if they aren’t right next to each other.
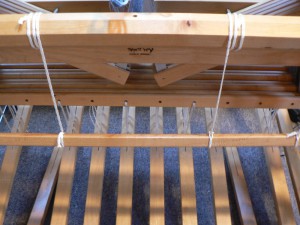
Here are the treadles before they are tied up. Well, the two at the far sides were tied up as plain weave already. The left-most one is tied to shafts 1,3,5, and 7. The right-most is tied to shafts 2,4,6, and 8.
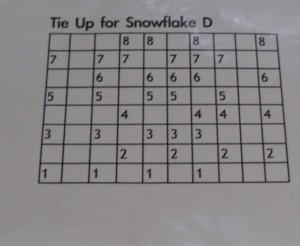
The white strings hanging down fit into the slots, and the brown discs prevent the strings from pulling out. Here’s the plan for how I want to tie the treadles. Each vertical column represents one treadle, and the numbers tell you which shafts to attach to each treadle.
Here’s my finished tie-up:
Yes, to change the tie-up you have to crouch down and reach under the loom. It makes for a stiff neck. In the foreground is the rod that you tie the end of the warp onto so you can begin weaving. It is called the tie-on rod.
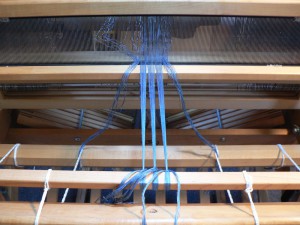
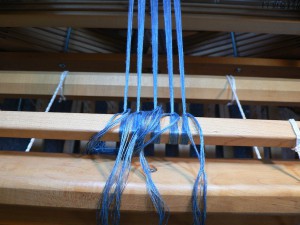
When I tie on I start in the center of the warp and work my way outwards. With linen, you get better tension if you tie small groups of threads together.
Above, the outer two groups still need to be tied on. Below, it’s all ready to start weaving.
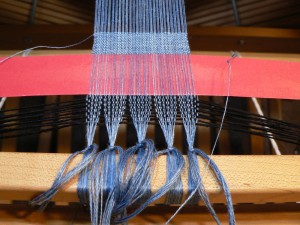
You can see that there are large gaps because the groups of knots. To get the threads more evenly spaced out, you weave a header (I use scrap yarn). Then I insert a spacer that is the length of the fringe I want for the bookmarks (the red thing).
Then I wind a bobbin and start to weave. The long thread on the right is for hemstitching, which I described in another post.

