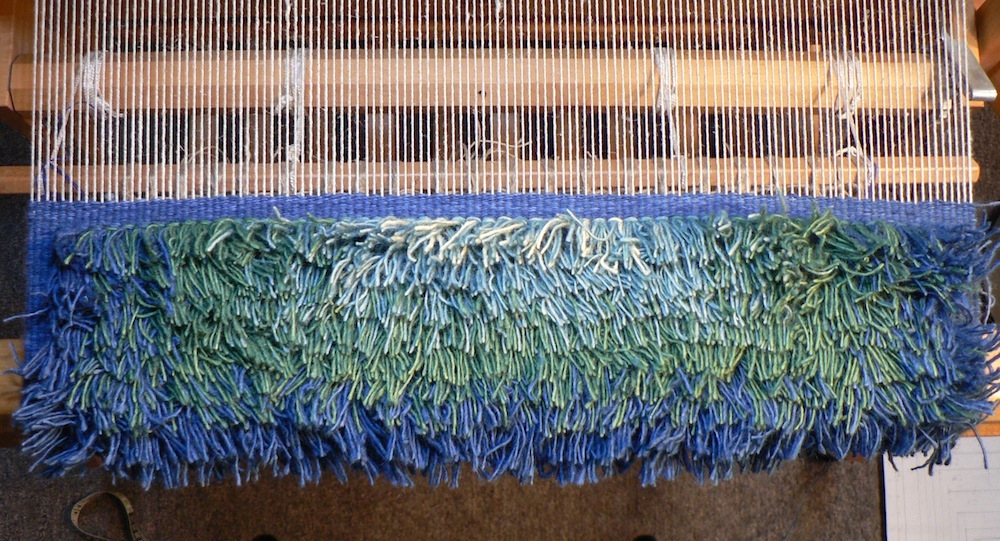
Thanks to a snow day on Friday February 8th, courtesy of winter storm Nemo, I got a lot of weaving done on my rya. I was well past the mid-way point by mid-day on Saturday. However, I decided I wasn’t satisfied with the transition from green to celedon to yellow at the center. In the process of redesigning this transition, I decided to make the whole design taller, i.e., more square. I wasn’t looking forward to all the extra work of re-weaving, but I decided I’d rather have a piece I was happy with.
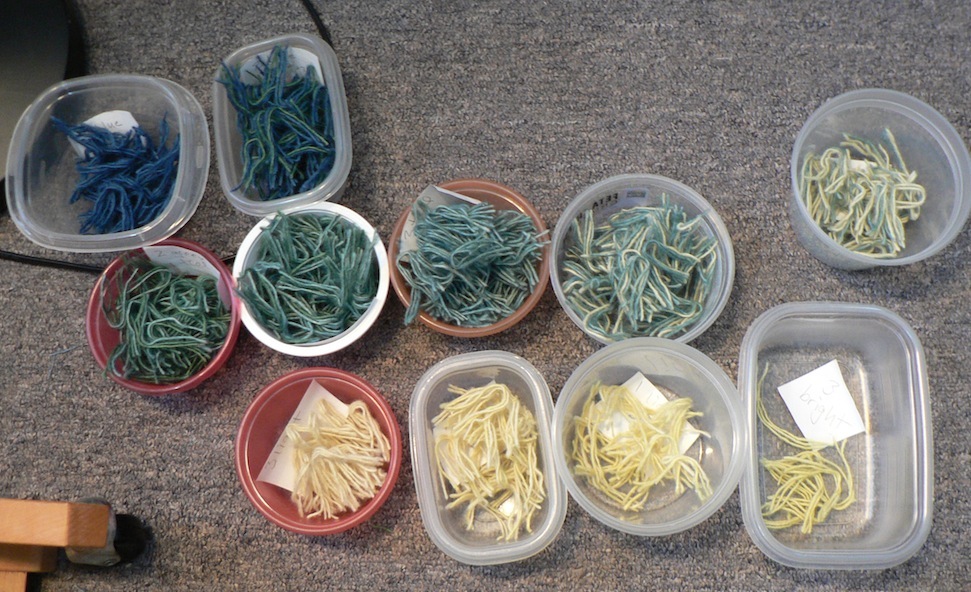
So I took a break to shovel out the car and a path to the parking lot. Then I re-drew my plan. Then, I took out all the knots and un-wove almost all of the rya, and saved the yarn in small containers sorted by color.
I had read that it’s faster to work with pre-cut lengths of yarn already blended into the combinations you want. I was worried that keeping track of little pieces, and organizing them into the right combinations, would be difficult. But it wasn’t! In fact, the re-weaving went much faster than I had feared.
For one thing, you can work from either side, and do all the knots of a certain color combination at once. Below you can see the containers for the knots I just tied at the sides of the design.

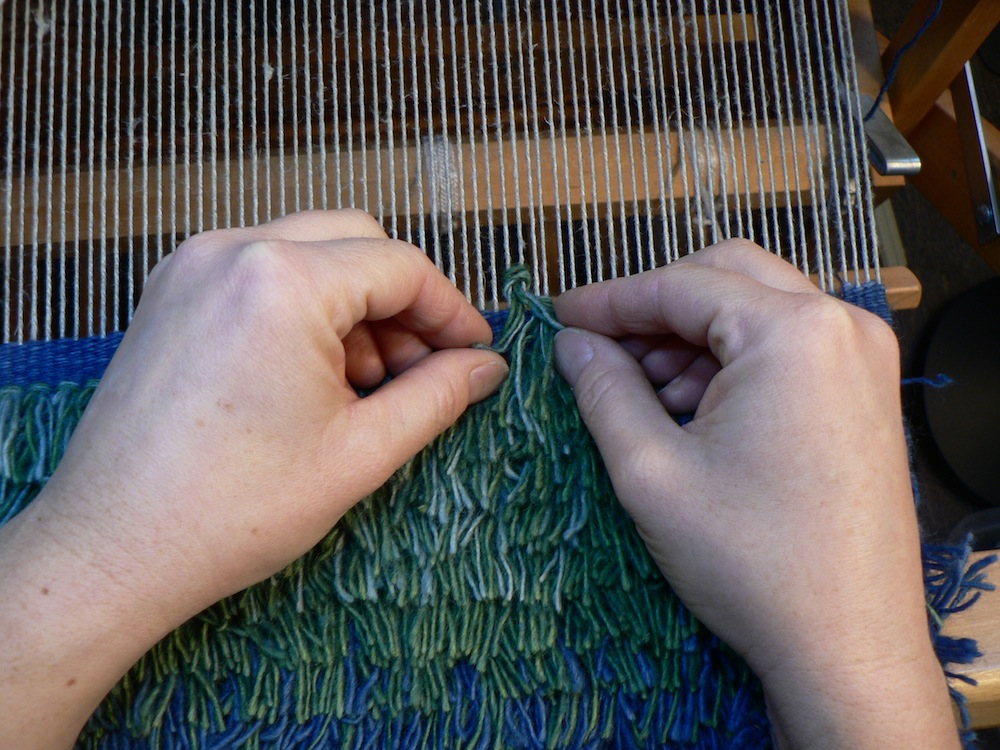
Tying the actual knots was also easy and quick:

Each little section of yarn had three strands in various color combinations. I laid the length of yarn over two warp ends. Then poked the ends of the knot-yarns up between the two warp threads, one at a time. Then, I pulled the knot down tight against the fell-line.
Here’s how the new transitional area looks: