
After I finished the lichen-dyed rya the other day, I was close to the end of the warp. What to do? Plan a small project to make use of it? Cut it off? I had a similar problem earlier in the spring (see my “Too Short Warp” post). At that time I planned out a small project with green and yellow yarns, but I was ultimately stymied and I didn’t end up weaving it. I cut off the warp regretfully, since 8/4 linen warp isn’t cheap and I hate to waste linen because I know what goes into creating it.
This time around, however, I developed a plan for a tiny rya with the same greens and yellows I’d picked out before, and here it is:
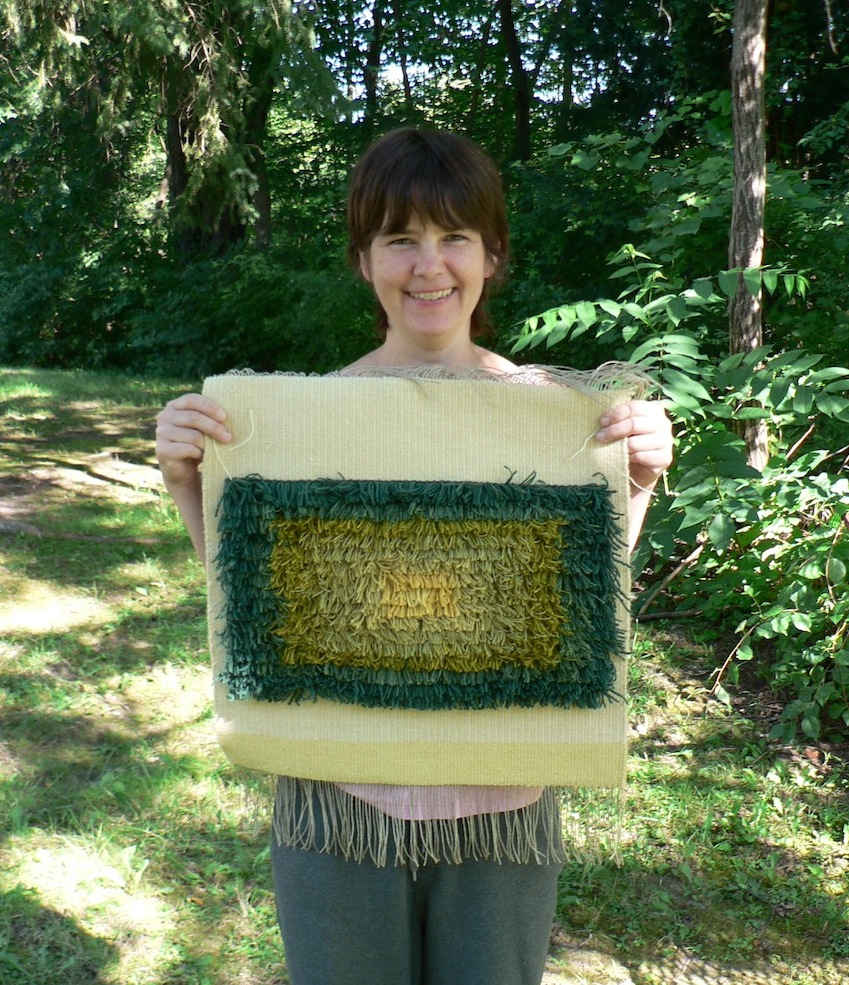
The greens are made with various yellows from Queen Anne’s lace and goldenrod, over-dyed with woad. The yellows are from Queen Anne’s lace, goldenrod, and sunflowers. The brighter yellow strip on the bottom will be folded under to make a hem, and won’t show in the end. It’s there because I wasn’t sure that I had enough of the lighter yellows to weave the plain weave background for the whole project, so I played it safe and used a different color for the back of the hem. As it turned out, I would have had *exactly* enough, but that’s a little too close for comfort when a) my math wasn’t totally persuasive and b) I have a firm deadline of September 30th to make as many ryas as possible for my show at the Shelburne Arts Co-op and I don’t have a lot of time before school starts up again.
Overall I am very happy with this piece. I especially like the colors (which remind me of an avocado) and the scale, which is much smaller than my other ryas. I think it’s very cute. So, on the one hand, there’s no drama involved with this project: I wove it in a fairly speedy fashion, and I am pleased with it. On the other hand, there is an interesting story from a weaver’s perspective.
This is the story of the light-yellow background.
When I started the project, I weighed the balls of yarn and determined that I didn’t have quite enough yarn for the background, so I wove the aforementioned brighter yellow strip. Then I got started and happily wove away, but when I went to wind a new stick-shuttle of the plain-weave weft, I realized that the other ball of yarn was not the same color. The two colors were so close that initially I didn’t realize they were different. But, they were different enough to be noticeable and annoying, so I unwove the short section of hem and knotted pile that I’d woven.
I debated weaving the two colors in horizontal stripes, but since the rows of knots also makes stripes, this felt too busy. I debated switching to a white background yarn, but it felt like too much contrast and I thought the yellow was warmer and integrated the various pile-colors in a more satisfying way.
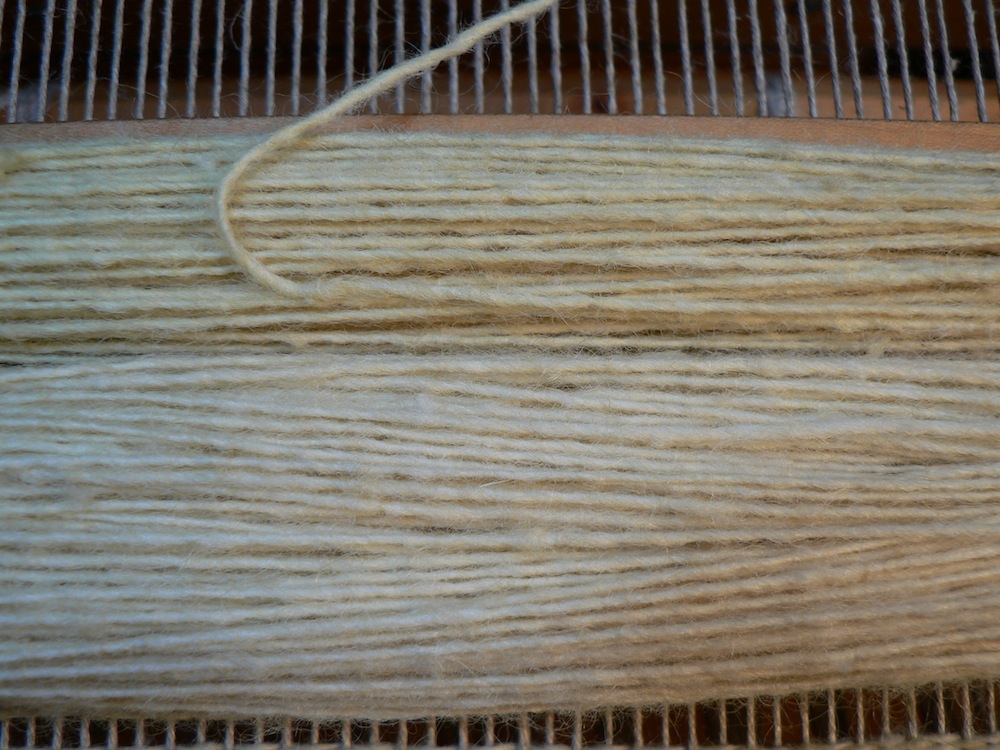
To integrate the two pale yellow colors consistently throughout the piece, I embarked on a “pick and pick” solution. A “pick” is one row of weft yarn. (The weft is the threads that go across the warp. The warp is the threads that are attached to the loom and stretch away from the weaver.) “Pick and pick” describes a way to alternate colors one pick (or weft row) at a time. Using plain weave on a weft-faced project, this technique creates vertical stripes, a cool trick that falls under the broad category of “Color and Weave.” You can use the principles of Color and Weave to make an almost infinite variety of cool patterns, with either a weft-faced or warp-and-weft balanced weave structure. The simplest trick makes vertical stripes. In the case of my very-similar light yellows, the vertical stripes are subtle.
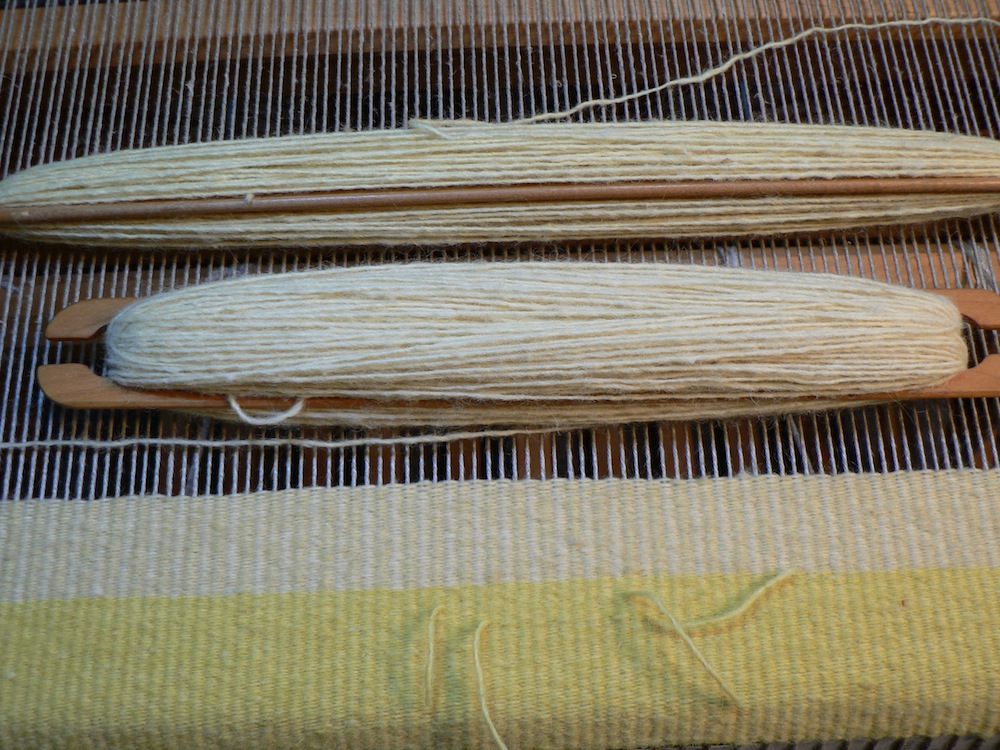
Here are the two shades of yellow on my two stick shuttles, and below that, a small section of vertical stripes:
This was a great solution, but the problem with “pick and pick” specifically, and color and weave in general, is that you have two threads wrapping around each other at the selvedges (the edges of the project). Even with careful attentiveness, this technique makes messier selvedges than a single weft.
Here’s the left selvedge, which is slightly neater because I am right-handed:
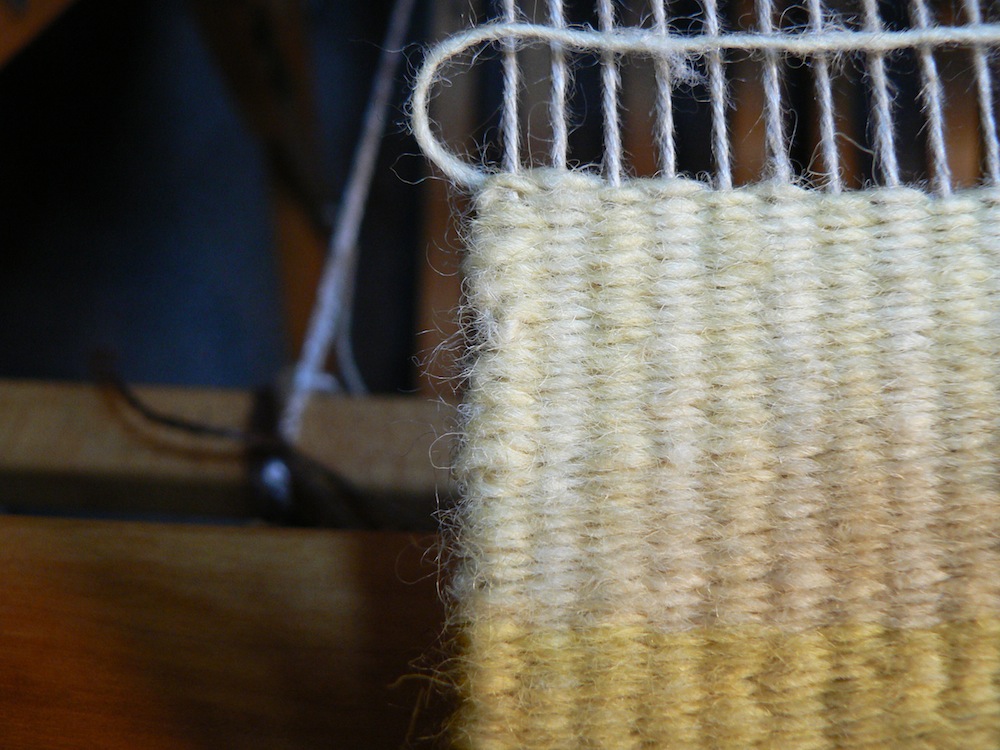
Here’s the right selvedge:
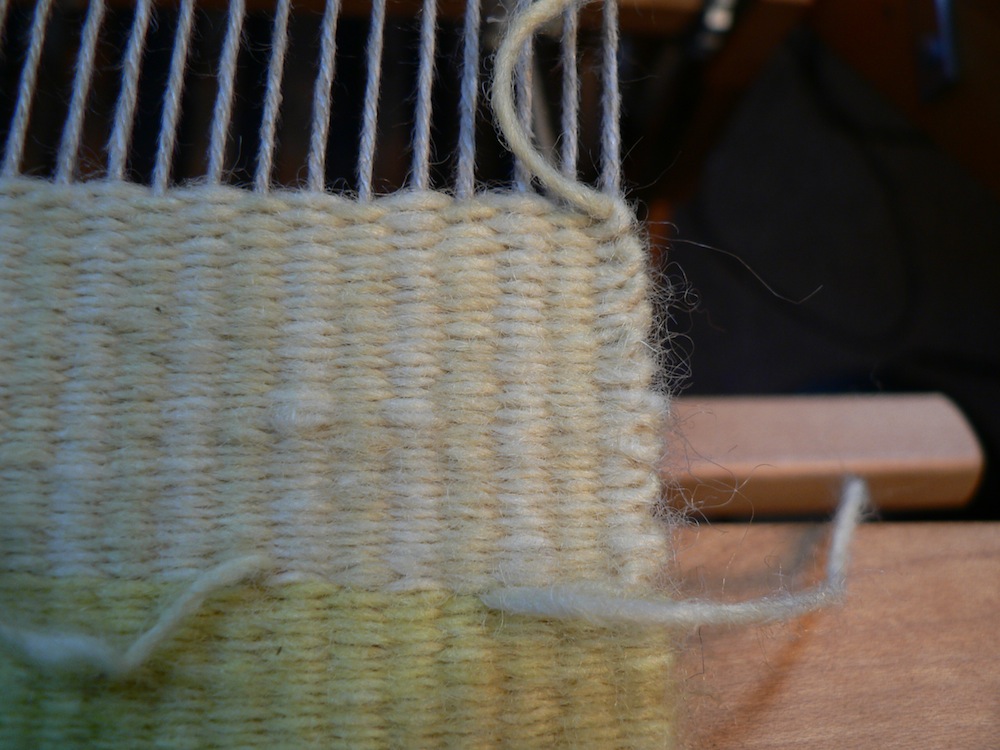
You can see the slightly different shades of yellow in the vertical stripes. One is a tad paler and one is a tad brighter.
The trick to keeping a two-shuttle project organized and consistent, and to have tolerable selvedges, is to handle the shuttles consistently. For this project, the slightly brighter yellow is on the longer shuttle.
My loom has the capability of tying more than one treadle to each shaft. So, when I stepped on the left-hand treadle, the threads on shafts 1 and 3 went up. When I stepped on the right hand treadle, the threads on shafts 2 and 4 went up.
Here’s how I kept track of two shuttles: Every time I threw the longer shuttle, I stepped on the left-hand treadle. Every time I threw the shorter shuttle, I stepped on the right hand treadle. When I was exiting the shed on the left side, I placed the longer shuttle closer to me and the shorter shuttle further from me (on my lap). When I exited shed on the right, I placed the longer shuttle further from me, and the shorter shuttle closer to me (on my lap). This allowed the threads to wrap around each other consistently each time.
There were some draw-backs to using this method with a rya project. Specifically, the little areas of “argatch” that compensate for the height of the knots at each selvedge were more complicated to keep track of than they would have been with a single shuttle. I admit that I fudged this a little, but I am satisfied with the results. I think the vertical stripes make a pleasant texture without being distracting. Plus, I successfully accomplished my primary goal, which was to not waste the warp, and my secondary goal, which was to make a nice project with a light yellow background rather than plain white. Hah!