Microscopic Fiber Images

Gardening season is kicking into gear here in Amherst, MA. This year I am planning to add swamp milkweed (Asclepias incarnata) and amsonia (Amsonia spp.) to my fiber and dyeplant garden at Bramble Hill Farm. I got the swamp milkweed seeds from my sister, Simone, from a plant near her apartment. You can see a photo of some cordage I made from it in an earlier blog post here.

I was inspired to grow amsonia after botanist and fellow-flax-enthusiast, Carolyn, brought some gorgeous bast fibers from her amsonia plants to one of our flax and linen study group get-togethers. On my initial foray to Andrew’s Greenhouse yesterday I found three varieties of amsonia available, but wasn’t sure which one might be best, so I shot off an email to Carolyn. She sent back some good advice, plus this incredibly awesome link which I must now urgently share with anyone else who might be reading my blog! Continue reading “Microscopic Fiber Images”

More Queen Anne’s Lace

Since Queen Anne’s Lace has been so abundant this year, I wanted to experiment with using the entire plant, roots and all, for dyeing. Quite a lot of plants needed to be weeded out of our garden plot, so on August 2nd I decided to try it. I was pretty certain it would make yellow, which is the most common color from wildflowers, but you never know until you try.

When I am dyeing, I often think of Jill Goodwin’s summary of her dyeing philosophy in her introduction to A Dyer’s Manual (12/24/2023 Edited to add that this link no longer works so I deleted it). I find two of her points especially comforting and motivational:

  • “Only use the results of other people as a rough guide, for their conditions will not be the same as your own. Prove everything by your own efforts.”
  • “Persevere with each problem, for sometimes after years of thought the solution will become clear.”

So, I do try to prove everything with my own efforts. And I try to persevere with each problem. Hopefully over the years I solve some of them.

Queen Anne's Lace roots and all

I pulled up many plants and chopped them up with pruning shears. I got 4 lbs. 8 oz. of plant material. I liked the cauldron-esque look of the dye pots with stems, leaves, flowers, and especially the roots. Whereas the flowers alone smell lemony and sweet while they are simmering, the whole plant smells a bit more like carrots, as you might imagine. Lemony carrots. Continue reading “More Queen Anne’s Lace”

Queen Anne’s Lace and Woad

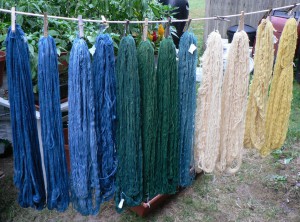
Supposedly this blog is about dyeing. Even though I don’t seem to write about it very often, I do sometimes actually dye things. This week I had great success with woolen yarns using Queen Anne’s Lace flowers. Plus I managed a successful woad vat, aerated and everything. Here are the lovely yellows, greens, and blues hanging on the line to dry in the back yard (each skein is about 4 ounces).

wool dyed with Queen Anne's Lace and woad Continue reading “Queen Anne’s Lace and Woad”

Mystery Cordage Plant Identified

Simone and I concur that our mystery cordage plant is Swamp Milkweed, Asclepias incarnata. What a name! The milkweeds are named after the Greek god of healing and medicine, Asclepius. According to The National Audubon Society Field Guide to North American Wildflowers (Eastern Region) this is “undoubtedly because some species have long been used to treat a variety of ailments.” The Latin species name incarnata means “flesh-colored,” according to the Audubon Guide. Incarnata doesn’t make it into the “epithets” list in The Hutchinson Dictionary of Plant Names: Common and Botanical, unfortunately. To me the name implies that this is the god Asclepius incarnate (made physical, made flesh, the body of the god), which is spectacular. Continue reading “Mystery Cordage Plant Identified”

Mystery Cordage Photos

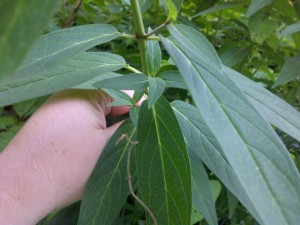
Back in May I was visiting family in Maryland, and made some cordage from an unidentified plant growing behind my sister’s apartment. Click here to read the earlier post and Simone’s comment. Now it is in bloom, and she has sent me some photos. At first glance I think it is some kind of milkweed relative, judging by the flowers. I will look into it. Here are the leaves.

mystery cordage leaf structure

Continue reading “Mystery Cordage Photos”

Mystery Cordage

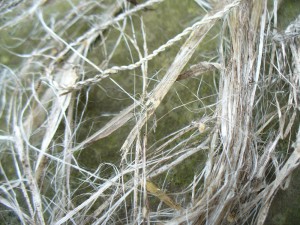
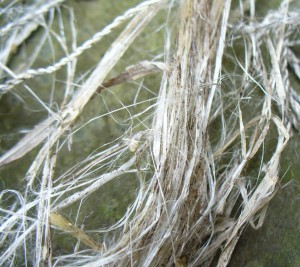
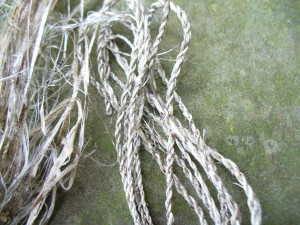
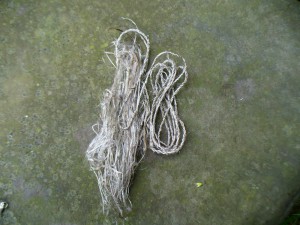
Last week I was down in Maryland visiting my sisters and seeing lots of family at a wedding. One morning, my mom and I went to consult with one of my sisters about various plants that had been planted by the previous tenants outside her apartment. In one spot we found some very intriguing dead and naturally weather-retted bast fiber from the previous year’s growth. Unfortunately I did not bring my camera so I don’t have a photo of it in situ. We don’t know what the plant is, but my sister will keep an eye on it as it develops so we can identify it. Here are some photos of the fiber and cordage.

mystery bast fiber 1

mystery bast fiber 2

mystery cordage

mystery fiber and cordage in process

My method was this: I twisted a bundle of fibers enough to get a kink at the center, then bent the bundle in half. I used my teeth to hold the middle, and twisted both sides at the same time, between my thumbs and index fingers, rolling to the left. (That is, I twisted the left strand with my left hand, and the right strand with my right). Then I wrapped the two strands around each other twisting to the right. To add a new piece, I repeated the starting procedure, but inserted the new bent middle section into the “v” where the two strands separate. I tried to keep the two sides slightly uneven so that the splices would be staggered. I think it has a very pretty silvery quality. I would be happy to use this plant again, once I find out what it is.

What’s a Lichen?

What is a lichen, anyway? A lichen is a symbiotic organism composed of a fungus and another organism that can photosynthesize. Fungi do not photosynthesize, that is, they do not make their own food from sunlight (and carbon dioxide and water) using chlorophyll. They are heterotrophic, meaning they get their nutrition from outside themselves. Fungi are different from plants and have their own taxonomic kingdom. The photosynthesizing organisms in lichens are different kinds of algae, cyanobacteria, or sometimes both. The photosynthesizing part of a lichen is called the “photobiont” (short for photosynthetic symbiont). 12/17/2023 Edited to add: Check out my blog post from 2016 with exciting updated info about lichens!) 

The photobiont makes sugars and other carbohydrates through photosynthesis, and allows some of these nutrients to be absorbed by the fungus. In return, the fungus provides structure and stability, some protection from sunlight, and as much consistent moisture as the habitat can provide, by conducting water through its cell walls. The fungus combined with its photobiont grows into a particular shape or structure. By itself, with identical genetic information, the fungus would not grow into this shape. The algae and cyanobacteria would not be able to colonize rocks or bark or other places that lichens grow without the fungi.

Lichens are amazingly complex, and scientists still don’t know all the details about exactly how they work. They come in a huge range of colors, textures, shapes, and sizes, and grow on lots of different surfaces (or substrates) in a very wide range of habitats. Some lichens are able to fix atmospheric nitrogen, and play a role in creating conditions to support plant life. Lichens readily accumulate minerals, including toxic compounds, are thus very susceptible to pollution. They grow very slowly. Foliose lichens (named for their leaf-like structure) like my Flavoparmelia caperata grow an average of .4-.5 mm a year. Umbilicates are also a type of foliose lichen with extra-big “leaves.” Umbilicate lichens form new cells at the center, which is why it doesn’t kill the lichen to tear off small pieces from the outside edge.

The acids and other compounds that make lichens useful for dyers serve a range of functions in the lichens themselves. Some are pigments that filter out certain wavelengths of light, some have antibiotic properties that inhibit other organisms that might compete with the slow-growing lichens, some make them taste bad so herbivores won’t eat them….

OK, I could go on and on, but if you’re interested you can read more on your own. Again, here are my two trusty references:

Lichen Dyes: The New Source Book by Karen Diadick Casselman. Mineola, NY: Dover Publications, 2001.

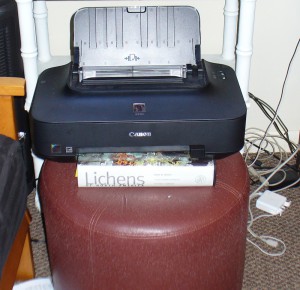
Lichens of North America by Irwin M. Brodo, Sylvia Duran Sharnoff, and Stephen Sharnoff. New Haven: Yale University Press, 2001. This is THE book. In addition to being an incredible and beautiful reference, its bulk makes it useful as a book-binding press, and occasionally to hold up the printer:

lichen book holding up printer

A Tale of Lichen and Weird Winter Weather (Part Six)

This part of the story actually happens before the lye testing in Part Five, but to me it is the climax of the whole story, so I saved it until the end.

As the ground stayed bare this winter, I continued to see lots more (probably) Flavoparmelia caperata lying on the ground, and other lichens. It made me wonder how much usually gets buried under the snow. Does it usually get crushed and decompose? If it had been a regular snowy winter, I’d never even know it was there. Which leads me to….

Part Six: Non-Snowy Woods on the First of February

The first of February was glorious and warm and sunny. To celebrate the day, I went for a longer walk than usual. A hike. There was not a patch of snow on the ground anywhere, only occasional ice. Just as I was thinking about how happy I was that this non-snowy winter enabled me to learn more about lichens, I noticed a lot of umbilicates growing on a rock face that I’d never really noticed before. I scrabbled over to check at the base of the rocks for any fallen pieces. There was an incredible, astonishing abundance! I felt like I was in a fairy tale; I’d been thinking about how awesome lichens are, and then ta-da there were tons of them. Magic. And not just any lichens, the awesomest ones.

I filled both my pockets with loose pieces from the ground, but there was way more than my pockets could hold. A blissful day and a blissful foraging treat.

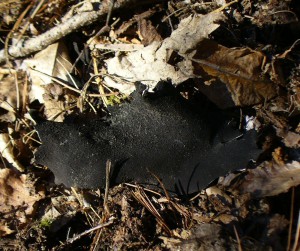
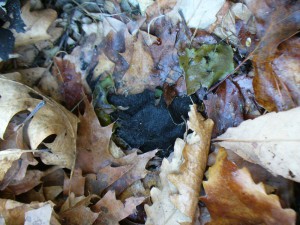
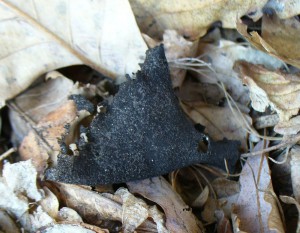
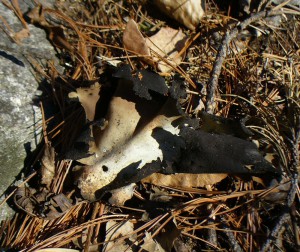
Here are some photos. Some pieces were right on the ground, and some were hidden under the leaves. The underside of these umbilicates is velvety and black. The top is greenish, olive, or brownish. They are sometimes called “rock tripe,” hence the labels on the photos (if you hover over or click on an image it tells you the title of the photo).

fallen rock tripe black underside

damp fallen rock tripe

fallen rock tripe underneathdry fallen rock tripe

I went back to the same spot on February 6th (another glorious day) with a gallon sized zip lock bag, and filled that also.

The discovery of this abundance made me wonder whether this much falls off every winter, or whether more pieces than usual broke off this year because of the weird (comparatively warm and dry) weather. Would I find this much again another winter? I’m not sure, but I don’t think so. I think this weird winter was special.

A Tale of Lichen and Weird Winter Weather (Part Five)

Part Five: Picking up Fallen Lichen in the Non-Snowy Woods

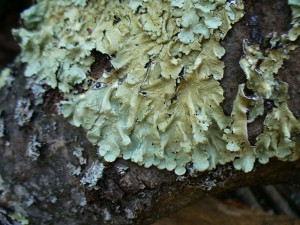
Right after the big storm in October, we had a spell of very warm weather and all the snow melted at the beginning of November. However, the broken trees and branches still lay everywhere. Lichen and salvage botany were very much still on my mind. Karen Diadick Casselman wrote in Lichen Dyes that in the woods behind her house, several species of lichen dropped daily to the ground, which provided an almost unlimited supply, should she choose to use them. (She went on to say that she focuses on studying lichens rather than on dyeing in volume.) I wondered how much lichen could be gathered if I picked up only what had fallen on the trail, road, or sidewalk as I went on my walks, and only what was most abundant. Well, in one week of walking almost every day, I had 4 cups of this lovely stuff (including quite a lot of bark, to which it was attached):
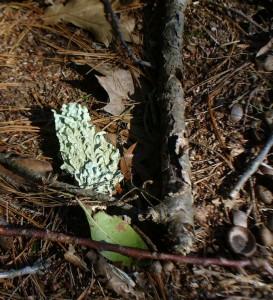
lichen on ground

lichen on oak bark

To be honest, I’m not positive it was all the same species, but visually all the little pieces looked very similar. I could sure collect a lot of it, but what exactly was it, and was it useful for dyeing?

Positively identifying it has been an on-going process. Today I completed the most recent step, having acquired a container of lye from my mom, whom I visited yesterday. Thanks, Mummy!

Earlier in the winter, I had gone through the dichotomous key for “foliose lichens that are not umbilicate, jelly-like, or yellow” in Lichens of North America. With a pretty good degree of confidence I continued on to the Parmelia key. The most likely candidates were Flavoparmelia caperata (a.k.a. Pseudoparmelia caperata, the Common Greenshield lichen), Flavopunctelia soredica, or Flavopunctelia flaventior. The time had come for chemical testing.

I hoped that using just bleach for the C test (short for calcium hypochlorite), I could tell the difference between F. caperata and F. soredica or F. flaventior. Here’s why. Both of the latter are supposed to react C+ red when spot tested on the medulla. That means when you scrape off the top layer (cortex) and expose the white layer underneath (medulla), then apply a dab of bleach to the white area, it will turn red. It didn’t. Here’s a photo comparing the foliose lichen in question with an umbilicate lichen that definitely did react C+ red.
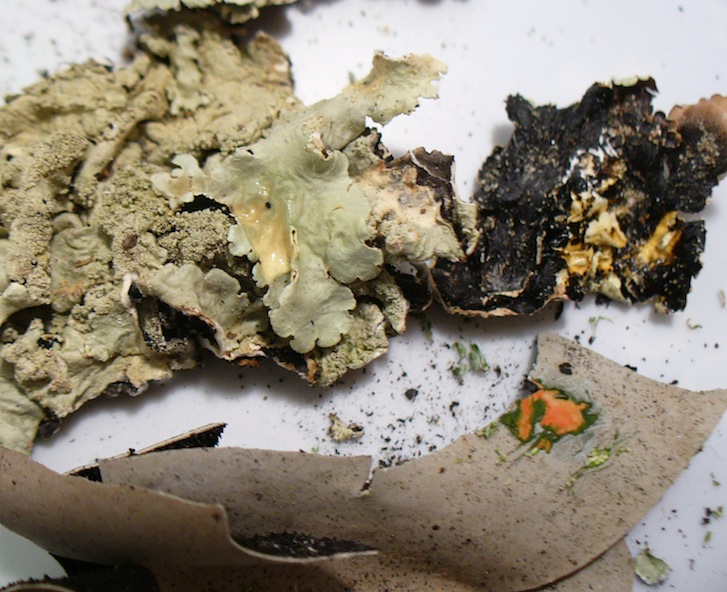
comparing the color of C+ and C- reactions on lichen

The umbilicate is in the lower part of the photo, and shows a very bright red-orange reaction. The foliose lichen above shows very little color change. Depending on how dramatic the reaction is supposed to be, you could call it yellow, or you could call it nothing. On the medulla of the foliose lichen, there was more of a reaction (the spot on the upper right which is a little bit darker yellow), but it’s definitely not red.

Having ruled out F. soredica or F. flaventior, I was pretty happy to say that my abundant foliose lichen was Flavoparmelia caperata. But I didn’t actually prove what is was, only what is wasn’t. Enter the lye, which lets you do the K and KC tests (K stands for the potassium in potassium hydroxide)

F. caperata is supposed to be K- on the cortex and medulla, KC + gold on the cortex, and KC+ pink on the medulla. Here’s what my results this morning looked like. The first photo shows a piece of the lichen with the medulla exposed (the white area):
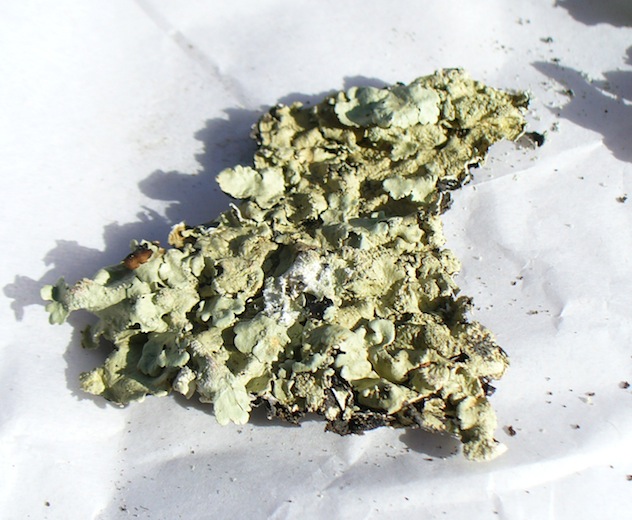
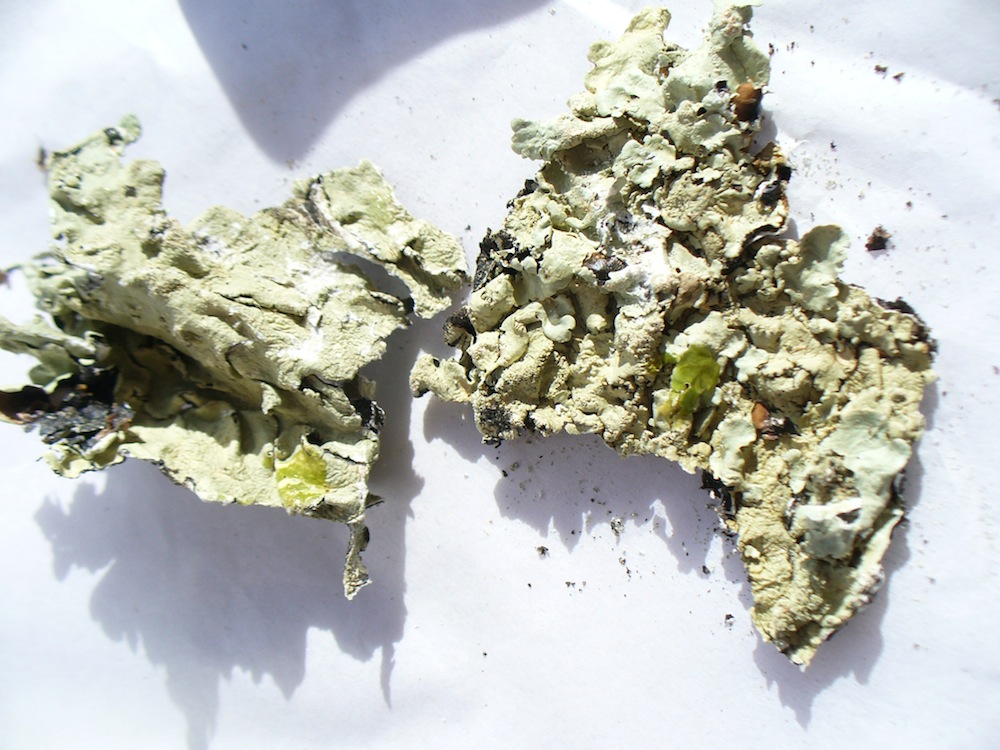
foliose lichen with exposed medulla

K minus cortexThe photo above shows the K- reaction on the cortex, and the one below shows K- on both the medulla and cortex. It’s slightly brighter green where I dabbed on the lye solution because it’s wet.
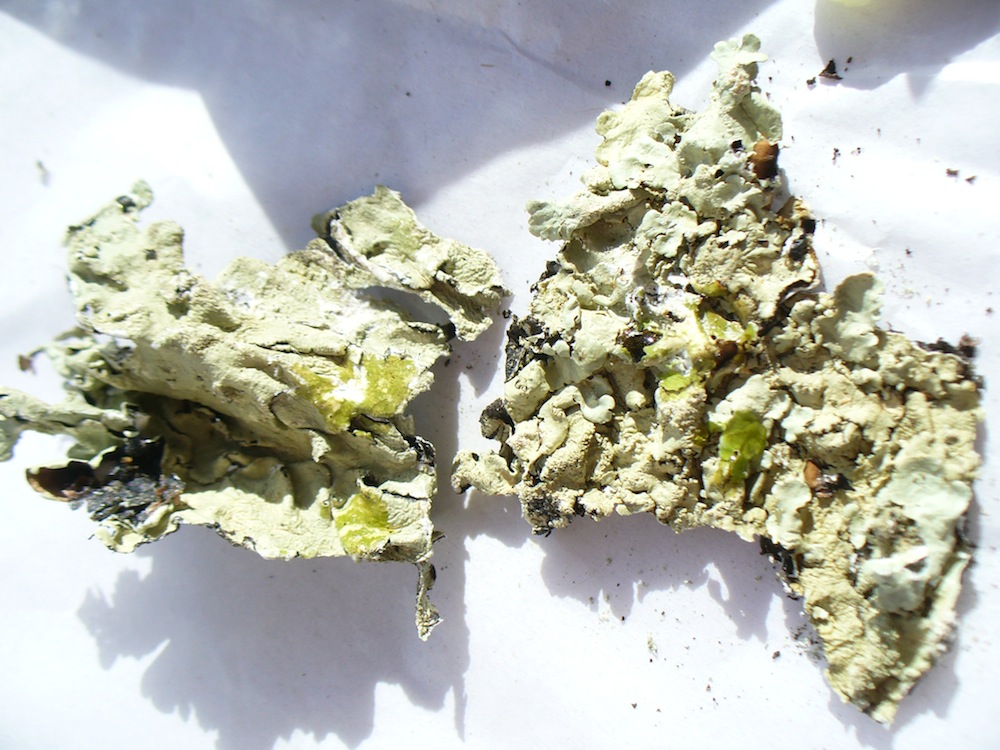
K minus on the cortex and medullaThe photo below shows the KC+ reaction on both the cortex and medulla. (KC means you apply a dab of lye solution, then a dab of bleach on the same spot.) However, I would not call the color on the medulla “pink,” exactly. It’s redder than the gold on the cortex, but it’s more orange, I’d say.
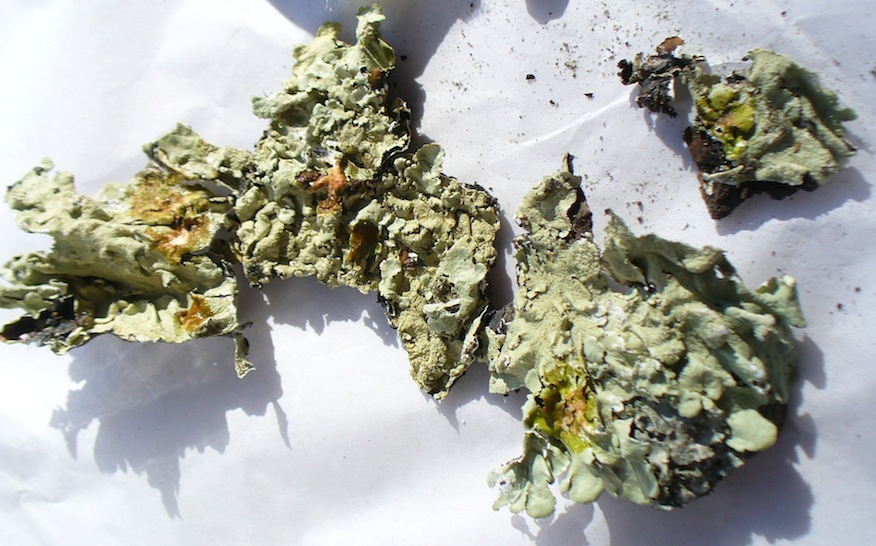
KC plus on cortex and medulla

On the other hand, my “red” reaction on the umbilicate was sort of orange, too. So, there you have it. Probably my abundant foliose lichen is Flavoparmelia caperata. It does not appear to be an interesting source of dye, unfortunately. I may go ahead and try it anyway. I’ll let you know.

A Tale of Lichen and Weird Winter Weather (Part Four)

Part Four: Dyeing with the Ancient Umbilicate Vat

Winding skeins, scouring, mordanting, tannin baths, etc. took a long time, so the dyeing didn’t actually happen until December. It was the first time I’d used lichens on cellulose fibers. According to Casselman, and others, lichens are substantive dyes, meaning they don’t require a mordant. But I’m inclined to agree with Joan Morris, who said in a workshop last summer, “With natural dyes, cellulose fibers need all the help they can get.” Cotton, linen, and other plant-derived fibers are not naturally inclined to slurp up color the way wool does, so you’ve got to give the fibers every opportunity to hold onto the dye molecules. I decided to mordant with alum acetate *and* treat the yarns with a tannin bath for good measure.

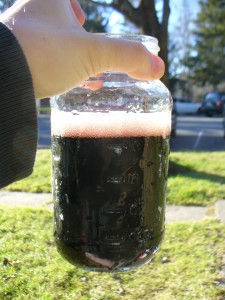
Here’s the vat liquor strained into a jar, undiluted, pH 12 or 13.

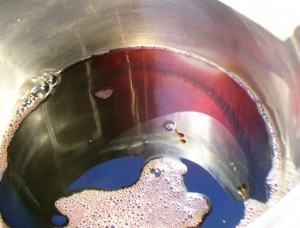
umbilicate lichen liquor in jar Here in the dyepot you can see the magenta color of the vat liquor.

umbilicate lichen liquor colorI diluted the vat liquor with water (6 cups vat liquor to 28 cups water) and the pH was 9. Into this stinky (rotten fishy) pot went my tannin and alum acetate-treated linen and cottolin skeins. Well, if you read my earlier post about weld and cellulose, you know that tannin can have a darkening and weirdening effect on color, even the gallotannin I’ve been using, which is very light. The darkening effect of iron is called “saddening,” so maybe I can call it saddening with tannin, too, but it’s not quite the same. Anyway, you can probably already picture the scene. Here it is:

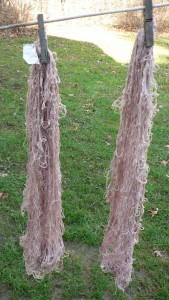
umbilicate lichen with tannin on celluloseYes, I got a very interesting purplish brown. Basically brown. An unusual sort of brown. But brown. At first I was disappointed and felt very bad because, to me, dyeing with lichens is a weighty thing. I feel there is karma, or at least a moral burden, attached to it in a way I do not feel with goldenrod or Queen Anne’s Lace or other more happy-go-lucky sorts of plants. Venerable ancient organisms shouldn’t be wantonly ripped up and fermented for the making of browns.

Here though, I must digress. Later in December and January, I noticed this color regularly on my walks, especially in the woods when the sunlight was orange-pink early in the morning or just before sunset. Something about the light made the trunks of certain pines (red pine, I think) reflect exactly this purplish brown. I also saw it in tangles of old blackberry canes, and where red maple leaves had fallen and dried among oak leaves. When I noticed this, I felt grateful to the lichens for having opened my eyes to this color. It’s a real color in its own right, with a place in the world, not just an accident or a mistake. Now I love that color. OK, back to the story.

Back in December, still hoping for pink, I added a little soda ash to the exhaust bath to bump the pH up to 10, and used bleached cotton skeins mordanted only with alum acetate. I got a pale bluish pink, a very subtle color, and was happy.

umbilicate lichen no tannin on cotton