Madder on Silk and Linen

During the week that I ran the bolted woad vat in July, I also ran weld and madder baths. This post is about the madder baths. All of the dyeing I did that week was for the Art and Science of Dyeing at the Botanic Garden of Smith College. (12/31/2023 Thanks to the Wayback Machine for the link to the old Botanic Garden site!)

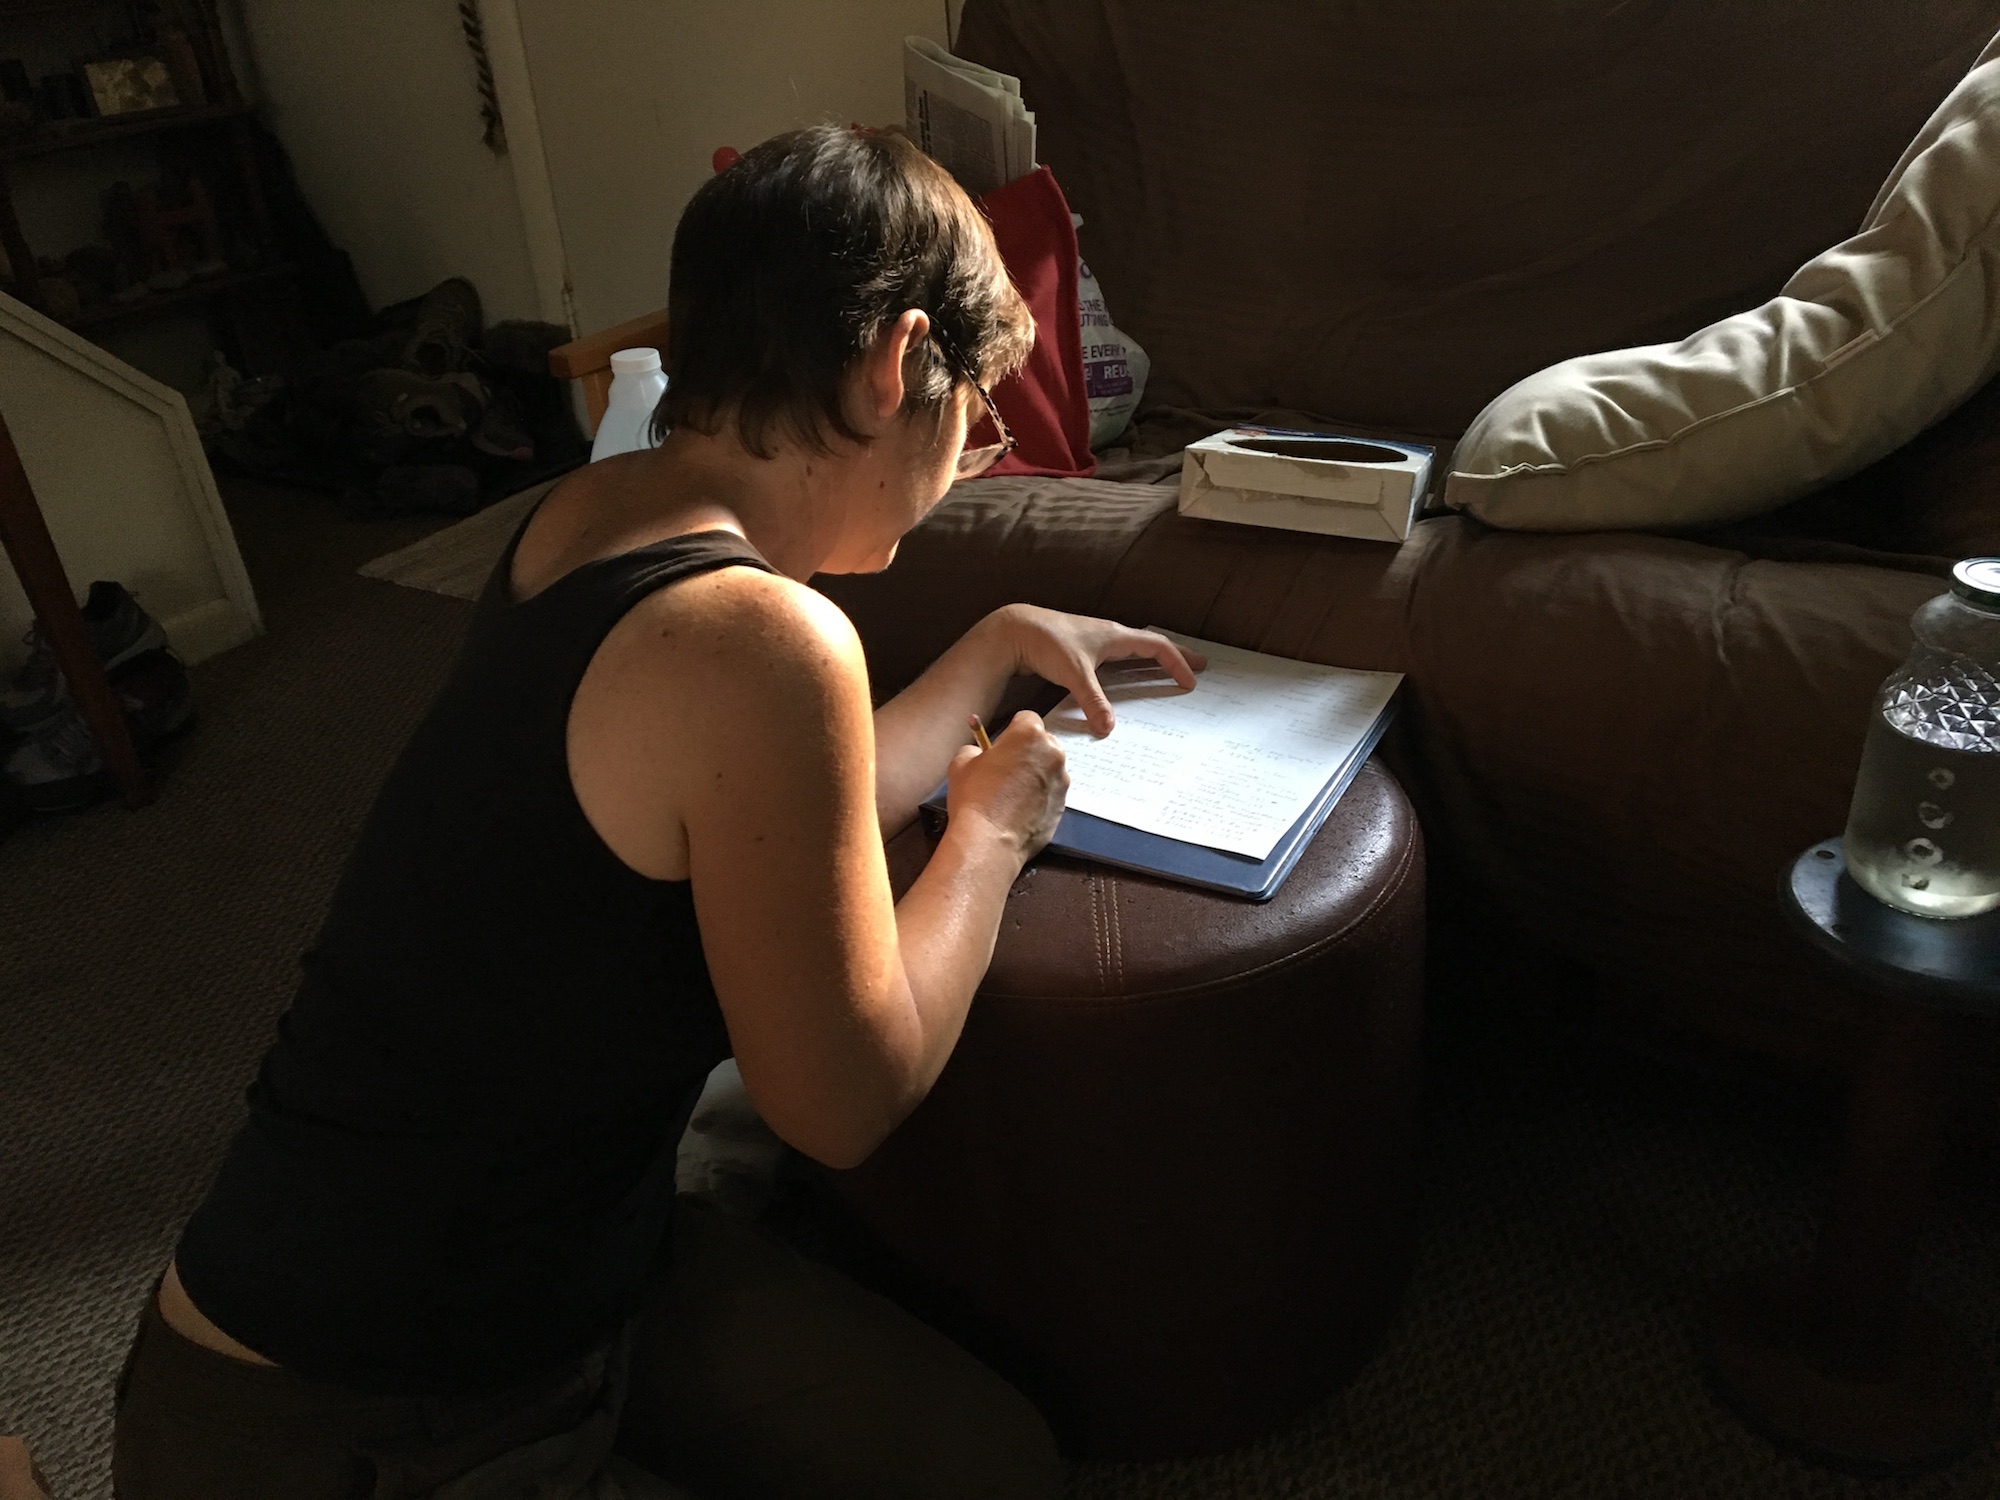
I was planning several consecutive days of dyeing, so there was a lot to keep track of.  Here I was on Tuesday night making a game plan for what had to happen when, and doing a lot of math regarding measurements and quantities:

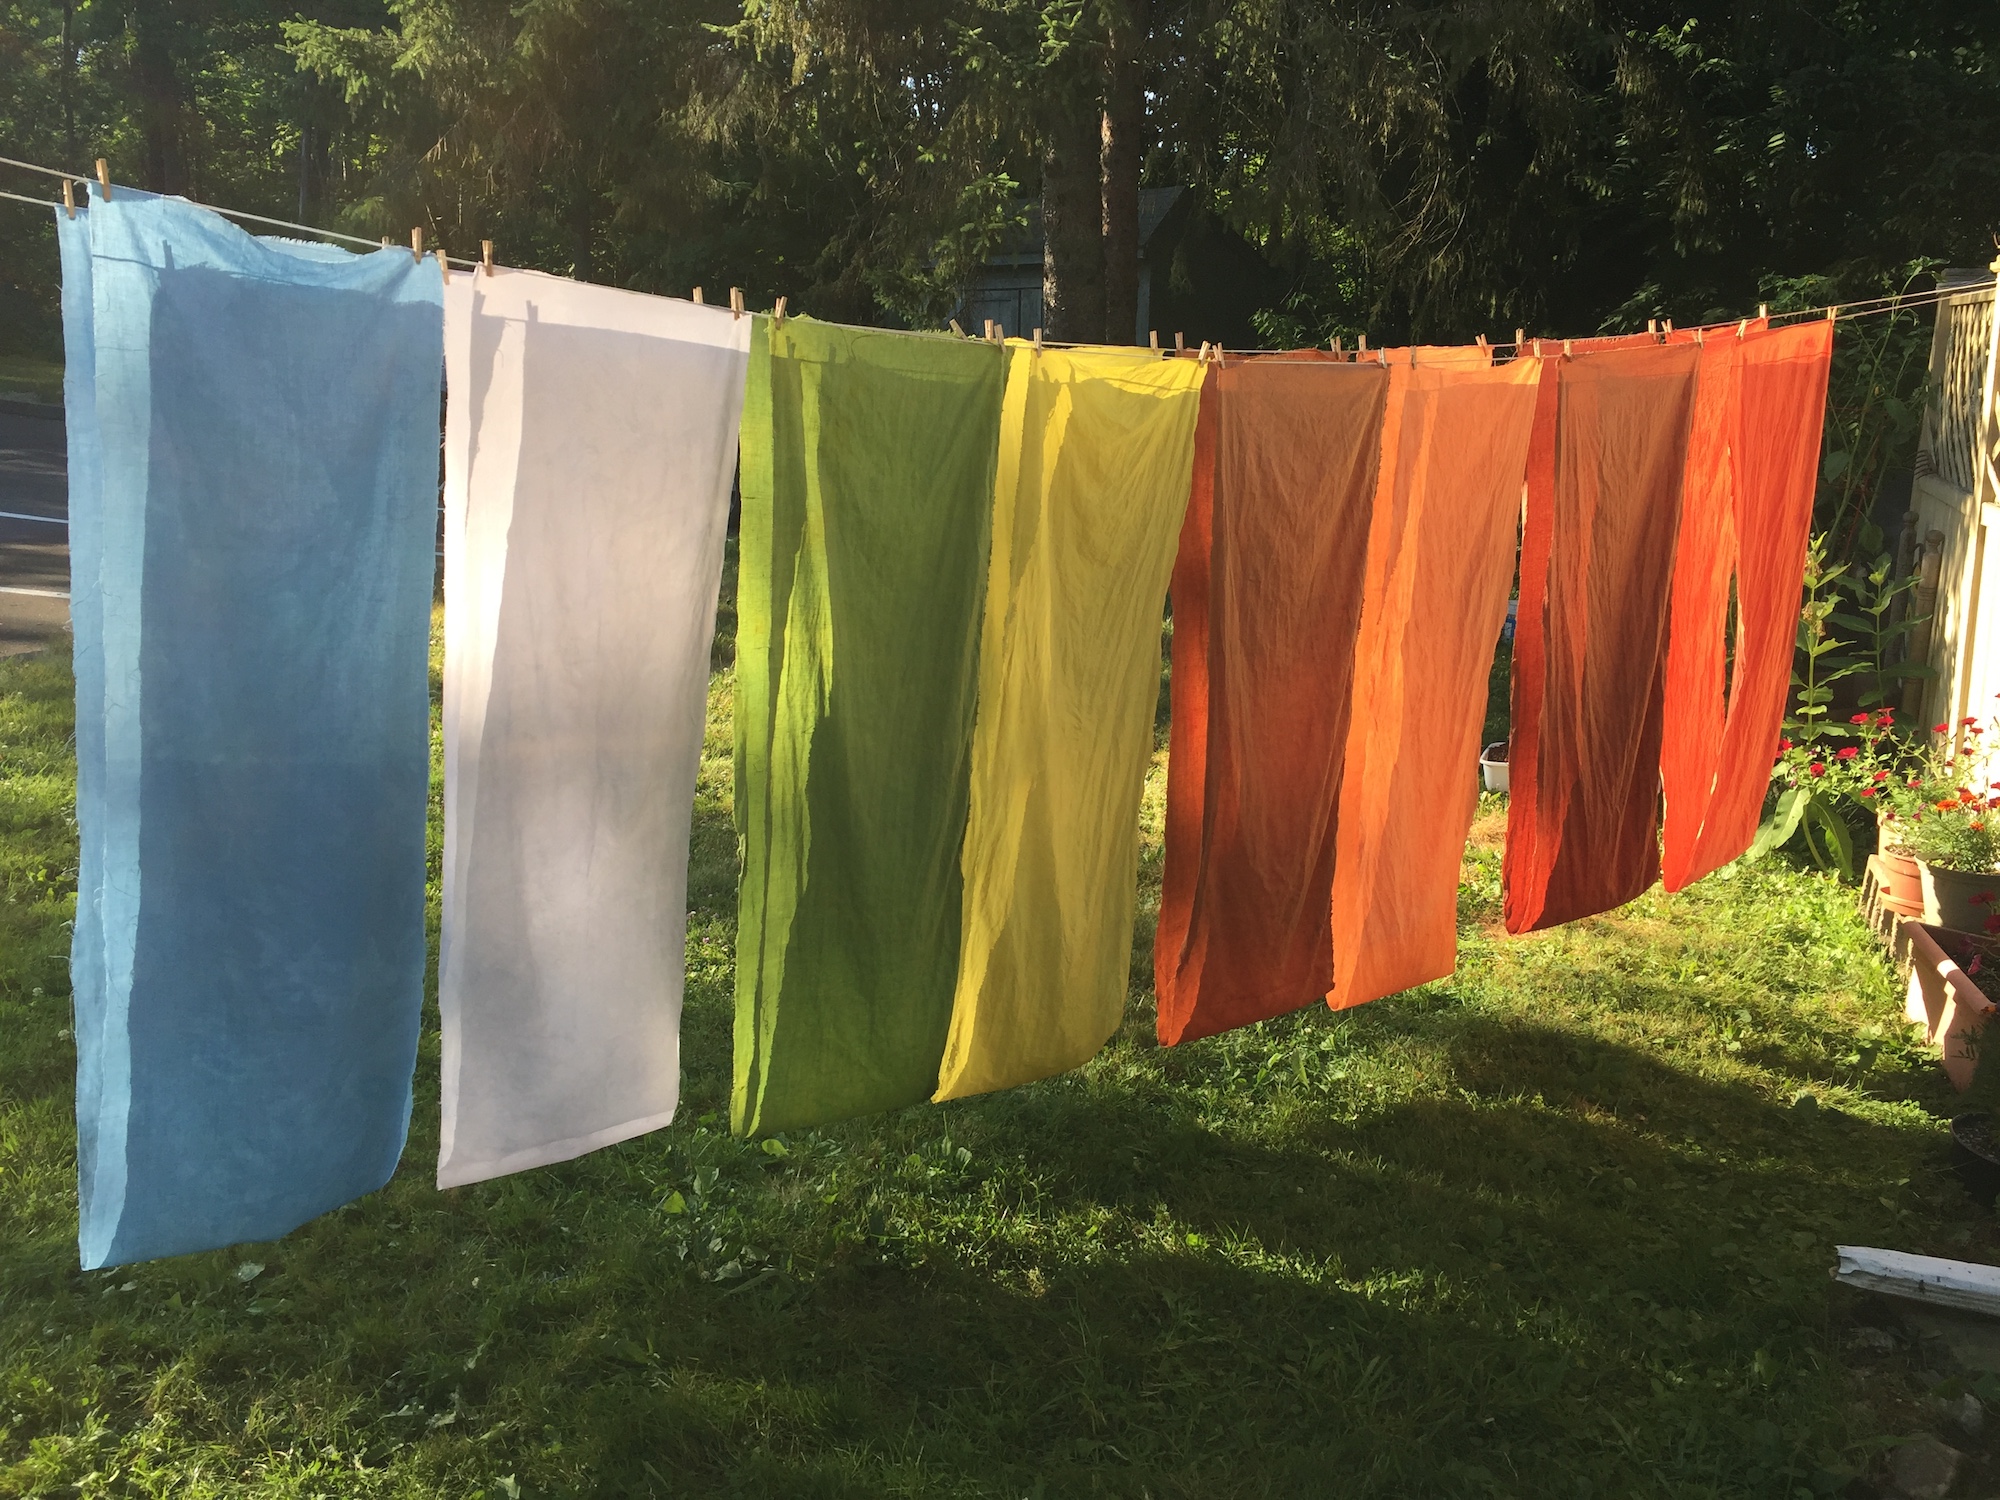
Part of what was tricky was that I was dyeing two different fibers, silk and linen, which need different preparations. I was also running that woad vat, and the weld baths. We were aiming to dye lengths of cloth in shades of blue, red, orange, and green that week. The quantities were large, at least compared to my usual projects, and we were trying to photo-document everything and coordinate our schedules. Many logistics.

We measured out the madder and weld on the same day that we ran the woad vat, Wednesday July 10th. I wanted rich colors, so we measured the dyestuff based on 100% of the weight of the goods. The cloth that we were planning to dye weighed 51 ounces. We used the same quantity of plant material so we had a 1-1 ratio of plant material to fiber. Each piece of cloth was 16 inches wide and 9 feet long, so it was pretty heavy (the linen in particular).

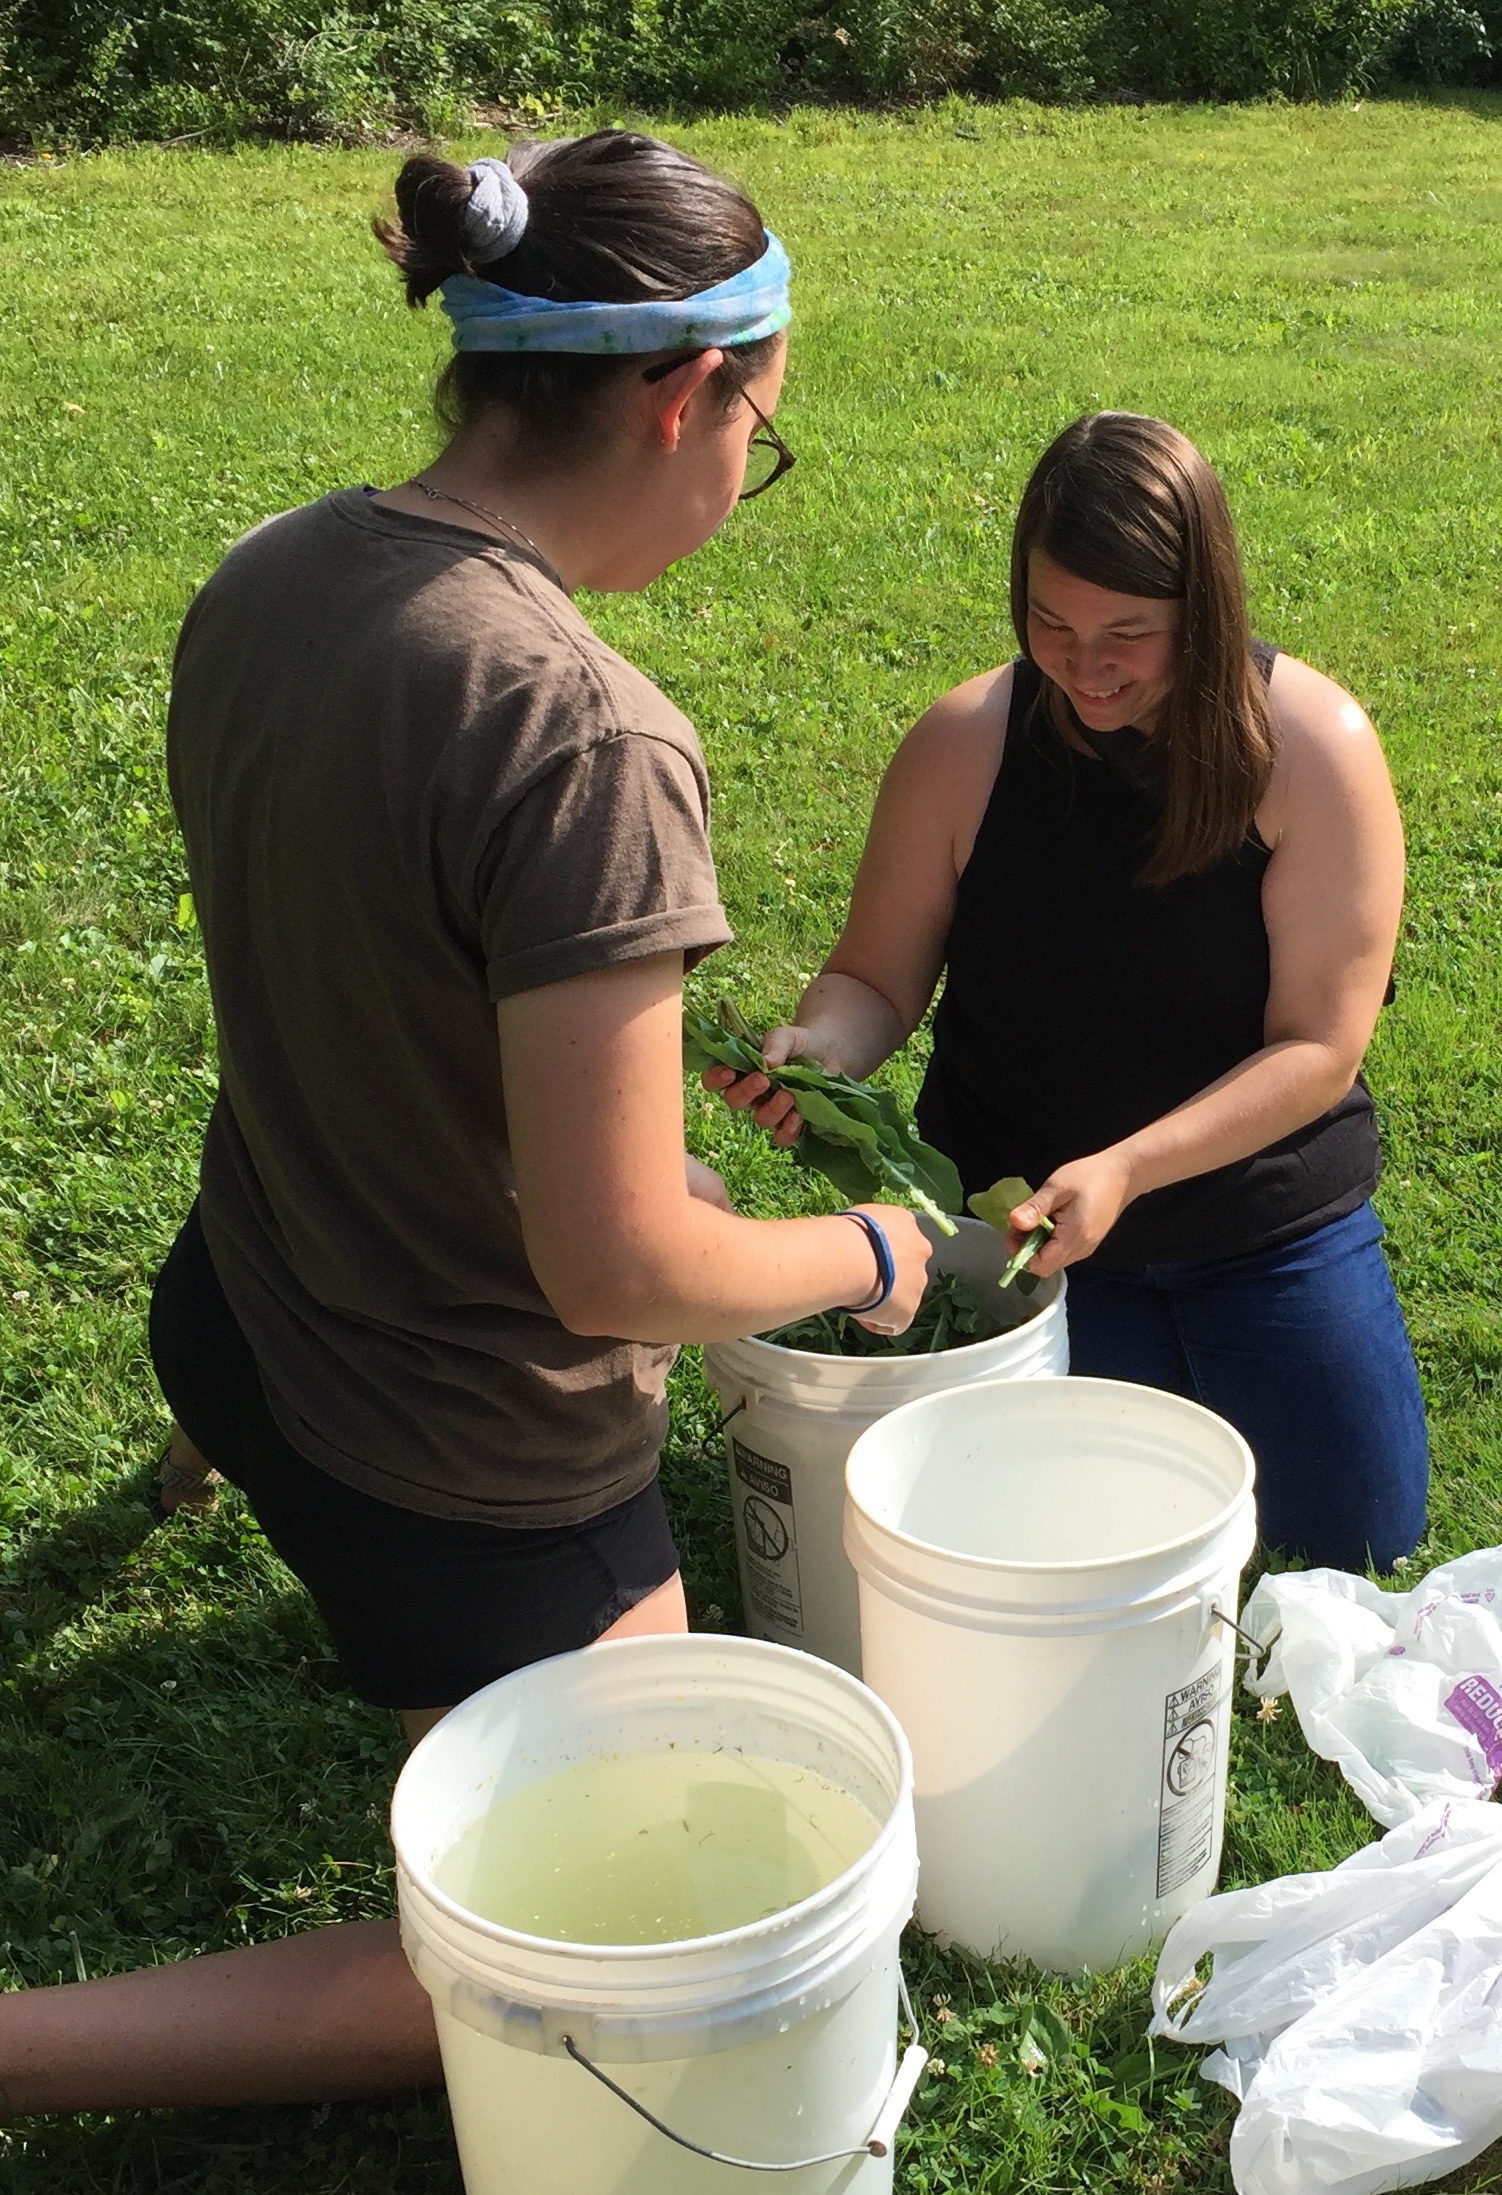
We weighed out 51 ounces each of dried, chopped madder roots and dried, chopped weld. We set them to soak in buckets of water at 10 am.

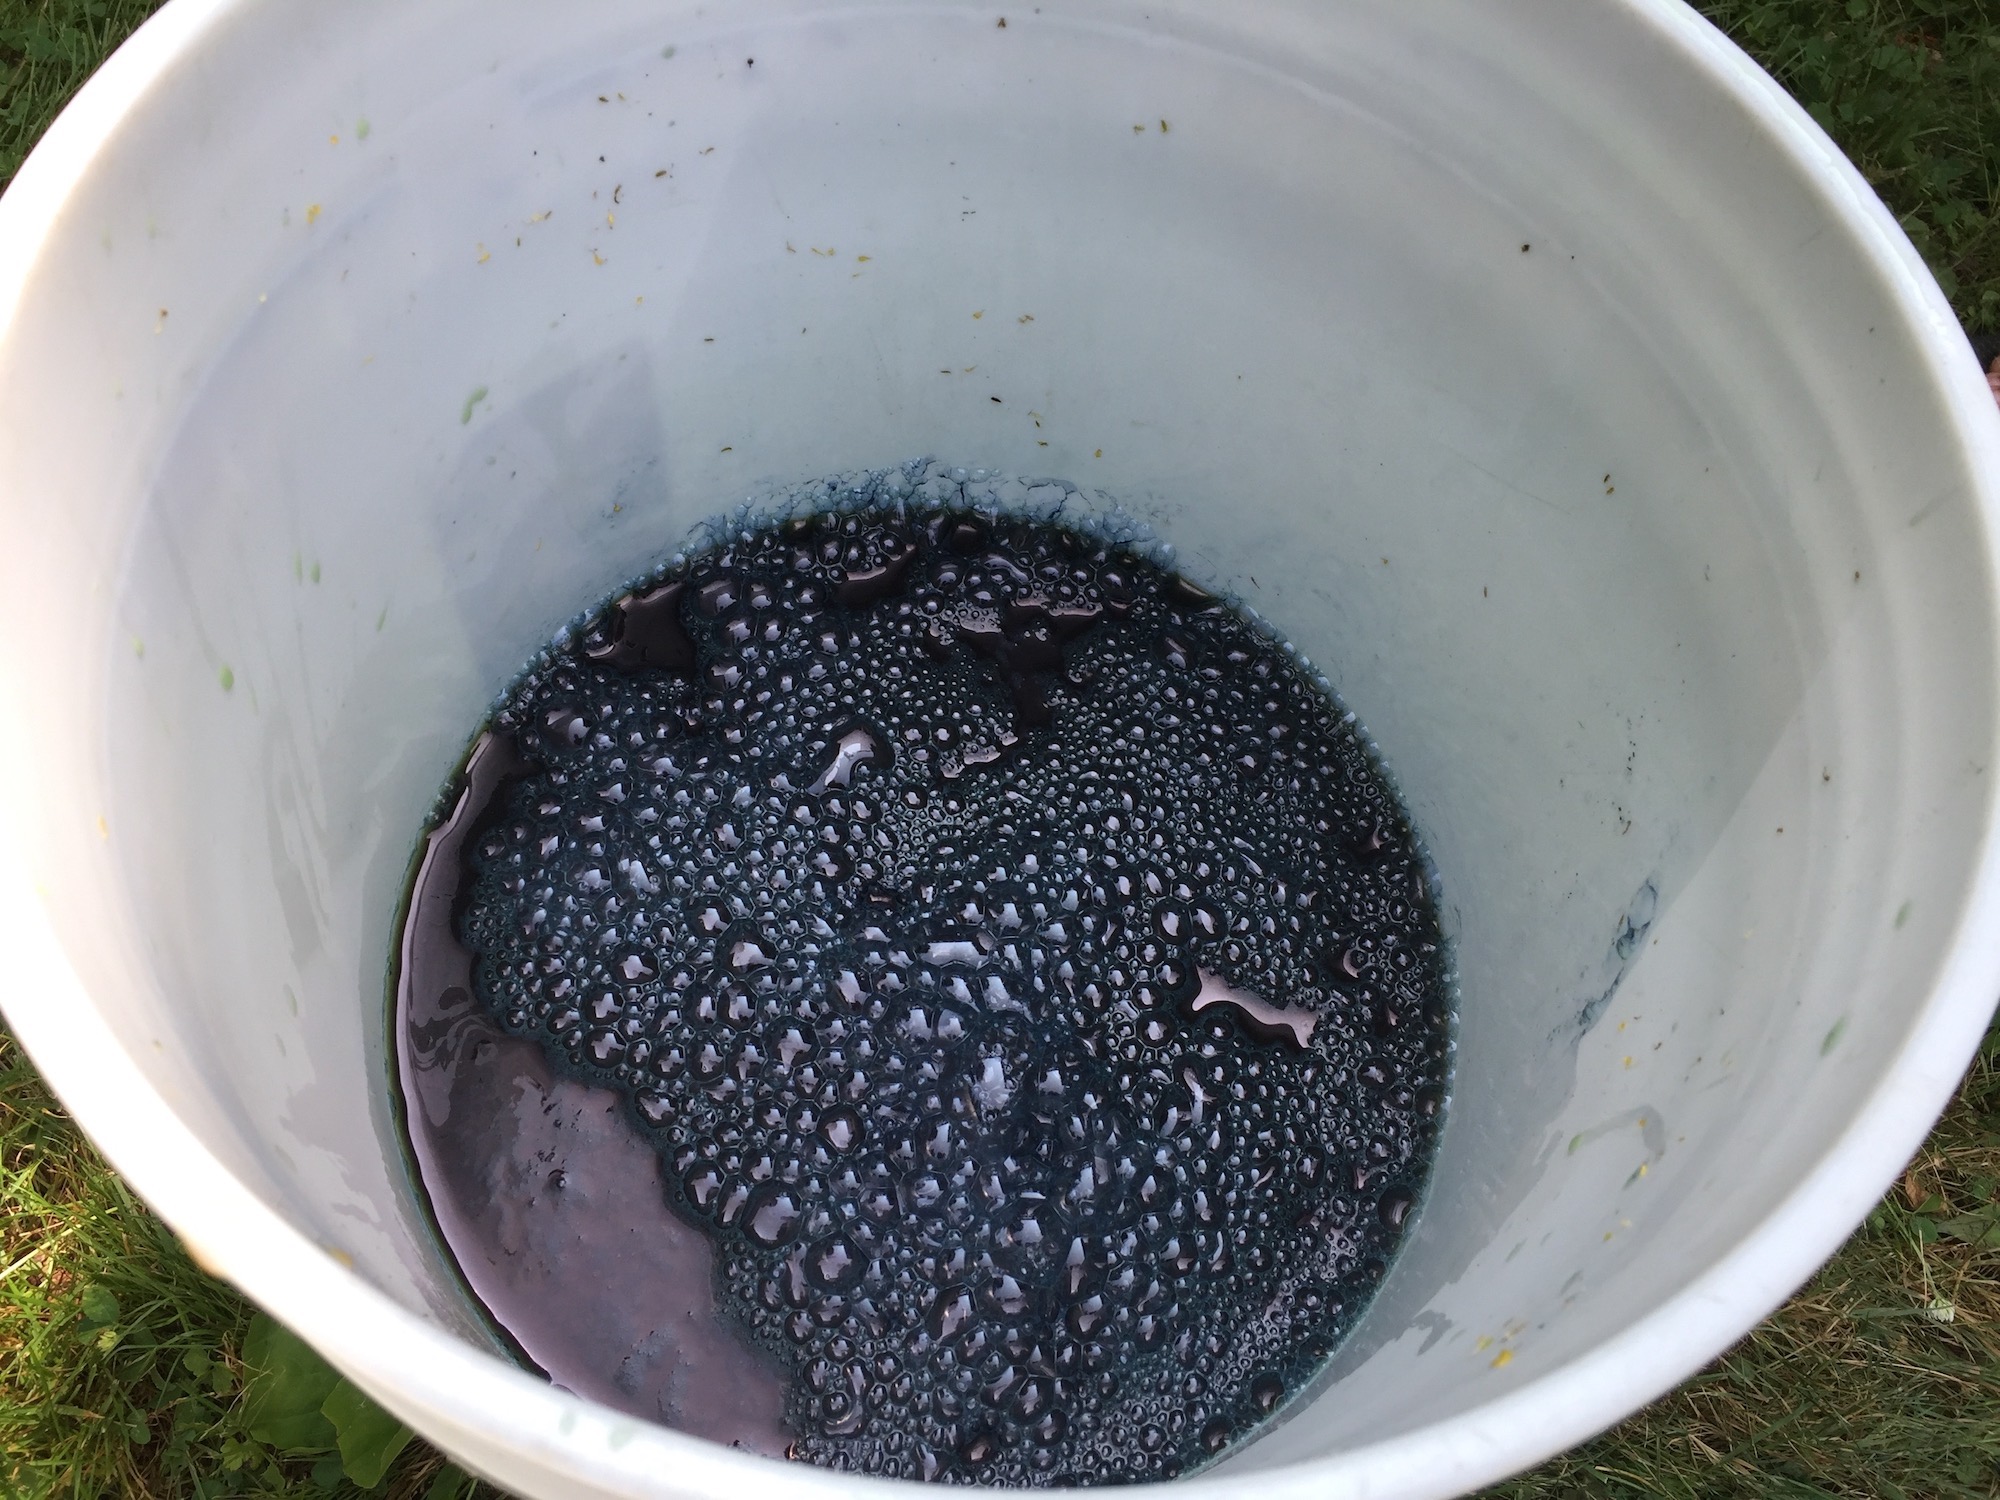
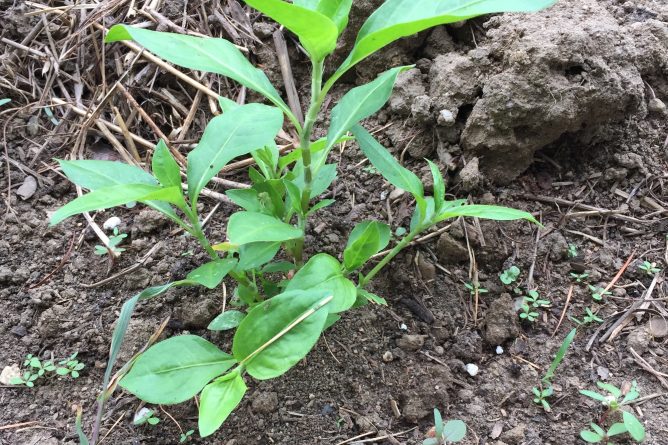
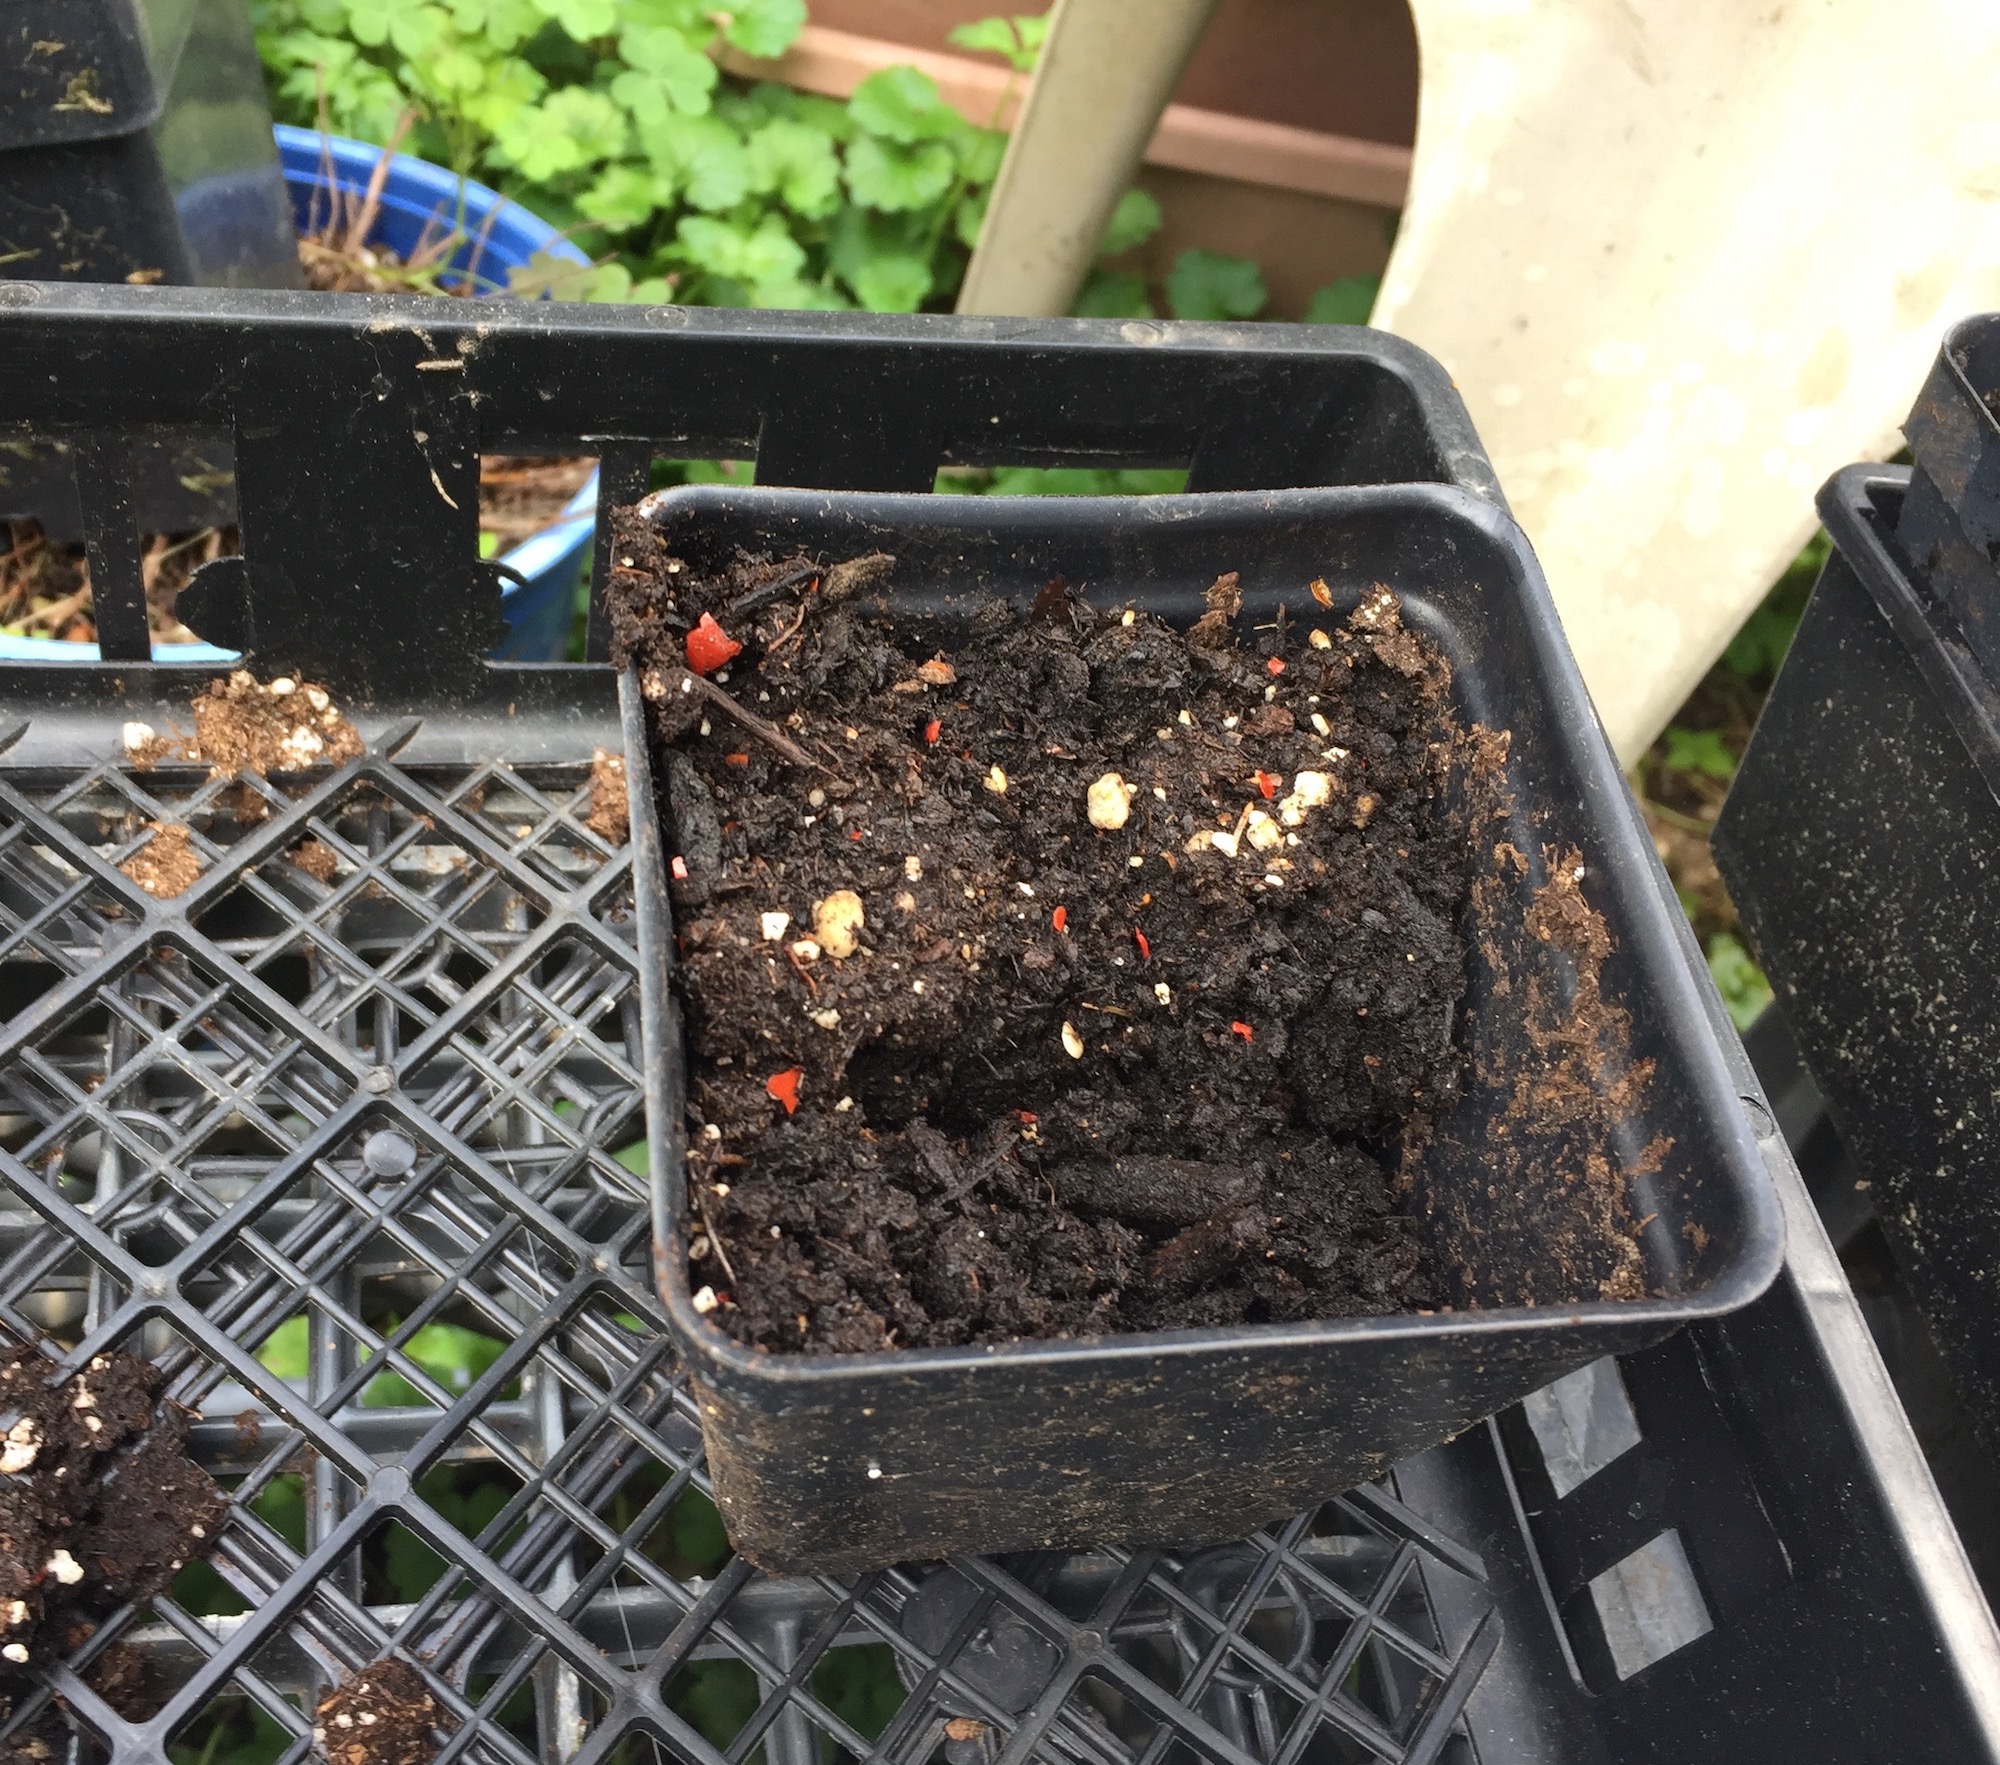
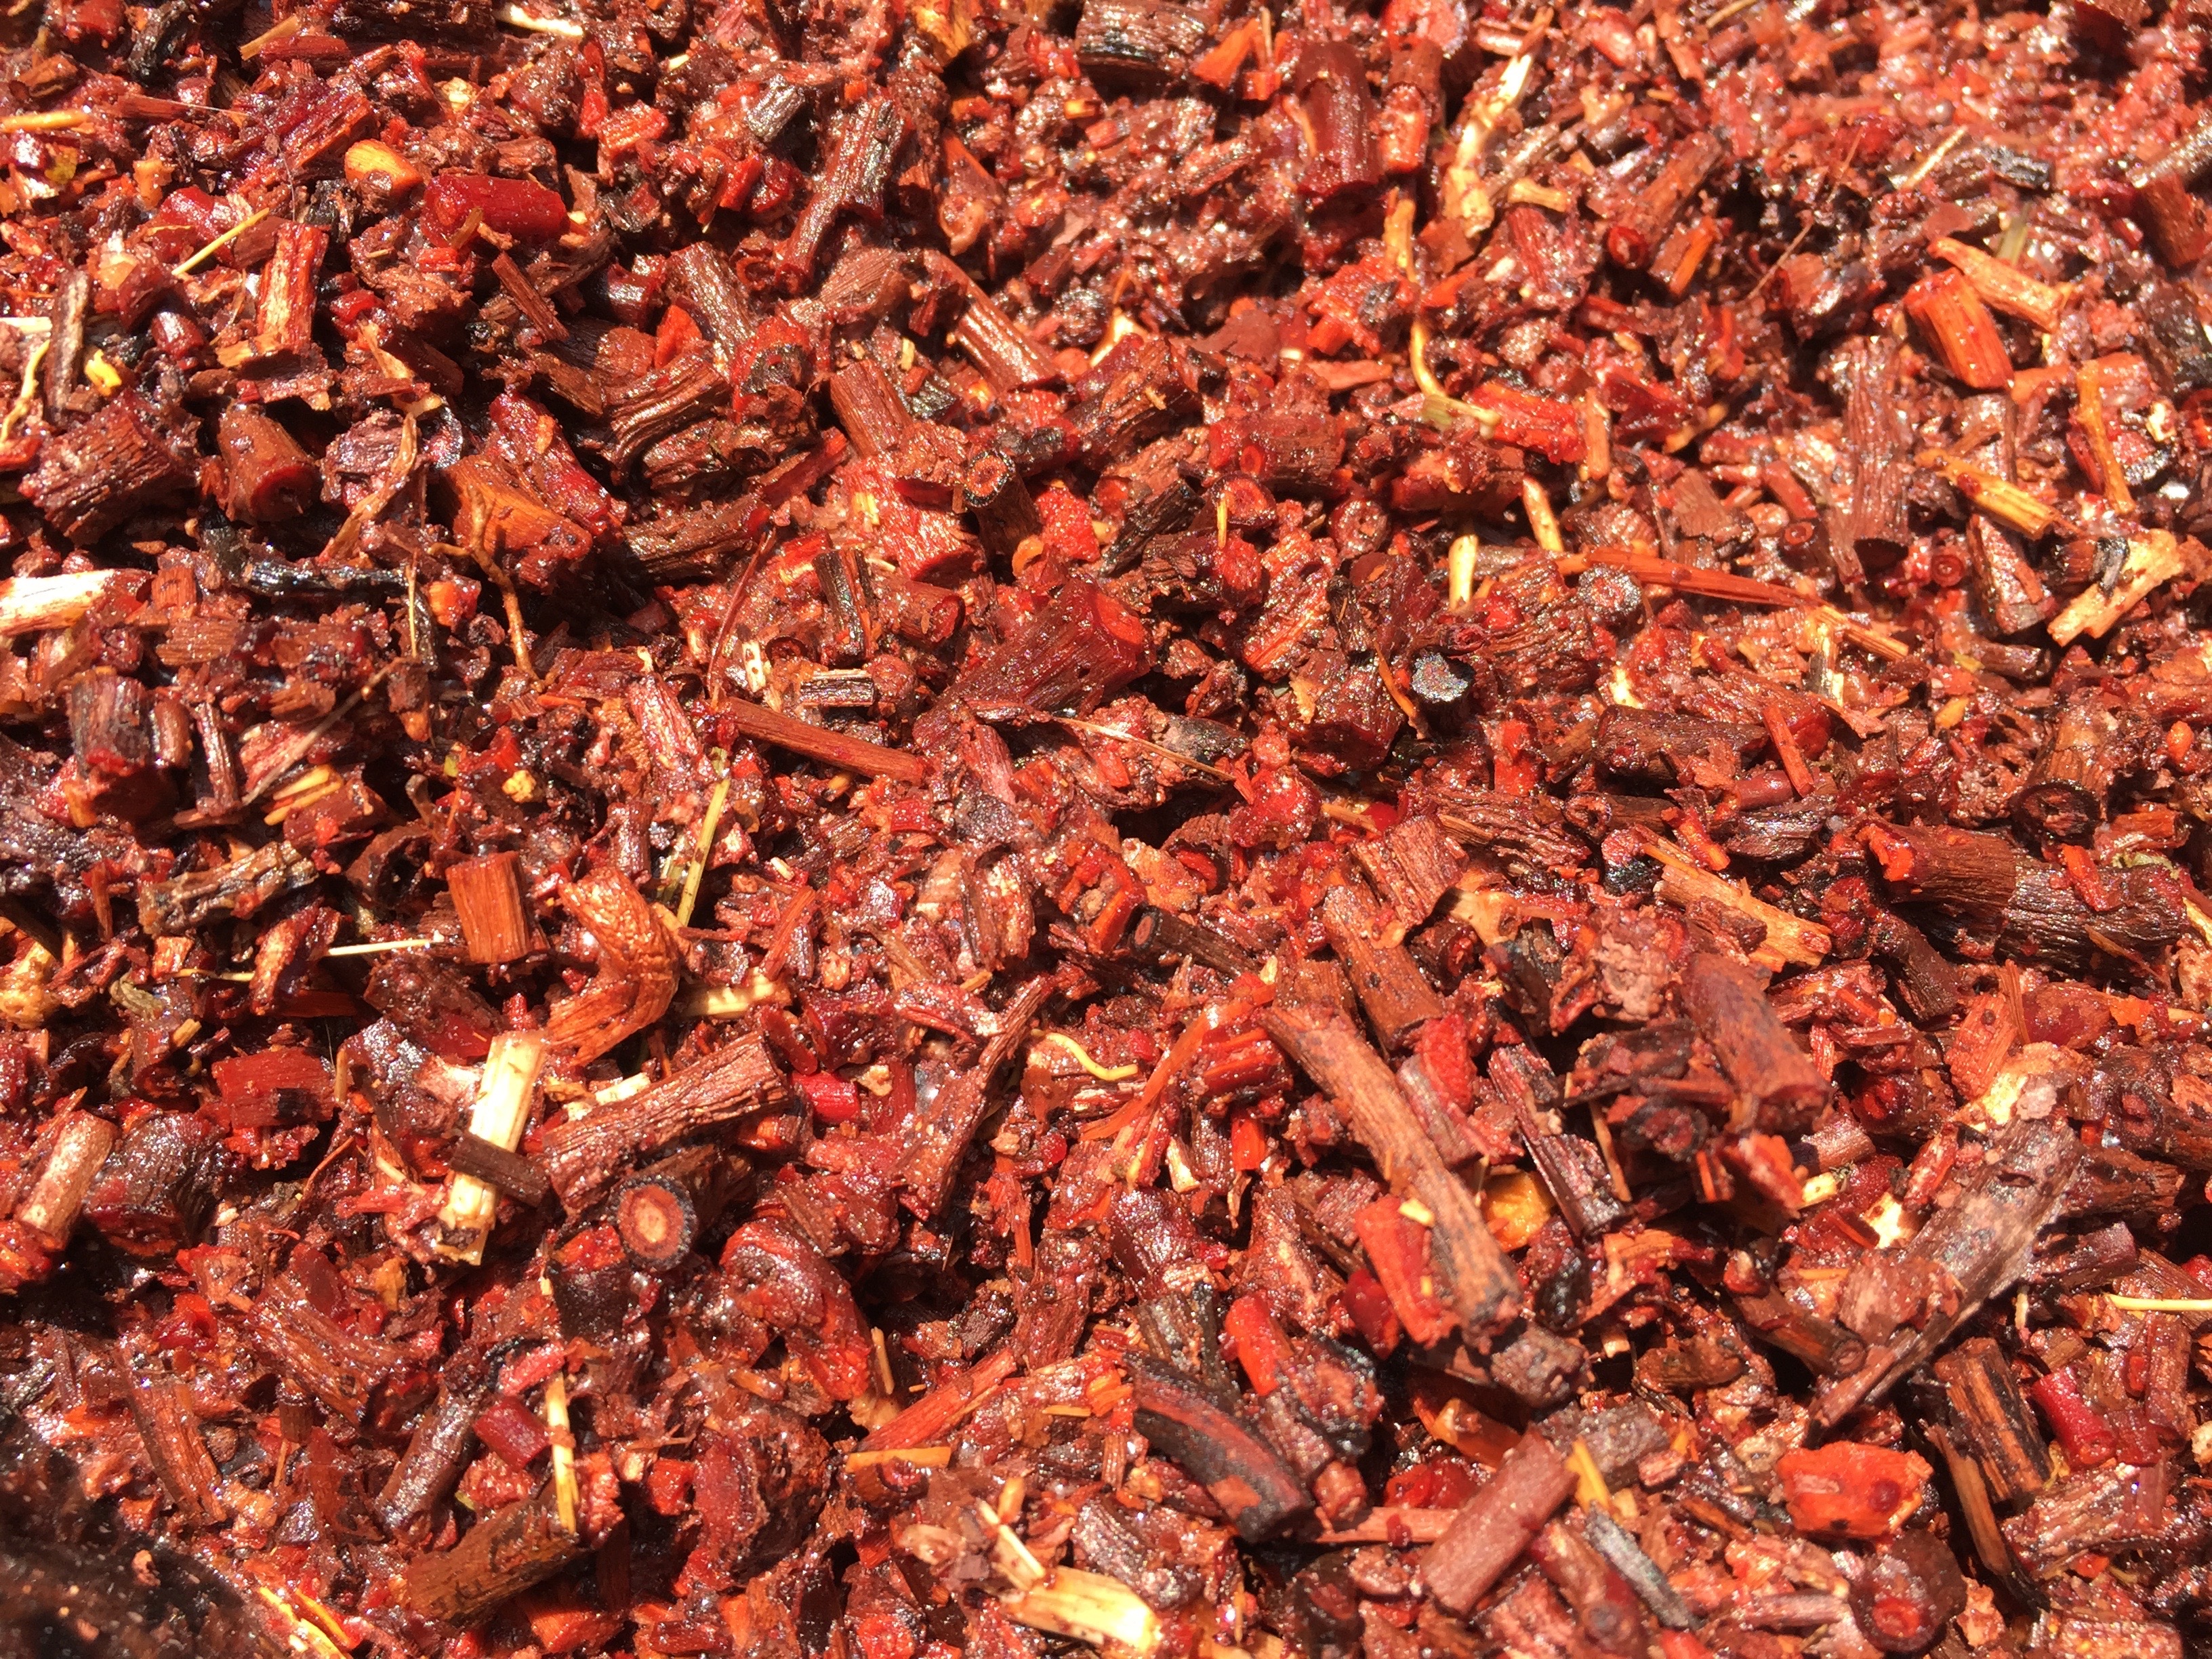
Even when the plant material was dry, the volume was significant. Once the dried plant material started to absorb water, I knew it would swell like crazy. So, we soaked it in 5 gallon buckets. Here’s a close up of the madder bucket:

The bucket sat all day and overnight. When working with madder, I like to extract the roots twice or even three times, and let the roots sit overnight each time. Then, I combine the extractions. In this case, I had time constraints, so I only extracted them twice.

After soaking the roots overnight, I extracted them once on Thursday morning. I had to split them between three pots. Due to being distracted, I let them overheat. There was not as much liquid in each pot as I might typically have, since the roots took up a lot of room. So, they heated faster than I anticipated and I just wasn’t watching closely enough. Other pots were also heating up in other locations in and around the apartment. Multi-tasking isn’t always a good idea.

Normally I am very careful not to let madder get hotter than 150 or 160 degrees F., and sometimes I keep it lower. Typically, I get the roots up to temperature, then maintain that temperature for an hour. I also add soda ash to get the pH up to 9 or so, and add some calcium carbonate (between a half teaspoon and a teaspoon per pot, depending on the size of the pot).

In this case all the pots got up to a boil. Frothy, red dye liquid and madder root particles got all over the stove. Yikes. So, I had to stop and clean that up.

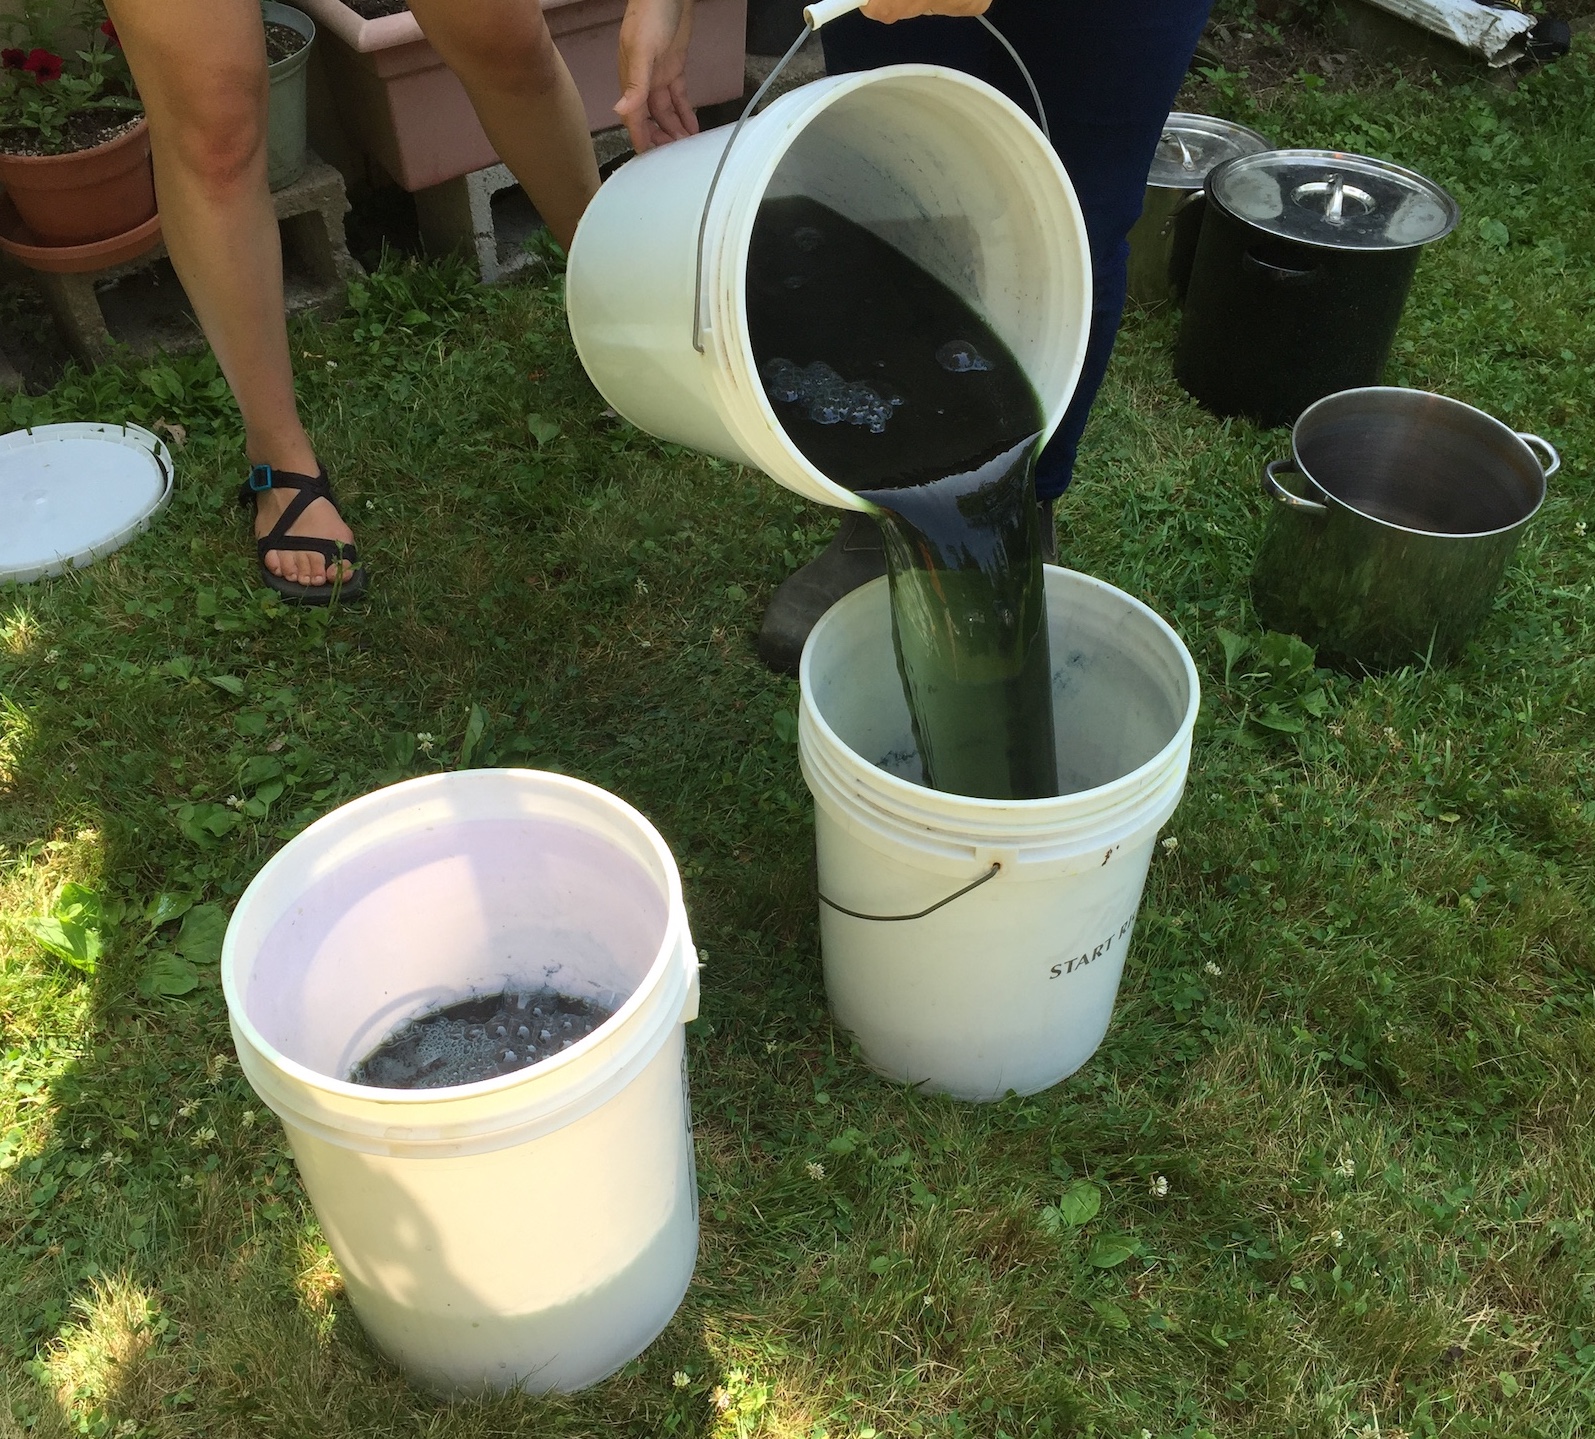
Then the roots sat and cooled off for several hours. That evening, I strained out the roots and re-heated them. This time I watched the temperature carefully, and kept it around 150. The roots soaked in the second extraction overnight, and we used them for dyeing on Friday.

To prepare the linen, I had first washed all the cloth in a washing machine, and dried it in a dryer so it would be shrunk before we cut it. After the pieces were cut, I scoured them again with cationic scour from Earthues (which you can order from Long Ridge Farm in Westmoreland, NH) and soda ash. I follow Earthues’ recommendations of 5.5% WOG scour and 2% soda ash. I bring the bath up to 180 degrees F. hold for 30 minutes, remove the fiber promptly, and rinse.

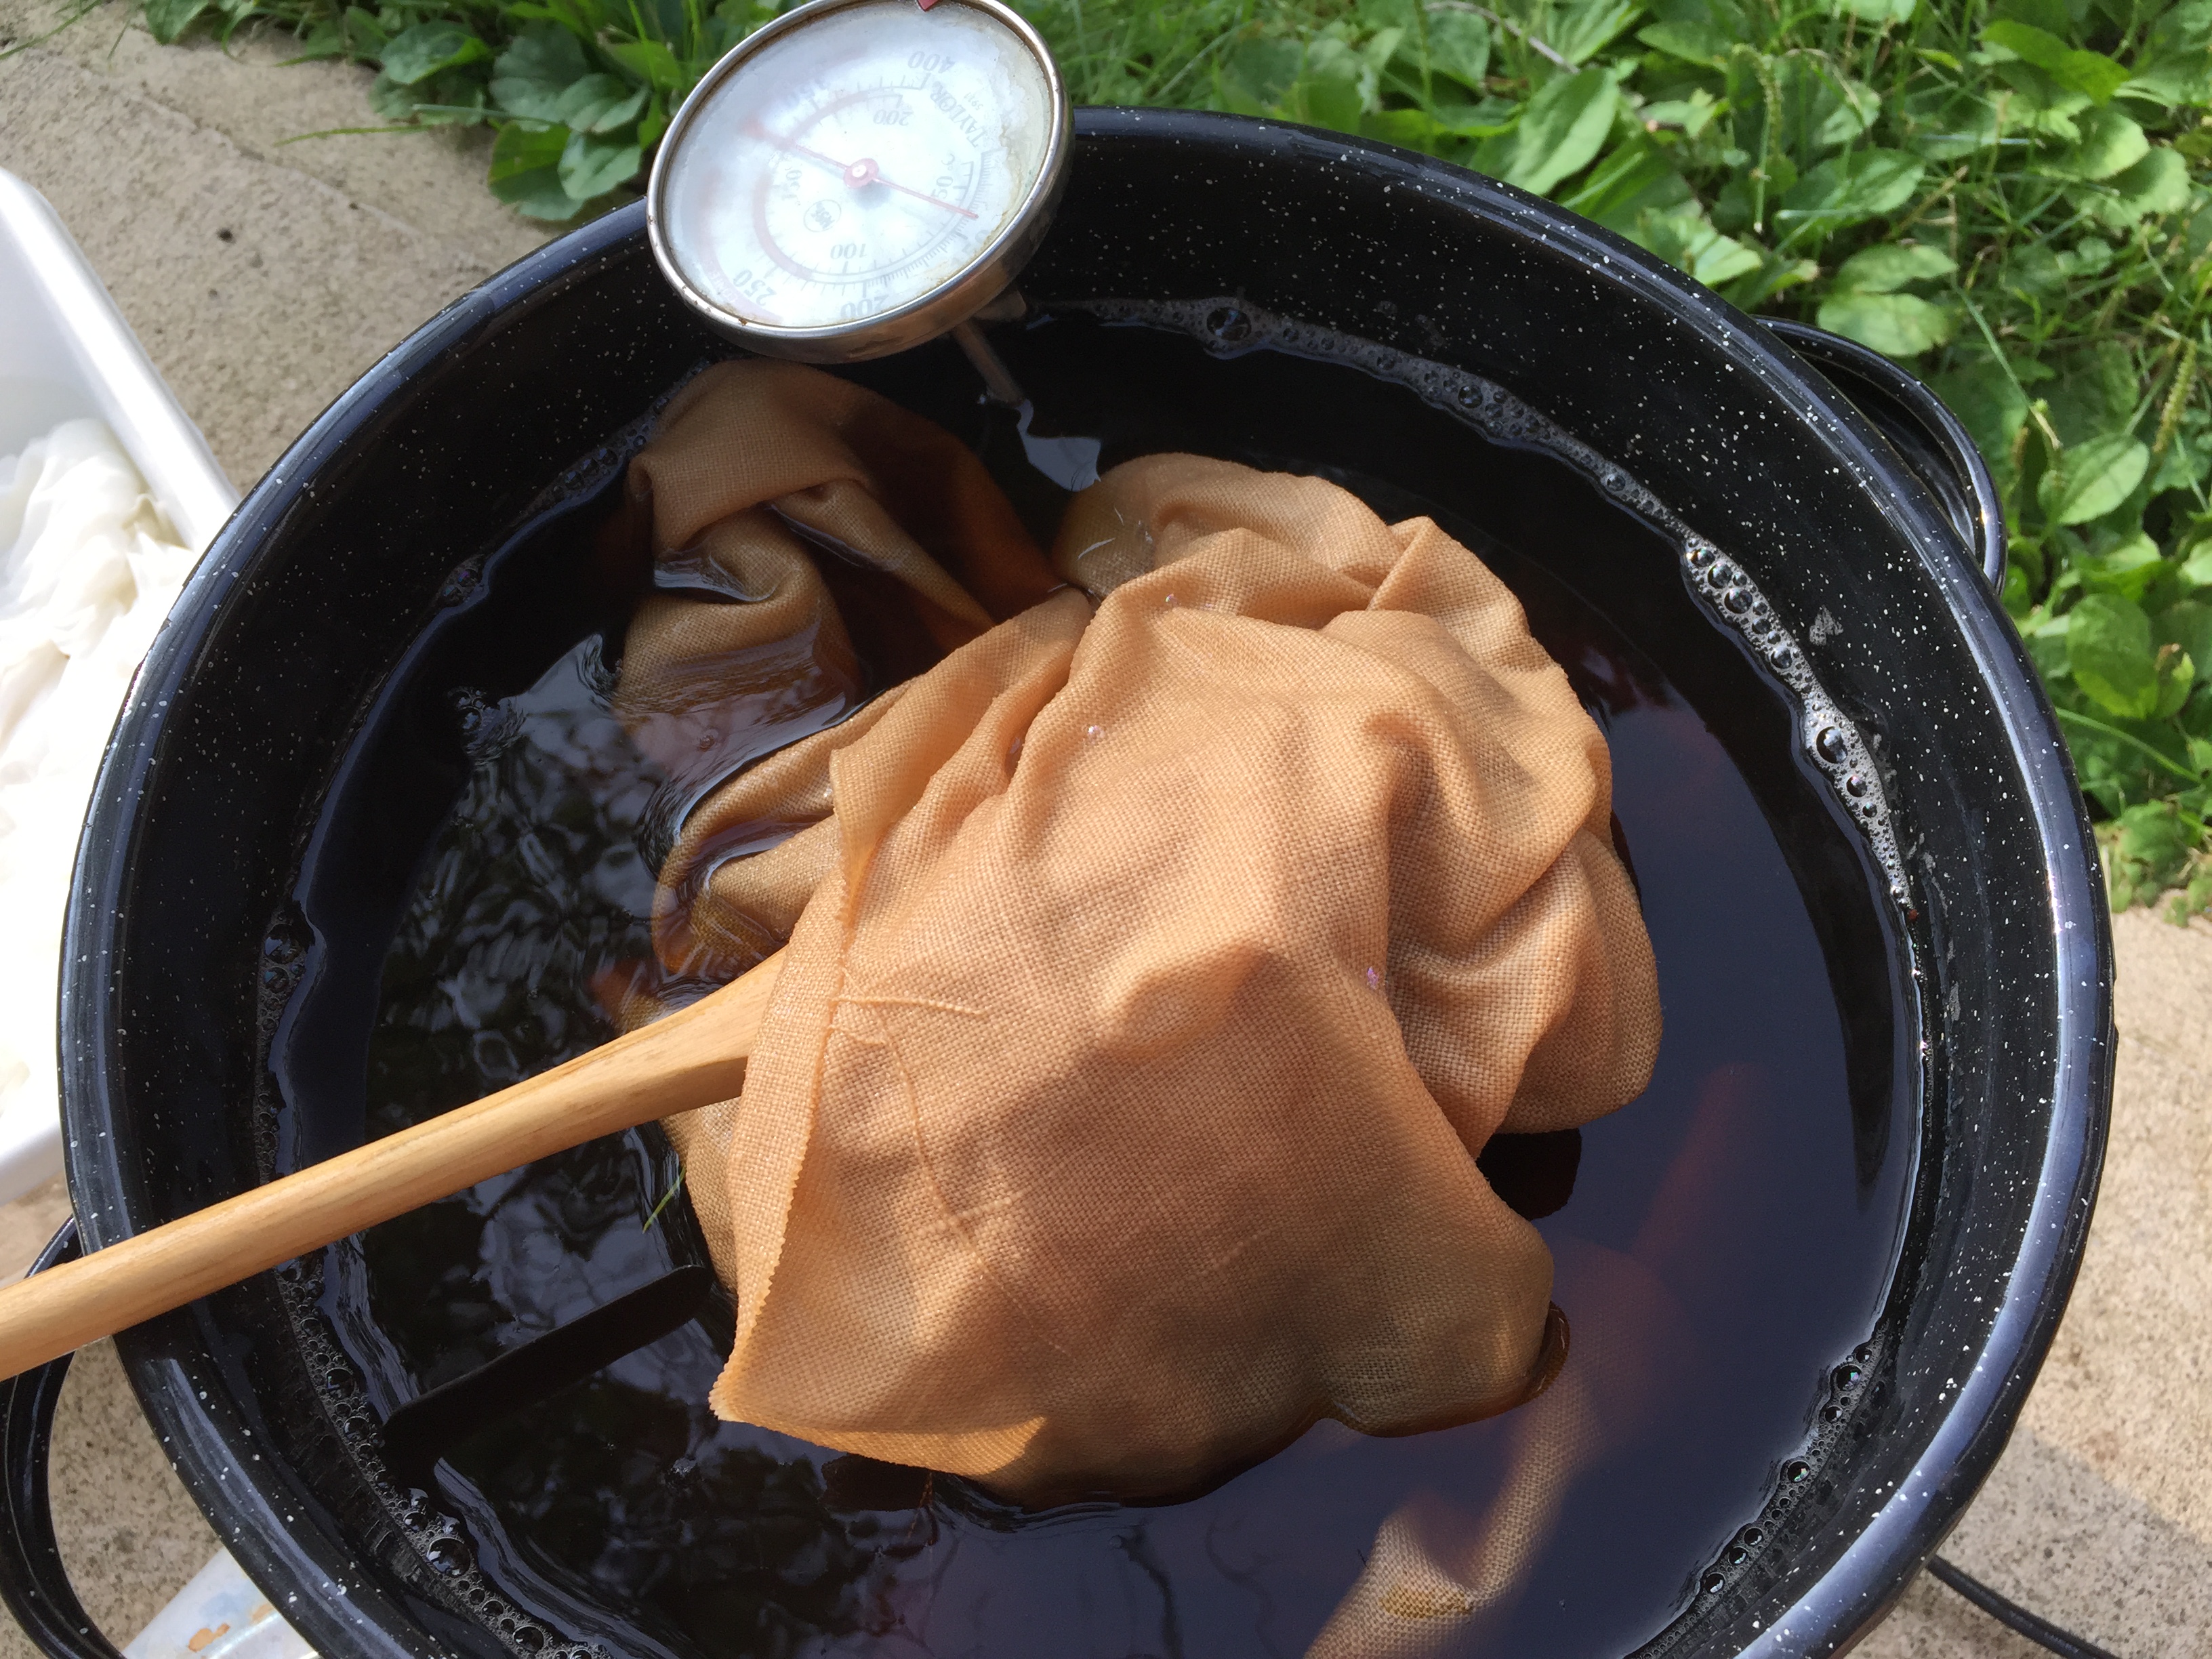
Then, I treated the linen pieces with a tannin solution. For the madder, I used a chestnut tannin at 5% WOG, heated to 180 degrees for an hour, and cooled overnight. Then I rinsed the cloth well. I hadn’t used this chestnut tannin before, and was kind of surprised at how foamy and soapy-looking it was.

It left the linen a pleasing shade of warm orange-tan.

Then I mordanted with aluminum acetate at 5% WOG, brought up to 180 degree, held for an hour, and cooled overnight. It’s a lot of steps just to get the cloth ready for dyeing.

The process for mordanting the silk was a little simpler. After washing the full length of cloth in the washing machine, I washed each piece again with the same laundry detergent, and rinsed well. The silk was mordanted with aluminum sulfate at 20% WOG. I was following Earthues’ mordanting rate, but I skipped the cream of tartar. Don’t ask me why. For mordanting, I brought the bath up to 180 degrees, held for an hour, and cooled overnight.

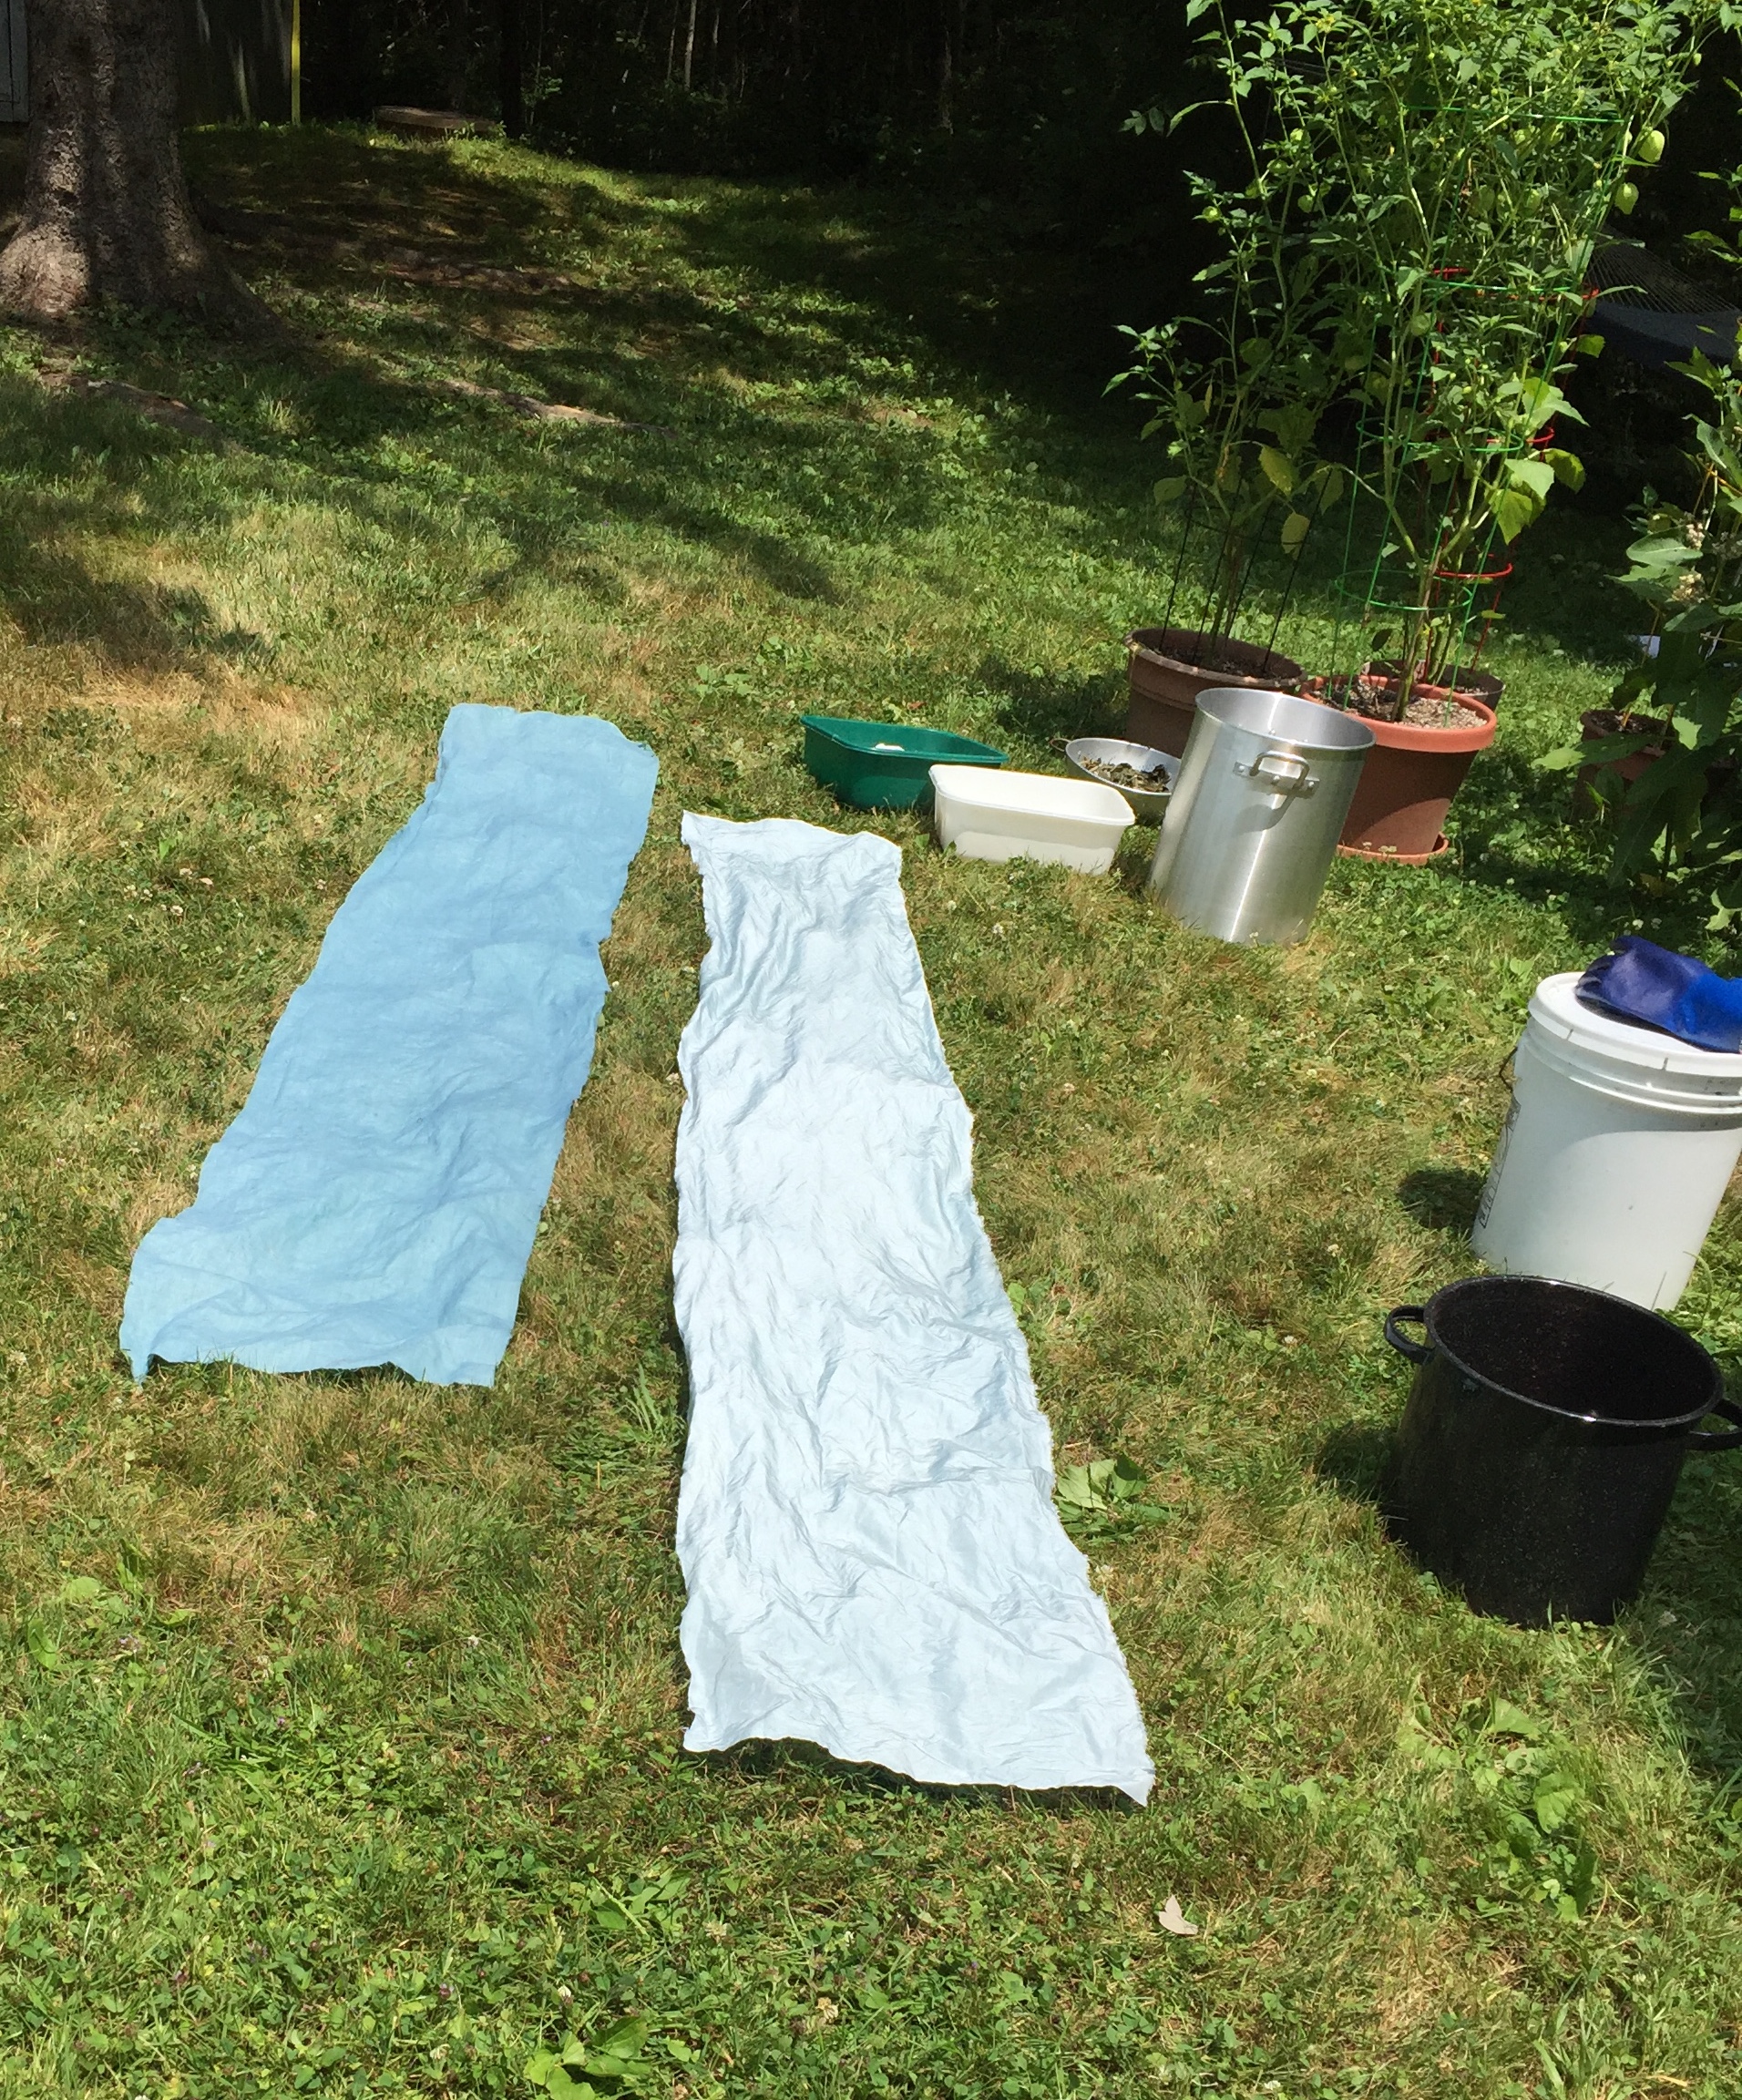
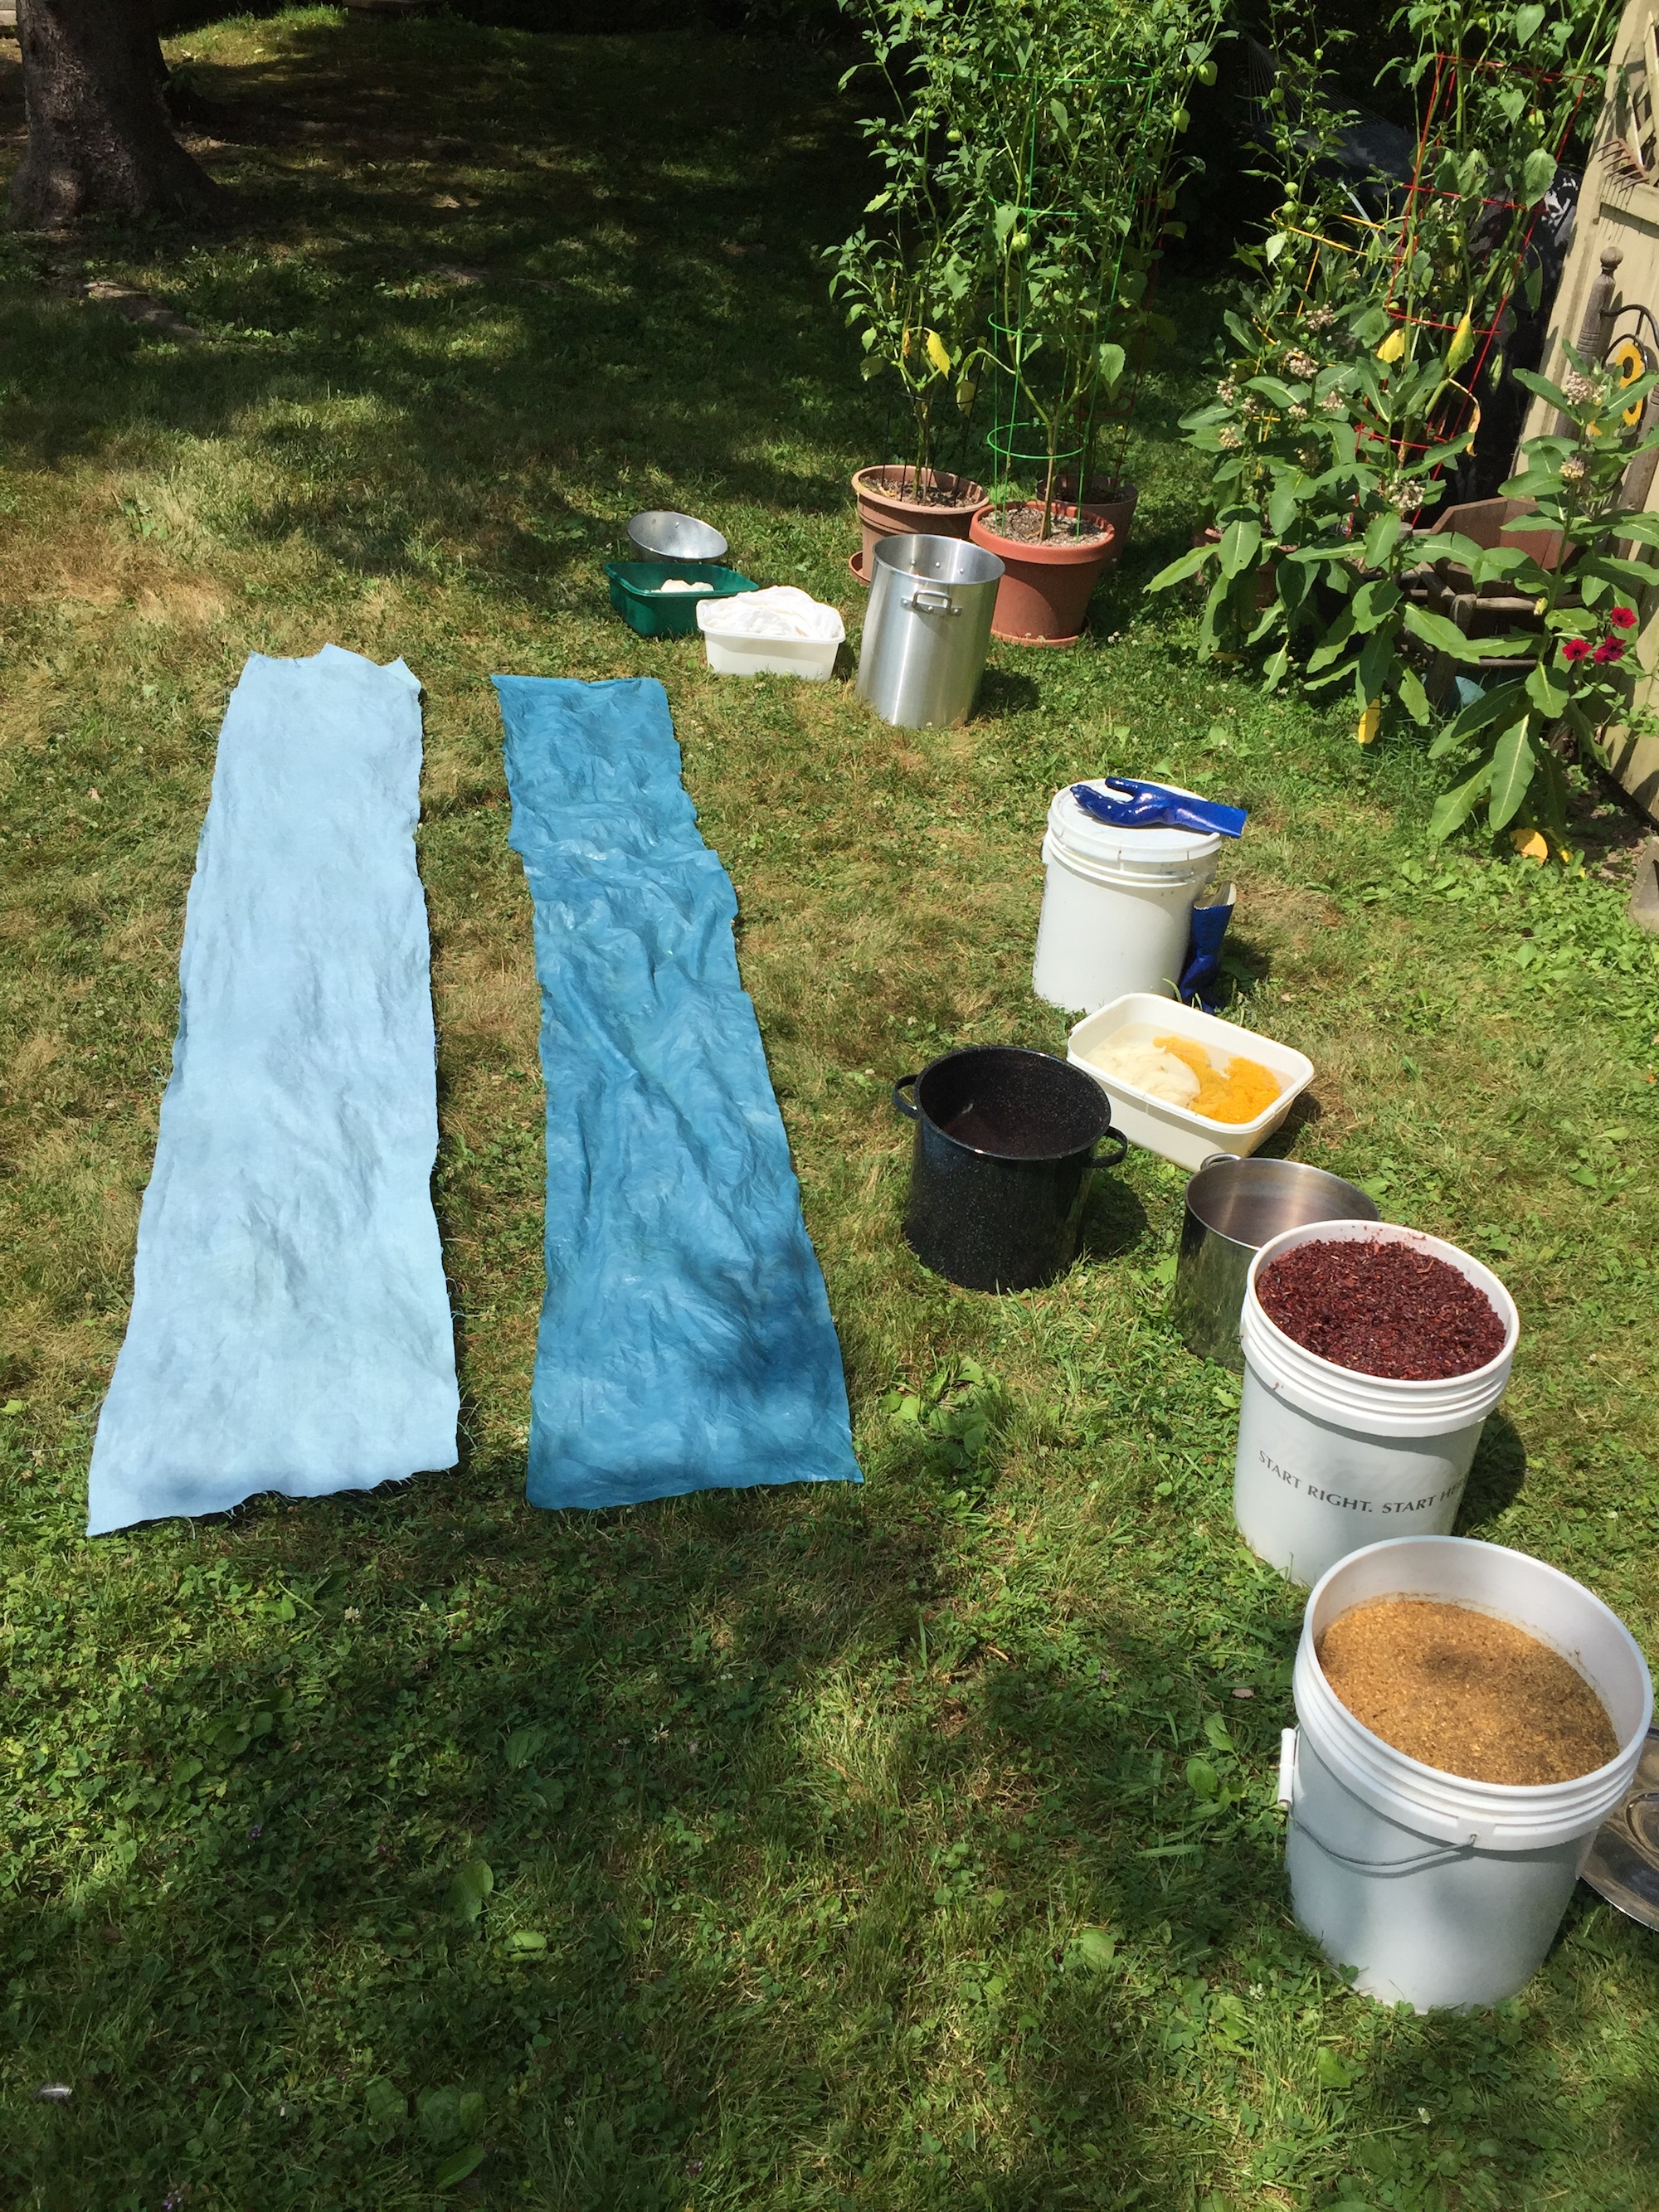
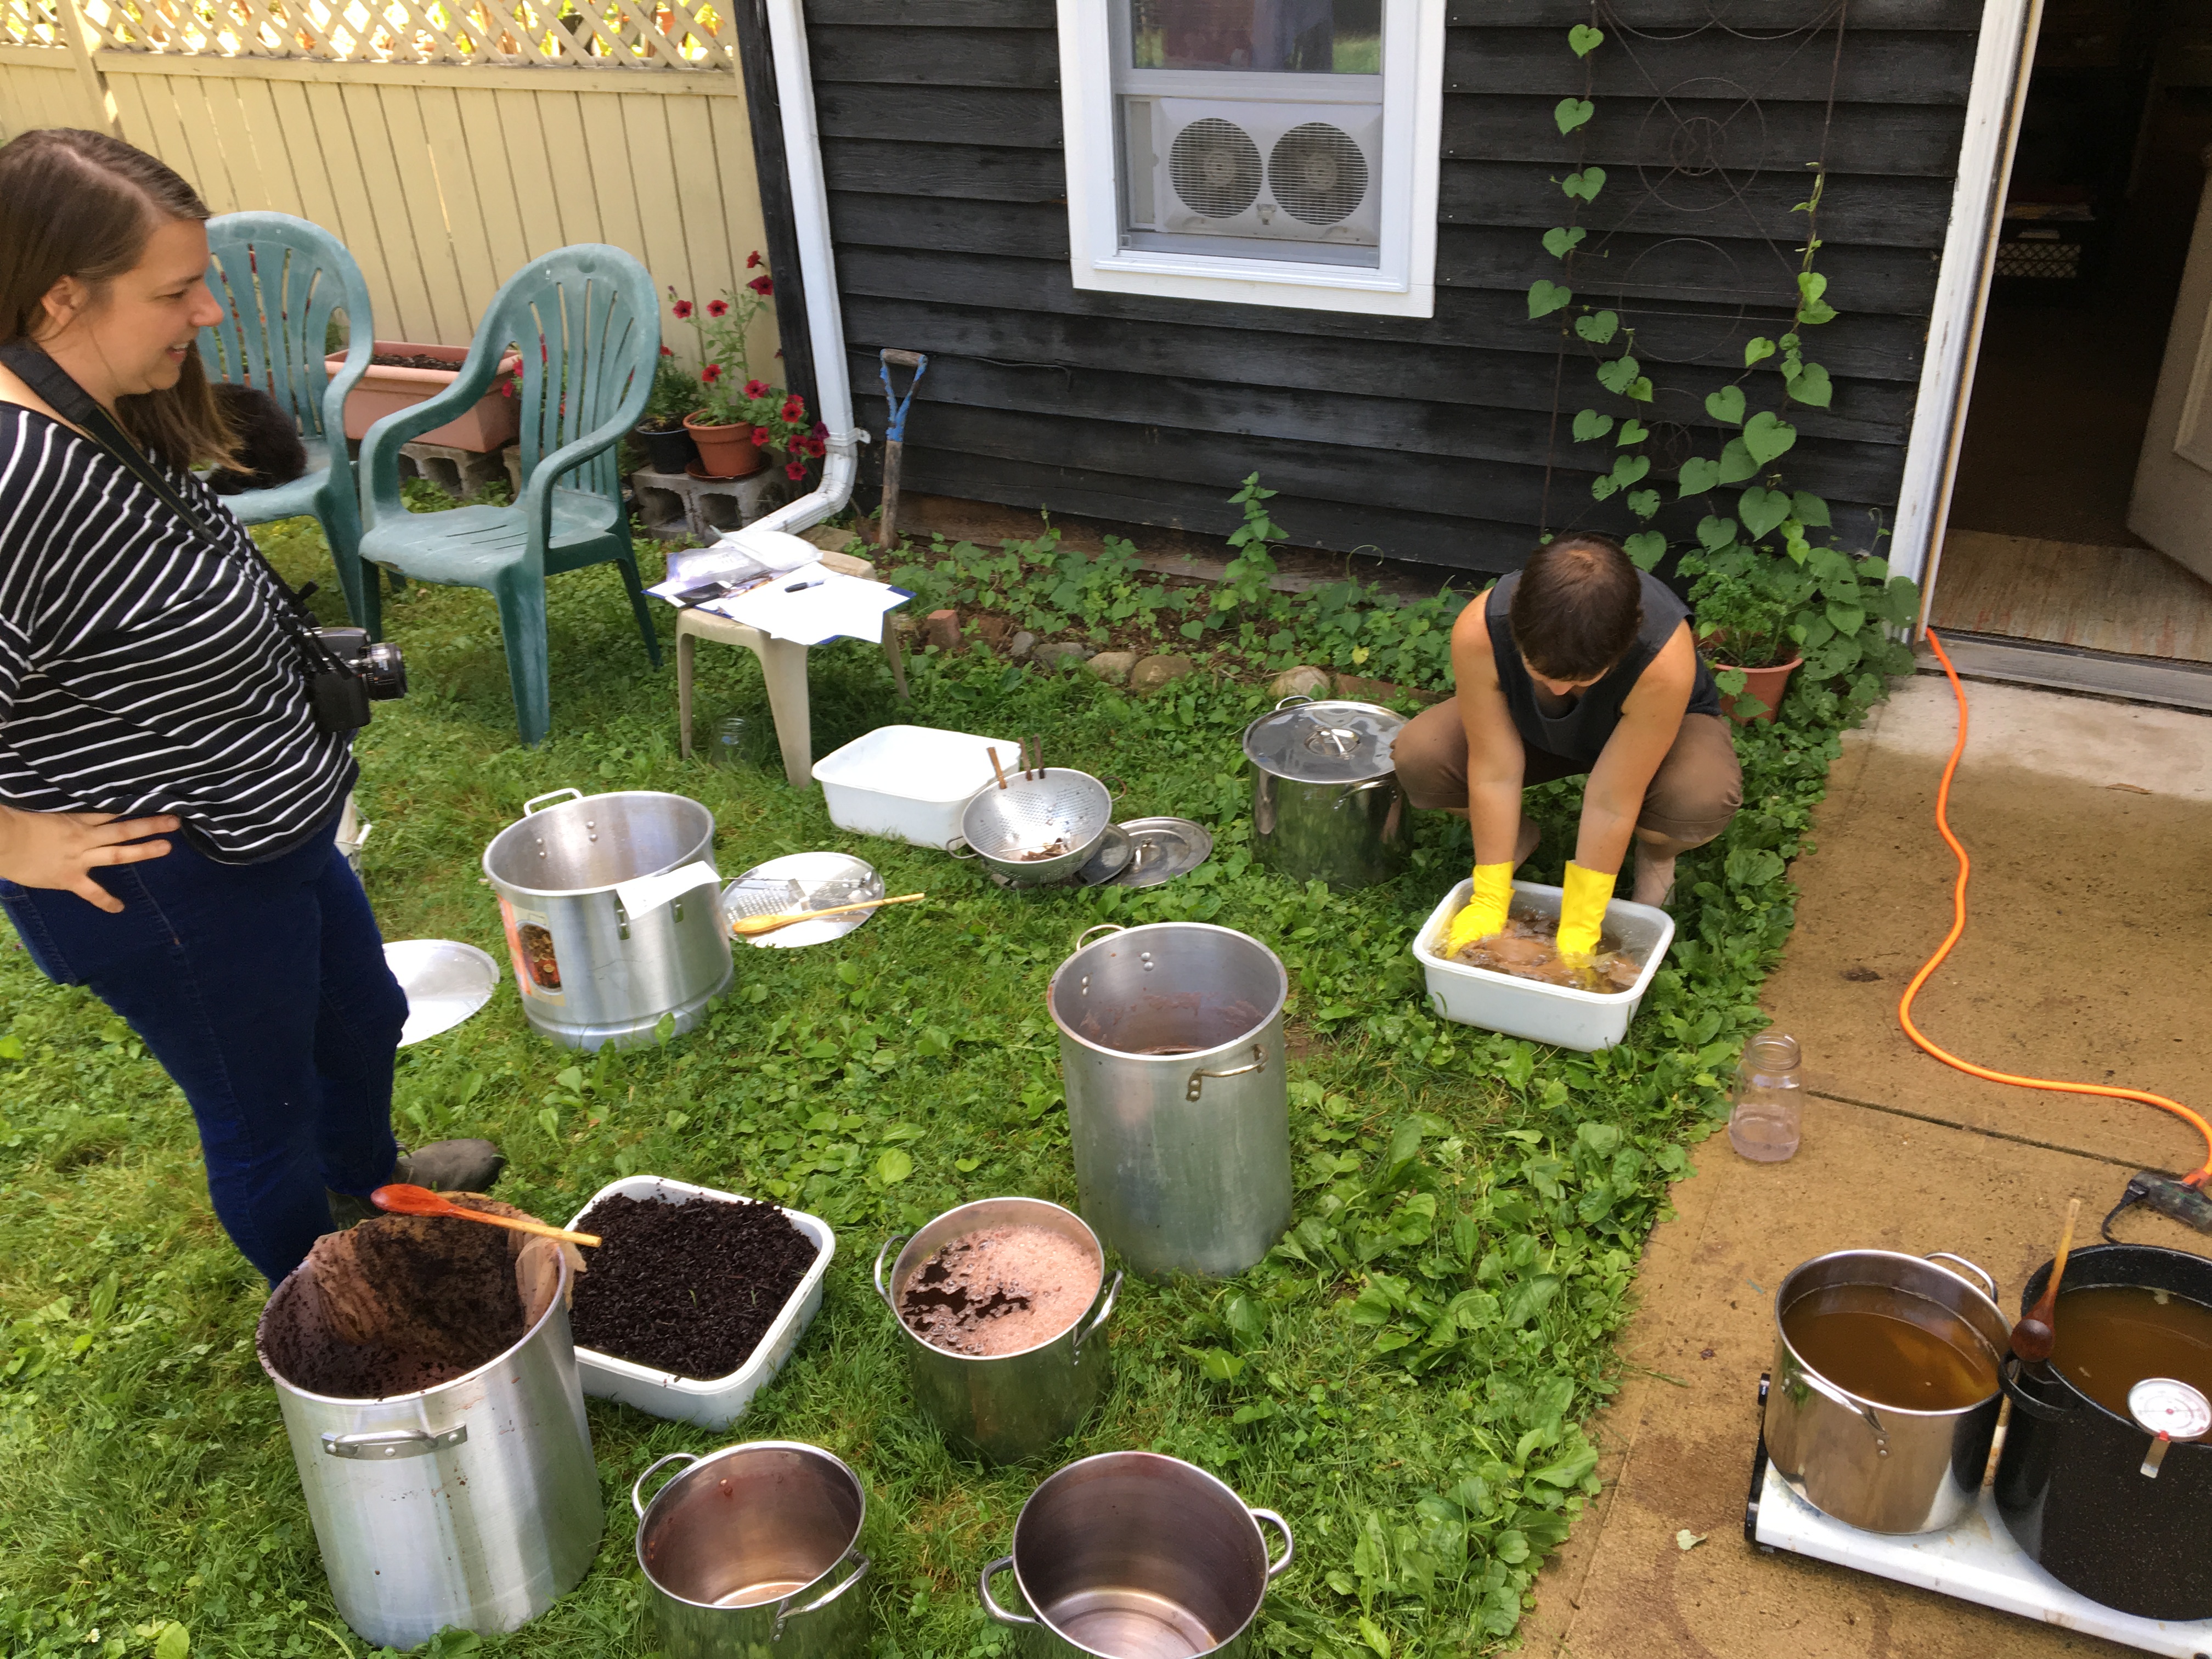
On Friday morning, Sarah Loomis from Smith came over around 8:30 and we got rolling with the dyepots. It had rained overnight and was raining first thing in the morning, but fortunately the rain stopped around 8. Here was the set-up. There was a lot going on:

I combined both of the madder extractions, then divided the bath in half. We were using one half to make cloth for the “red” part of the show, and the other half was going to be used to make “orange” in combination with weld.

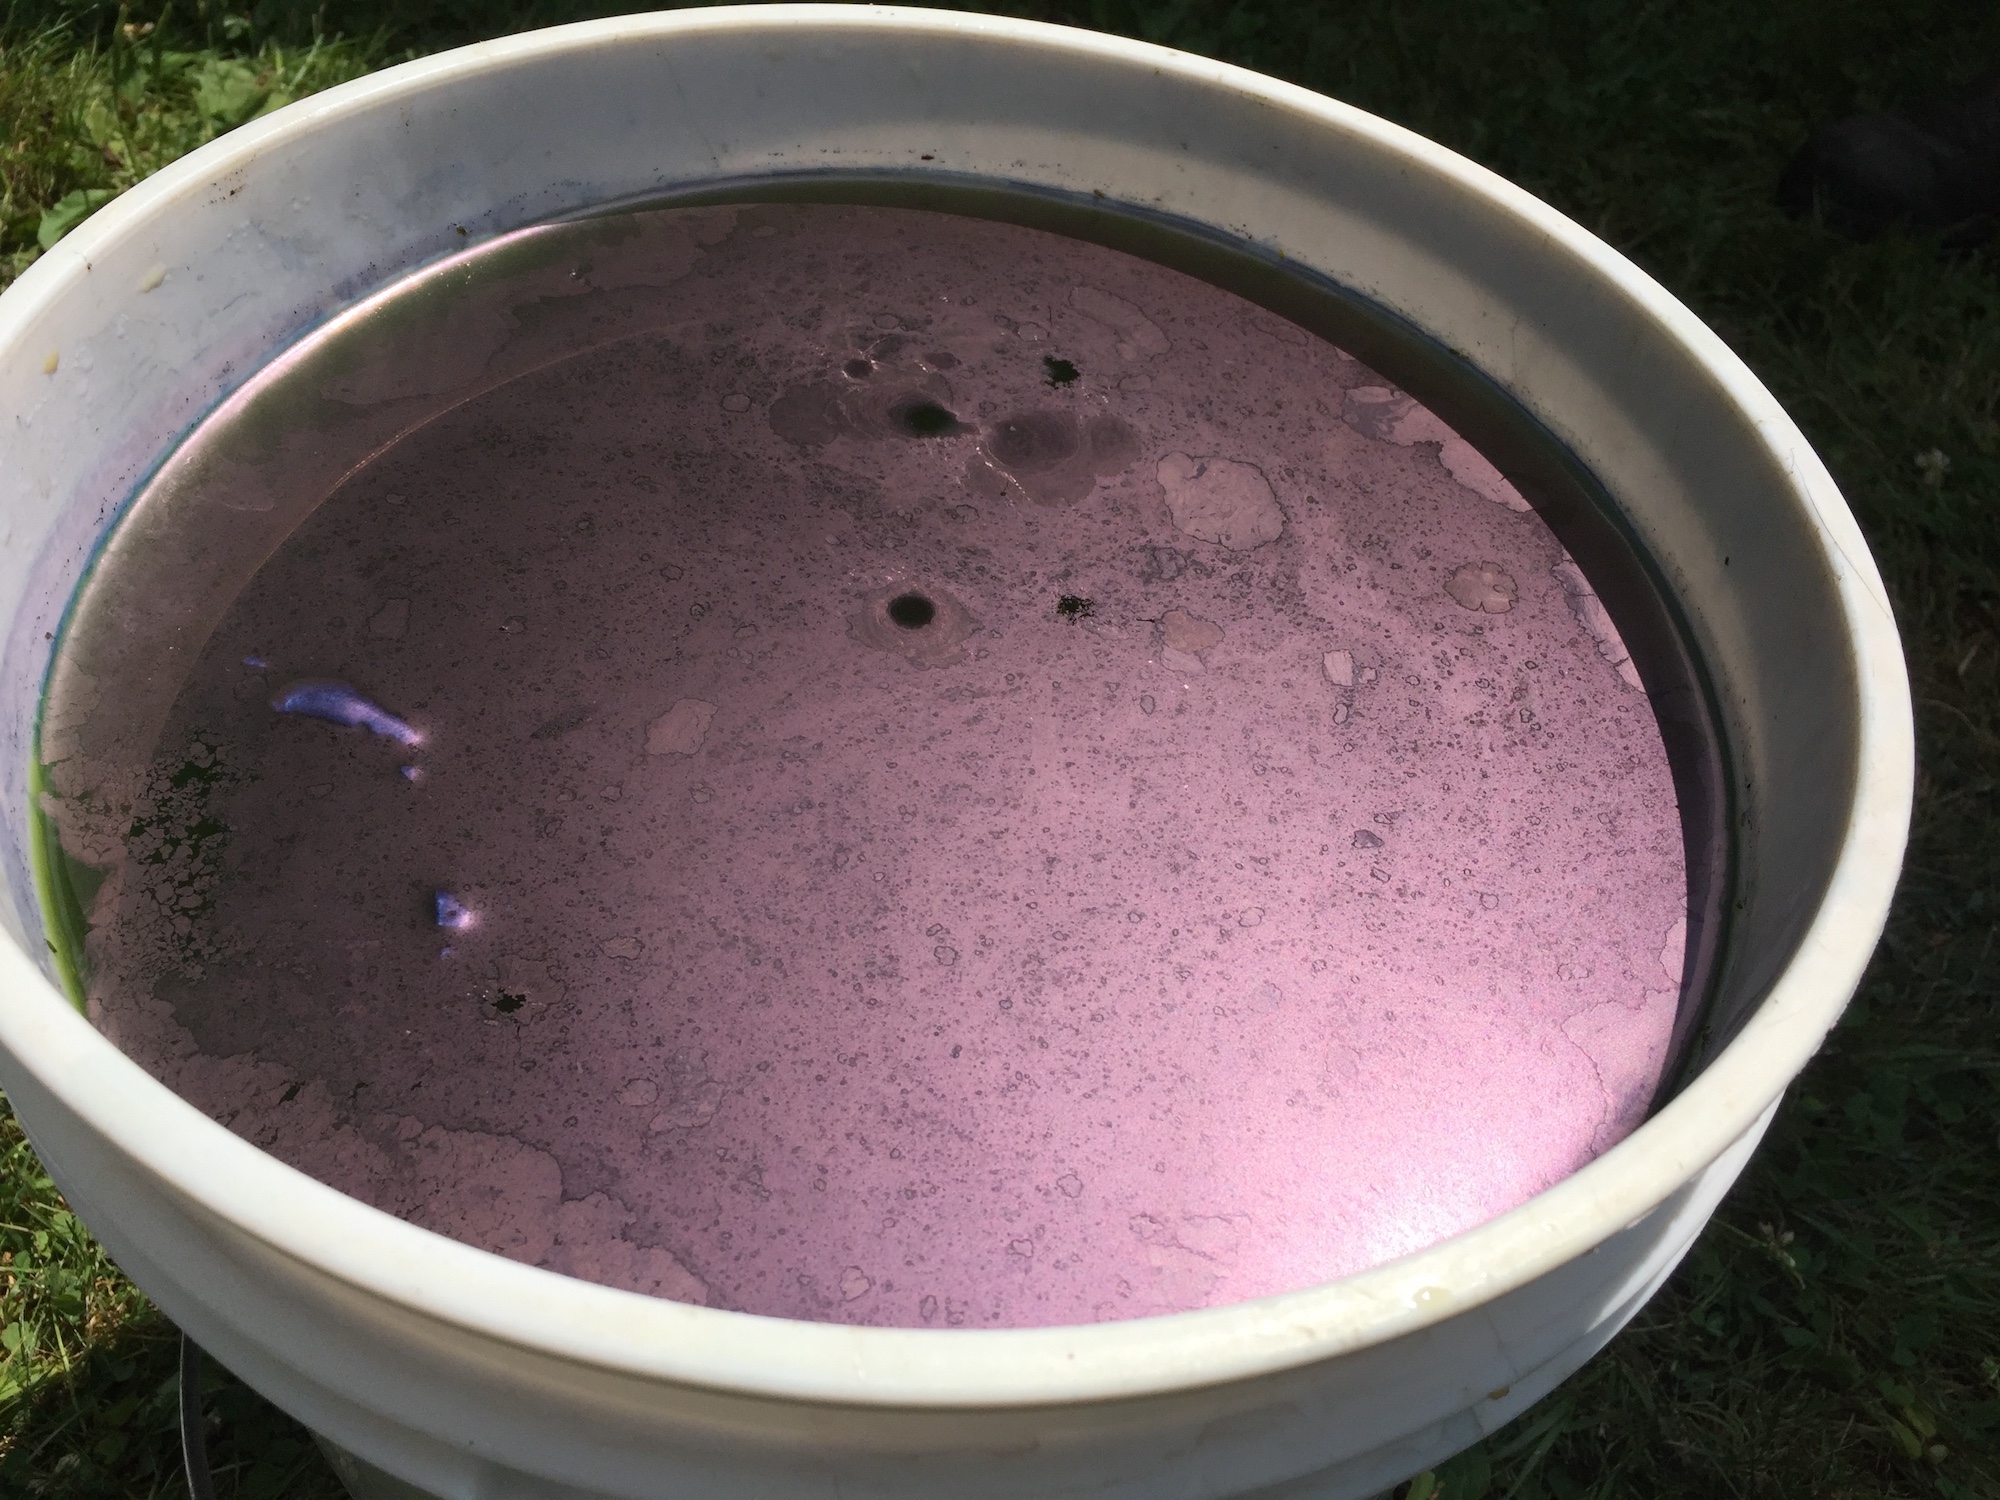
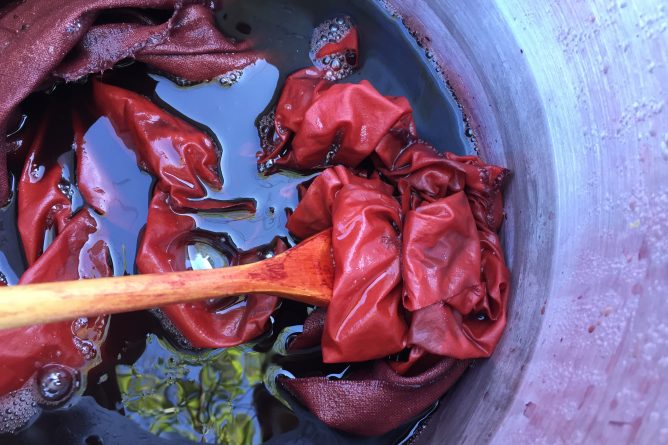
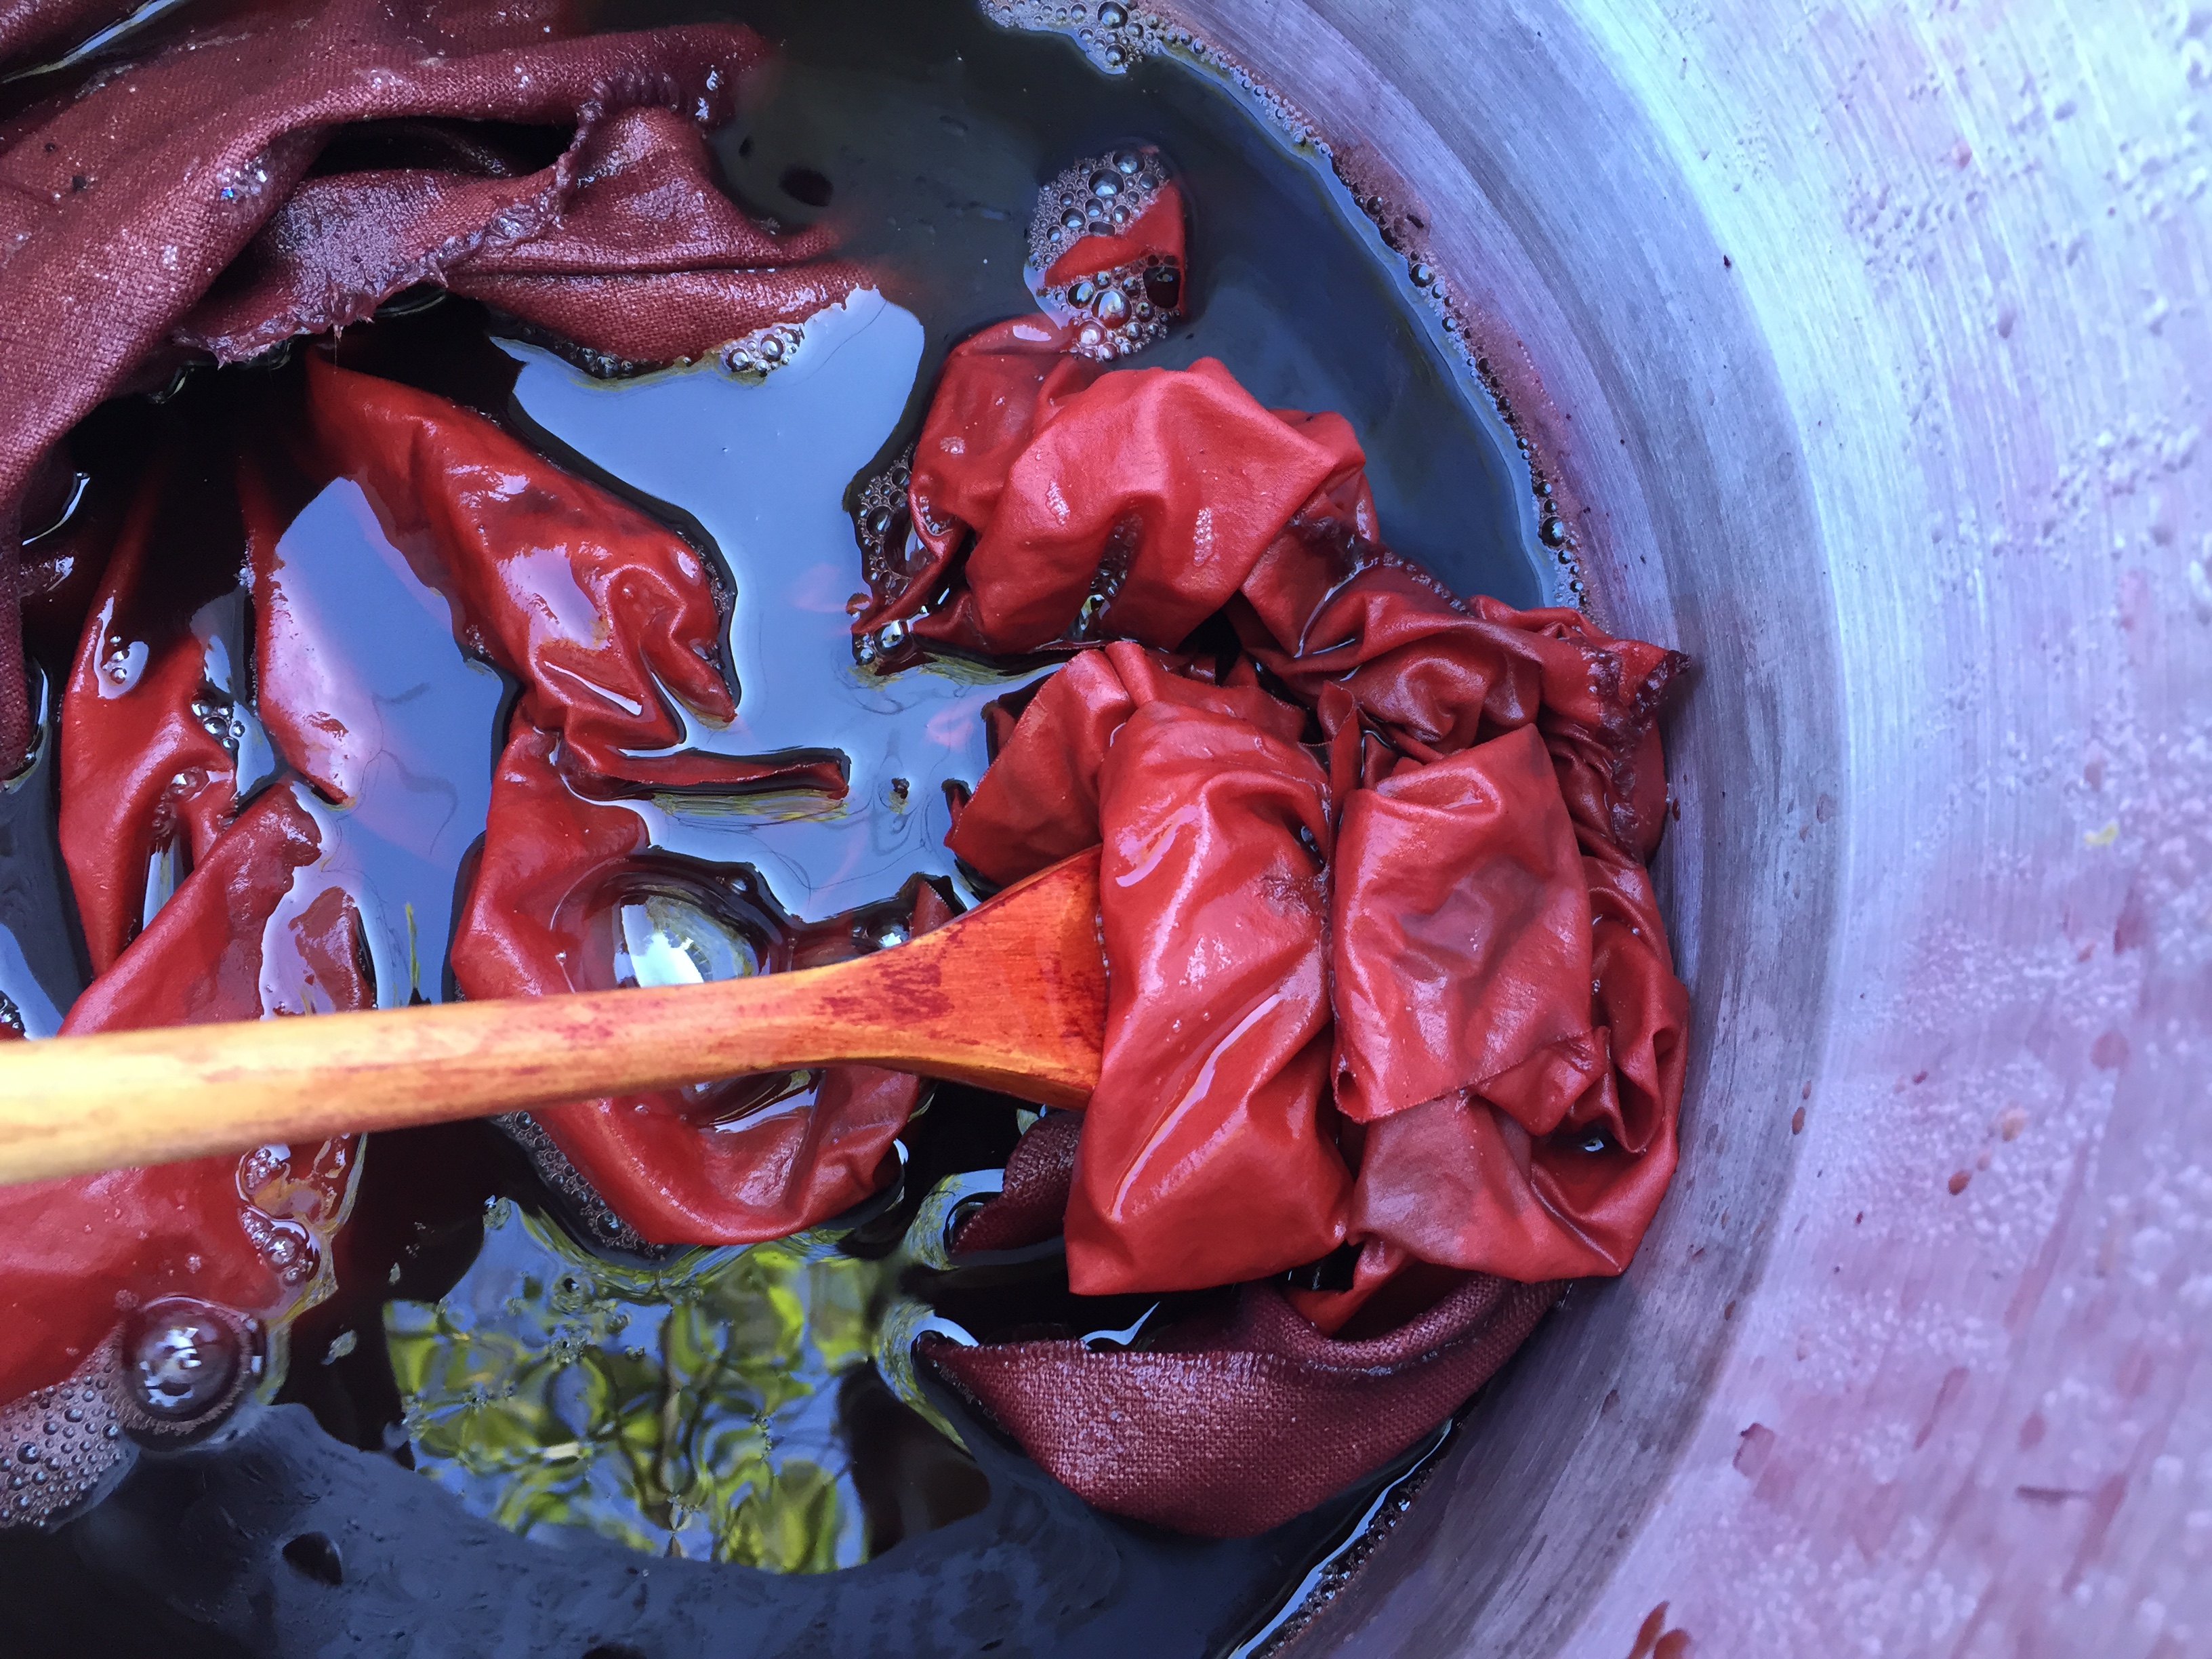
I added more dissolved soda ash to get the pH back up to 9, and put the linen and silk pieces into the same dyepot:

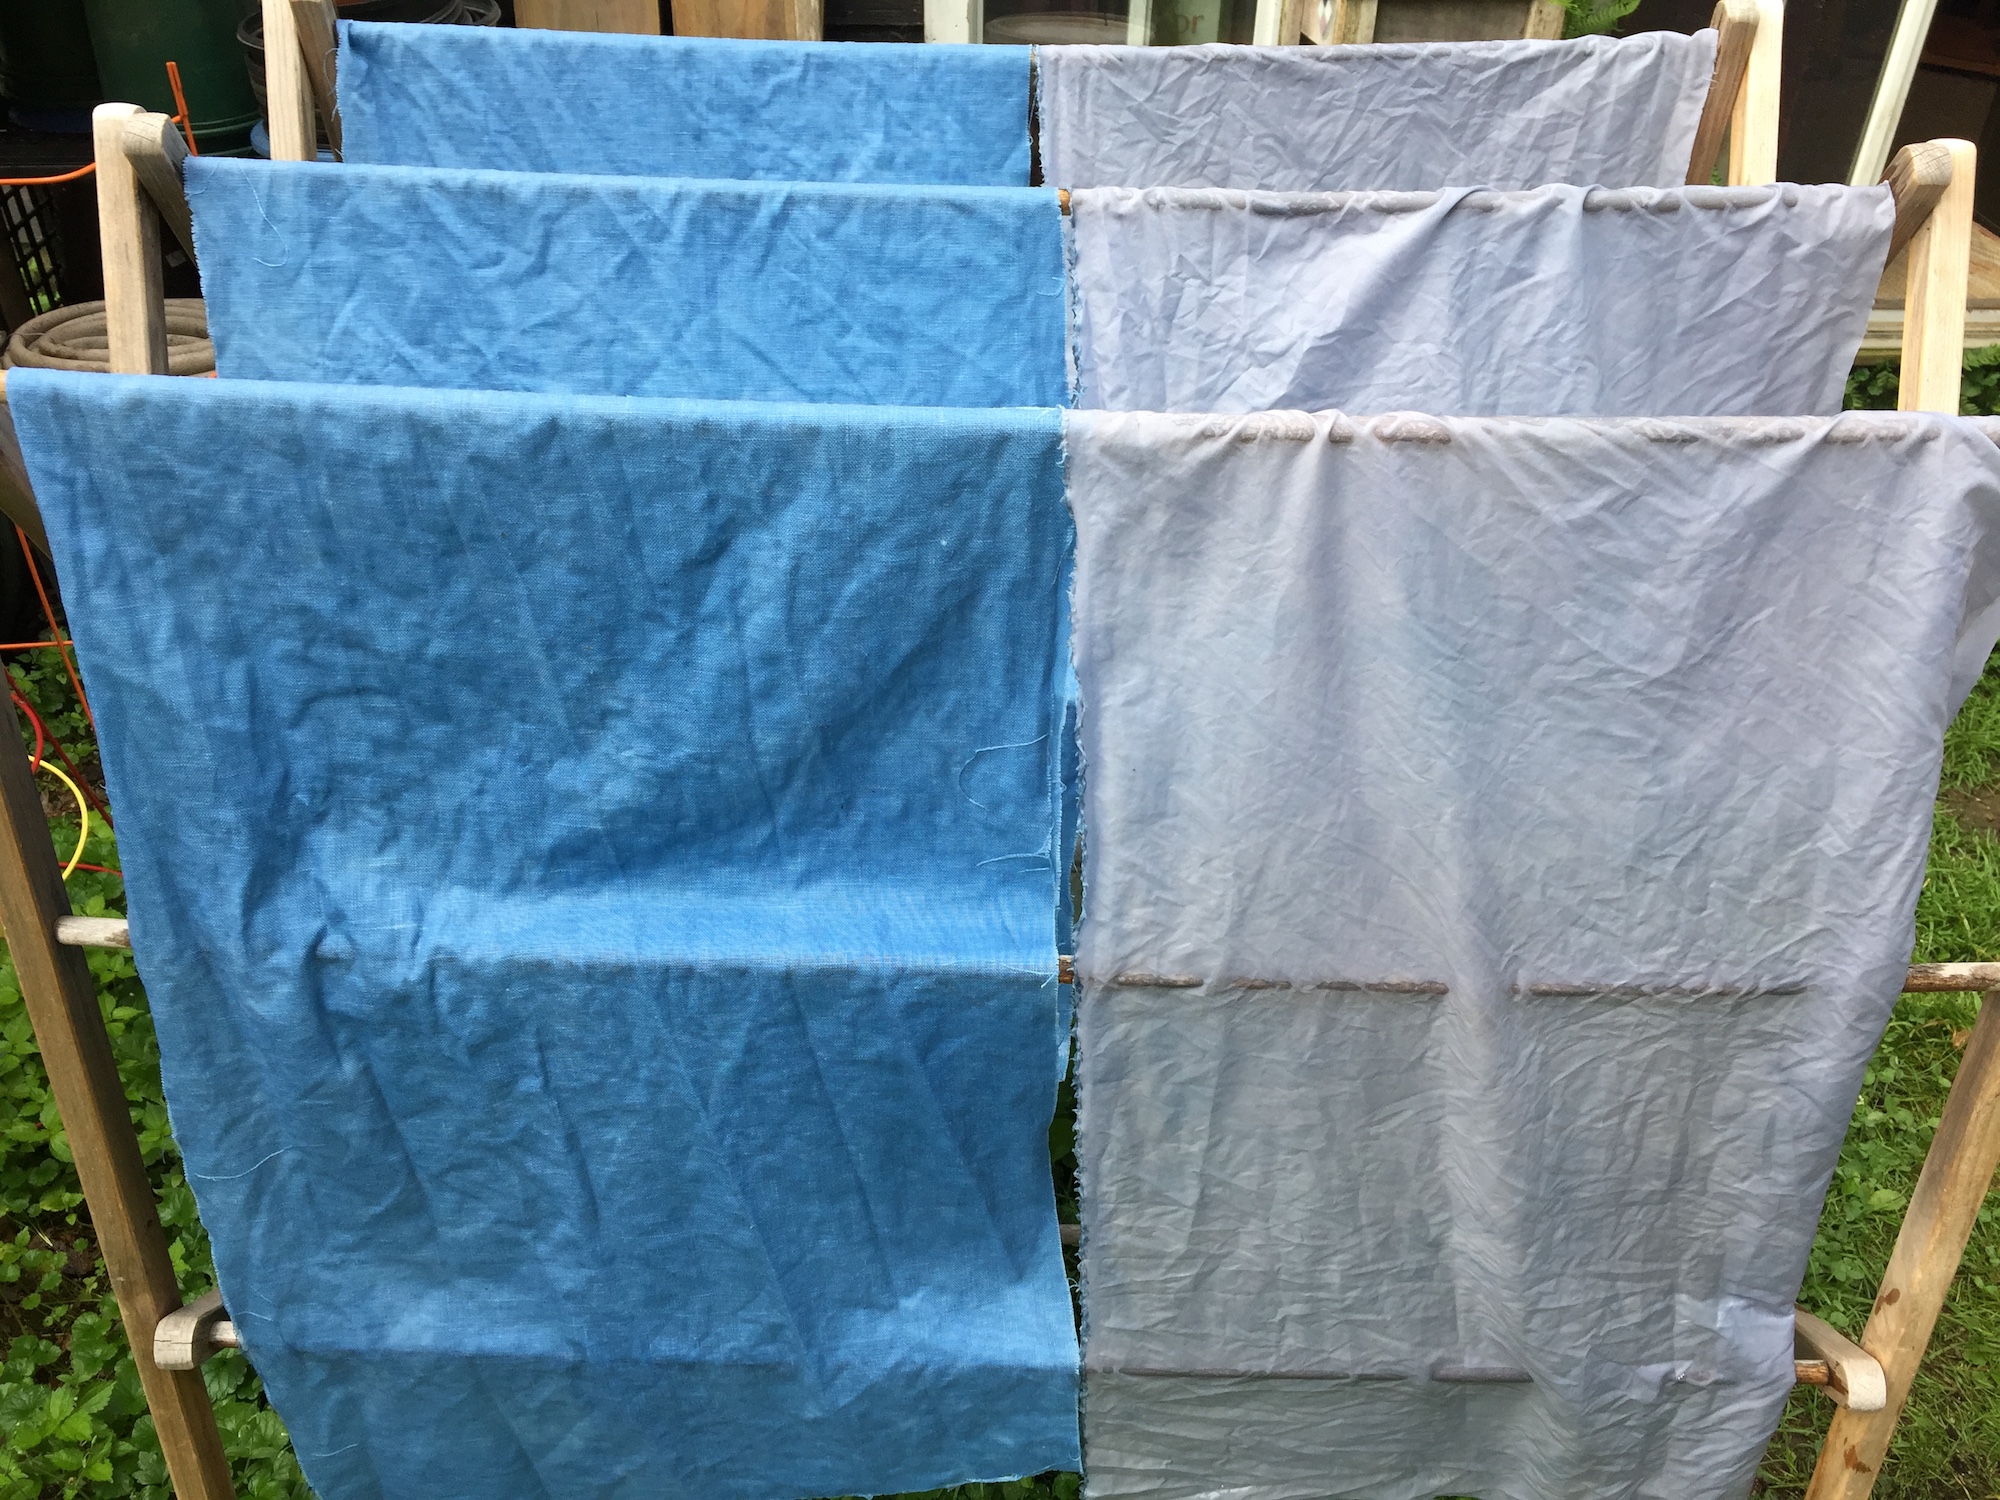
I heated the bath up to 140 degrees, held it for an hour, and let the cloth steep and cool for the rest of the day and overnight. Here it was in the morning on Saturday the 13th:

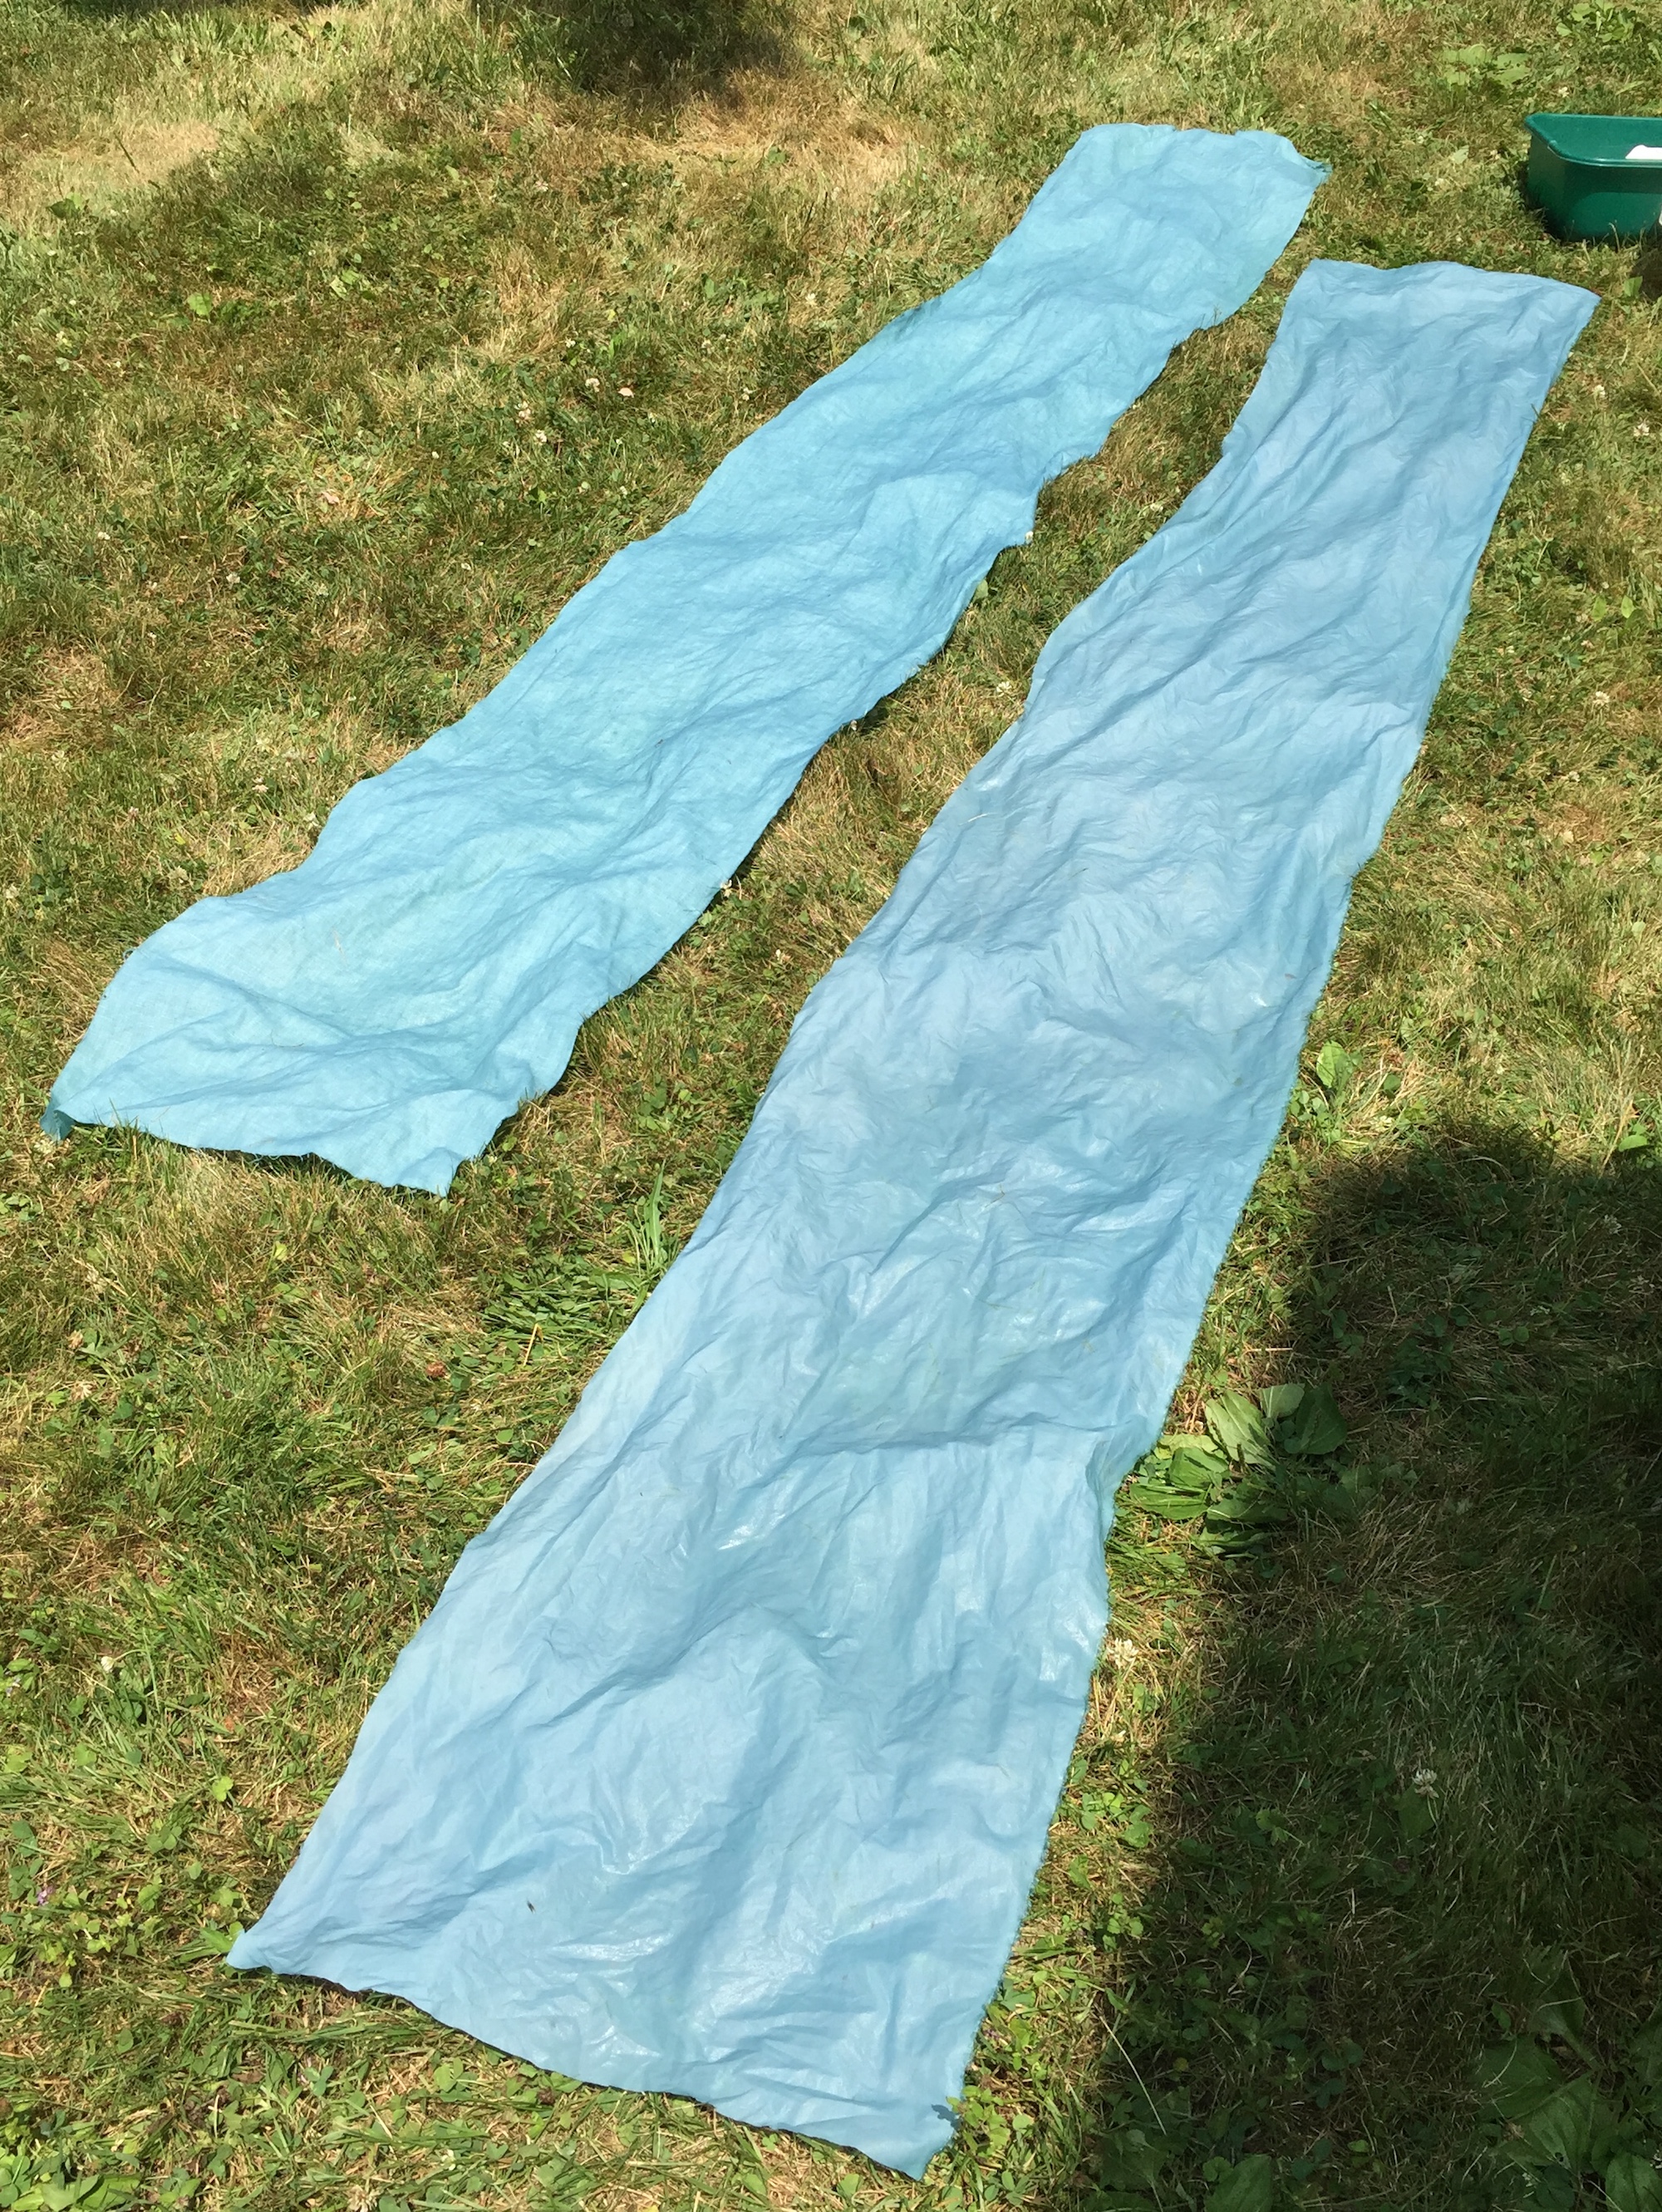
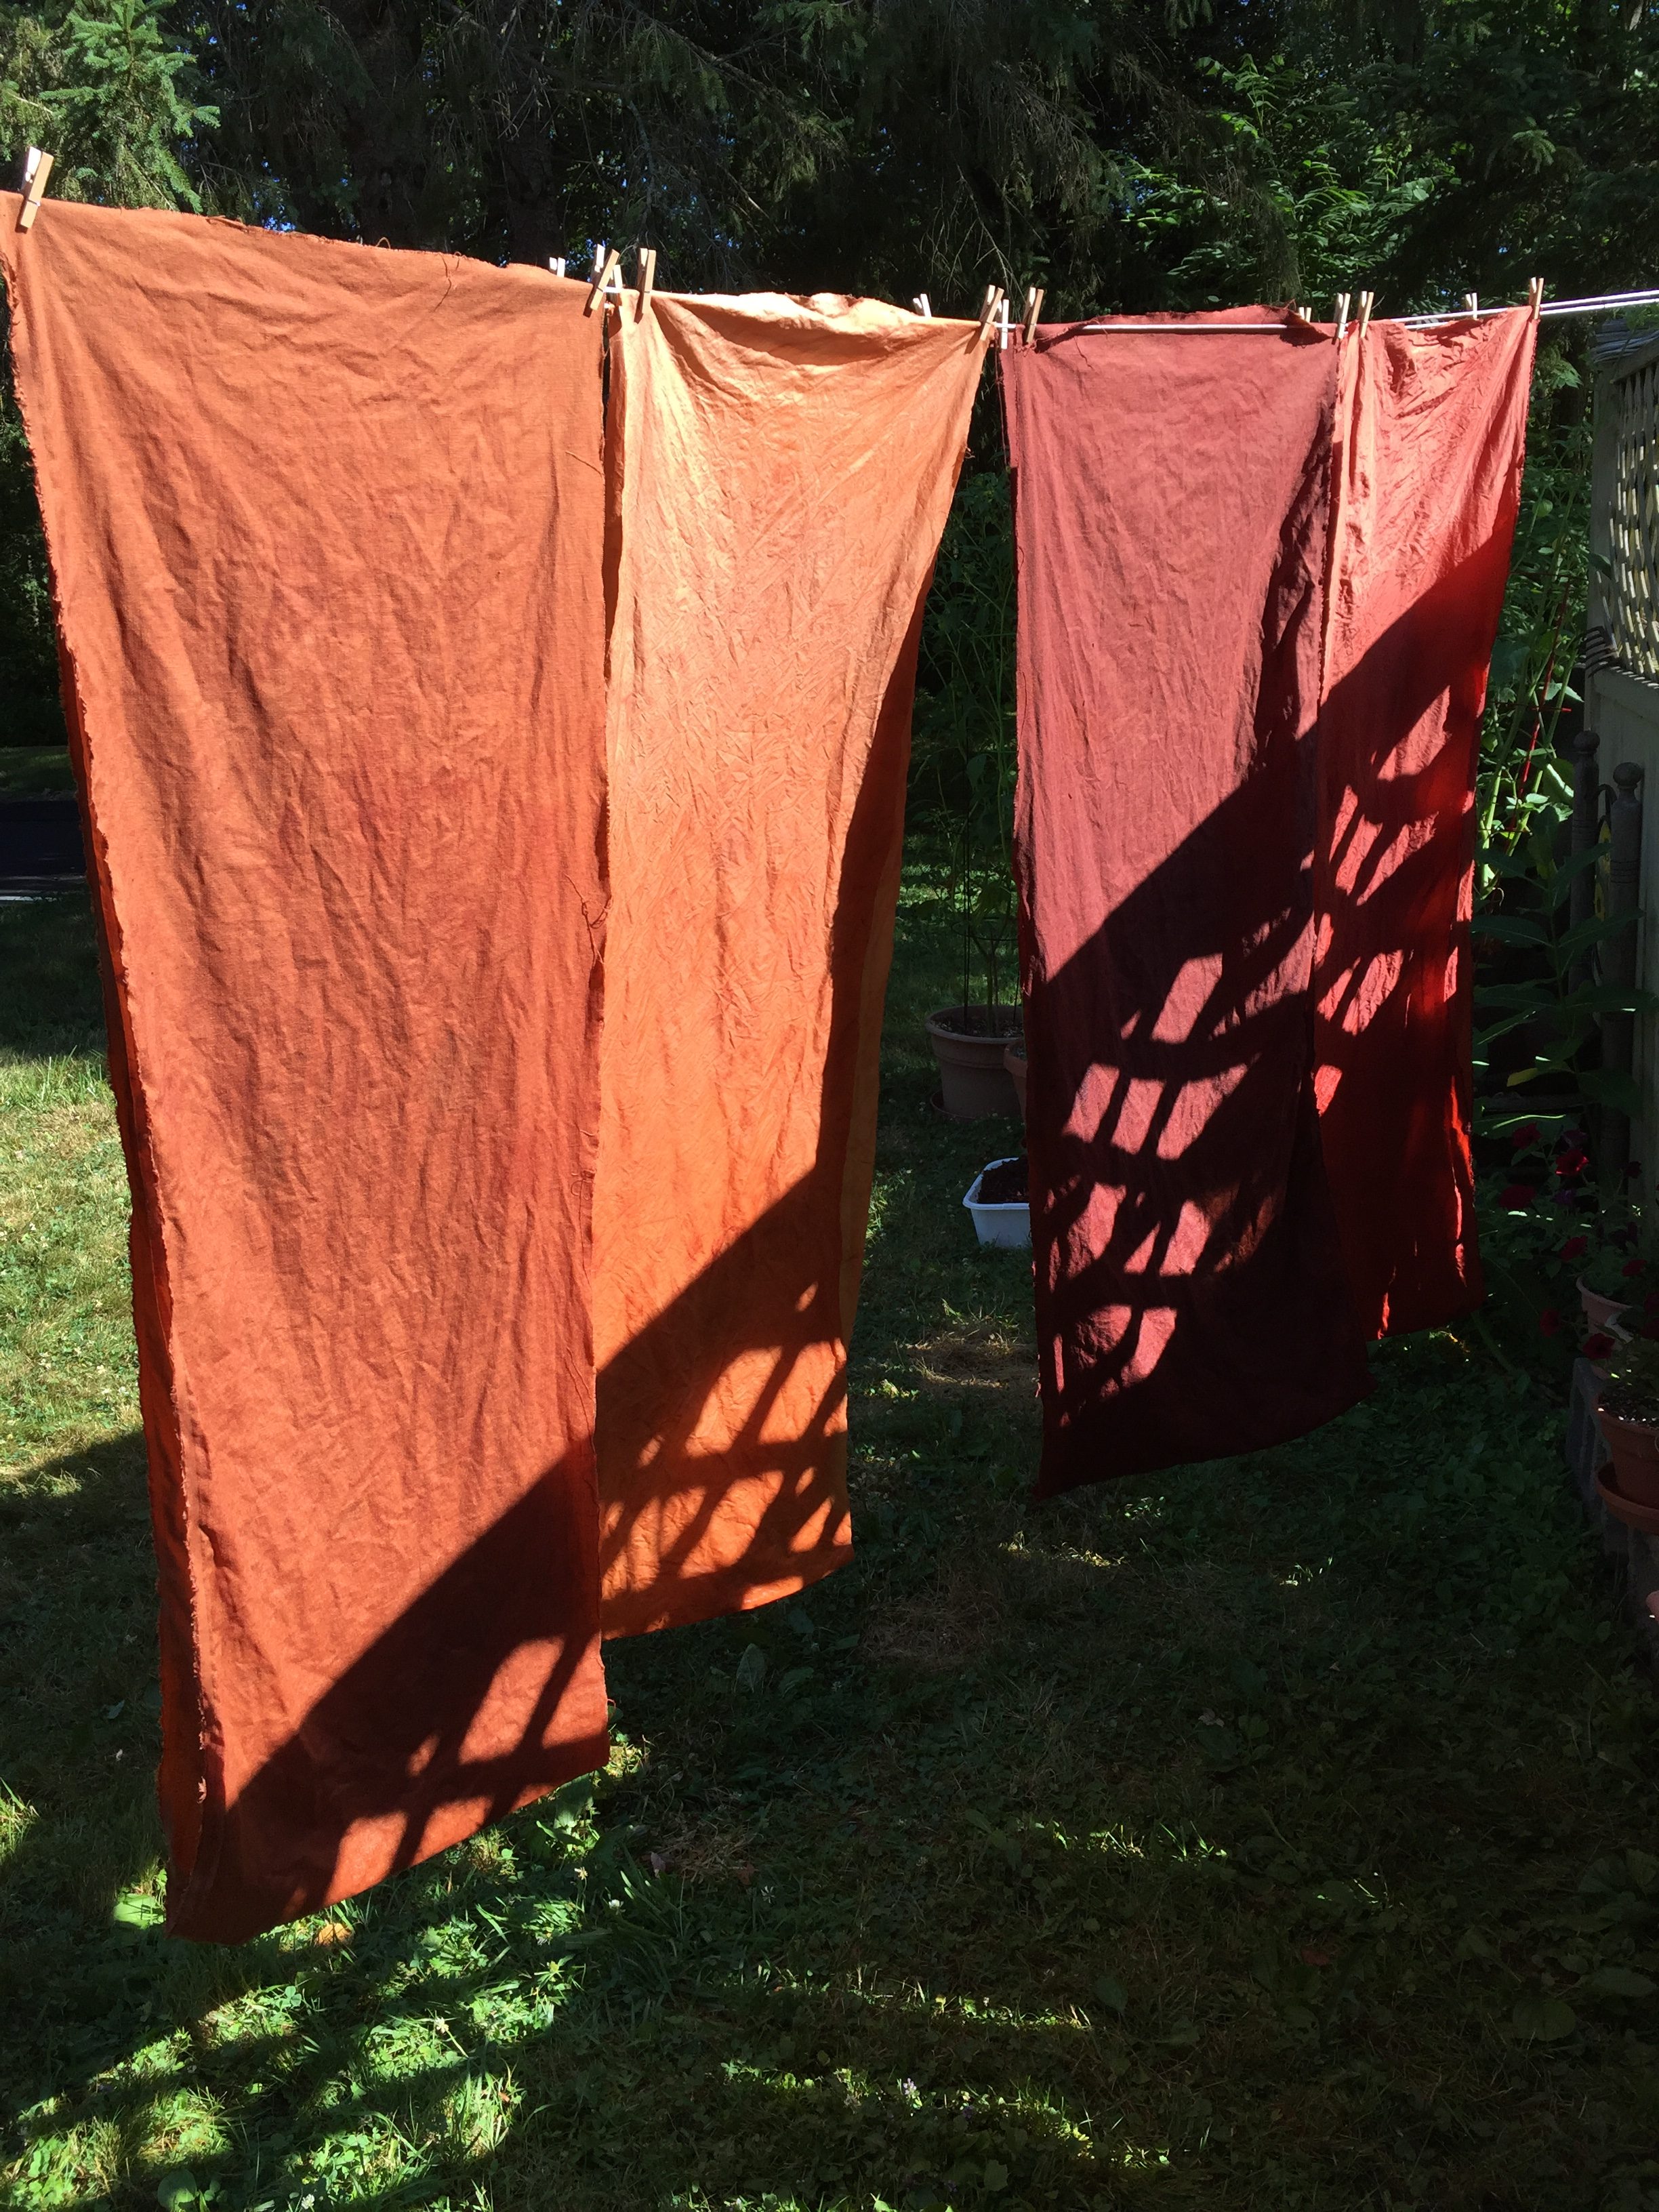
I always do a delayed rinse, if I have time. I hung the cloth on the line to dry before washing it. In this photo, the madder “red” pieces are on the right:

Next up, the weld baths.

Dyeing with Bolted Woad

This summer I am working on a very exciting project in conjunction with the Botanic Garden of Smith College. They are putting together an exhibition about dye plants called The Art and Science of Dyeing, and I am dyeing the cloth that will be featured in the exhibit! It is an incredible honor and I am thrilled to be part of it. Woad is one of the plants we are featuring, and so my investment in my woad plants is especially high this year. (12/31/2023 Thanks to the Internet Archive’s Wayback Machine for the link to the old Botanic Garden website!)

Last month I described the odd behavior of my woad, which bolted (sent up a flower stalk) and went to seed in its first year. Normally, woad is a biennial. The first year plant grows a basal rosette, which is a clump of leaves that radiate from the center and stay pretty low to the ground.

By July, the plants were getting big, despite their flowers. Small green seeds were beginning to form. I figured it was now or never to use them. Usually when woad goes to seed, the leaves are small and clasp closely to the stalks. In contrast, these leaves were still large and wavy, and seemed plump, lush, and happy. So, I felt optimistic.

On July 10th, the day I ran the woad vat, Sarah Loomis, Manager of Education, and a student intern named Hannah came to help out and do the photo-documentation for the exhibit.

We harvested the woad together at Bramble Hill Farm around 8 am, since it was going to be a hot day. We cut about four and a half pounds of leaves. I estimate it was half from bolted plants and half from plants that hadn’t bolted, but I didn’t separate them.

Here they are washing and shredding the leaves while I ran around heating up pots of water:

Once the water boiled, I did my usual routine of pouring just-boiled water into the five gallon bucket full of leaves. I fill it right up to the rim with just-boiled water, and press on the lid so that there is no additional air at the top of the bucket.

My typical method is to let the leaves soak for 45 minutes with the lid pressed on tightly. Recently I have read that for the maximum color when extracting indigo, it’s better to heat briefly at a high temperature, then cool the bath quickly. I haven’t tried this yet.

When you’re waiting around for 45 minutes you find something else to do. This time of year I commonly string up marigolds to dry, so that’s what we did. Sammycat watched over everything and was her usual charming and attentive self.

After the leaves extracted, I strained them, then added ammonia to get the liquid to pH 9. Then we aerated the vat. Normally I have to do this process by myself, which is kind of tiring. I pour the liquid back and forth between three buckets for ten minutes or so. It was nice to have help!

I was very excited to see a deep blue color emerge as we were aerating. I have read that second year leaves will give less color than first year leaves, so I was expecting a weaker vat than usual. At first I was optimistic that it would be a strong vat.

For a reducing agent I used RIT Color remover, which contains sodium hydrosulfate. We let the vat reduce for 45 minutes.

It looked pretty good, and the Smith folks were on the clock. I dipped in a length of linen cloth for a very short dip, then a length of silk, so they could see the color change. Linen is on the left, and silk on the right in the image below:

Things looked very typical and blue at first. Yay.

I let the cloth oxidize for a while. But since I usually put in my fiber for much longer dips, I decided to re-dip both the linen and silk several times. Some people recommend letting the fiber oxidize for the same length of time as the dip. Normally I dip a skein or piece of cloth only once per woad vat, and I dip for at least ten minutes. I feel that the color needs a long time to oxidize, and I let the fiber air-dry completely before rinsing and neutralizing. I normally wait until I run another vat to dip a piece of fiber again.

Nevertheless, I re-dipped several times in the same day this time around. Here were the lengths of cloth at 12:09. Silk is still on the right.

And again at 2:29. Fibers are always darker when wet, which is part of what’s going on in these photos. Silk is on the right but it’s wet.

After several dip-and-air cycles, I did not seem to be gaining any additional depth of color. My usual way to test whether a vat is really done is to throw in some wool. Wool will slurp up color like nobody’s business. If the vat is really dead, then the wool will let me know. If not, then I know it’s something quirky with the cellulose.

Behold the totally feeble color on wool skeins.

The weird mustard-yellow skeins were previously dyed with marigolds. The grassier greens were previously dyed with bronze fennel. For some reason marigolds and dahlias often act funky with woad. I will find out more about that some day.

So, I figured the vat was done, and I let the cellulose fibers dry out completely. The next day, I rinsed them with a vinegar solution to neutralize the pH, then a mild laundry detergent rinse, then several rinses in plain water. After the vinegar rinse, the light blue silk turned gray. What?!

With woad I do not tend to lose a lot of color when rinsing, so this color shift was a surprise to me. After all the rinses, I hung up the cloth to dry and you can see the gray for yourself (silk on the right):

The same week I also ran madder and weld dye baths, which I will write about later. But you can see the pale silk on the line with the other comparatively more vibrant colors (it’s second from the left):

Yikes! I will over-dye the silk later this summer. The dried linen is light, but typical of a woady blue. I feel it is representative of what woad can do on cellulose fibers. Color is almost always lighter on cellulose fibers, even though woad can make very rich, dark blues on wool. The pale color may be due to the weaker vat, due in turn to the reduced color available in the bolted plants. But the dried silk is so pale and gray that I can’t even understand what is going on.

I have been wondering how to think about this gray-silk-bolted-woad thing. It’s a multi-faceted problem. It has made me wonder what the difference is between a “lesson” and an “experience”. Did I learn a lesson about bolted woad? Learning a lesson has a sort of bossy and authoritarian insinuation. “I hope you learned your lesson.” “Let that teach you a lesson.” On a more positive note, it implies a principle or rule that one can refer to in the future to guide one’s actions. If I did learn a lesson, what was it? Don’t bother with bolted woad, at least not on cellulose fiber?

If it was just an experience, how much weight should I give it? I don’t feel like I can ignore it. “Chalk it up to experience” is a comforting saying, but I like to feel that I’ve learned something from my experiences, even if they aren’t a “lesson” per se. Will bolted woad always give disappointing color? Is there more to know about second year woad? Undoubtedly, yes. Is woad just weird with silk? Did the vinegar solution make the silk unhappy for some reason unrelated to woad?

One thing’s for sure, I always seem to find more questions than answers.

Japanese Indigo Update

So, my attempts to germinate my own Japanese indigo seeds were futile. I kept scrutinizing the tiny little green things that were growing, but none of them seemed quite right. Not pink or plump enough. Eventually I gave up.

Jeff Silberman and Carolyn Wetzel to the rescue! Jeff has been growing Japanese indigo for several years as part of a sustainability project at FIT. Carolyn was driving down to Pennsylvania to teach a lace-making class. Wearing her New England Flax and Linen Study Group hat, she was also dropping off a custom-made flax brake for Jeff made by her neighbor. Gotta love the incredible skills and social networks of the Western MA hilltowns! On her return trip, Carolyn picked up some seedlings for me and dropped them off at our apartment.

At first I was puzzled and a bit dismayed. Dozens of teensy seedlings were crammed tightly together.

I conferred with Jeff. He said that they were very hardy and resilient, and could stand quite a bit of disruption. I used a plastic knife to separate a few at a time.

On June 15th I transplanted them into small pots. I regretted the violence done to the roots. I was literally tugging teensy roots apart with my hands. But after my over-crowded flax experience, I figured it was better to give them room to grow.

I was worried that they would all die of shock. The next morning, though, they looked fine. Here they are on June 16th:

Behind our apartment there is quite a bit of squirrel action. They run amok and tend to knock things over and dig things up, including the Japanese indigo seedlings. So, on June 19th I covered the seedlings with plastic covers in an attempt to protect them. Sammycat inspected and approved the set-up.

I also sprinkled red pepper flakes around the plants. The squirrels had been digging and we hoped that the capsaicin would dissuade them. All the plants got the same treatment (we also grow tomatillos, chili peppers, and a bunch of other plants). It mostly worked. This plant wasn’t so lucky:

Here’s a closer view of some of the other Japanese indigo plants:

I guess I didn’t do any further photo-documentation until they were ready to transplant into the garden bed. The bed I was planning to use had been occupied all spring by the second year woad plants that were going to seed. On July 4th the woad seeds were ripe. I harvested them and cleared the bed for a new crop.

Here are most of the transplanted Japanese indigo plants on July 7th:

Here’s a ground-level view:

There have been a lot of rabbits this year. This photo is from our school garden, but I’m including it because I didn’t manage to photograph the rabbit at Bramble Hill.

The very day that I transplanted the Japanese indigo seedlings, I arrived at the garden to find a rabbit sitting right in the midst of everything! Now, the bunny at the school garden was rightfully scared and hid under the platform.

Not so the bunny at the Bramble Hill Farm plot. Instead of running away like a small creature might normally do when a human comes along, it just shuffled over and settled down under the amsonia like it lived there or something. Cheeky rabbit.

So, I figured I needed to protect the seedlings from chewing. Here was my first effort on July 7th:It was enough to discourage the rabbits, thankfully, but I tightened things up on July 8th:

Eventually we had a hot spell, on top of a long dry spell. At first I left on the row covers thinking it would provide a bit of shade. But on July 18th I figured the time had come to uncover the plants and let them take their chances with the rabbits:

On July 18th the seedlings were looking great:

The rain barrel got low, so I had to deliver water via car, but on July 20th, despite the hot spell, they were thriving. Yesterday, July 22nd, we had heavy rain. The rain barrel is full again. I am optimistic about continued health and growth.

Transplanting Swamp Milkweed

So far this season I have been feeling deficient in my dye and fiber plant growing skills. Here’s a success story, at least thus far (knock on wood).

The swamp milkweed was not faring well in the dye and fiber plant garden at Bramble Hill Farm. As I have noted in earlier posts, that site is not a swamp. It is a dry, wind-swept, hilltop garden spot. I kept felt guilty that I could not successfully fend off the yellow aphids on the swamp milkweeds plants in that location. I finally decided that the plants were experiencing an overall undue level of stress which was making them vulnerable to attack. The responsible thing would be to move them to a wetter spot. So I did.

Here is what one of the plants looks like at Bramble Hill on April 21, 2019:

It was still dormant, so I figured it was OK to dig it up and move it. In the photo above you can see the fibrous tendrils that are still attached to the outer papery skin on a couple of the stalks. Below you can see the same plant but from a little higher up. This is what I sometimes think of as the “nothing to see here” vantage point. Mostly it’s the dandelion that stands out:

The resources I’ve consulted recommend moving milkweed plants either in the fall when the plants are dormant, or in the early spring. I have had good luck moving swamp milkweed before so I was pretty confident it would work. A. incarnata has a wide network of roots, but the plant doesn’t form colonies with long runners like common milkweed does, so it’s easier to be sure that you’ve dug up the whole root system.

Here is what the emerging shoots of another A. incarnata plant looked like on April 21st. They are the small buds with a pinkish-purplish tinge:

Here is the mucky site I was moving them to:

It is the designated mud-play area of our school garden at the Common School. A drainage culvert empties out underneath that wooden platform to the right of the photo, hence the additional water in that part of the garden. Since we have had such a rainy spring, it was still very puddly and wet at the end of April and early May.

Here’s what it looked like once I had dug over a “bed” next to the fence:

The black plastic was left over from our initial lawn-smothering process when we expanded that area of the garden in 2016.

Here is a plant emerging happily on May 10th:

And on May 26th:

As of yesterday, June 17th, the plants were lush and happy:

It has continued to be a wet and cool spring, which is suiting them just fine:

It remains to be seen if they will bloom this year. I have read that milkweed plants may forego flowering if they are stressed after transplanting. Whatever happens this summer, and in seasons to come, I hope they will be happier in their new watery home.

Flax Is Blue!

Well, I was totally wrong in my prediction that Suzanne was a white flowering type. Behold:

Whatever the disappointment and heartaches that befall, I love flax! I am so happy to be celebrating this next phase of the life cycle. Blue flowers!

In the dim light of a cloudy morning, I could not convince my phone that the crinkly purplish-blue flowers were deserving of focus, hence the inclusion/intrusion of my crinkly skin. The photo function on my camera seems to find my skin more recognizable than a flower amidst a sea of green.

Here’s the sea of green:

Flax is Too Dense

Despite the most perfect spring weather I can imagine, my flax isn’t thriving. I am pretty sure the problem is that I planted too densely.

It’s been very rainy and relatively cool this spring. Not great for certain crops, I’m sure, but it ought to be great for flax.

However, the density of the plants has created so much competition that they are not growing at all in the center of the bed. Meanwhile, the tall plants around the edges are getting ready to flower, right on schedule.

Here’s what’s been going on since I last wrote. On May 31st the difference between the edges and the center of the plot was really obvious. The plants along the edge are darker and taller:

In contrast, the plants in the center are shorter and brighter/lighter colored:

I could see the problem, but I didn’t know what to do about it. I couldn’t imagine thinning a 140 foot bed by hand, so I didn’t.

On June 9th, I ran into Ryan while I was checking on the flax. He said that his fields tend to be low in potassium and suggested adding some fertilizer. He kindly gave me a bucketful of this stuff to spread over the plot:

In retrospect it would have been better to add it much earlier in the season. At this point, the flax ought to be two thirds of the way to being ready to pull. I don’t think the stunted plants will have a chance to gain any additional height before they decide to just flower and set seed.

Here’s an overview of the plot on June 9th:

Here is a closer view:

It’s vibrant and glowing but it’s not doing what it ought to be doing. The height should be consistent across the bed, and it should be getting ready to flower. Here are the edge plants compared to the rest on June 9th:

On June 15th, the tallest plants were forming buds and getting ready to bloom. I planted in mid-April, which means that the flax ought be be flowering by mid-June. Some of it will. Most of it won’t.

It looks like it will be a white-flowering type. I’ll know for sure when the flowers open later this week. I am growing a type called Suzanne this year, which I haven’t grown before.

Ryan suggested hoeing some channels and knocking down some of the stunted plants to create an edge effect throughout the rest of the bed. I think it’s a good idea. I guess I won’t know unless I try.

What Is Up With My Woad?

I have been growing woad for many years. I love it. It’s got some enemies, such as cabbage white caterpillars, and can get some diseases, such as clubroot. But mostly it’s easy going and reliable.

The second year woad at the dyeplant garden has been doing just fine. It started to bolt in April:

It got merrily taller:

It flowered prettily in May:

It set lots of seeds, and the seeds are maturing nicely now that it’s June:

The new woad that I planted this spring started out very well, too. I planted on April 24th. Here’s the bed on June 9th:

Here’s a particularly lush plant on the west end of the bed:

However, I noticed on June 8th that some of the plants were sending up little flower stalks already. Just a few of them, maybe two or three. This happens sometimes, so I made a note of it but I wasn’t too worried.

However, when I went to check on things yesterday I was baffled to discover that a lot of the plants have decided to make flowers. You can see that woad is a brassica by the distinctly broccoli-looking buds in this photo:

The plants are still short, but their growth habit is definitely changing. Here’s another view that shows the small leaves clasping the stalk, rather than just laying flat in a basal rosette:

Woad is a biennial and normally doesn’t bloom in the first year, hence my surprise. I have big plans for the woad this year, so I’m a little bit anxious about how this will all turn out.

So Far So Good-Flax 2019

We have had a relatively cool and rainy spring here in western MA. Good flax-growing weather, at least for this phase of the growth cycle.

I planted on April 19th, which was a Friday. There was a lot of rain the following week, so I didn’t have to water. I tried to be patient, and waited until April 27th to check on the germination, eight days later. I got excellent germination! Here’s the exciting flush of green across the whole bed:

I guess I was worried about sowing too close to the edge of the plot, so it’s totally bald at the edges:

Here’s a close up of the plants busting through the soil. They’re pretty crowded:

Maybe I should have planted less densely. We’ll see.

On the whole, the weather stayed cool and wet for the first couple weeks, though we had some warm and sunny days. Here’s the plot on May 5th (Sunday):

Those bald edges are even more prominent, which illuminates the fact that my planting density is actually a tad higher than I thought. Out of a five foot bed, I sowed more like four feet. OK.

Here are the chipper-looking seedlings doing their thing two weeks after planting:

Most recently, I checked on the plot on Sunday May 19th. We had a bit more sun and warmer temperatures last week. The vivid green of flax is such a cheering sight. Exuberant! Uplifting! Joyous! Buoyant!

Here’s a closer view of the plants that morning:

I remain cautiously optimistic.

Japanese Indigo Seeds 2019

Back in April I cleaned up some Japanese indigo seeds from plants I grew in 2017.

Here’s the little bag I stored them in as I cleaned them:

On April 7th I put them inside damp paper towels to sprout, as I’ve done before. You can read about earlier Japanese indigo sprouting efforts in my earlier posts here and here.

Here’s what one hundred Japanese indigo seeds looks like:

From what I’ve read and experienced, Japanese indigo seeds do not stay viable for long. You’re supposed to use them in the next growing season. if you try to store them longer than that, expect poor results. Since I do not plant Japanese indigo every year, my germination rate is always pretty low. I set up a sheet with 100 seeds to make the math easy.

This year I bought a seedling mat to keep them warm. I thought it might help with germination. Here’s the type I bought:

Here’s how I set it up:

The mat certainly worked to keep things toasty. In fact, I added a towel on top of the mat to keep the seeds off the direct heat. But as it turned out, I got way too impatient to wait for the seeds to sprout on the paper towels.

Planting Flax 2019

On Friday April 19th I planted flax. This year I’m growing a type called Suzanne, courtesy of Jeff Silberman at Fashion Institute of Technology’s Textile Development and Marketing department. Once again, I am very grateful to Bernard at Amethyst Farm and Ryan at Many Hands Farm Corps for giving me space to pursue my flax endeavors. I put in seven pounds of seed. (12/31/2023 Edited: Many Hands is no longer in operation, but here’s a link to an old version of their website from 2019).

This year my plot is right in the heart of the Many Hands CSA pick-your-own field and share pick-up barn. Here are the signs as you pull in to that part of the farm:

Ryan kindly tilled the strip for my plot on April 17th. Here’s what it looked like on Friday afternoon:

The plot is 5 feet wide by 140 feet long. Each of the vertical stakes along the right hand edge measures 20 feet in length. To help me plant evenly, I divided the seed into two pound bags. Here’s what two pounds of flax seed looks like:

After a series of mailing mishaps, I was eager, happy, and grateful to greet the postal person carrying the box of flax seed to the door of my apartment around 3pm on Friday. I zoomed over to the plot to plant as quickly as I could that afternoon.

In retrospect, maybe I shouldn’t have felt like I was in such a rush, but I had my reasons. First of all, it was April vacation week and I was hoping to get the flax in before the week was up. Second of all, I had regrets about planting so late last year. If I had planted in mid-April when I should have, all that heavy rain and mold nonsense in late July and August last summer wouldn’t have been a problem. So, I really wanted to get it planted by the middle of April this year. Third of all, it was supposed to rain for many days starting on Friday evening, and I figured I had a small window to get the seed in before all the wet weather rolled in.

So, I weighed out the seed in two pound bags ahead of time, but the rest of the measurements took place at the site. Fortunately, 5 feet wide by 20 feet long makes for easy calculations.

I planted one pound of seed per 100 square feet, or two pounds per 200 square feet. Using a hand-broadcast method, I spread two pounds at a time across forty feet. For the last twenty feet, I divided the last two pound bag in half. Then I raked the seed in with a hard-headed rake.

The cover crop that Ryan put in for the winter was peas, oats, and radishes (if I recall correctly). It left a very nice straw, which significantly cuts down on erosion. After I raked the seed in, I pressed down the seed bed with a combination of methods. I started with a wooden board, which I stepped on to press down the soil.

This has been my tried and true method for smaller plots, but for 140 feet it was tedious. Ryan offered me a roller, which was more efficient, for sure:

The roller wasn’t very heavy, though, so I went over the whole thing with repeated passes of the roller, the board, and my own vigorous foot stomping. Here’s the finished seed bed, all planted and smooth:

Here’s a close up:

The raking removed quite a bit of the cover crop straw, which I regretted when we got hours of pouring rain on Friday night and Saturday. We had intermittent showers on Sunday, too. However, the bed is in the middle of a very smooth and flat field. When I checked this evening (Sunday) I didn’t see any rivulets of run-off or other soil disturbance from the heavy rain.

The weather is supposed to be warm (50s to 70s F.) and lightly rainy for the next few days. Finger crossed for a good crop this year!