Another Woad Vat

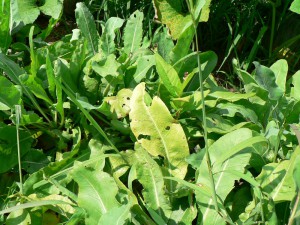
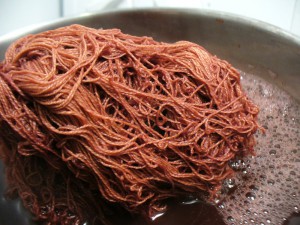
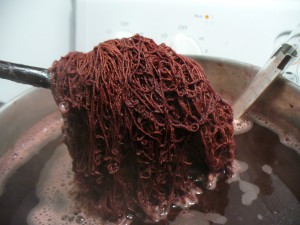
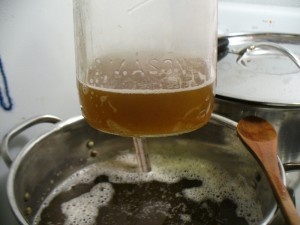
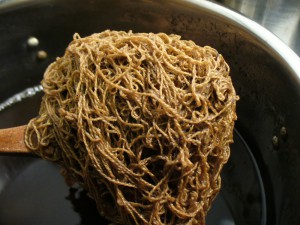
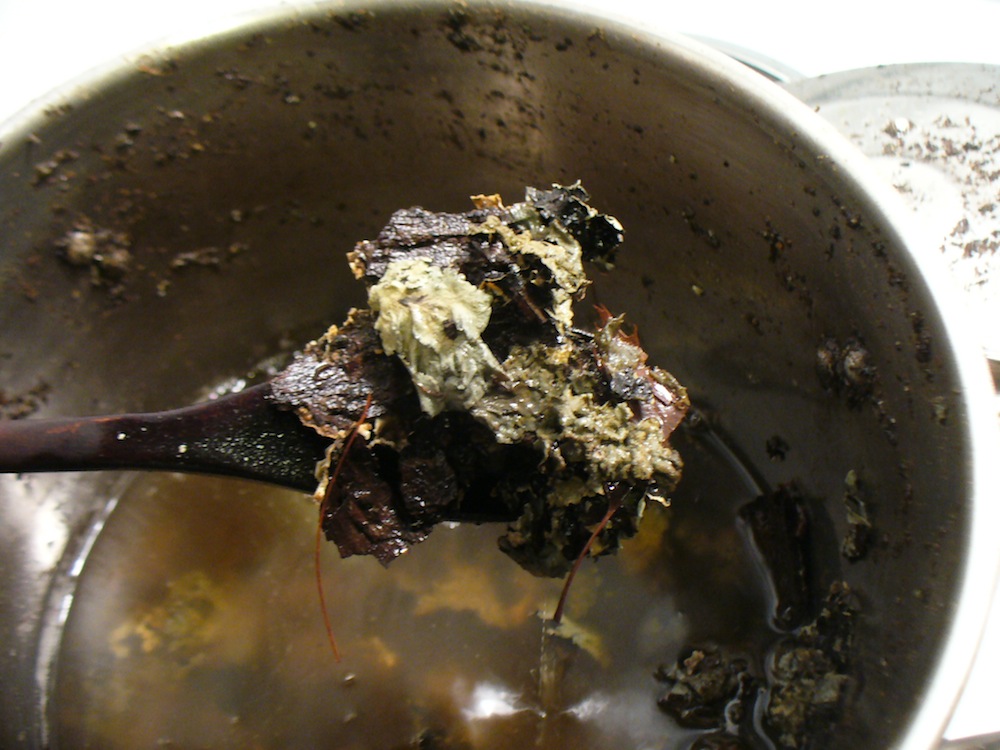
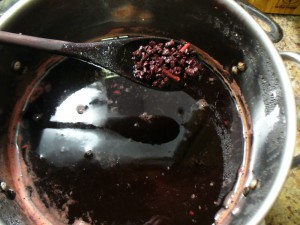
Yesterday I picked 8 and a half pounds of woad leaves. This is a lot, probably the largest quantity I’ve harvested at one time. Many of the leaves are droopy and yellow at this point in the summer. It has been hot and dry, but there is a lot of color in them, so no worries.

woad in August

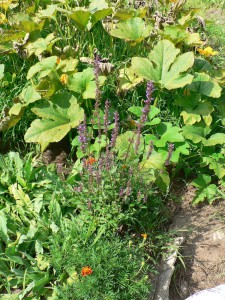
I had written earlier in the summer about woad’s enemies. To fend off the cabbage whites, I planted two hyssop plants, which are supposed to help. I could only find anise hyssop, which may or may not be the right type. It definitely attracts the adult butterflies, as a food source I suspect. But I’m not sure it keeps them from laying eggs on the woad, and it’s the caterpillars that eat the woad leaves, not the butterflies.

anise hyssop

I think at this point in the summer that slugs are the main predator on the woad, but I did find quite a few cabbage white eggs. The hyssop is very pretty, though, and it smells great, and the woad is doing OK, so even if the cabbage whites are still laying eggs on it, I guess it’s all fine. Continue reading “Another Woad Vat”

Last Year’s Flax is Retted

Summer is rushing along, tipping noticeably toward fall. The Concord grapes are ripe and fragrant, waiting, camouflaged, to surprise passers by. “Mmm, what’s that smell? Oh, grapes!” But right behind our apartment it currently smells like a retting tank and a woad vat. It’s not “Mmm,” it’s somewhere between “Uh…?” and “Ugh!”

Here in Amherst I am happy to report that we have been having glorious weather for the past week. Flax retting, a modest amount of flax processing, dyeing, making salsa (not really in the scope of this blog, I know) are all continuing apace.

For several weeks, the majority of this year’s flax has been drying on the hay tedder in the tractor shed over at Amethyst Farm (thanks to the generosity of the Brennans). To make room to move this year’s crop gradually into the back of our car (which serves as our shed) I had to ret last year’s flax. I posted about that earlier. That is now all complete.

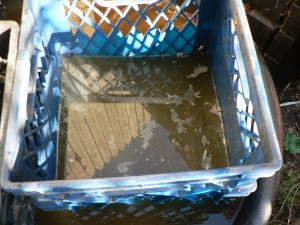
I retted the first batch (from our community garden) in the 50 gallon tank. I didn’t change the water at all during the retting period (from July 27th to August 2nd–six days). Here’s how the water looked when it was ready to pull out.

scummy surface of retting tank

Note the yellowish grey film on top.

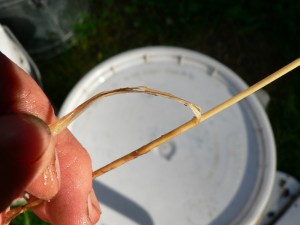
At the flax demonstration in Gilmanton, NH, Gina Gerhard had given Faith and me a tip on how to check when your retting is complete: the fiber should pull away from the stem with absolutely no resistance.

pull test to check ret Continue reading “Last Year’s Flax is Retted”

Mystery Cordage

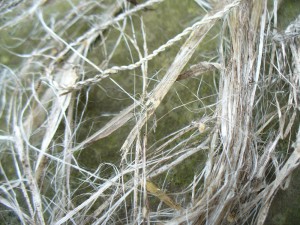
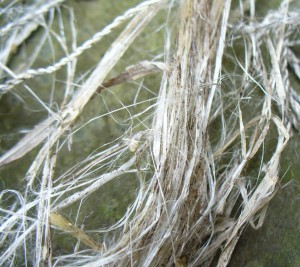
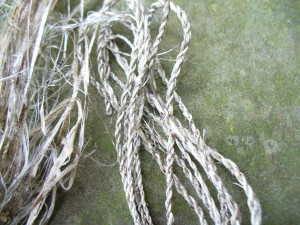
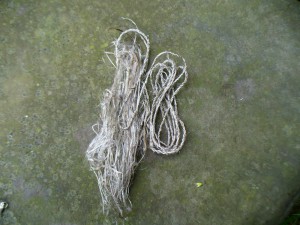
Last week I was down in Maryland visiting my sisters and seeing lots of family at a wedding. One morning, my mom and I went to consult with one of my sisters about various plants that had been planted by the previous tenants outside her apartment. In one spot we found some very intriguing dead and naturally weather-retted bast fiber from the previous year’s growth. Unfortunately I did not bring my camera so I don’t have a photo of it in situ. We don’t know what the plant is, but my sister will keep an eye on it as it develops so we can identify it. Here are some photos of the fiber and cordage.

mystery bast fiber 1

mystery bast fiber 2

mystery cordage

mystery fiber and cordage in process

My method was this: I twisted a bundle of fibers enough to get a kink at the center, then bent the bundle in half. I used my teeth to hold the middle, and twisted both sides at the same time, between my thumbs and index fingers, rolling to the left. (That is, I twisted the left strand with my left hand, and the right strand with my right). Then I wrapped the two strands around each other twisting to the right. To add a new piece, I repeated the starting procedure, but inserted the new bent middle section into the “v” where the two strands separate. I tried to keep the two sides slightly uneven so that the splices would be staggered. I think it has a very pretty silvery quality. I would be happy to use this plant again, once I find out what it is.

Madder Exhaust with Bleached Cotton

I decided to let the twice-mordanted bleached 10/2 cotton skeins air out until the vinegar smell was extremely faint, but not the full 4 to 7 days that Liles recommends. They dried from Thursday morning until Saturday morning, then I used a fixing solution. I used half an ounce of calcium carbonate, which suspends in the water more than dissolves, really. I didn’t use dung. I stirred it up with very hot water, added the dry skeins, put the pot on the stove, and heated up to about 150 degrees, stirring periodically, for 30 minutes.

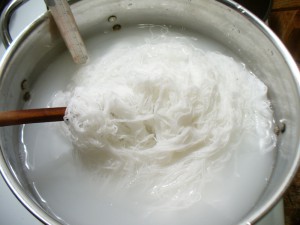
Here are the extremely white skeins in the milky white fixing solution:

fixing solution with bleached cotton

It almost looks like I’ve dyed the skeins white. After 30 minutes, I pulled out the skeins and rinsed them twice, then I had to go to work so I left them to soak in plain water. In the evening I rinsed them twice again.

As it turned out, the fine, moldy-looking film which had been growing on the surface of the madder dyebath got displaced by increasingly large bubbles from fermentation (I assume–not sure about the microbiology here). The dyebath was a bit slimy but none the worse for wear, and it didn’t even smell too bad.

I know I said that I wasn’t going to try anything new this time around except for the scouring and mordanting steps, but I did try two other things. Liles suggests soaking the goods in the dyebath for at least half an hour before applying any heat, and then heating for at least 2 hours. He writes that alizarin, the main red-producing dyestuff in madder roots, is not very soluble in cold water, and just a little more so in hot water. Starting out cold, raising the temperature slowly, and heating for a prolonged period of time (Liles recommends up to 3 hours for cotton) allows the fiber to take up the alizarin as it slowly dissolves. I did soak the bleached cotton skeins before heating. I soaked the first two for 30 minutes, and the third for about 6 hours. Each has soaked overnight in the dyebath before drying and then rinsing. I will post a photo when they are all done.


I Do Detect the Smell of Acetic Acid

I have mordanted my bleached 10/2 cotton skeins a second time with aluminum acetate, which involved heating at 100 for an hour (it actually got up to 150 at one point, oops), cooling overnight in the mordant bath, and hanging outside to dry this morning. This afternoon they are not yet dry, but they do have a strong vinegar-like smell which I think must be the acetic acid Liles mentioned. So I gather I ought to wait until that smell dissipates, which could be several days, before I dye the yarn. Meanwhile, my madder bath is starting to get moldy. I have a pretty high tolerance for decomposition and stinky things, but in a few more days it will be yucky. What to do?

Madder Dyed Yarns

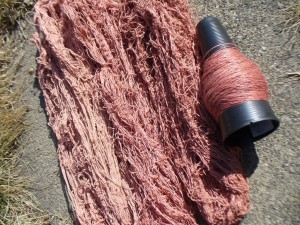
After a leisurely process of heating, soaking, and delayed rinse, the first four skeins of madder-dyed yarns are done. Here they are outside today, a bright and sunny day.

madder dyed yarnsI’ve done four dyebaths so far. The photo above shows successive dyebaths moving from right to left. The yarn on the cone is from the first dyebath. The yarns in the first three dyebaths were 20/2 linen and the fourth was 22/2 cottolin. The linen yarns were mordanted with alum acetate, and the cottolin was mordanted with alum acetate plus tannin. The weight of goods in each dyebath was about 2 ounces.

For the last couple exhaust baths I am preparing 10/2 cotton (bleached) because that’s what I have on hand at the moment. After some disappointing results with my last two umbilicate dyebaths, and out of a general desire to achieve greater depth and brightness of colors on cellulose fibers, I am going to try some new procedures. I’m especially frustrated with cotton at the moment, and for help I am turning to Jim Liles’ book The Art and Craft of Natural Dyeing: Traditional Recipes for Modern Use. In his instructions for scouring cotton, Liles writes, “… simmer or boil for an absolute minimum of 2 hours. Three or 4 hours is better in some cases, and in the old days cotton was sometimes scoured at the boil for 8 hours. Cotton is full of wax, pectic substances, and oil, all of which must be removed.” This is much longer than I’ve ever scoured before.

So, I boiled the skeins for two hours with anionic cationic scour 12/17/2023 Correction! (from Earthues) and soda ash. Then I rinsed them three times, and mordanted with alum acetate at 5% weight of the goods at 100 degrees for one hour, let the yarns steep in the mordant for a couple days, dried them, and am now re-mordanting in the same mordant bath. This procedure is a combination of my usual cellulose treatments (based on recommendations from Earthues) and recommendations from Jim Liles.

Double-mordanting with a period of drying in between is a new experiment for me. Liles gives instructions for making your own aluminum acetate, and writes that you should wait until the acetic acid smell has dissipated before proceeding with dyeing. Since I am using alum acetate that I did not have to make myself, I didn’t detect any acetic acid smell after mordanting the first time, so I went ahead with the second mordant bath after just drying the skeins for a day.

Next will come the “fixing solution” Liles recommends. To remove unbonded mordant, he recommends soaking with a solution of calcium carbonate or sodium phosphate for 30 minutes, then rinsing with water. I’m not sure from the book whether I can just use calcium carbonate, or whether it has to be soaked with cattle or sheep dung. It seems to me that if I have the calcium carbonate, I don’t need the dung (since that seems to be a source of sodium and calcium phosphate), but maybe it helps.

Since I am already pretty far along with this madder project, I’m not planning to make any changes to my usual dyeing, drying, or rinsing steps with the last exhaust baths this time around.

However, for my next madder project I will try one of Liles’ recipes for madder red. Reading through his recipes has been very eye-opening and I am fascinated by, and kind of surprised by, many of the things he writes about. For example, instead of just rinsing the madder-dyed goods, he describes a process where the dyed material is simmered or boiled with soap. This is supposed to make the color brighter and more clear. I watch the temperature very carefully while the roots are extracting and the yarn is in the dyebath to make sure it *doesn’t* boil or even simmer. It never occurred to me that high heat later in the process could be beneficial. Also, he writes that the dyebath ought to be acidic when dyeing cotton or linen with madder. Oops. Did you see my pH comments in the last post? Clearly I had the wrong idea about what that calcium carbonate was for. In fact, he writes that making the dyebath alkaline will produce a bluish-purple. Well, I didn’t get anything like purple this time with my alkaline dyebath, but maybe I can…. So many things to try.

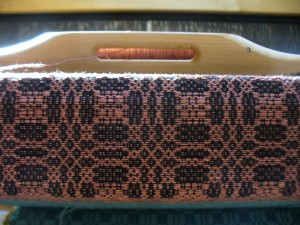
Here’s the madder-dyed linen yarn getting woven into cloth with black 20/2 cotton tabby weft.

cloth with madder-dyed yarn coming around the breast beam

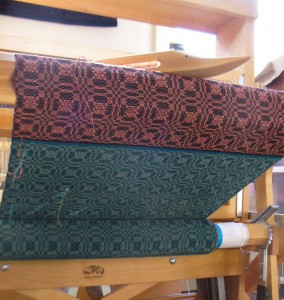
This shot is from underneath the breastbeam to show the cloth winding onto the cloth beam. I really like these colors together. The blue-green is woad overdyed with weld.

book cloth going onto cloth beam


Madder and Flavoparmelia Dyebaths

After three extractions and a lot of soaking in between, my madder and lichen baths are ready to go. I’m sticking with Flavoparmelia caperata for the ID on the bark-growing foliose lichen, though I’m sure I could be wrong.

For each dyebath, I combined all three extractions. Next for some tinkering.

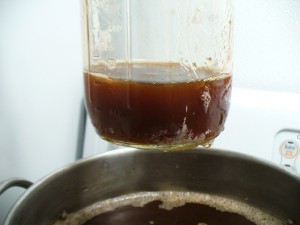
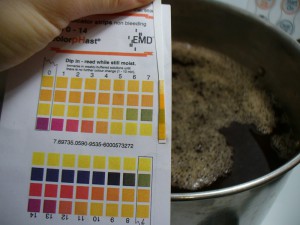
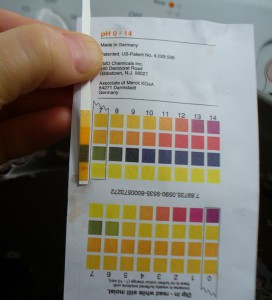
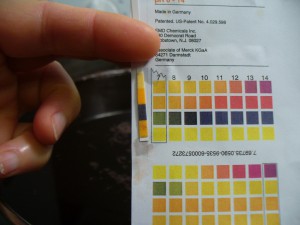
Here are the color and pH of the madder bath before I did anything to it. Brown.

initial madder bath color

initial madder pH

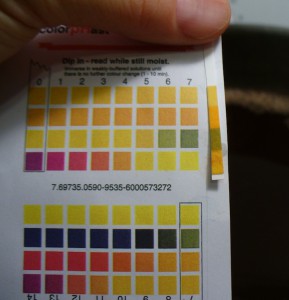
I would call that pH6 which is acidic, not where I want it to be to develop good reds. So, first I added more calcium carbonate (there was already one teaspoon in the roots as I extracted them). This did not produce much of a pH shift (see below). I’d still call that 6, though I don’t know what’s up with that bottom square. It’s not supposed to be so orange. Happily, the color darkened and shifted a little from brown to red.

madder bath color with chalk

madder bath pH with chalkI wanted to get the pH up a little, so I added 1/2 teaspoon dissolved soda ash at first, which got it up to pH 8 (photo on the left below). The dyepot contains about 2 gallons of liquid. I did not weigh my modifiers or figure out the percent on the weight of the dyestuff this time around (I extracted 8 ounces of roots). After another half teaspoon of dissolved soda ash, the pH was 9, which I was happy with (photo on right).

madder bath pH with half teaspoon soda ashmadder bath pH with 1 teaspoon soda ash


Since I’m dyeing linen, I’m not worried about making it too alkaline. I introduced a 2 ounce skein of 20/2 linen half bleach, which I had mordanted with alum acetate back in December, and re-mordanted yesterday for good measure. After 30 minutes heating, the color was promising:

linen yarn in madder bath at 30 minutesHere is what it looked like once I got up to my target, and maximum, temperature of 160 degrees (over 160 you’ll get brown rather than red tones):

linen yarn in madder bath at 160 degreesI am very satisfied with this so far. My quest to create rich color on linen yarns seems to be advancing, though I shouldn’t speak too soon. The color is always lighter once it is dried and rinsed. I held the temp between 150 and 160 for an hour (and actually had to shut off the heat for a while to keep it from getting too hot). Next, the skein will sit and soak all day and overnight in the dyebath, and then it’ll drip dry before I rinse it. I find that delaying the rinse helps with fastness. So, that’s the status of the madder bath. As the week progresses, I expect to re-use the bath repeatedly and get a lot of pink, salmon, apricot, and so on until it’s exhausted.

The Flavoparmelia experiment is less exciting, but at least now I know not to bother with it again, so that’s useful information anyway. Here’s the initial color of the dyebath with all three extractions combined (I started with 5.4 ounces of lichens including a lot of bark).

initial color of Flavorparmelia bathThe pH was a bit weird. I didn’t take a photo (by now you’re probably tired of photos of pH strips). It looked like 6 at first, but as the liquid wicked up it shifted to 5. The initial color of the skein was light and not promising.

linen yarn in Flavoparmelia bath at 30 minutes pH 5Just for the heck of it I decided to see if the color was pH sensitive (since I already had the soda ash out anyway…). I put some of the hot dyebath liquid in a jar and added 1/4 teaspoon of soda ash. It darkened, so I decided to add this solution to the dyebath (I took out the skein first). Since this dyebath contains less liquid than the madder pot, about one gallon rather than two, even such a little soda ash had a noticeable effect on the pH, which went up to 8.

Flavorparmelia plus quarter teaspoon soda ash

linen yarn in Flavoparmelia dyebathlinen yarn in Flavoparmelia bath after 8 hours


OK, I guess there isn’t a big difference between these two photos. On the left is the yarn halfway through heating it, and on the right is how it looks after sitting and soaking for eight hours. I do not plan to exhaust this bath.

February 29th, 2012

The Leap Day of the Leap Year

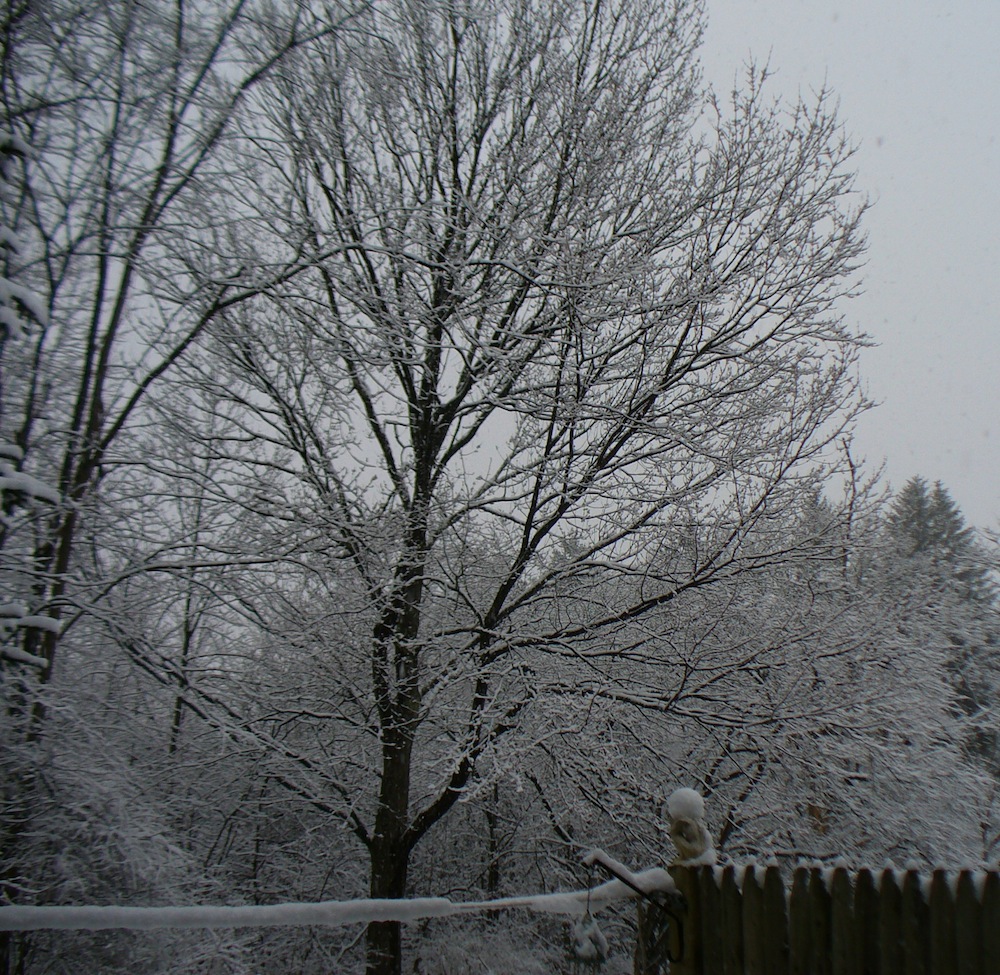
leap year snow

Today it is snowing. A much more typical wintry day than February 1st. Here’s what I have been doing so far today, fiber-wise:

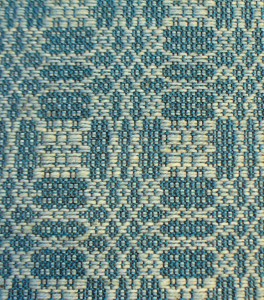
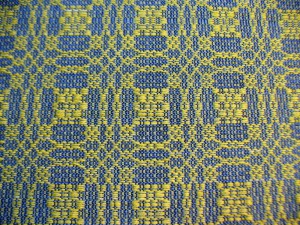
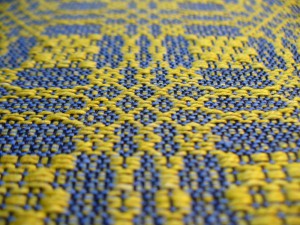
I wove a section on my new warp, threaded once again with Young Lovers Knot, for a new batch of journals. Today I wove the section in the photo below. The blue is 22/2 cottolin dyed with woad and weld, and the tabby weft is teal 20/2 cotton, commercially dyed. When I first dyed the cottolin I was disappointed not to get a better green, but with the brighter colored tabby background it looks very nice anyway.

woad and weld dyed cottolin

I changed the treadling for the sections where I’m using 20/2 linen or 22/2 cottolin because no matter what I do, I can’t beat it square with these yarns. With 10/2 cotton or 10/2 tencel it’s not a problem. Linen is just less inclined to submit to compression. It’s one of the things I love about linen, it has a mind of its own. And really, it’s not meant for overshot pattern weft, so who can blame it? To accommodate the linen, I shortened the square (or table) by two picks.

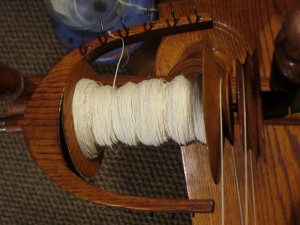
I wet-spun spun some bleached flax top (from Louet, not my own). It’s tow (short fibers). I did about half this bobbin today. My legs got wet, but it went with the snowy theme outdoors, so I didn’t really mind.

wet spun tow

I was originally planning to spin a second bobbin and ply them, but I think I will leave it as singles and take out some of the extra twist when I wind it onto bobbins for weaving. My new plan is to spin the other half dry and then weave samples with them (using them for weft) to see if there is a noticeable difference between wet and dry spun tow.

I did the second extraction on two new dyebaths that I started over the weekend. One is madder (8 oz. roots bought from Aurora Silk a few years ago). The other is the Flavoparmelia lichens I collected this winter, plus the bark they were growing on. Since it is snowing, I heated these indoors today. Fortunately, they both smell amazing. Too bad you can’t smell them. The lichen smells like hot piney woods in the summer or a toasty fire in a cabin in the woods. The madder smells fruity, like red wine or blackberries getting boiled for jelly.

flavoparmelia dyebath

madder dyebathI plan to extract each one more time, then combine the extractions for stronger color. With the combined extractions, I am hoping to get a respectably rich color from the first madder bath, at least. The Flavoparmelia is an experiment, but I figure I’ll give it every opportunity to yield a strong color, if it can.

I am sticking with cellulose yarns for the time being, which are proving to be tricky. The colors are coming out lighter than I expect each time, with the exception of the CRAZY bright weld earlier in the fall/winter. Here’s how it’s looking woven up. These two photos show 20/2 linen half-bleach pattern weft with black 20/2 cotton tabby (on the black warp).

weld dyed linen

weld after woadThese two show the same weld-dyed yarn with a light blue 20/2 cotton tabby weft. It’s a very woady blue, but it’s commercial. (In these sections I had not yet shortened the square, hence it is rectangular.)

weld with blue tabby

weld with blue tabby closeup

Last but not least, I have stirred up my new umbilicate lichen vats to incorporate oxygen. I will post about that separately.

It’s been great to have an extra day to work on all these projects. We should have a leap day every year.


A Tale of Lichen and Weird Winter Weather (Part Four)

Part Four: Dyeing with the Ancient Umbilicate Vat

Winding skeins, scouring, mordanting, tannin baths, etc. took a long time, so the dyeing didn’t actually happen until December. It was the first time I’d used lichens on cellulose fibers. According to Casselman, and others, lichens are substantive dyes, meaning they don’t require a mordant. But I’m inclined to agree with Joan Morris, who said in a workshop last summer, “With natural dyes, cellulose fibers need all the help they can get.” Cotton, linen, and other plant-derived fibers are not naturally inclined to slurp up color the way wool does, so you’ve got to give the fibers every opportunity to hold onto the dye molecules. I decided to mordant with alum acetate *and* treat the yarns with a tannin bath for good measure.

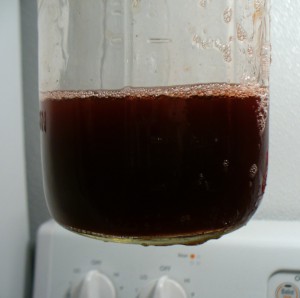
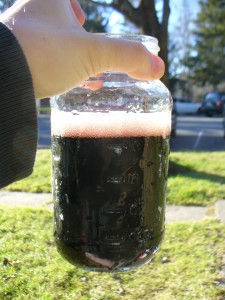
Here’s the vat liquor strained into a jar, undiluted, pH 12 or 13.

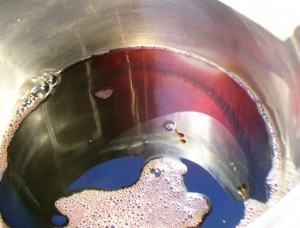
umbilicate lichen liquor in jar Here in the dyepot you can see the magenta color of the vat liquor.

umbilicate lichen liquor colorI diluted the vat liquor with water (6 cups vat liquor to 28 cups water) and the pH was 9. Into this stinky (rotten fishy) pot went my tannin and alum acetate-treated linen and cottolin skeins. Well, if you read my earlier post about weld and cellulose, you know that tannin can have a darkening and weirdening effect on color, even the gallotannin I’ve been using, which is very light. The darkening effect of iron is called “saddening,” so maybe I can call it saddening with tannin, too, but it’s not quite the same. Anyway, you can probably already picture the scene. Here it is:

umbilicate lichen with tannin on celluloseYes, I got a very interesting purplish brown. Basically brown. An unusual sort of brown. But brown. At first I was disappointed and felt very bad because, to me, dyeing with lichens is a weighty thing. I feel there is karma, or at least a moral burden, attached to it in a way I do not feel with goldenrod or Queen Anne’s Lace or other more happy-go-lucky sorts of plants. Venerable ancient organisms shouldn’t be wantonly ripped up and fermented for the making of browns.

Here though, I must digress. Later in December and January, I noticed this color regularly on my walks, especially in the woods when the sunlight was orange-pink early in the morning or just before sunset. Something about the light made the trunks of certain pines (red pine, I think) reflect exactly this purplish brown. I also saw it in tangles of old blackberry canes, and where red maple leaves had fallen and dried among oak leaves. When I noticed this, I felt grateful to the lichens for having opened my eyes to this color. It’s a real color in its own right, with a place in the world, not just an accident or a mistake. Now I love that color. OK, back to the story.

Back in December, still hoping for pink, I added a little soda ash to the exhaust bath to bump the pH up to 10, and used bleached cotton skeins mordanted only with alum acetate. I got a pale bluish pink, a very subtle color, and was happy.

umbilicate lichen no tannin on cotton

A Tale of Lichen and Weird Winter Weather (Parts One, Two and Three)

This is a long story. I will tell it in parts.

Part One: The Snow Storm

At the end of October, 2011, we had a big snowstorm. The snow was wet and heavy, and snapped and broke tons of trees and branches. There were sad broken trees all over the place, and it took a very long time for all the wood to get cut and stacked or moved away. In the woods, depending on how much people-traffic there is, a lot of trees and branches are resting where they fell to this day. And many of these trees and branches were, and are, covered in lichens. It was an unusually early storm with an unusually destructive impact–the first installment of the weird winter, weather-wise.

Part Two: Karen Diadick Casselman

Around this same time, I was planning a series of cellulose dye projects. One of the dyestuffs I wanted to use was an umbilicate lichen fermentation vat that had been sitting in the closet for an indeterminate length of time. Well, it was determinate. Since July 2006. I know, ridiculous. I blame my Master Weaver certificate. After so long, I figured it was time for a refresher on lichen dyeing, so I re-read Karen Diadick Casselman’s Lichen Dyes.

It is an inspiring book on several levels. I especially appreciate her guidelines on the ethics of gathering and using lichens, and her promotion of “salvage botany.” After rereading her book, I was embarrassed to realize how far I had fallen short of the Code of Ethics she outlines, and was motivated to try harder. She suggests learning to identify five species of lichen, including the Latin names, before you collect or use any. I haven’t done this.  I’m lucky to own an incredible resource, Lichens of North America by Brodo, Sharnoff and Sharnoff (a score at Raven Used Books in Northampton many years ago), so I don’t really have an excuse. Among her other recommendations, which I do follow:

“Focus your attention only on found (unattached) lichens.”

“Use for dyeing only those lichens that are conspicuously abundant.”

“Avoid using lichens to make unexceptional dye colors (e.g., beige).”

I take to heart, in particular, this admonition and astonishing, awe-inspiring fact:

“Learn to appreciate that large umbilicate lichens may be hundreds of years old. Respect these organisms as you would any other botanical specimen of mature years.”

Part Three: A Little Personal Lichen Back-story

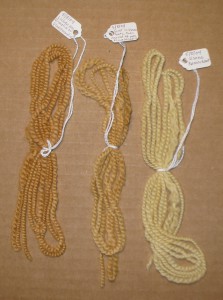
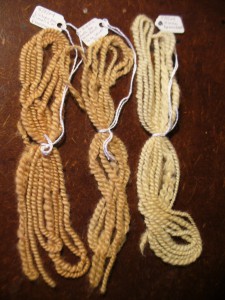
My first lichen experiments were in 2004. I used two different types that had fallen from the trees onto a lawn on Cape Cod. With the boiling water method and no mordant on wool (Finn), one type produced a warm creamy yellow, and the other golden brown. I never did positively identify them. The one which made yellow was possibly some type of Usnea (my best guess was Usnea strigosa), the other possibly a Flavoparmelia (F. caperata?) or Rimelia (R. reticulata?).

Here are the same samples on two different color backgrounds. The sample in the center was first dyed in the yellow bath, then the golden brown one:


Both lichens yielded colors that were much better than beige, but I felt like I could get these colors in other ways, so I didn’t try them again.

Some lichens make amazing colors in the magenta, red, and pink range, with an ammonia fermentation vat. It is very hard to get these colors with natural dyes, unless you use cochineal. Cochineal is not local to New England. Plus, it’s pregnant female bugs and that just makes me feel bad. So, using these special lichens seems worthwhile to me.

These awesome lichens are called umbilicates. An umbilicate lichen attaches to its substrate (what it grows on) by an umbilicus, which is like a little foot or holdfast, or an umbilical cord. I’m sorry to say that I am still not positive if I have been using Umbilicaria americana or U. mammulata, or perhaps both (apparently they often grow together).

These umbilicates are not too hard to find, if you do a lot of hiking around in the woods. They grow on steep rock faces, and where they are happy you can sometimes find tons covering the whole surface. It’s a simultaneously earthly and alien sight.

Here are some happy lichens growing on a small south-facing cliff yesterday (February 6th, 2011):
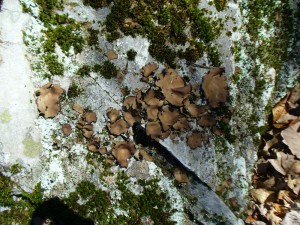
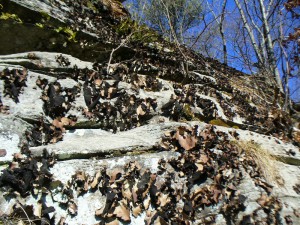
umbilicate lichen on rock

umbilicate lichen on cliffIf you tear around the edge and leave the umbilicus attached, the lichen can keep growing. 12/17/2023 Editor’s note: Yikes! My deepest apologies for ever doing this! Don’t do this! Edge-pieces will fall on the ground all by themselves, and you can pick up the fallen pieces if you look around the base of the rocks.) My practice had been to gather infrequently and sparingly from several different spots. This was how I gathered the jar-full that had been sitting in the closet in an ammonia solution fermenting for oh so long. I have used them a few times very successfully on wool.

Here are the samples of my umbilicate dyebaths on wool, using the ammonia fermentation method that Casselman outlines in her book.
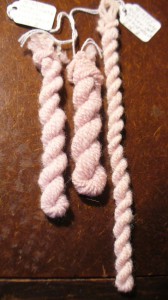
umbilicate lichen pale pink on wool


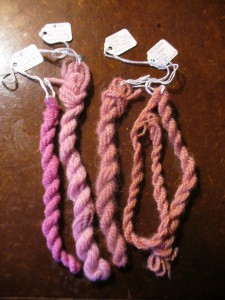
umbilicate lichen pinks on wool

The top picture demonstrates that too much fiber will give pale colors, so don’t be greedy with umbilicate vats. This process requires a bit of discipline and restraint.  In the bottom picture, the difference in color between the samples on the right and the ones on the left is due to pH. The ones of the left were immersed in a high pH bath (not as high as the vat itself, but still very alkaline). For the ones on the right, I added vinegar as well as water to the vat solution, and got the pH down to 7. In general, higher pH (alkaline) will give more blue colors, and lower pH (acidic) will give more reds.
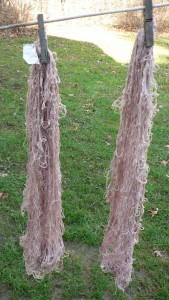
There’s more to come in the lichen saga, so stay tuned.