
Growing Weld
If you are a gardener who is interested in dyeing with plants, there are many interesting dye plants that you can grow in your garden. Weld (Reseda luteola) is one of them. It is originally a Eurasian plant, and its use dates back to antiquity. It has not naturalized here in New England, unlike so many other Eurasian plants. So, if you want to use it, you have to grow it yourself or buy it from a natural dye supply company. It is relatively expensive to buy, but it’s very easy to grow, so I encourage you to grow your own. Weld produces a very lightfast source of yellow, thanks to the luteolin that is present in all the above-ground parts of the plant.
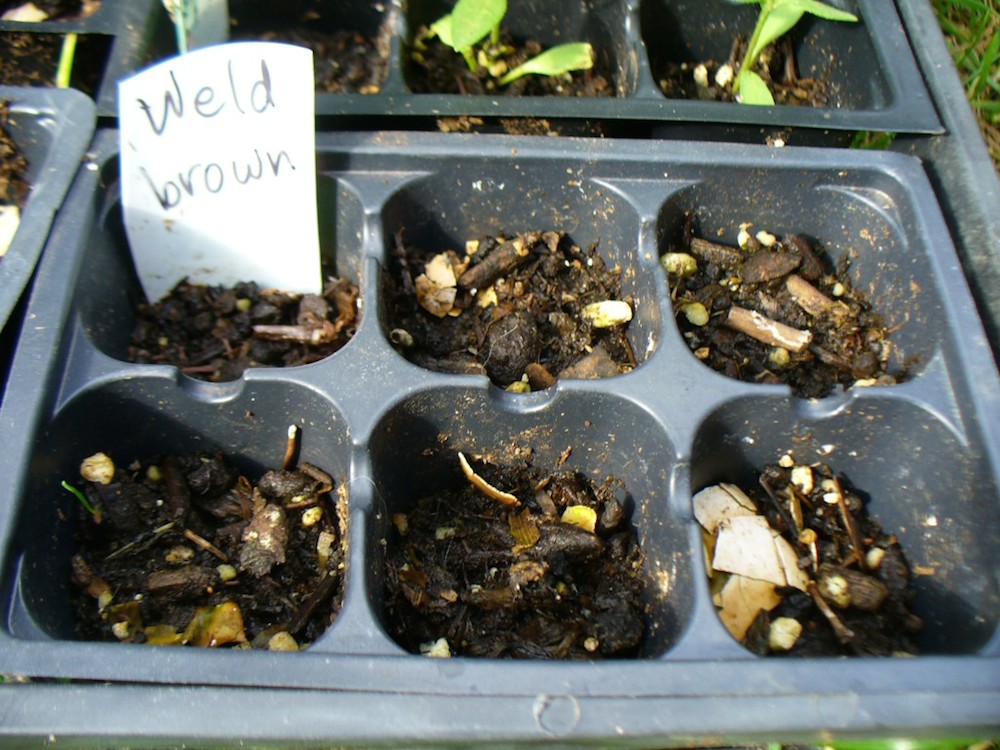
Starting Seed
I find that it is difficult to direct-sow. The seeds are incredibly small, and need to be kept consistently moist while germinating. I usually start the seeds in small pots and transplant them when they’re big enough. I am fairly certain that only the black seeds are viable, but it is hard to to separate the green, yellow, and tan seeds efficiently, so I just plant a pinch of mixed seed and thin the seedlings if necessary. The photos below show the results of a germination test I ran in 2011. You can see that none of the yellow or brown seeds germinated, but the black seeds did: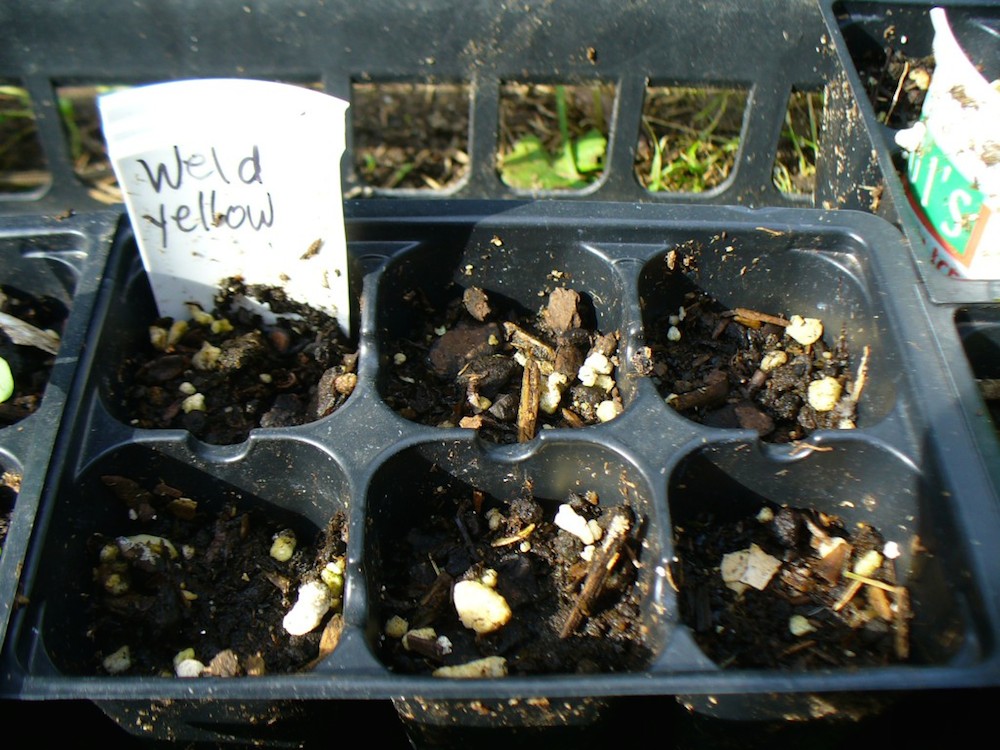

The plant has a taproot, so transplant carefully. Weld prefers alkaline soil, and you can add chalk or lime to your bed if your soil is acidic. Wherever you put it in your garden, be sure to leave space for much larger plants in the second year.
Weld is a biennial, which means that its lifecycle takes two years. In the first year, the plant grows low to the ground in a round clump or rosette.
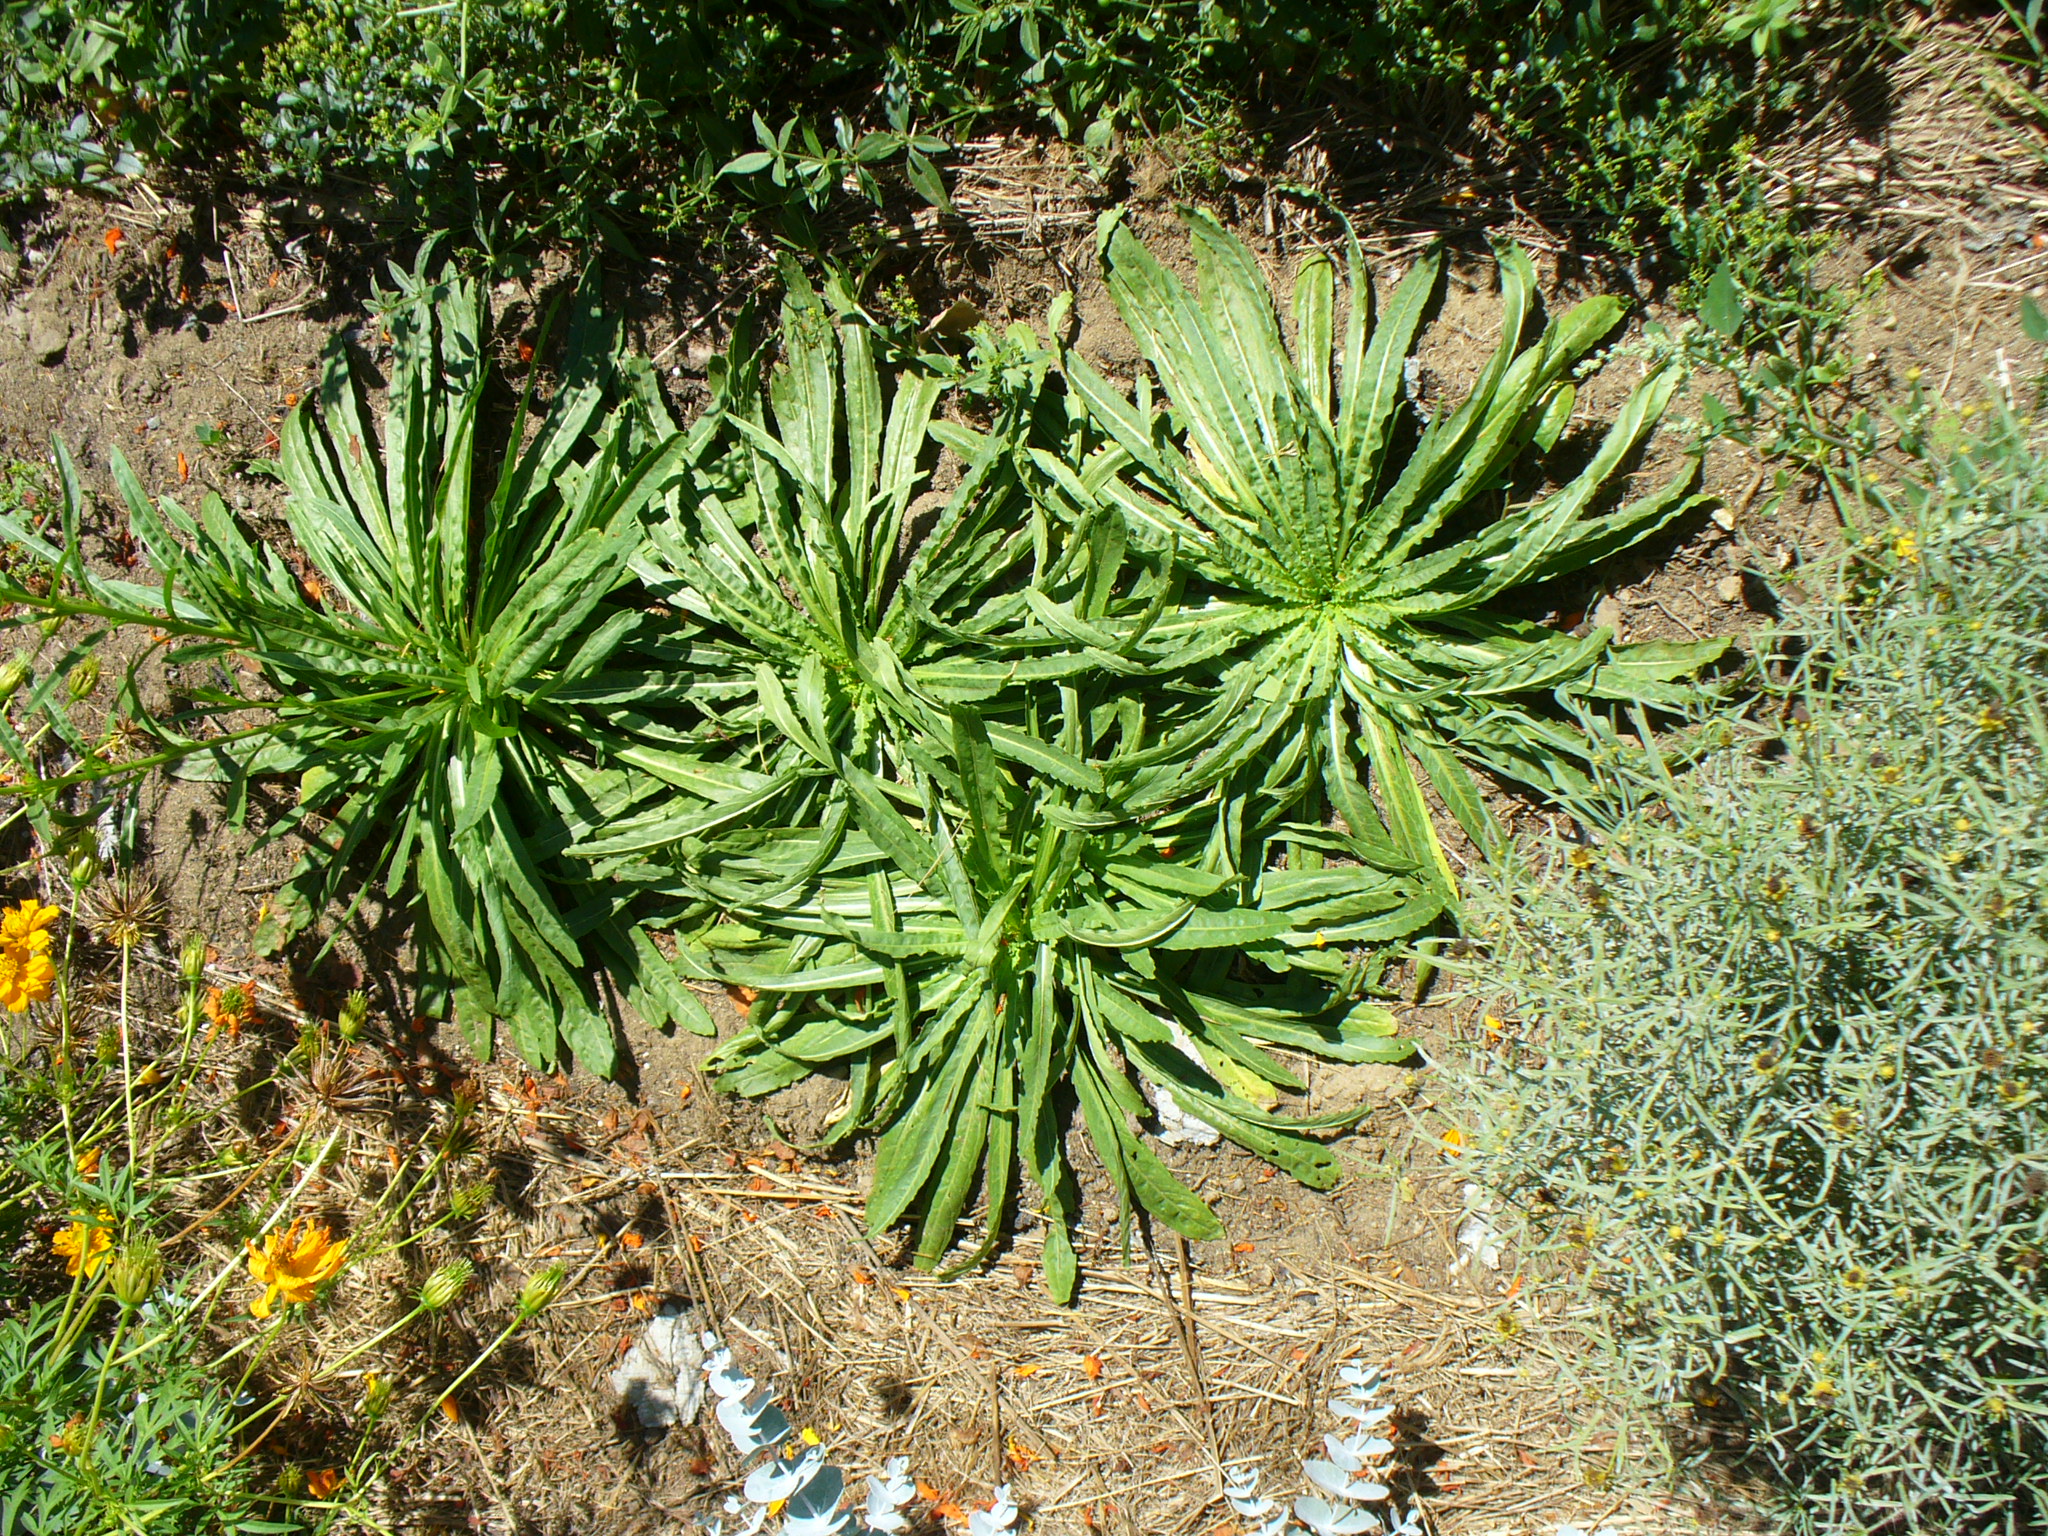
The leaves are long and thin with wavy edges. You can use the leaves in the first year by cutting them close to the center of the plant. The quantity of plant material that you can gather in the first year is relatively small, though, so I usually wait until the second year to harvest weld.
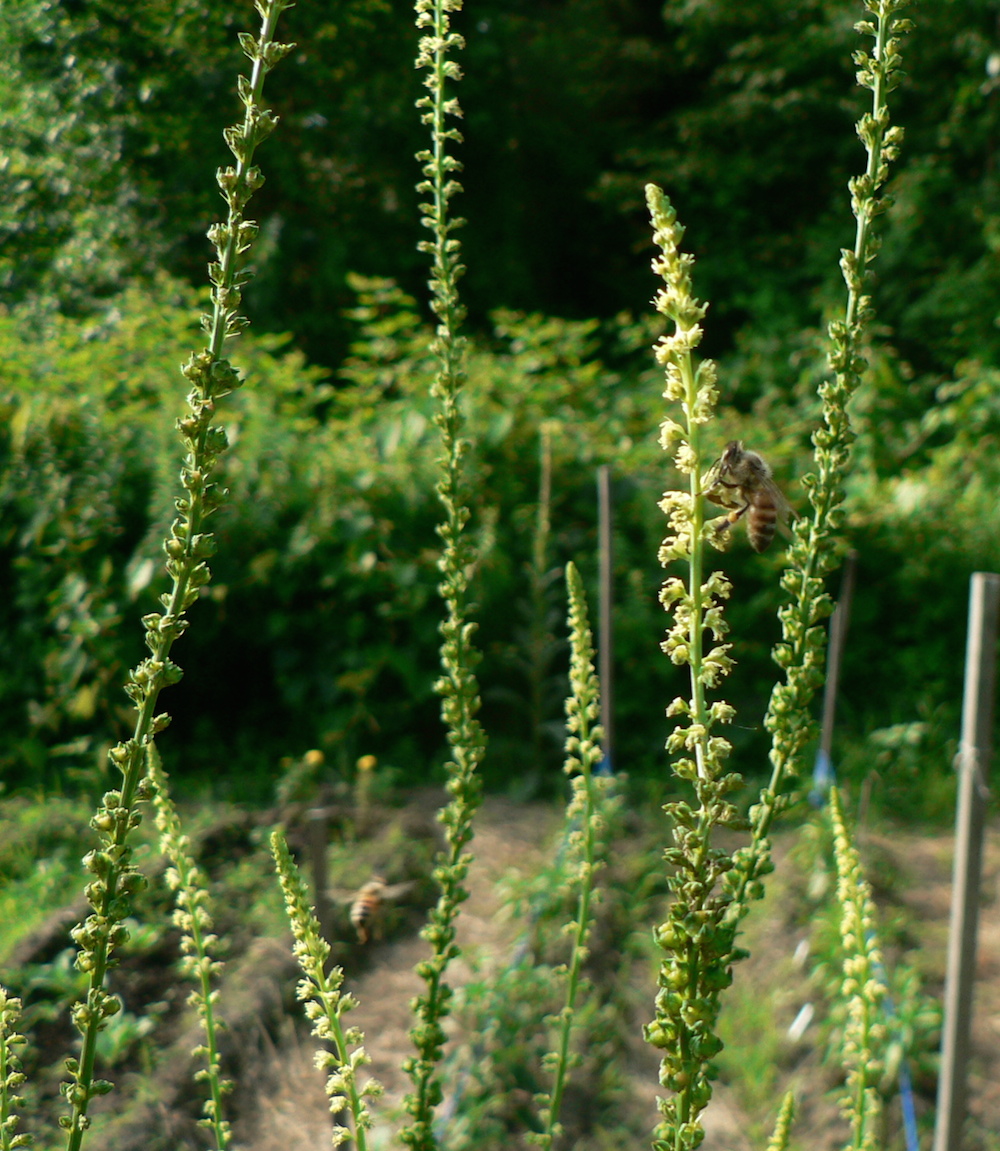
In its second year, weld sends up a tall woody stalk that can get as high as 5 feet.
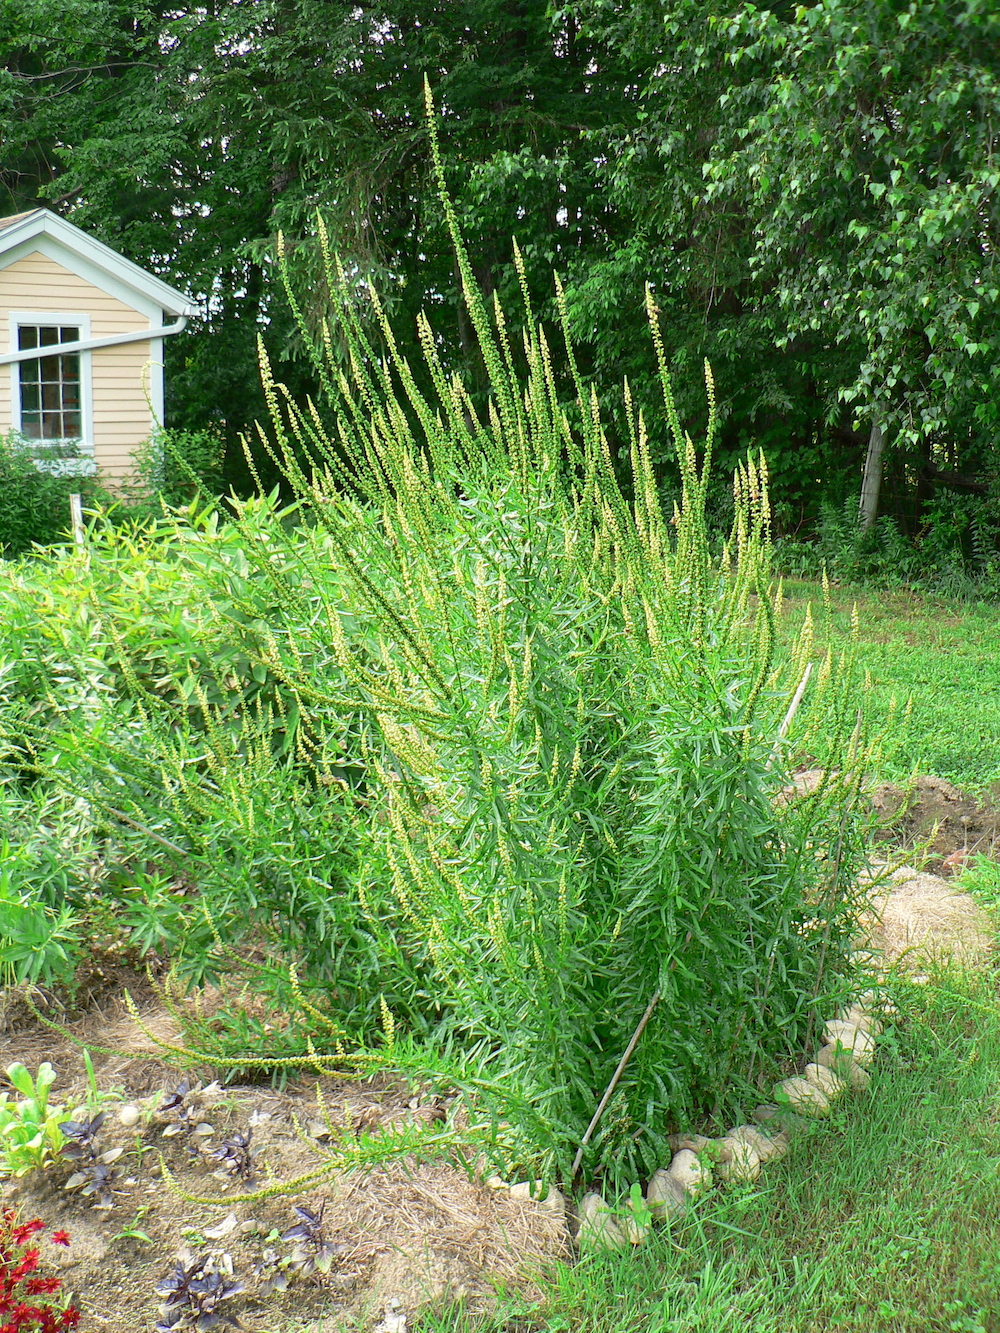
It produces tons of tiny creamy-colored flowers that are attractive to bees and other insects.
It is easy to save your own seed, though cleaning it can be a chore. Some dyers find that letting the plants go to seed produces an unwanted abundance of volunteer weld seedlings. In my experience, I get at most one or two volunteers a year, which is manageable.
To harvest weld, cut down the entire stalk in full bloom.
If you are saving seed, wait until you can see dark colored seeds at the lowest part of the flowering stalk before harvesting. The flower stalks keep adding new flowers at the tip, while the seeds mature at the base.
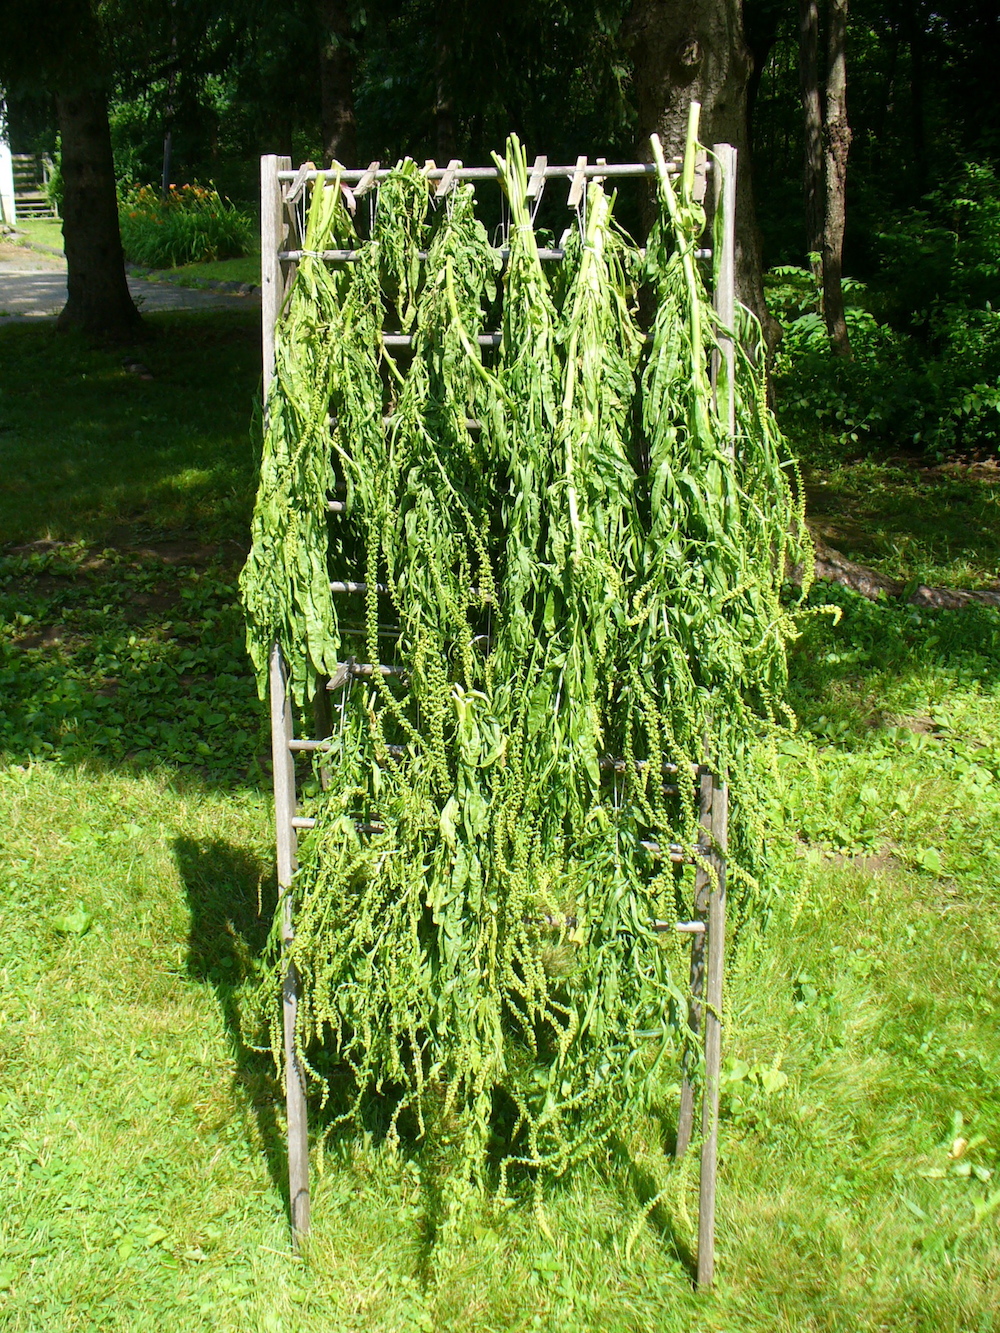
You can use weld fresh, or dry it for future use. I hang it upside down from a laundry-drying rack to dry. In some years, I have noticed a strong smell as the weld dries. It is not to everyone’s liking, so be prepared to dry it with ventilation or move your drying set-up if the smell becomes objectionable.
Once it’s dry, chop up the plant material to reduce the bulk, and store it in a dry location until you are ready to use it. The dried stalks can be extremely hard and woody, so I use garden clippers. I store dried weld in a paper bag to absorb any condensation when there are temperature fluctuations, and seal that inside a plastic bag. It also keeps well in a cardboard box.
Weld is known for producing extremely clear, bright yellows. It combines beautifully with indigo, Japanese indigo, or woad to make greens, and with madder to make oranges.