Smith College Botanic Garden Show!

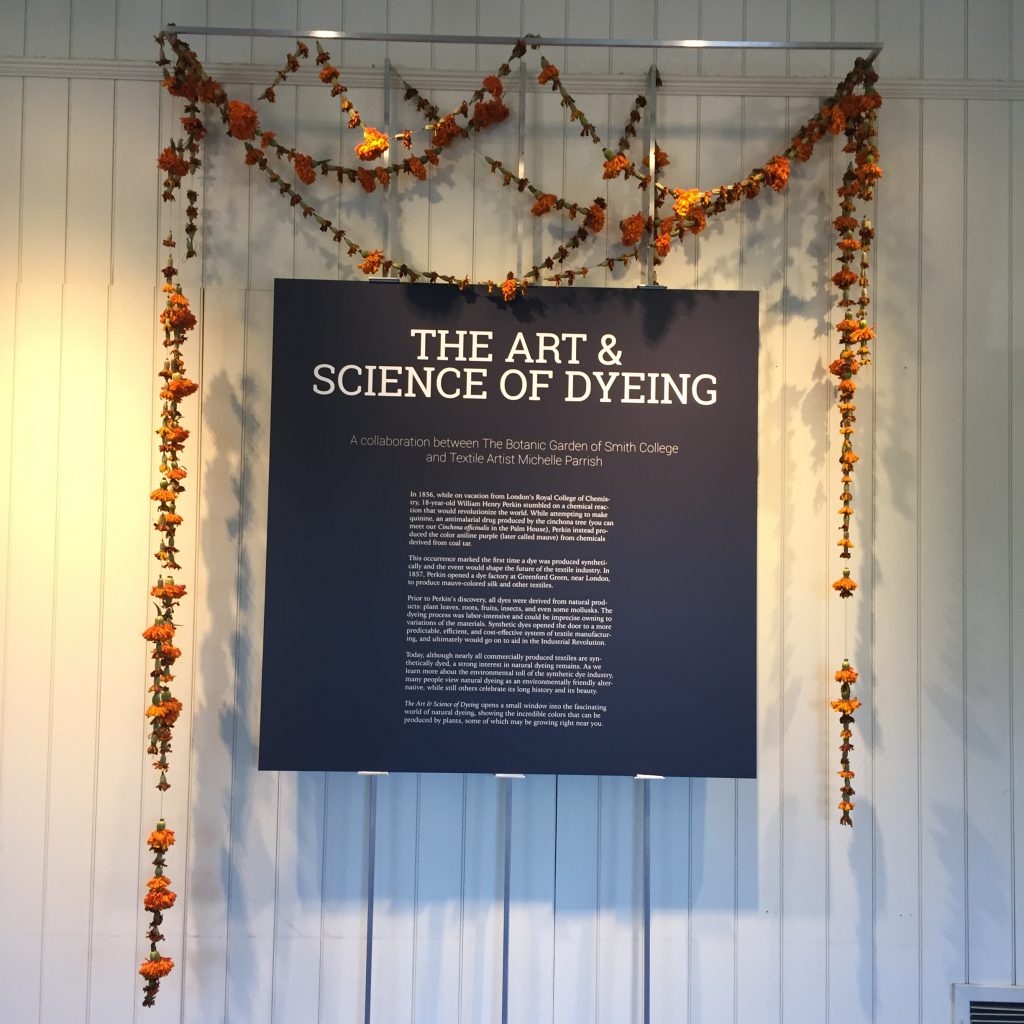
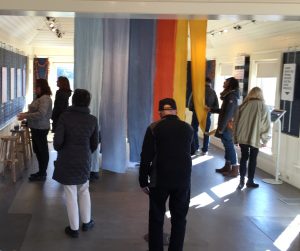
The show is up at Smith and it is gorgeous! Actually, the show opened way back in September. It will be up until May, so you still have time to go see it. Here’s the sign that greets you as you walk in. It makes me feel famous!

The whole concept of the exhibit was the vision of Sarah Loomis, Manager of Education at the Botanic Garden. I am so grateful to have been a part of creating it. It’s incredibly satisfying to stand in the gallery and see how it all came together.

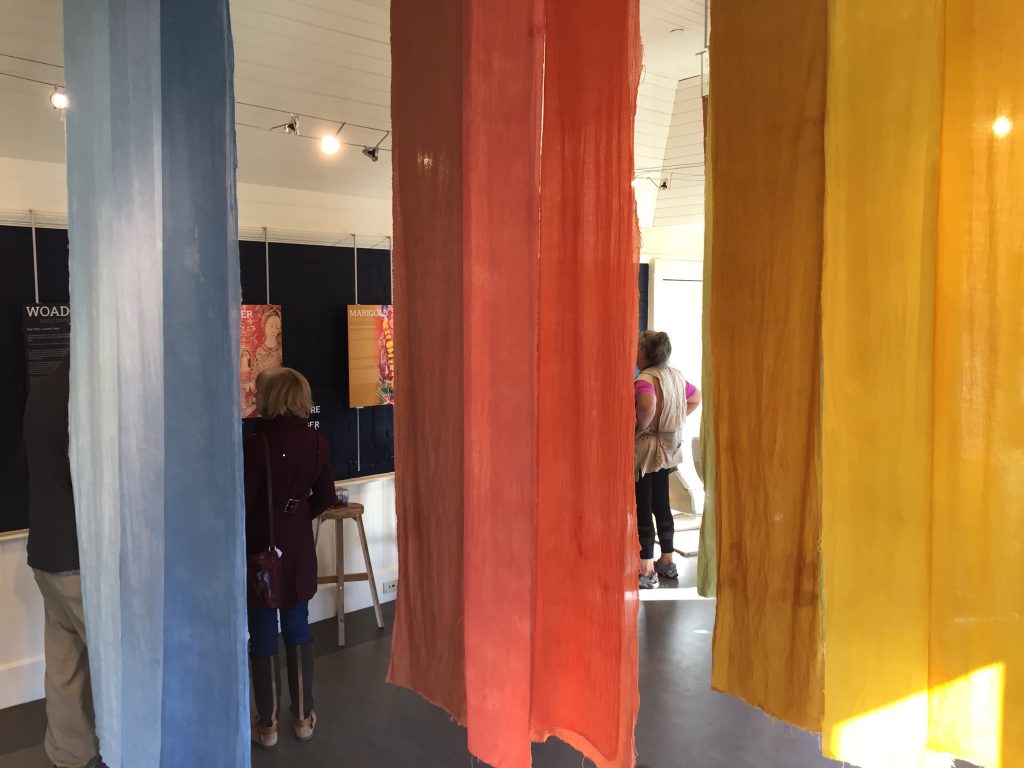
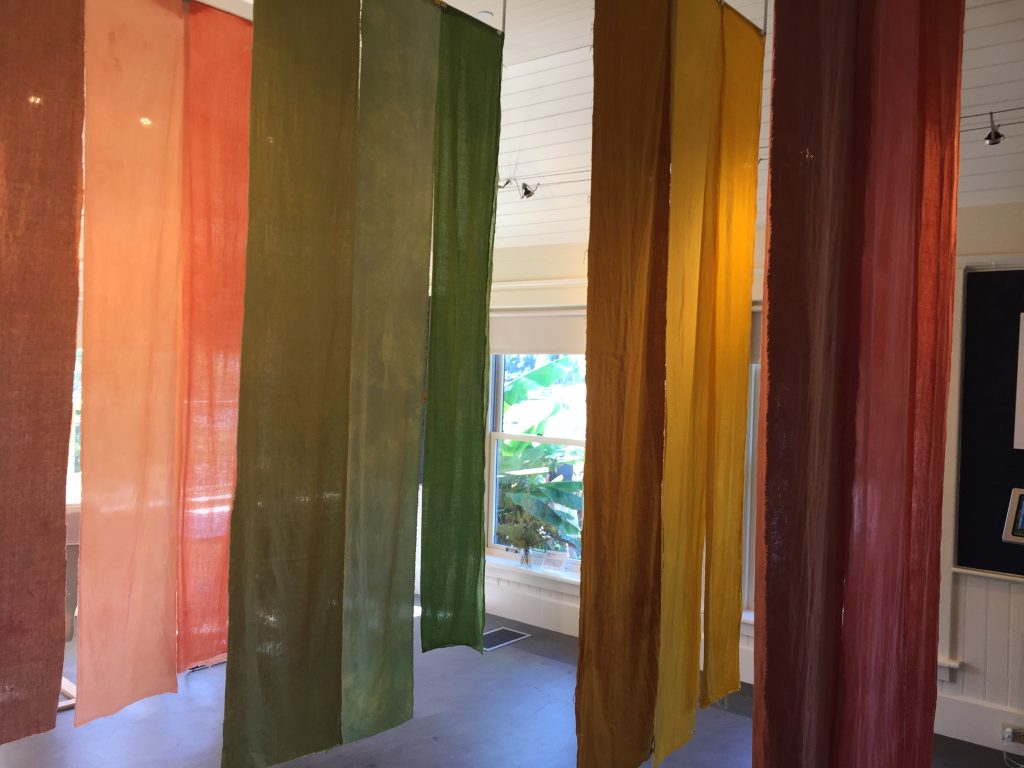
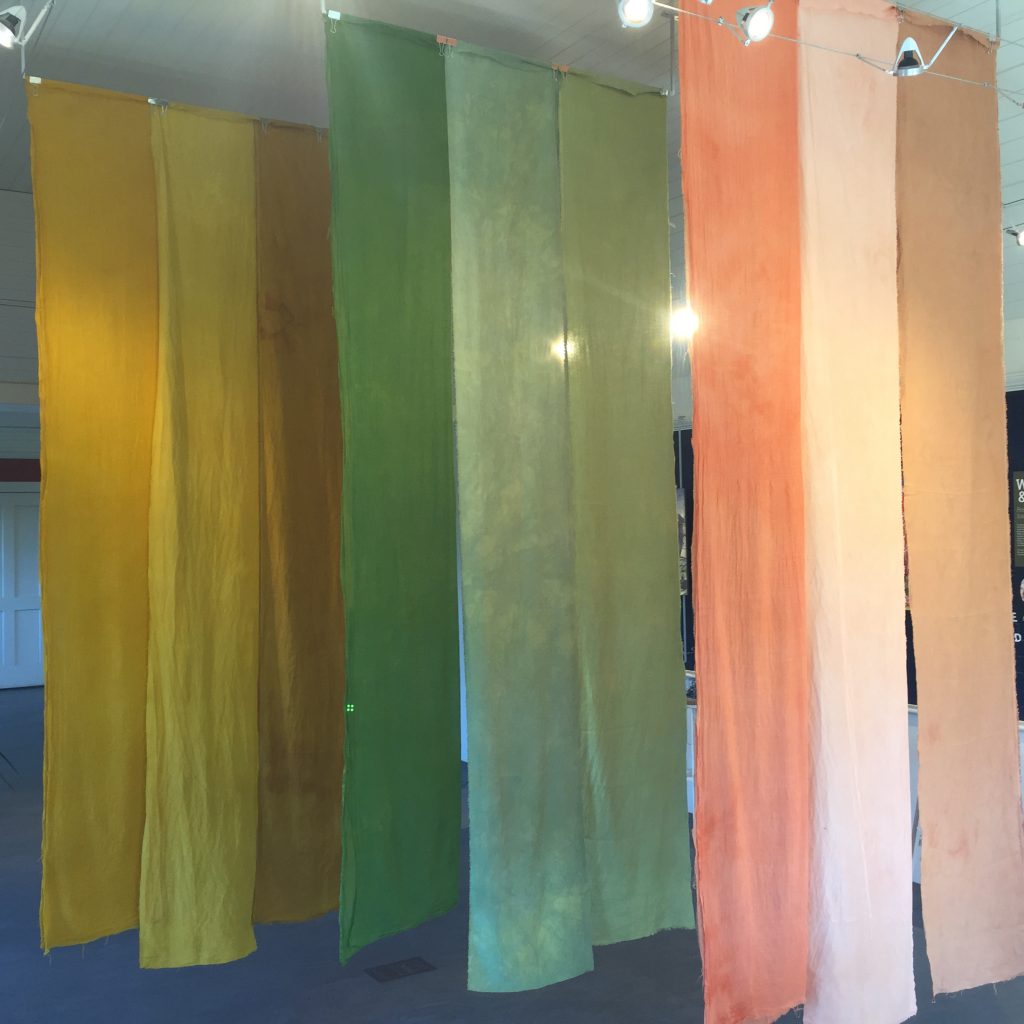
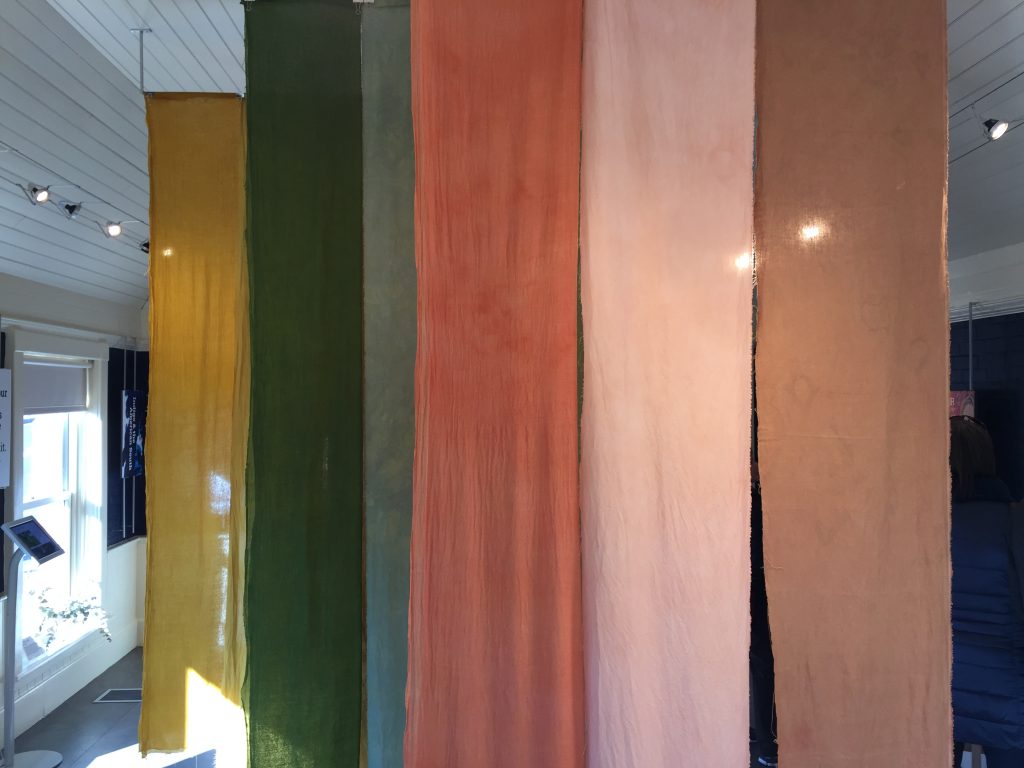
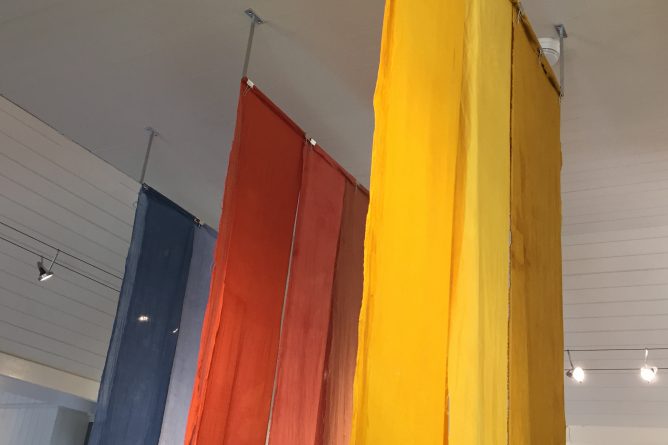
The first sequence of panels that you see as you enter the gallery space is the primary color sequence of blue, red, and yellow. The blues are from woad, the reds are from madder, and the yellows are from marigolds.

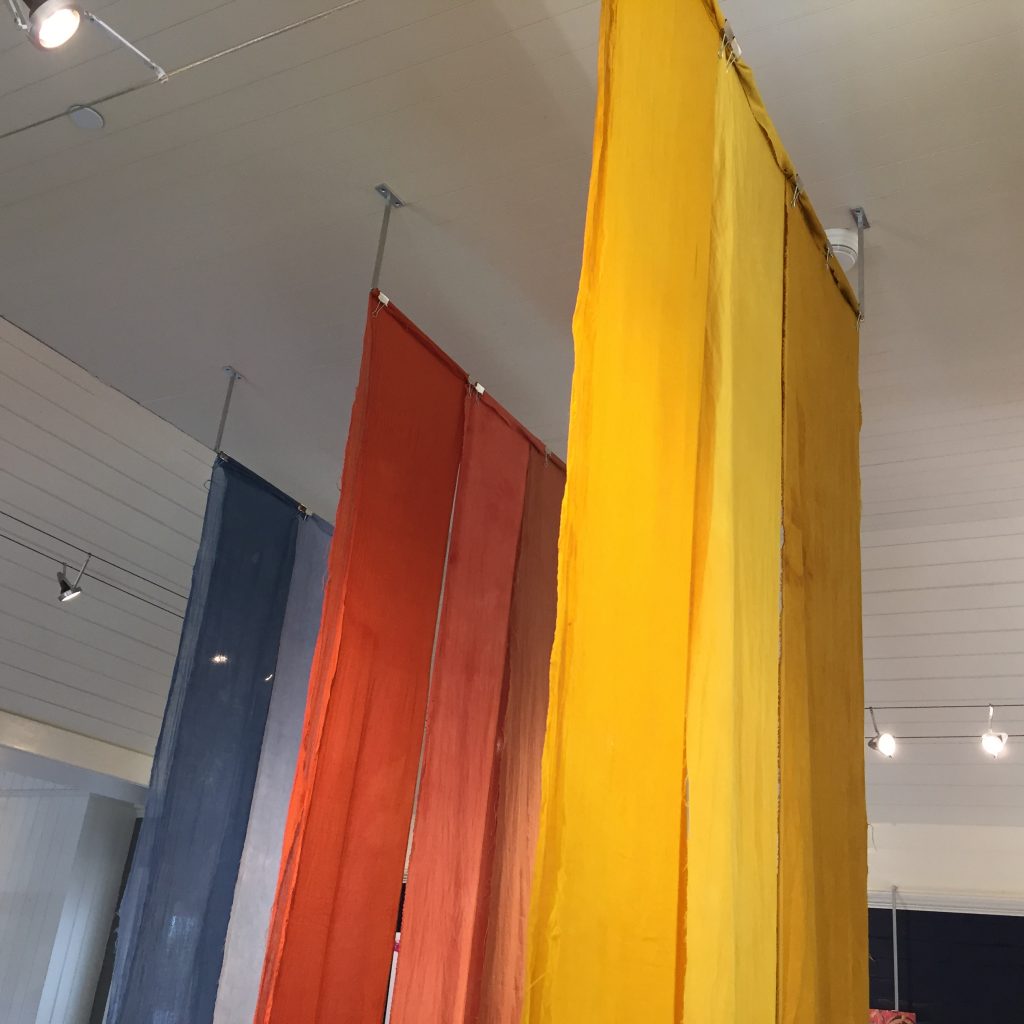
For each color I dyed three different fibers: linen, silk, and wool. In the photo above, the linen is on the left, silk is in the middle, and wool is on the right. Each panel is 9 feet long (or tall) and 16 inches wide. The wool gauze was very sheer, so those panels are doubled. I really love the color saturation of the two layers of cloth.

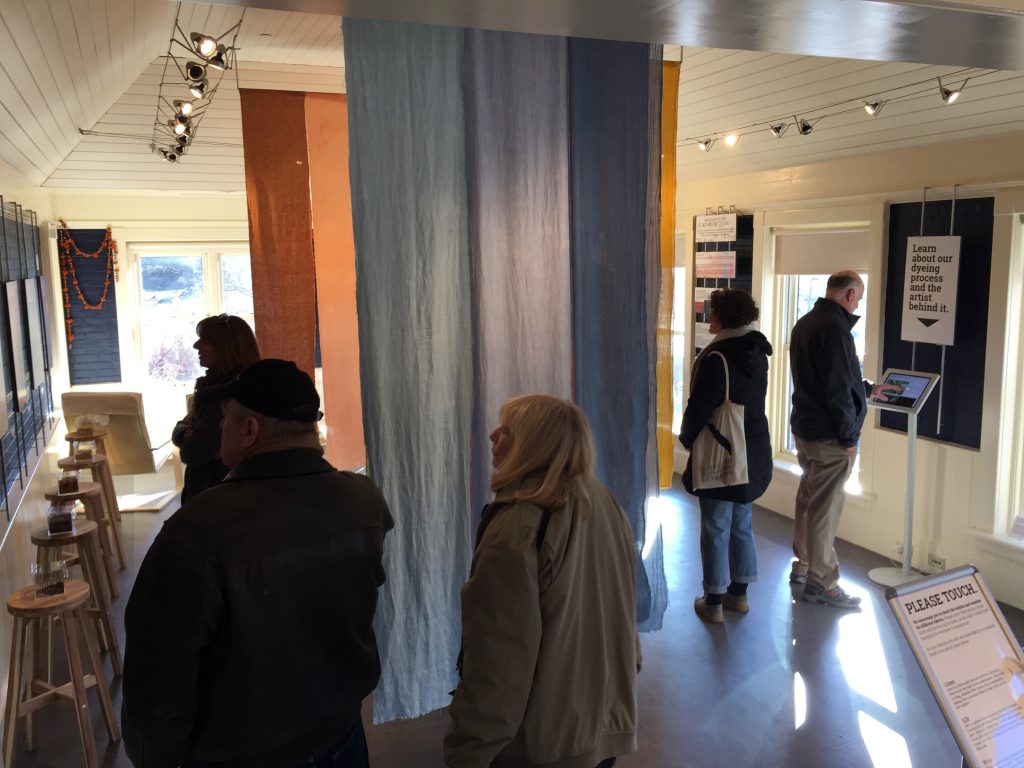
Depending on the lighting and the angle, the colors look different. Looking at it from the other direction (below) the wool is on the left, silk in the middle, and linen on the right.

It’s really fun to see how people are interacting with the cloth and the space. A sign at the entrance invites visitors to touch the cloth. And people do!

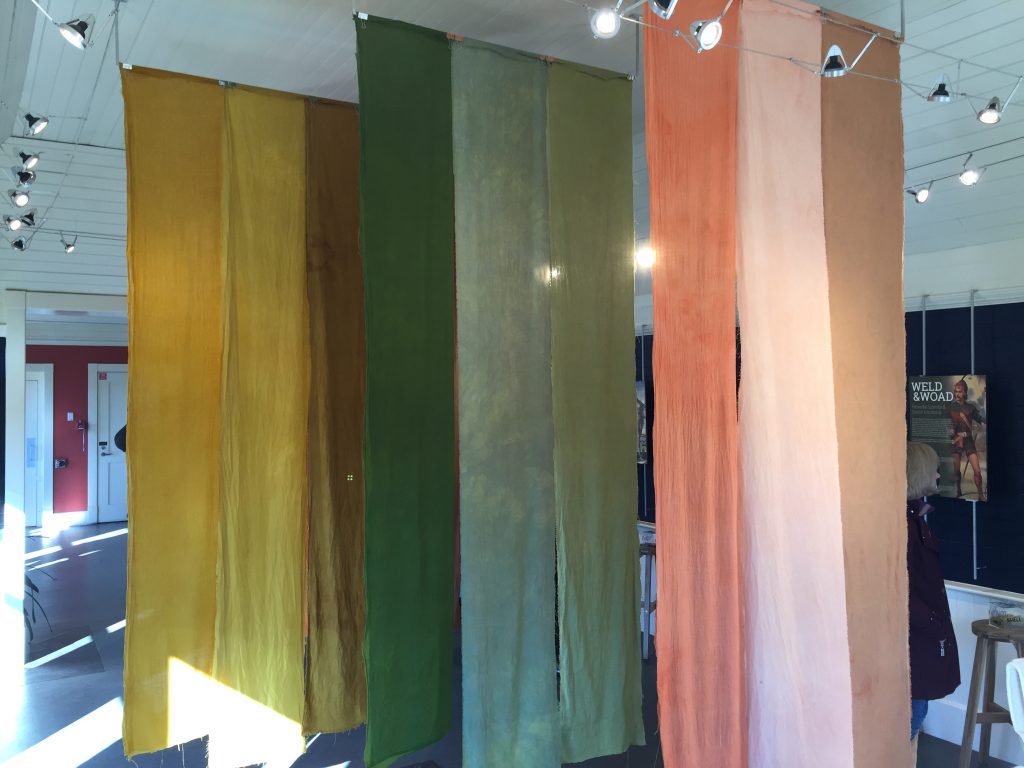
The long panels create a delightfully immersive experience.

There is space to move between the panels so you can be surrounded by color.

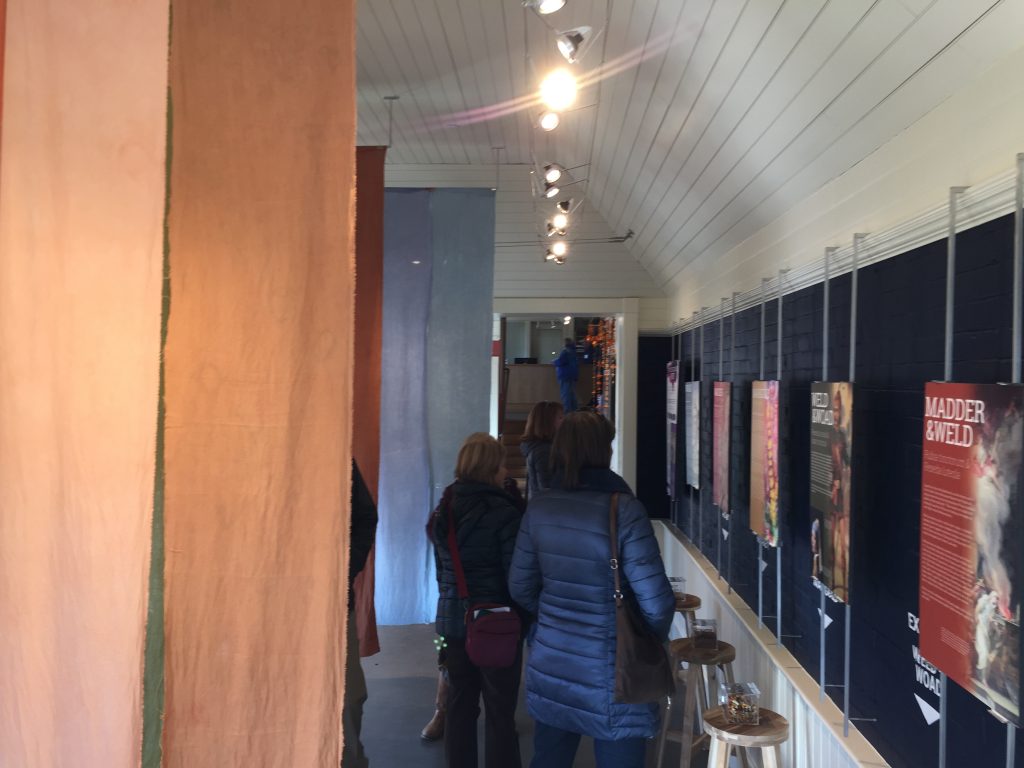
The interpretive panels are beautiful and informative, explaining further about the historical uses of each plant:

The interactive components are engaging and fun. My favorite are the clear boxes full of dried dye plant materials that you can open up and smell. Stinky weld, sea-weedy woad, fruity madder, mmm! You can see the boxes on the stools in the photo above.

There’s also an interactive screen with a slideshow about the steps in dyeing with woad. It’s a thrill to see that people take the time to look through it!

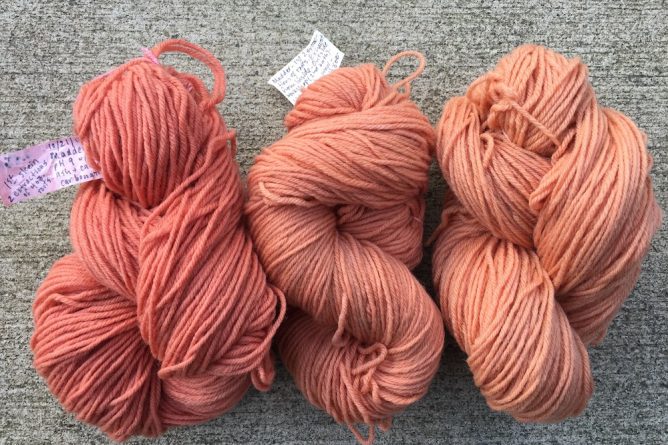
On the other end of the gallery are the orange and green panels. Honestly, they are more pink and peach than orange, but I still think they look lovely. The “orange” shades are from weld and madder together in the same dyebath. The greens are from woad overdyed with weld.

Again, depending on the angle and the lighting, the colors look different.

Not only does each fiber take up the dye differently, they each have a different texture, too. It’s just so rich and luscious!

250th Post!

This is my 250th blog post. It feels momentous. As I anticipated this post, I tried to decide whether I should write something just about the momentousness of the occasion, or write a post that will help me catch up on the backlog of topics that I’ve been meaning to write about. I read back through some of my earliest posts to ponder the best course.

My very first blog post was about black walnuts, but it’s too early to be using those just yet. My second post was about weld. I recently used weld for my Smith College Botanic Garden project, so that gave me a “full circle” sort of feeling to mark the occasion. Weld it is. Me and weld, we go way back.

Ironically, for the Smith project I did not use my own weld. I have been growing it for years, and saving my own seed for years. However, for this project I didn’t want to blow my whole stash on one project. So, we ordered weld from Aurora Silk because they had a volume discount on 5 lbs., which is what we bought (and used).

I had to laugh at the description on their website: “Weld smells delicious, like honey, and bees love the flowers.” It is absolutely true that while the plant is blooming, bees love the flowers, and that the flowers smell amazing. Dried, it is another matter entirely. And this was the stinkiest weld I have ever smelled!

As with the madder that I wrote about in my last post, we set the weld to soak in a 5 gallon bucket on July 10th. We soaked 51 ounces of finely chopped weld. That’s just over 3lb. We didn’t have the wool gauze in hand yet, so I wasn’t using all the weld that week. Still, it was a lot by my standards. Here’s the bucket:

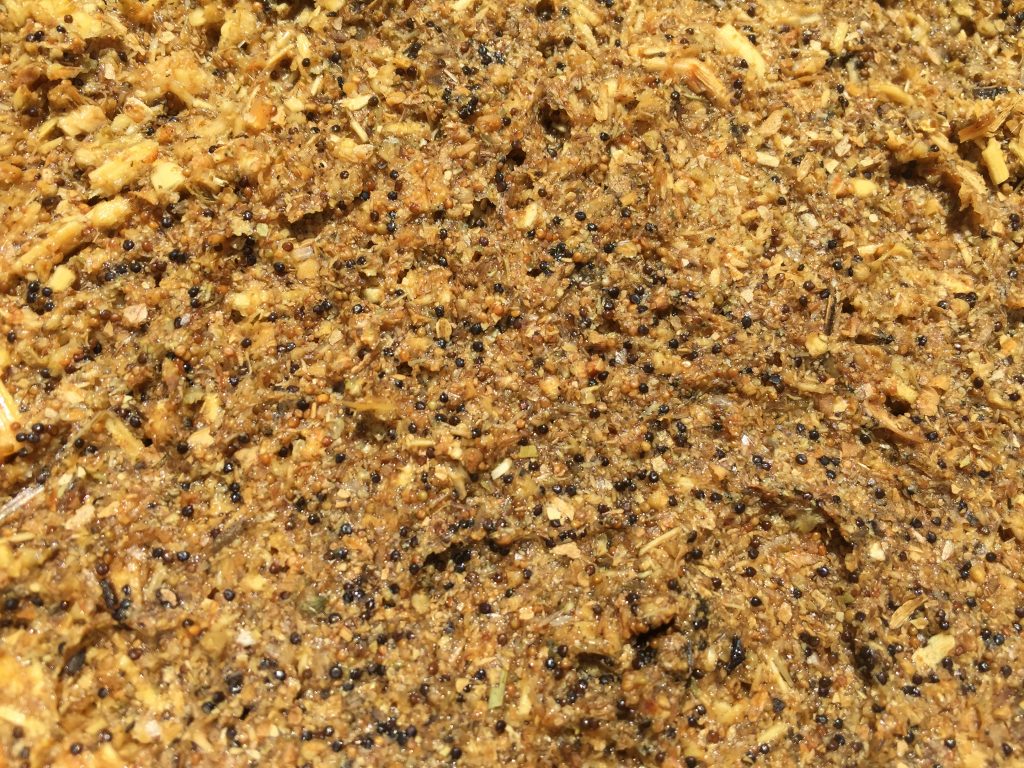
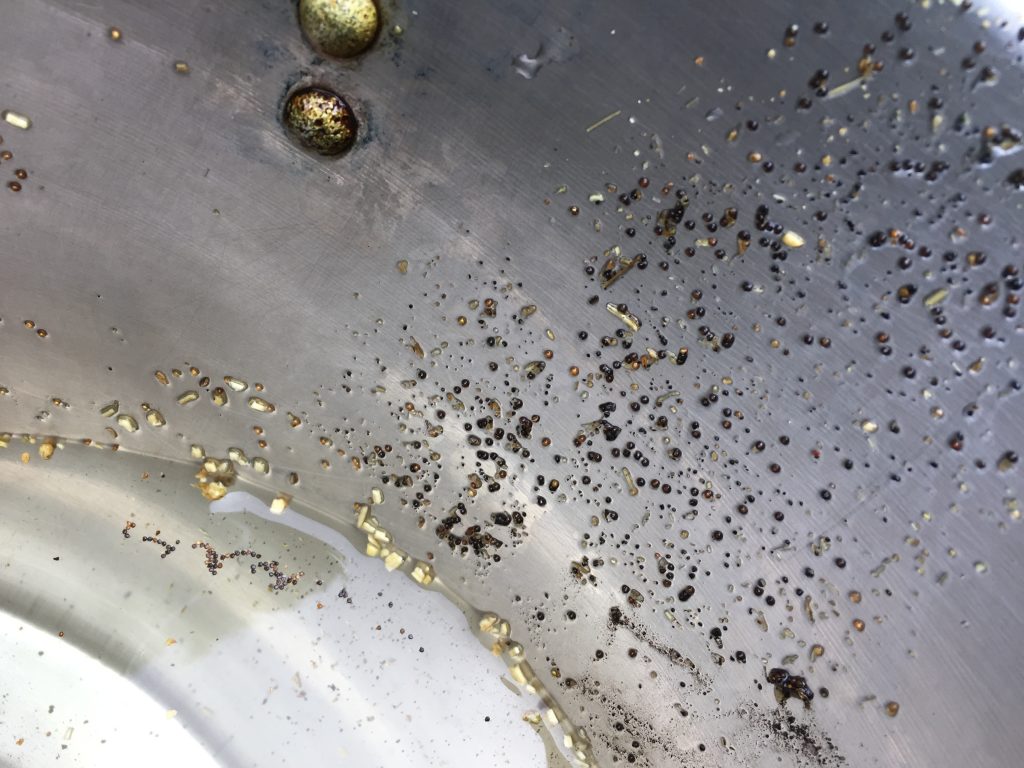
I took a closeup photo of the surface. I couldn’t believe how many seeds there were. Well, OK, I could believe it. Weld makes zillions of seeds. The seeds are the glistening black, tan, and yellow spherical dots on the surface, because they float:

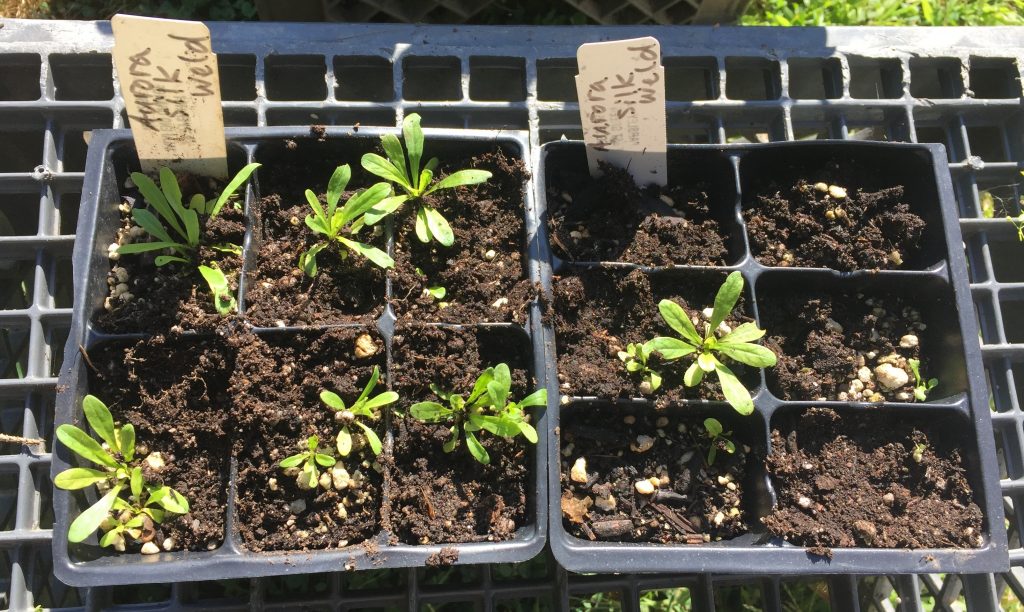
Because I am who I am, I had to try germinating some of these seeds. They were easy to separate from the rest of the plant material:

Yes, some of them grew.

I now have Anatolian weld plants to add to my dye plant collection. I do not know whereabouts in the world my original plants came from, alas. It’s actually getting a little late in the season to put these in the ground, so we’ll see what happens.

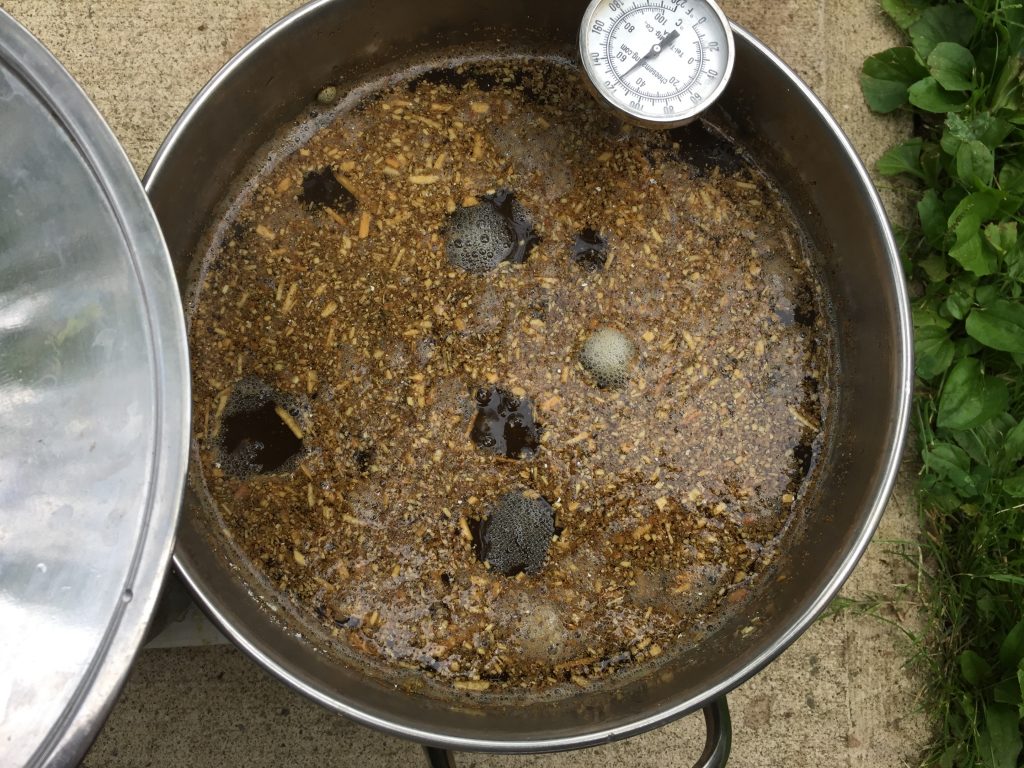
The weld soaked overnight. As with the madder, I extracted it twice on Thursday. Again, I divided the plant material into two or three pots. Here’s the first extraction heating up on Thursday morning July 11th:

Here’s Sarah on Friday morning helping me to strain out the plant material from the second extraction:

I typically add chalk and soda ash to weld for maximum oomph, so that’s what I did. Even though weld makes fantastic yellows in its own right, this time I was using it to make two secondary colors, green and orange. For the orange, I combined half of the weld bath with half of the madder bath. I guess I took a photo of the linen on Friday afternoon, but not the silk for some reason:

FYI, I prepped the linen and the silk for the orange bath just the same way that I prepped them for madder, which I wrote about in my last post. The linen was scoured, treated with chestnut tannin, then mordanted with aluminum acetate. The silk was just washed and mordanted with aluminum sulfate.

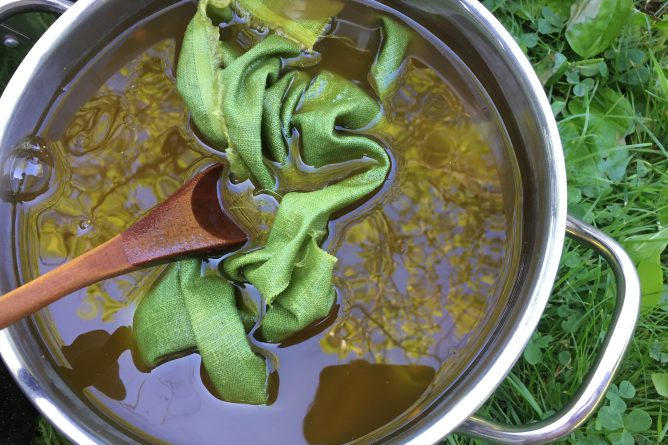
For making green, I had decided to dye the linen and silk blue first in the woad vat that we ran on Wednesday July 10th. For many years I have had good success dyeing woolen yarns blue first, then mordanting and dyeing them with yellow to make green. I have had much less success with linen or cotton using this method. Catharine Ellis’ research convinced me that the best way to make deep greens on cellulose fibers and silk was to do the woad dyeing first. All of her blog posts are incredibly informative, but this is the one that shifted my thinking about making green.

So, I dyed the linen and silk pieces in the woad vat on Wednesday July 10th. To prepare the linen for the weld bath, I decided to use gallotannin from Earthues (bought from Long Ridge Farm) since it is a lighter tannin.

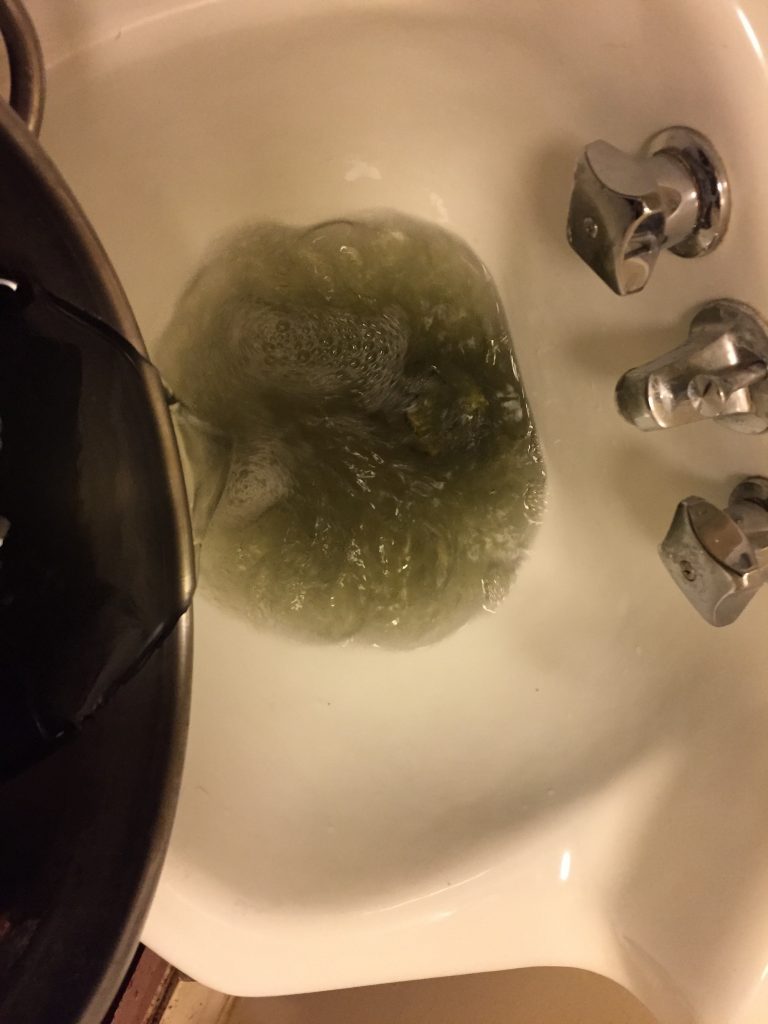
There must have been some metal contamination as the cloth sat overnight, because by the morning the liquid was dark and so was the cloth. On some of my dye pots, the handles are attached with rivets.  I’m thinking that the rivets leaked iron or other metal into the tannin bath. At first I was dismayed.

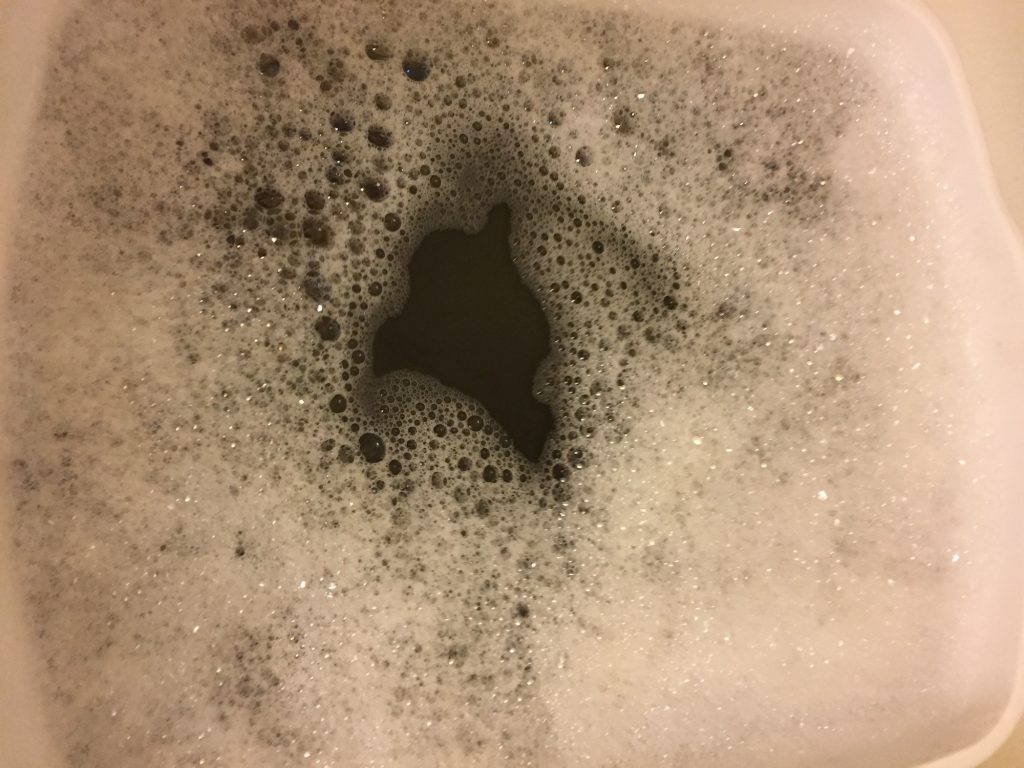
Normally I just rinse cloth with water between each step of the preparation, but I used detergent to see if the gray color would come out of the cloth. This is the color of the liquid when I washed the fiber:

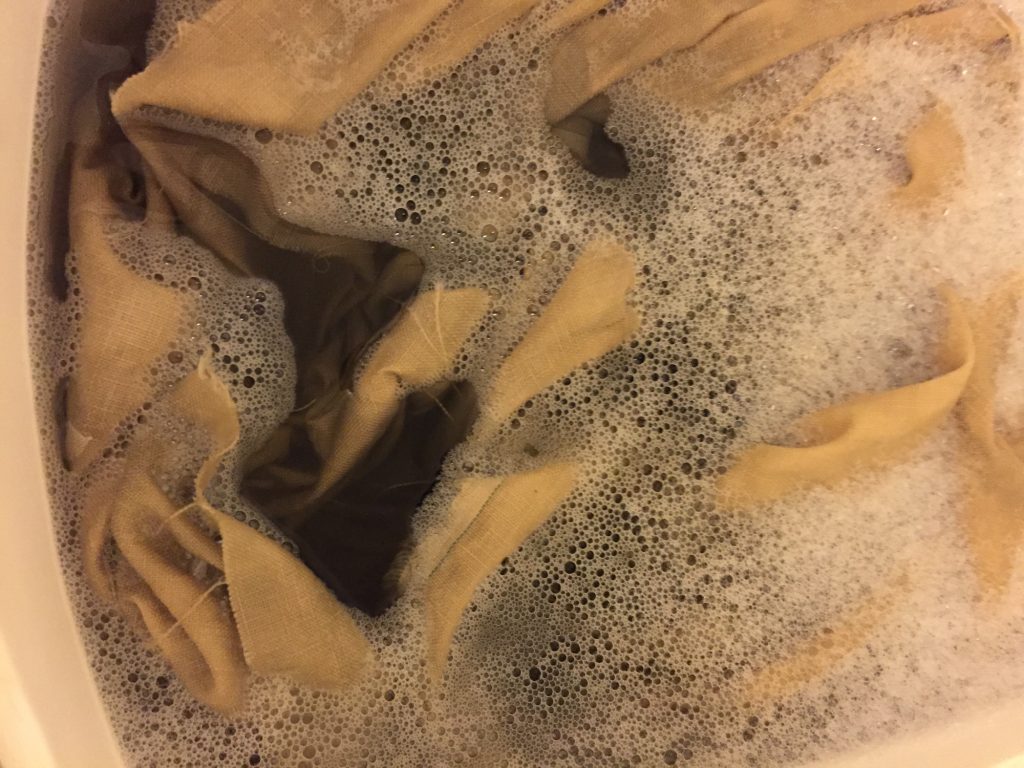
Fortunately, the cloth did lighten up:

I did not save the tannin baths to re-use them as I normally would:

After the tannin preparation, I used aluminum acetate to mordant the linen. I mordanted the silk with aluminum sulfate.

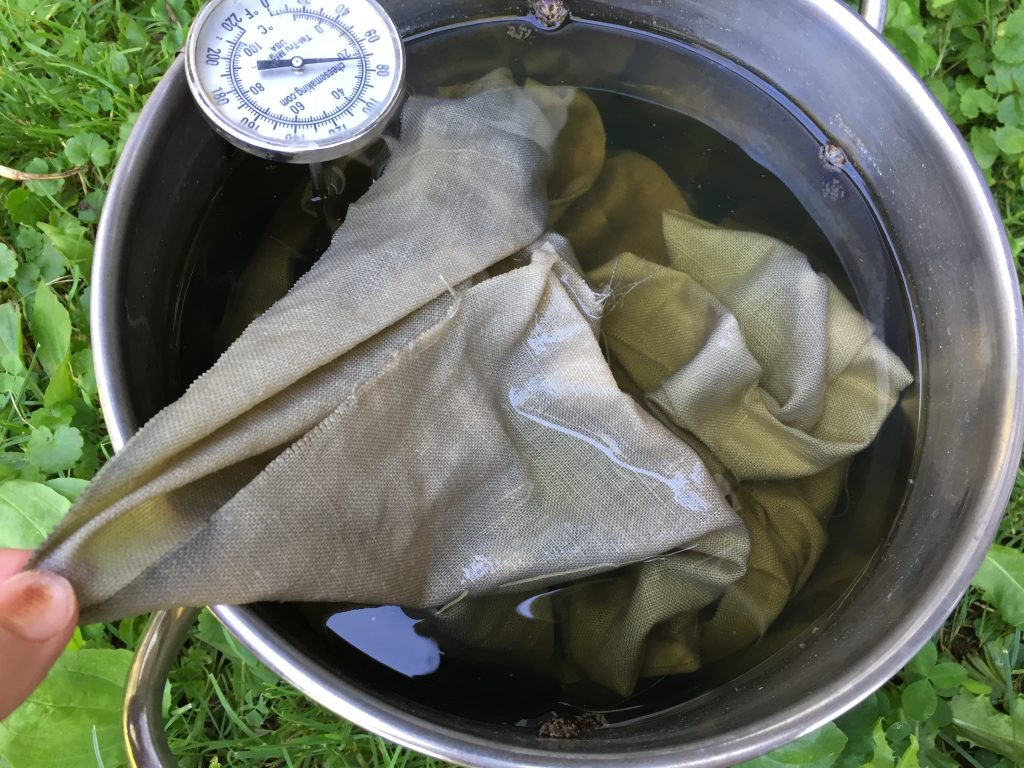
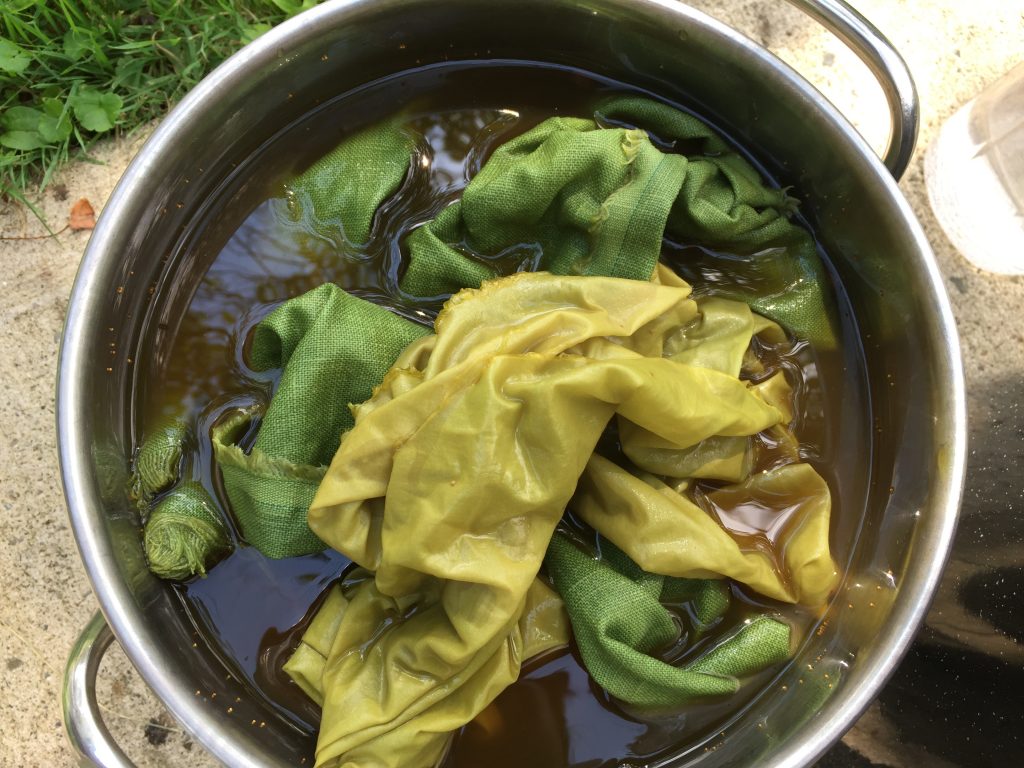
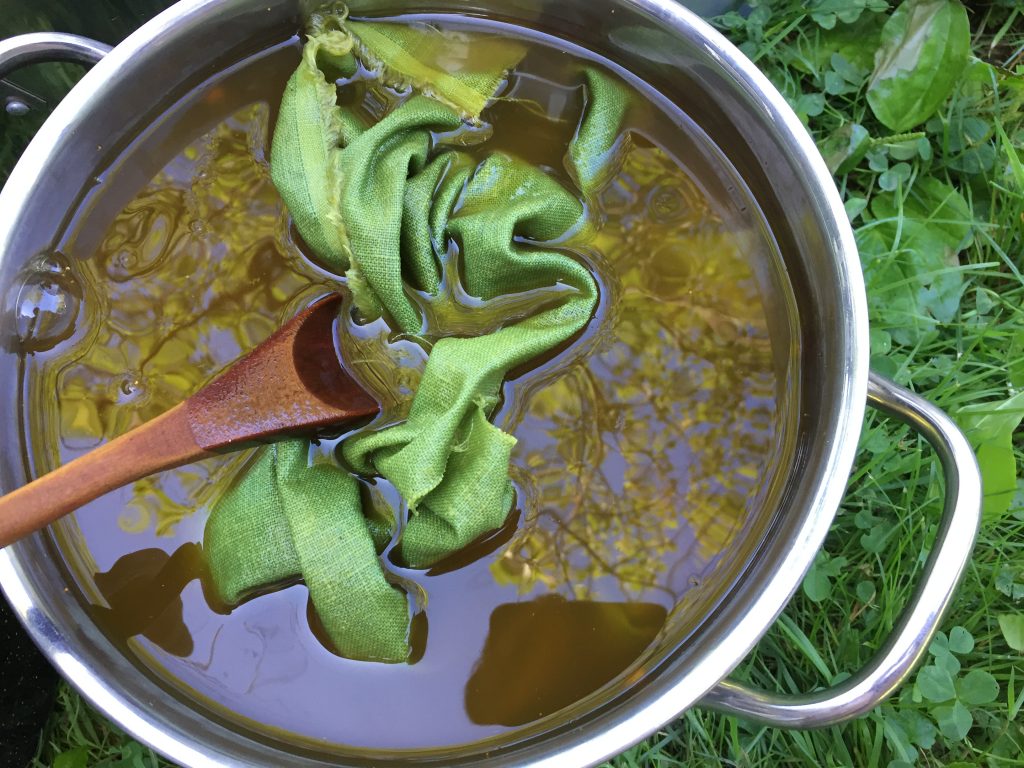
Here’s the weld bath with woad-dyed linen and silk on Friday afternoon. The bath heated up to 180 degrees, maintained for one hour, then steeped the rest of the day and overnight. The pH was 9:

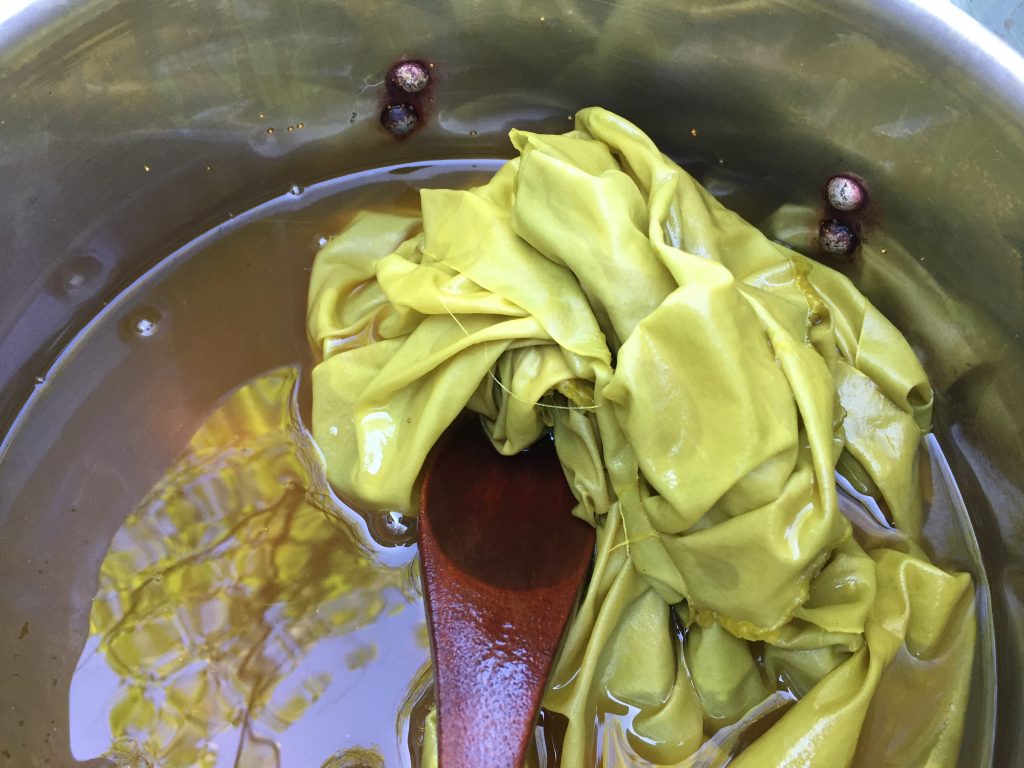
Yes, the silk is yellow and annoying. The linen is lovely. Here they are on Saturday morning. This is the linen:

This is the silk:

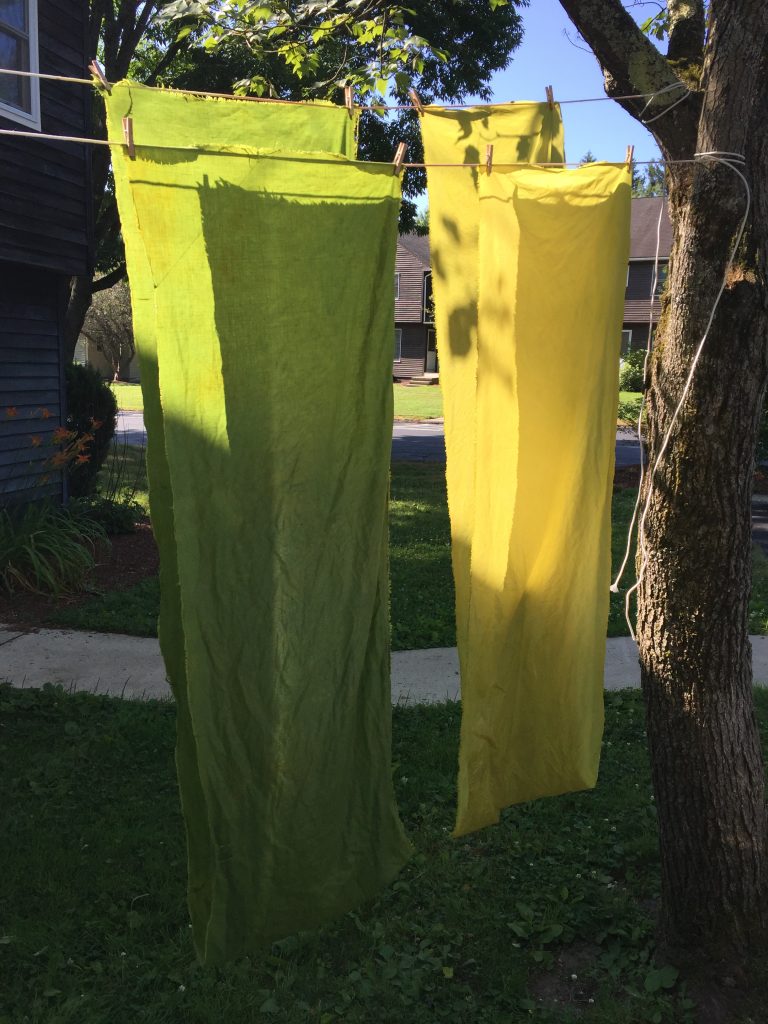
Here they are drying on the line on Saturday morning:

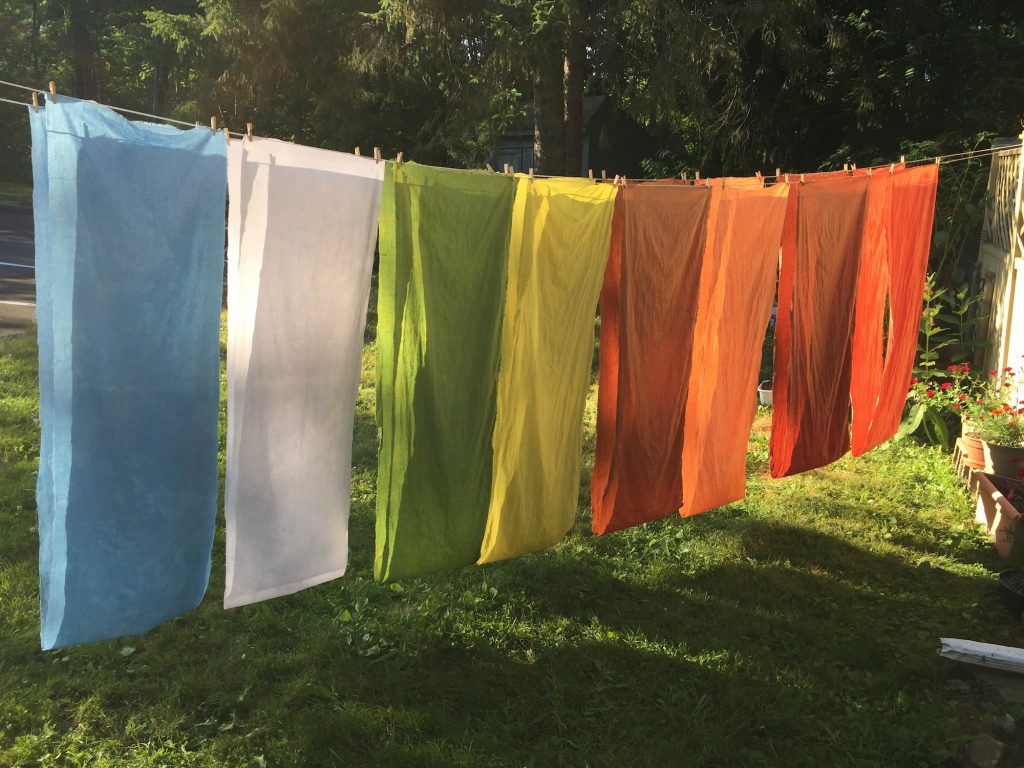
Here are the 9-foot pieces from that week hanging on the line on Saturday afternoon once they were all rinsed. I ended up overdyeing the silk pieces in a later woad vat:

Unfortunately, even though that weld bath was rich and luscious, it was so stinky that I couldn’t keep it for long. I ran a couple exhaust baths on woolen yarns with my Summerfun campers the following week at the Common School, but then they voted to throw it out due to its foul smell. It was great while it lasted!

Madder on Silk and Linen

During the week that I ran the bolted woad vat in July, I also ran weld and madder baths. This post is about the madder baths. All of the dyeing I did that week was for the Art and Science of Dyeing at the Botanic Garden of Smith College. (12/31/2023 Thanks to the Wayback Machine for the link to the old Botanic Garden site!)

I was planning several consecutive days of dyeing, so there was a lot to keep track of.  Here I was on Tuesday night making a game plan for what had to happen when, and doing a lot of math regarding measurements and quantities:

Part of what was tricky was that I was dyeing two different fibers, silk and linen, which need different preparations. I was also running that woad vat, and the weld baths. We were aiming to dye lengths of cloth in shades of blue, red, orange, and green that week. The quantities were large, at least compared to my usual projects, and we were trying to photo-document everything and coordinate our schedules. Many logistics.

We measured out the madder and weld on the same day that we ran the woad vat, Wednesday July 10th. I wanted rich colors, so we measured the dyestuff based on 100% of the weight of the goods. The cloth that we were planning to dye weighed 51 ounces. We used the same quantity of plant material so we had a 1-1 ratio of plant material to fiber. Each piece of cloth was 16 inches wide and 9 feet long, so it was pretty heavy (the linen in particular).

We weighed out 51 ounces each of dried, chopped madder roots and dried, chopped weld. We set them to soak in buckets of water at 10 am.

Even when the plant material was dry, the volume was significant. Once the dried plant material started to absorb water, I knew it would swell like crazy. So, we soaked it in 5 gallon buckets. Here’s a close up of the madder bucket:
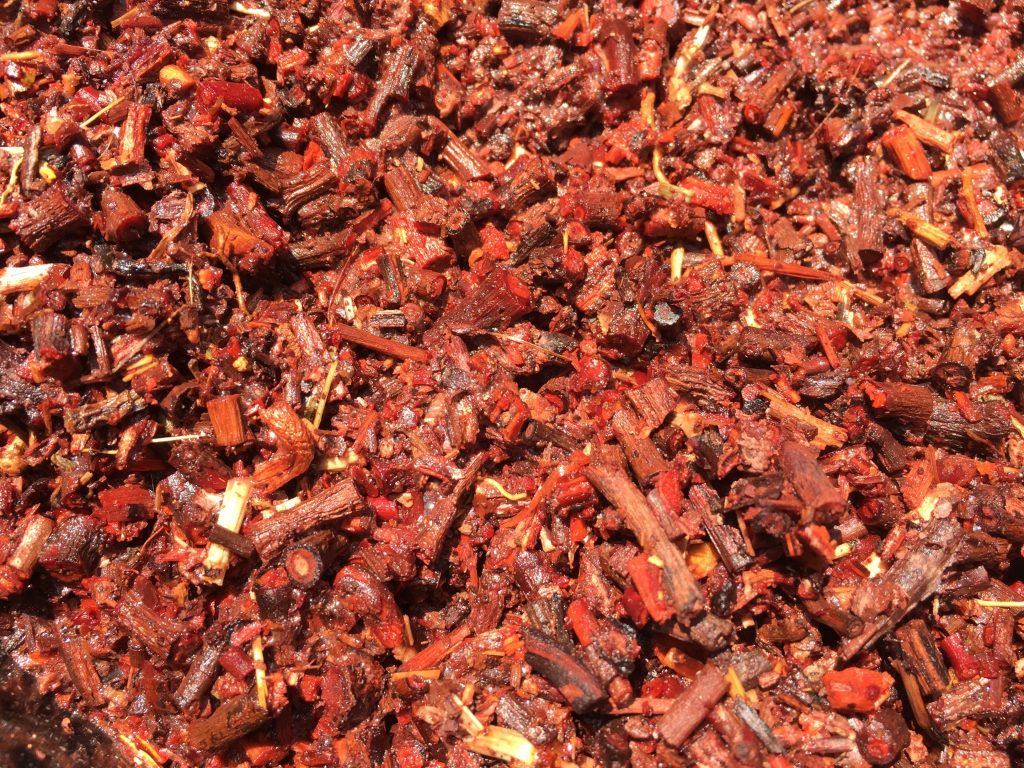
The bucket sat all day and overnight. When working with madder, I like to extract the roots twice or even three times, and let the roots sit overnight each time. Then, I combine the extractions. In this case, I had time constraints, so I only extracted them twice.

After soaking the roots overnight, I extracted them once on Thursday morning. I had to split them between three pots. Due to being distracted, I let them overheat. There was not as much liquid in each pot as I might typically have, since the roots took up a lot of room. So, they heated faster than I anticipated and I just wasn’t watching closely enough. Other pots were also heating up in other locations in and around the apartment. Multi-tasking isn’t always a good idea.

Normally I am very careful not to let madder get hotter than 150 or 160 degrees F., and sometimes I keep it lower. Typically, I get the roots up to temperature, then maintain that temperature for an hour. I also add soda ash to get the pH up to 9 or so, and add some calcium carbonate (between a half teaspoon and a teaspoon per pot, depending on the size of the pot).

In this case all the pots got up to a boil. Frothy, red dye liquid and madder root particles got all over the stove. Yikes. So, I had to stop and clean that up.

Then the roots sat and cooled off for several hours. That evening, I strained out the roots and re-heated them. This time I watched the temperature carefully, and kept it around 150. The roots soaked in the second extraction overnight, and we used them for dyeing on Friday.

To prepare the linen, I had first washed all the cloth in a washing machine, and dried it in a dryer so it would be shrunk before we cut it. After the pieces were cut, I scoured them again with cationic scour from Earthues (which you can order from Long Ridge Farm in Westmoreland, NH) and soda ash. I follow Earthues’ recommendations of 5.5% WOG scour and 2% soda ash. I bring the bath up to 180 degrees F. hold for 30 minutes, remove the fiber promptly, and rinse.

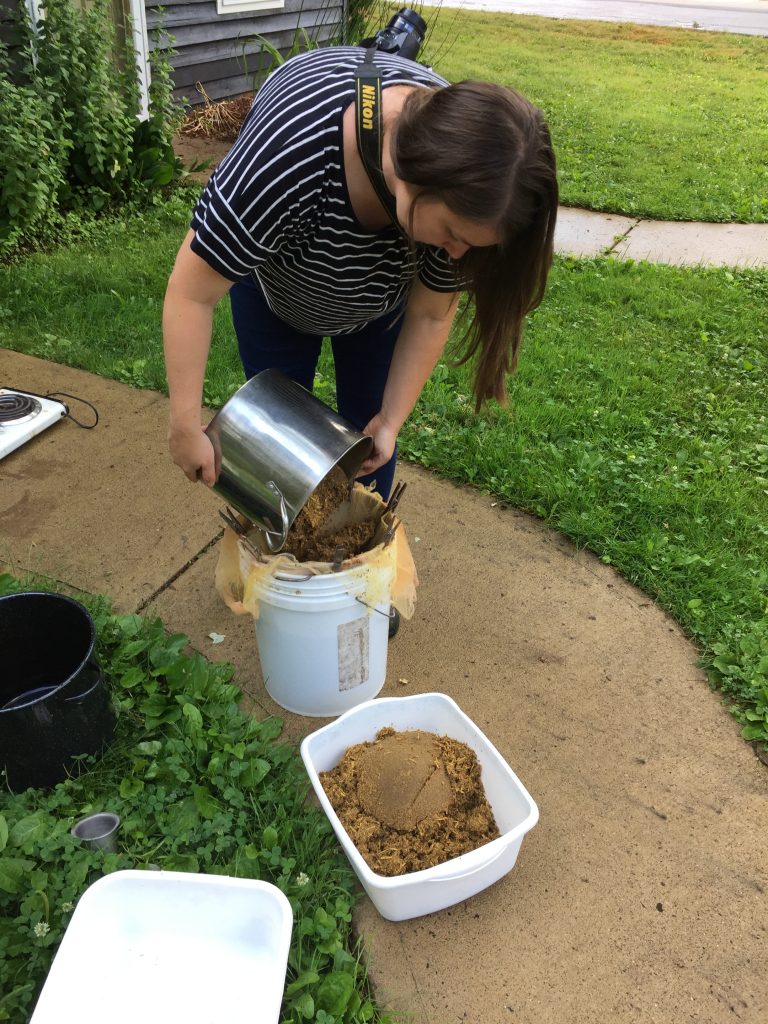
Then, I treated the linen pieces with a tannin solution. For the madder, I used a chestnut tannin at 5% WOG, heated to 180 degrees for an hour, and cooled overnight. Then I rinsed the cloth well. I hadn’t used this chestnut tannin before, and was kind of surprised at how foamy and soapy-looking it was.
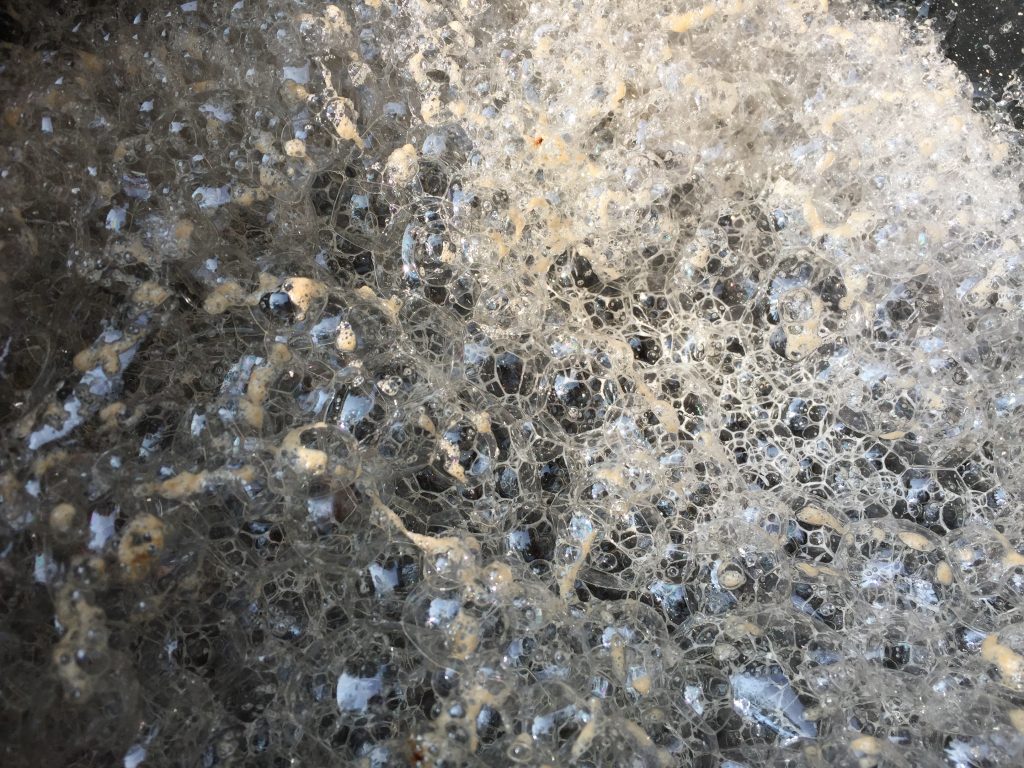
It left the linen a pleasing shade of warm orange-tan.
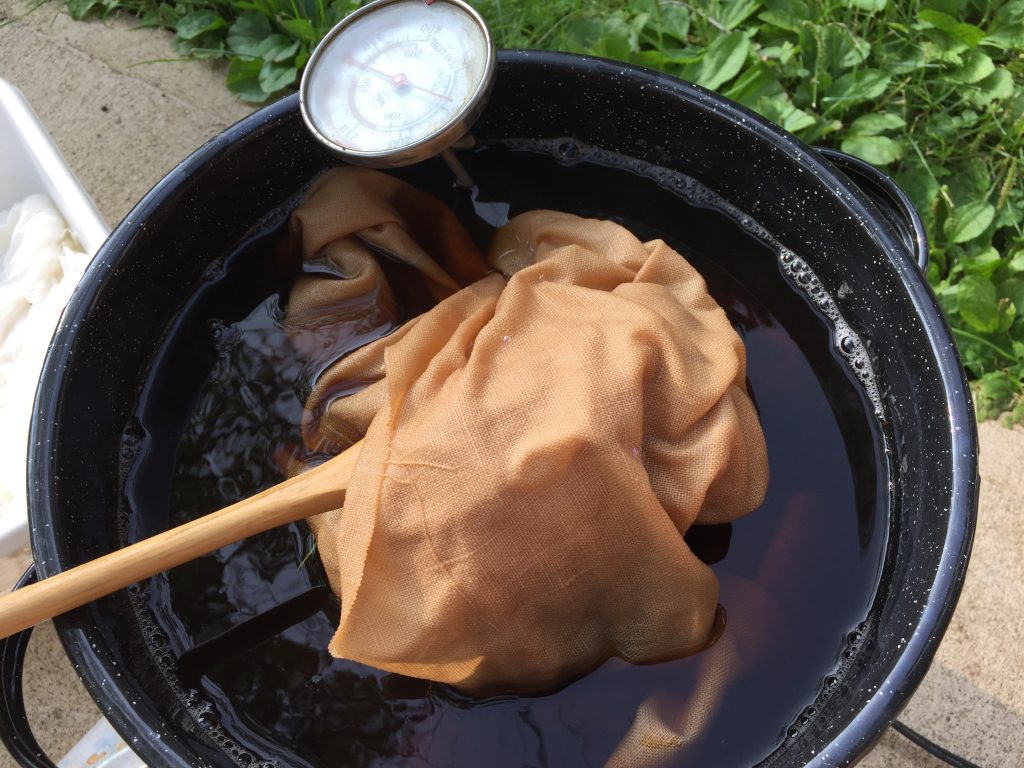
Then I mordanted with aluminum acetate at 5% WOG, brought up to 180 degree, held for an hour, and cooled overnight. It’s a lot of steps just to get the cloth ready for dyeing.

The process for mordanting the silk was a little simpler. After washing the full length of cloth in the washing machine, I washed each piece again with the same laundry detergent, and rinsed well. The silk was mordanted with aluminum sulfate at 20% WOG. I was following Earthues’ mordanting rate, but I skipped the cream of tartar. Don’t ask me why. For mordanting, I brought the bath up to 180 degrees, held for an hour, and cooled overnight.

On Friday morning, Sarah Loomis from Smith came over around 8:30 and we got rolling with the dyepots. It had rained overnight and was raining first thing in the morning, but fortunately the rain stopped around 8. Here was the set-up. There was a lot going on:

I combined both of the madder extractions, then divided the bath in half. We were using one half to make cloth for the “red” part of the show, and the other half was going to be used to make “orange” in combination with weld.

I added more dissolved soda ash to get the pH back up to 9, and put the linen and silk pieces into the same dyepot:
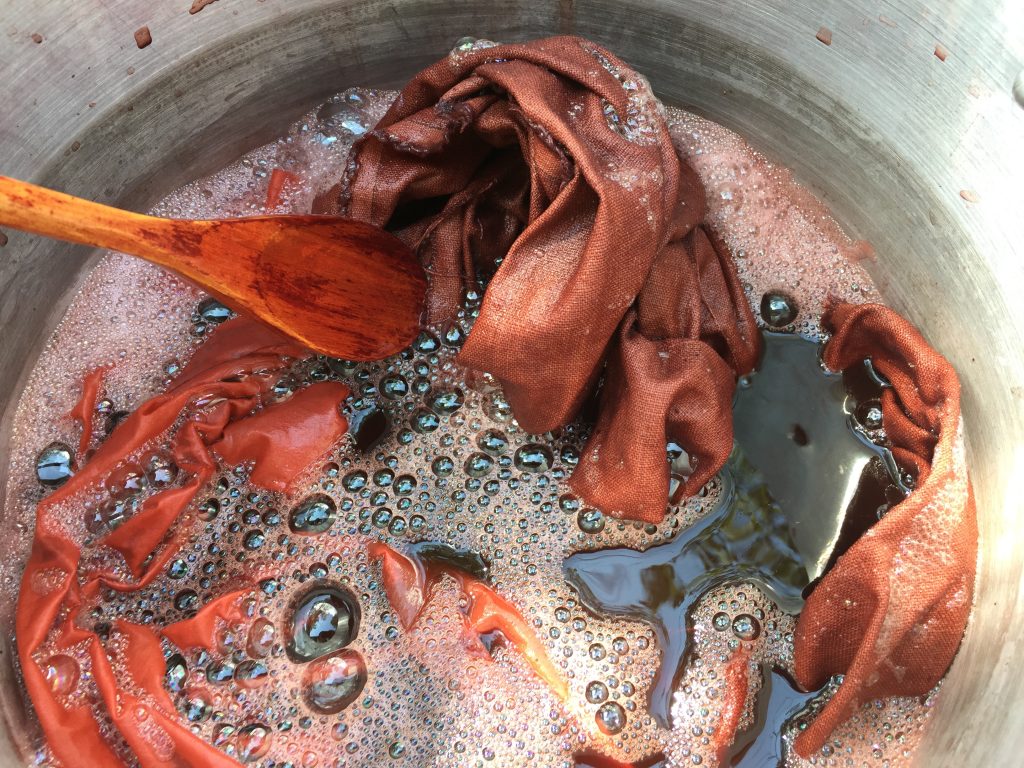
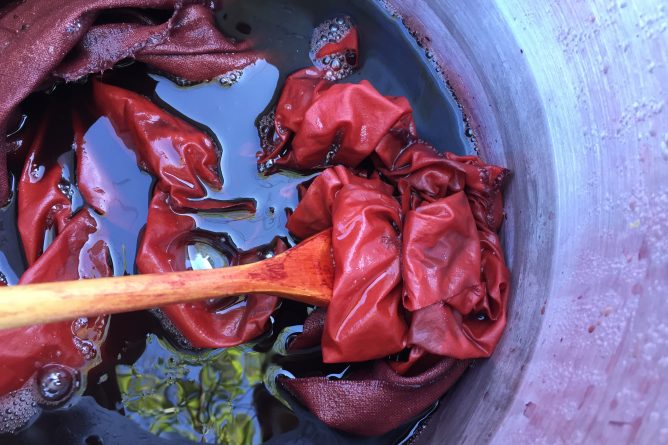
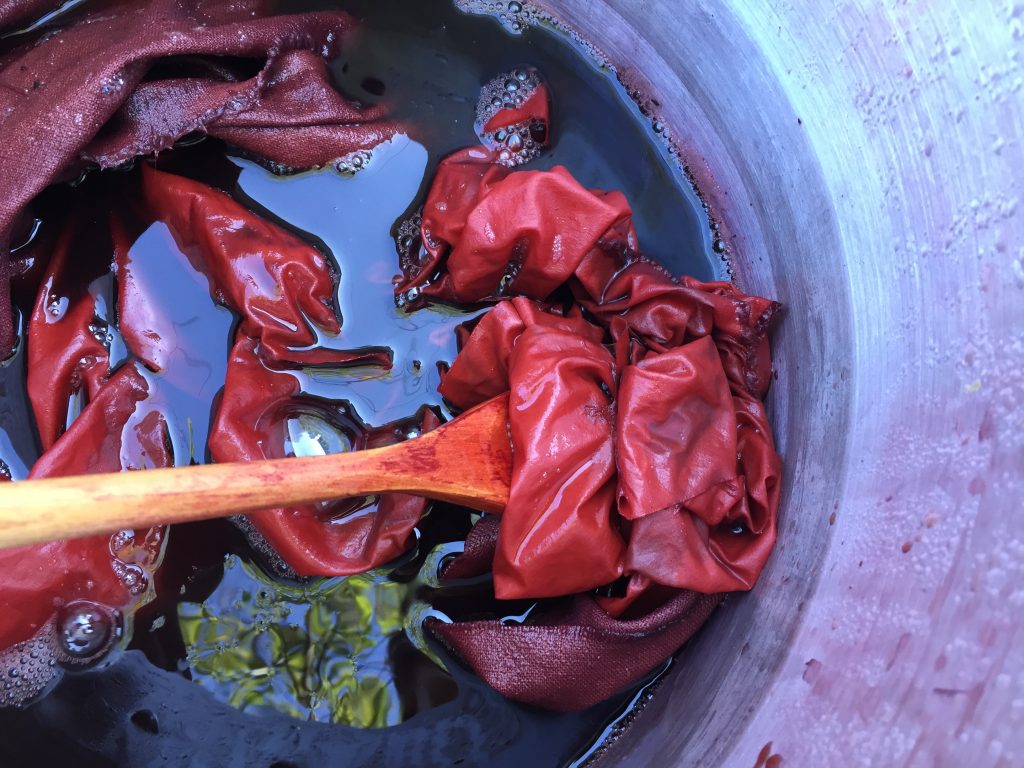
I heated the bath up to 140 degrees, held it for an hour, and let the cloth steep and cool for the rest of the day and overnight. Here it was in the morning on Saturday the 13th:
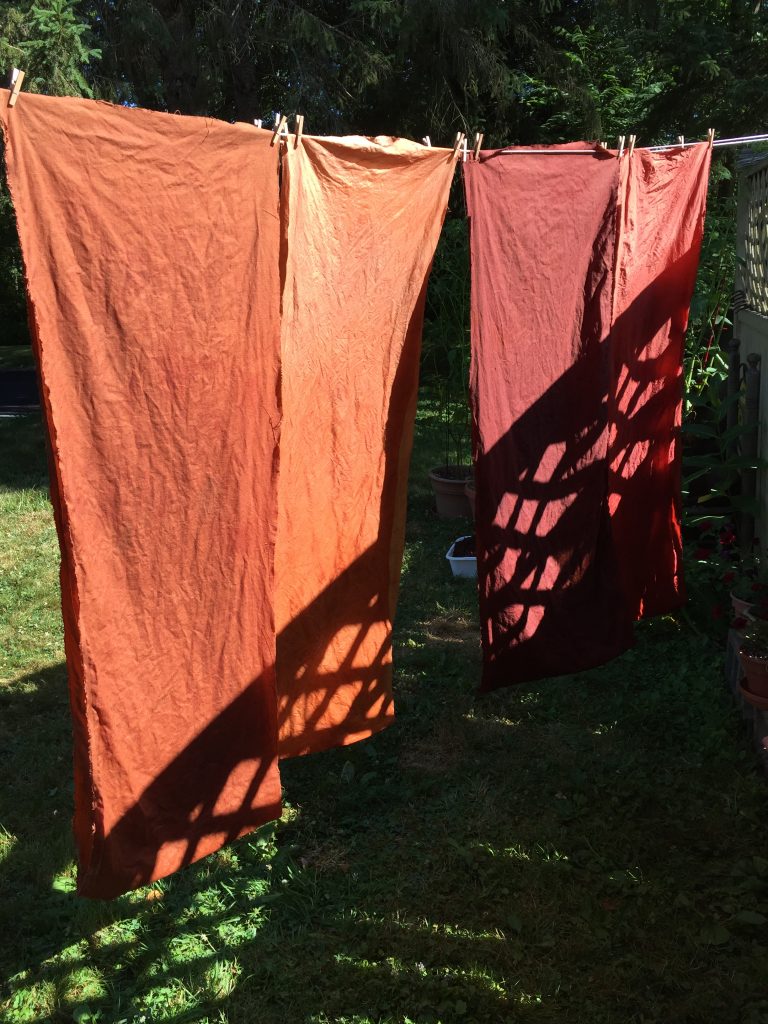
I always do a delayed rinse, if I have time. I hung the cloth on the line to dry before washing it. In this photo, the madder “red” pieces are on the right:
Next up, the weld baths.

A Weighty Madder

OK, yes, the title is just an excuse to use a pun. In reality, once they were dry, the madder roots I harvested were not very heavy at all. But they did prompt me to do quite a bit of thinking and math about the yield of this “crop”.

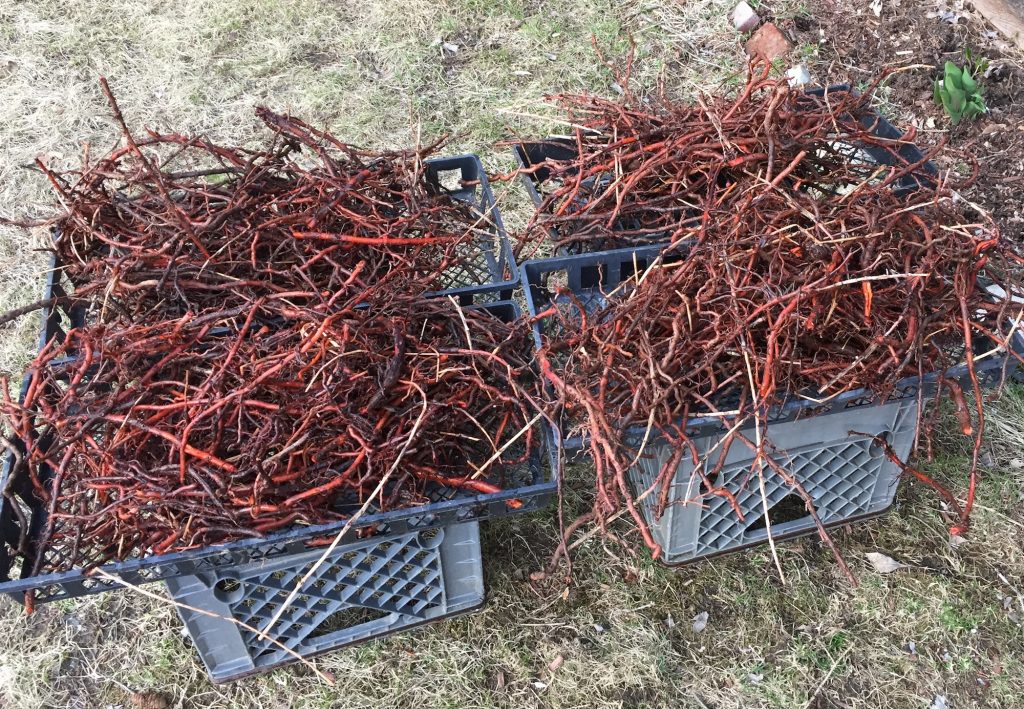
In my last post I shared an image of four trays of roots, rinsed off and set up to dry on Saturday March 30th. Here’s a refresher. I love how they glisten and glow:

On Sunday March 31st I dug up three more trays just like them.

When they were freshly harvested, and before I rinsed them, the roots weighed just over 15 lb. I weighed them again after I rinsed them, thinking that the loss of soil weight would give a more accurate measurement. But instead, the added water weight increased the overall weight, which didn’t really help me figure out how heavy the roots were by themselves. So, I’m sticking with 15 lb. for this math.

Over the next couple weeks the trays sat in the apartment, outdoors, and in the van, depending on the weather. By Thursday April 18th they were dry and crispy. Plus, I was on April vacation and had time to deal with them.

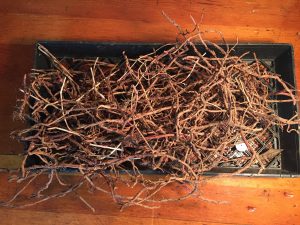
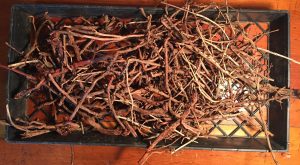
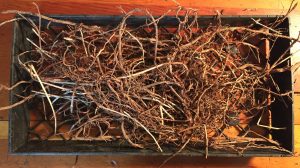
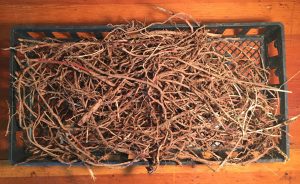
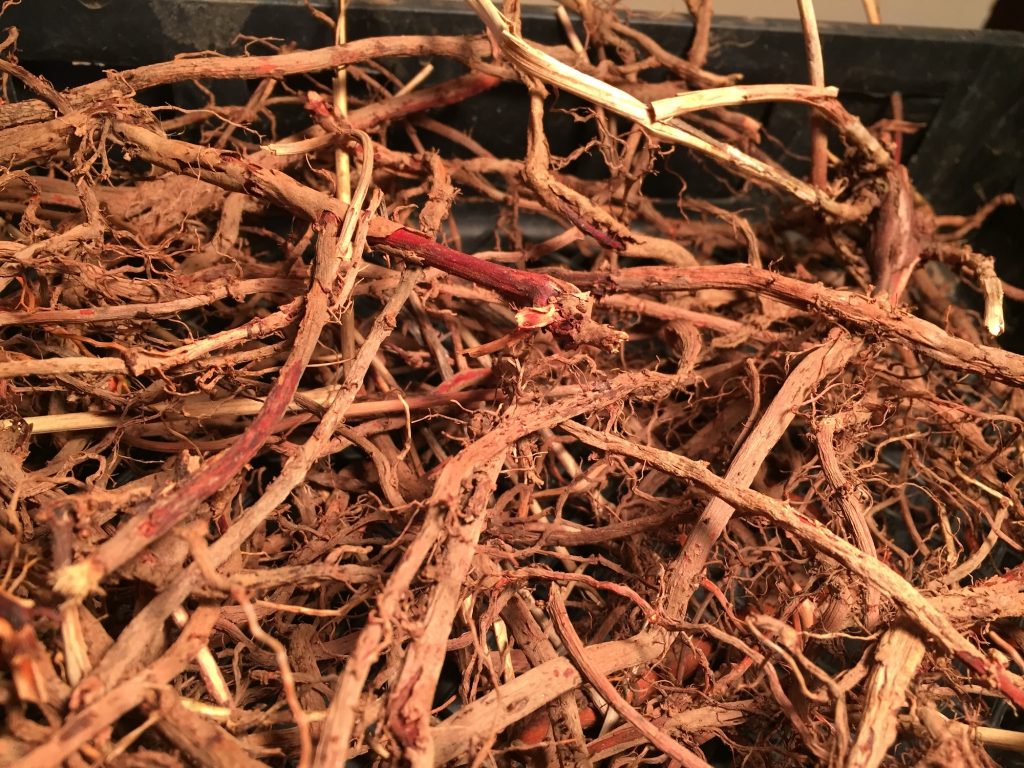
Here are some photos of the trays before I broke up the roots. There were seven trays altogether, but I figured four images is enough to get the idea.

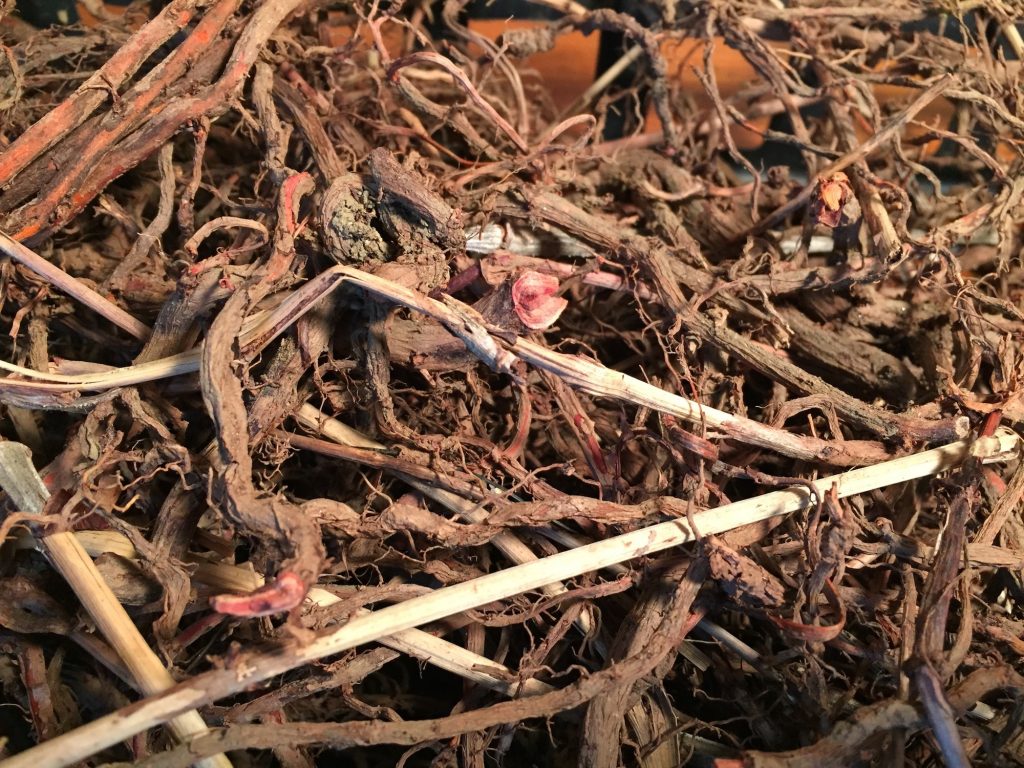
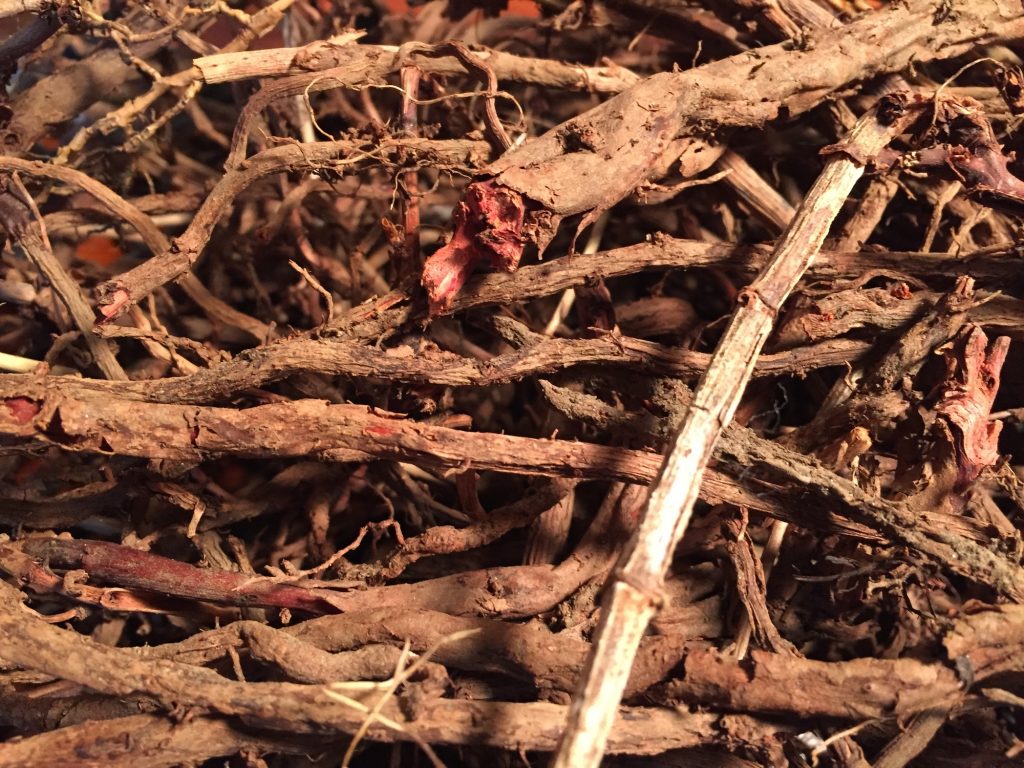
Here are some close-ups. I took a ridiculous number of close-up photos because the closer I looked, the more amazing all the intricate tangles, textures, and colors were. Matthew characterized them fondly as “dusty sticks” and we agreed that happily examining dusty sticks is pretty typical of the way I like to spend my free time. So, here are some images of dusty sticks for your enjoyment:

In this photo below, you can see that my rinsing method wasn’t very thorough. There’s a clump of gritty soil lodged in the center of a curly twist of root. The pale straw-looking pieces are above-ground stalks:

In the photo below I’m interested in the dried skin that’s flaking off. It would be good to understand more about what’s happening there.

I like how the broken end in the root in this photo below looks like a mouth. The maw of madder.

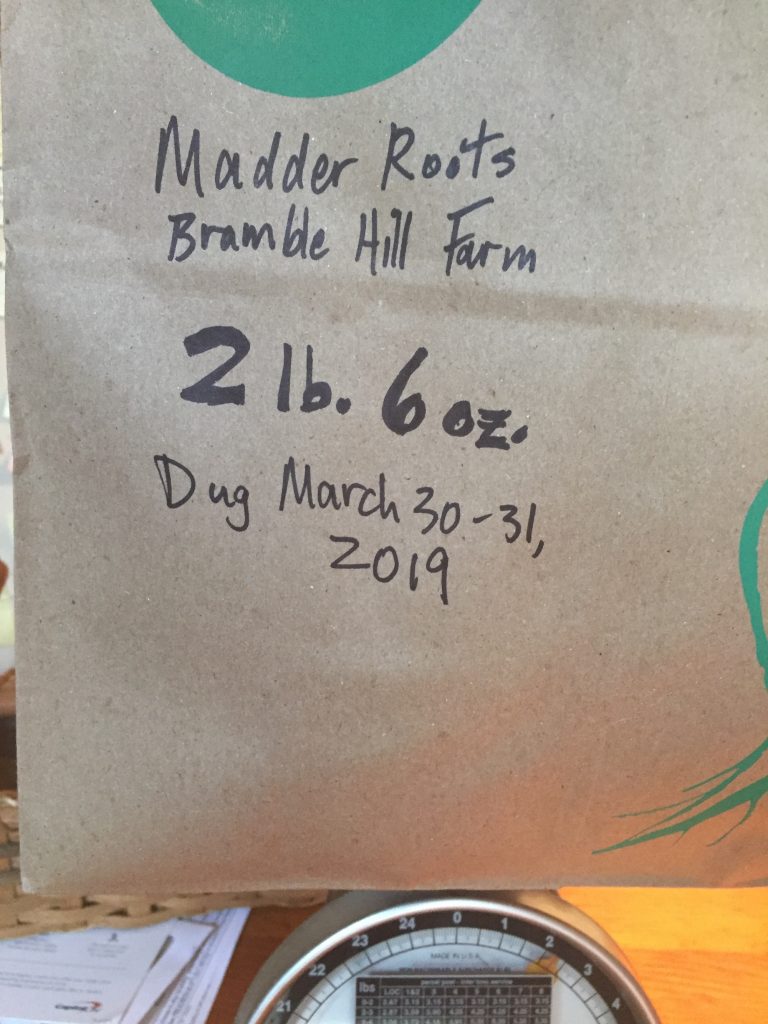
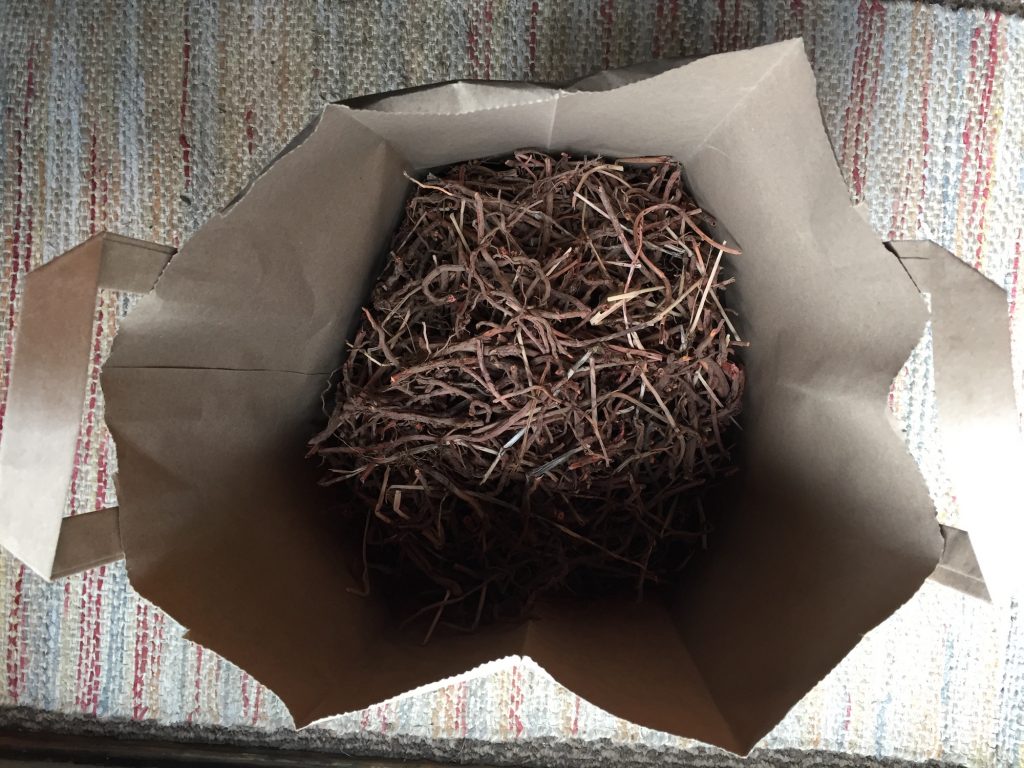
The total weight of dried snapped-up roots was only 2 lb. 6 oz (or 38 oz).

Here is the inside of the bag:

If my math is right, that’s approximately an 84% loss in weight. I ended up with about 15% of what I started with.

This surprised me, and made me wonder what the overall yield from the whole plot might be. The area I dug up that weekend was 115 square feet. This works out to about .33 ounces of dried roots per square foot. (38 ÷ 115 = .330 and to double-check, 115 x .33 = 37.95).

The remaining area that I haven’t dug up yet is 25 square feet, which means I could get 8 more ounces from that section (25 x .33 = 8.25). Which means the yield from the whole plot would be 46 ounces, or 2 lb. 14 oz.  That’s almost 3 lb. if we’re rounding up. So, 140 square feet can yield just below 3 lb. of dried roots. Which doesn’t seem very productive to me, especially because you have to wait three years to harvest them, theoretically.

However, since I don’t really have anything to compare it to, I don’t really have a basis for judging whether .33 oz per square foot is a good yield or a bad yield. I decided I’d better do some reading. This is my first foray into this question, so I may come up with different and better information in the near future.

This article from a book on Google Books called A-Z vol. 4 supplement, written by Andrew Ure and Robert Hunt, published in 1878 by Longmans, Green, and Company, reports on page 160: “The quantity of fresh roots obtained in France from one arpent of ground (of 48,000 square feet) varies from 4,000 to 6,000 pounds.” The authors cite other units of measurement in other countries (units like morgens and cwts) but I didn’t have the patience to find out how to translate them to things I understand. So, let’s stick with France for now.

If 48,000 square feet yields 4,000 lb. of fresh roots, one square foot would be .0833 lb. or 1.33 oz.

Using my 15% figure for the dry weight, that would be .995 oz. of dried roots per square foot for the low range of the harvest. If 48,000 square feet yields 6,000 lb. fresh roots, that would be .125 lb. per square foot fresh, or 2 oz. and .3 oz. dried. Ha! Maybe my yield is actually as good as a French madder farmer in the 1870s! Phew, that’s a relief.

If you’re checking my math and you find it’s nutty and wrong, please email me.

Madder roots are currently on sale for $21.95/lb at Aurora Silks, $19.78/lb. at Dharma Trading, $40/lb (sold by the ounce) from Long Ridge Farm, and $28 for 500g at Botanical Colors (just to name a few vendors that I could check on line quickly this afternoon). So, that means every three years a madder bed filling 140 square feet of garden space could grow somewhere between $60 and $120 worth of roots.

I think I’ll stop there for now.

Digging up Madder Roots

On Saturday March 30th and Sunday March 31st I dug up a good portion of my madder bed. I already posted about the other garden clean-up I did that Saturday. This post is about digging up the madder roots, specifically, so I’m telling the story a slightly different way.

You are supposed to harvest madder roots when the above-ground parts of the plant are dormant. I always think that I will dig roots in the fall once the tops have died back. My notion is that after a season of growth, the roots will be fat and juicy and full of color. For some reason, that fall harvest time seldom happens.

More often, I dig up roots in the spring when I’m trying to curtail the spread of the madder into the pathways and adjacent beds in the dye plant garden. That’s really more like “weeding” than harvesting. I worry sometimes that after a cold winter of storing up nutrients to help the plants survive, there’s not a lot of oomph left in the roots to yield good dye. Nevertheless, given my work constraints and other factors, that has been my typical pattern.

Even with these annual curtailment efforts, the madder has gradually taken over more and more of the garden.

This spring, though, I have aspirations of planting a lot of Japanese indigo and woad, so I wanted to open up some space for additional beds. The weather smiled upon me on Saturday March 30th. The forecast had called for afternoon rain, but at 3 pm it was still gorgeous, 60 degrees, and not in the least rainy. The snow had all melted, the ground had thawed, so I seized the opportunity.

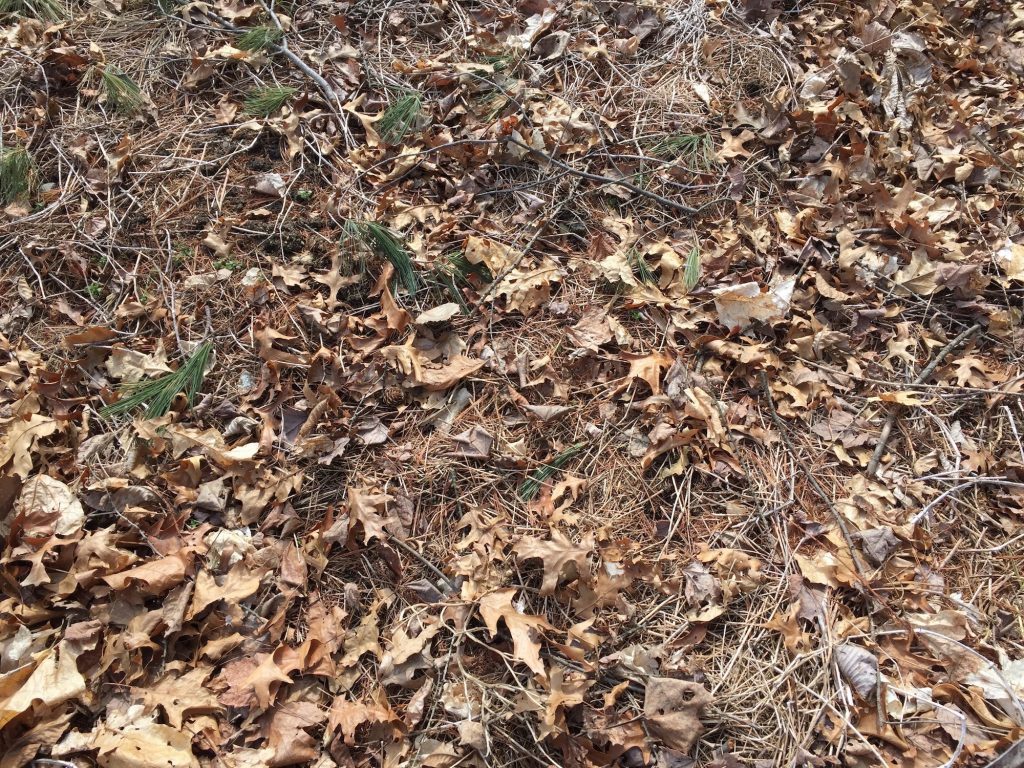
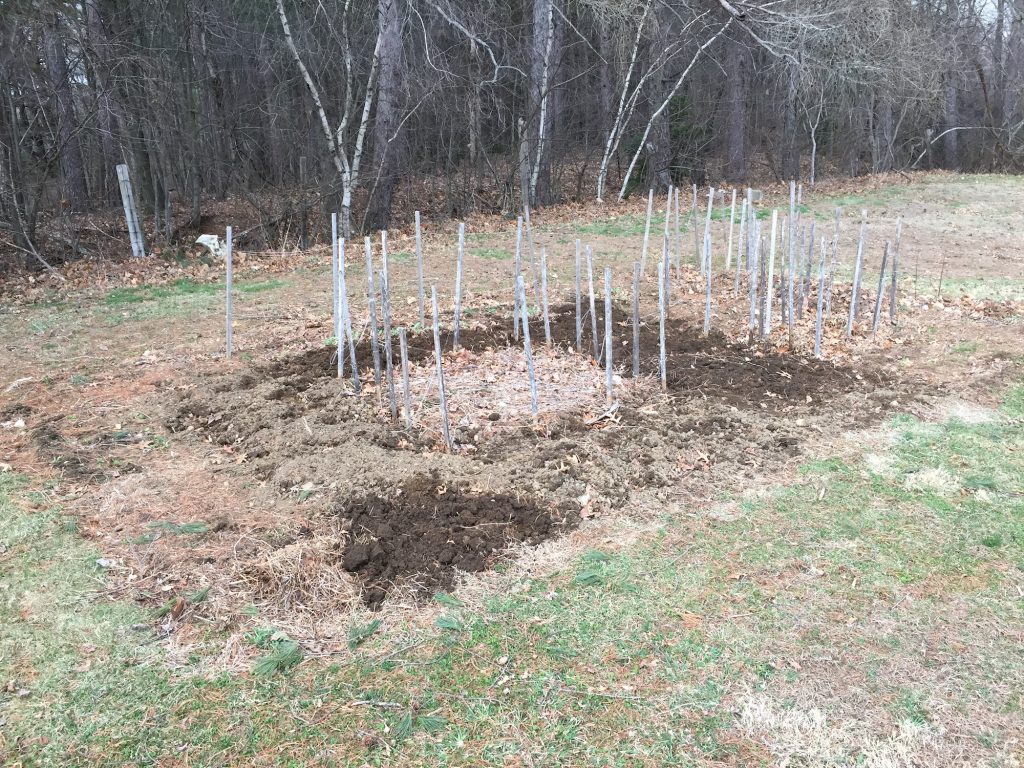
Here’s the “before” photo of the madder bed. Nothing to see here.

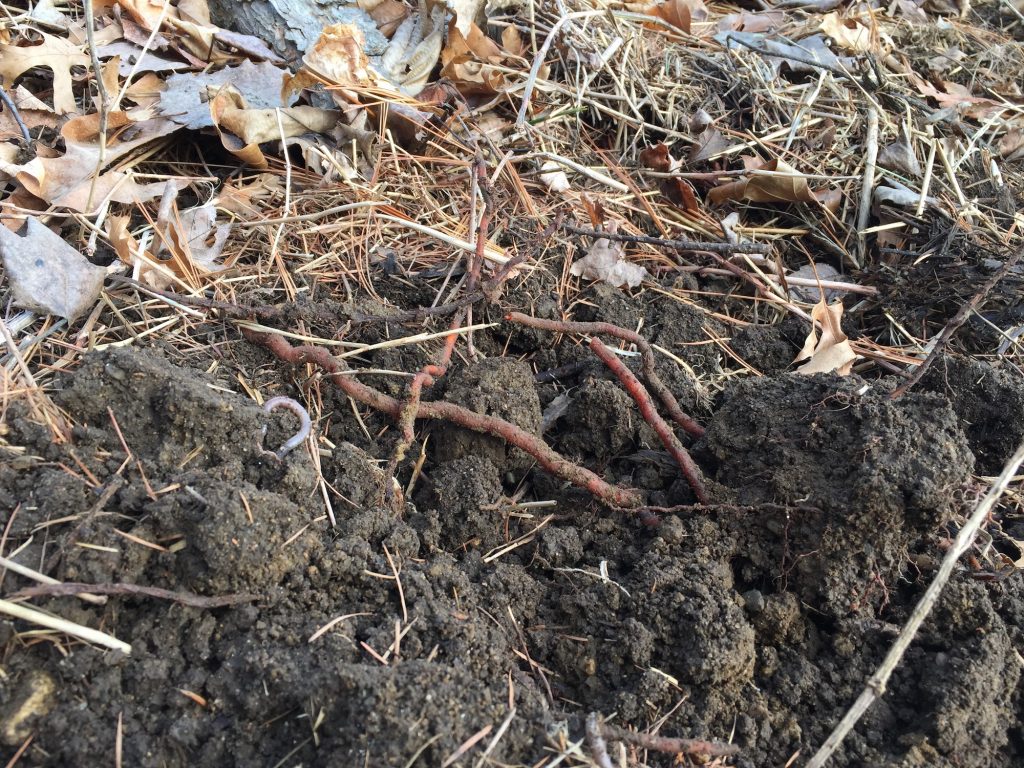
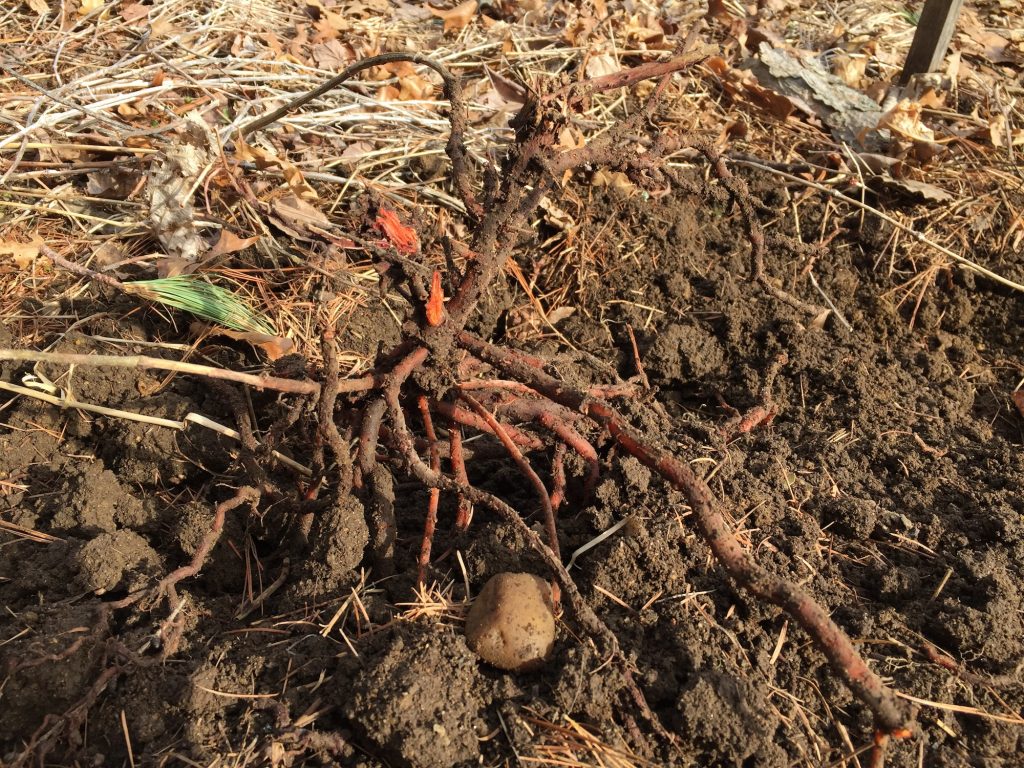
With the very first pitch-fork-full of soil, I struck roots. Well, OK, technically the tool I prefer is a hay fork, but it’s pointy and slightly curved and perfect for digging.

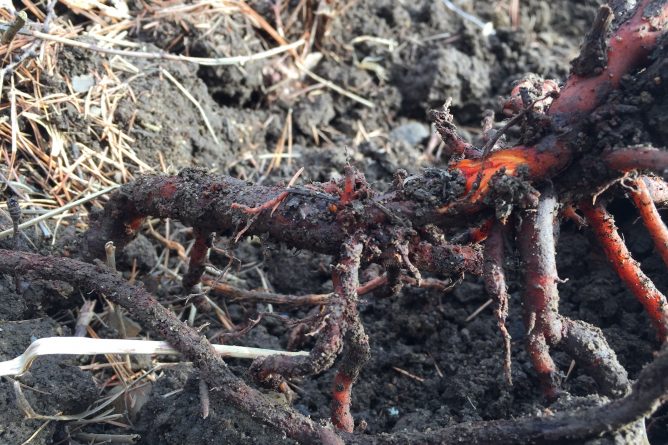
The thin pinkish-purplish squiggle in the photo above is a worm. The slightly thicker orange-red squiggles are madder roots. Below is a particularly impressive knot of roots demonstrating its power and sentience:

I was excited to find such a big knot because (brief detour from the narrative)….

This madder bed has been in place for about ten years. Most of the sources I’ve read agree that madder roots are ready to harvest after three years. I have harvested from this bed several times since its initial three-year growth period, but I’ve often been dismayed at the thickness of the roots. They are nowhere near as thick as the commercial roots I’ve bought from places like Aurora Silks or Tierra Wools. (12/31/2023 Edited” Tierra Wools no longer appears to sell dyeplant material.)

They are, in fact, thin.

I have given this matter (a madder matter) quite a bit of thought. First, I suspect that three years of growth here in Western MA is not the same as three years of growth in a warmer climate with shorter winters. In my garden, the plants are dormant for much of the year. They aren’t early to rise in the spring, and they are the first plants to die back in the late summer. Presuming that above-ground photosynthesis is necessary for below-ground root growth, my roots don’t have a lot of growing time. Comparing three-year-old madder roots from a longer-season climate with three-year-old roots around here might be like comparing human years and dog years.

Second, I do not have any way to determine or control the age of the roots I dig. Madder is a bedstraw. The plants send out new runners and put down new roots all the time. Old roots bust out with new shoots. Even in one area of the bed, old and new roots must get jumbled together. It’s likely that a lot of the roots I’m digging up aren’t actually three years old, even though the bed is much older than that.

Third, I have been woefully negligent about testing the soil or adding amendments to the madder bed. The roots would probably grow thicker with additional compost or manure.

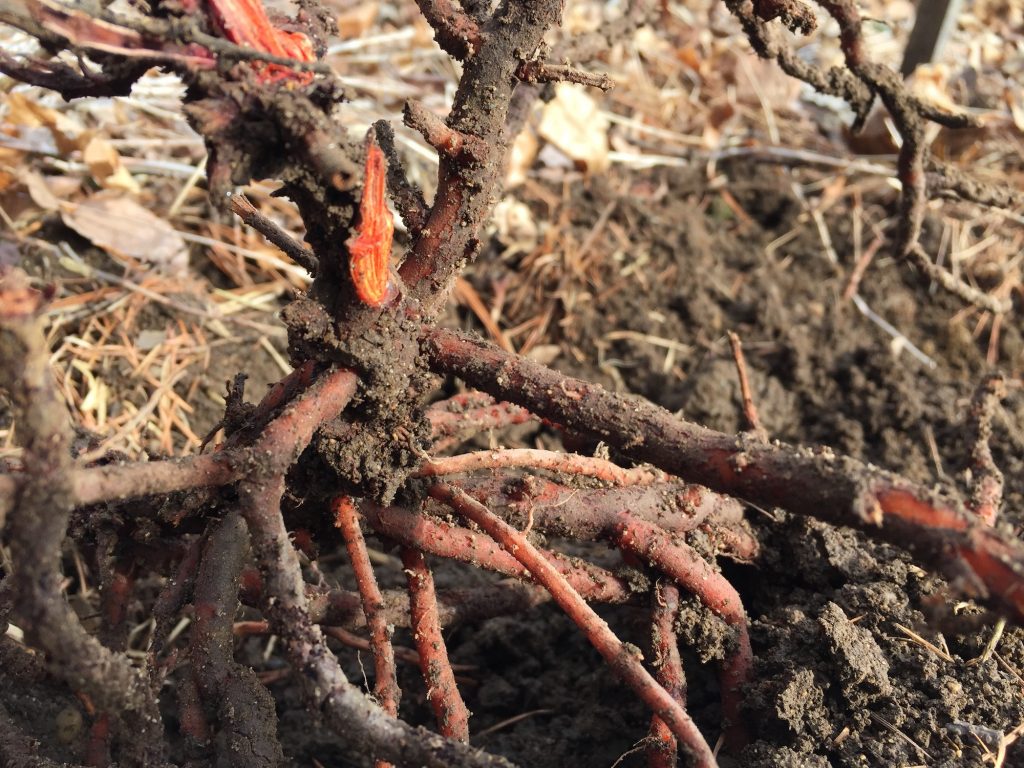
OK, back to the narrative. I was thrilled to find thick roots. Finally! Here is a close up of that exciting knot:

Madder is exciting, in part, because the roots are like veins of lava. They look all earthy and rock-like, but inside there is fire!

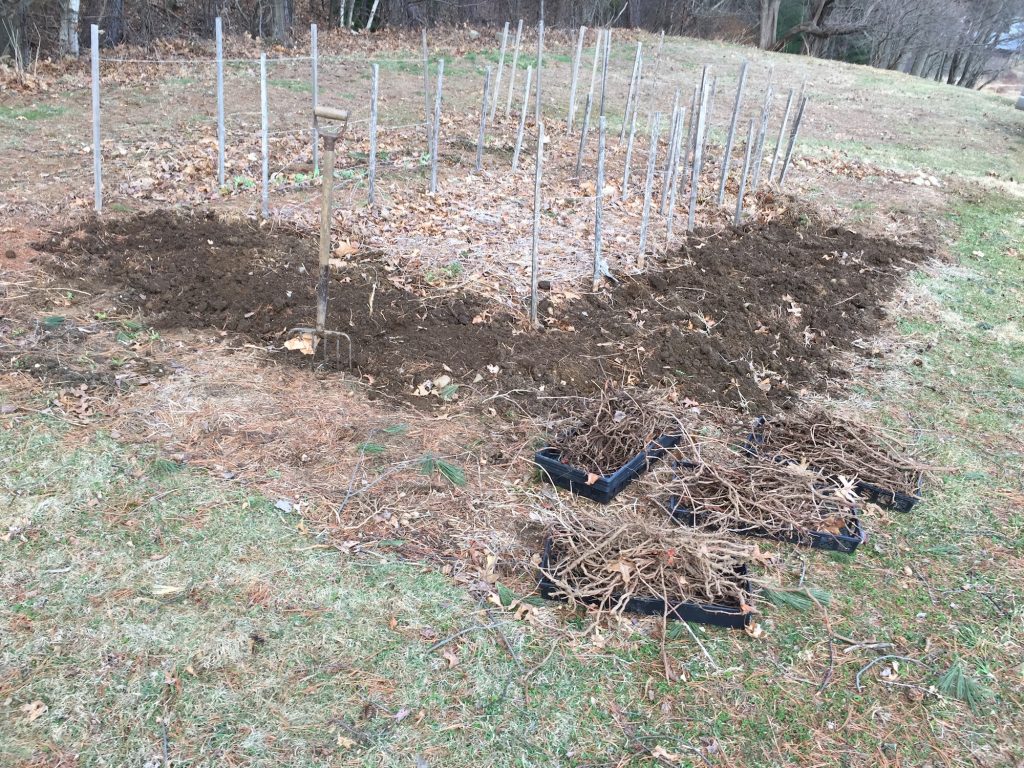
On Saturday I dug up the west and south sides of the bed. In the foreground are the four trays that I filled that afternoon:

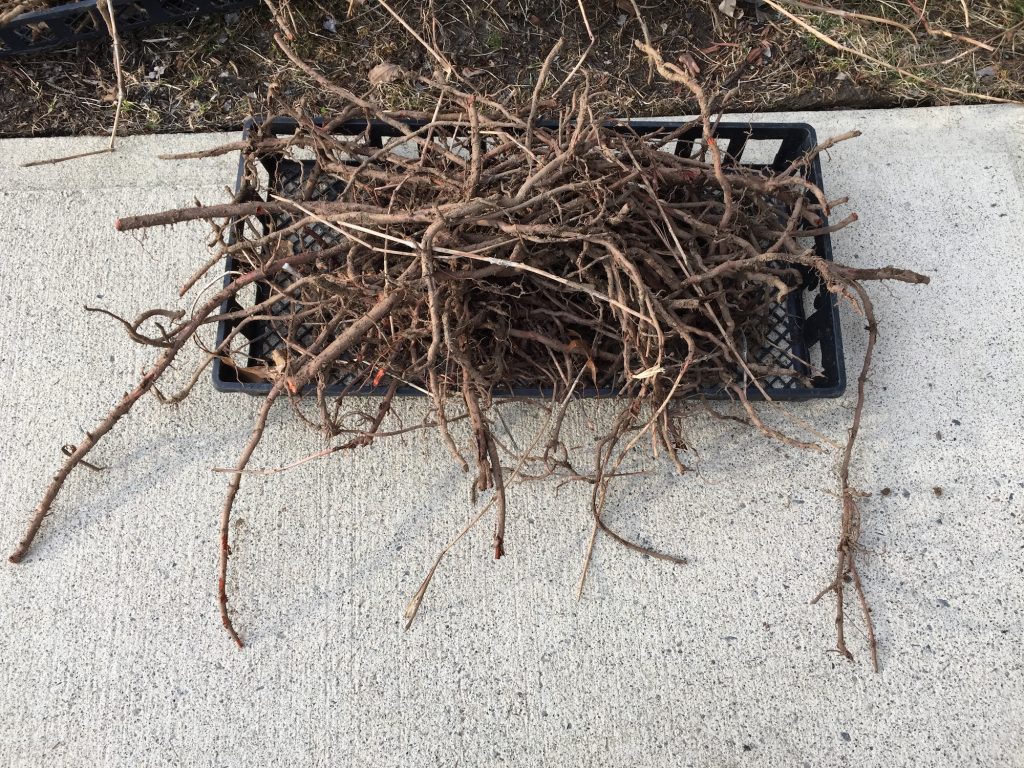
I brought home those four trays to weigh, rinse, and set up to dry. Here is an unwashed tray of roots. Sentient, right?

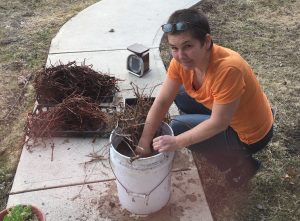
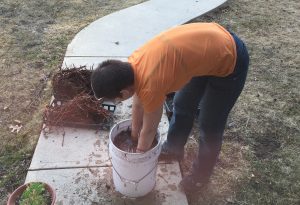
Here I am scrubbing the roots in a 5-gallon bucket of water to remove as much soil as possible:

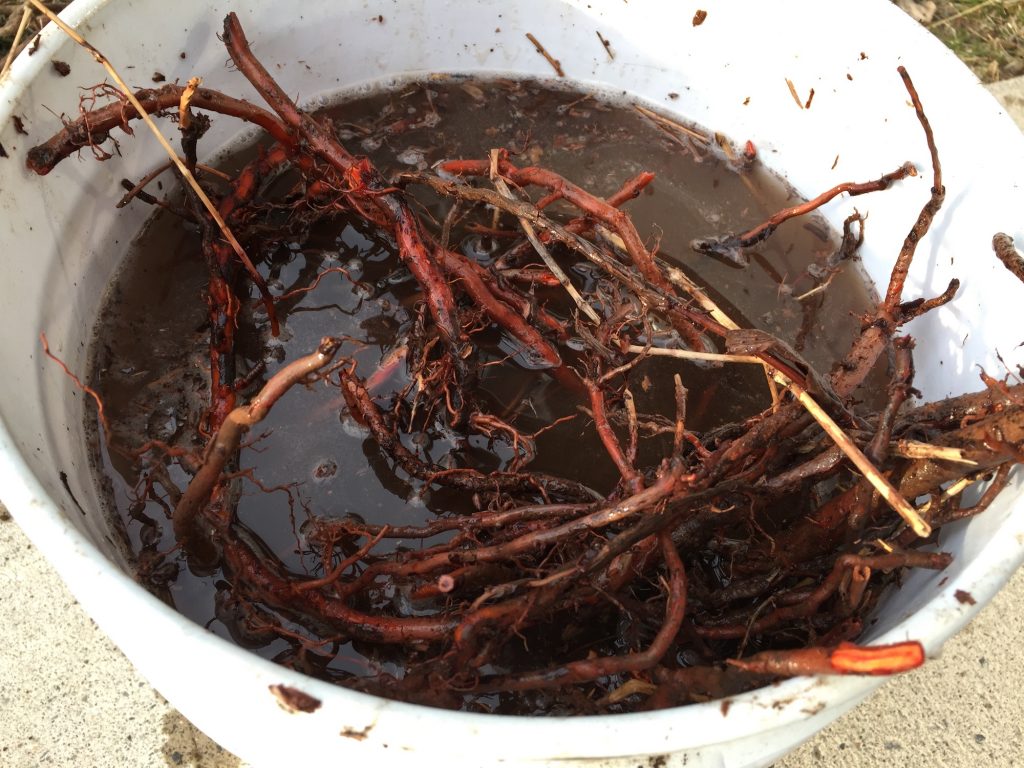
Here are some of the wet roots in the bucket:

Here is the Saturday harvest all rinsed and set up to dry:

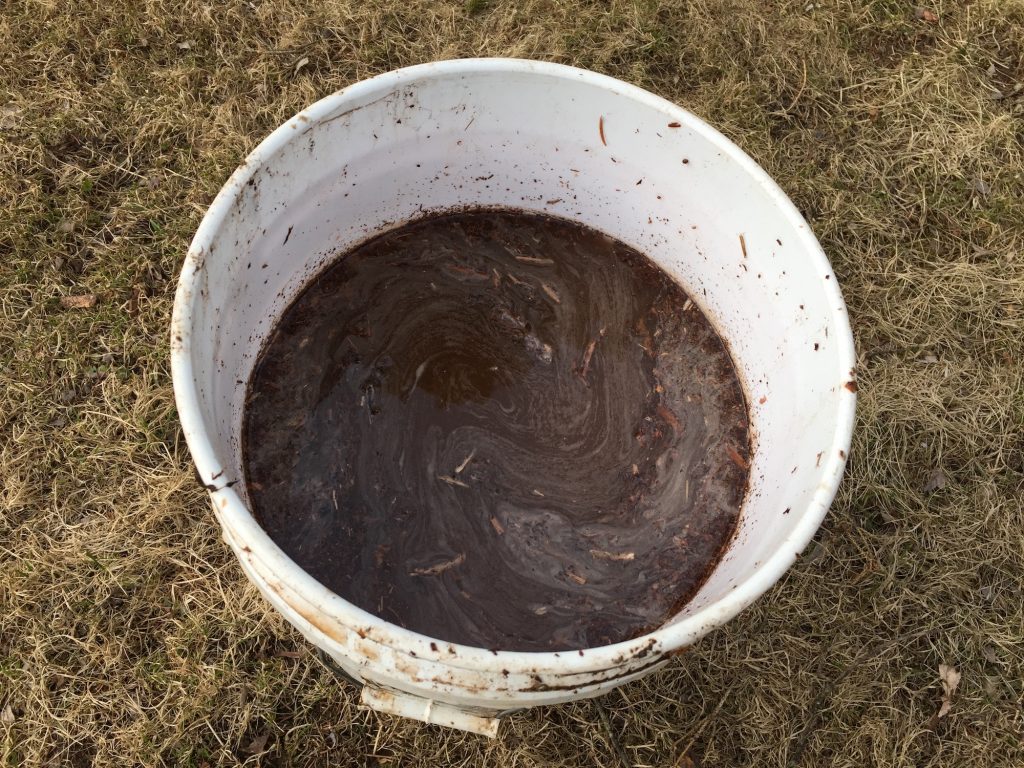
And here is the bucket of muddy water. I am not sure whether the pink tinge comes just from the soil or from the color that rinses off the roots:

On Sunday I went back again to do more digging, but this time I was racing the rain. The forecast called for rain starting at 11 am, and this time they were right.

In the morning on Sunday, I dug up the east and north sides of the bed. Here’s the “after” photo:

I didn’t take the time to photograph the rinsing process that morning, because at exactly 11am the rain began.

Farm Aid Exhaust Baths

I have finally exhausted all the dye baths from Farm Aid! Here are some photos of the process, plus some of the ratios and measurements for each plant material. I didn’t keep close track of the times and temperatures during the demo itself because it was so busy. Each bath with the plant material heated for at least an hour, and some of them heated for longer.

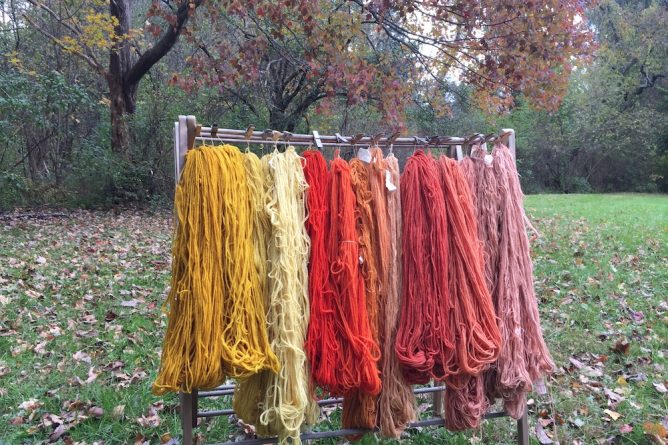
As I mentioned in the first post, I used madder root, weld, orange cosmos, and marigolds. All the yarns at the demo were 4 ounces of 4-ply wool. They were pre-mordanted with aluminum sulfate at 1 tablespoon per 4 oz. fiber, and cream of tartar at 1 teaspoon per 4 oz. fiber. As I got further along with the exhaust process, I switched to alpaca yarns, pre-mordanted at the same ratios. All the exhaust baths were heated to about 140-160 degrees, kept at that temperature for an hour, then cooled overnight. Continue reading “Farm Aid Exhaust Baths”

Massachusetts Sheep and Woolcraft 2018

On Memorial Day Weekend I did a dyeing demonstration at Massachusetts Sheep and Woolcraft Fair in Cummington, MA. I’ve done demos there before, but this year was special. I was dyeing hand-spun yarns from a variety of sheep breeds, spun by Lisa Bertoldi of Weft Handwoven Linens, and supported by a grant from the Northeast Handspinners Association. (12/31/2023 Edited: Lisa’s website is no longer active, but you can read her bio on the Working Weavers Studio Trail website. Here’s a link to her old site, including some nice images of her dishtowels.)

Here was the table with examples of my own naturally dyed handspun yarns, some of my favorite books, fliers for the Northeast Handspinners Association, and a 6-pack of marigolds:

Continue reading “Massachusetts Sheep and Woolcraft 2018”

More Madder on Cotton

If you read my post about the tannin-iron-madder experiment, you may have noticed that I divided the original dyebath in half. I didn’t explain why at the time. My rationale was this: I  worried that the iron would affect the subsequent colors I got from the exhausted dyebath.

For the rest of the experiment, I prepared small pieces of cotton cloth with three different treatments, which I’ll describe below.

You can read my original post here for a description of how I made the madder dyebath and prepared the fiber.

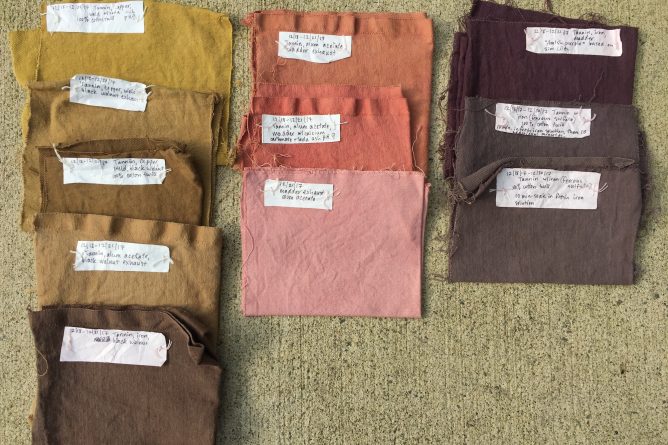
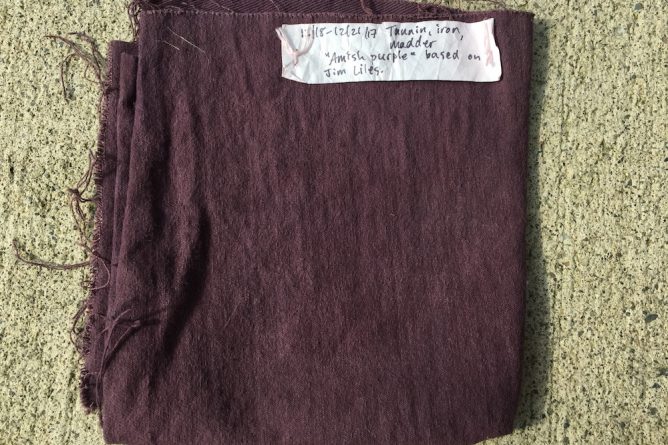
Usually when I’m extracting madder roots, I use calcium carbonate and soda ash to make the water mineral-rich and alkaline. The soda ash is inspired by a comment by Rita Buchanan in A Weaver’s Garden that “the pigment alizarin dissolves better in alkaline solutions.” In Jim Liles’  recipe for “Amish Madder Purple” he directs you to use calcium or chalk in the dyebath (though he specifies calcium acetate). He doesn’t mention pH, so for that sample I didn’t mess with the pH (which was 7). Continue reading “More Madder on Cotton”

Tannin, Iron and Madder on Cotton

Way back in December, around the time of the winter solstice, I ran some dyeing experiments with heavy cotton twill cloth. I have had some frustrations with cotton over the years, some of which I’ve documented here on this blog. On cotton yarns and cloth, I often get colors that are much lighter than I want, or a different shade than I was expecting.

Nevertheless, there are some colors and techniques that have always intrigued me. So in December I tried a recipe for “Amish Madder Purple” from Jim Liles’ book The Art and Craft of Natural Dyeing.

Cotton, like other plant-derived fibers, is primarily composed of cellulose. Cellulose is harder to dye with natural dyes than protein fibers. Protein fibers come from animals, for example: wool from sheep, mohair from Angora goats, alpaca from alpacas, llama from llamas, and angora from rabbits. Plant fibers can come from a wide range of sources, such as cotton, linen (from flax), hemp, and ramie (from a type of nettle). Continue reading “Tannin, Iron and Madder on Cotton”

Inside-Outside Part Two

In this post I will describe more details about the dyebaths we made at the Inside-Outside Conference in Keene on October 21st. We ran four dyebaths with madder root, marigolds, weld, and orange cosmos.  As usual when I am running or leading an event, I didn’t get any photos. Hopefully the notes provided here will be useful even if they are lacking in visual information.

First of all, the fiber we were dyeing was woolen yarn. We dyed four skeins, each of which was 4 oz. I had pre-mordanted the skeins many weeks earlier with aluminum sulfate at a rate of 2 Tbsp. per 8 oz. (2 skeins could fit in a pot). The skeins had dried in the meanwhile, and had been soaked in water on the day of the workshop to “wet them out”, i.e. make sure they were thoroughly wet before dyeing. Continue reading “Inside-Outside Part Two”