There’s Treasure Everywhere!

I love gardening. As someone who doesn’t own property, I have always been grateful for access to land to cultivate a garden, whether it was a town community garden plot or space on a farm owned or managed by a generous neighbor. There’s nothing quite as grounding or satisfying as getting my hands in the dirt and tending plants.

However, gardening can be full of frustration and disappointment. It can be exhausting. One’s labors can be many and one’s successes few.

Gardening dye plants comes with a particular irony for me. You can’t eat them. They are not, strictly speaking, necessary. One can certainly live without dye plants. Why go to all that trouble?

I started writing this post in the summer of 2020. We had a dry spring. We had a dry summer. As of May 2020 our part of the state was under “significant” drought conditions, which persisted through the fall. We were lucky never to get to the “critical” level that other parts of the state faced. You can check out the map of drought conditions in Massachusetts here, with updates posted throughout the summer and fall. I spent a ridiculous number of hours hauling gallons of water via car, which comes with a fossil fuel burden, trying to keep a couple beds of woad alive. I gave up entirely on the bed of flax I planted in April.

Honestly, why bother?

I know why I love making dyes with plants. Color is beautiful and beauty makes me happy. To be able to participate in this process of beauty-making helps me feel connected to, and part of, the many incredible forms of life on this planet. Creating color feels magical and meaningful. It is mind-boggling and humbling that plants can give these colors to us, over and above all the other gifts that plants bestow. Medicine, food, fragrance…. Oxygen alone would be enough!  I am deeply grateful to plants for all their lessons and awe-inspiring power. “Hey, need some color to brighten your day? Let me help you with that.”

But sometimes I look at all the abundant color that grows freely, of its own accord, with no effort expended on my part, in the fields and roadsides all around me, and wonder why I work so hard to maintain a dye plant garden. July and August (when I first started writing this post) are especially good times to reflect upon the abundance and take stock. There’s treasure everywhere (to quote a beloved line from Calvin and Hobbes).

Calvin and Hobbes There's Treasure Everywhere

It’s the middle of winter now. Gardeners are planning gardens and ordering seeds, or feeling glad for seeds saved. What to devote garden space to, and what to gather by the wayside?

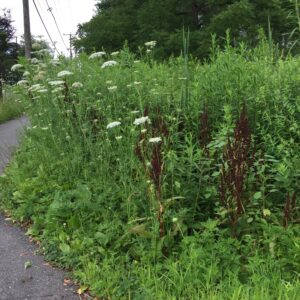
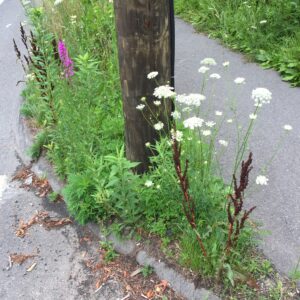
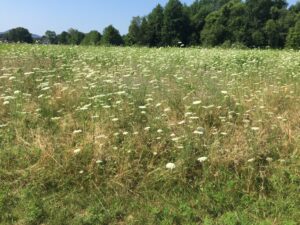
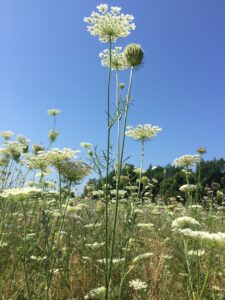
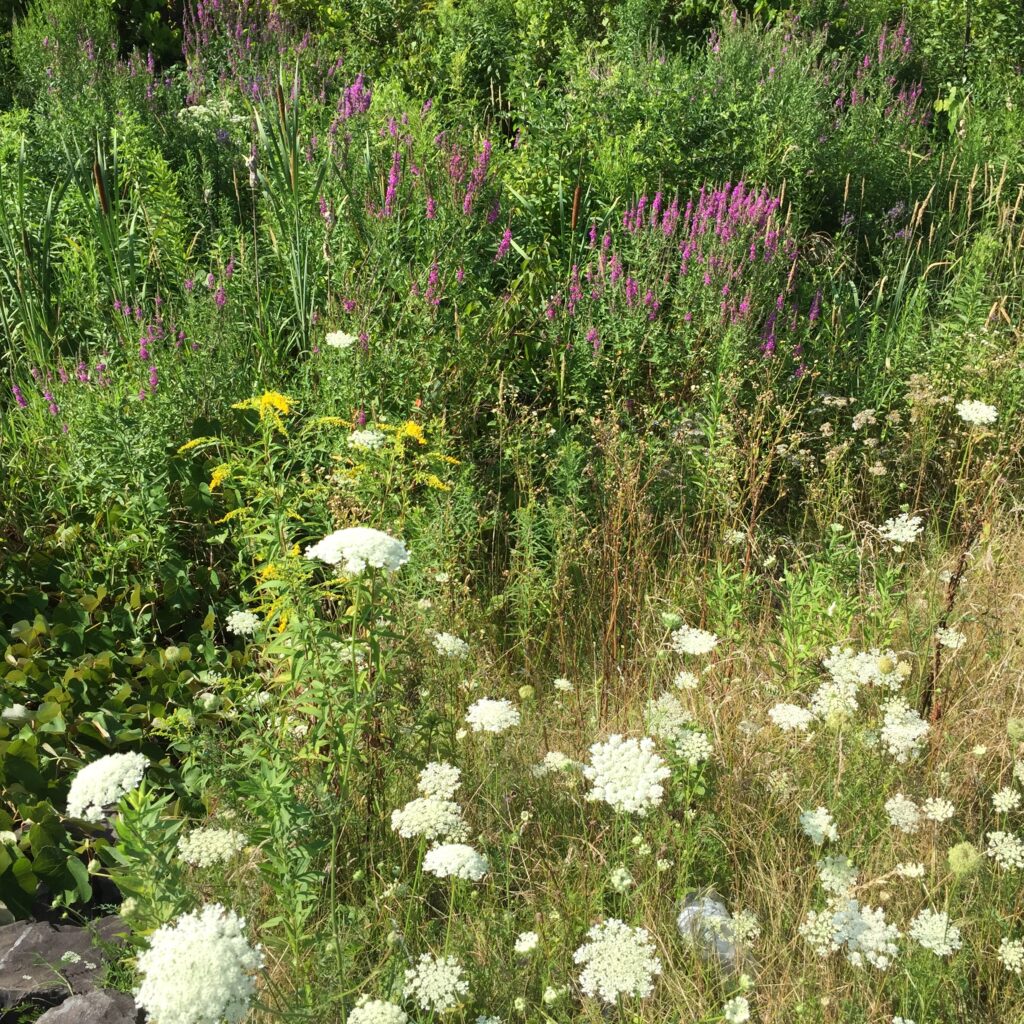
Here are a few of the most prolific dye plants in my neighborhood, photographed in June, July, and August of 2020. I will save a discussion of the use and implication of terms such as invasive, noxious, and opportunistic for another day. Hopefully “introduced” or “naturalized” are accurate enough for now.

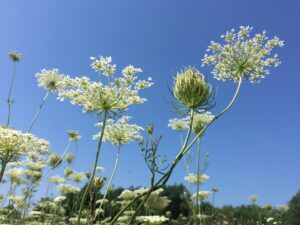
Queen Anne’s lace (Daucus carota) is an introduced species from Europe that can be found everywhere. It makes a lovely cool, clear yellow. It readily fills in marginal spaces along the side of the road, next to railroad tracks, and under power and utility lines.

It also fills in fields and open places. It is so prolific that I usually use just the flowers for dyeing, but I suspect the foliage gives similar colors. Also, it smells delicious when the dye bath is heating up!


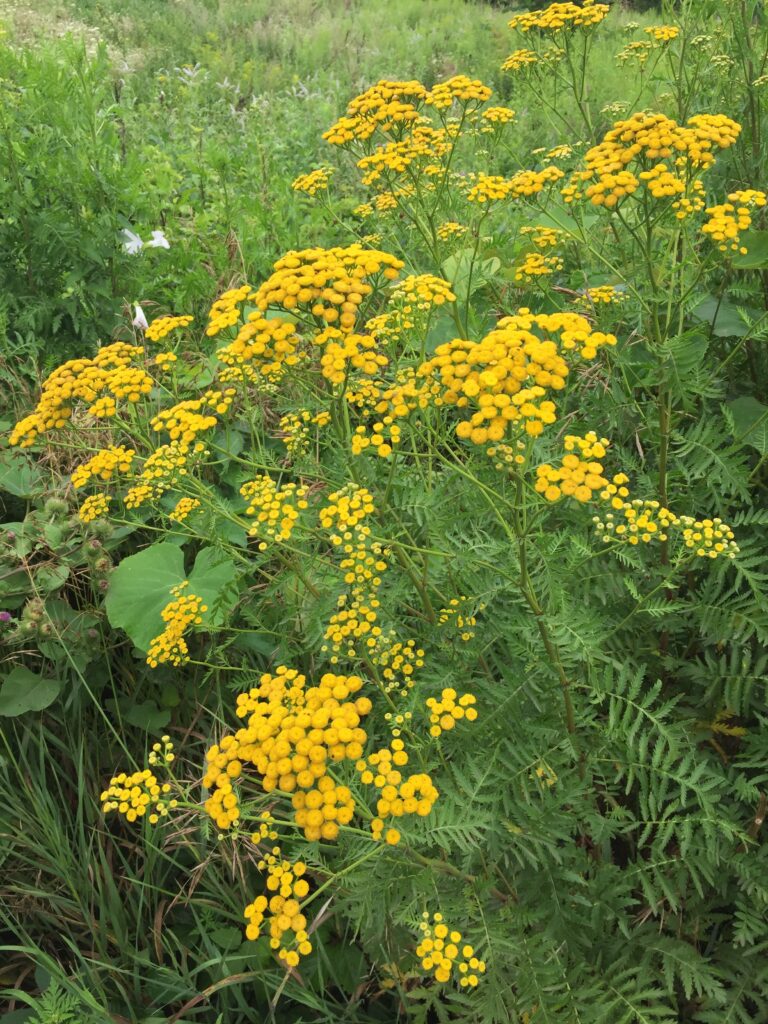
Next up, tansy (Tanacetum vulgare). It is also introduced from Europe. It is also quite aggressive. It is another source of yellow, albeit stinkier. It’s more on the gold side of yellow, a bit more brassy or brown than Queen Anne’s lace.

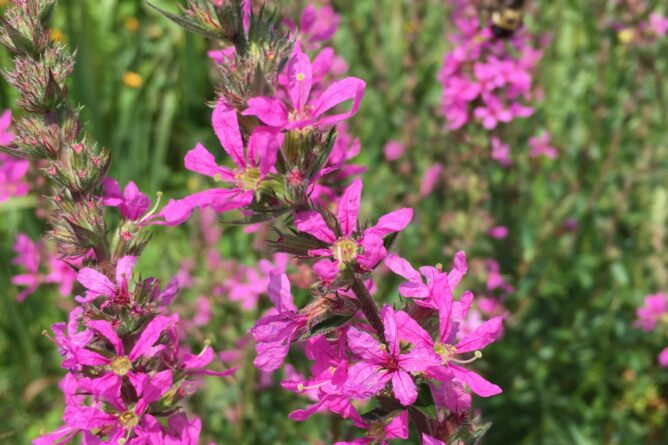
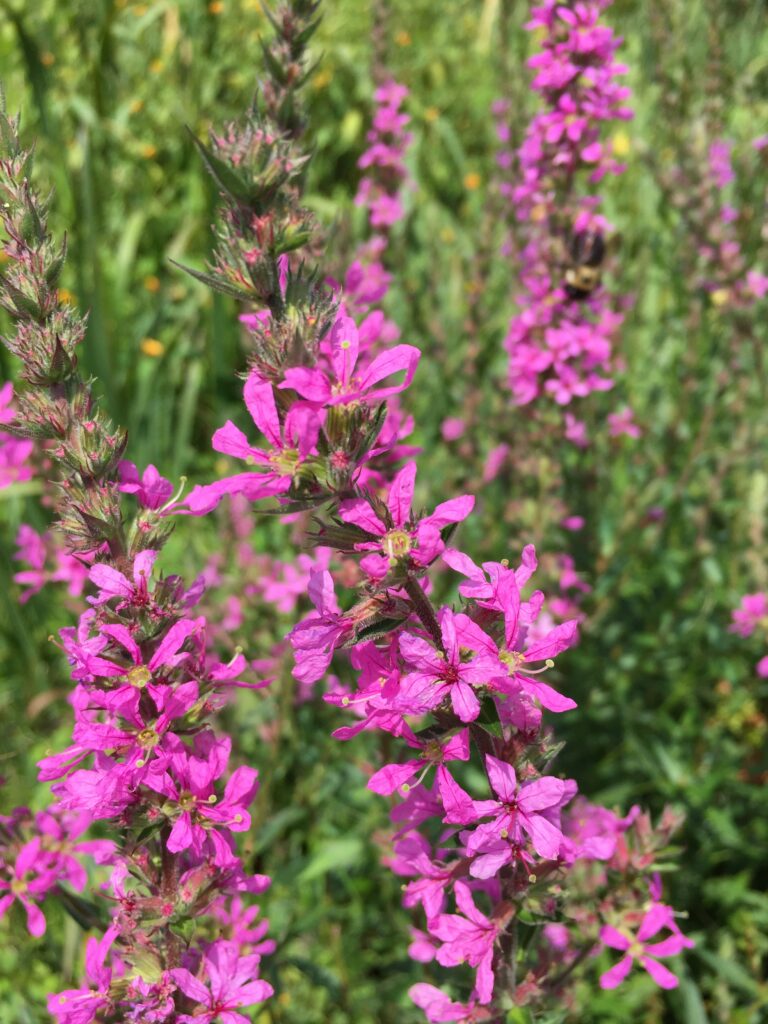
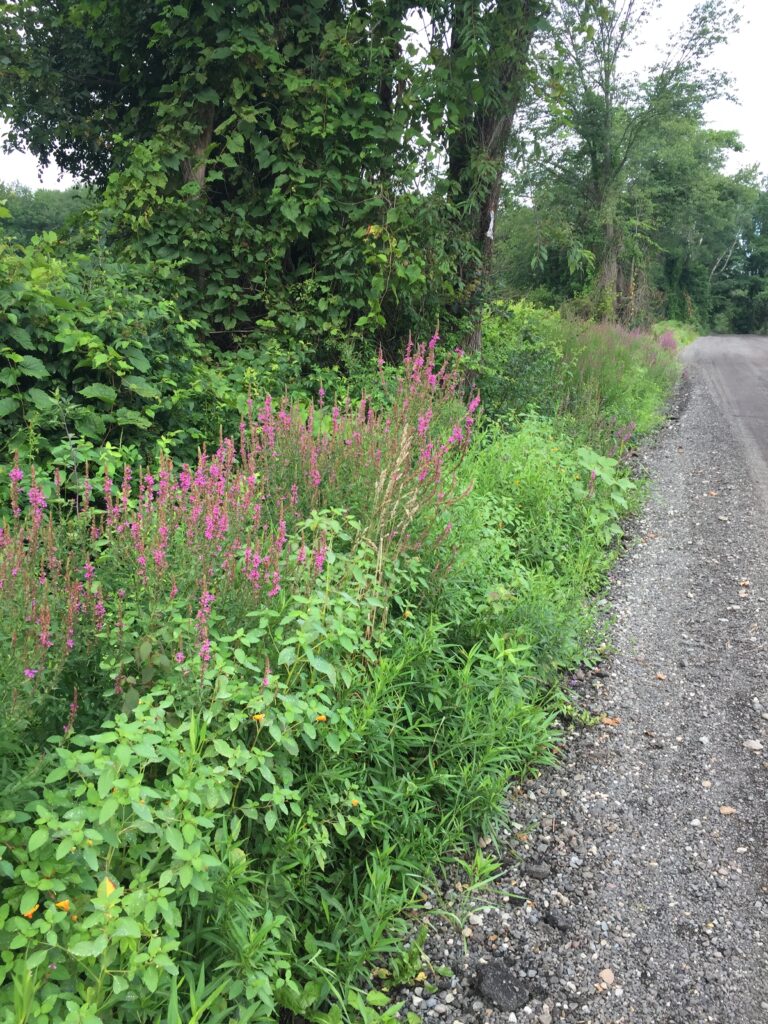
Purple loosestrife (Lythrum salicaria) is yet another introduced species from Europe. It is especially known (and lamented) for displacing native wetland plants in New England, but can also be found in drier habitats along the side of the road or underneath power lines. Whatever else one may wish to say about purple loosestrife, it is stunningly beautiful and makes bees very happy.


Purple loosestrife can make a variety of colors ranging from tan to olive green to gray, with the use of iron. I have even read a recipe for making black, but the amount of iron and heat called for seem overly harsh for wool. I feel like it has a lot of potential as a tannin source, and I haven’t explored it nearly enough.

Also visible above is jewelweed (Impatiens capensis) which is a native species here in New England. I have never used it for dyeing. I have heard from other dyers that it makes a rich yellow or gold. Personally, if I’m gathering rather than cultivating, I tend to stick with dye plants that are generally agreed to be *too* abundant. If I’m going to use a native species, I feel that it, too, ought to be unquestionably abundant. While jewelweed is not at risk or endangered here in Massachusetts, I don’t tend to find it in wide swaths, so thus far I have left it alone.

A native plant here in New England that I feel totally fine using is goldenrod. There are several species, and I’m sorry to say that I can’t identify them all, so maybe I shouldn’t be so cavalier. The type I’ve used is Solidago canadensis, I believe, though I am not positive that I can tell it apart from Solidago odora or sweet goldenrod. Yes, it makes yellow. A cheery, intense yellow. I think it’s the most vivid when you pick the flowering tops just before they are starting to bloom, when the buds are still pretty tight and the overall color is a neon greenish-yellow. In this photo it is a modest presence amidst a collection of other plants, but you can often see it filling whole fields around here.

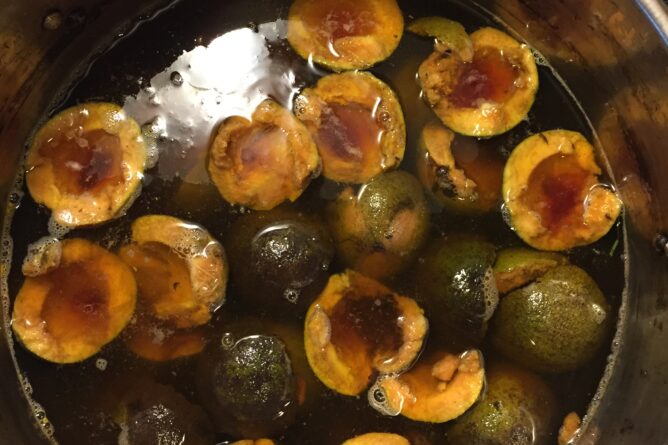
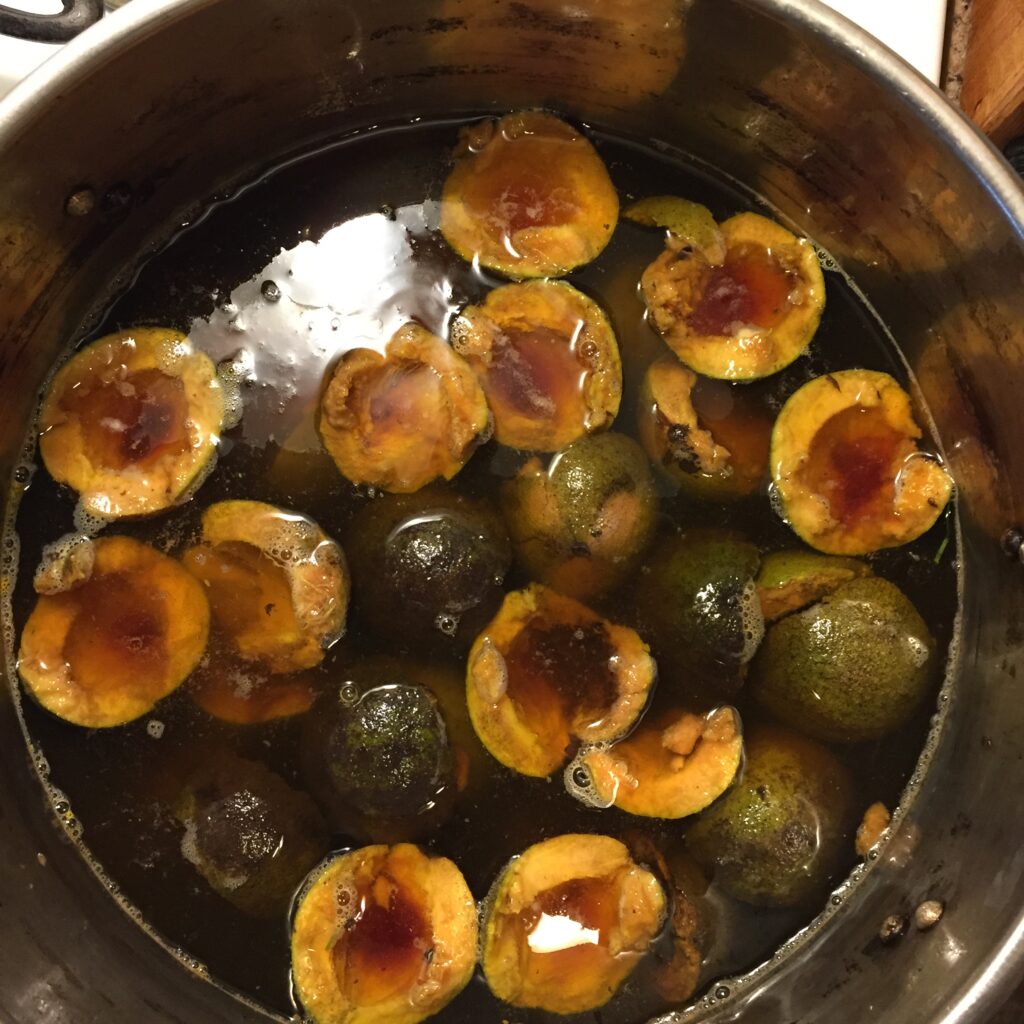
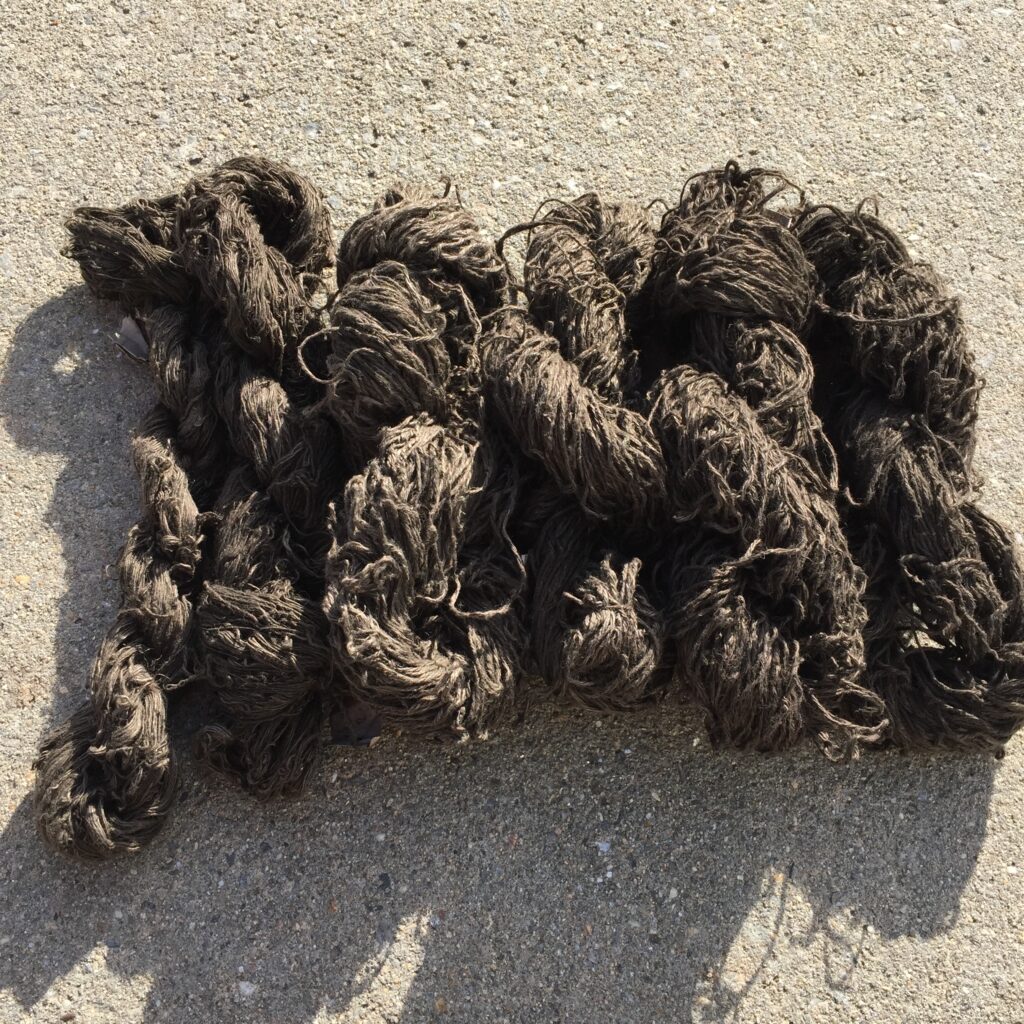
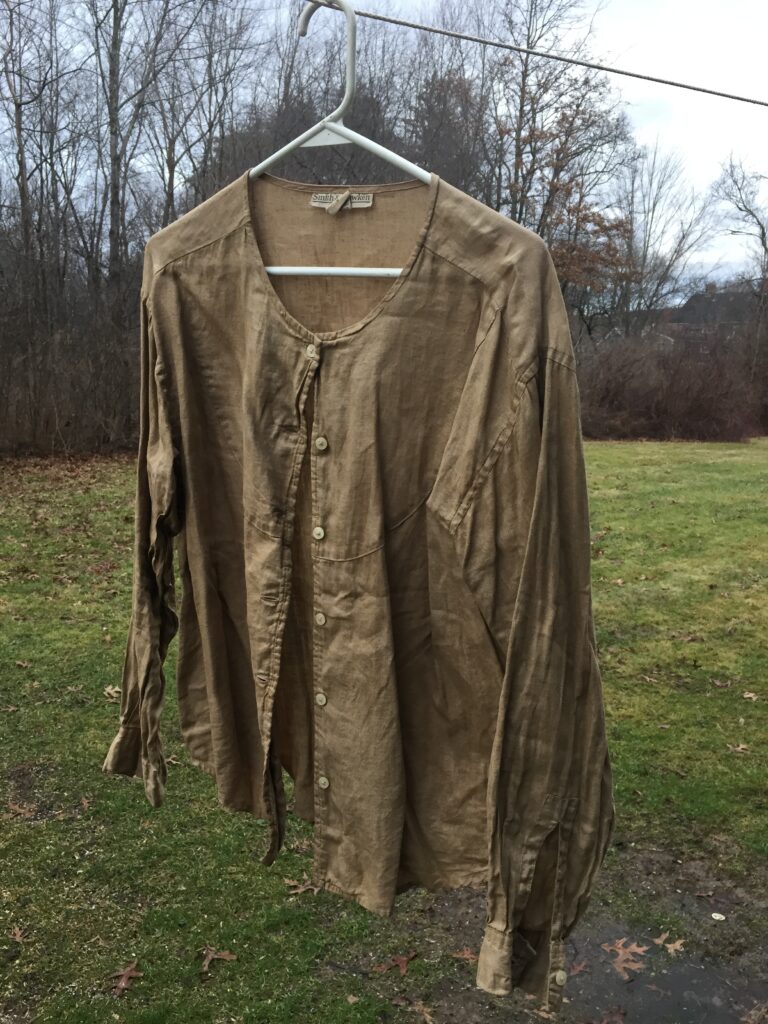
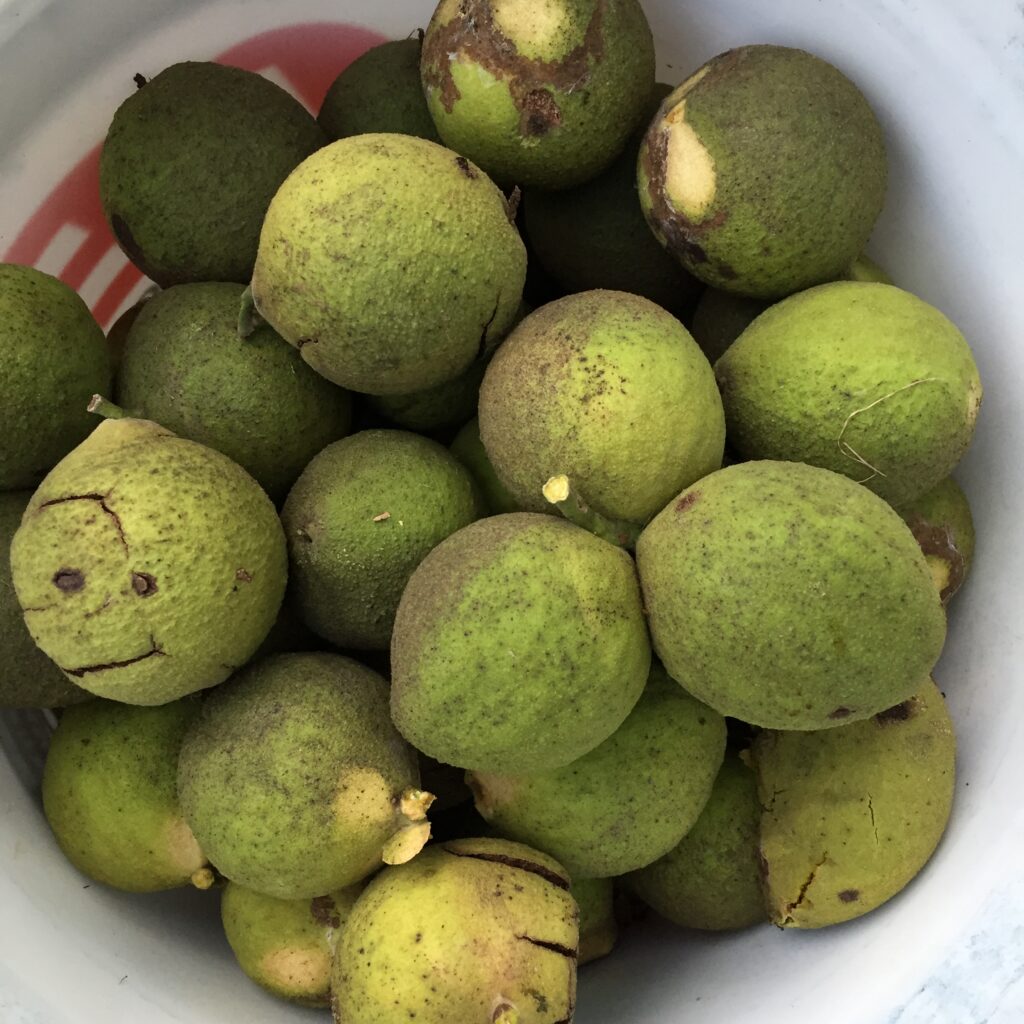
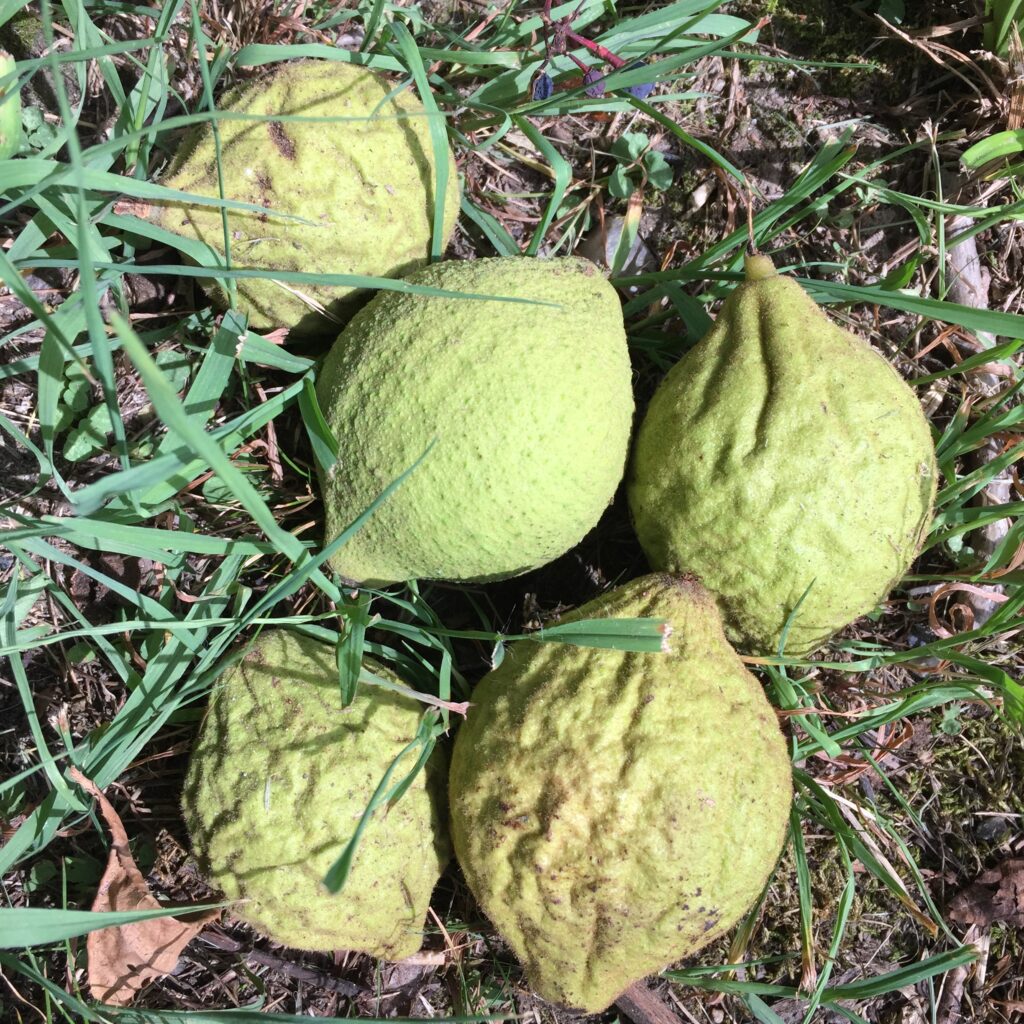
For now, I think I’ll wrap things up with black walnut (Juglans nigra). The green hulls from the nuts of these tall, lovely trees are a rich source of brown. Last year was actually not an abundant year for black walnuts. These were some early drops in August, and after that I didn’t find many mature nuts. Maybe it was the drought or maybe just not a mast year for black walnuts.

In a more abundant year, I can easily collect a five gallon bucket full from underneath just one tree.

To get the most intense color from black walnut hulls, you have to pick them up promptly and use them while the hulls are still green. They also smell wonderfully fragrant at this stage. If they sit on the ground too long, they start to get soft and black, and teeny little maggots start to grow. I believe that these are either walnut husk flies or walnut husk maggots, but I need to read up more about them. I find them squirmy and off-putting, but I’m sure they have their own lives to live and jobs to do on this earth, so I feel kind of bad boiling them to death.

As Calvin gleefully notes above, one of the treasures that are everywhere are disgusting grubs!

Massachusetts Sheep and Woolcraft 2018

On Memorial Day Weekend I did a dyeing demonstration at Massachusetts Sheep and Woolcraft Fair in Cummington, MA. I’ve done demos there before, but this year was special. I was dyeing hand-spun yarns from a variety of sheep breeds, spun by Lisa Bertoldi of Weft Handwoven Linens, and supported by a grant from the Northeast Handspinners Association.

Here was the table with examples of my own naturally dyed handspun yarns, some of my favorite books, fliers for the Northeast Handspinners Association, and a 6-pack of marigolds:

Continue reading “Massachusetts Sheep and Woolcraft 2018”

Tannin and Black Walnut on Cotton

I have often joked that using black walnut hulls on white wool is perhaps not the best use of my time. Black walnut hulls make various lovely shades of brown, but there are plenty of brown sheep.

Dyeing cotton brown, on the other hand, makes sense. There are naturally brown cottons, but they are not commonplace. Sally Fox has spent many years breeding naturally colored cottons in a range of beautiful colors, which you can see for sale here. However, most of the cotton that’s available at the moment is white.

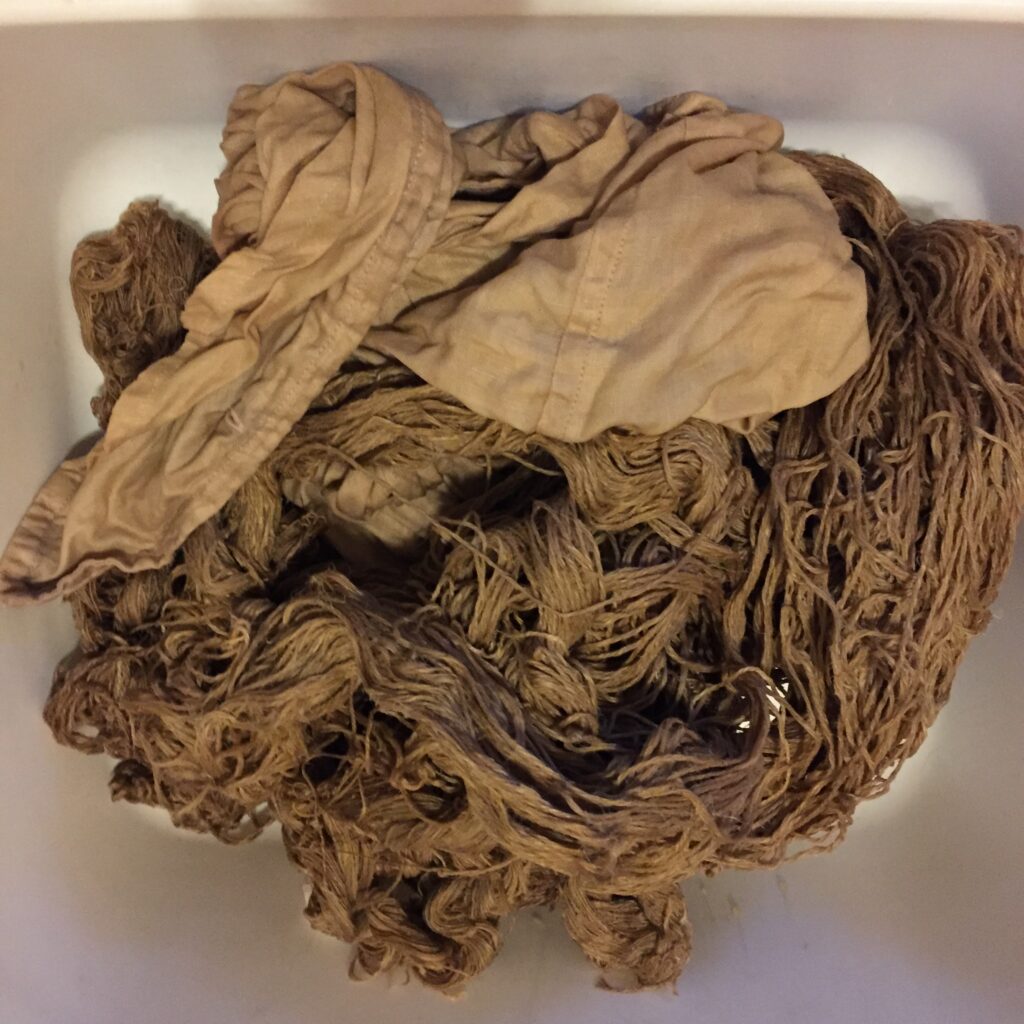
Using the same heavy cotton twill samples that I used for the tannin-iron-madder and tannin-copper-weld experiment, I ran some samples with black walnut hulls. I should note that black walnut itself is a source of tannin, so the tannin step at the beginning was probably redundant. However, for this series of experiments, I treated the whole piece of cloth with tannin originally before I cut it up for samples. Continue reading “Tannin and Black Walnut on Cotton”

Black Walnut Ink

Over the past few weeks in my class at school, we have been making black walnut ink. It is one of the craft and science projects we’re doing as part of our study of Colonial New England. We plan to use the ink to write with quill pens in pamphlet-stitch-bound “copy books” to scribe historical aphorisms such as “Mind your book,” “Strive to learn,” “Call no ill names,” and “Cheat not in your play”. Yes, OK, these are pretty moralistic, but speaking as a primary school teacher, I actually think they are still pertinent to a 21st century classroom in a progressive independent school.

To make the ink we are using the highly composted/aged/fermented contents of a 5 gallon bucket of black walnut hulls in water, which dates back not just one but TWO Autumns ago (i.e., Autumn 2012). Fresh walnut hulls are fragrant, even perfume-like. Mine, as it turned out, had become manure-like. Continue reading “Black Walnut Ink”

Animal, Vegetable, Mineral

The time is drawing near! Animal, Vegetable, Mineral: Work by Michelle Parrish and Amanda Quinby will go up on Tuesday at the Shelburne Arts Co-op, and will be open to the public from Wednesday October 2nd until Monday October 28th. Fall hours at the co-op are Sunday, Monday and Wednesday 11-5; Thursday, Friday and Saturday 11-8. The co-op is closed on Tuesdays. Here is a sneak peek of the ryas that will compose my portion of the show. The other portion of the show will be Amanda’s enchanting gilded panels, which have been on display at KW Home in Easthampton this month. Continue reading “Animal, Vegetable, Mineral”

Orange Cosmos Rya

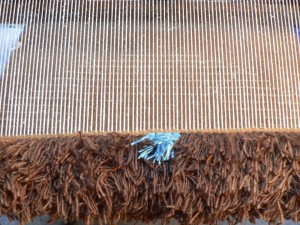
I finally finished this rya that I’ve had to un-weave and re-weave four times due to various problems and mistakes. The oranges and yellow-orange are dyed with orange cosmos. The brown is black walnut, and the blue at the center is dyed with woad. What looks like a solid orange block around the outside is actually two shades of orange, the darker blending into the lighter. Continue reading “Orange Cosmos Rya”

Easter Egg

Today I wove the wood thrush’s “egg” part of my nest-like rya. The egg is dyed with woad and Queen Anne’s Lace. The nest is dyed with black walnut. The darkest shade of brown right around the egg is hand-spun naturally brown Romney singles combined with my darkest shade of black walnut. Romney is a breed of sheep. I bought a huge bittersweet chocolate colored fleece many years ago at the Webs Fleece Market, but alas I can’t remember who I bought it from.

Row one:

egg row one Continue reading “Easter Egg”

Nest Rya

Once again, thanks to a snow day on Tuesday, I have made more progress on my new rya this week than I might have otherwise. Nevertheless, it is posing many challenges. The design is supposed to resemble an egg in a nest (Matthew’s idea–Thanks, Matthew!). Specifically, I’m thinking of a wood thrush egg, which is a very beloved bird to me. My colors are shades of tan and brown, dyed with black walnut, and blue-green for the egg, dyed with Queen Anne’s Lace and woad. Wood thrushes like to incorporate white material into their nests, so there is a very light colored layer around the outside of my design. Continue reading “Nest Rya”

Black Walnut Dye Project

OK, I haven’t sewn a new book in a couple weeks because I have been taking advantage of the extended fall weather and have been dyeing (outdoors) with some particularly stinky and stainy dyes: weld, black walnut, and an ancient umbilicate lichen vat from 2006. Each one deserves a post of its own, so I’ll start with the black walnut.

The black walnut has been an unintended exhausting marathon. That’s a pun. “Exhausting” is what you call it when you re-use the same dyebath (or dye liquor, or ooze, depending who’s talking about it) multiple times until there is no color left. One of my on-going projects is to weave a series of rya rugs using a limited palette of yarns that I have dyed with a given quantity of plant material.

To dye the yarn for the first rug, earlier this summer I dug 5.5 lbs. of Lady’s Bedstraw roots. This quantity ended up dyeing 2lbs. 12 oz. of wool in various shades of pink, peach, apricot, salmon, and, yes, warm beige. Beige in any of its various shades is not my (or, I think, any dyer’s) favorite color. Certainly it comes in handy when you need some neutral to balance out a design. But considering all the work involved in dyeing with plants, especially when you start with the raw materials themselves, it’s not really worth it just to make beige, even warm beige. There are plenty of beige sheep. Creating beige does not inspire awe, or joy, in the dyer. It also does not impress non-dyers with the power and magic of natural dyes. Since part of my concept with this project is to demonstrate the incredible range of color that a single plant–even a single dyebath–can generate, too much beige defeats the purpose.

This year, as you may recall, was a bumper year for black walnuts around here.  I decided to commemorate the bumper black walnut year with a rya rug, even though I often joke that dyeing white wool brown is a questionable pursuit (there is probably a fairytale about the foolish girl who spent her time and energy on this…). There are plenty of brown sheep. Nevertheless, I really love noticing and celebrating the natural world around me, whether events are daily and mundane or unusual and remarkable. Being aware of and participating in the cycles of plants, especially, is one of my great joys in life, and one of the reasons I am passionate about natural dyeing. Plus, you can get an incredible range of colors from black walnut. Thus began the mega-black walnut project.

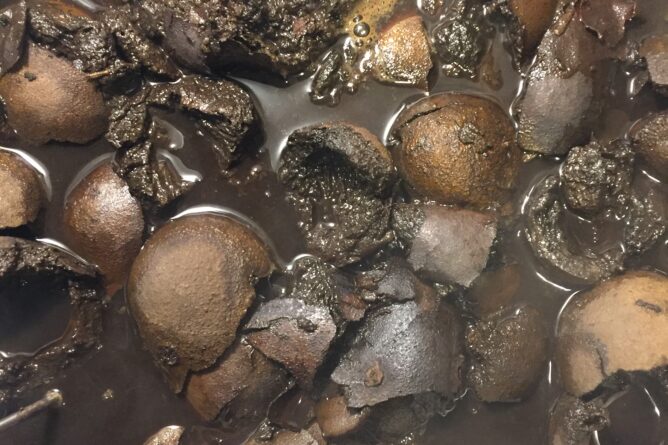
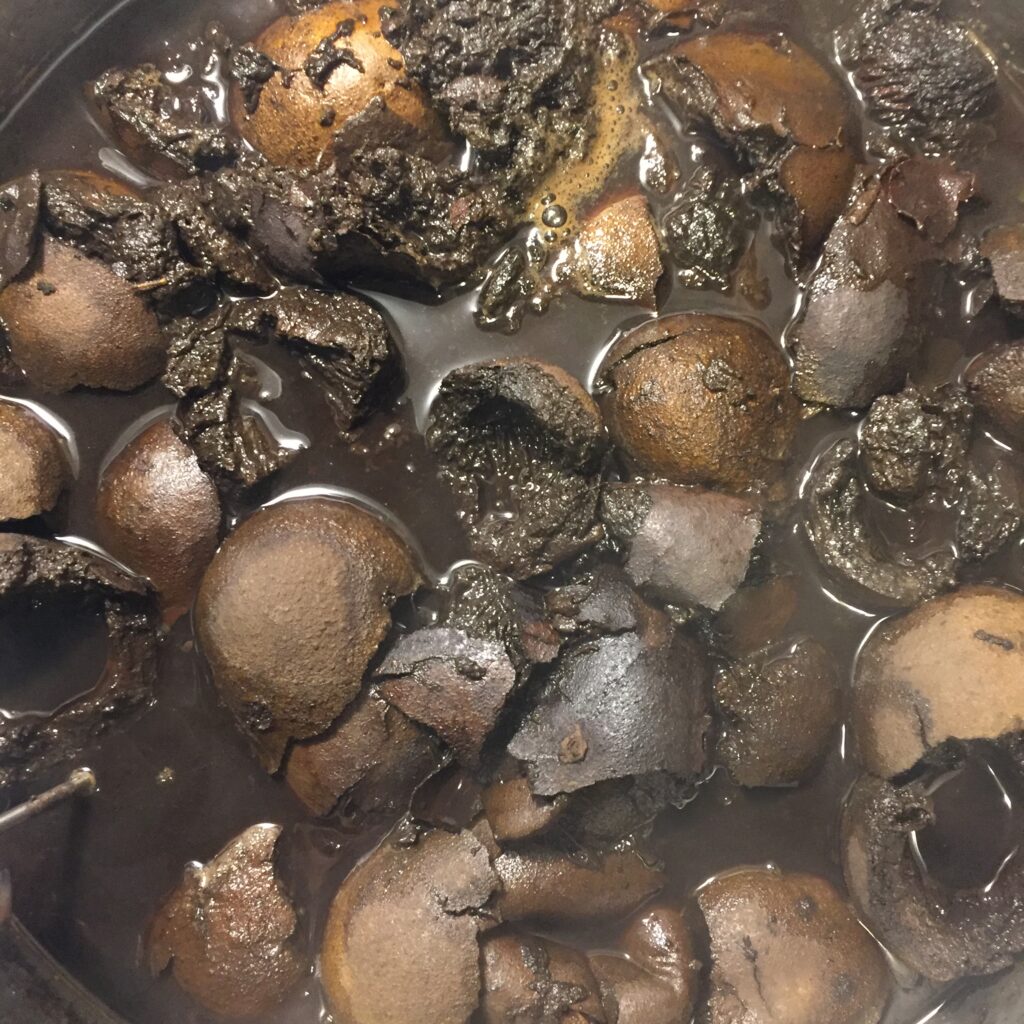
After the bedstraw experience, I decided I didn’t want as many beige skeins relative to the total quantity of yarn. So, I started with an admittedly huge amount of walnut hulls hoping for a lot of nice dark browns and not so many beiges.  OK, you can already tell at this point in the story that I was dreaming, but my vision was blocking my vision, so to speak, and I can only see that in hindsight. I started with nine and a half pounds of walnut hulls that had been soaking in buckets outside for several weeks. I usually think that boiling walnut hulls smell delicious, but these had an unpleasant “swamp” smell due to the fact that they had been decomposing in the relatively warm weather. So, this had to be an outdoors project, using the portable electric burner.

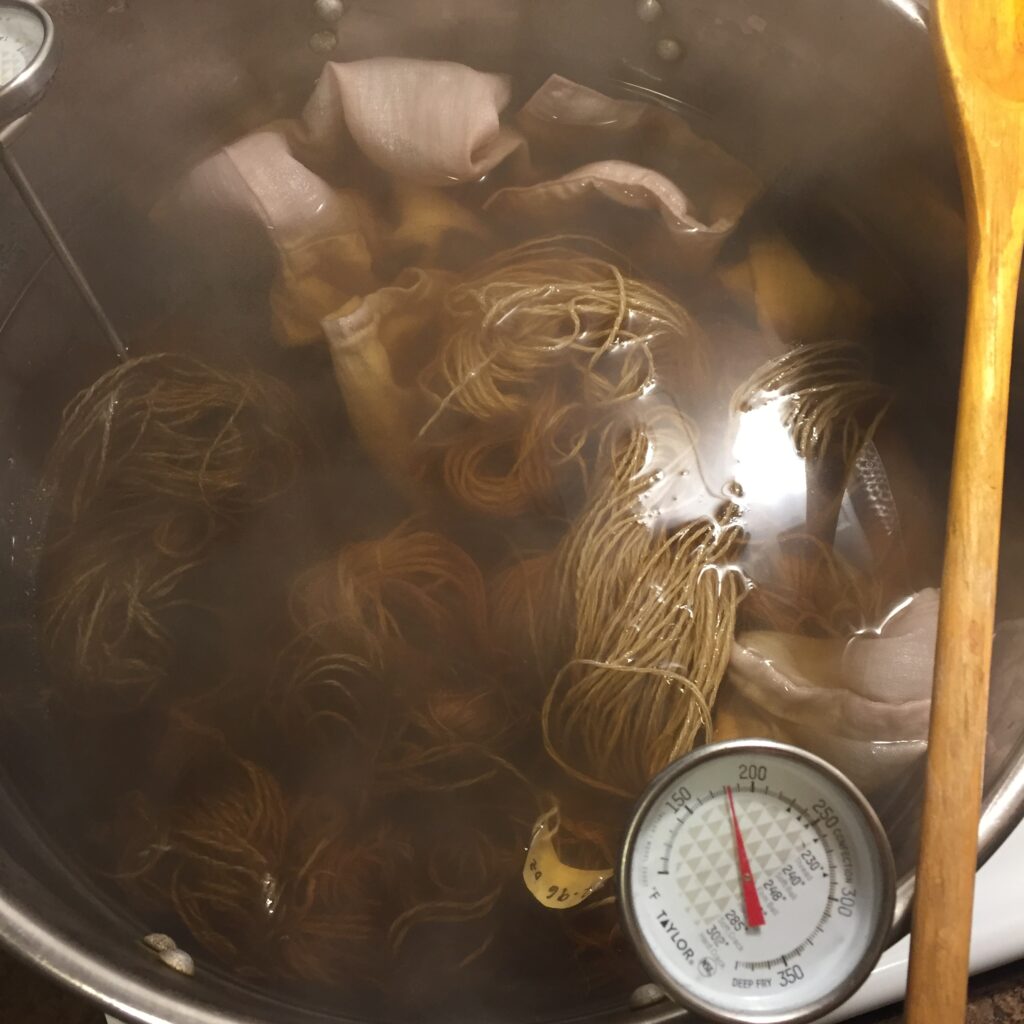
I don’t have large pots, so this whole operation is being run with small pots and small quantities. In fact, I’m thinking “Small Potatoes” may become the name of the series (assuming I ever actually weave these things). I divided the hulls between two potsblack walnut hulls and second dyebathblack walnut hulls and first dye bath and extracted the same hulls twice, creating 4 different dyebaths.


extracting black walnutwalnut hull in dyepot

When extracting the hulls you can let them boil and it won’t hurt the color, but it will make a huge mess if it boils over, so I kept a close watch. Above on the left, “a watched pot never boils.” On the right, a portion of a hull in the dyepot. Below on the left you can see the white skins being mordanted with aluminum sulfate, and on the right, the rich color of the dye bath once the hulls were strained out. black walnut dyebathmordanting yarn


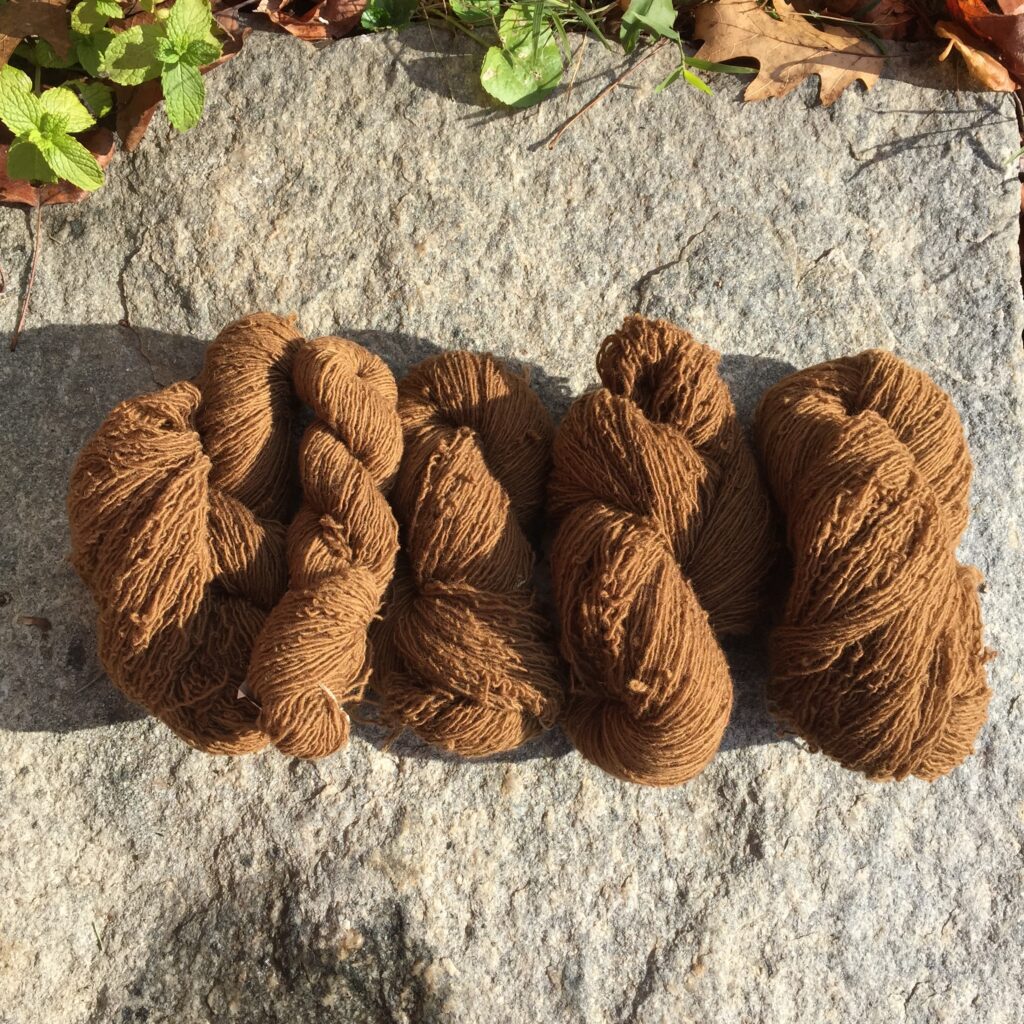
Ah, turning white wool brown!

Those four original dyebaths have thus far dyed 4 pounds of wool, in successive batches of 4 ounces each, and I have yet to reach beige (I’ve gotten to tan). I have been mulling for many days now whether or not to continue. I already have plenty of wool for a rug, at least a rug of the size I initially envisioned. But I have not truly exhausted the baths. I think I could dye another pound of wool before I actually exhaust the color.

I took a hiatus from the walnut project when we had a cold snap, and my pots and buckets froze (too stinky to keep indoors). Here are hulls with frost on them (which I could even extract again, if I was crazy) and a frozen dyebath:black walnut hulls with frost

frozen black walnut dyebath


But I think I have to continue to the point of true exhaustion. A bumper walnut year calls for an epic quantity of brown yarn, and perhaps an astonishingly big rug.

Happy Fall Equinox!

Going Nuts…

This fall we are having a bumper crop of black walnuts here in Amherst. All summer I’ve been eyeing the big green spheres hanging high in the trees around town, anticipating the happy day when they would start to fall to the ground. The happy day has arrived. At the moment I have a 5 gallon bucket of hulls outside soaking, and three more full of nuts waiting to be processed.

bucket of black walnuts
Bucket of black walnuts still in the hull

Thanks to a former student of mine, I now have a quick and fun way to get the hulls off the nuts. I used to laboriously cut off the hulls with a knife. This is time consuming and a bit dangerous. The hulls are thick and tough. After once staining my hands a really ghastly shade of mottled zombie skin, I always wore thick gloves for this task. But wearing gloves makes my hands sort of clumsy, and the hulls are juicy, and the knife can get slippy…. Fortunately, about 4 years ago, one of my students invited me to collect black walnuts from his mom’s back yard. While I was there, he showed me his method for getting the hulls off: place the nuts on a cinder block and whack them with a piece of 2×4. The hulls pop right off! You can bash ’em with a brick, too.

removing black walnut hulls
Ready to bash a walnut with my 2×4. You can smash several at a time, of course.
black walnut in hull
There’s the walnut inside the hull.
black walnut separated from hull
Hull on the left, black walnut on the right.

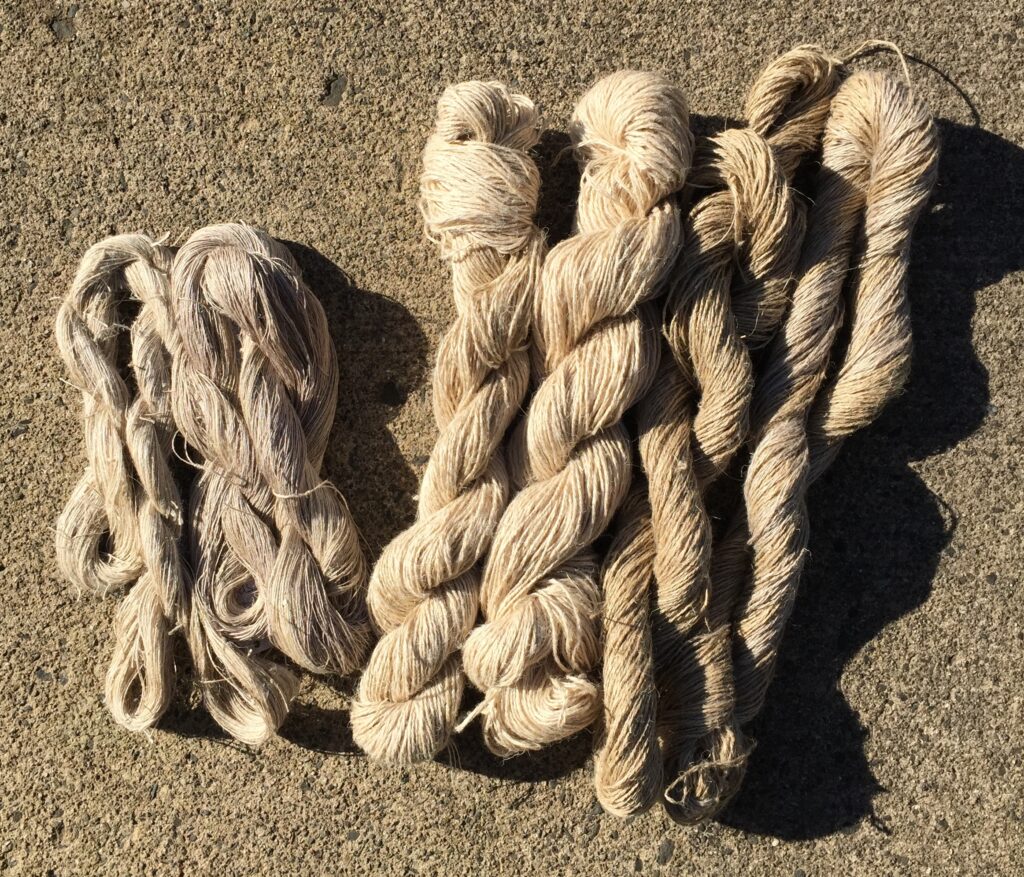
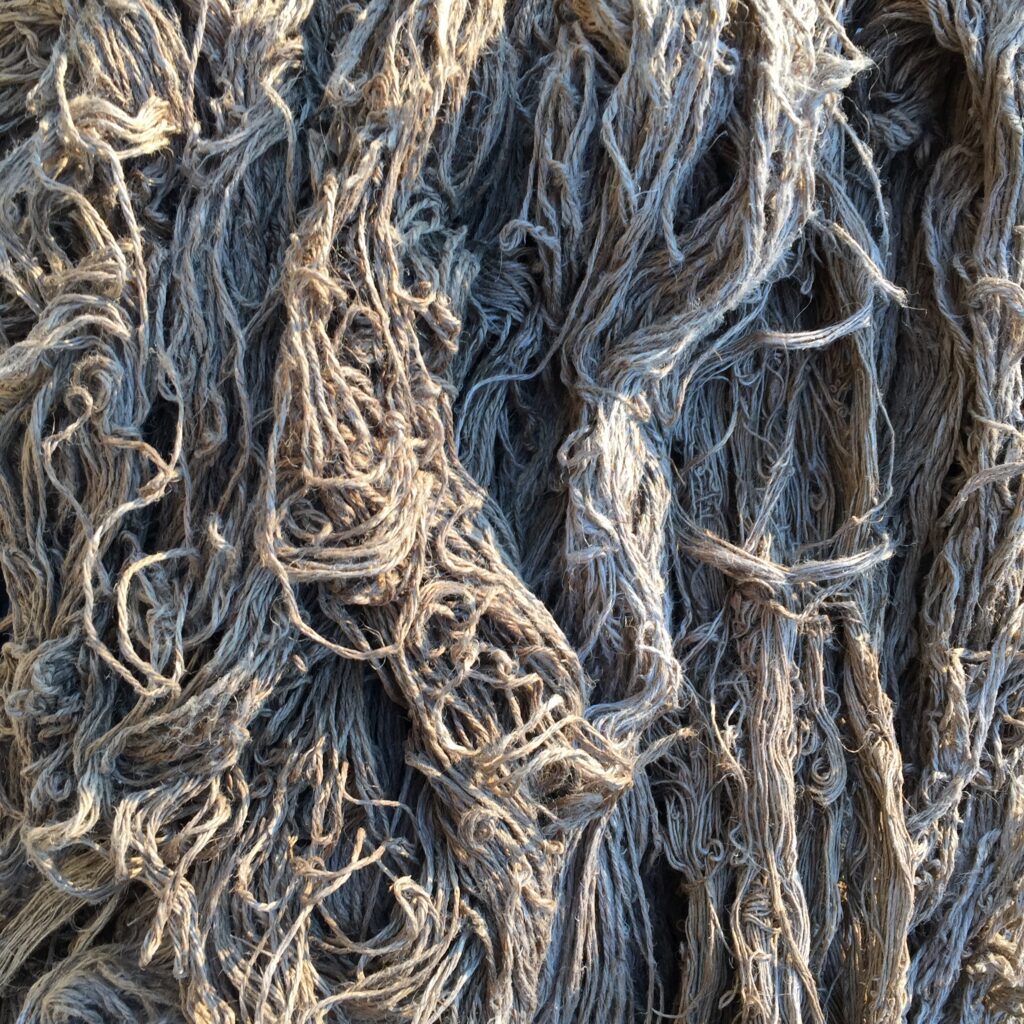
After all this bashing, what color do you get from black walnut hulls? Various shades of brown from rich and reddish to silvery grey. I have sometimes wondered whether it is foolhardy to dye white wool brown, when there is plenty of brown wool to be had. But I find black walnuts hard to resist. They are fragrant and abundant. And forgiving; you can let them rot in a bucket for months with no harm done. I let them freeze outside over the winter, which has been bad for the buckets but no problem for the walnut hulls. Some people find them a nuisance when they’ve been littering the ground for a few days, and get all smooshed up and brown and squishy. So really, why not use them? Since I have become more interested in dyeing plant fibers over the past couple years, my new quest this fall is to get a good dark color on linen yarn. Here are some images of walnut dyed wool and linen from seasons past. I’ll keep you posted on my dark-brown-linen ambitions.

black walnut yarn drying
Brown skein on the right is black walnut on Corriedale mordanted with aluminum sulfate and cream of tartar
yarns and fleece dyed with black walnut and woad
Corriedale skein again, with black walnut exhaust on upper right (mixed breed fleece from Hampshire College Farm Center). Blues are from woad.
black walnut on wool, silk, and linen yarns
black walnut on wool and linen yarns and silk hankie

On Saturday, October 1st, I will be introducing others to the pleasures of black walnut hull-bashing, and the fragrant scent of simmering hulls, at Small Ones Farm in South Amherst. I’m hoping people get as much of a kick out of it as I do.