This blog post is about bronze fennel (Foeniculum vulgare ‘purpureum’ or ‘rubrum’), black-eyed Susan (Rudbeckia hirta spp.), and yarrow (Achillea millefolium spp.). It could also be called “The Case of the Disappearing Rudbeckia.” To state my conclusions up-front, bronze fennel is allelopathic, black-eyed Susan cultivars are “short lived” perennials, and the yarrow remains a mystery. Read on for the long version of the story….
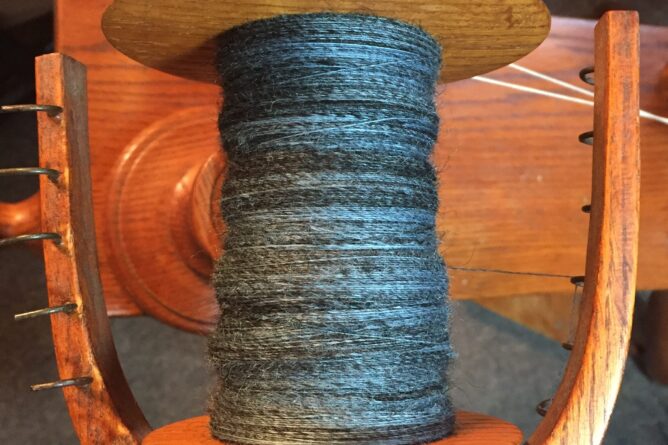
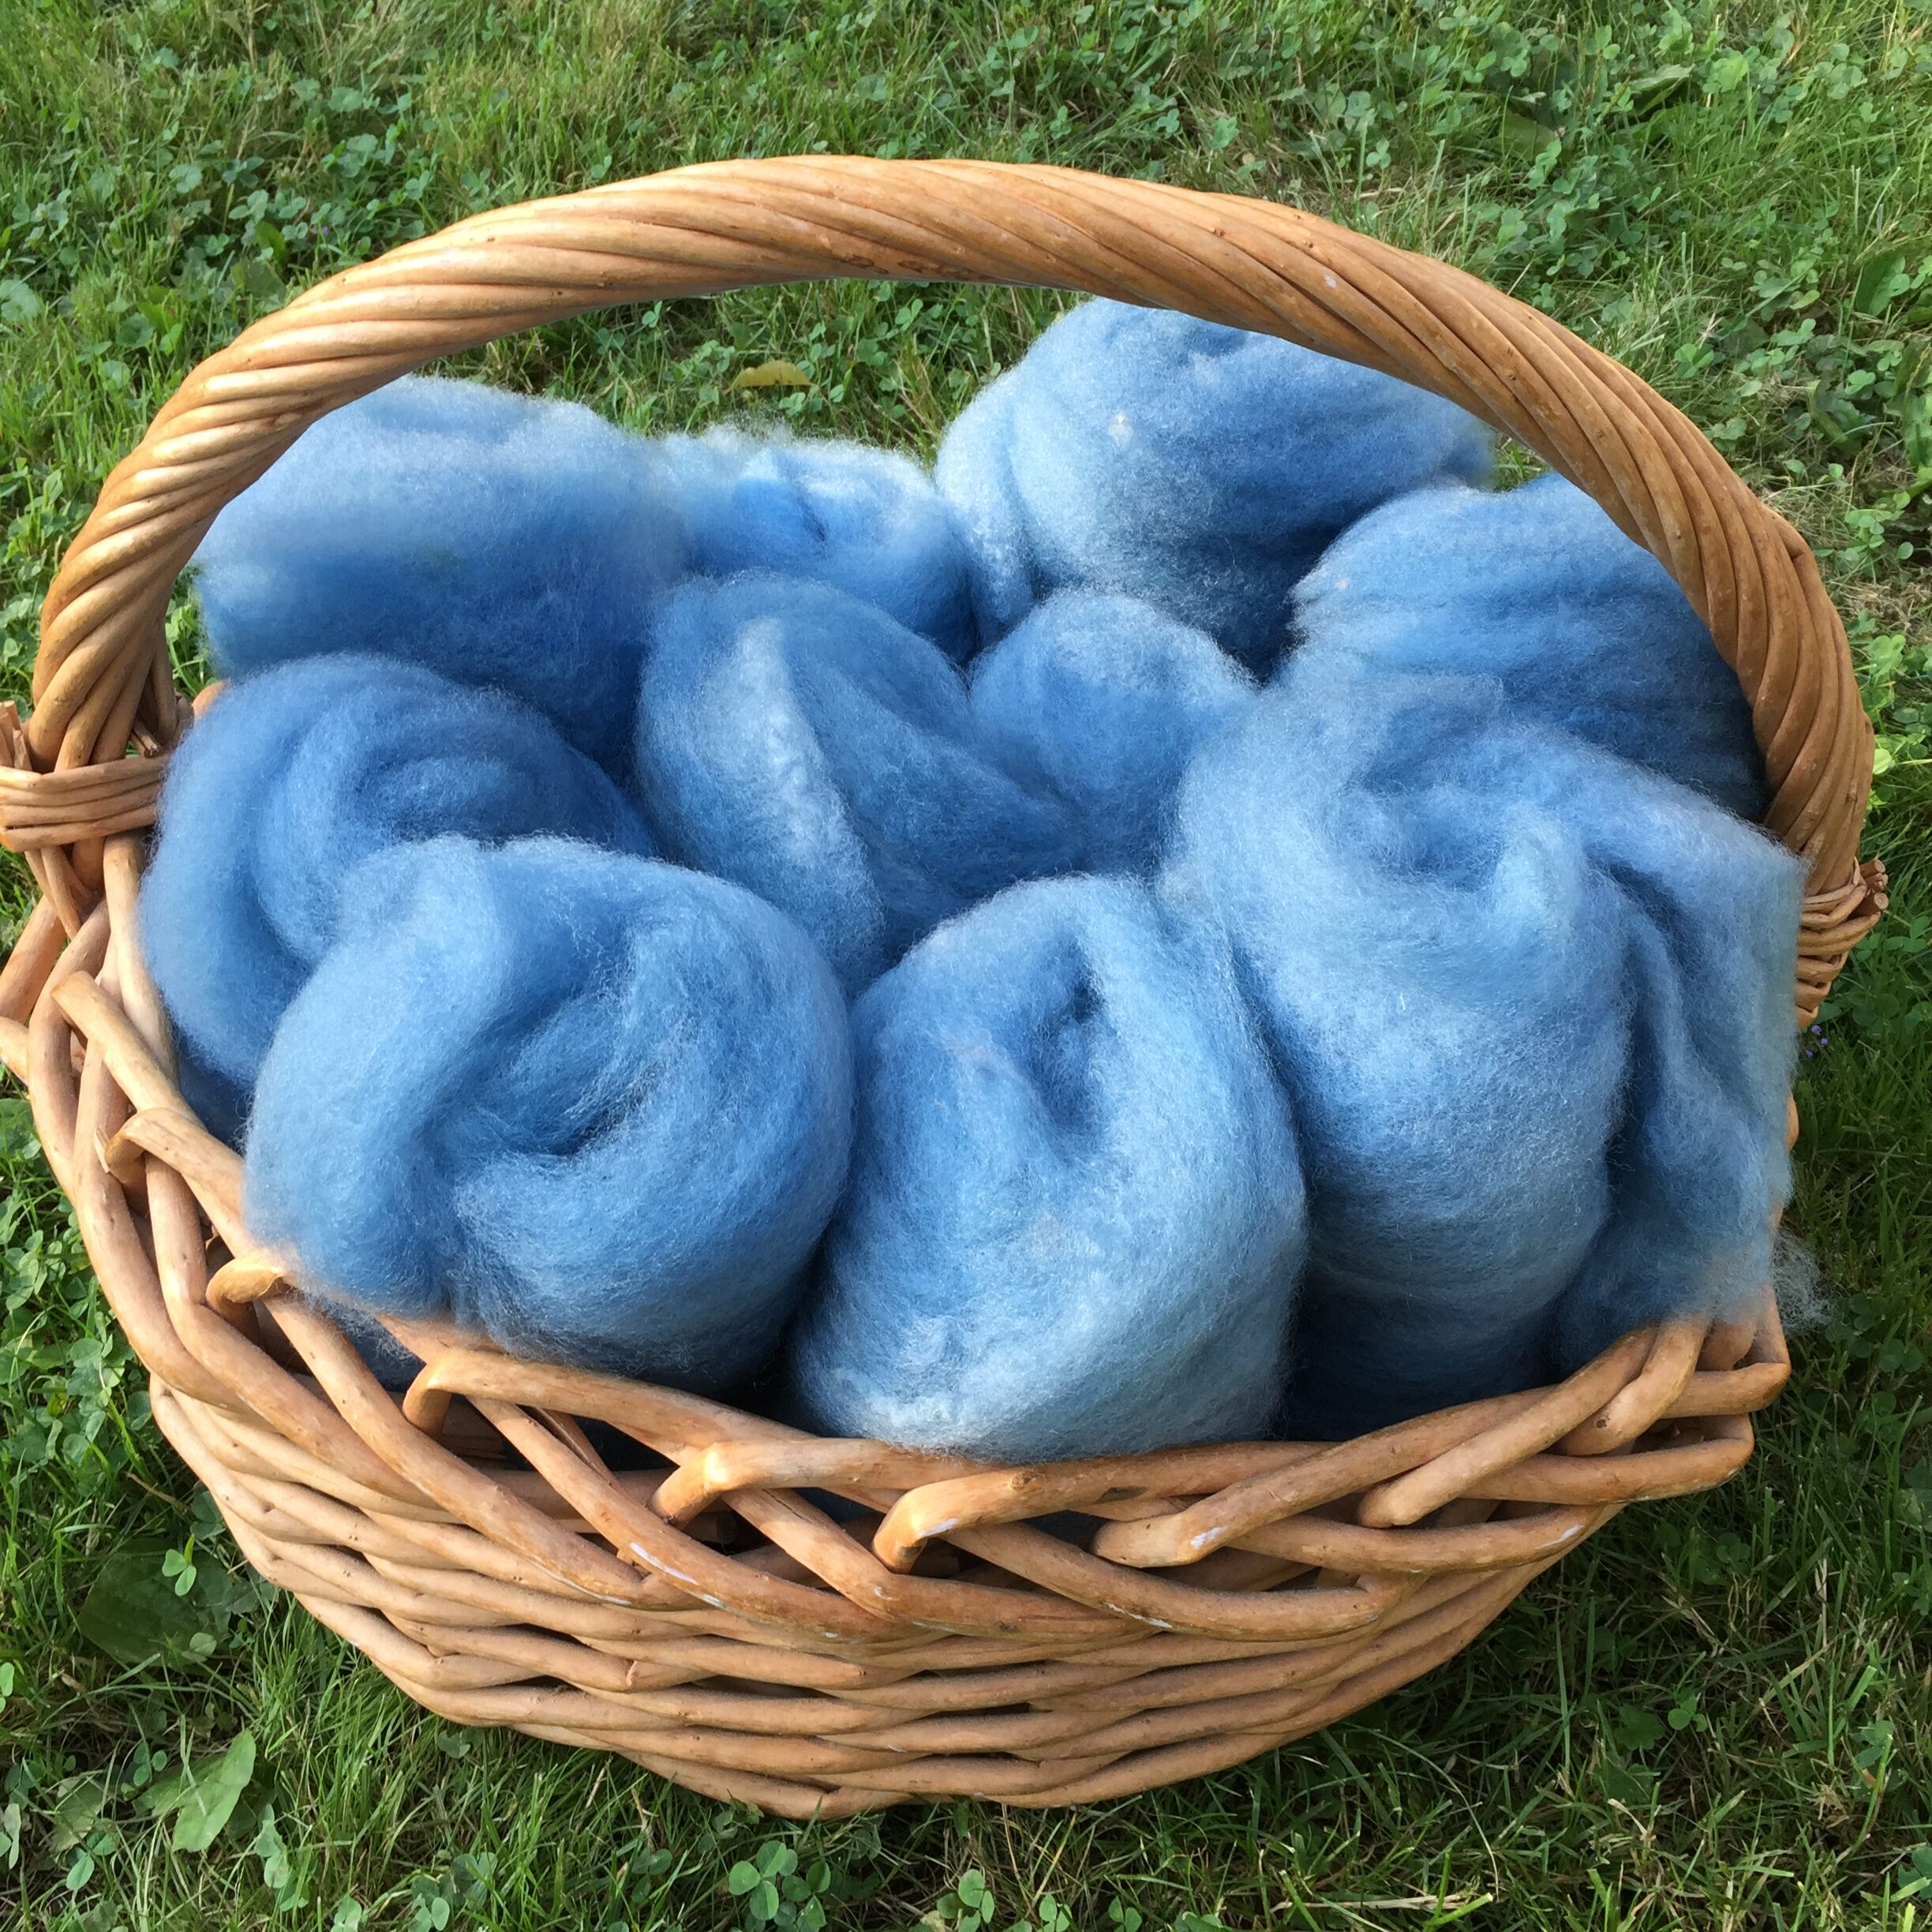
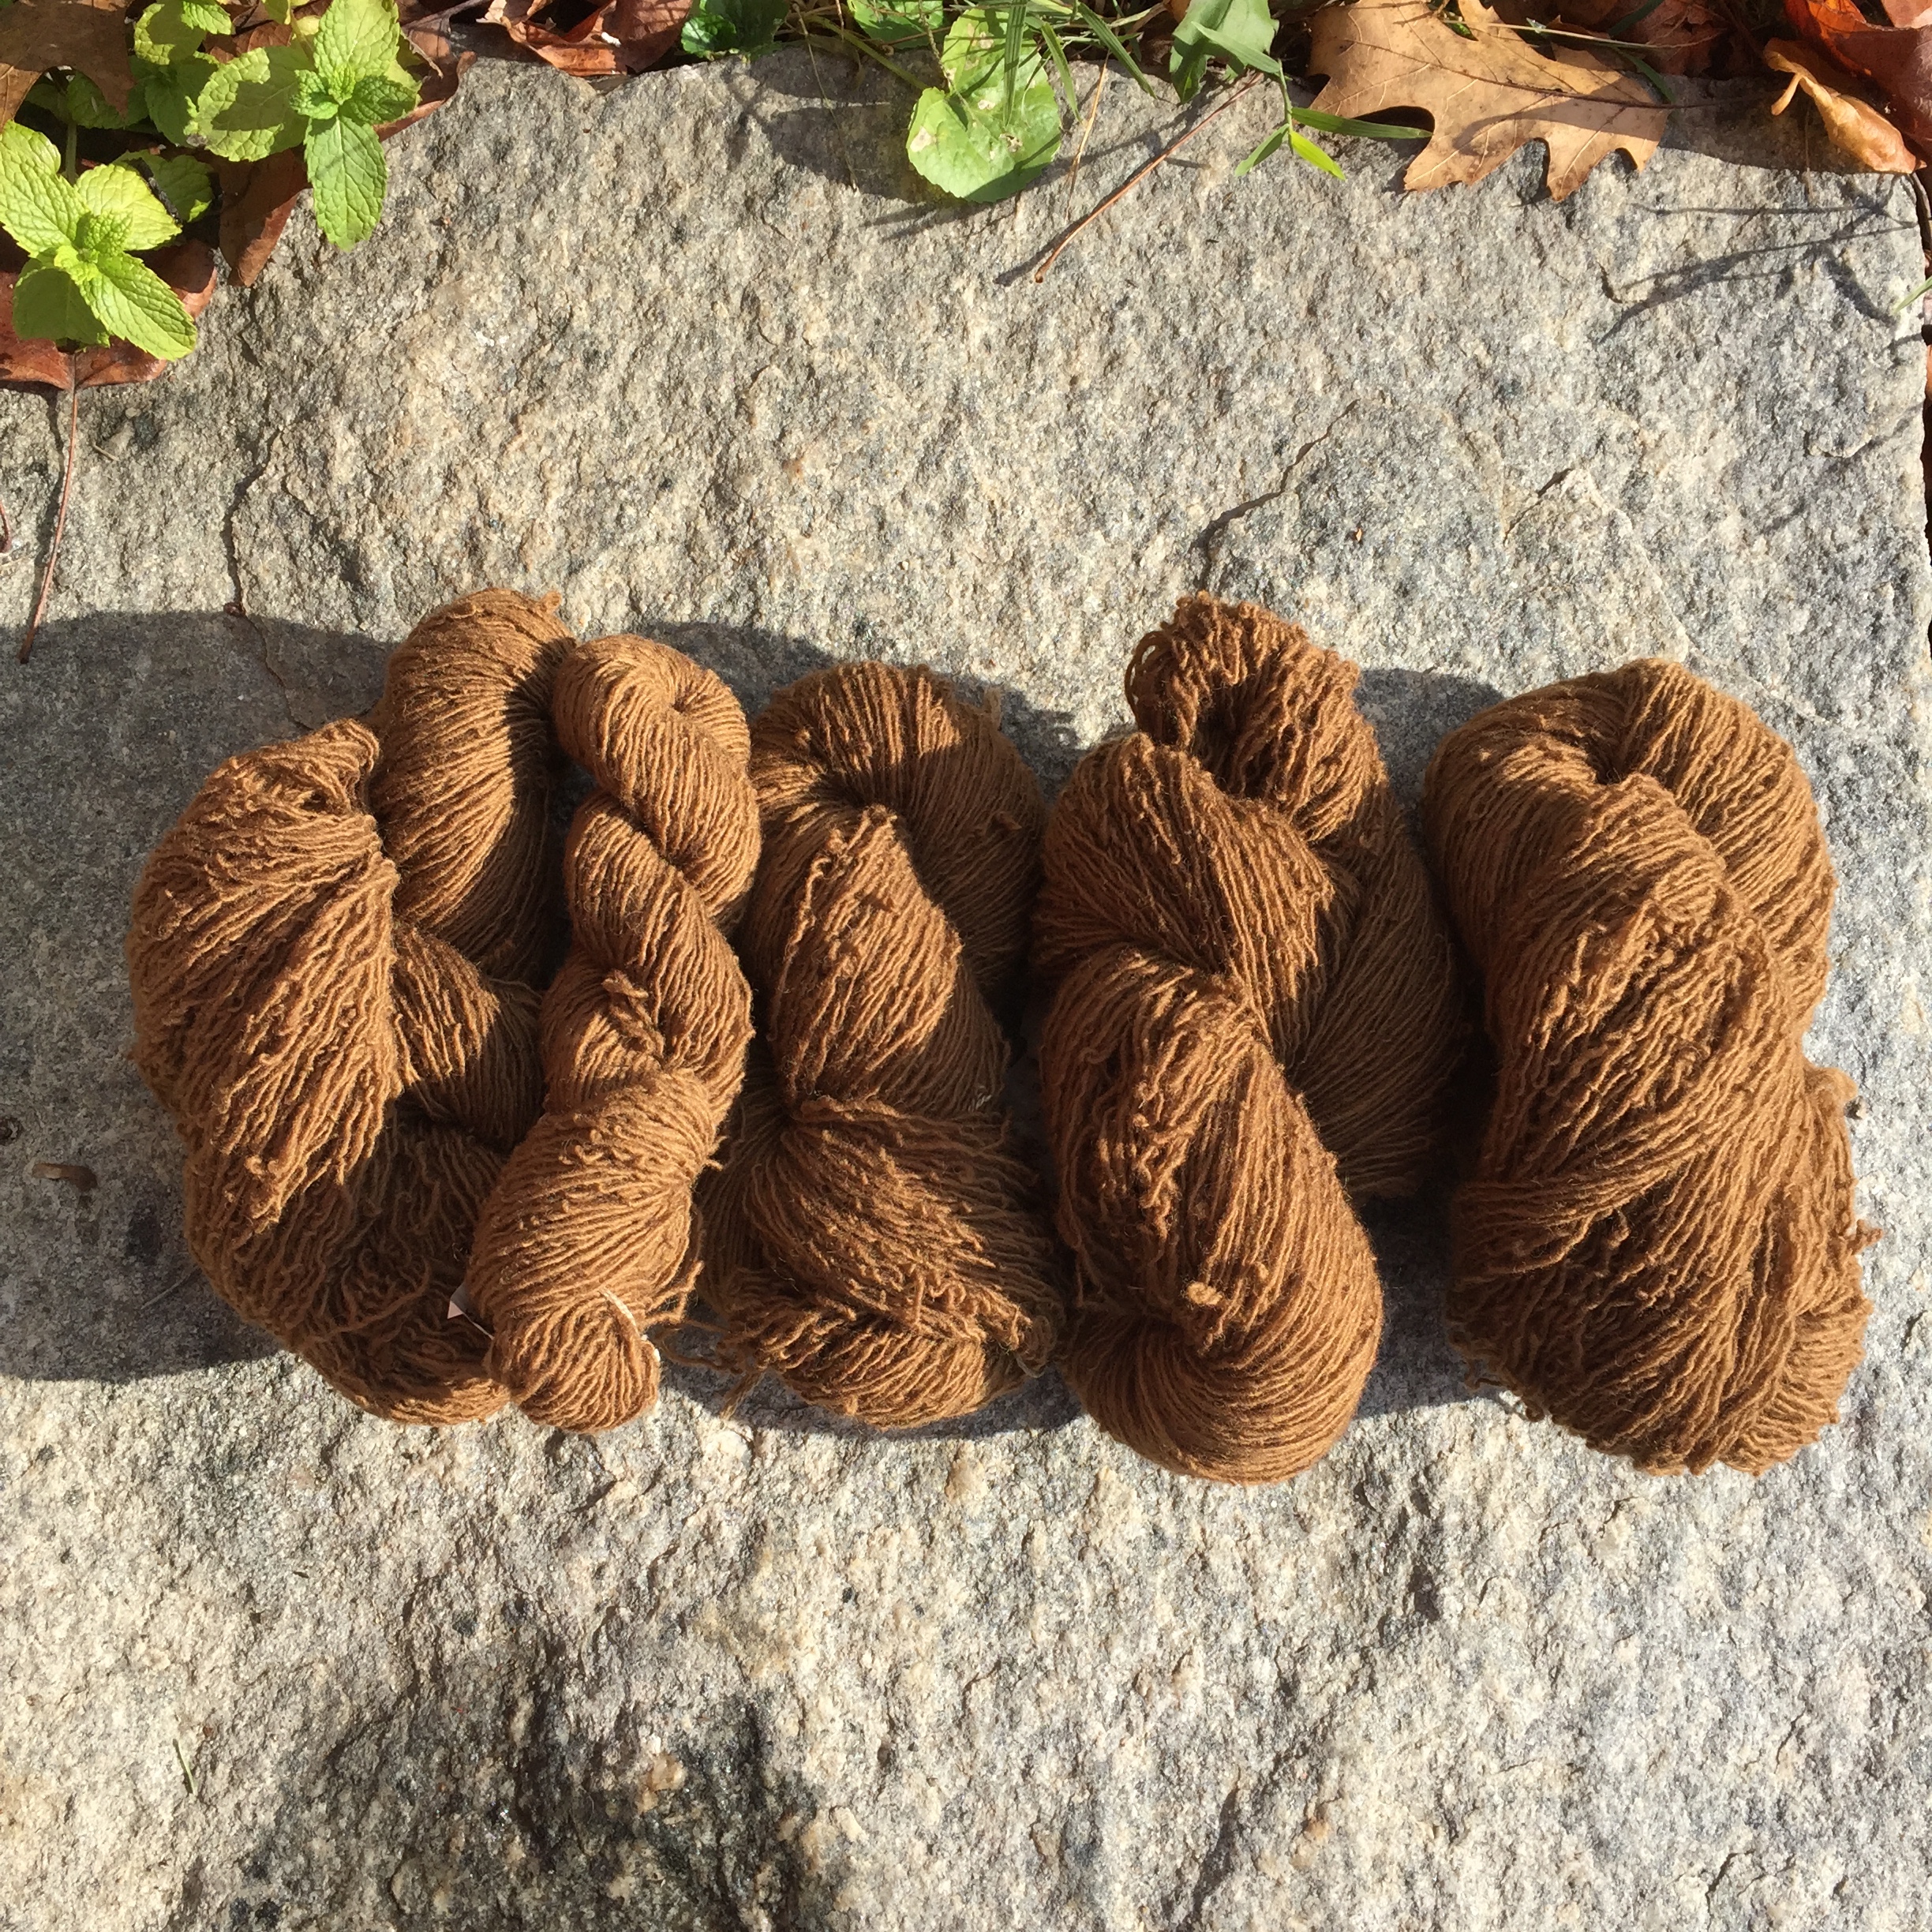
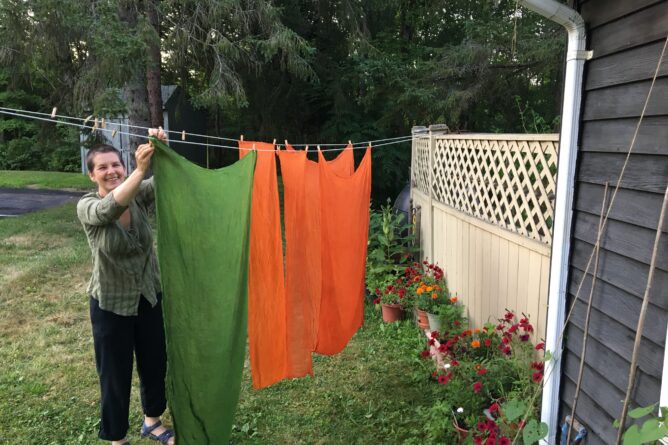
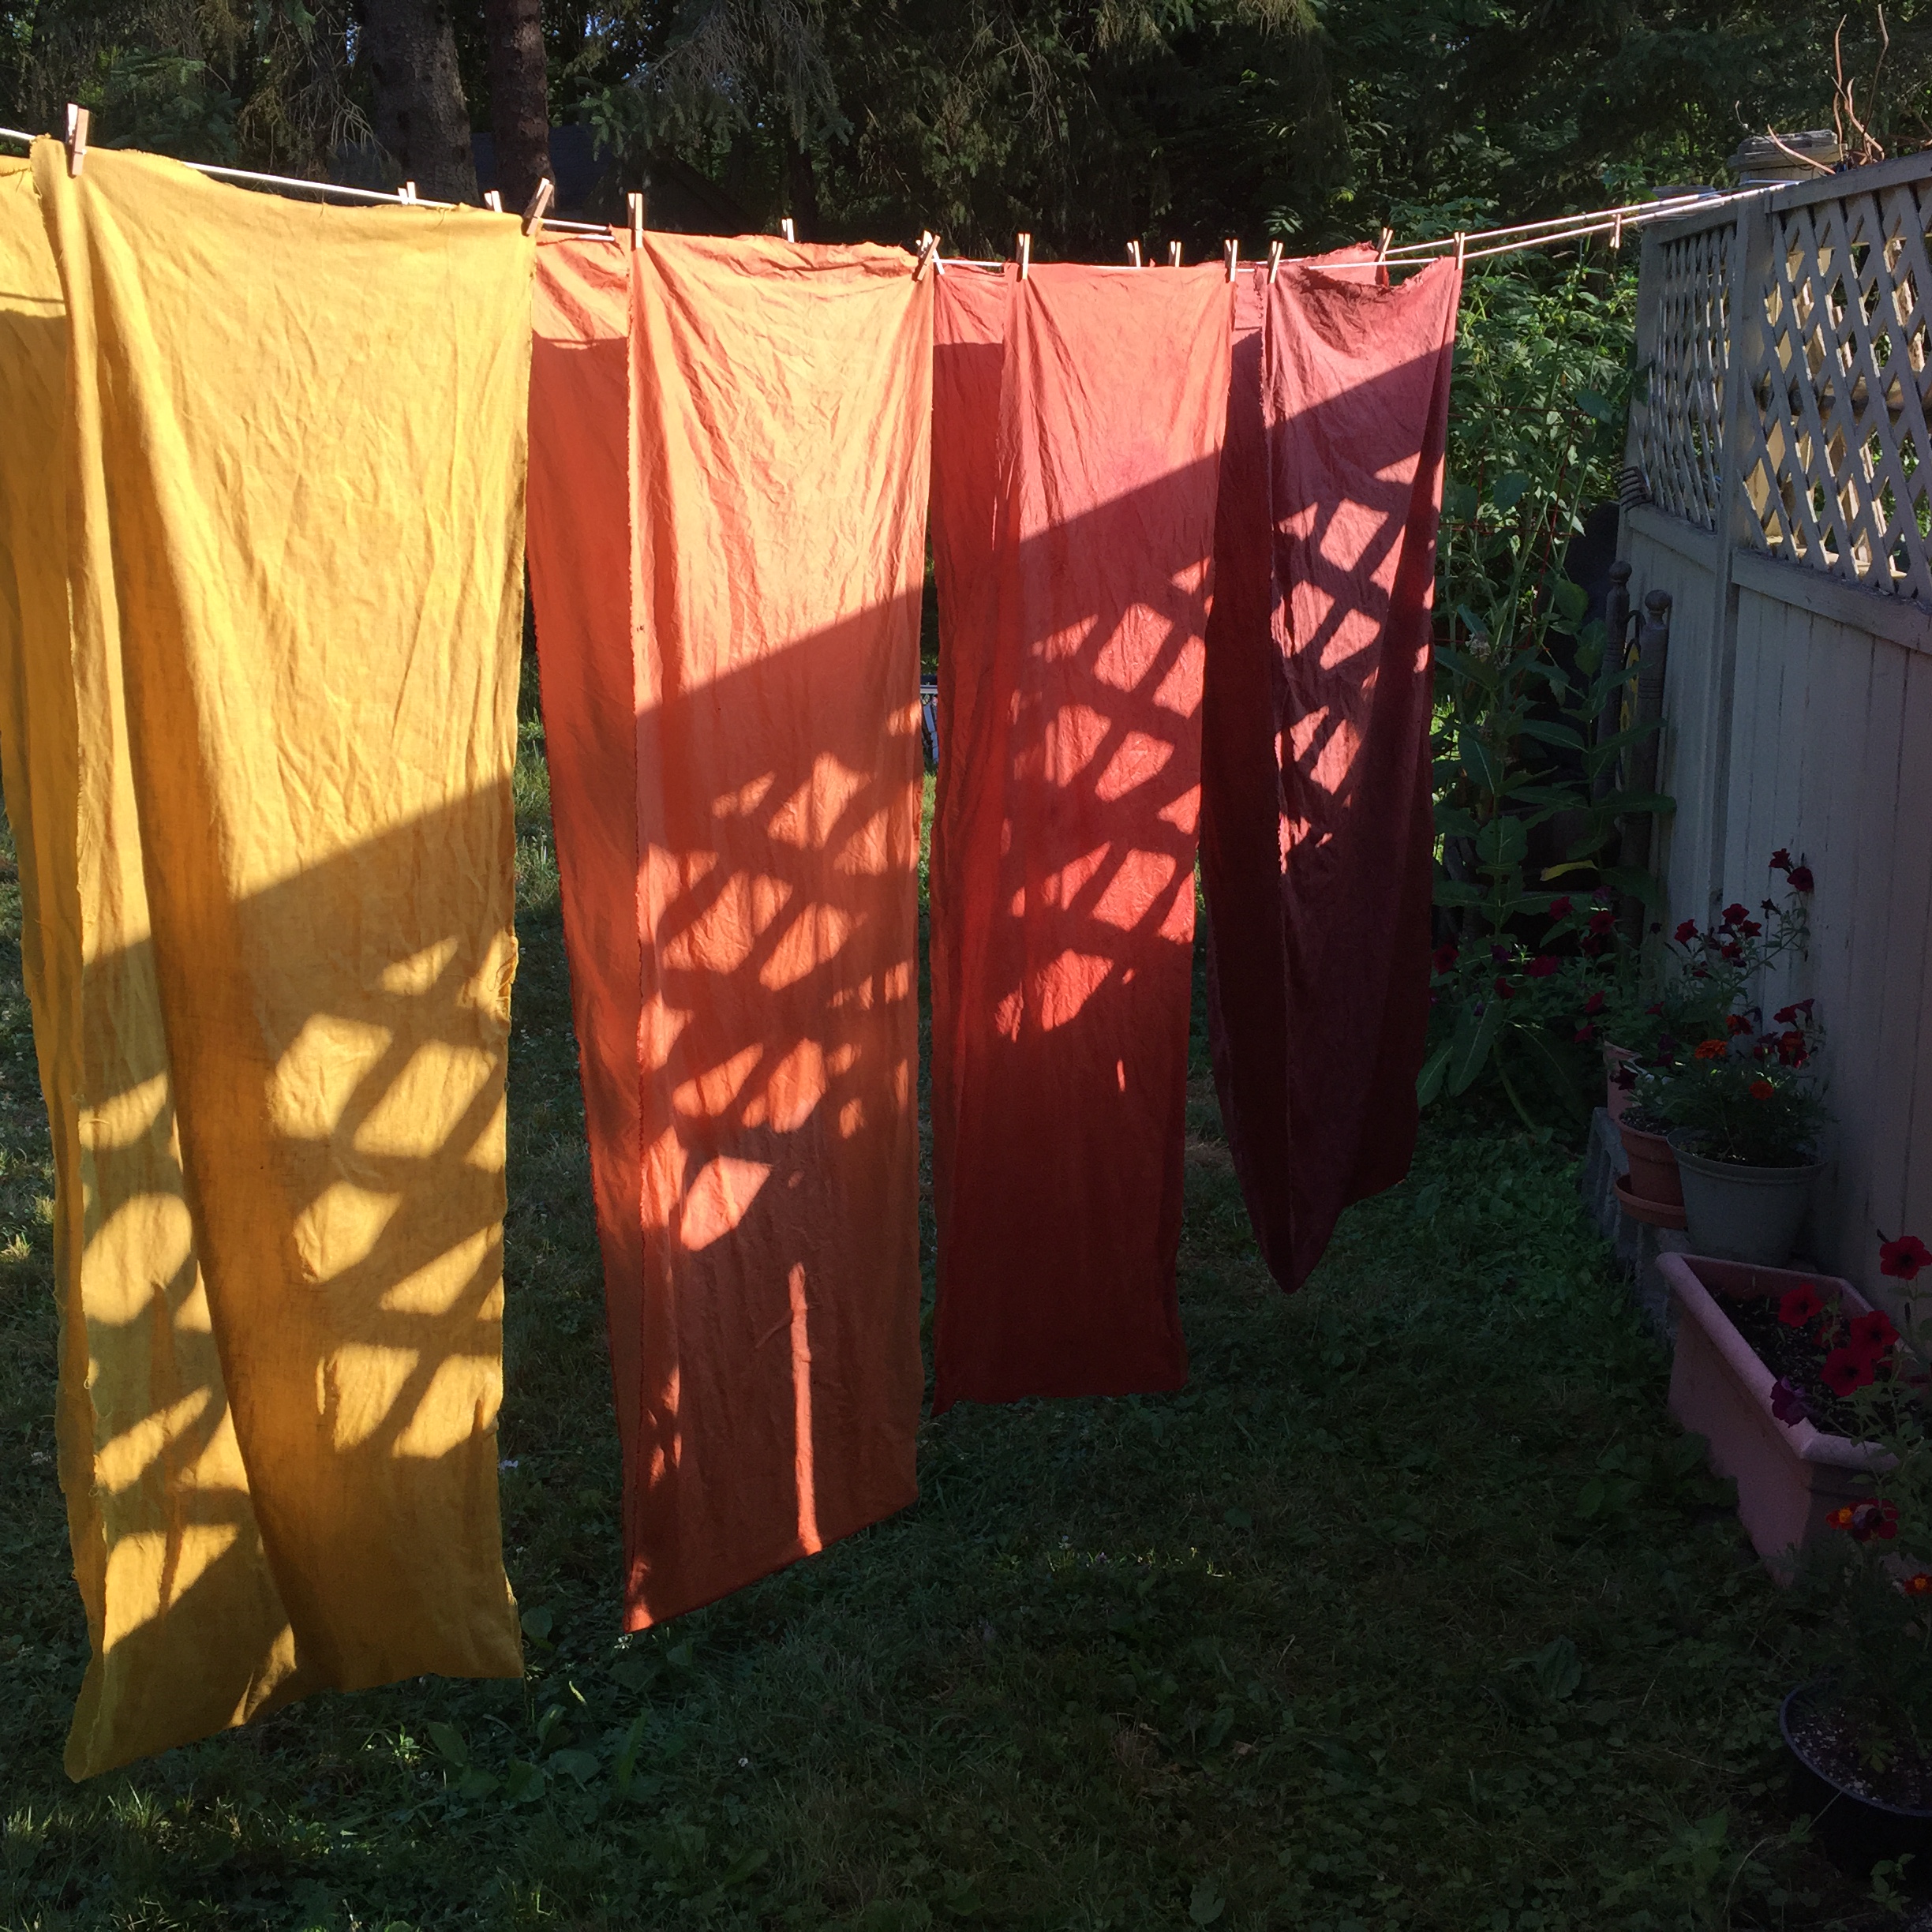
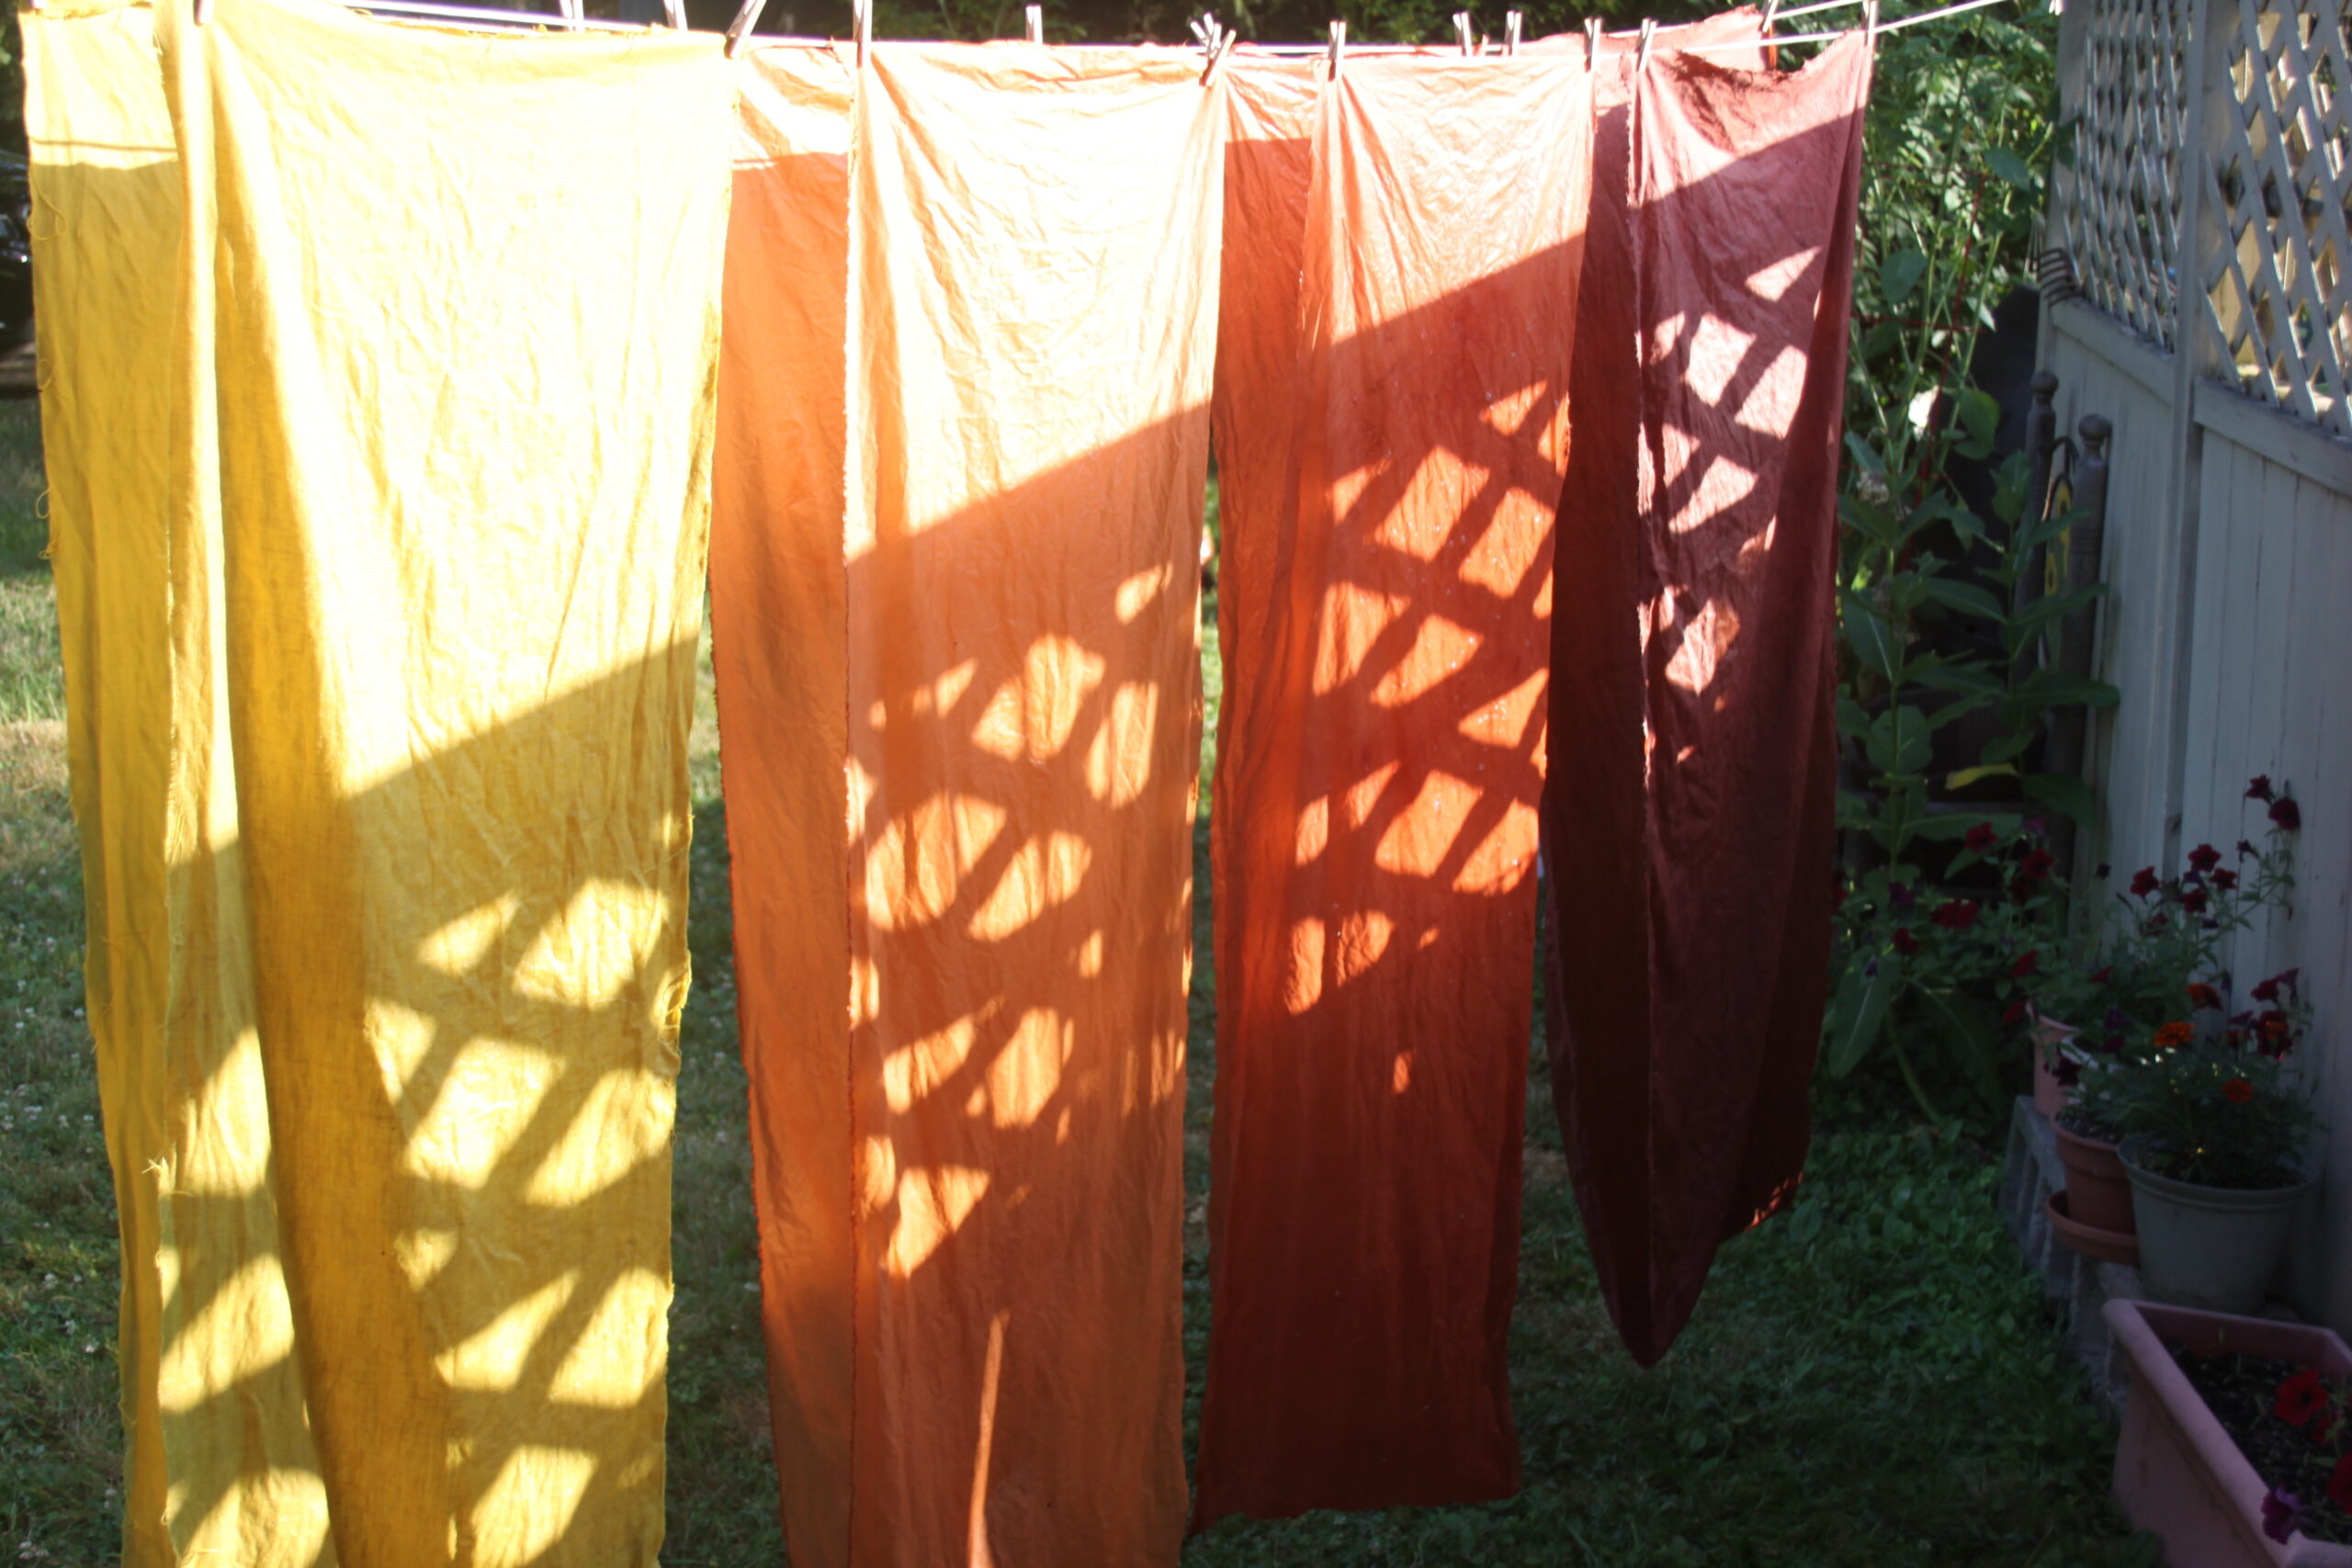
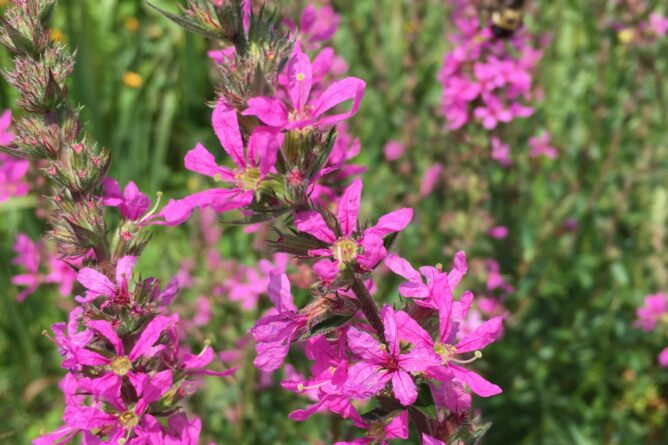
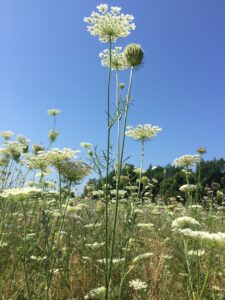
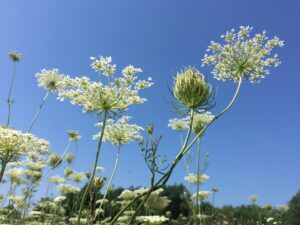
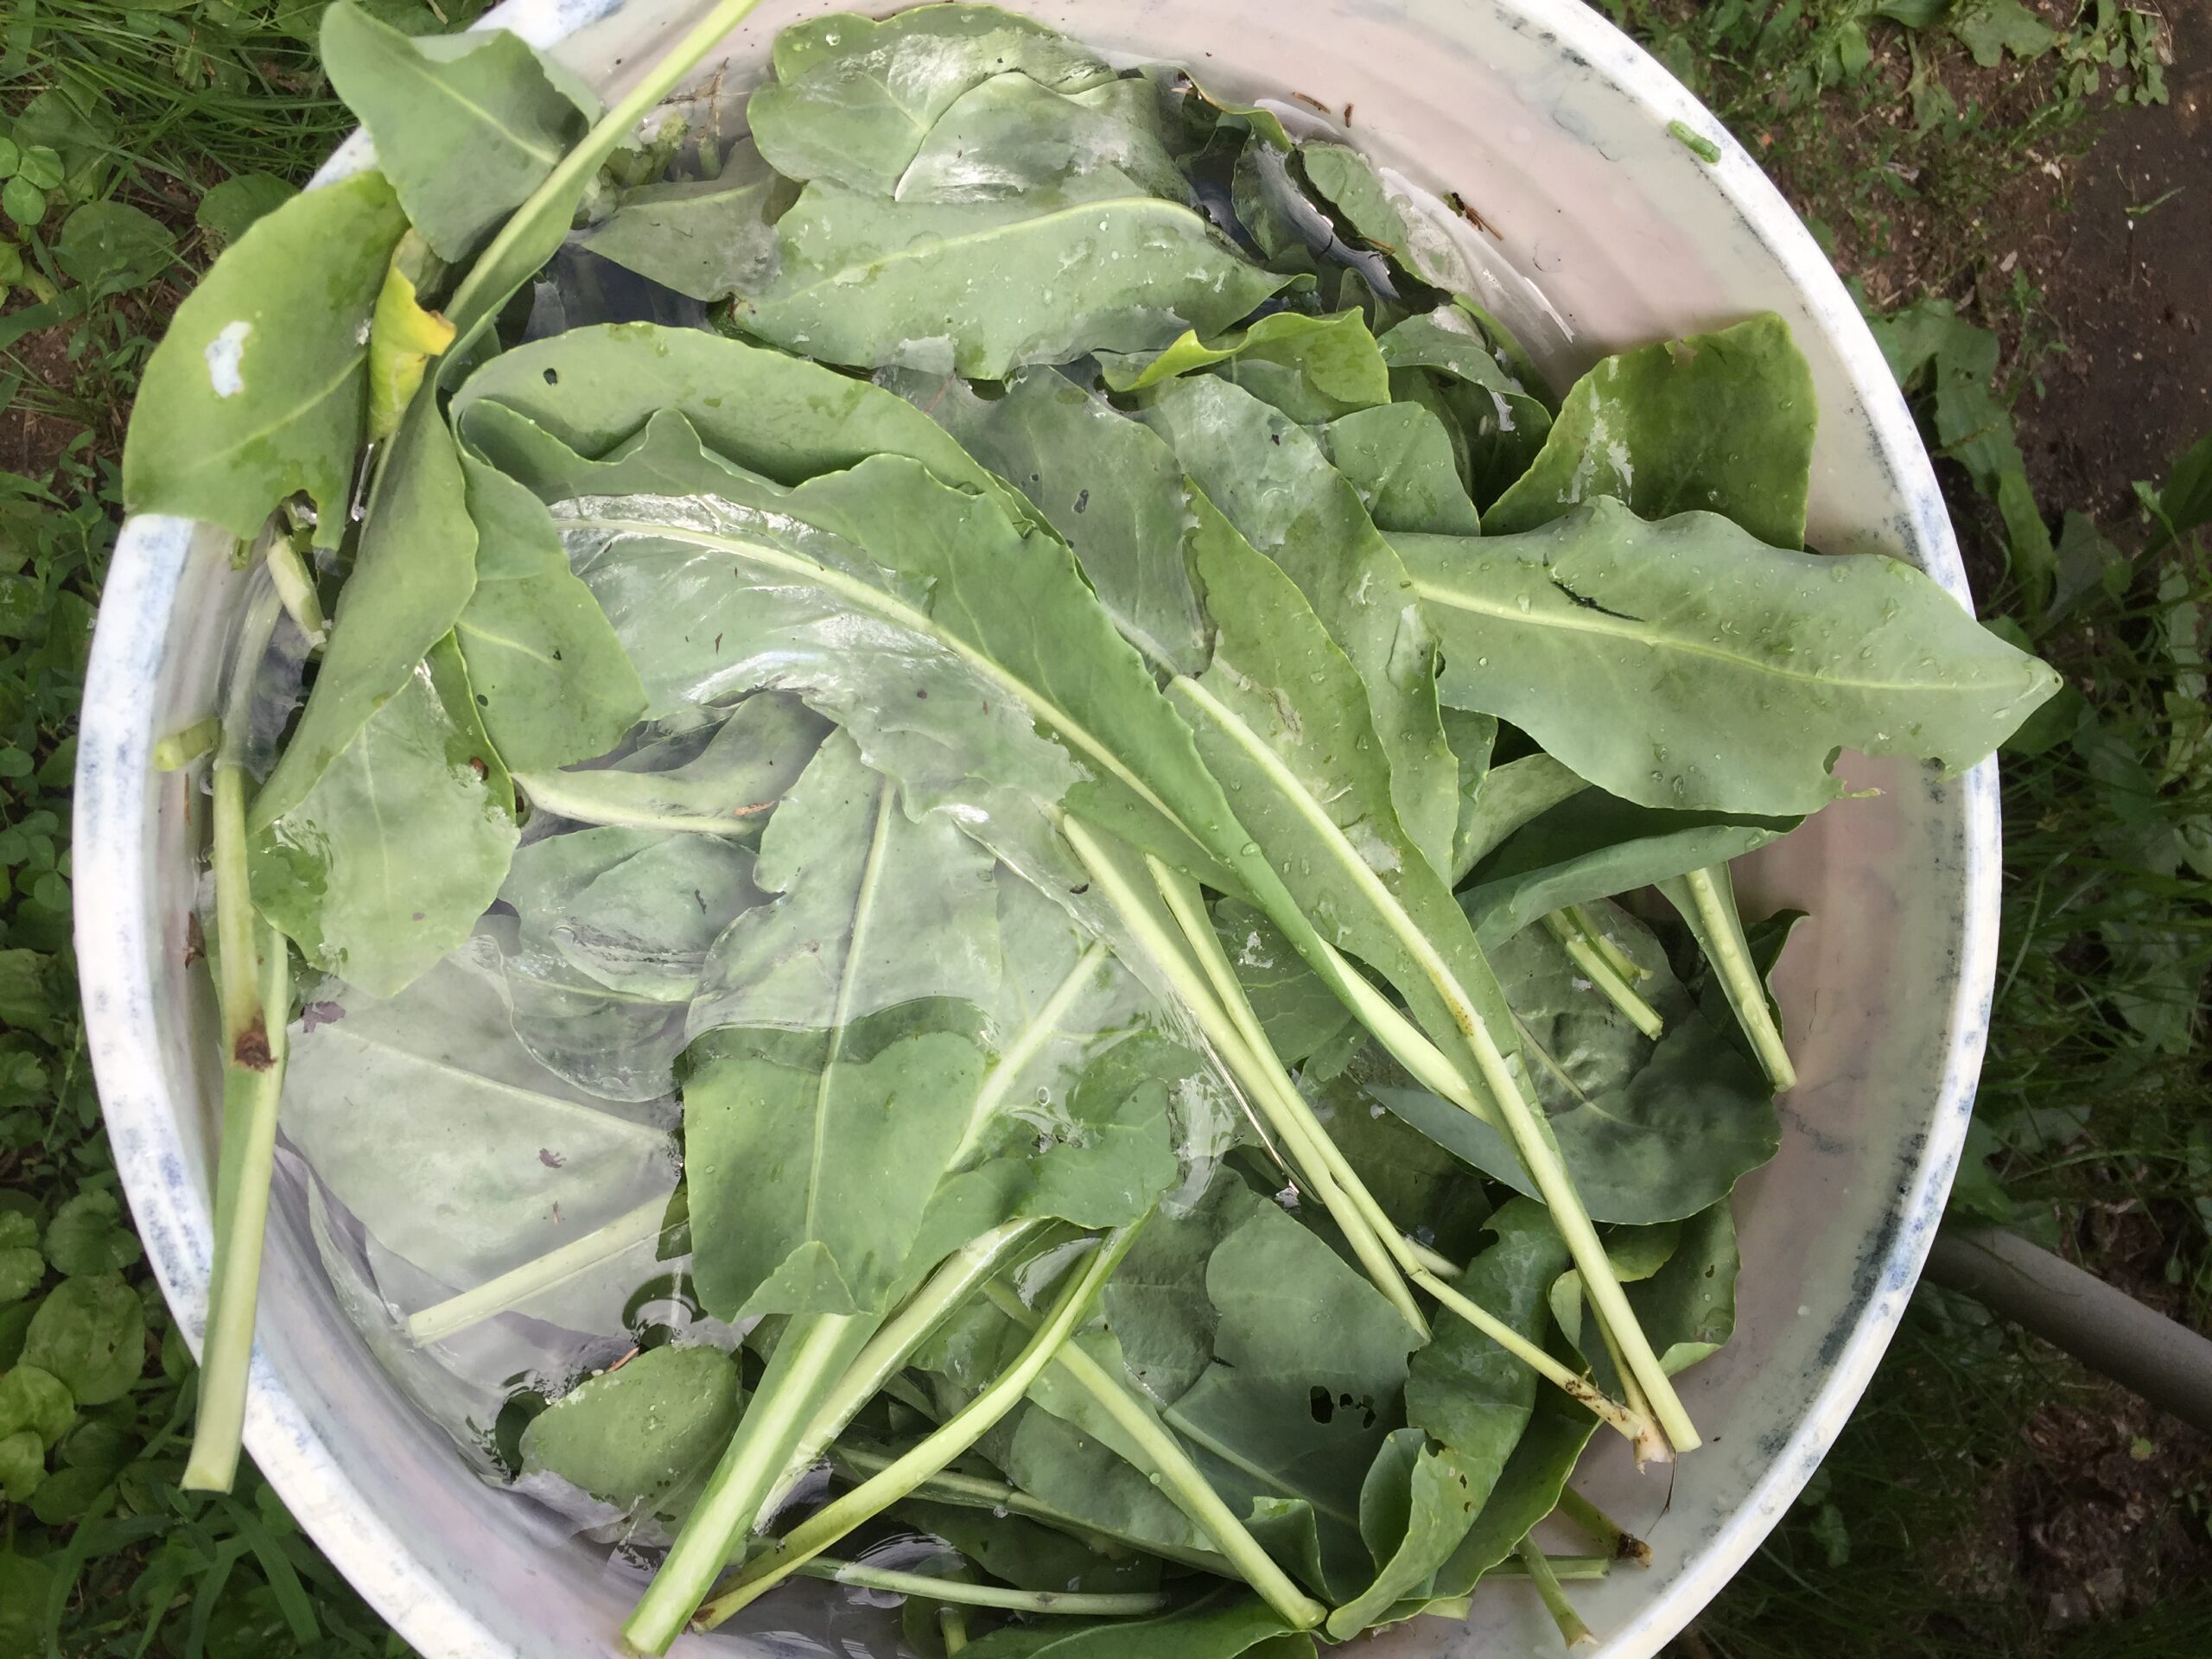
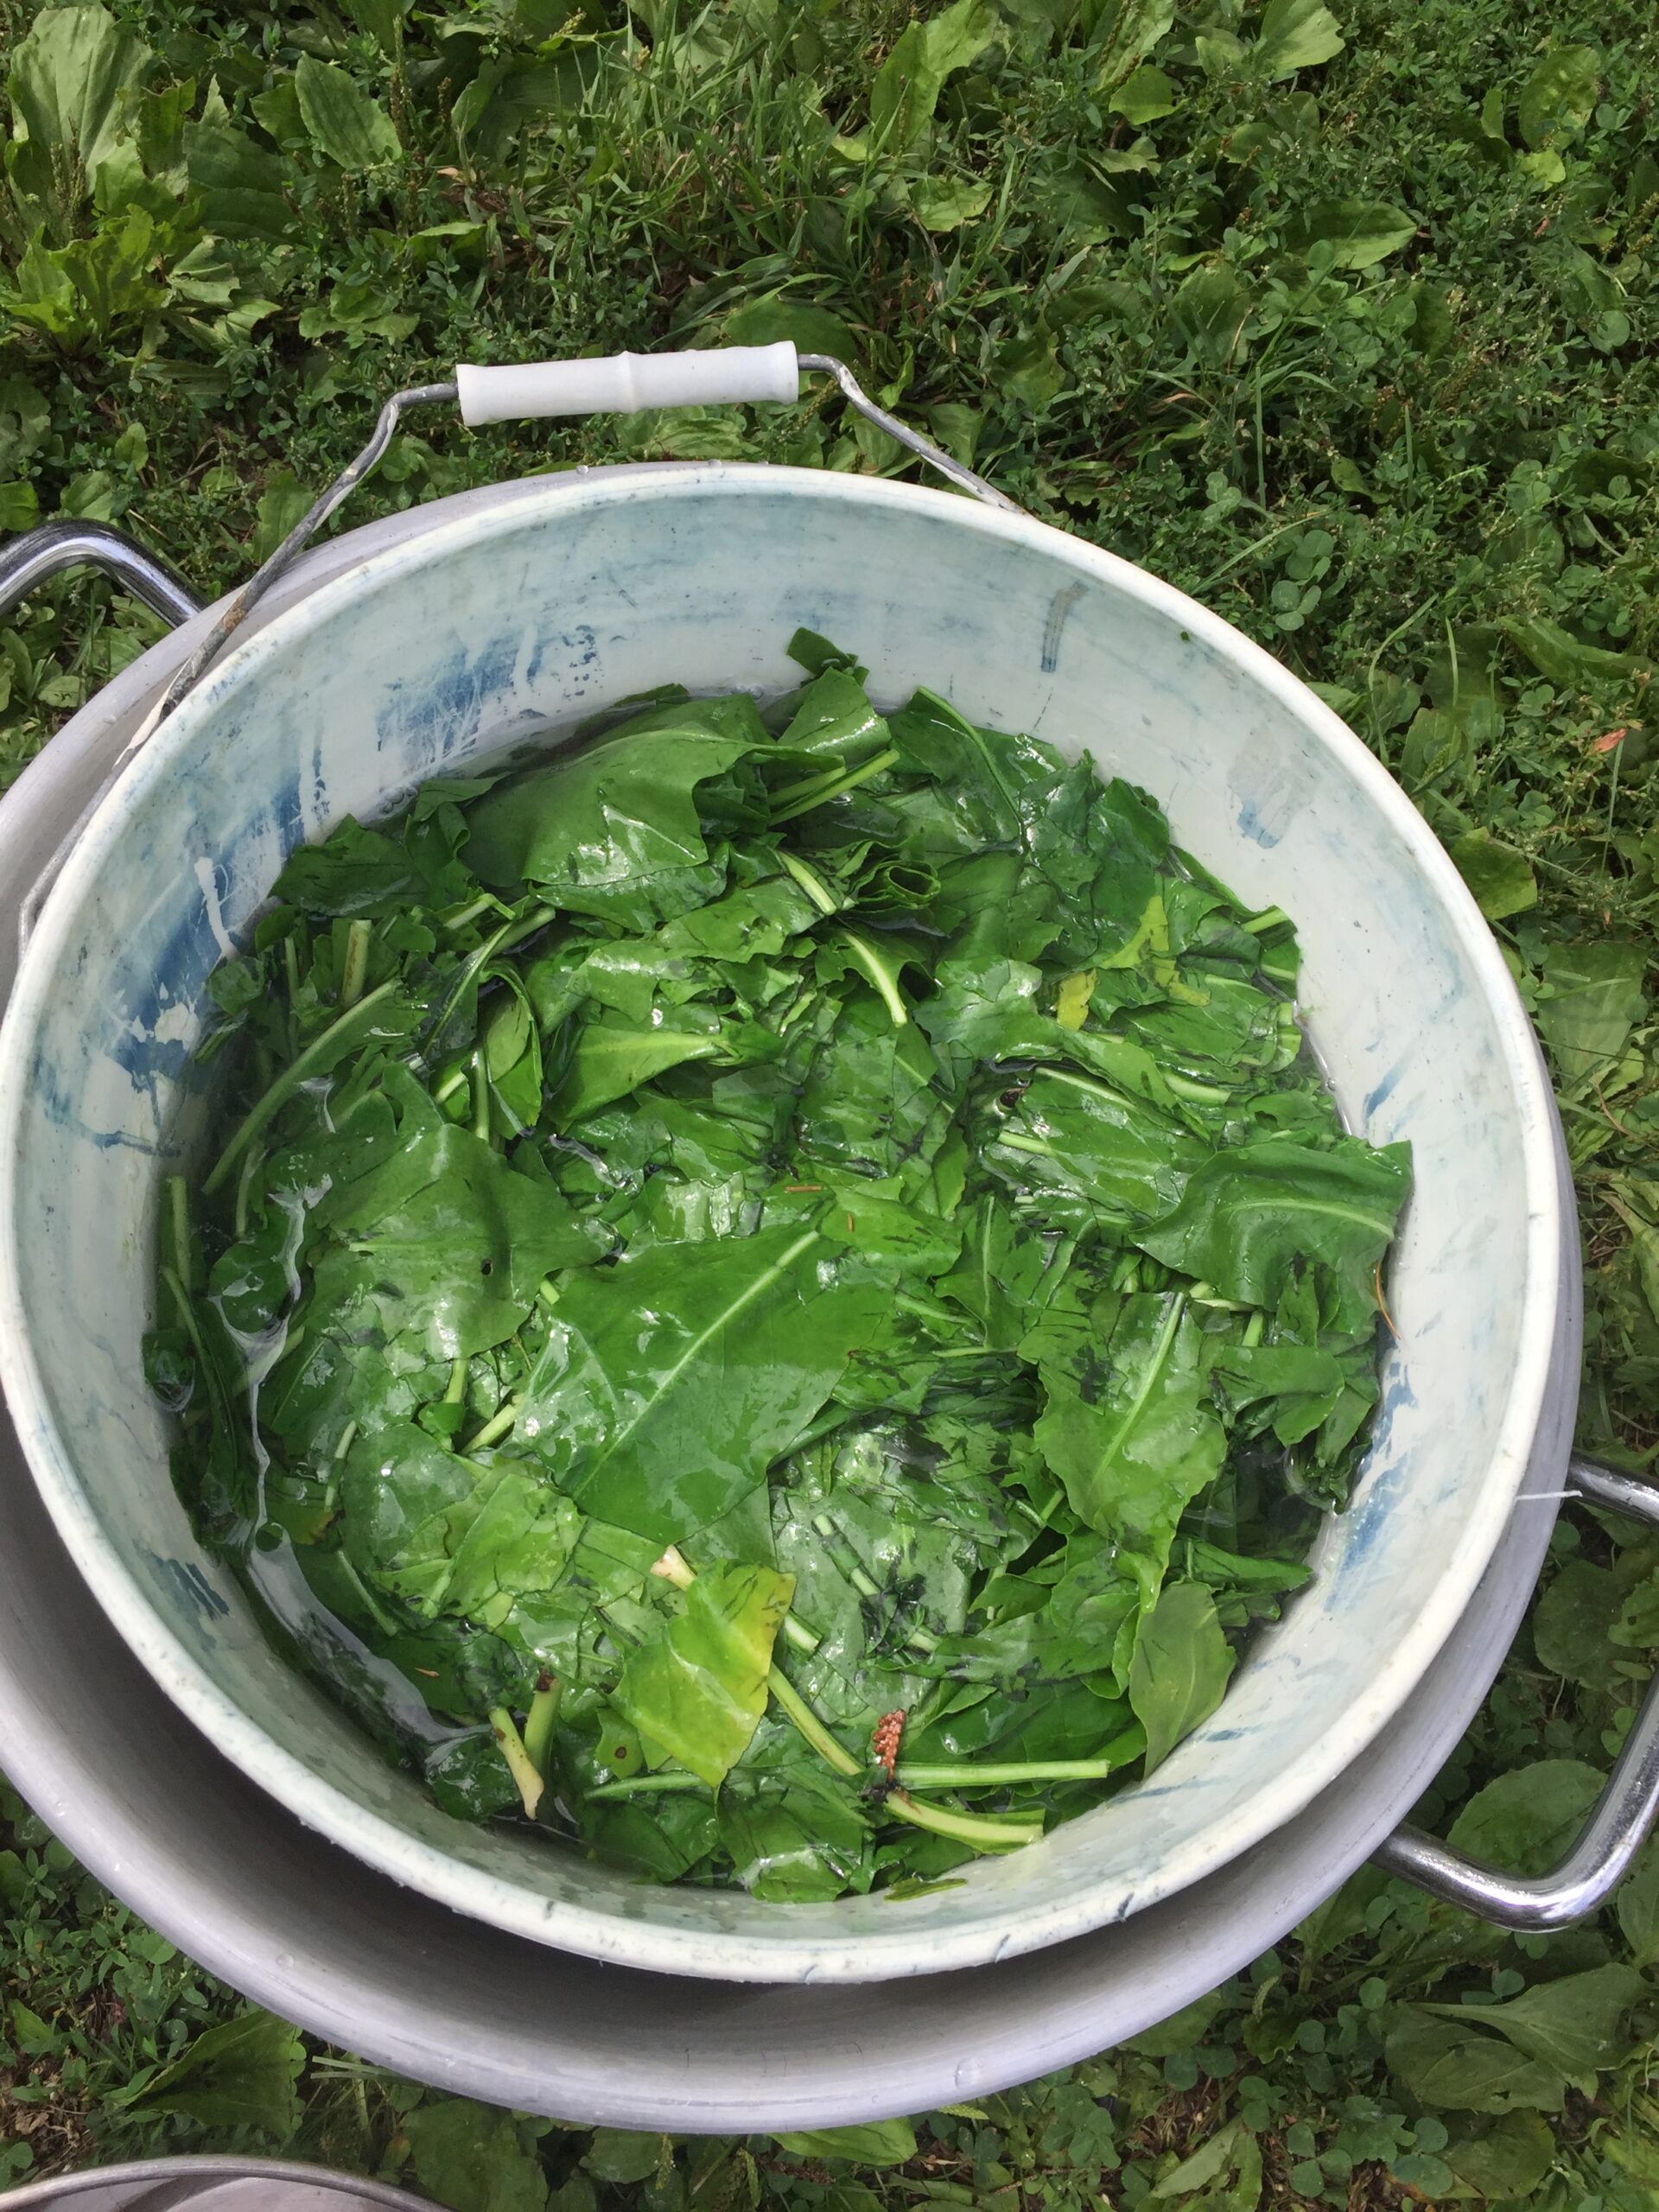
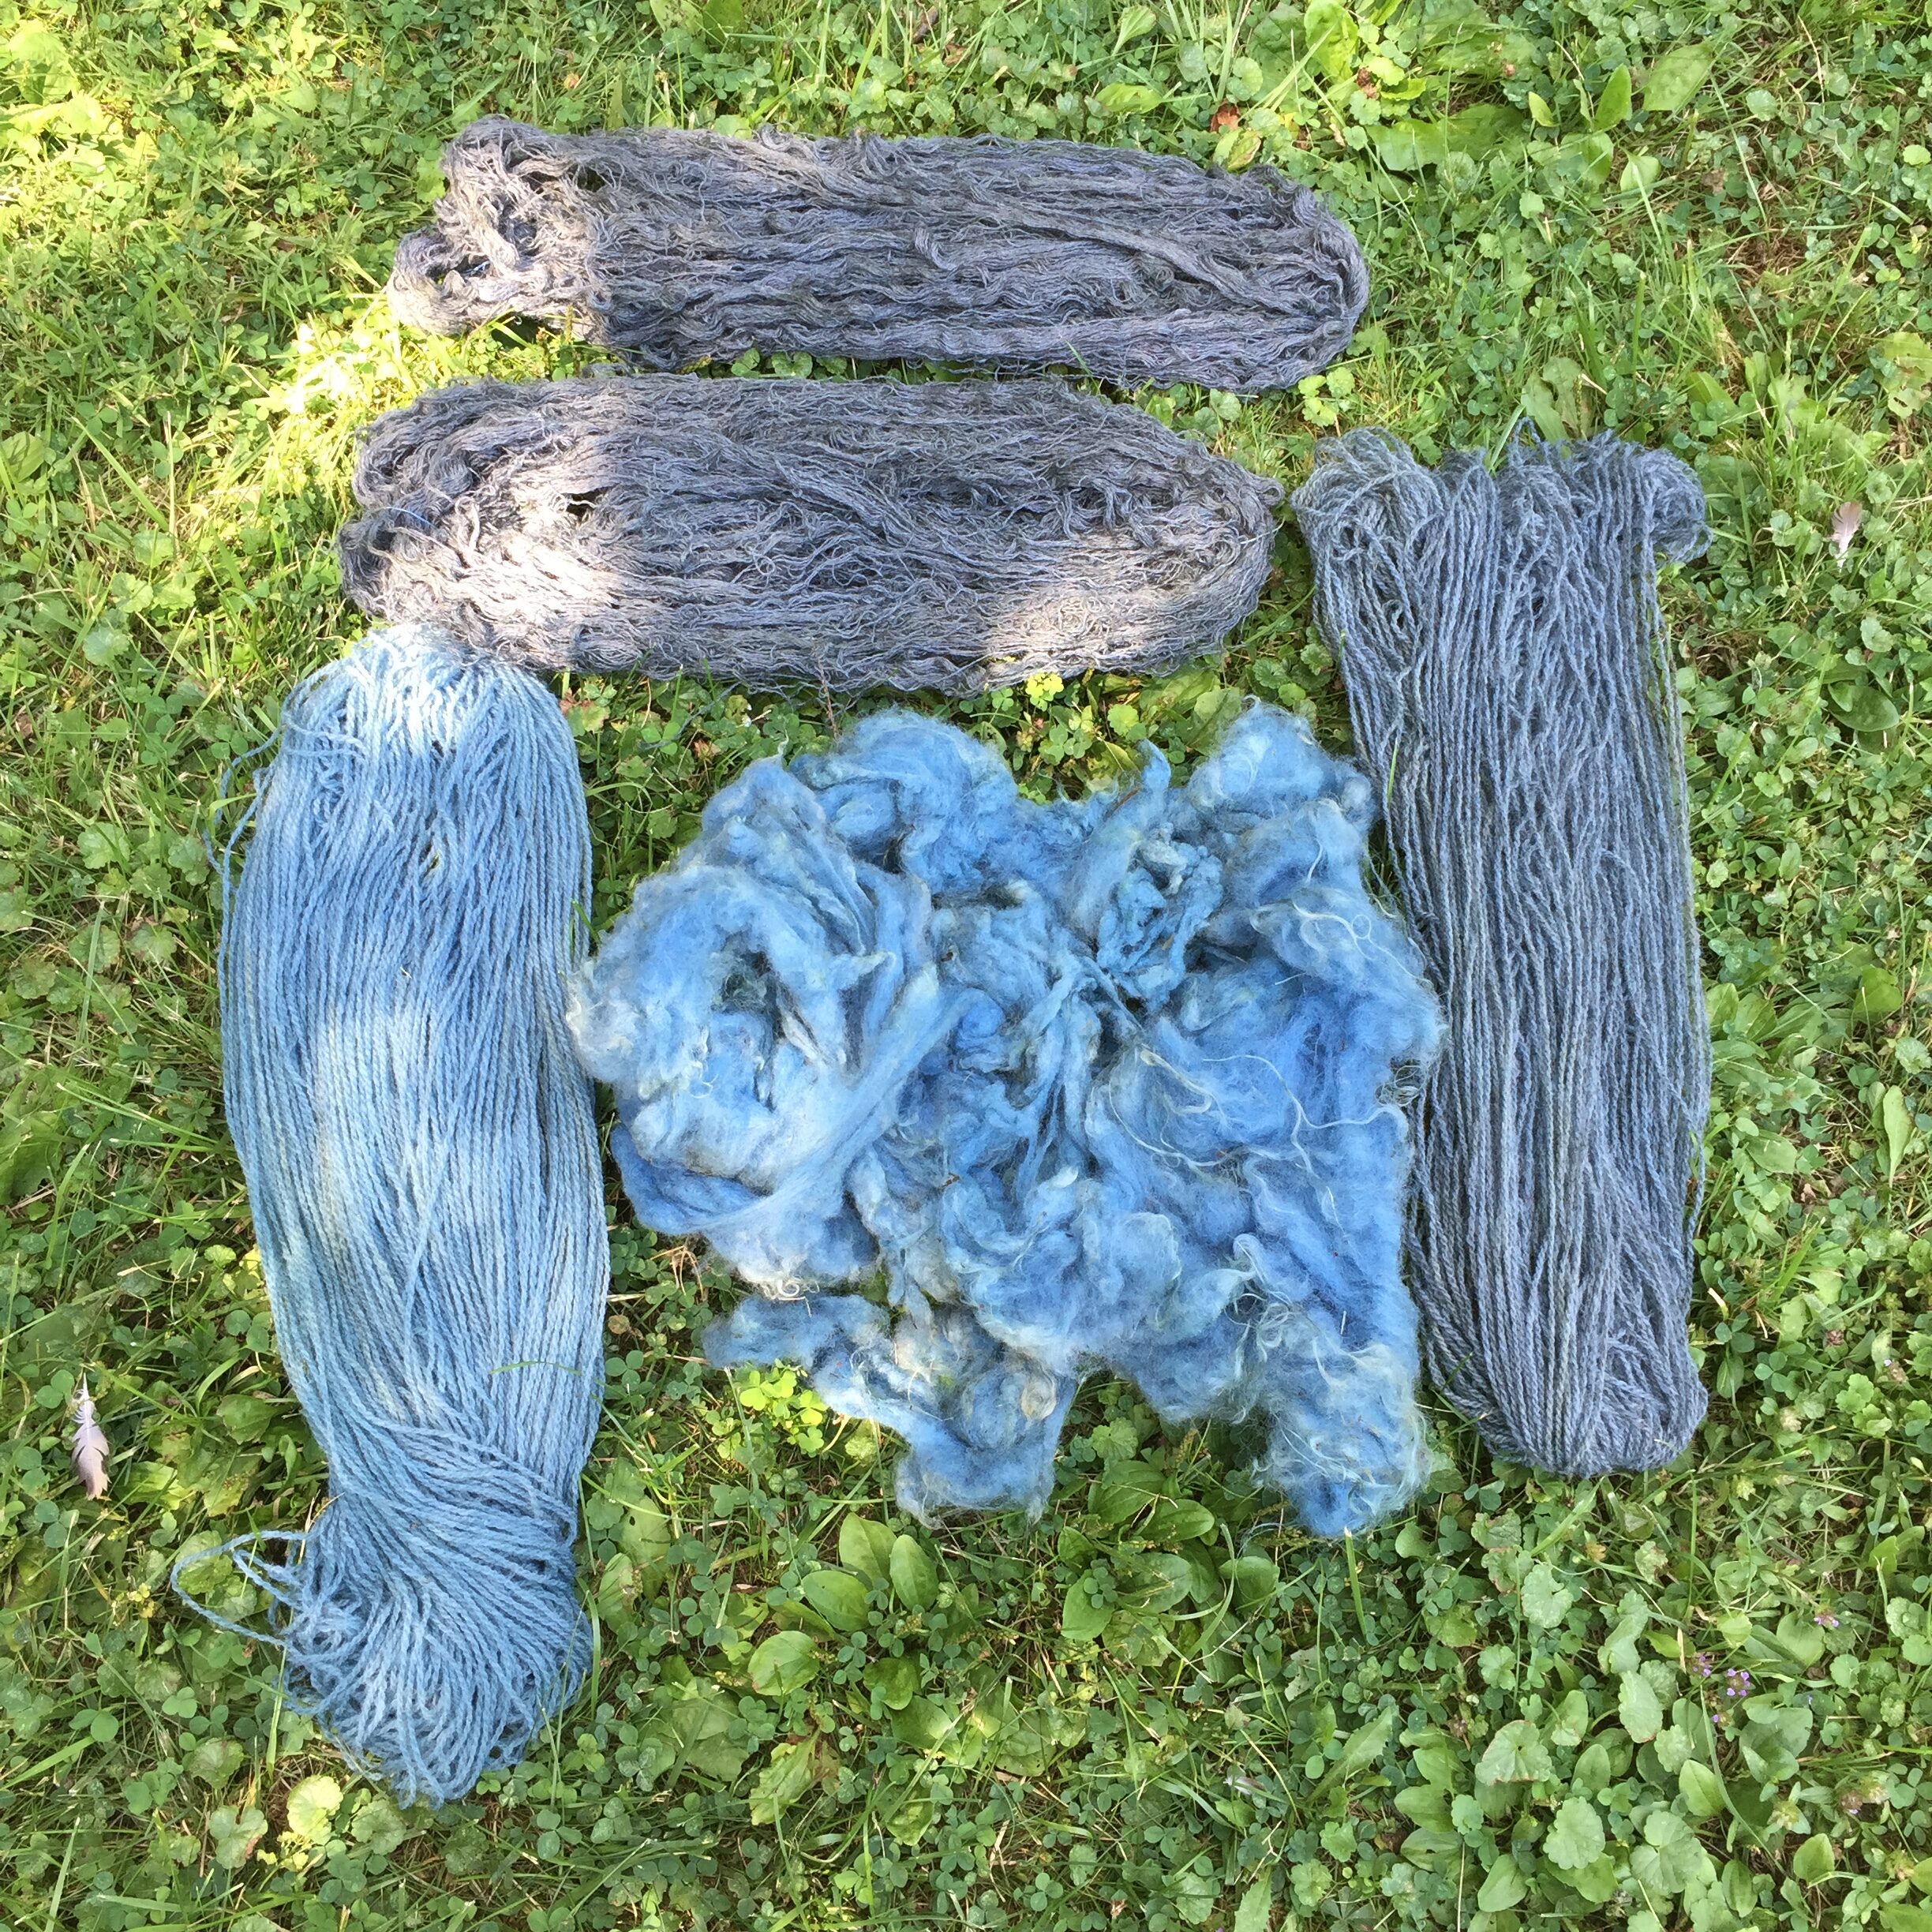
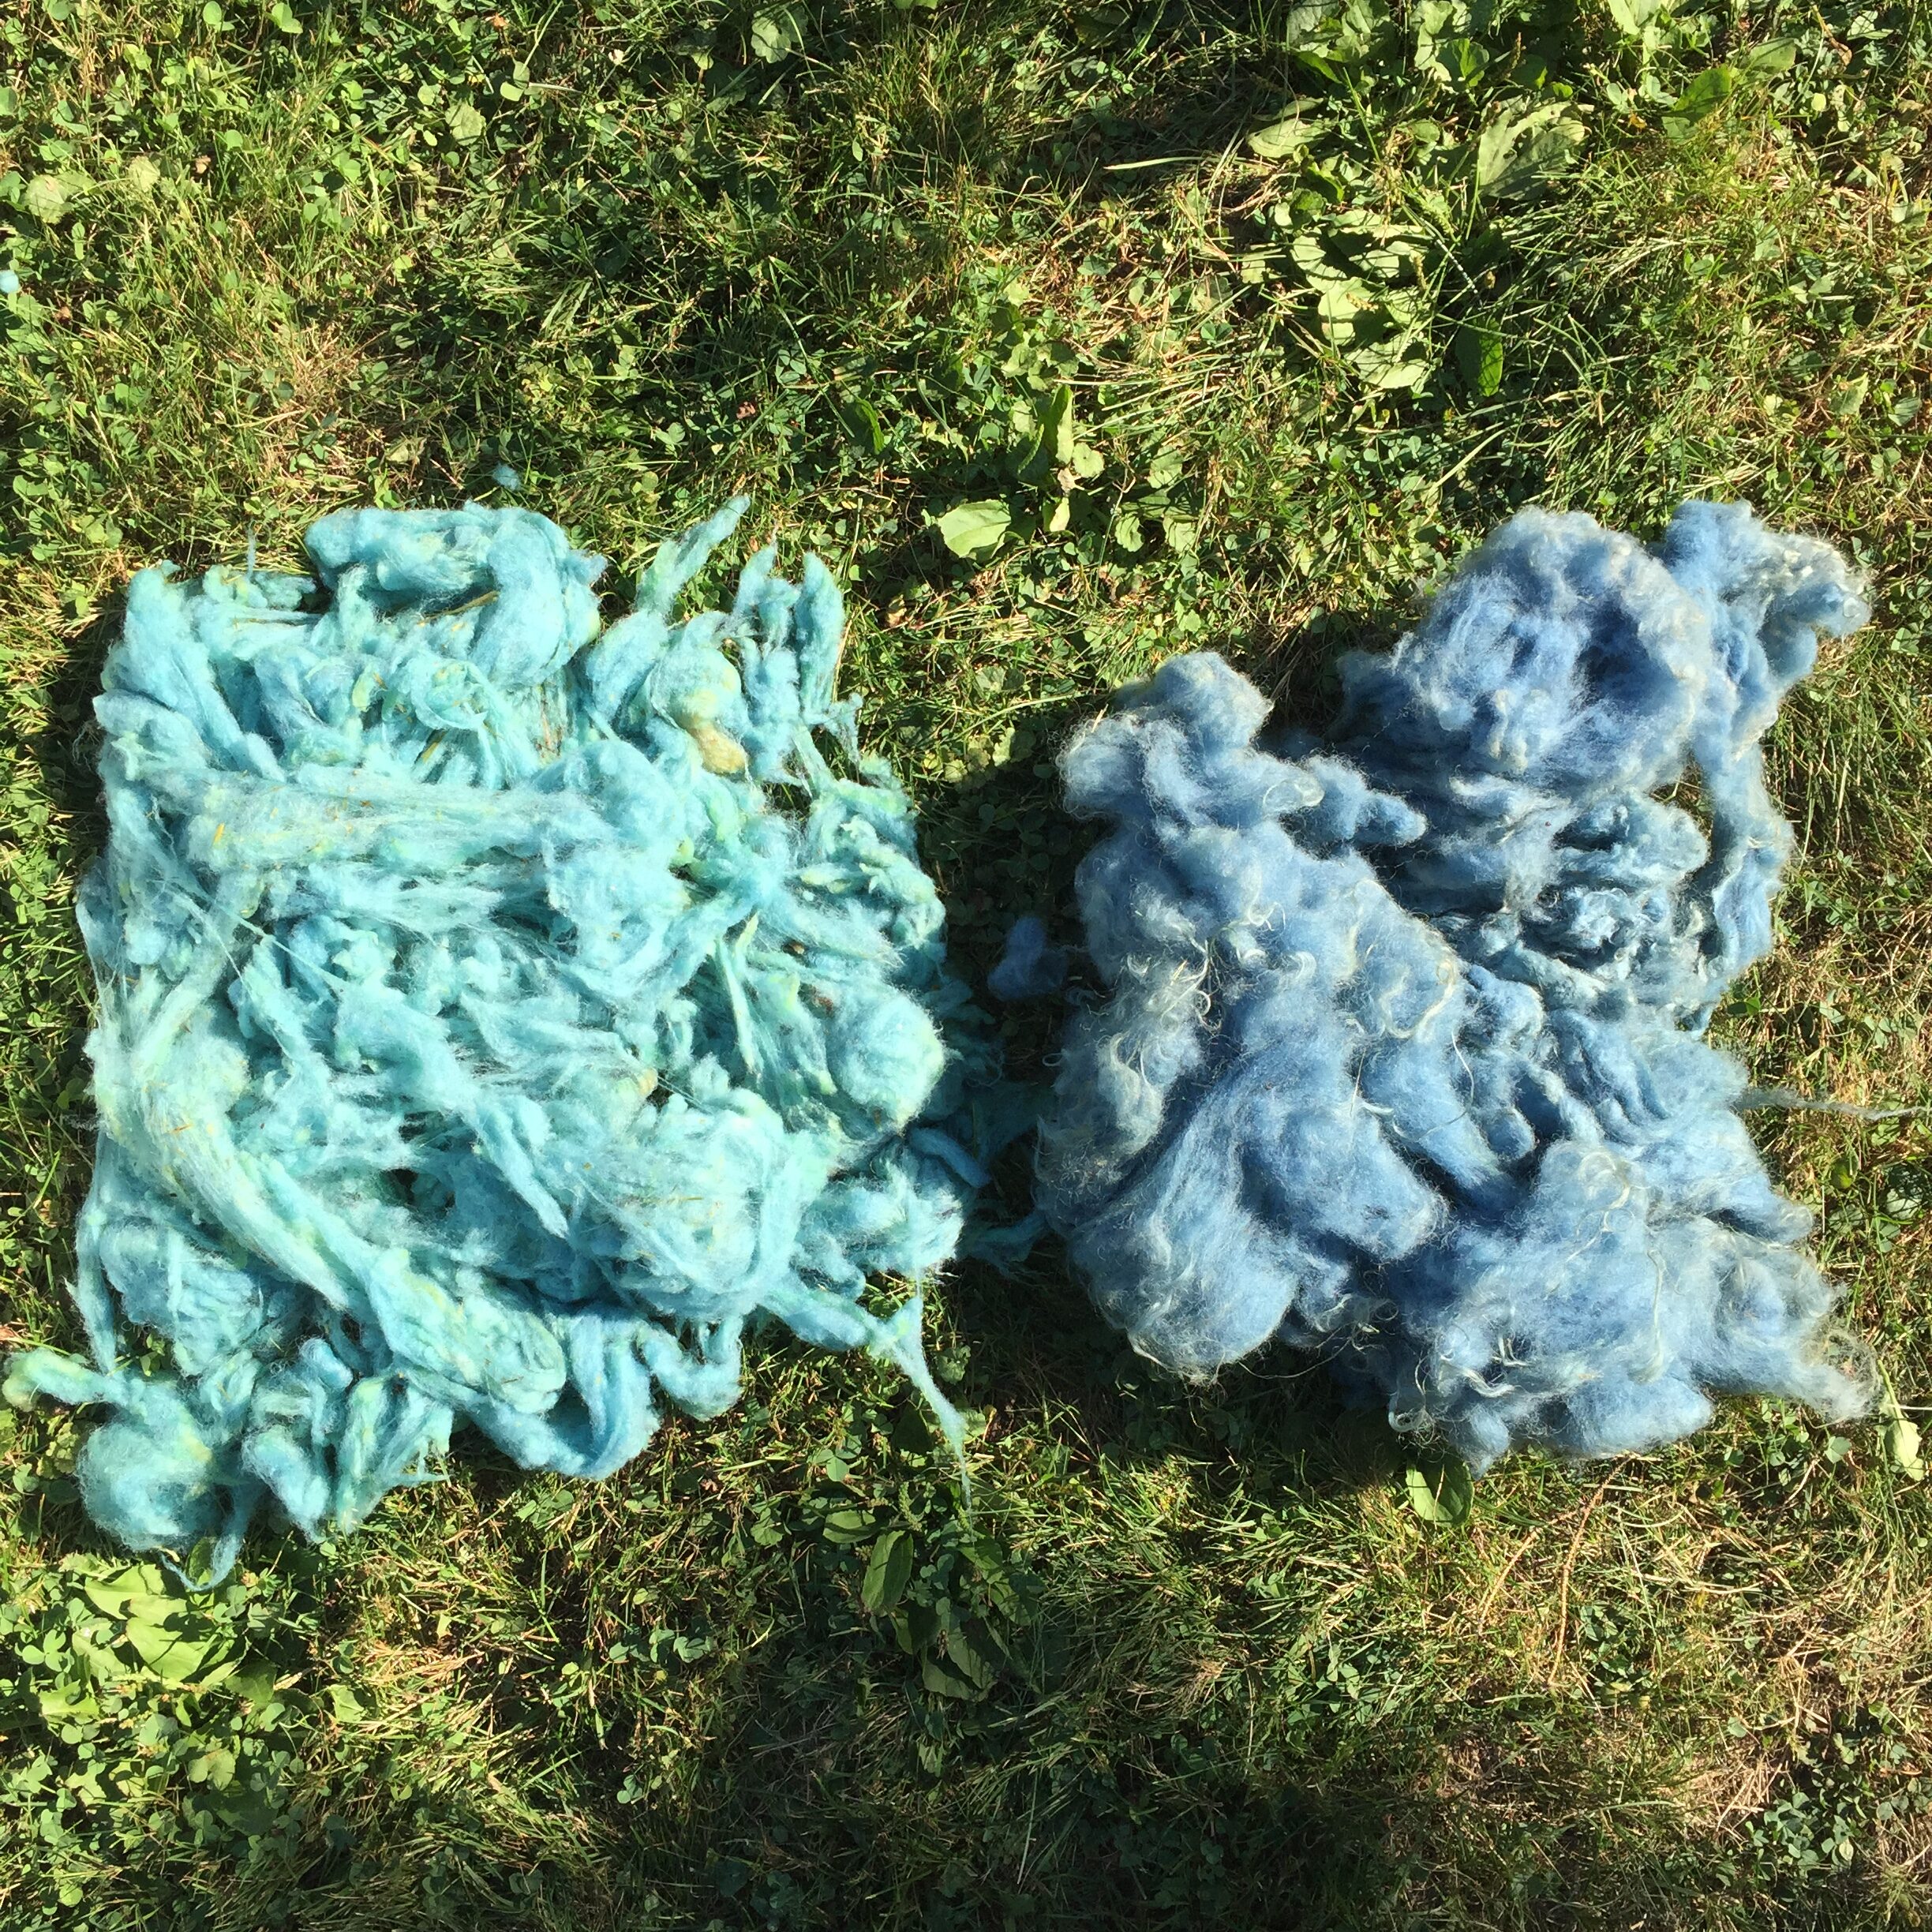
For many years I have been growing bronze fennel in my dyeplant garden. There’s so much to love about it. Visually, it adds height, texture, color, and a sparkly sheen. It’s a host plant for swallowtail caterpillars. It’s indestructible, and it smells amazing. As a dyeplant, it’s admittedly modest. It makes a soft, pale, brassy greenish-yellow with alum on wool. But overall, its many fine qualities make it well worthwhile.
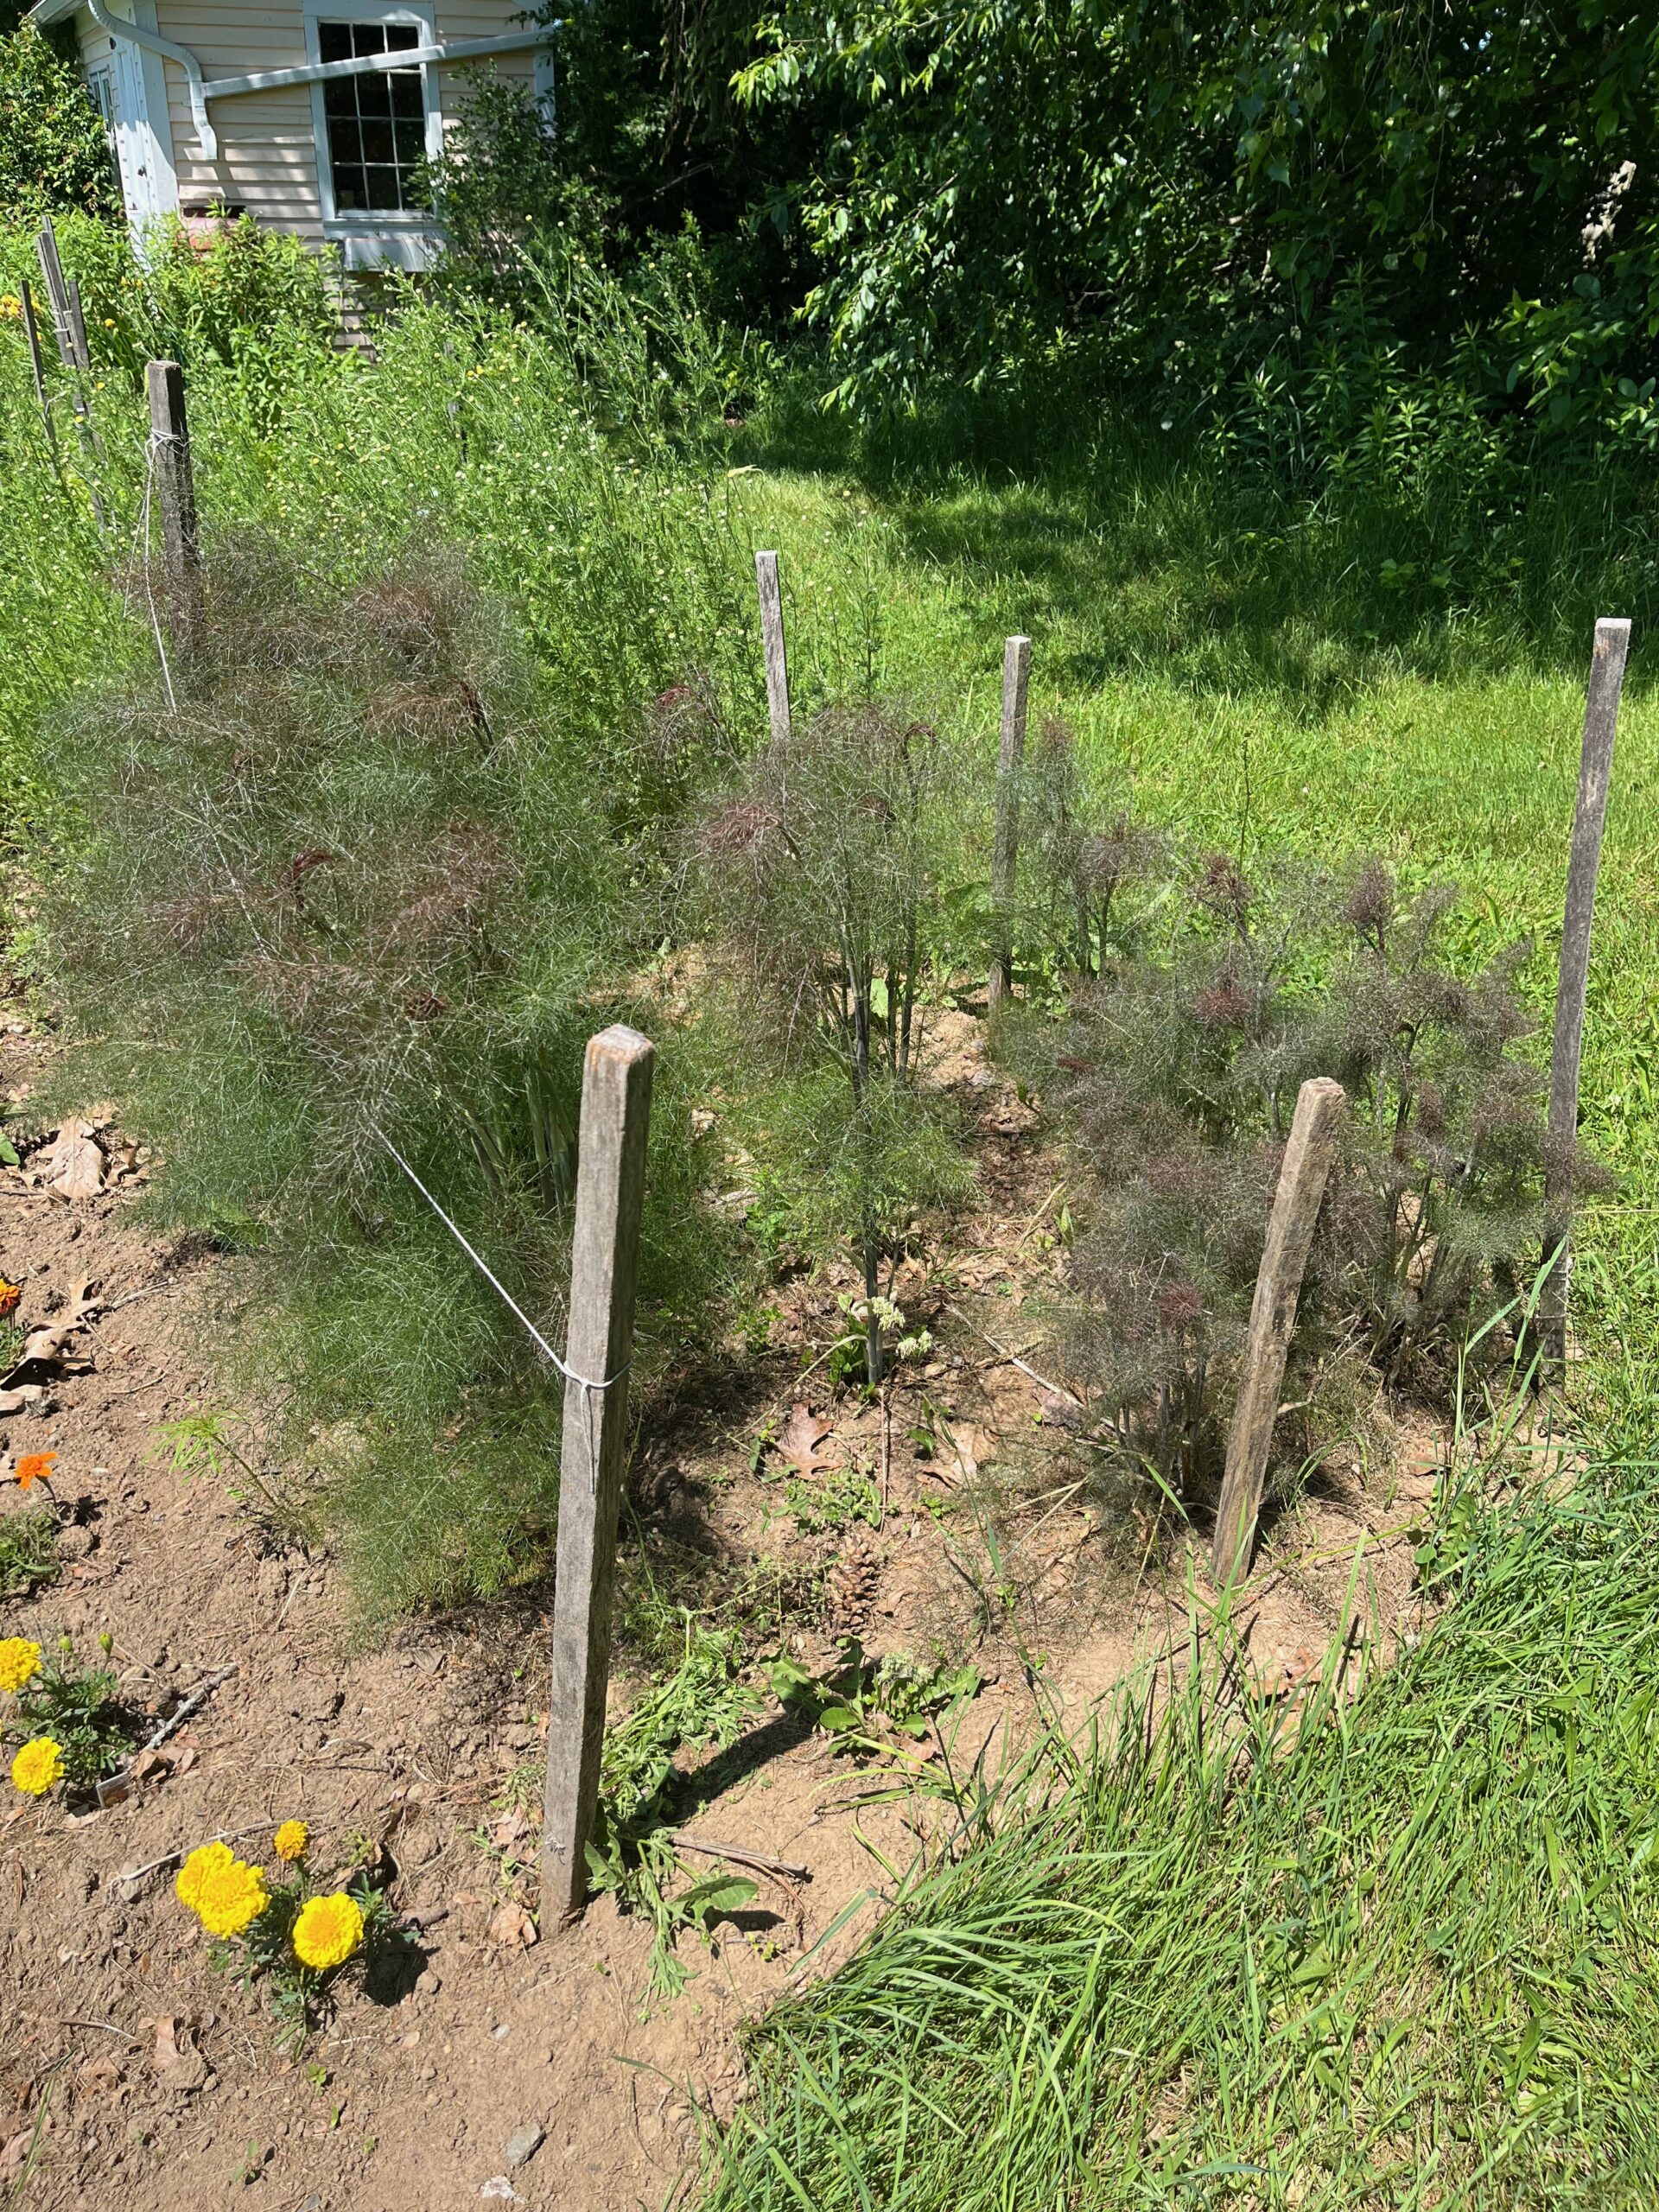
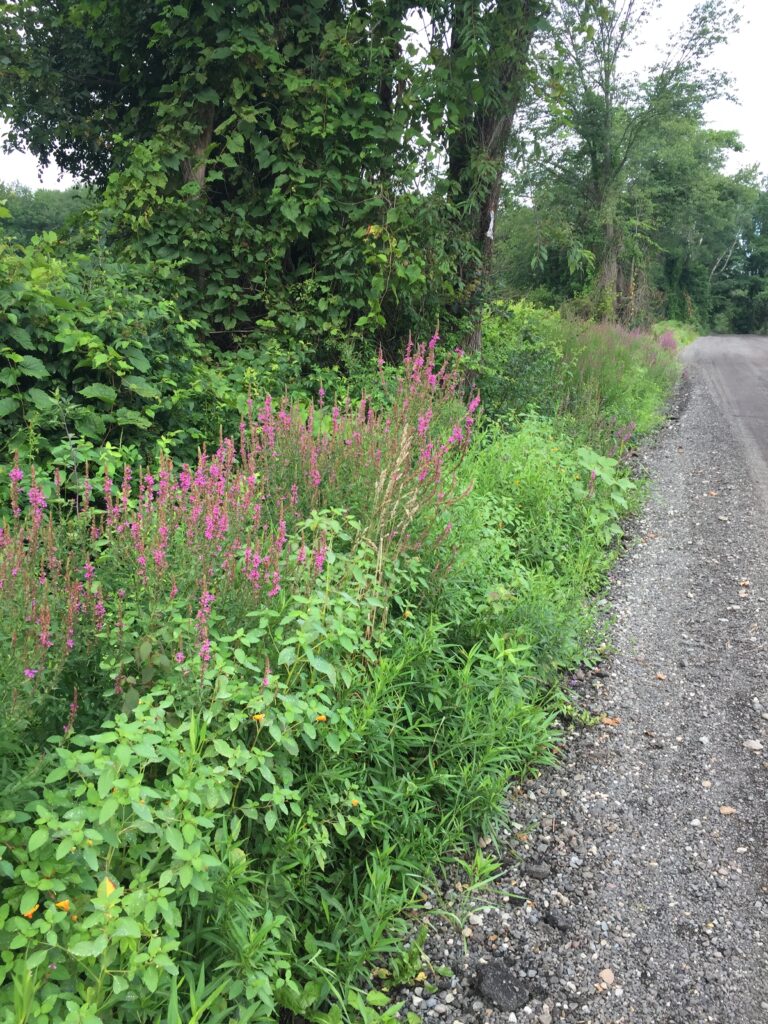
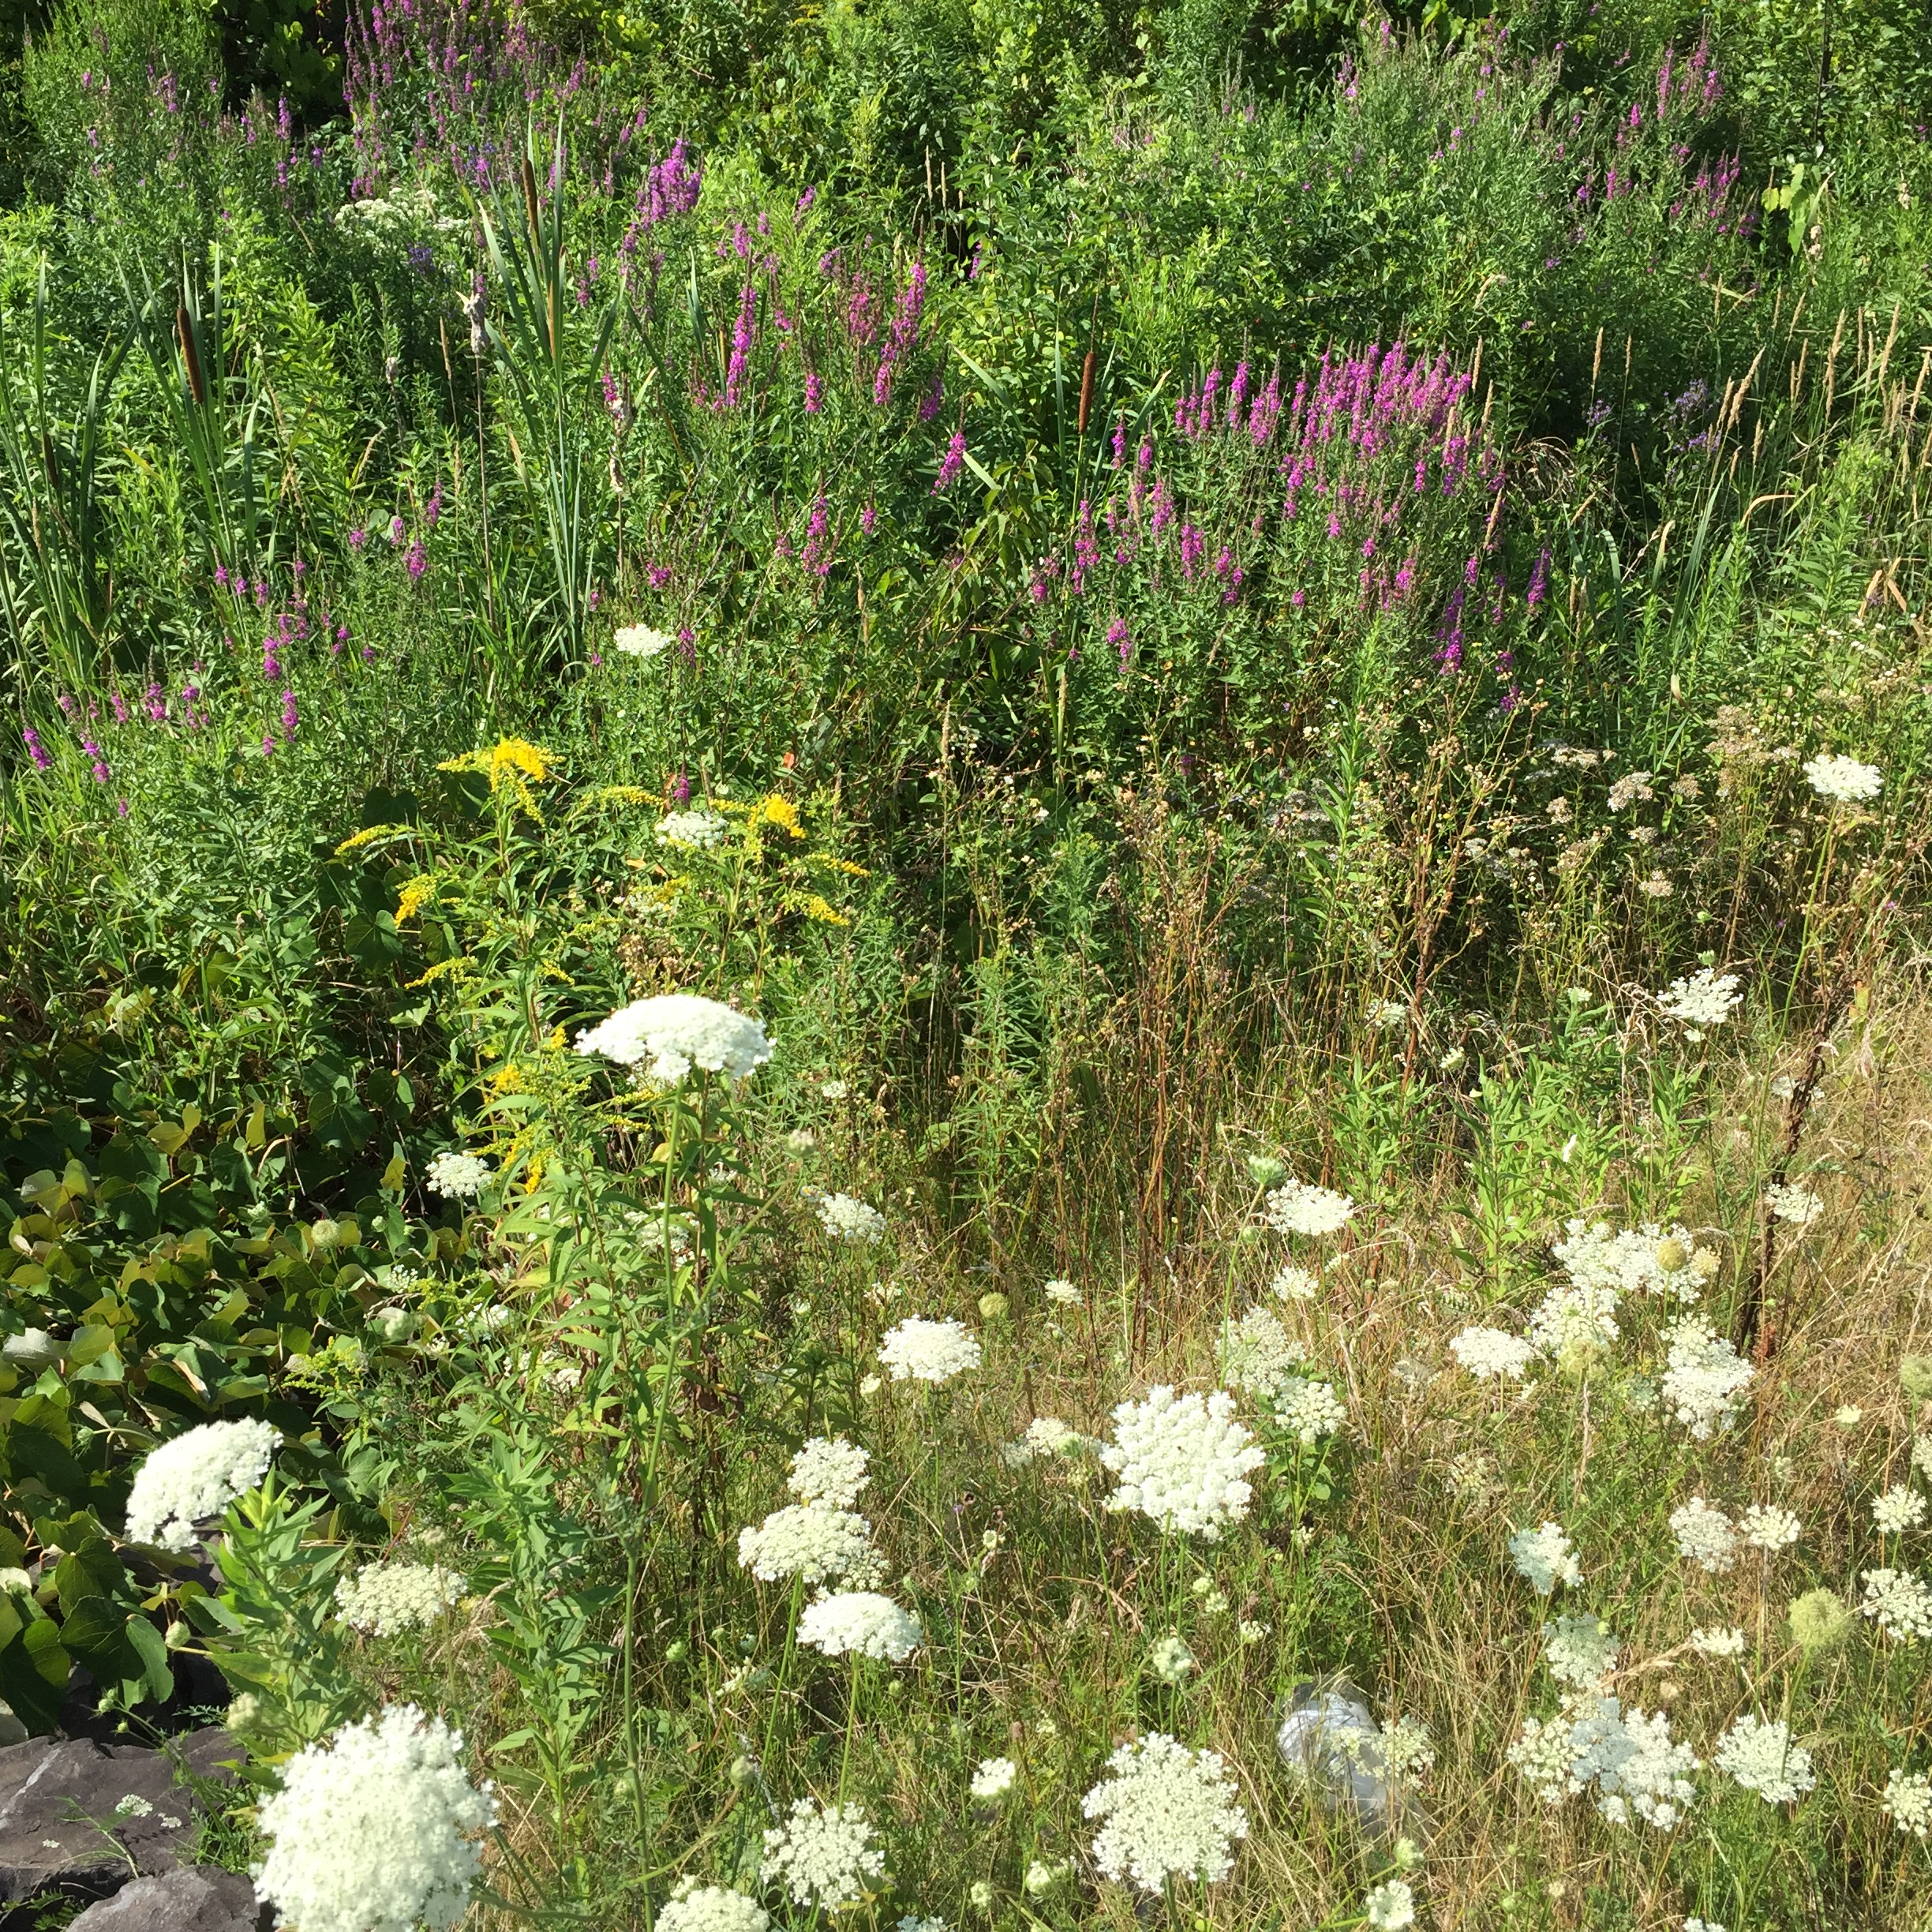
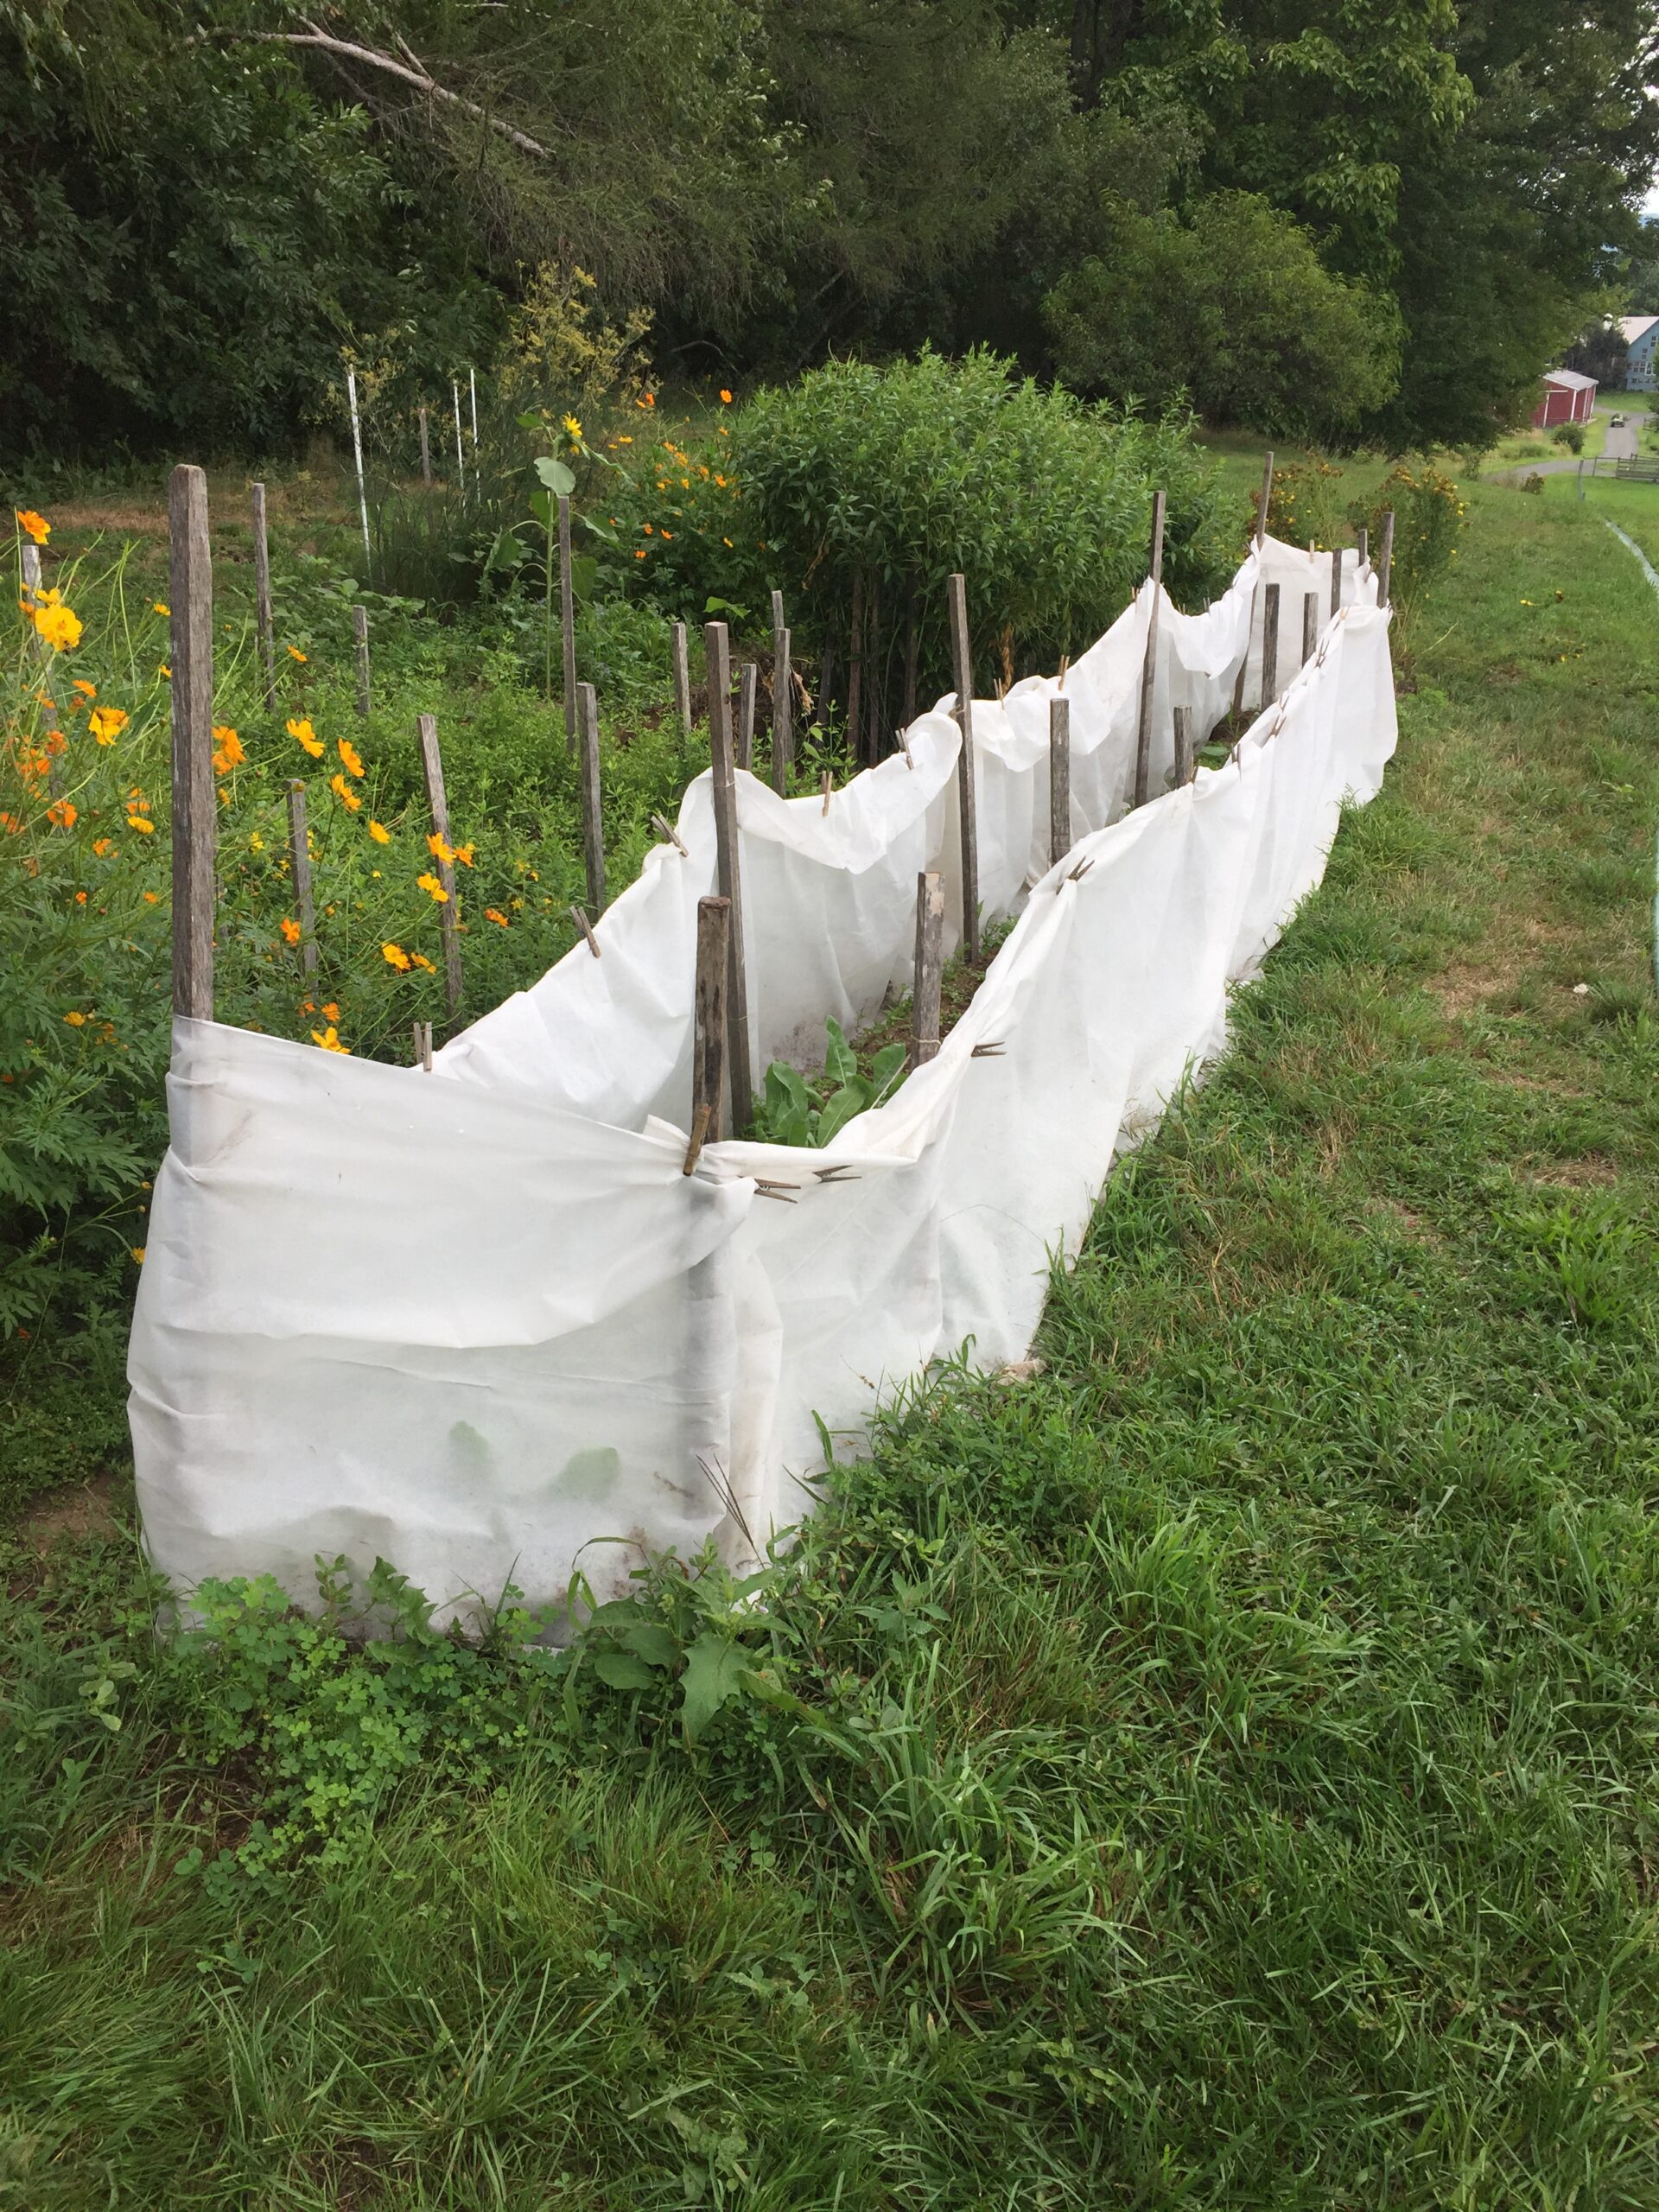
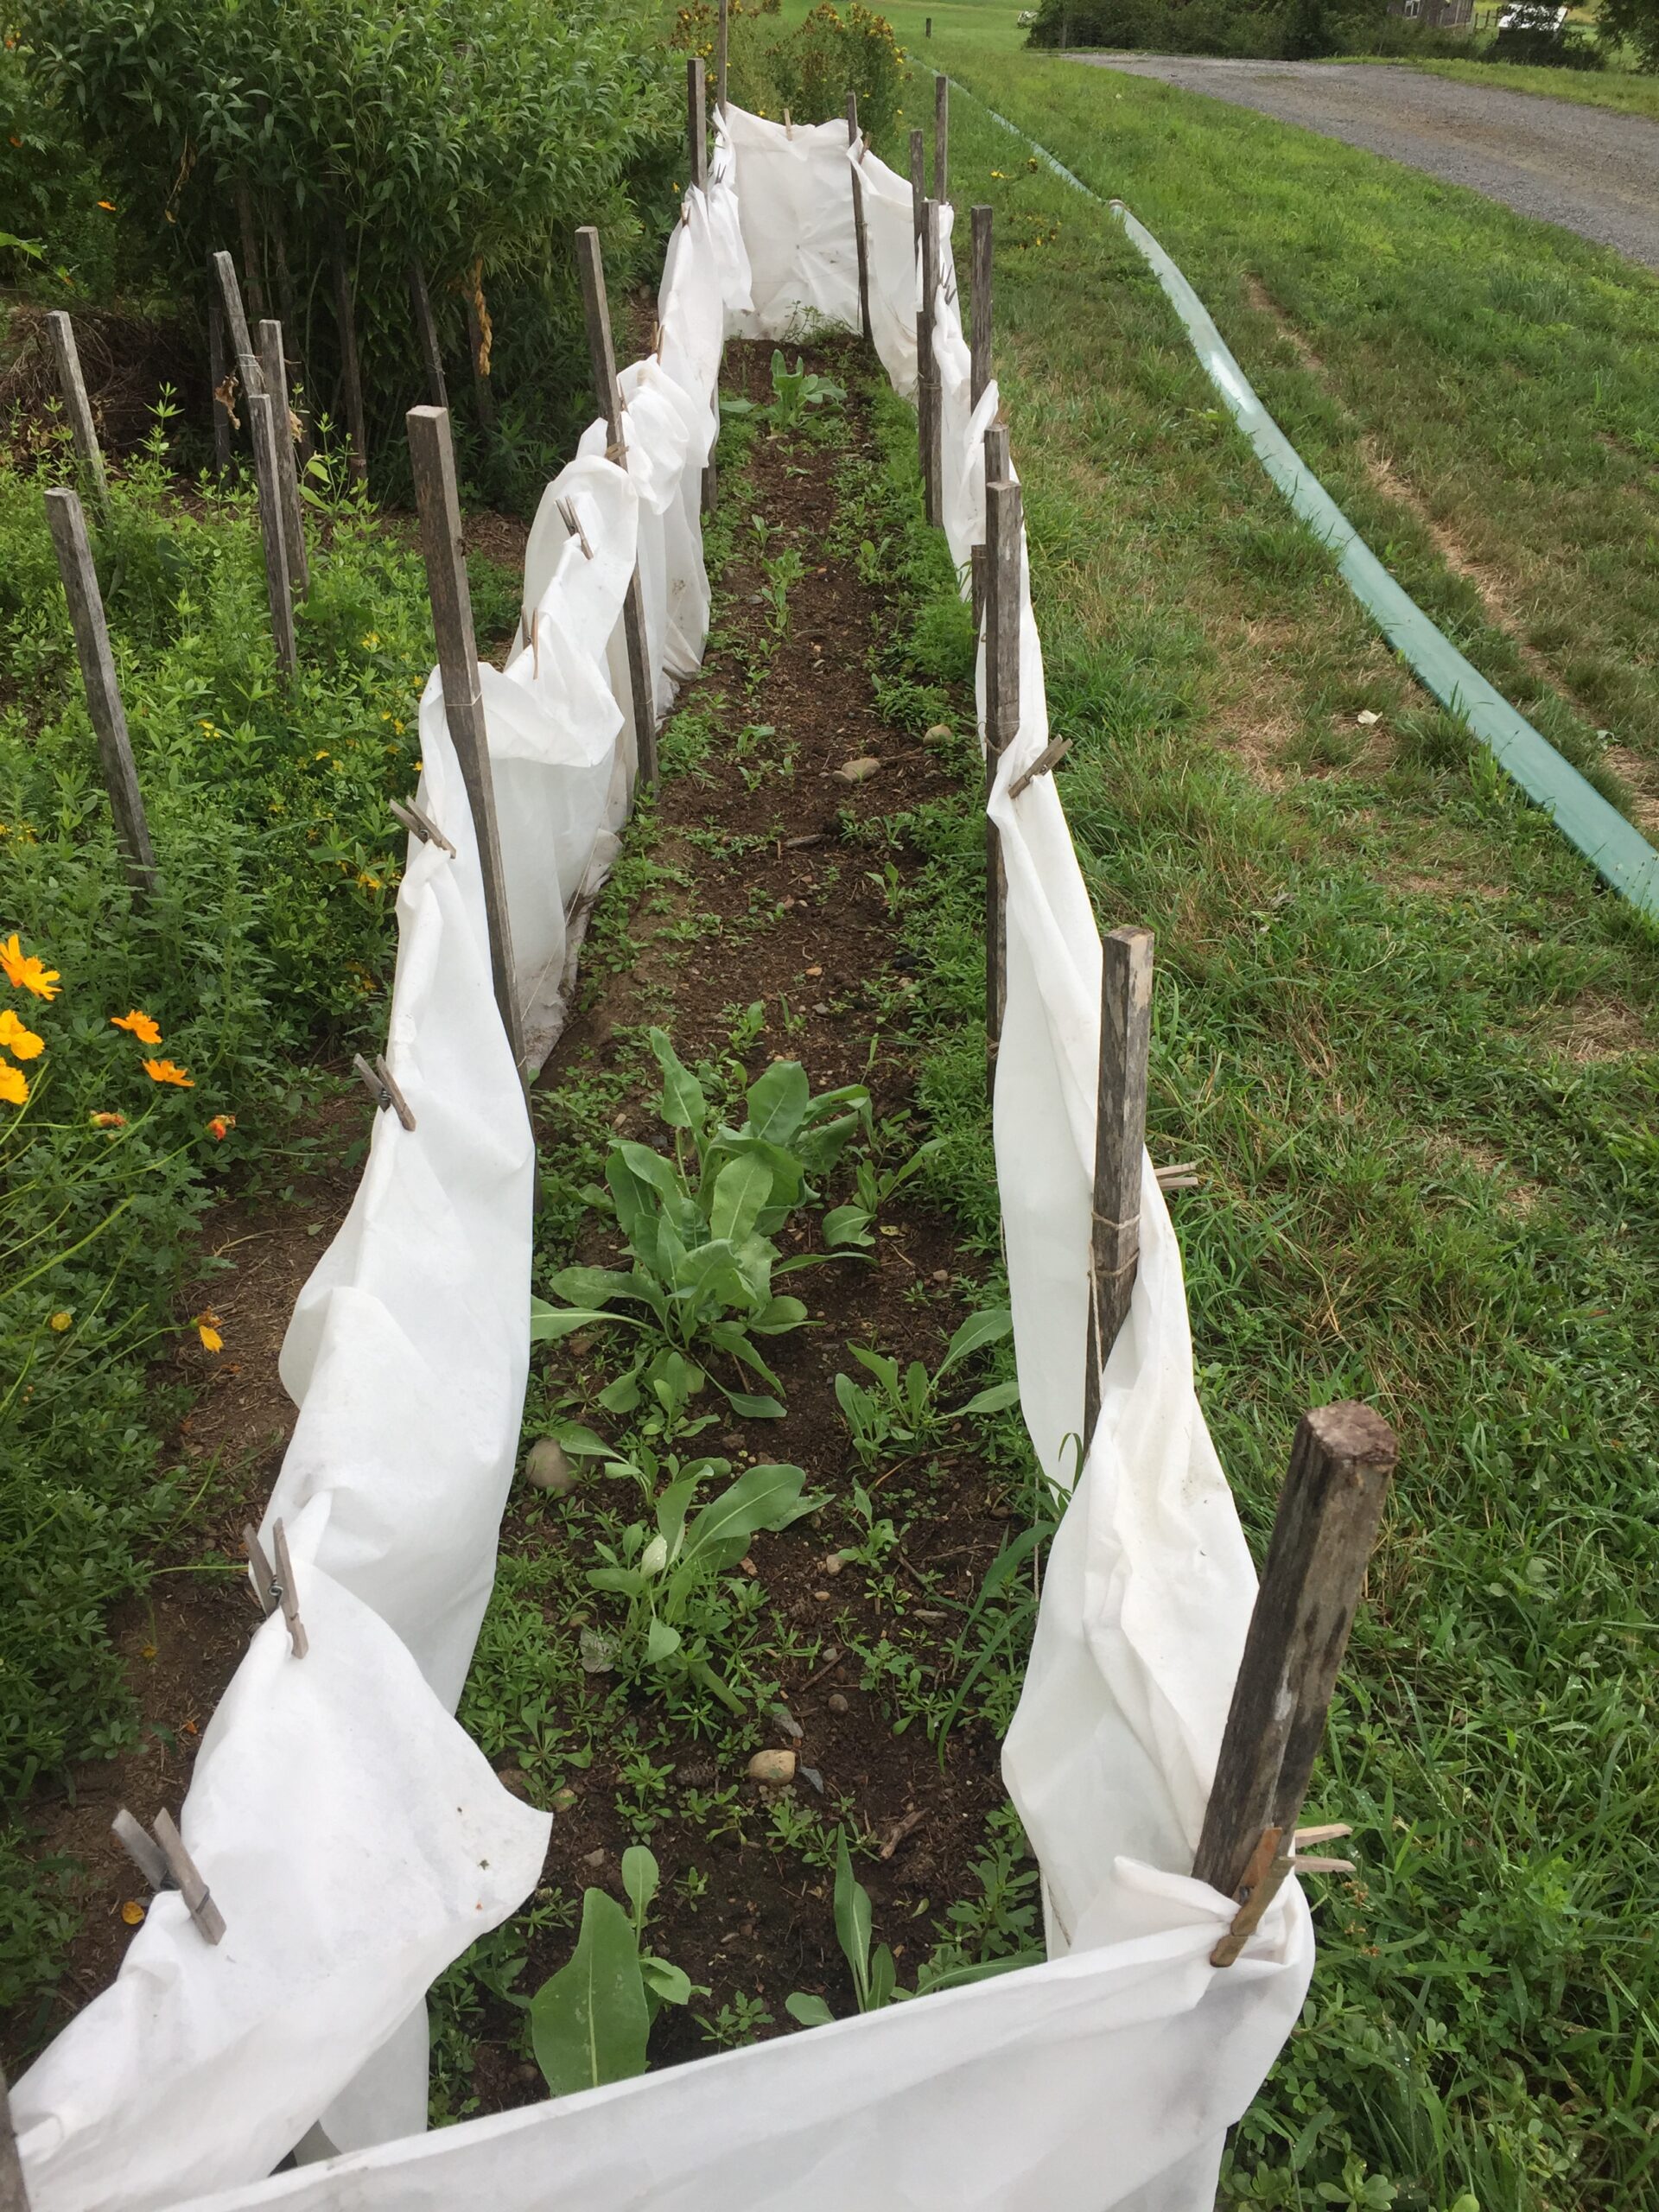
The bronze fennel patch started out in the north-east corner of my garden with a six-pack of starts umpteen years ago. Bronze fennel self-sows readily. This is a bit of a pain because I have to weed it out from places that I don’t want it to grow. But I’ve let it spread to other spots in recent years because it never occurred to be that there was anything to worry about. In particular, I let a couple bronze fennel plants mature alongside a bed of black-eyed Susan, two yarrow cultivars (red-orange and magenta), and a few swamp milkweeds on the south-east corner of the garden.
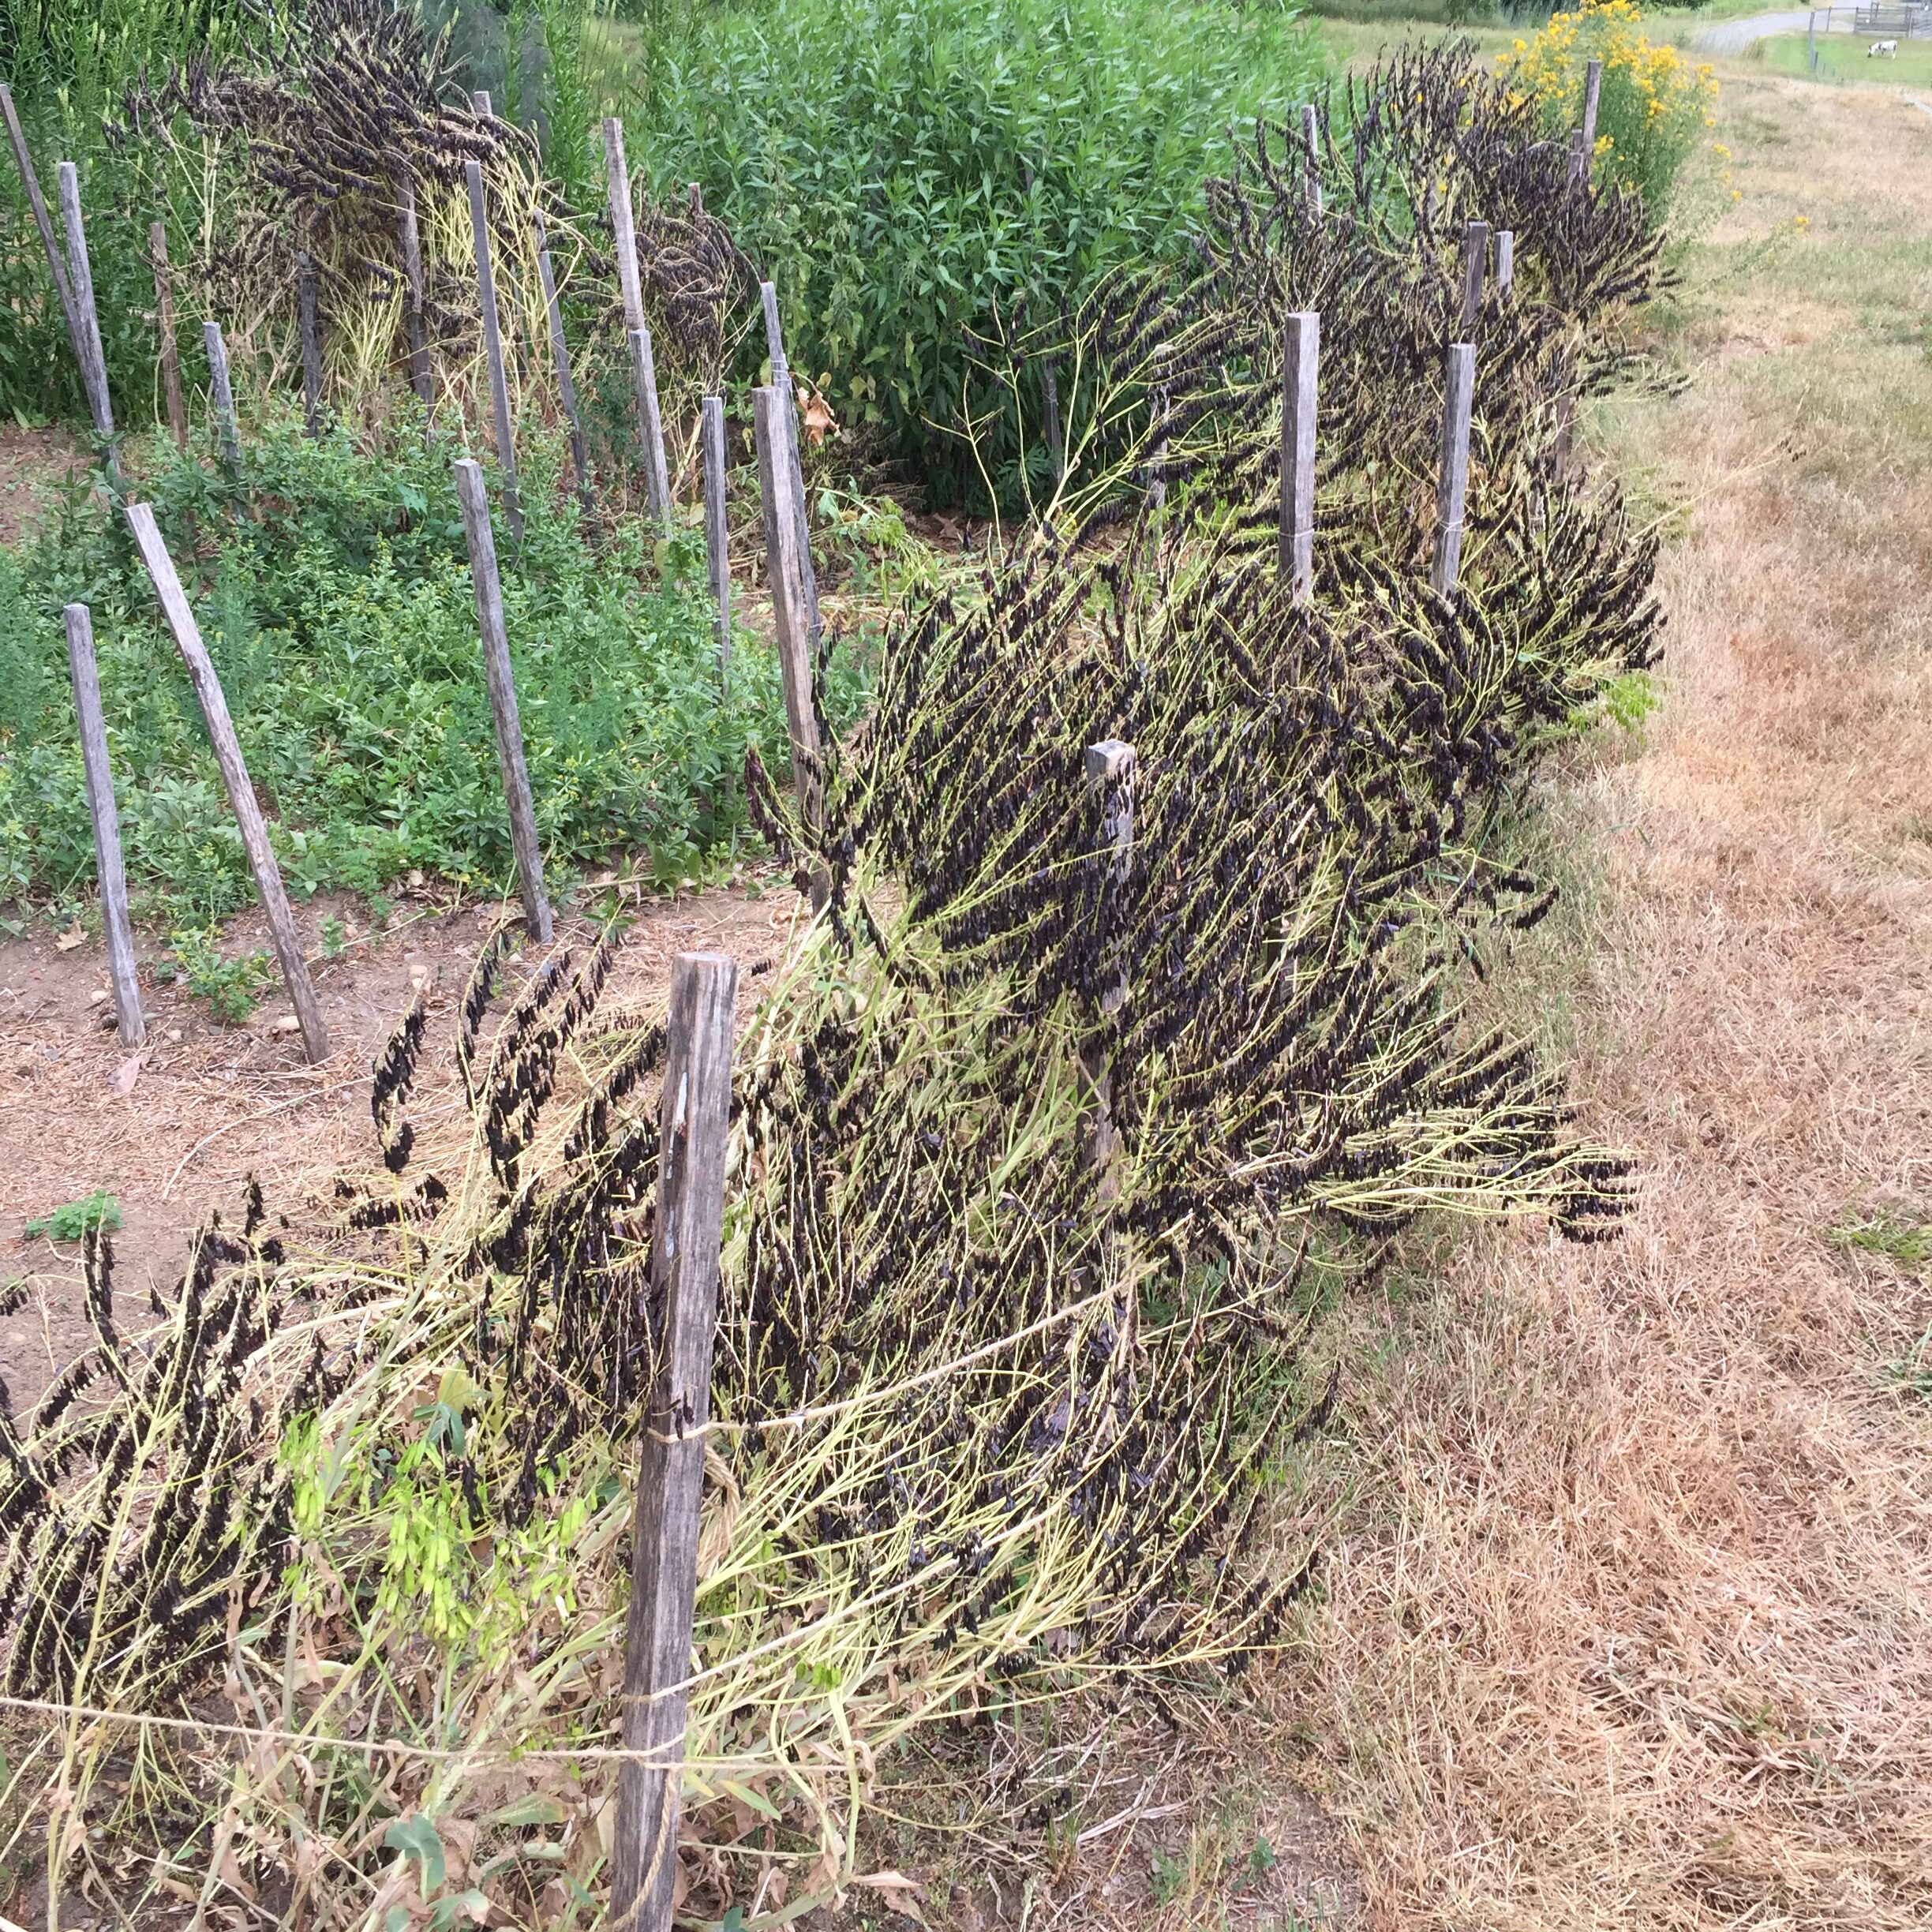
Last fall I was inspired by the Xerxes Society’s “Just Leave It” campaign to leave dead plant material in place over the winter. Many other organizations, too, were promoting “leave the leaves” and “leaves the stalks” as overwintering insect habitat and seed heads for birds to eat. So, I decided to let all the stalks and dried seed heads stand over the winter. I have to confess that I don’t usually get around to tidying up the garden in the fall anyway, but it felt nice to think that it was for a good cause and I wasn’t just being a slacker!
In April I started to cut back all the stalks. I should have waited until May, apparently, or never cut them back all the way to the ground at all. This info-graphic from Ohio State University describes a multiyear life-cycle for stem nesting bees, for example. I’ll obviously have to read up more about it for next season.
I decided to move the big bronze fennel plants out of the way with the expectation that the black-eyed Susans would spread. So, they joined the original crew back on the north-east corner of the garden.
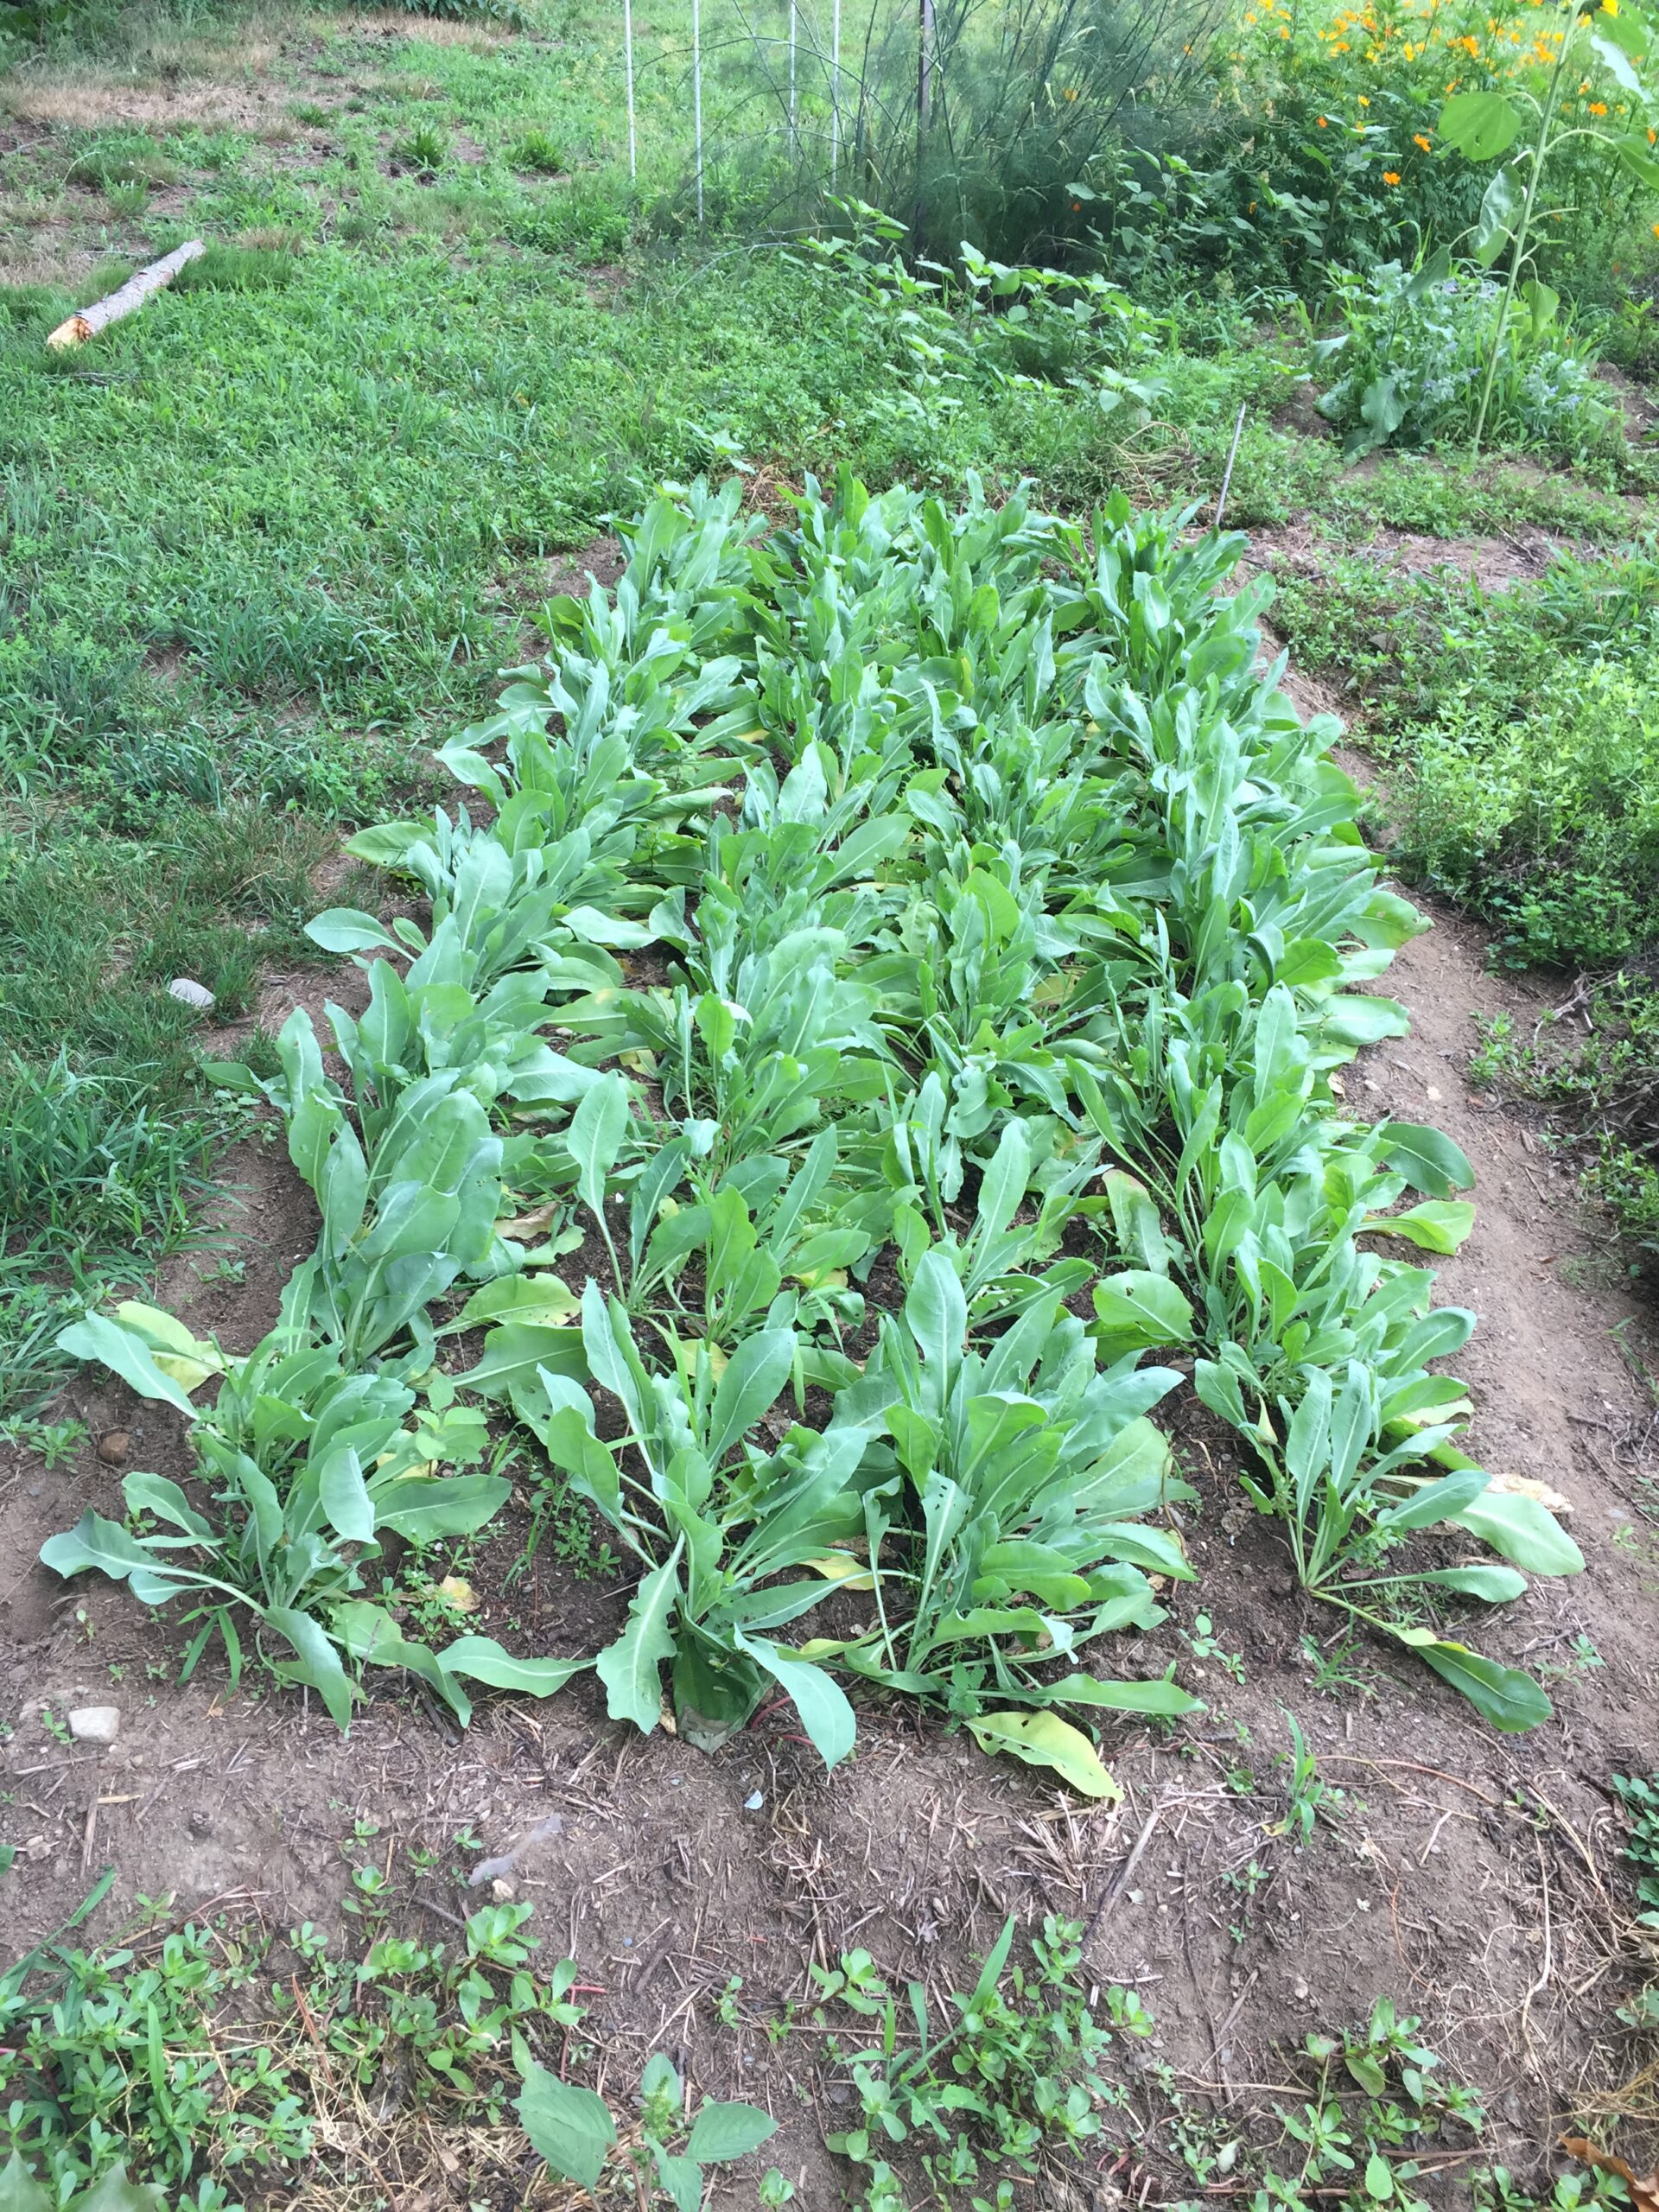
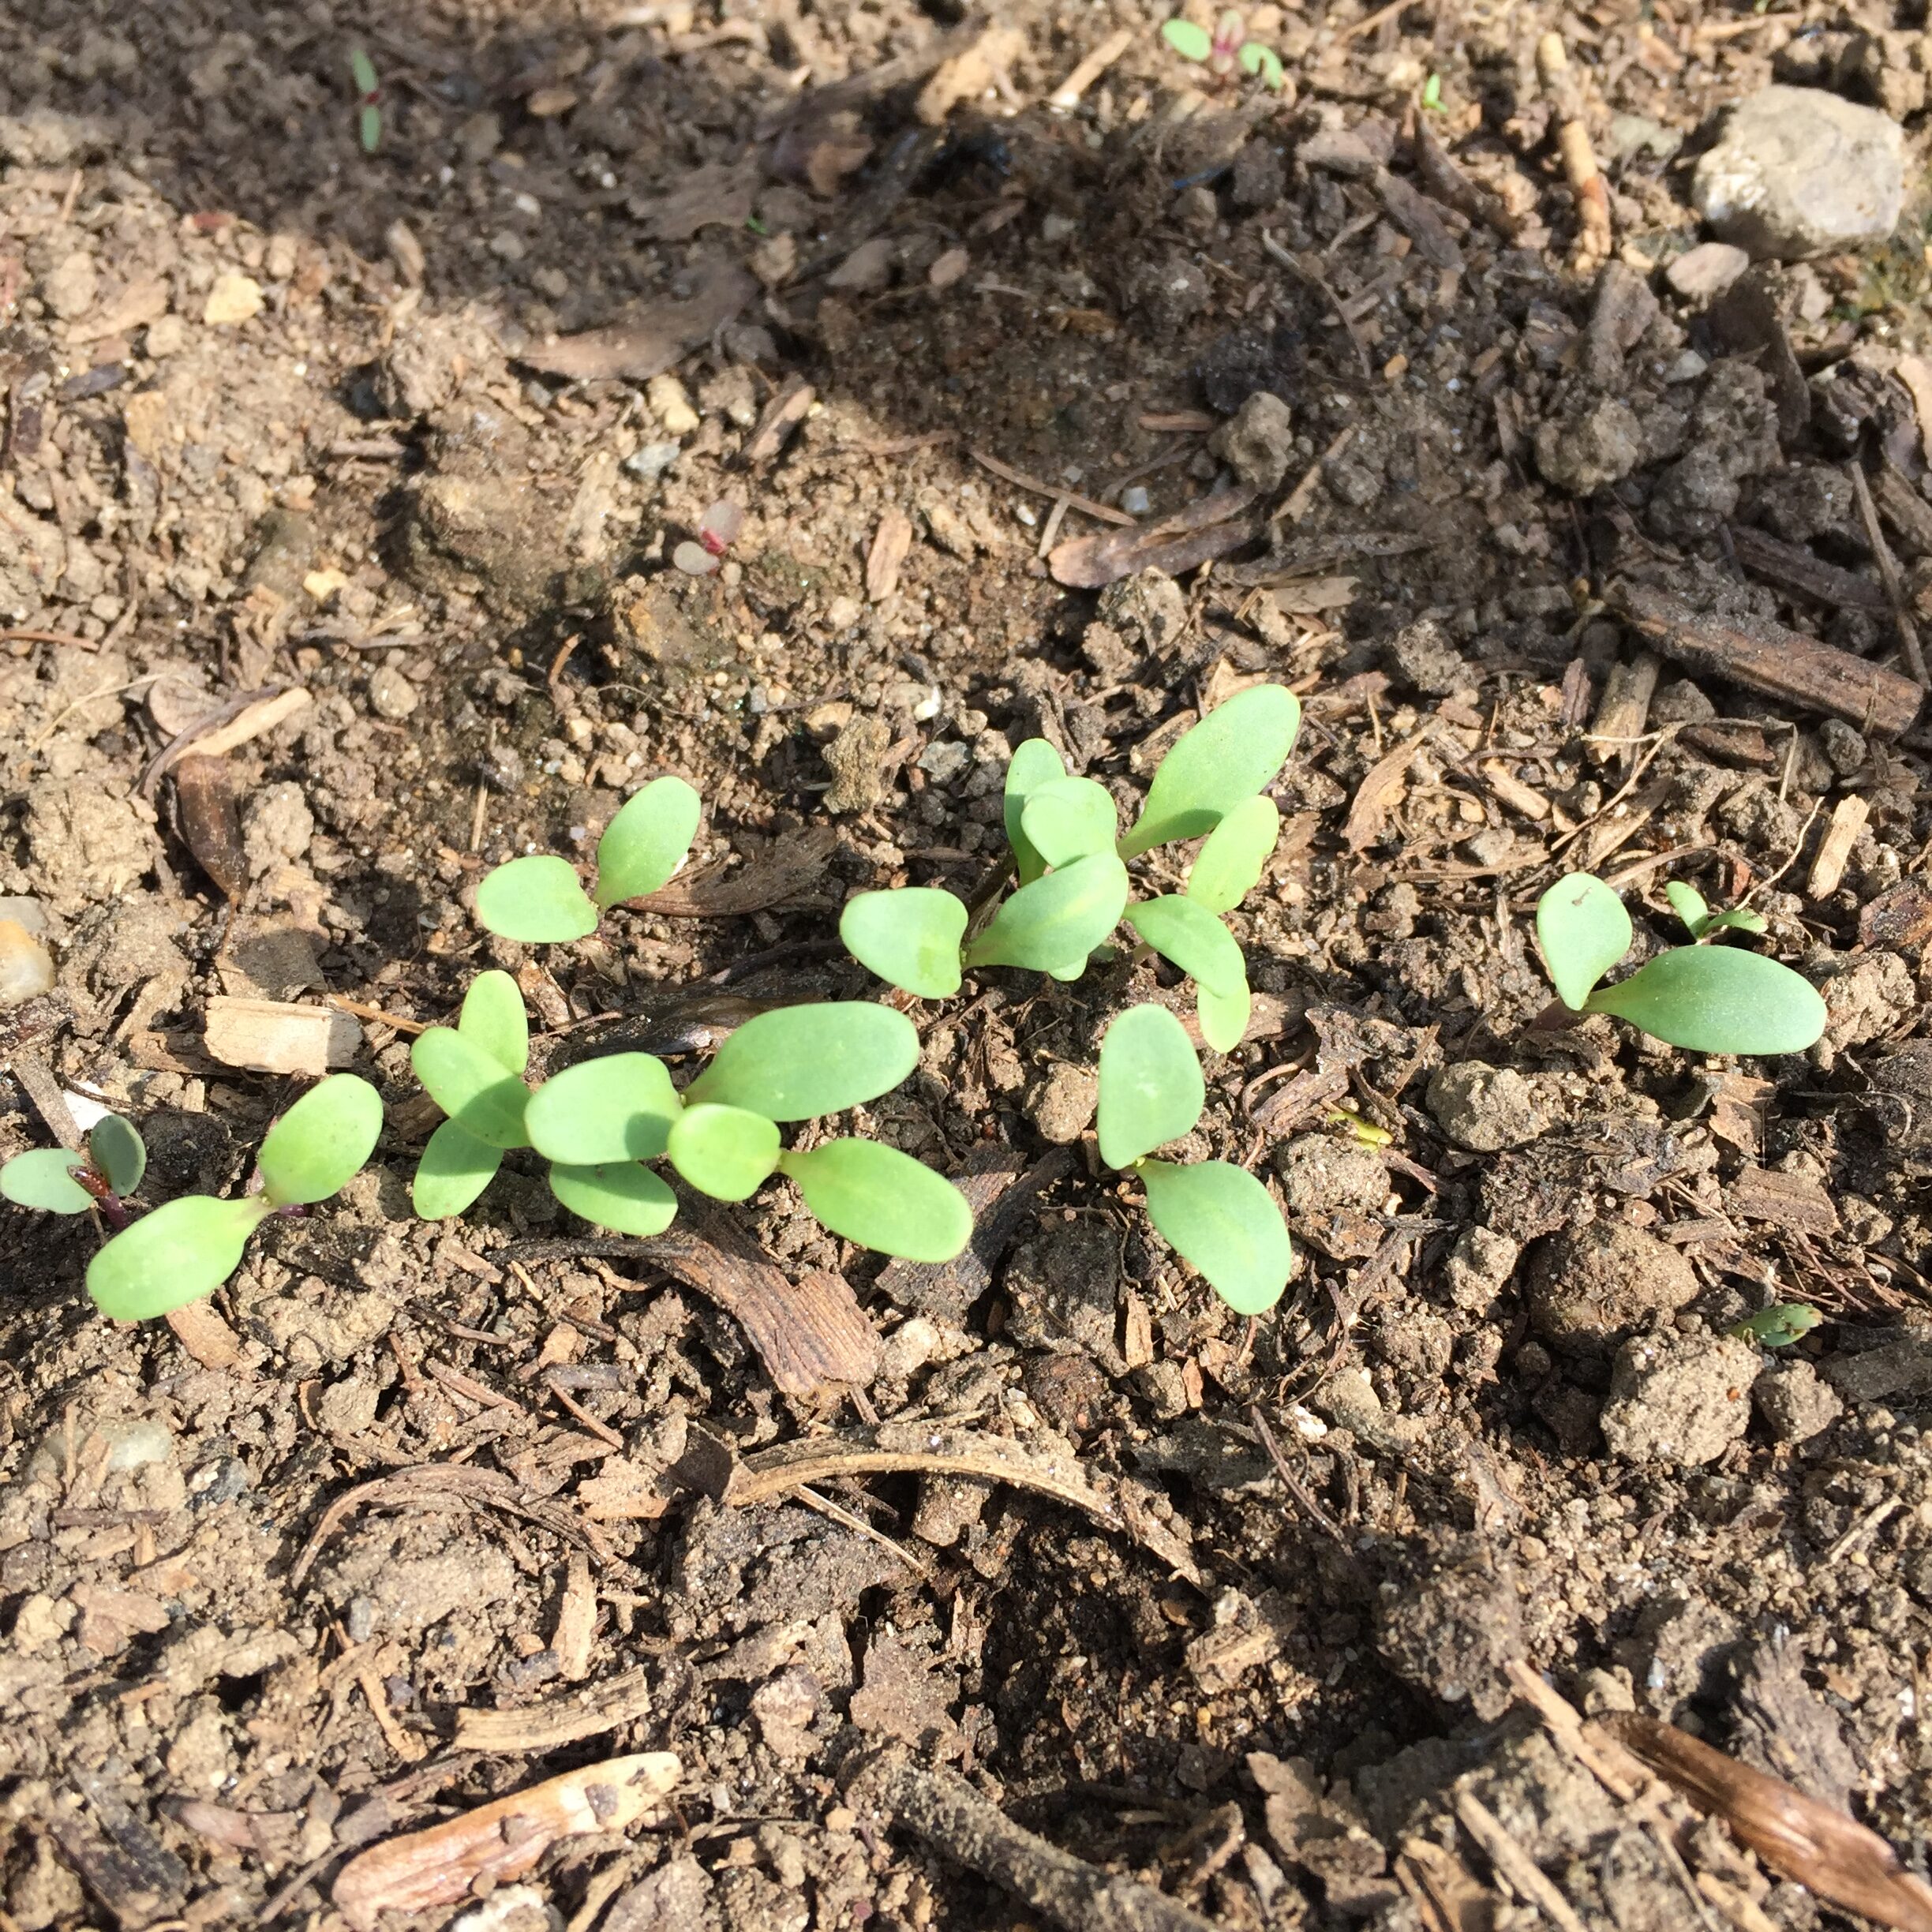
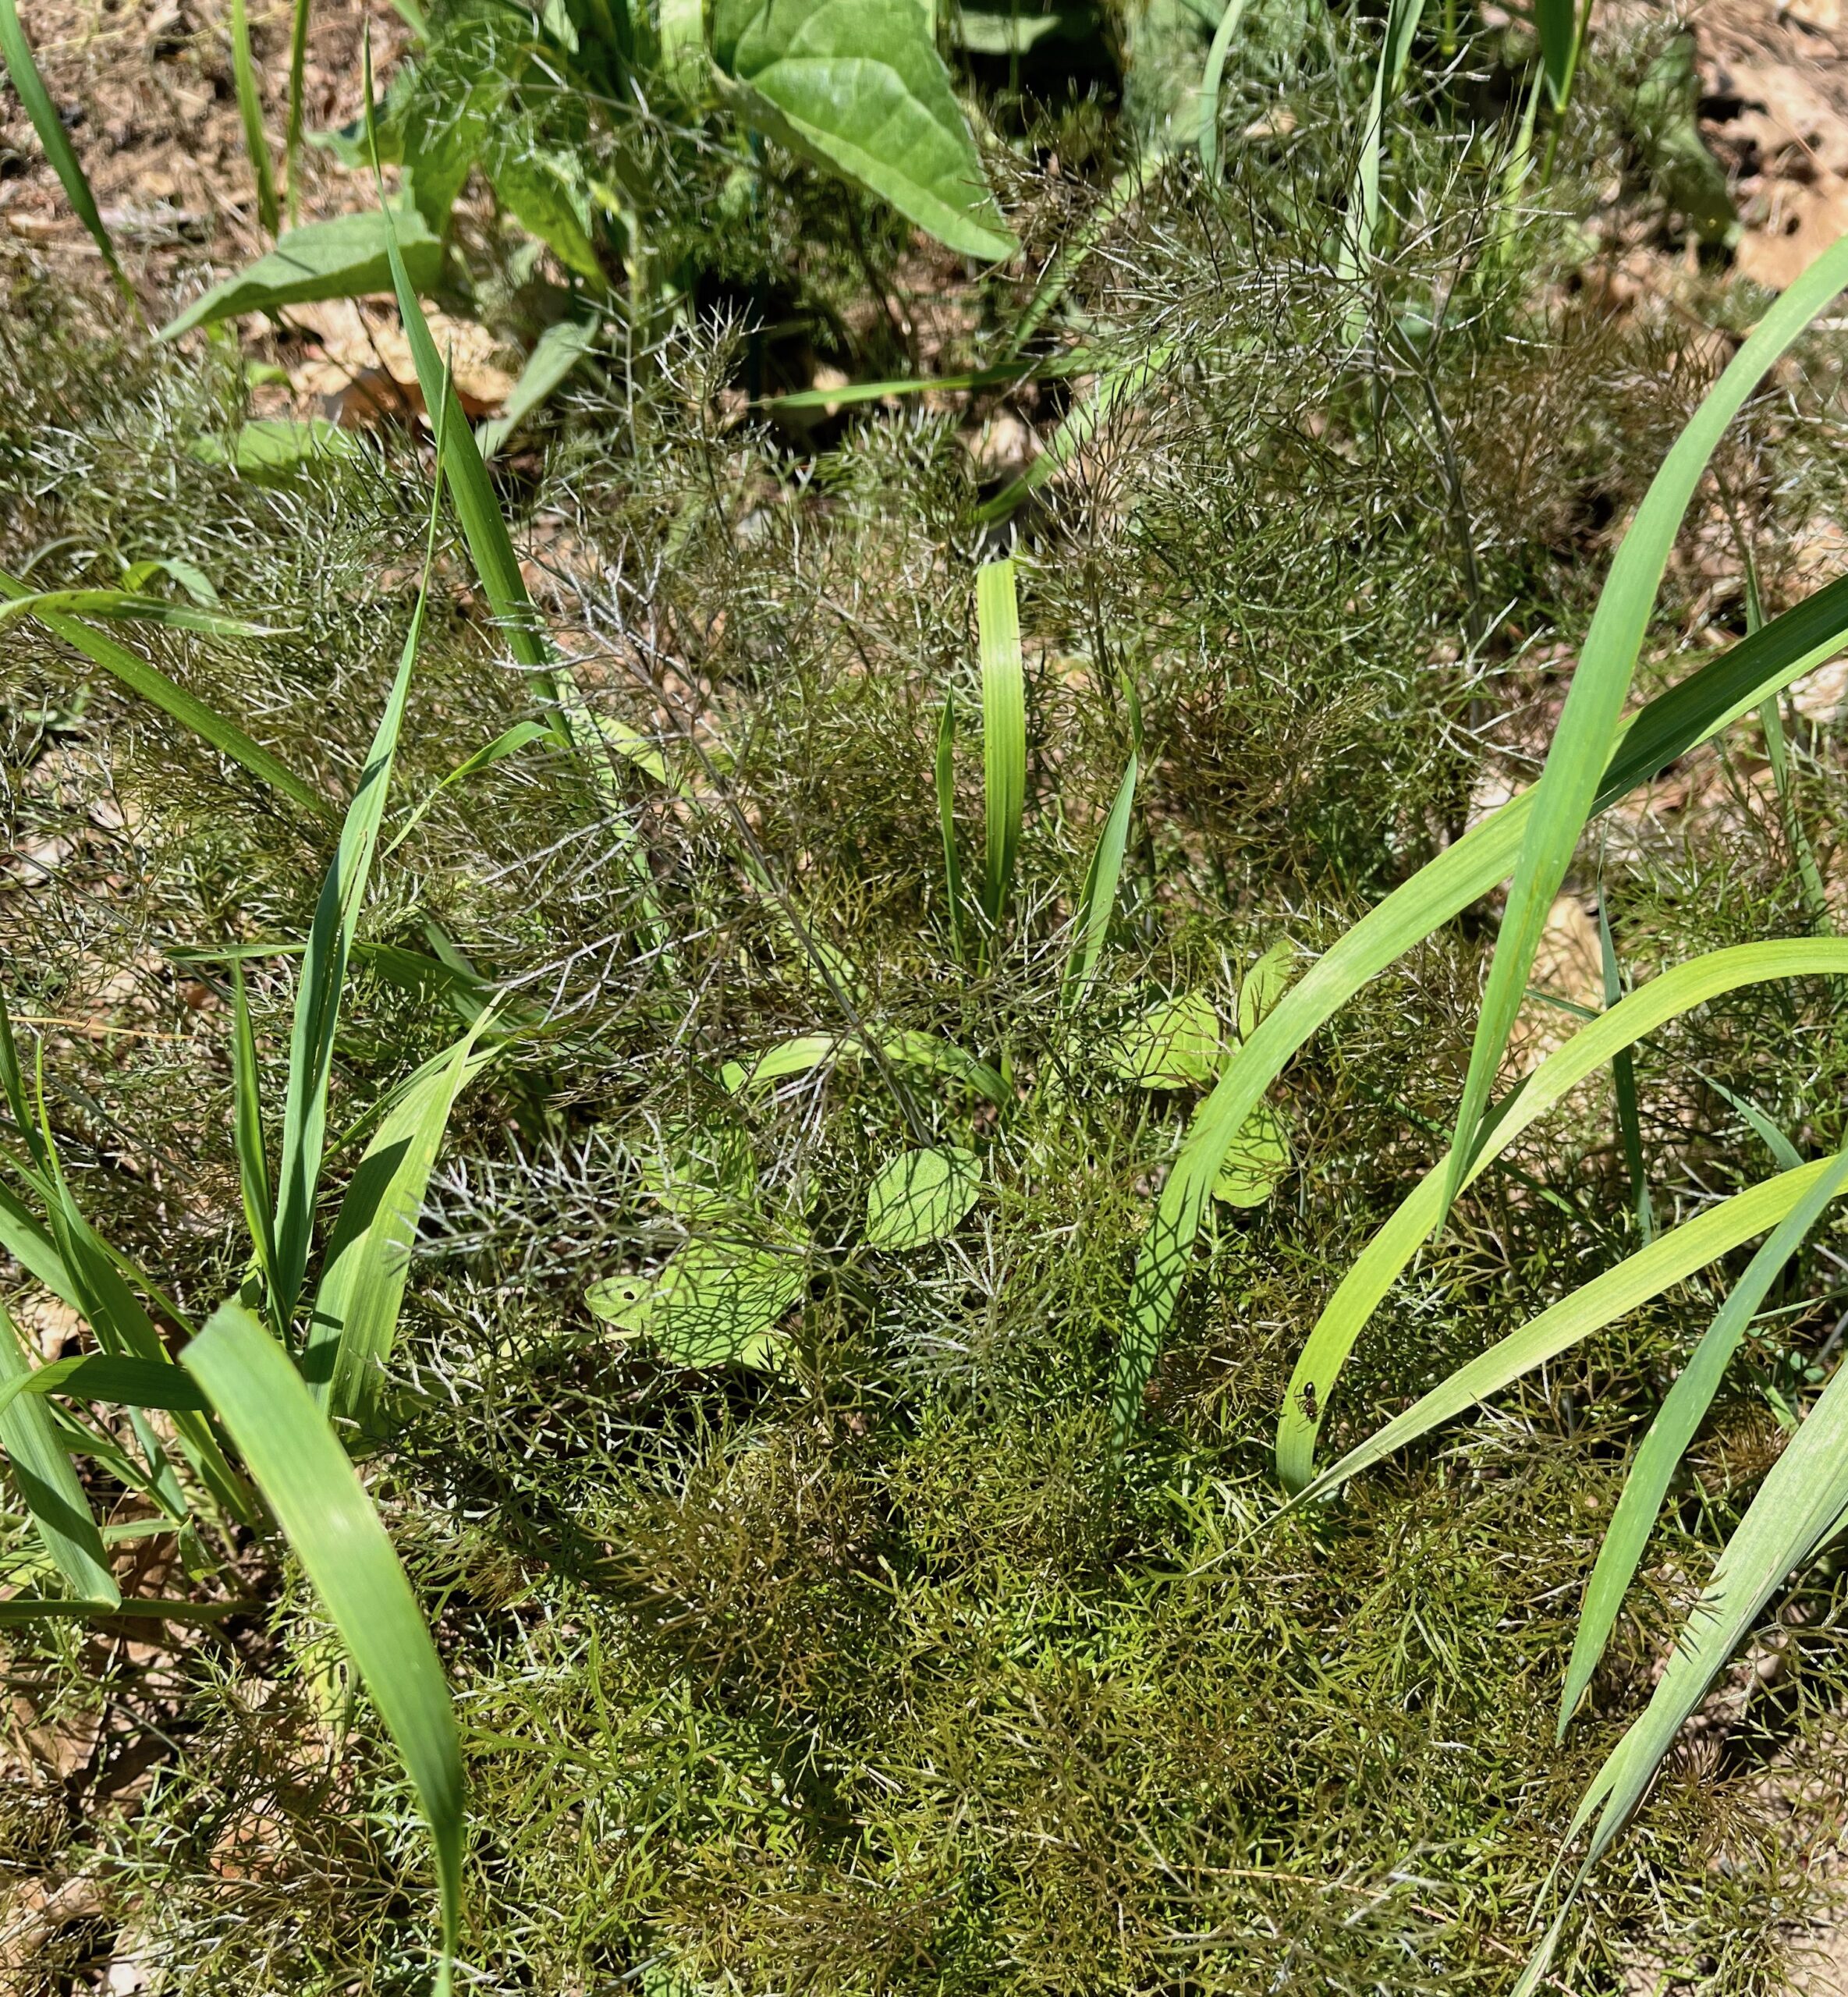
A few weeks later, no surprise, there were bronze fennel babies galore in the south-east corner. A dense, soft, fuzzy, feathery carpet of them. So cute, right?
The only problem was that they were growing where the two big, robust black-eyed Susan plants used to be. I had left those, too, over the winter, with their dark brown prickly seed heads. But, those big robust plants had vanished.
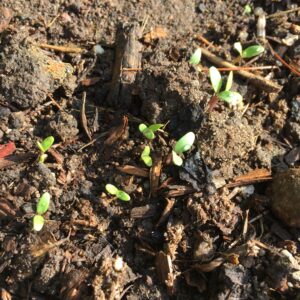
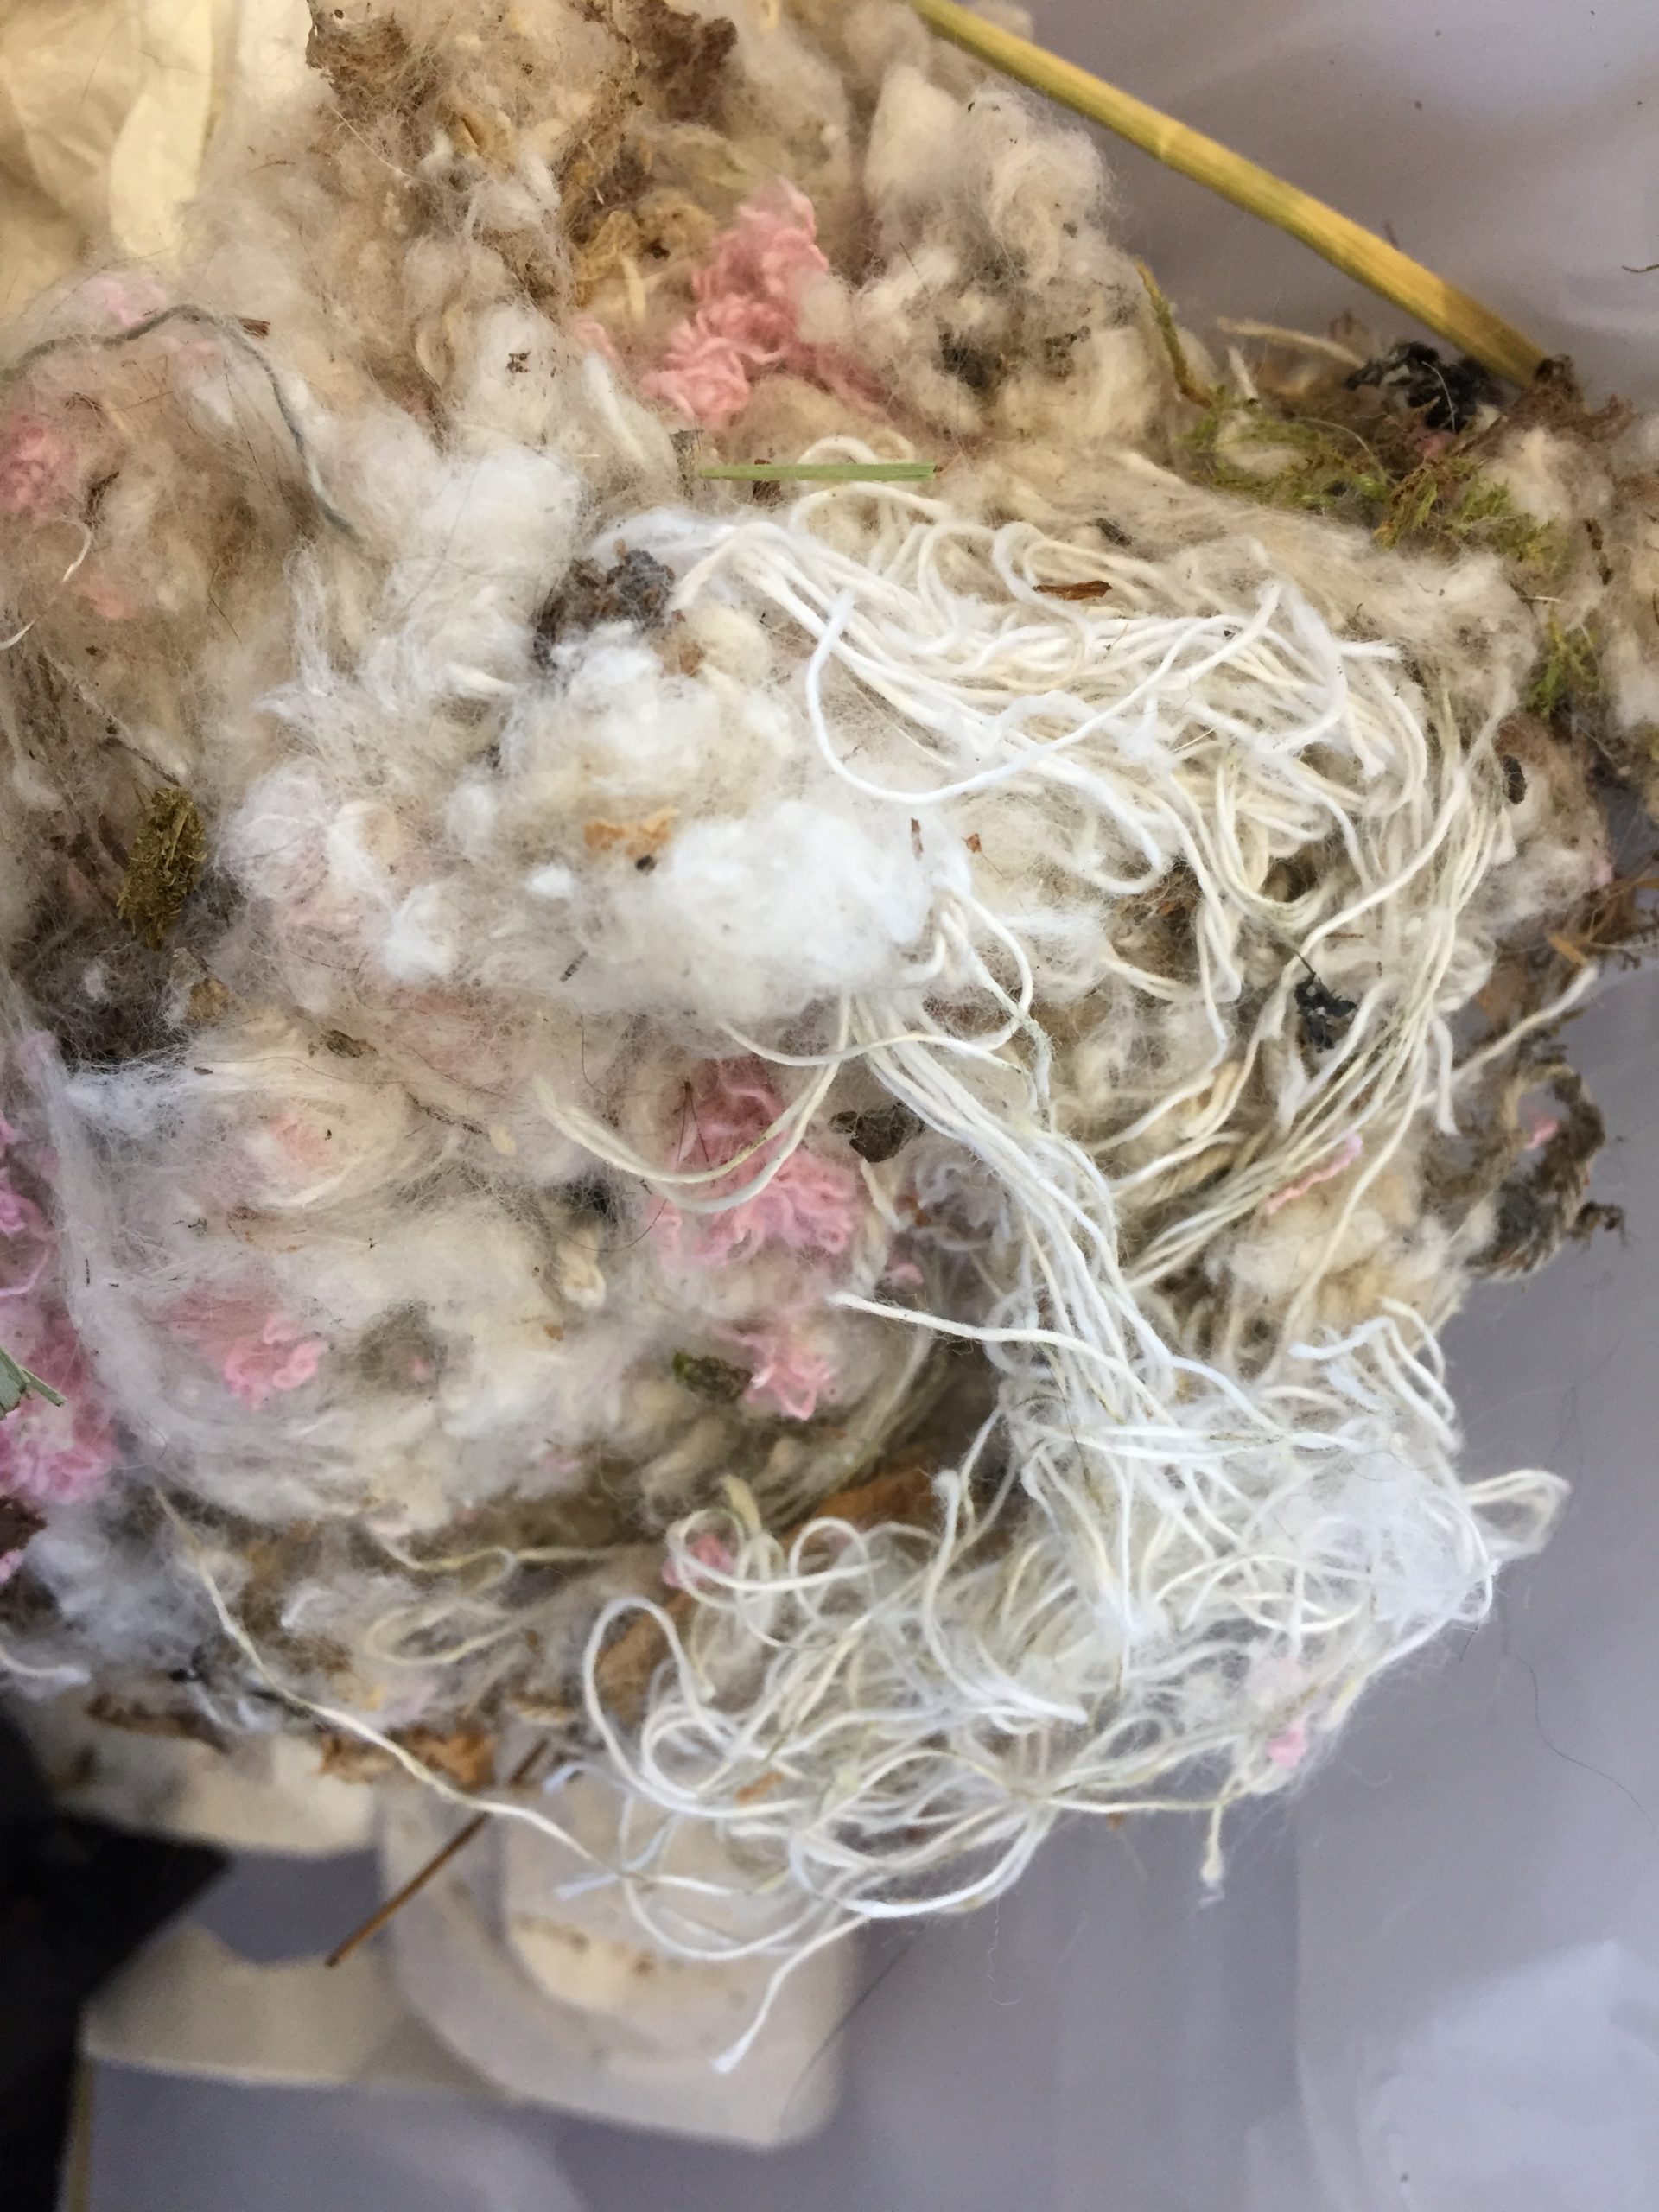
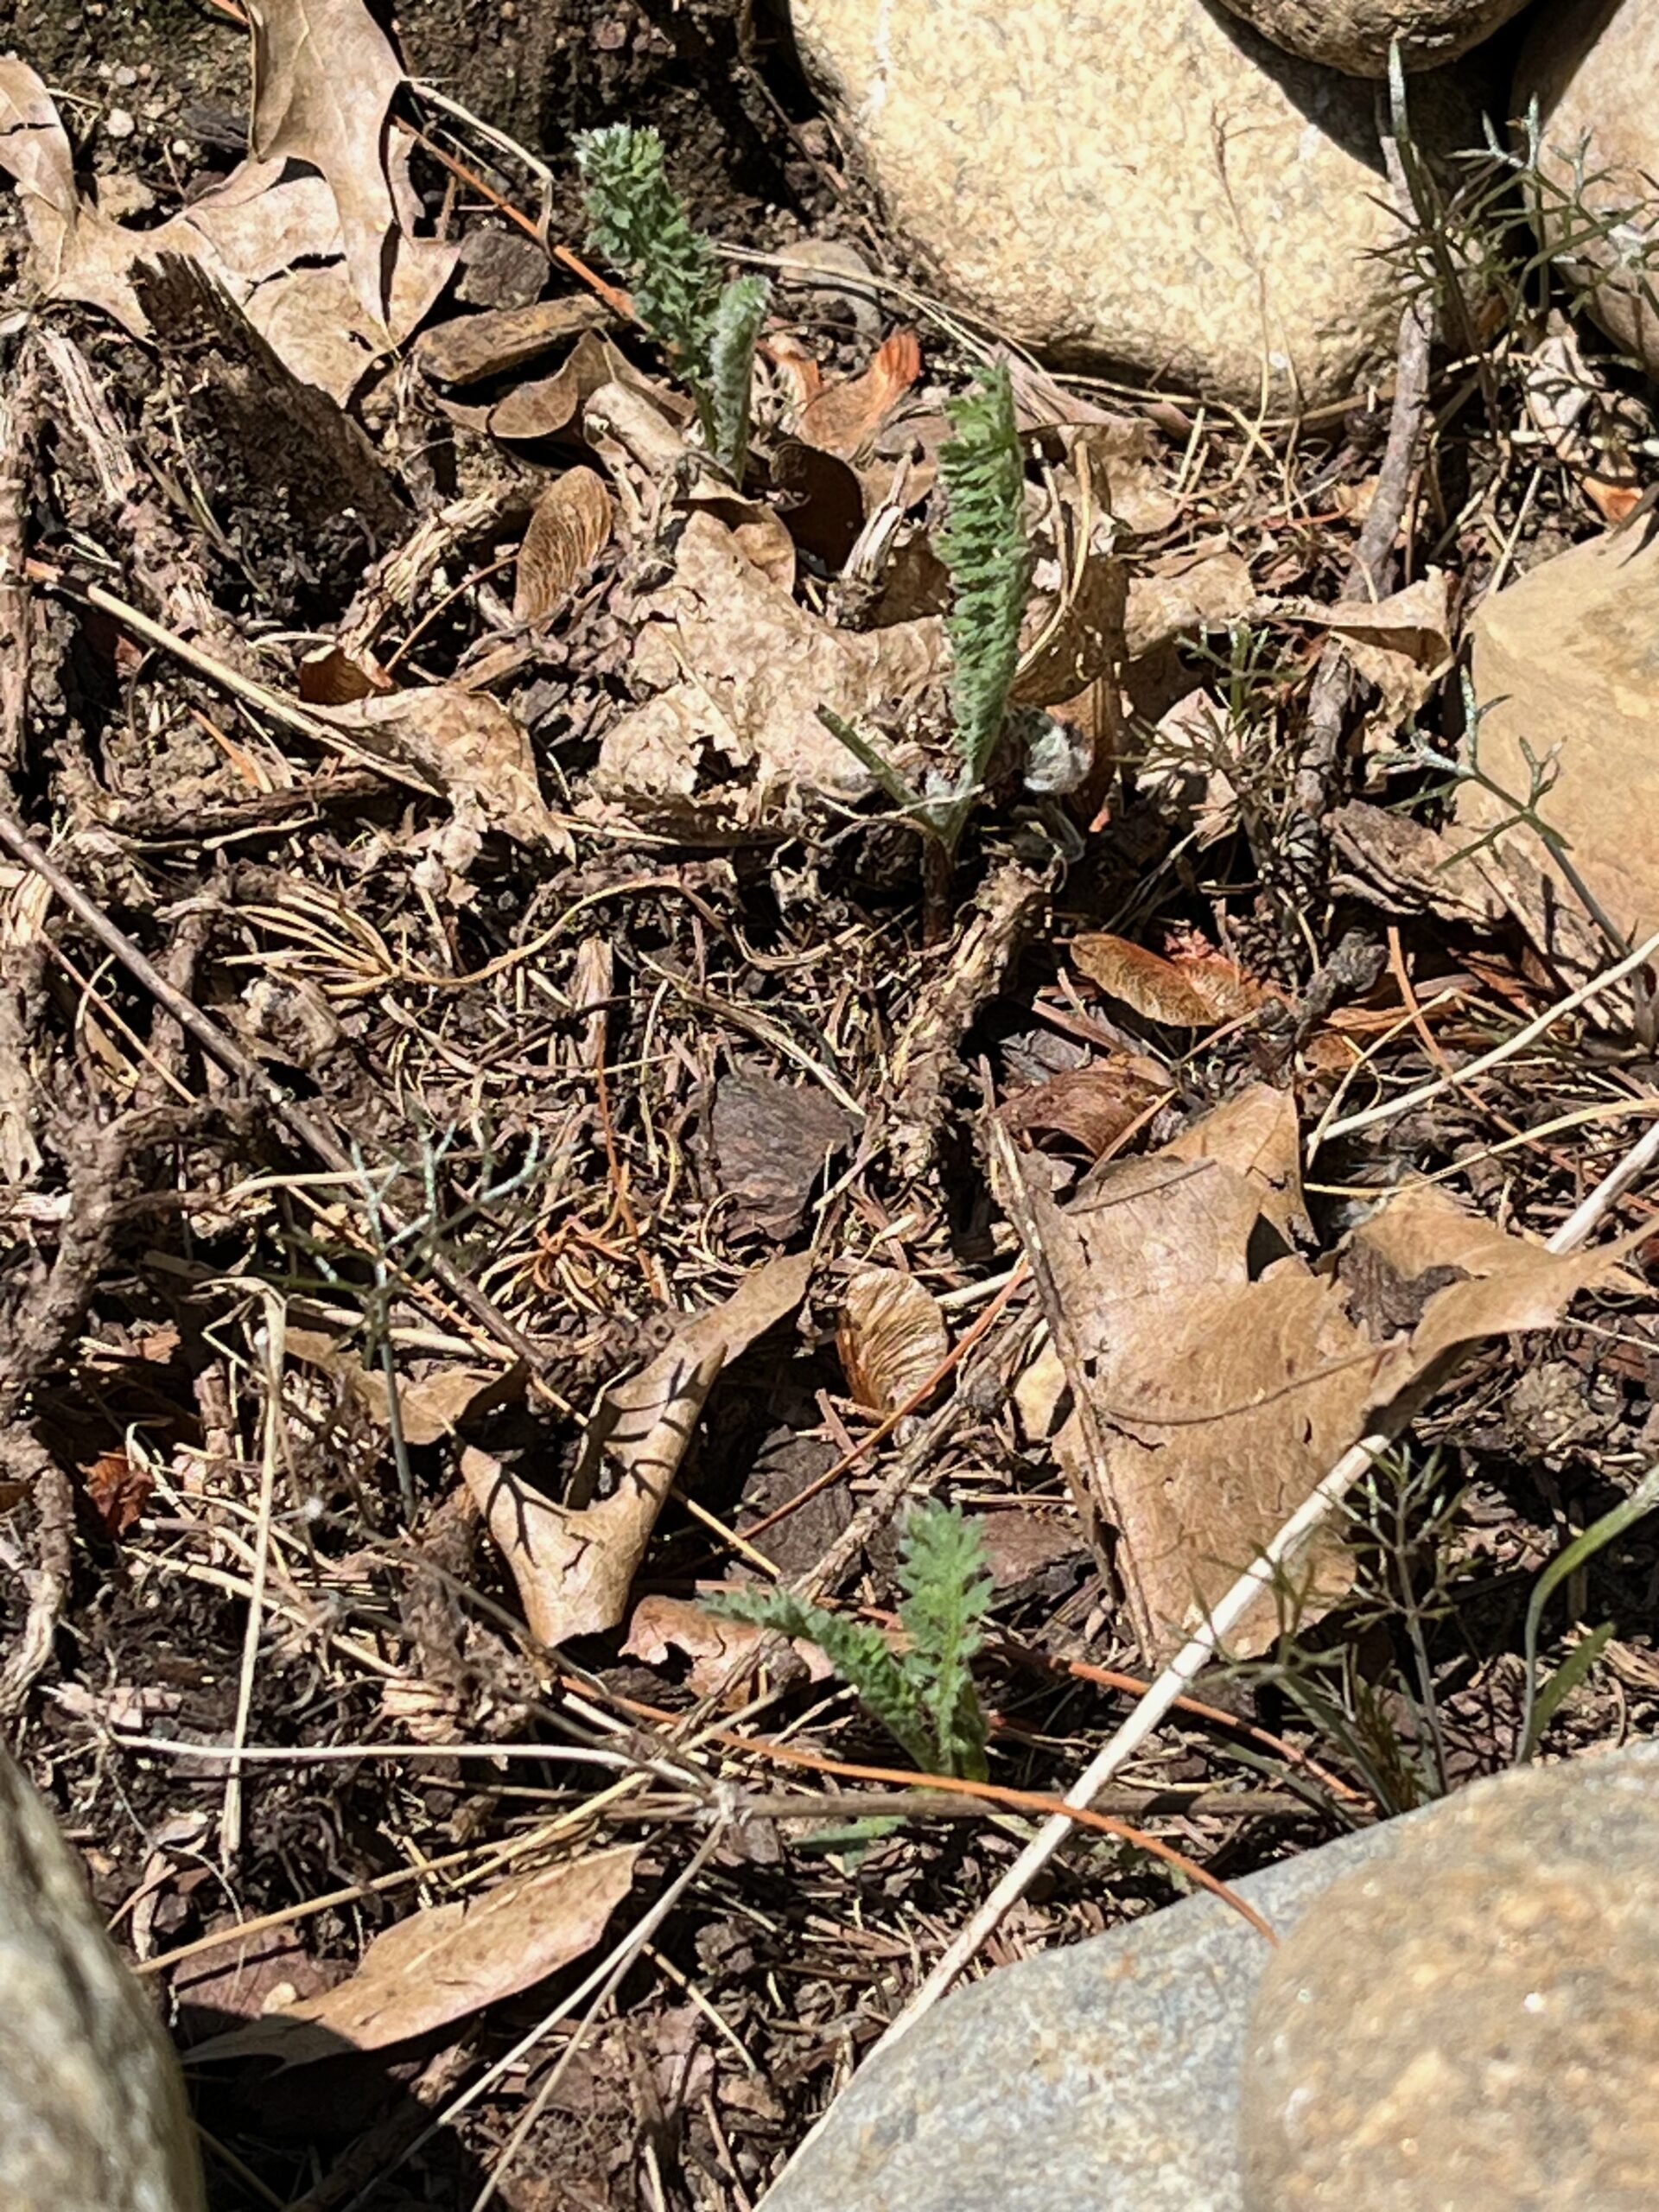
Similarly, in the bed next door, two yarrow plants were seriously diminished, to the point where they were barely there. In the photo below, the yarrow plants are the tiny gray-green fronds poking up between the brown oak leaves, larch needles, maple samaras, etc.
What had happened? It suddenly struck me that the frenzy of fennel babies might have something to do with the demise of the black-eyed Susan and yarrow.
Some plants have allelopathic properties, meaning that they produce chemicals that can inhibit (or sometimes promote) the growth of other plants.
The mechanisms by which allelopathic plants exert their powers are diverse, as are the compounds they produce. It makes for very interesting reading, and renews my admiration and awe regarding the incredible lives of plants.
Is bronze fennel allelopathic? The short answer is yes. I was a little chagrined that I hadn’t encountered this information before, but live and learn.
However, it seems that the main allelopathic effect of bronze fennel is to prevent the germination of seeds in other plant species. This article on the Santa Barbara Botanic Garden website, for example, summarizes some of their research with native plant species and fennel. Here’s a link to another article by different researchers.
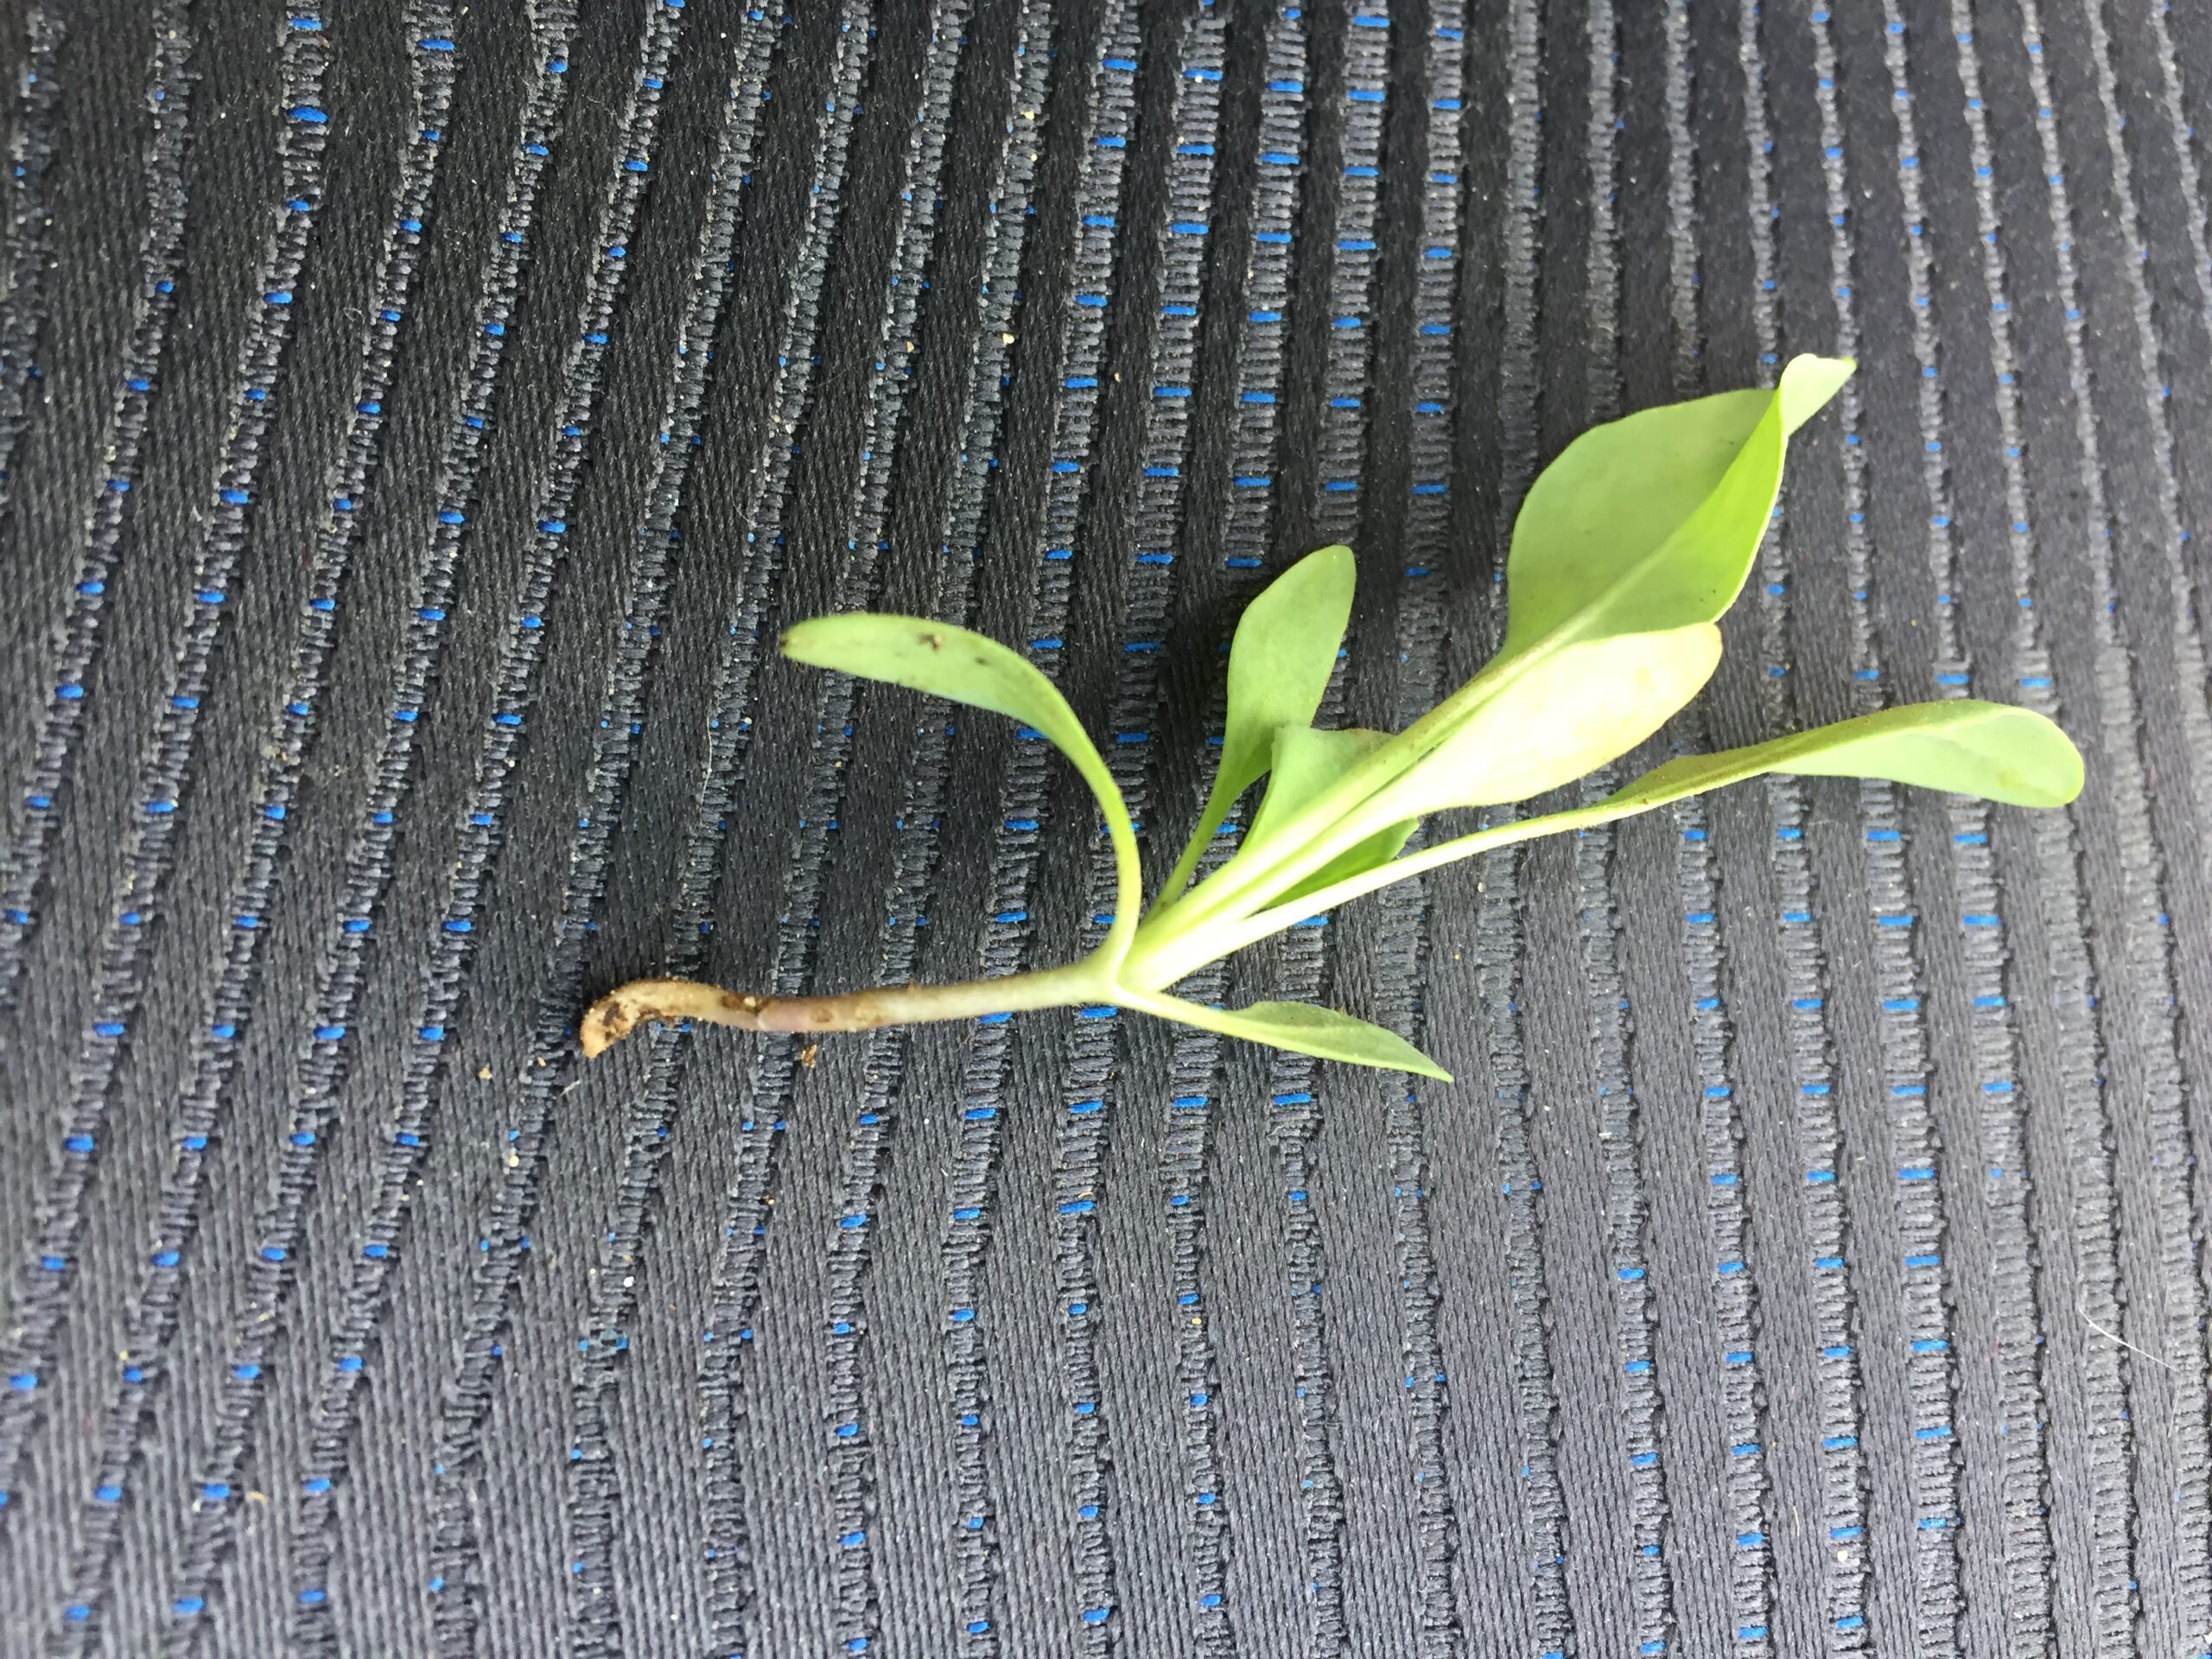
Did my bronze fennel impede the growth of other seeds? Maybe not. In my case, there were several black-eyed Susan seedlings growing alongside the fennel seedlings.
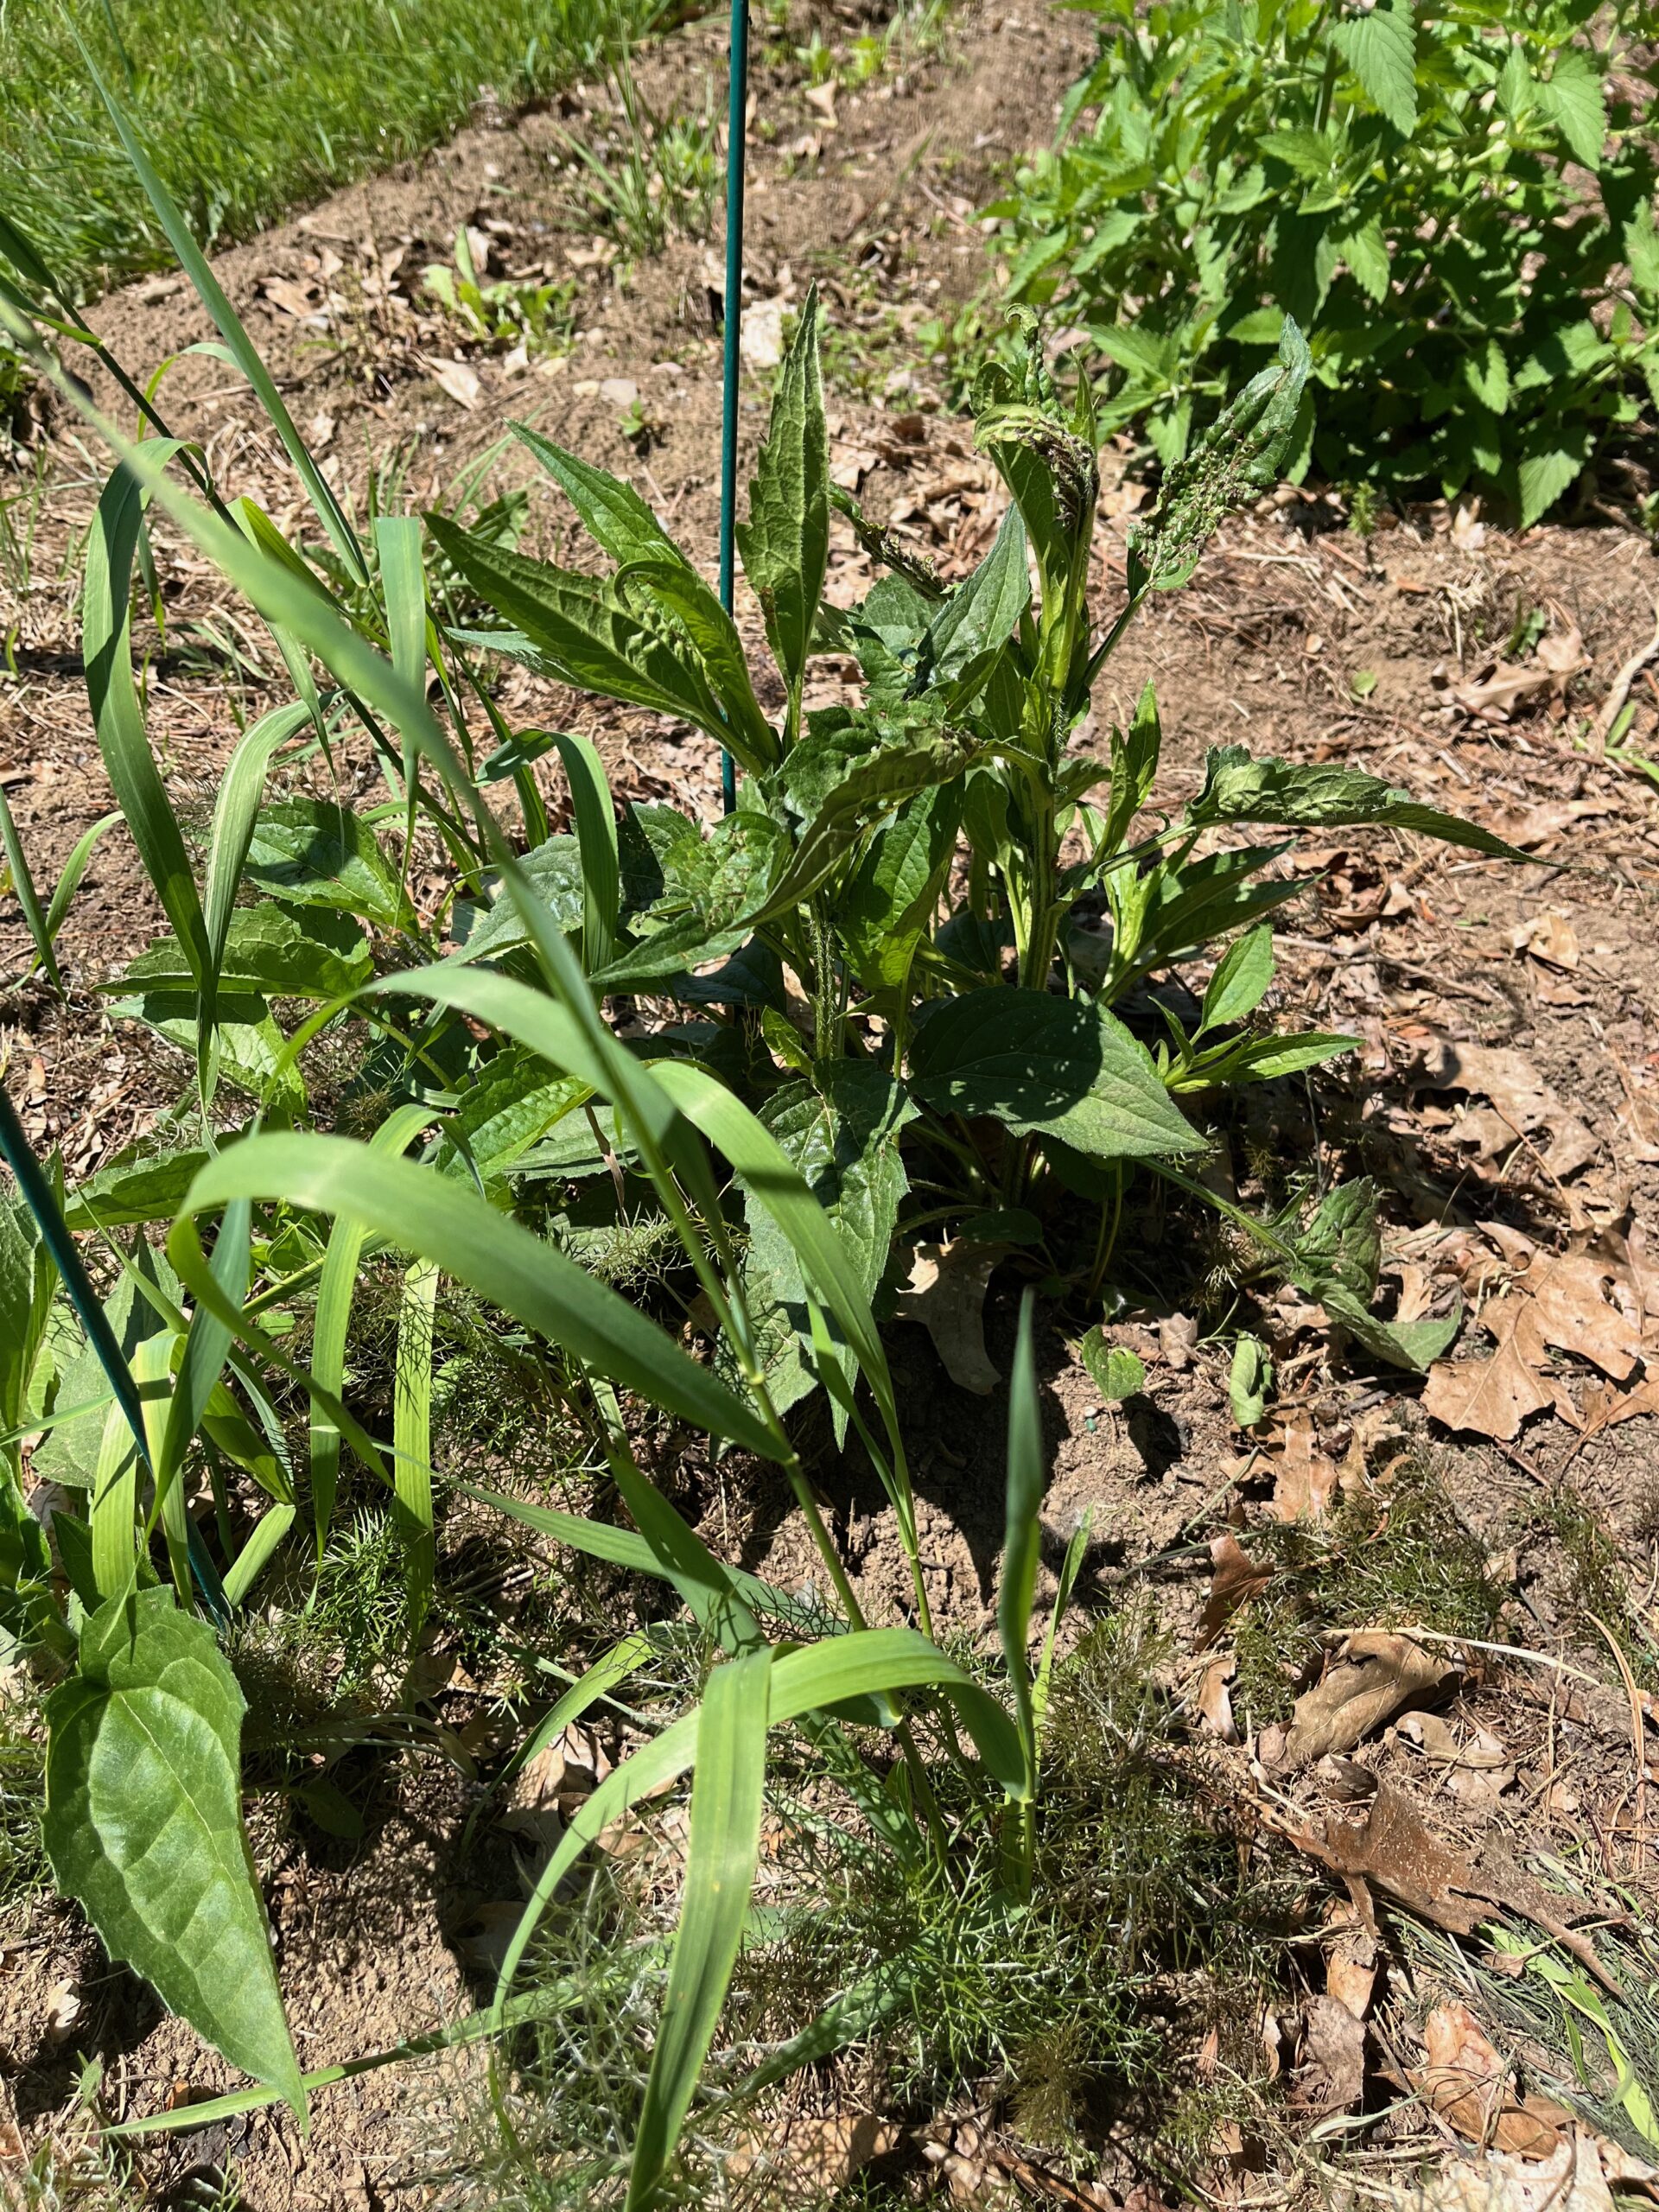
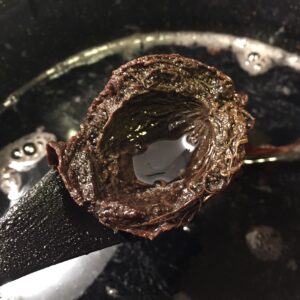
These little plants must have self-seeded from the parent plants. Granted, some of them don’t look too happy. What is going on with these leaves?
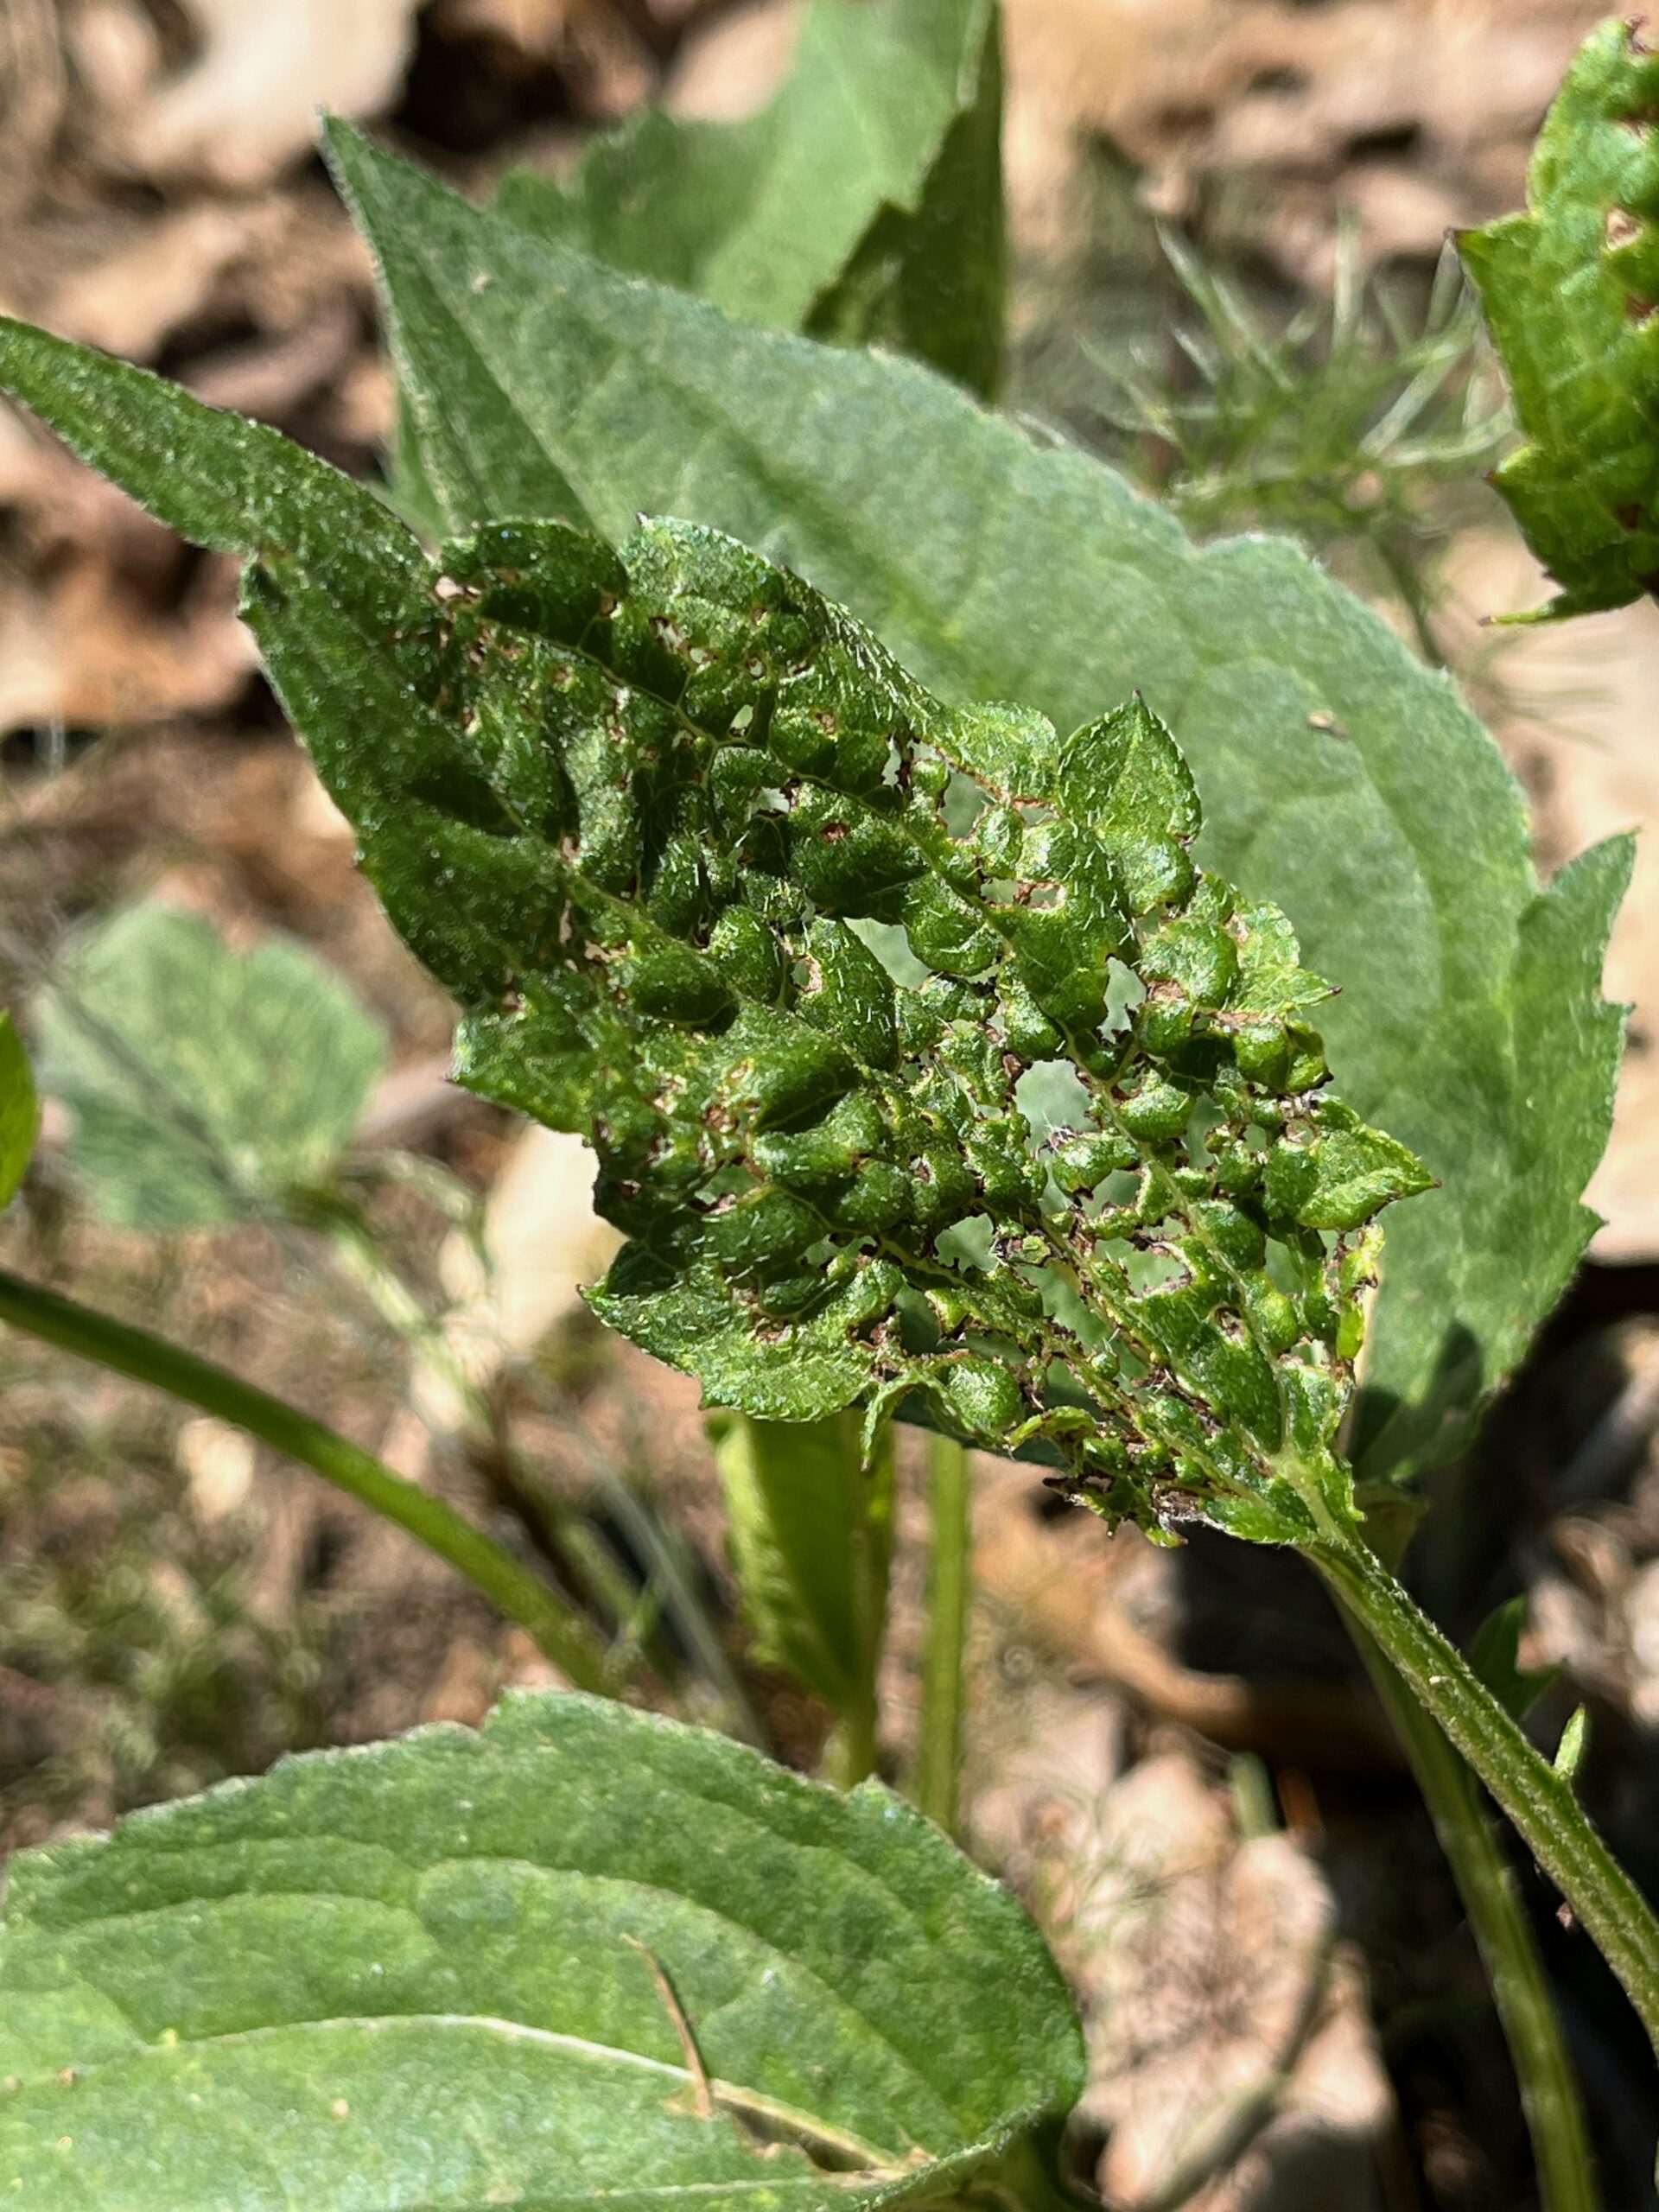
But the germination of at least some of the black-eyed Susan seeds doesn’t seem to have been affected by the bronze fennel.
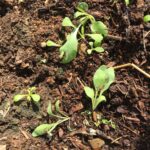
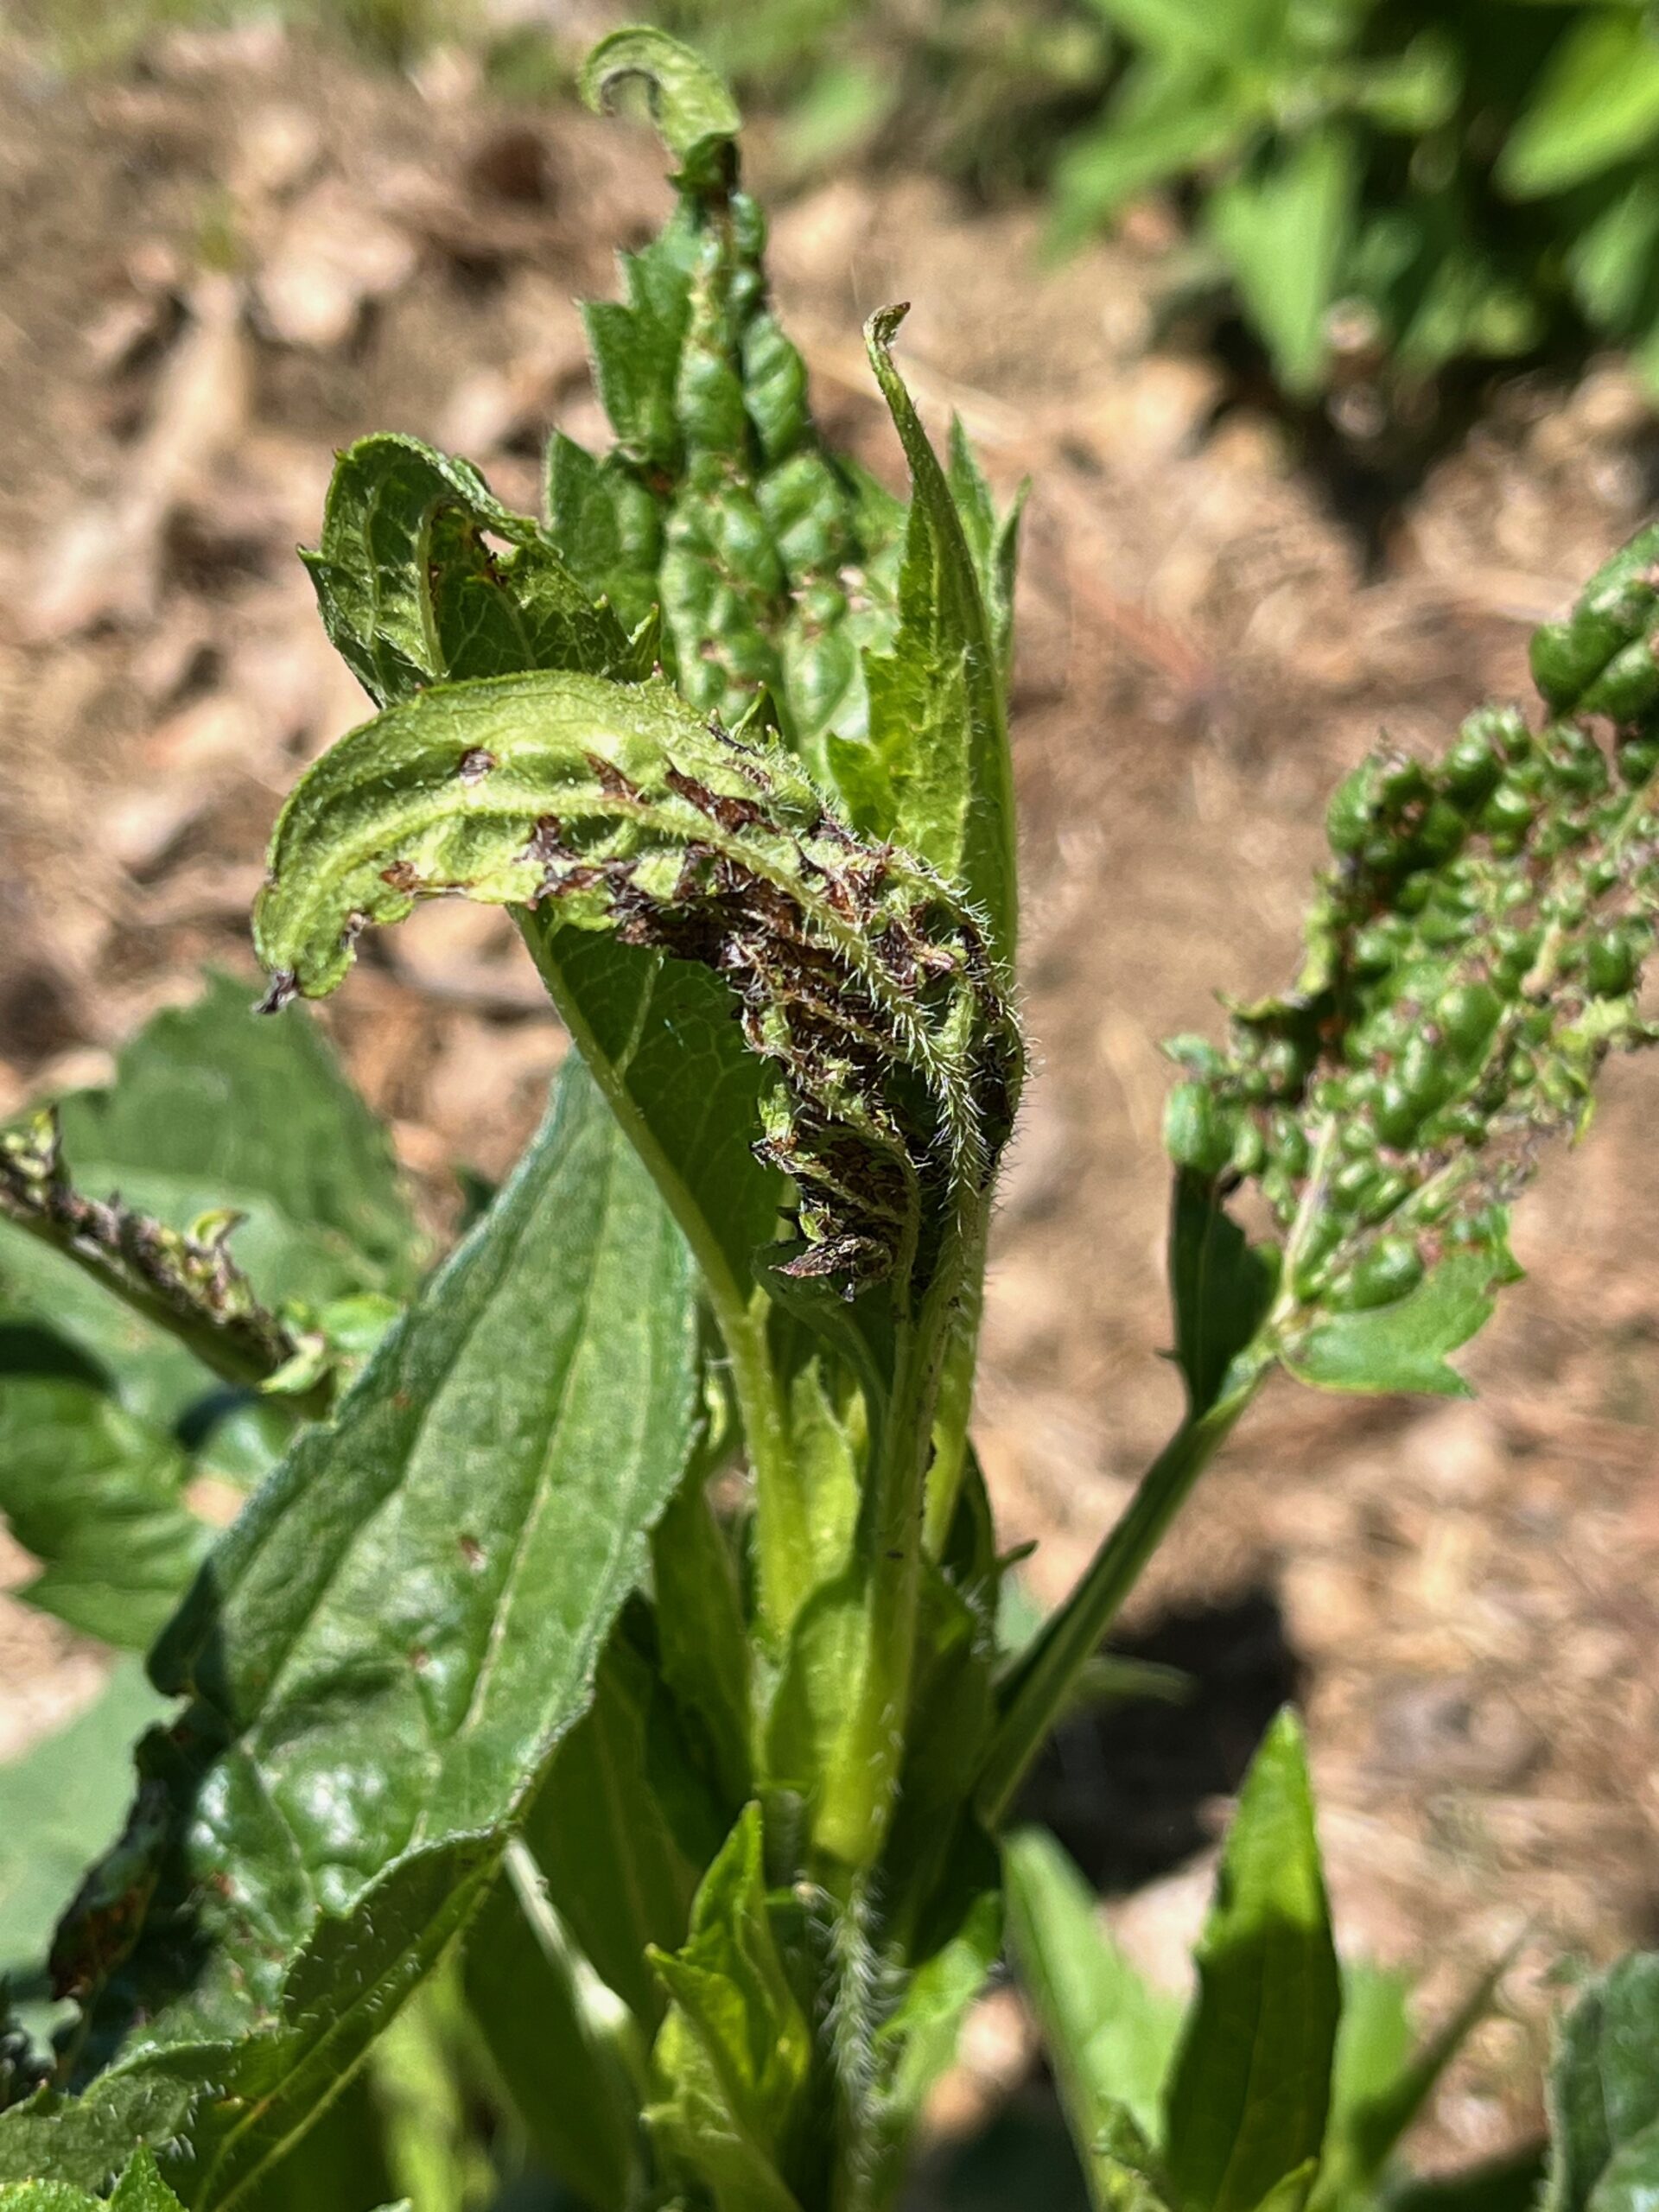
There were also two swamp milkweed seedlings amidst the bronze fennel seedlings. One is shown here under some blades of grass. It’s the slightly hairy-looking plant with elongated leaves that are pointy at the tip.

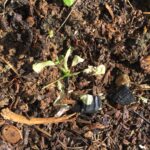
Over next to the bronze fennel corner I noticed two little plants that I believe self-seeded from last year’s dyer coreopsis in the bed where I put marigolds this year. This one is literally growing right next to the fennel plants and seems just fine.

So, yes bronze fennel is allelopathic but maybe it wasn’t the cause of my Rudbeckia demise.
What else could be going on? Well, it turns out that even though I bought these black-eyed Susan plants in the perennial section of my local garden center, some perennials are more perennial than others. Native Rudbeckia species are biennial. This website describes native species of Rudbeckia thusly: “It can bloom in the first year, often dying after a single season, but it can also persist for more than two years. As a perennial, it is usually short-lived.”
Cultivated varieties of Rudbeckia are typically considered “short-lived perennials.” This sounds like an oxymoron, but the fact that the plants died back after only a couple years is apparently unsurprising to everyone but me.
So, the bronze fennel probably had nothing to do with the death of the black-eyed Susans. Happily, some black-eyed Susan seedlings propagated themselves. They may or may not bloom this summer. Time will tell.
I found much less conclusive information about the yarrow. By all accounts, the colorful Achillea cultivars are hardy, long-lasting perennials. These were second-year plants, so allelopathic seed-germination-suppression wouldn’t have been a factor. In fact, yarrow spreads through underground rhizomes and may need dividing or containing if it gets carried away. So, did the bronze fennel cause the demise of the mature yarrow plants? Probably not, but maybe?