Smith College Botanic Garden Show!

The show is up at Smith and it is gorgeous! Actually, the show opened way back in September. It will be up until May, so you still have time to go see it. Here’s the sign that greets you as you walk in. It makes me feel famous!

The whole concept of the exhibit was the vision of Sarah Loomis, Manager of Education at the Botanic Garden. I am so grateful to have been a part of creating it. It’s incredibly satisfying to stand in the gallery and see how it all came together.

The first sequence of panels that you see as you enter the gallery space is the primary color sequence of blue, red, and yellow. The blues are from woad, the reds are from madder, and the yellows are from marigolds.

For each color I dyed three different fibers: linen, silk, and wool. In the photo above, the linen is on the left, silk is in the middle, and wool is on the right. Each panel is 9 feet long (or tall) and 16 inches wide. The wool gauze was very sheer, so those panels are doubled. I really love the color saturation of the two layers of cloth.

Depending on the lighting and the angle, the colors look different. Looking at it from the other direction (below) the wool is on the left, silk in the middle, and linen on the right.

It’s really fun to see how people are interacting with the cloth and the space. A sign at the entrance invites visitors to touch the cloth. And people do!

The long panels create a delightfully immersive experience.

There is space to move between the panels so you can be surrounded by color.

The interpretive panels are beautiful and informative, explaining further about the historical uses of each plant:

The interactive components are engaging and fun. My favorite are the clear boxes full of dried dye plant materials that you can open up and smell. Stinky weld, sea-weedy woad, fruity madder, mmm! You can see the boxes on the stools in the photo above.

There’s also an interactive screen with a slideshow about the steps in dyeing with woad. It’s a thrill to see that people take the time to look through it!

On the other end of the gallery are the orange and green panels. Honestly, they are more pink and peach than orange, but I still think they look lovely. The “orange” shades are from weld and madder together in the same dyebath. The greens are from woad overdyed with weld.

Again, depending on the angle and the lighting, the colors look different.

Not only does each fiber take up the dye differently, they each have a different texture, too. It’s just so rich and luscious!

250th Post!

This is my 250th blog post. It feels momentous. As I anticipated this post, I tried to decide whether I should write something just about the momentousness of the occasion, or write a post that will help me catch up on the backlog of topics that I’ve been meaning to write about. I read back through some of my earliest posts to ponder the best course.

My very first blog post was about black walnuts, but it’s too early to be using those just yet. My second post was about weld. I recently used weld for my Smith College Botanic Garden project, so that gave me a “full circle” sort of feeling to mark the occasion. Weld it is. Me and weld, we go way back.

Ironically, for the Smith project I did not use my own weld. I have been growing it for years, and saving my own seed for years. However, for this project I didn’t want to blow my whole stash on one project. So, we ordered weld from Aurora Silk because they had a volume discount on 5 lbs., which is what we bought (and used).

I had to laugh at the description on their website: “Weld smells delicious, like honey, and bees love the flowers.” It is absolutely true that while the plant is blooming, bees love the flowers, and that the flowers smell amazing. Dried, it is another matter entirely. And this was the stinkiest weld I have ever smelled!

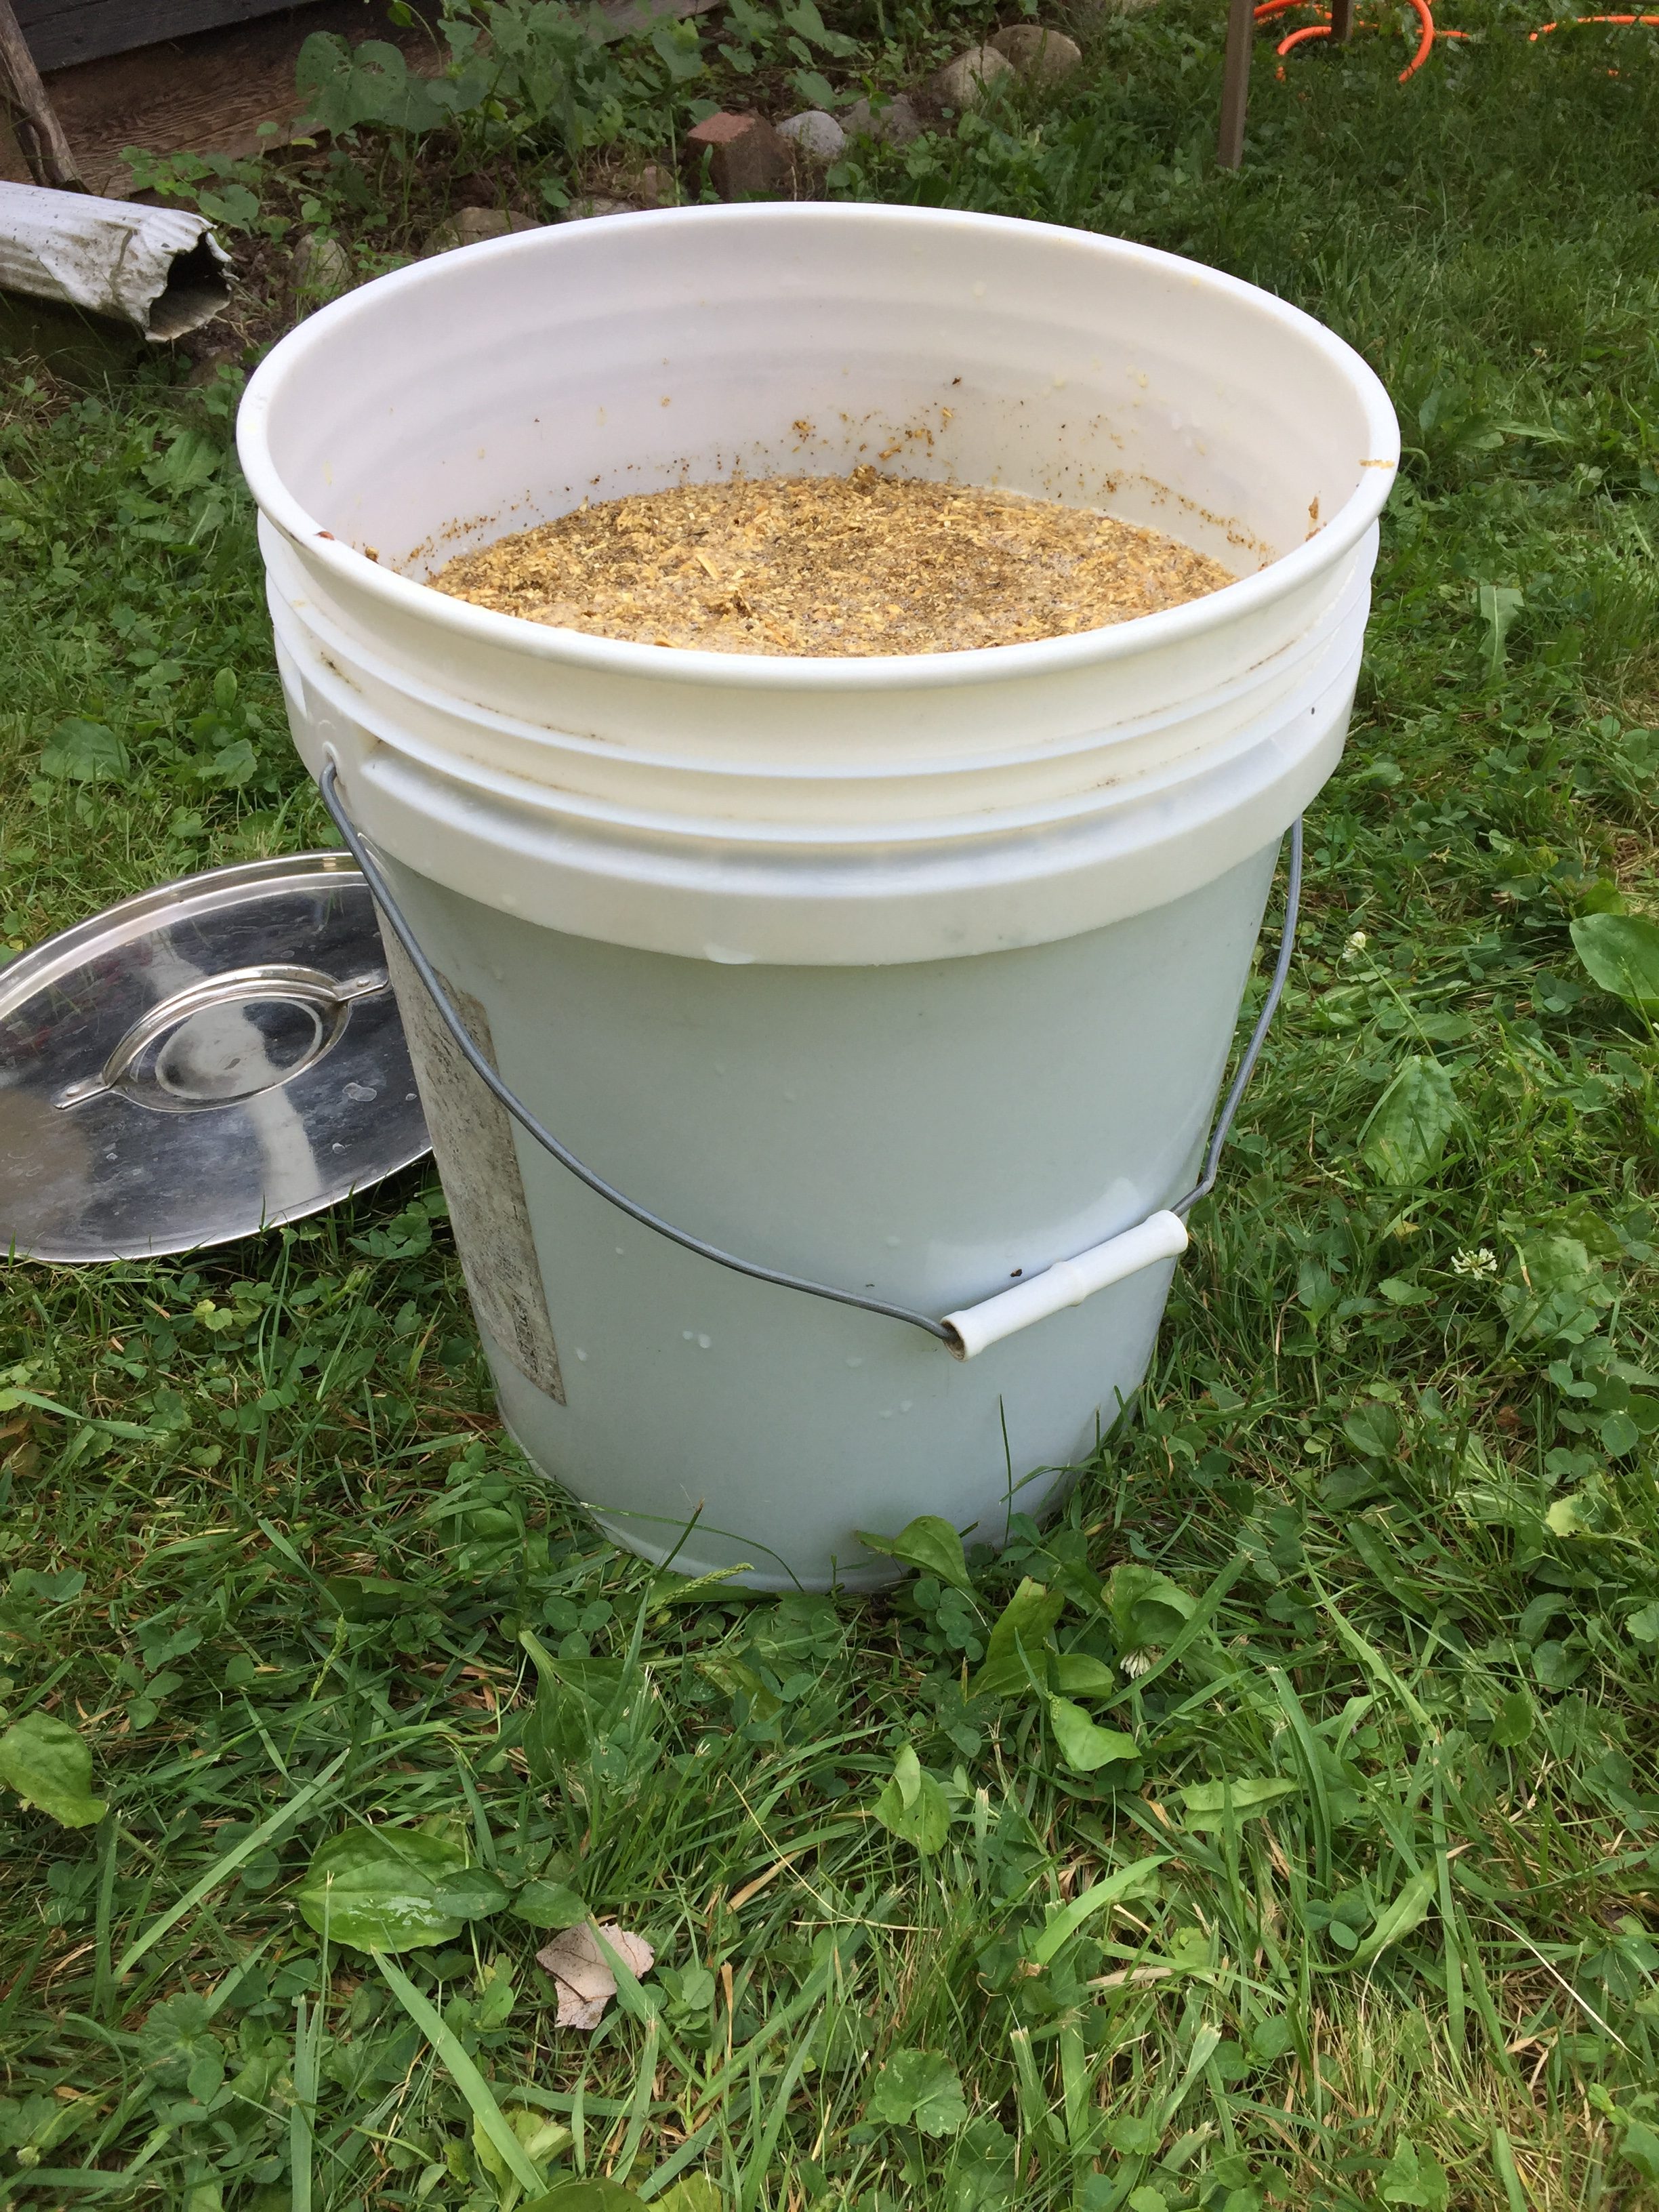
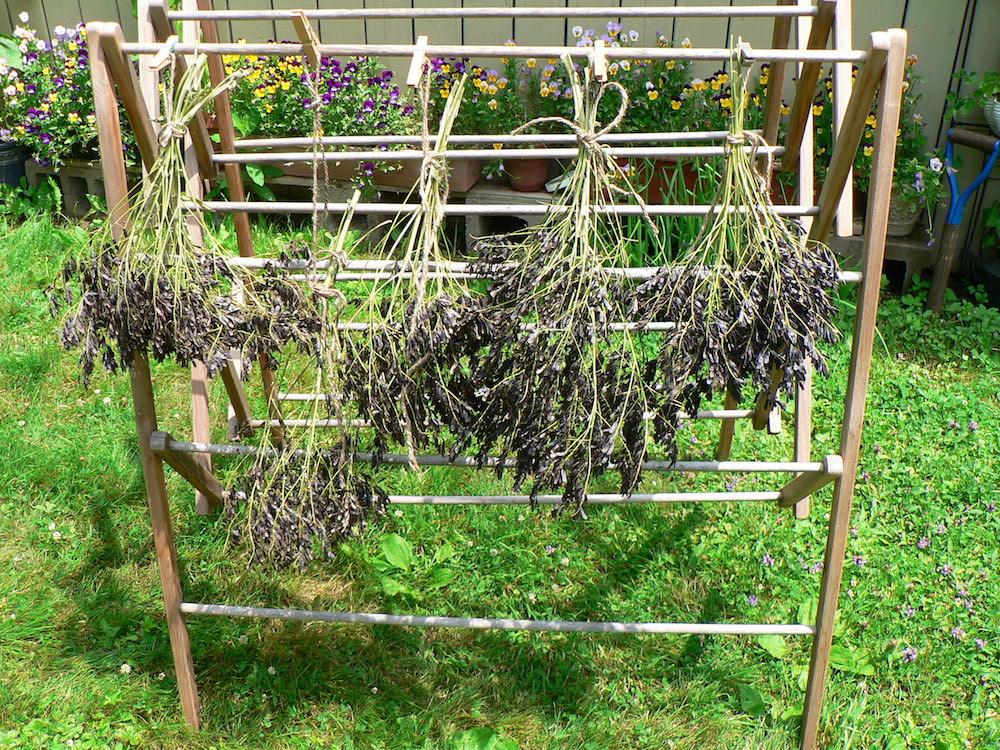
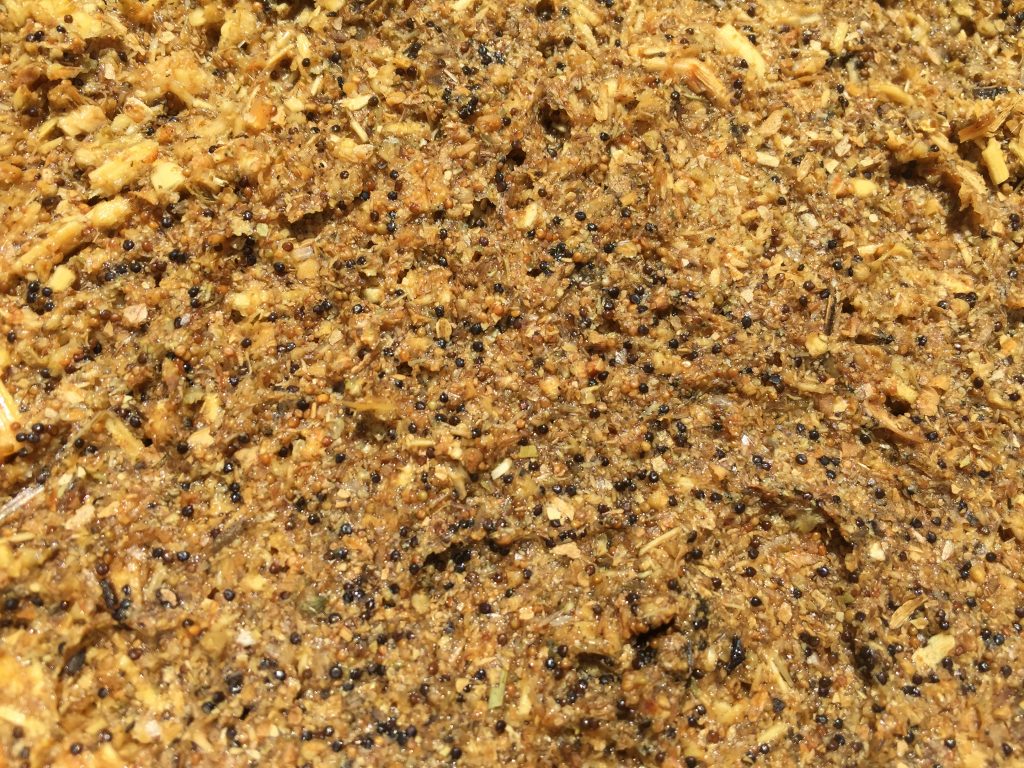
As with the madder that I wrote about in my last post, we set the weld to soak in a 5 gallon bucket on July 10th. We soaked 51 ounces of finely chopped weld. That’s just over 3lb. We didn’t have the wool gauze in hand yet, so I wasn’t using all the weld that week. Still, it was a lot by my standards. Here’s the bucket:

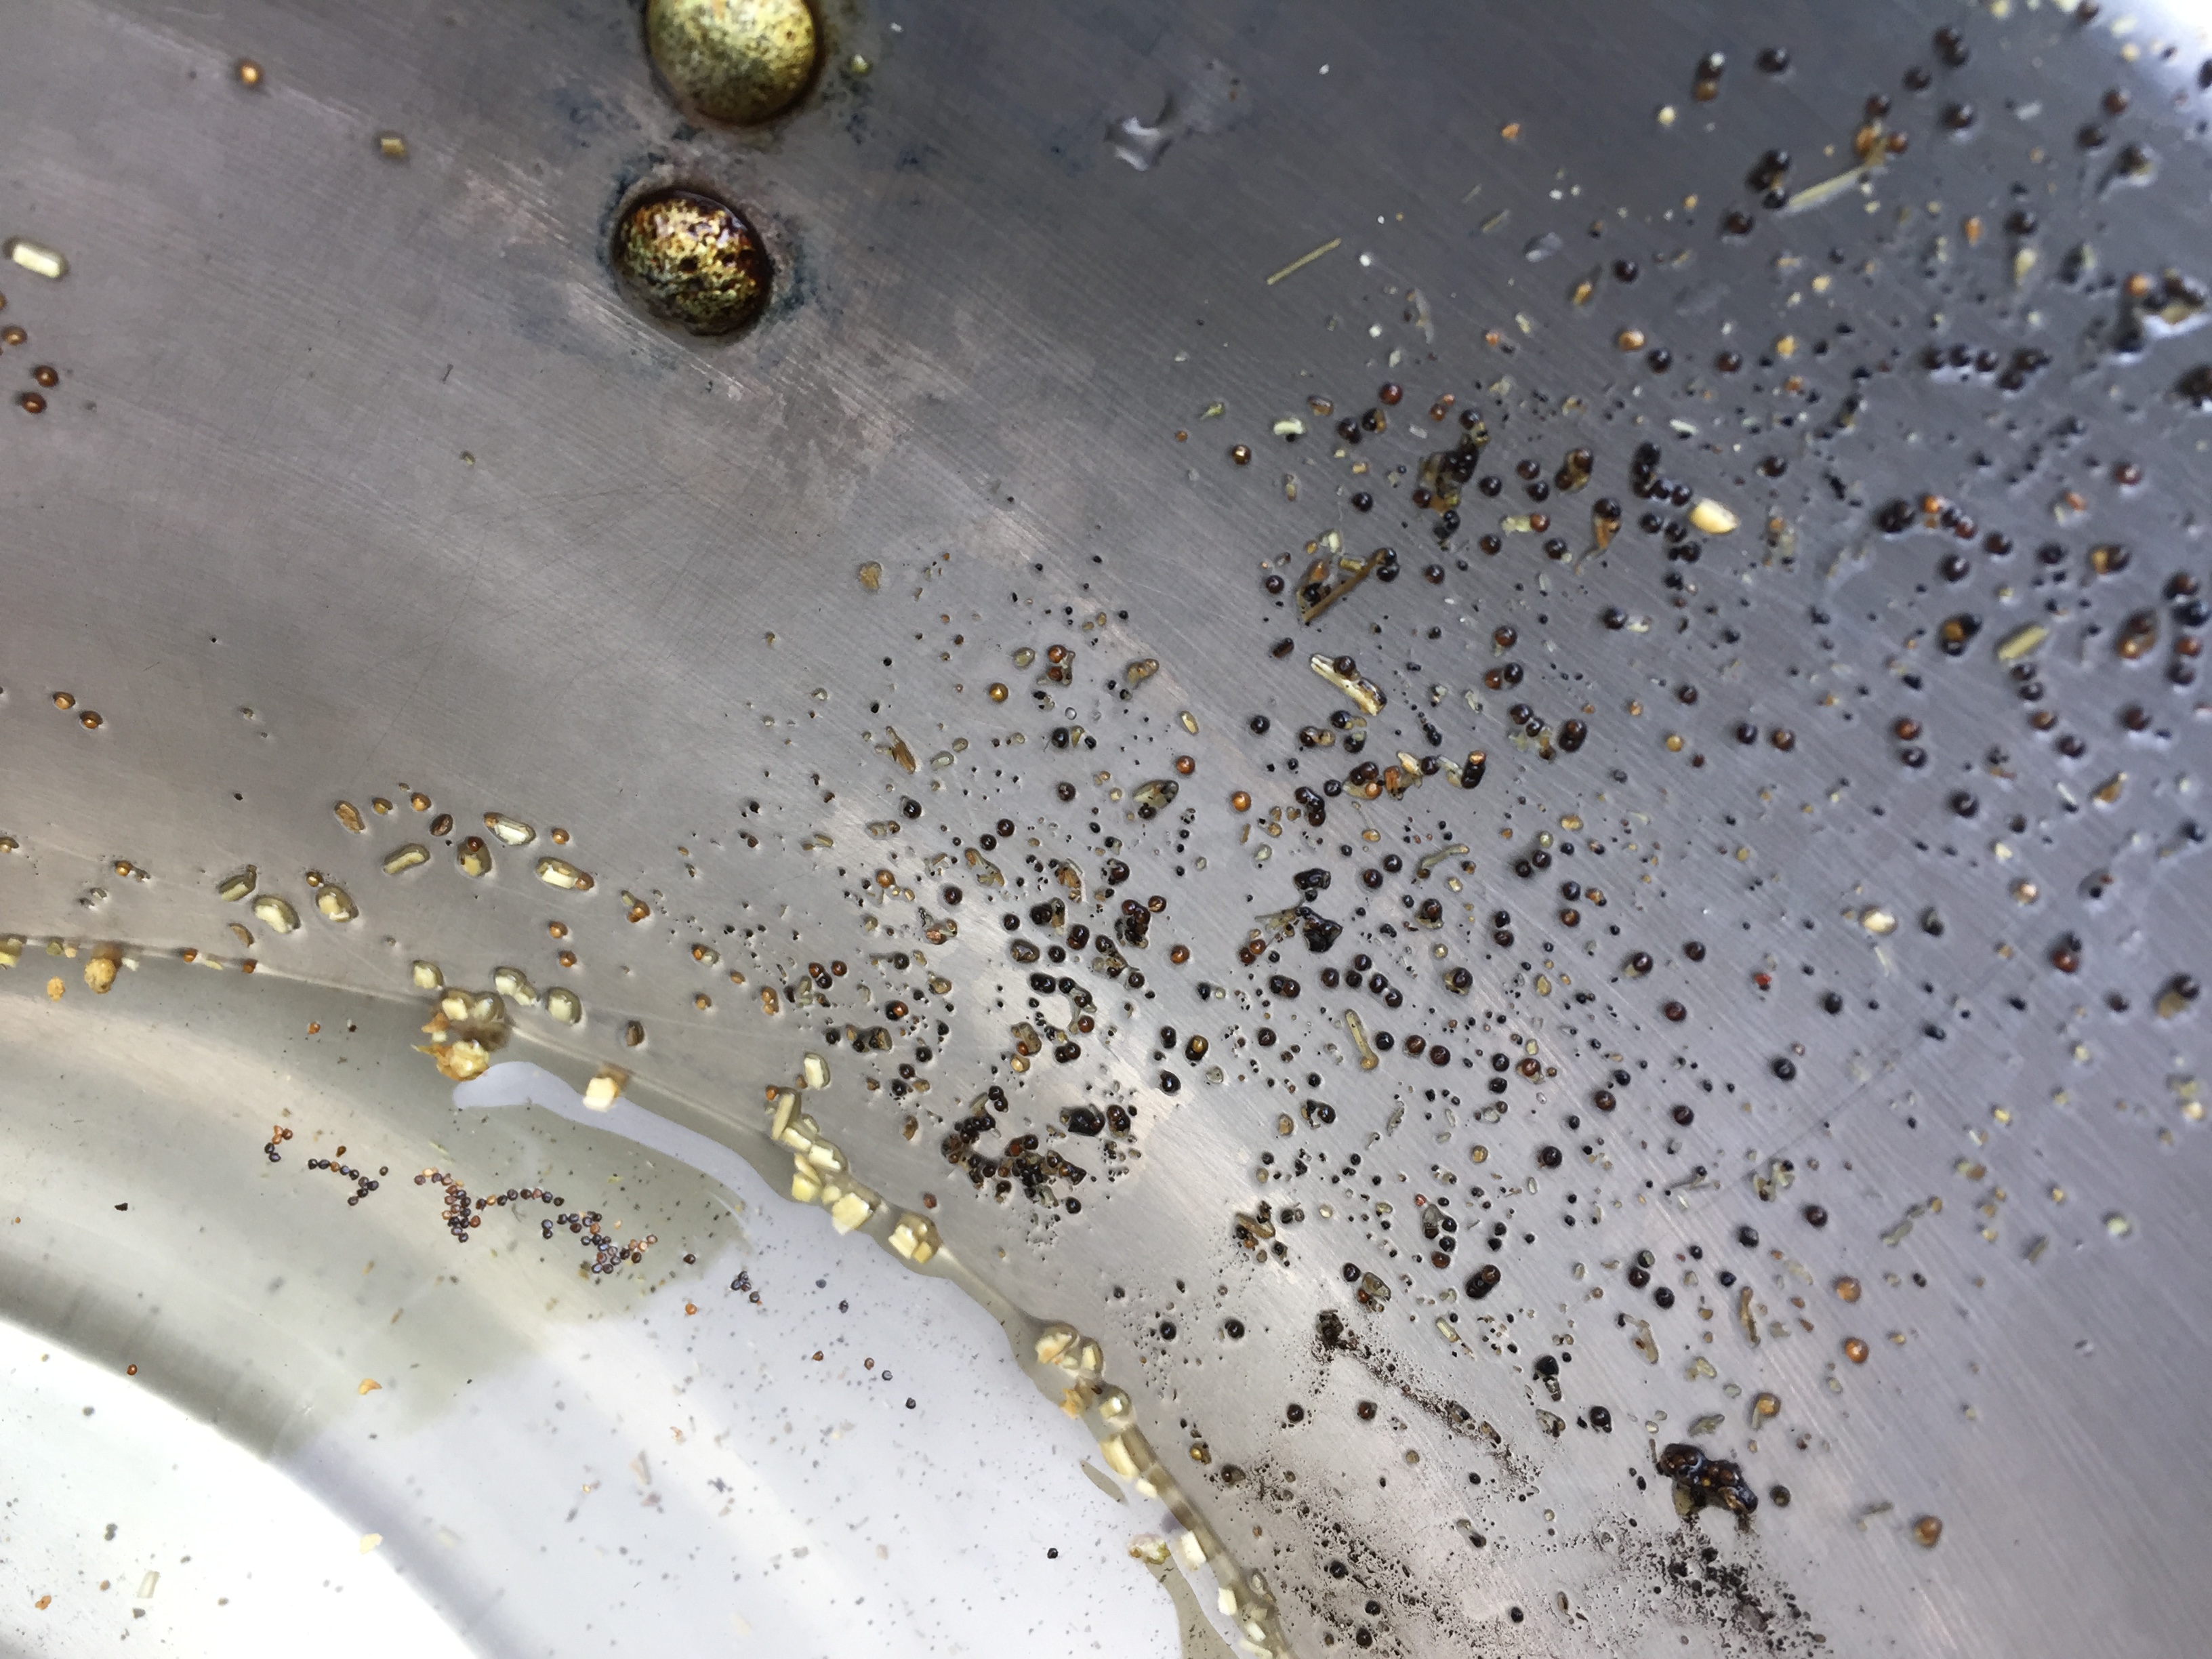
I took a closeup photo of the surface. I couldn’t believe how many seeds there were. Well, OK, I could believe it. Weld makes zillions of seeds. The seeds are the glistening black, tan, and yellow spherical dots on the surface, because they float:

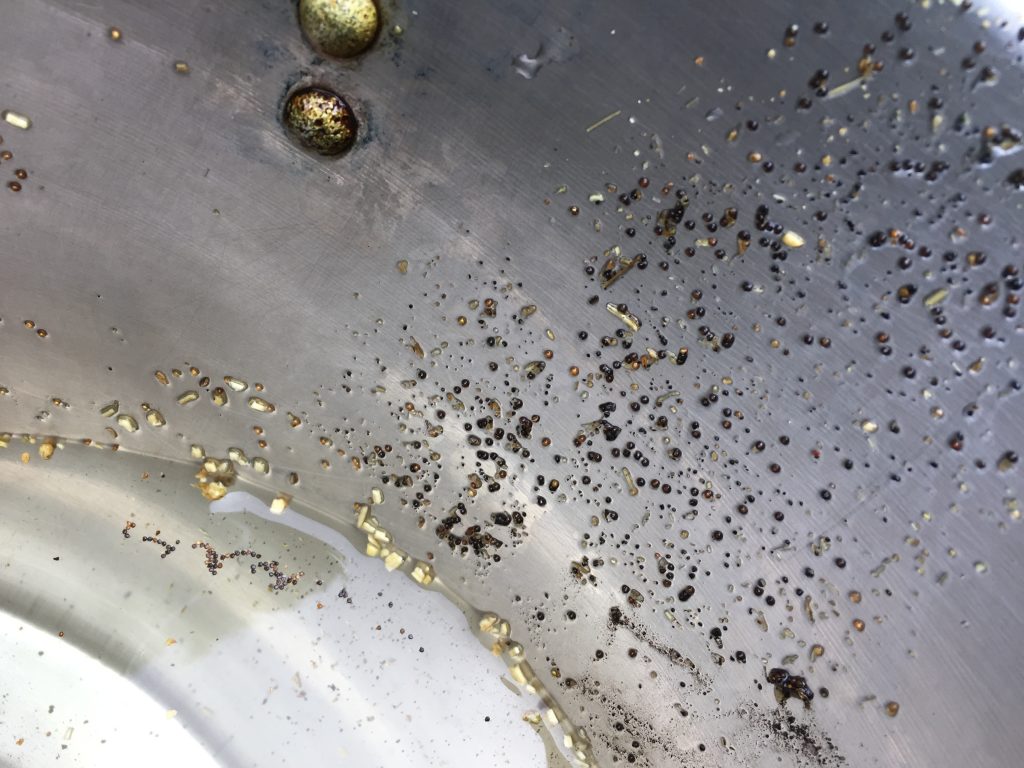
Because I am who I am, I had to try germinating some of these seeds. They were easy to separate from the rest of the plant material:

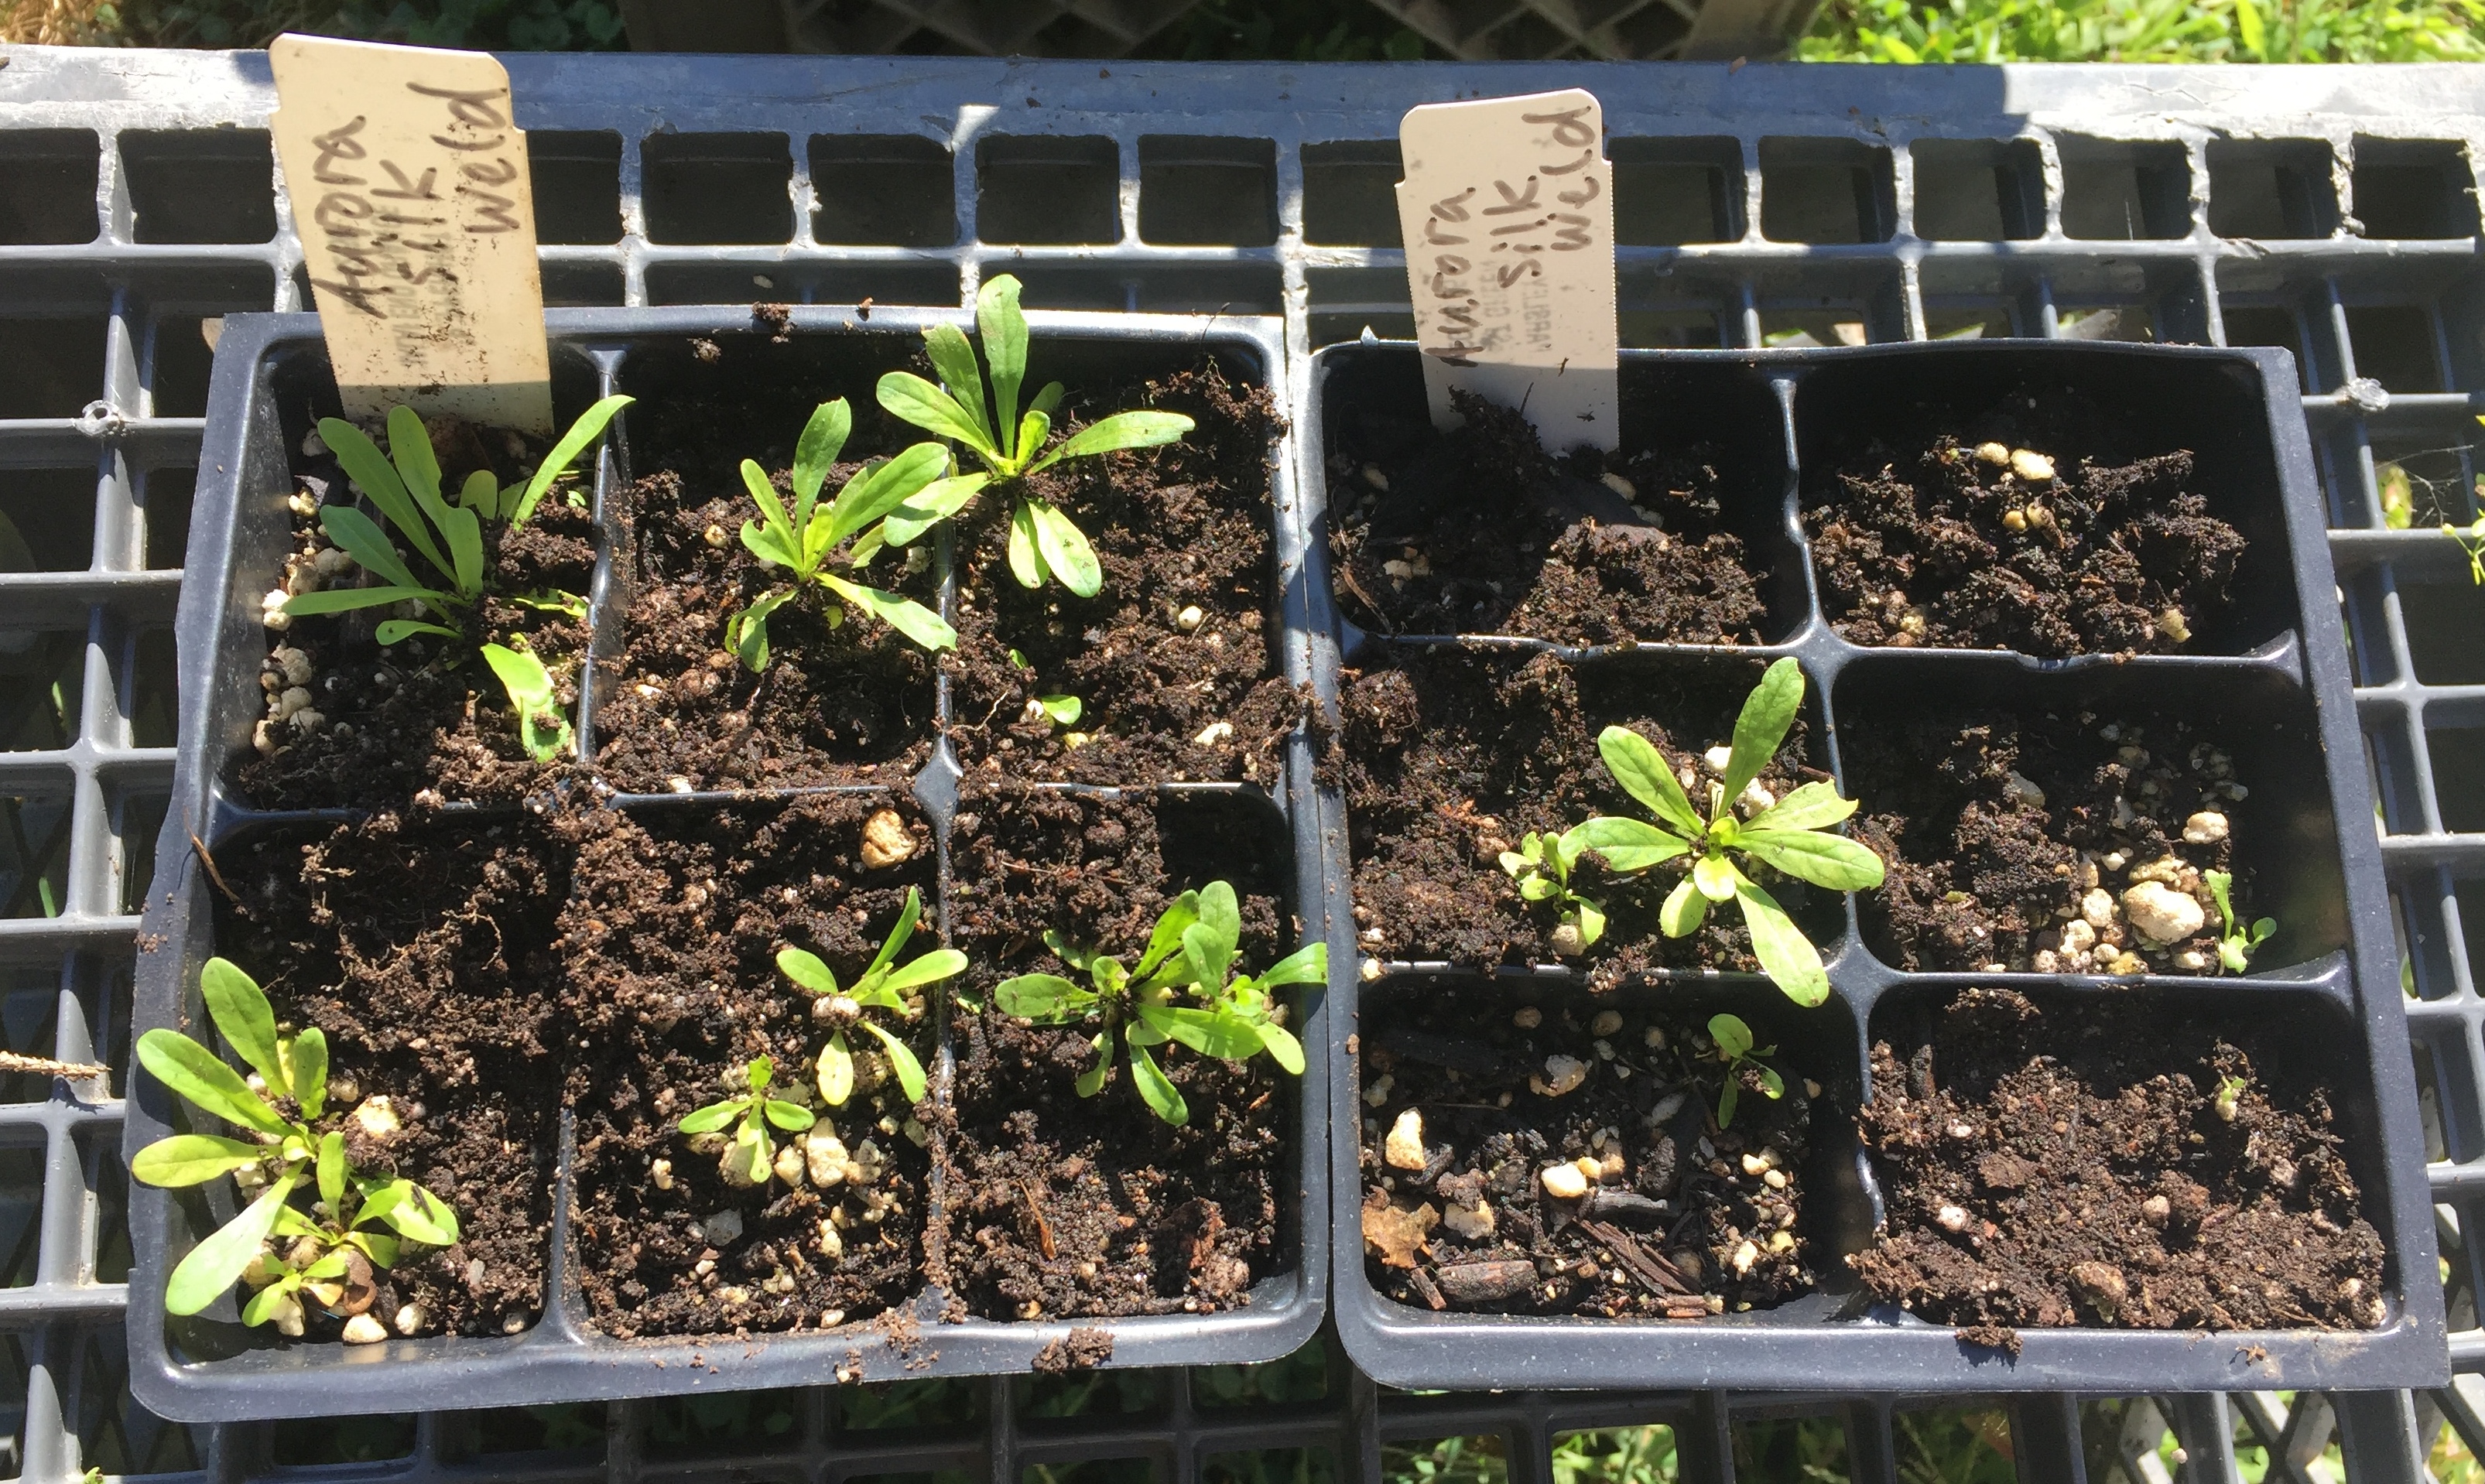
Yes, some of them grew.

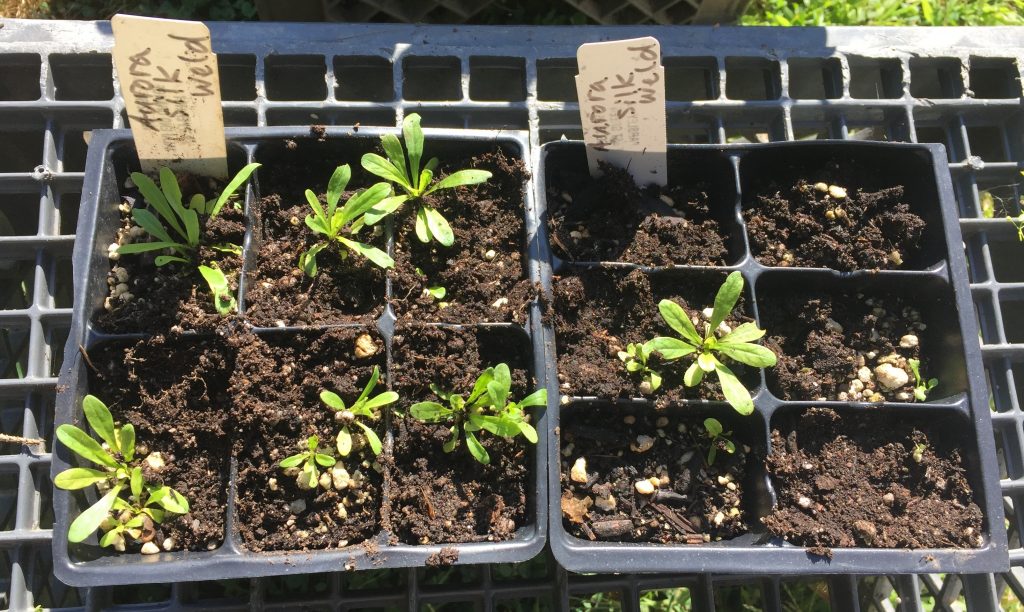
I now have Anatolian weld plants to add to my dye plant collection. I do not know whereabouts in the world my original plants came from, alas. It’s actually getting a little late in the season to put these in the ground, so we’ll see what happens.

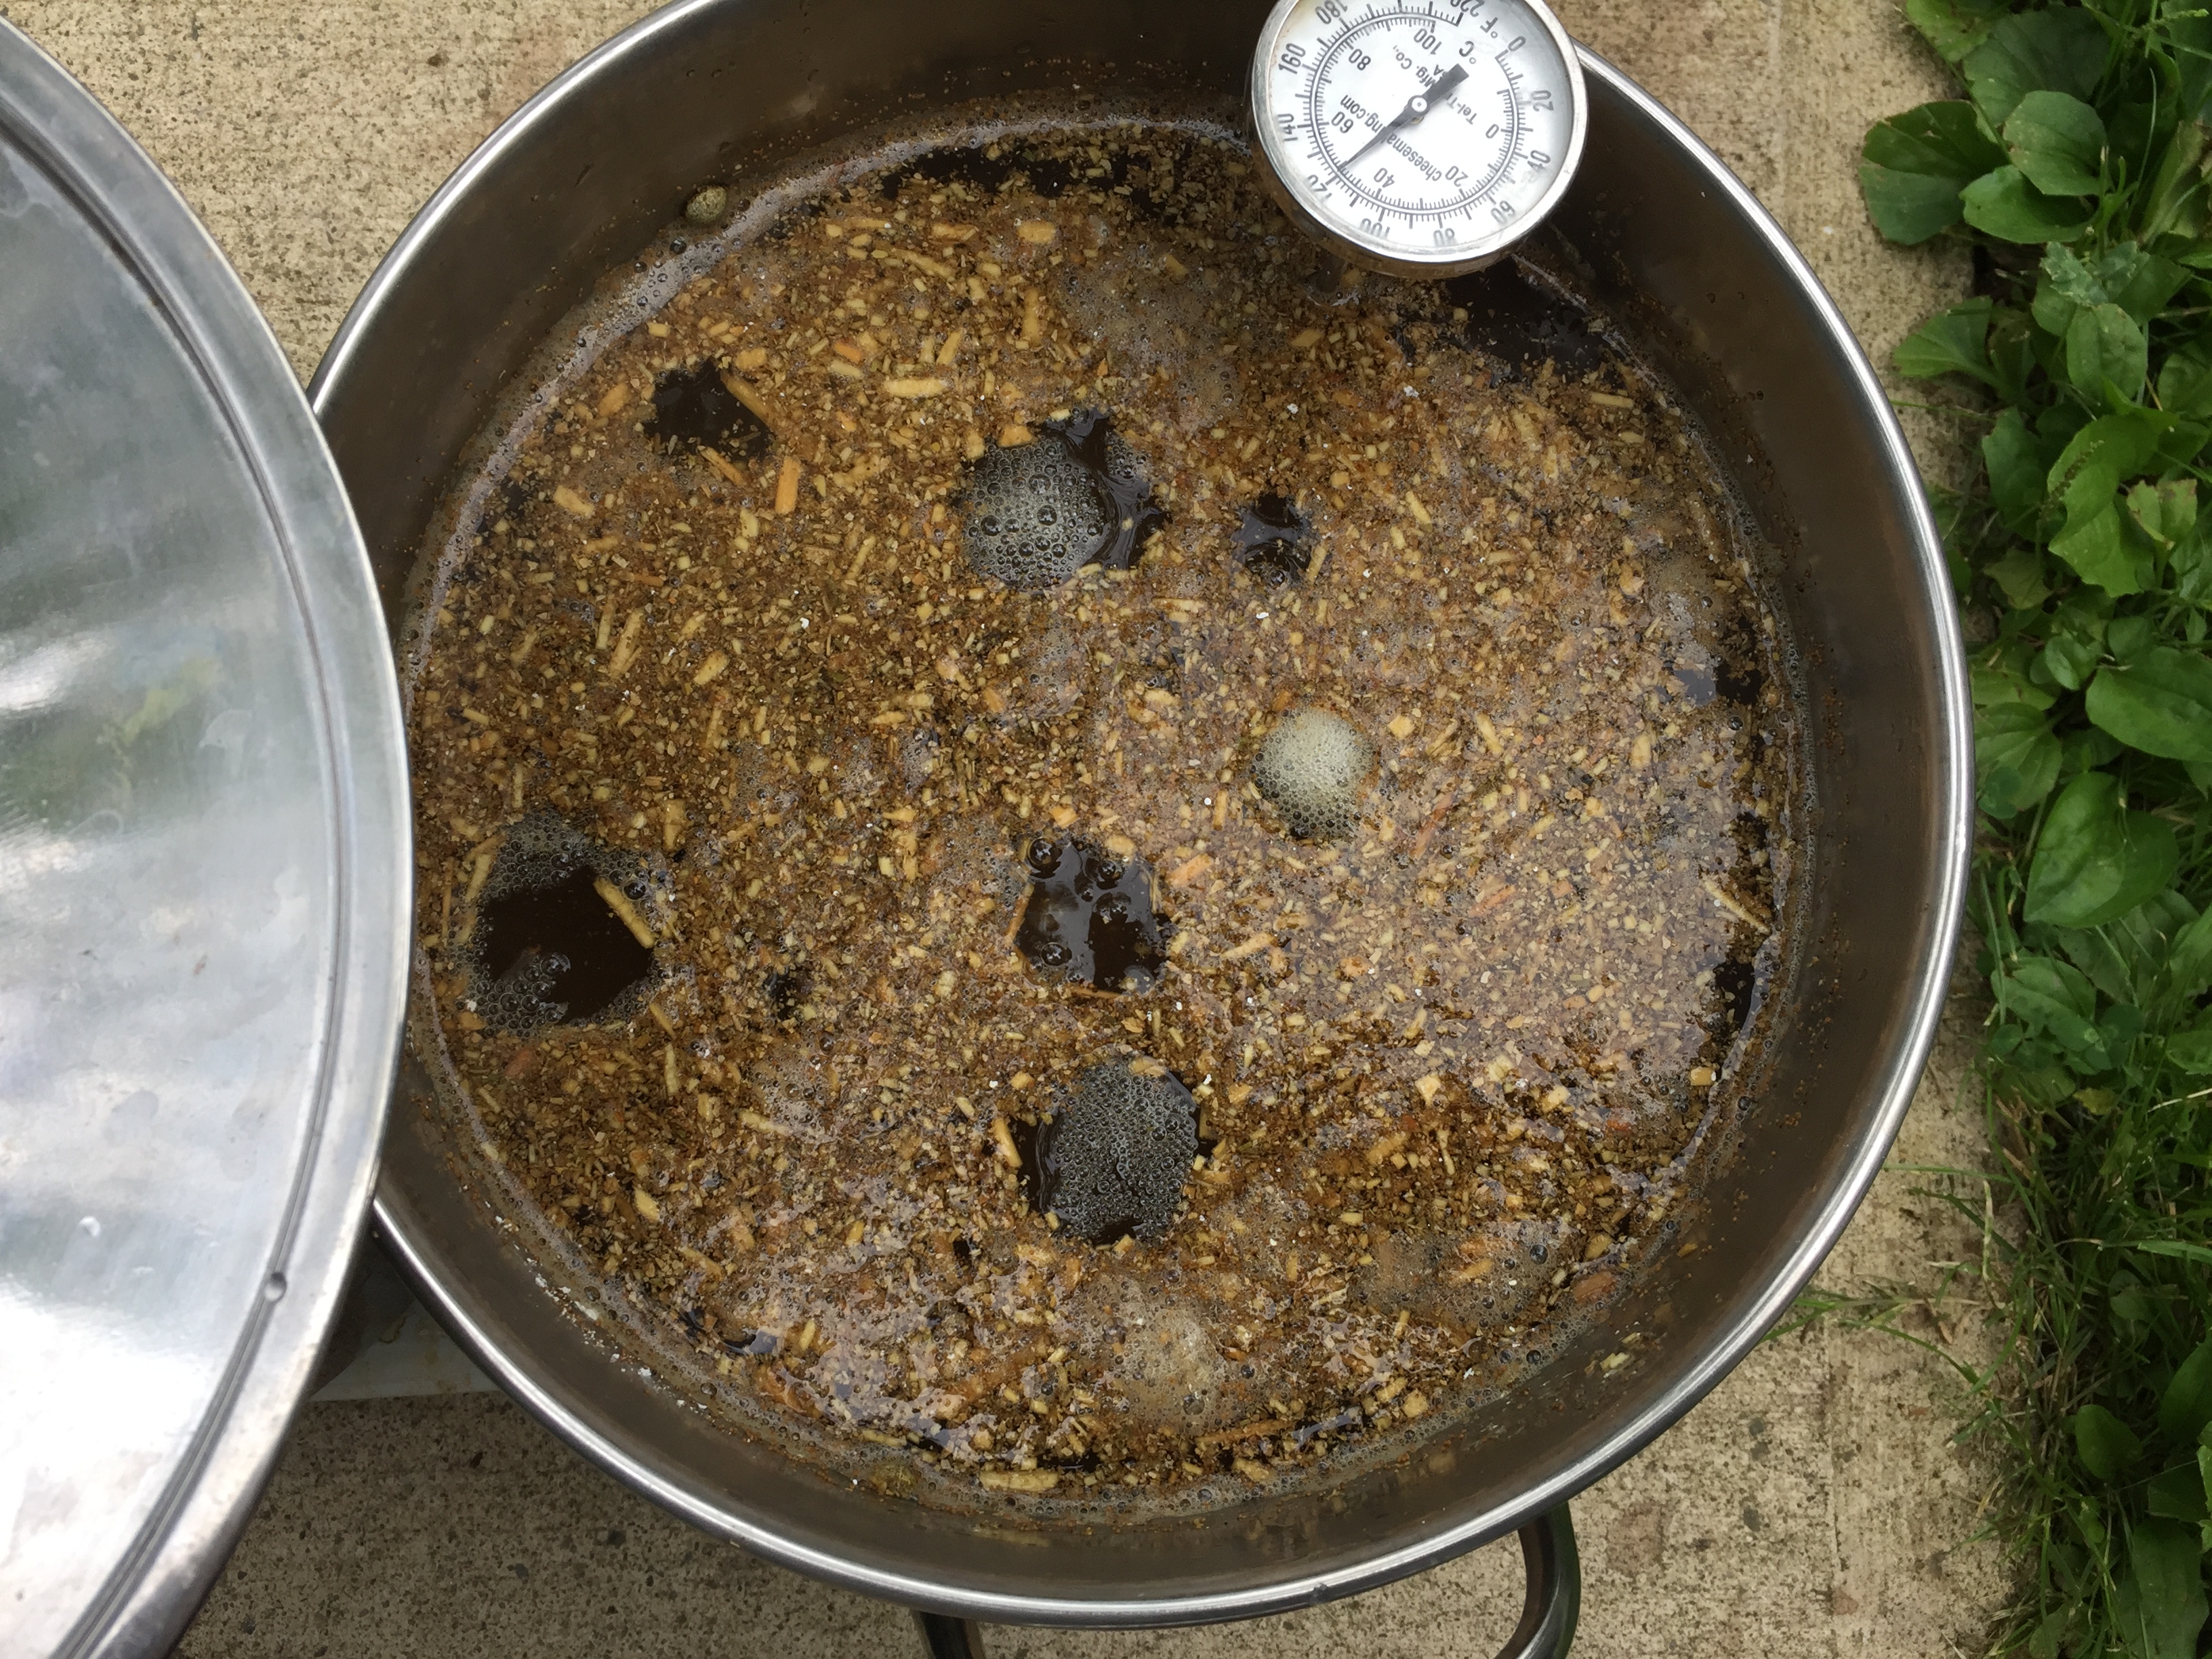
The weld soaked overnight. As with the madder, I extracted it twice on Thursday. Again, I divided the plant material into two or three pots. Here’s the first extraction heating up on Thursday morning July 11th:

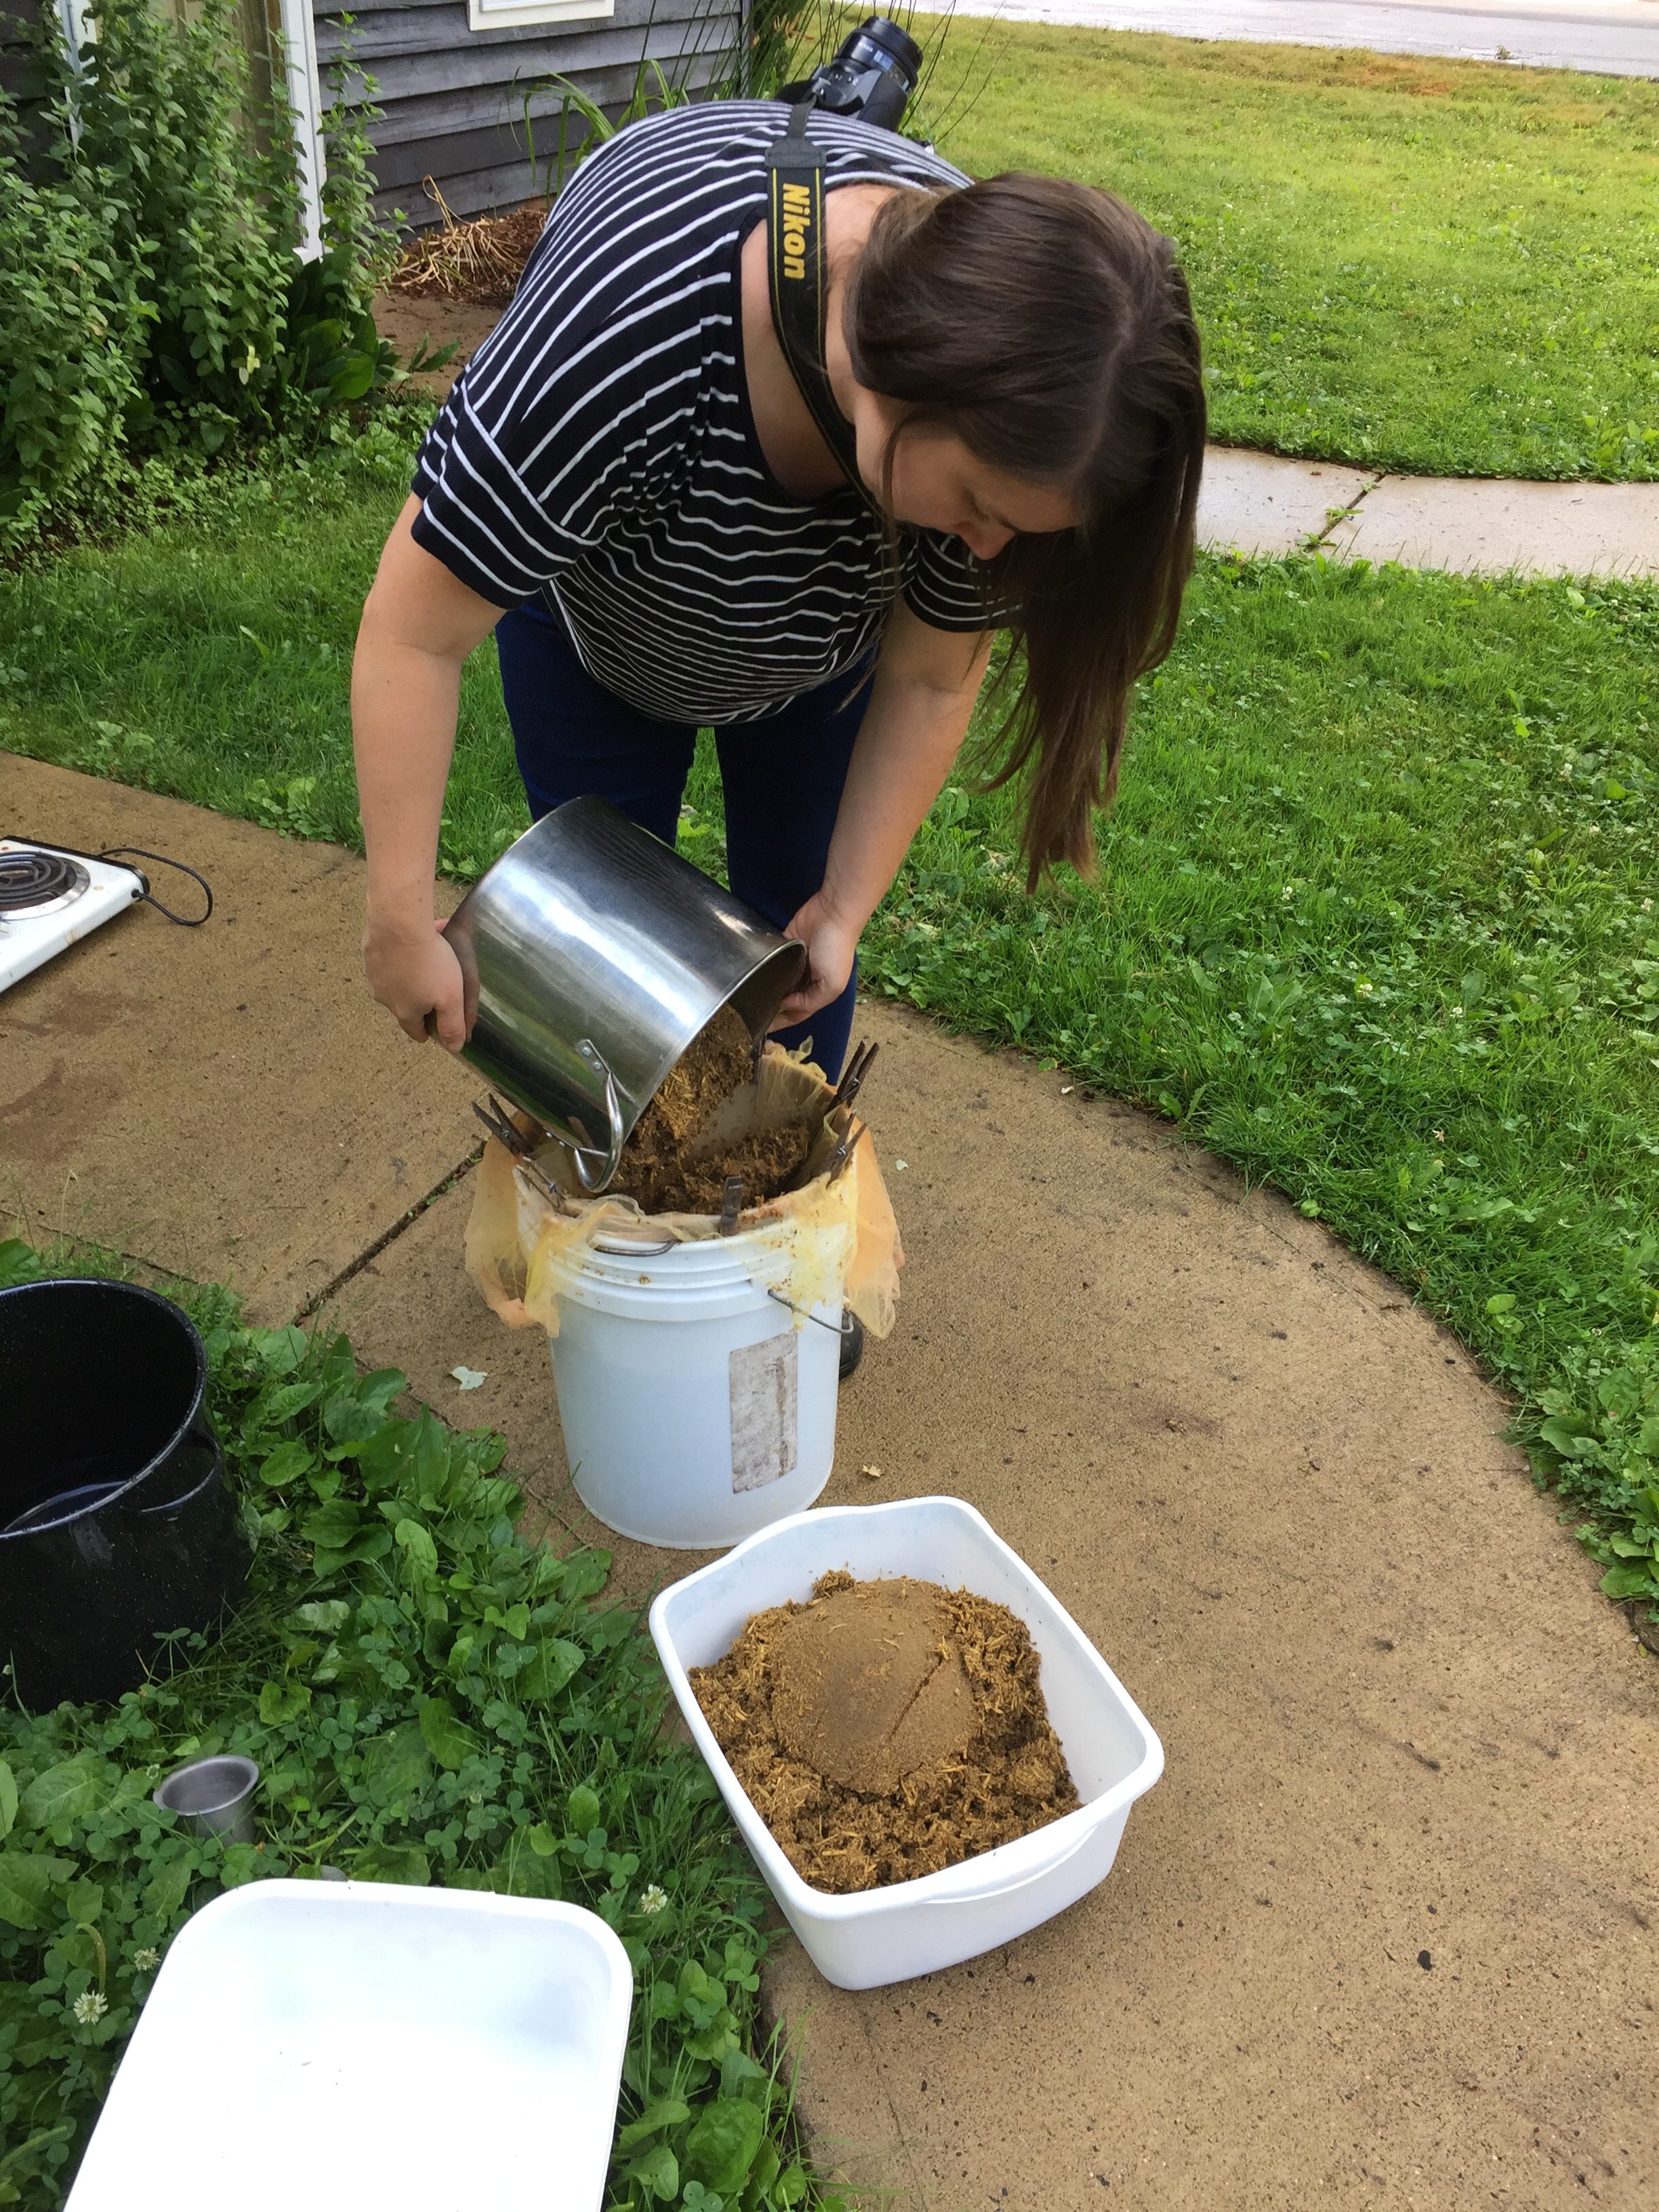
Here’s Sarah on Friday morning helping me to strain out the plant material from the second extraction:

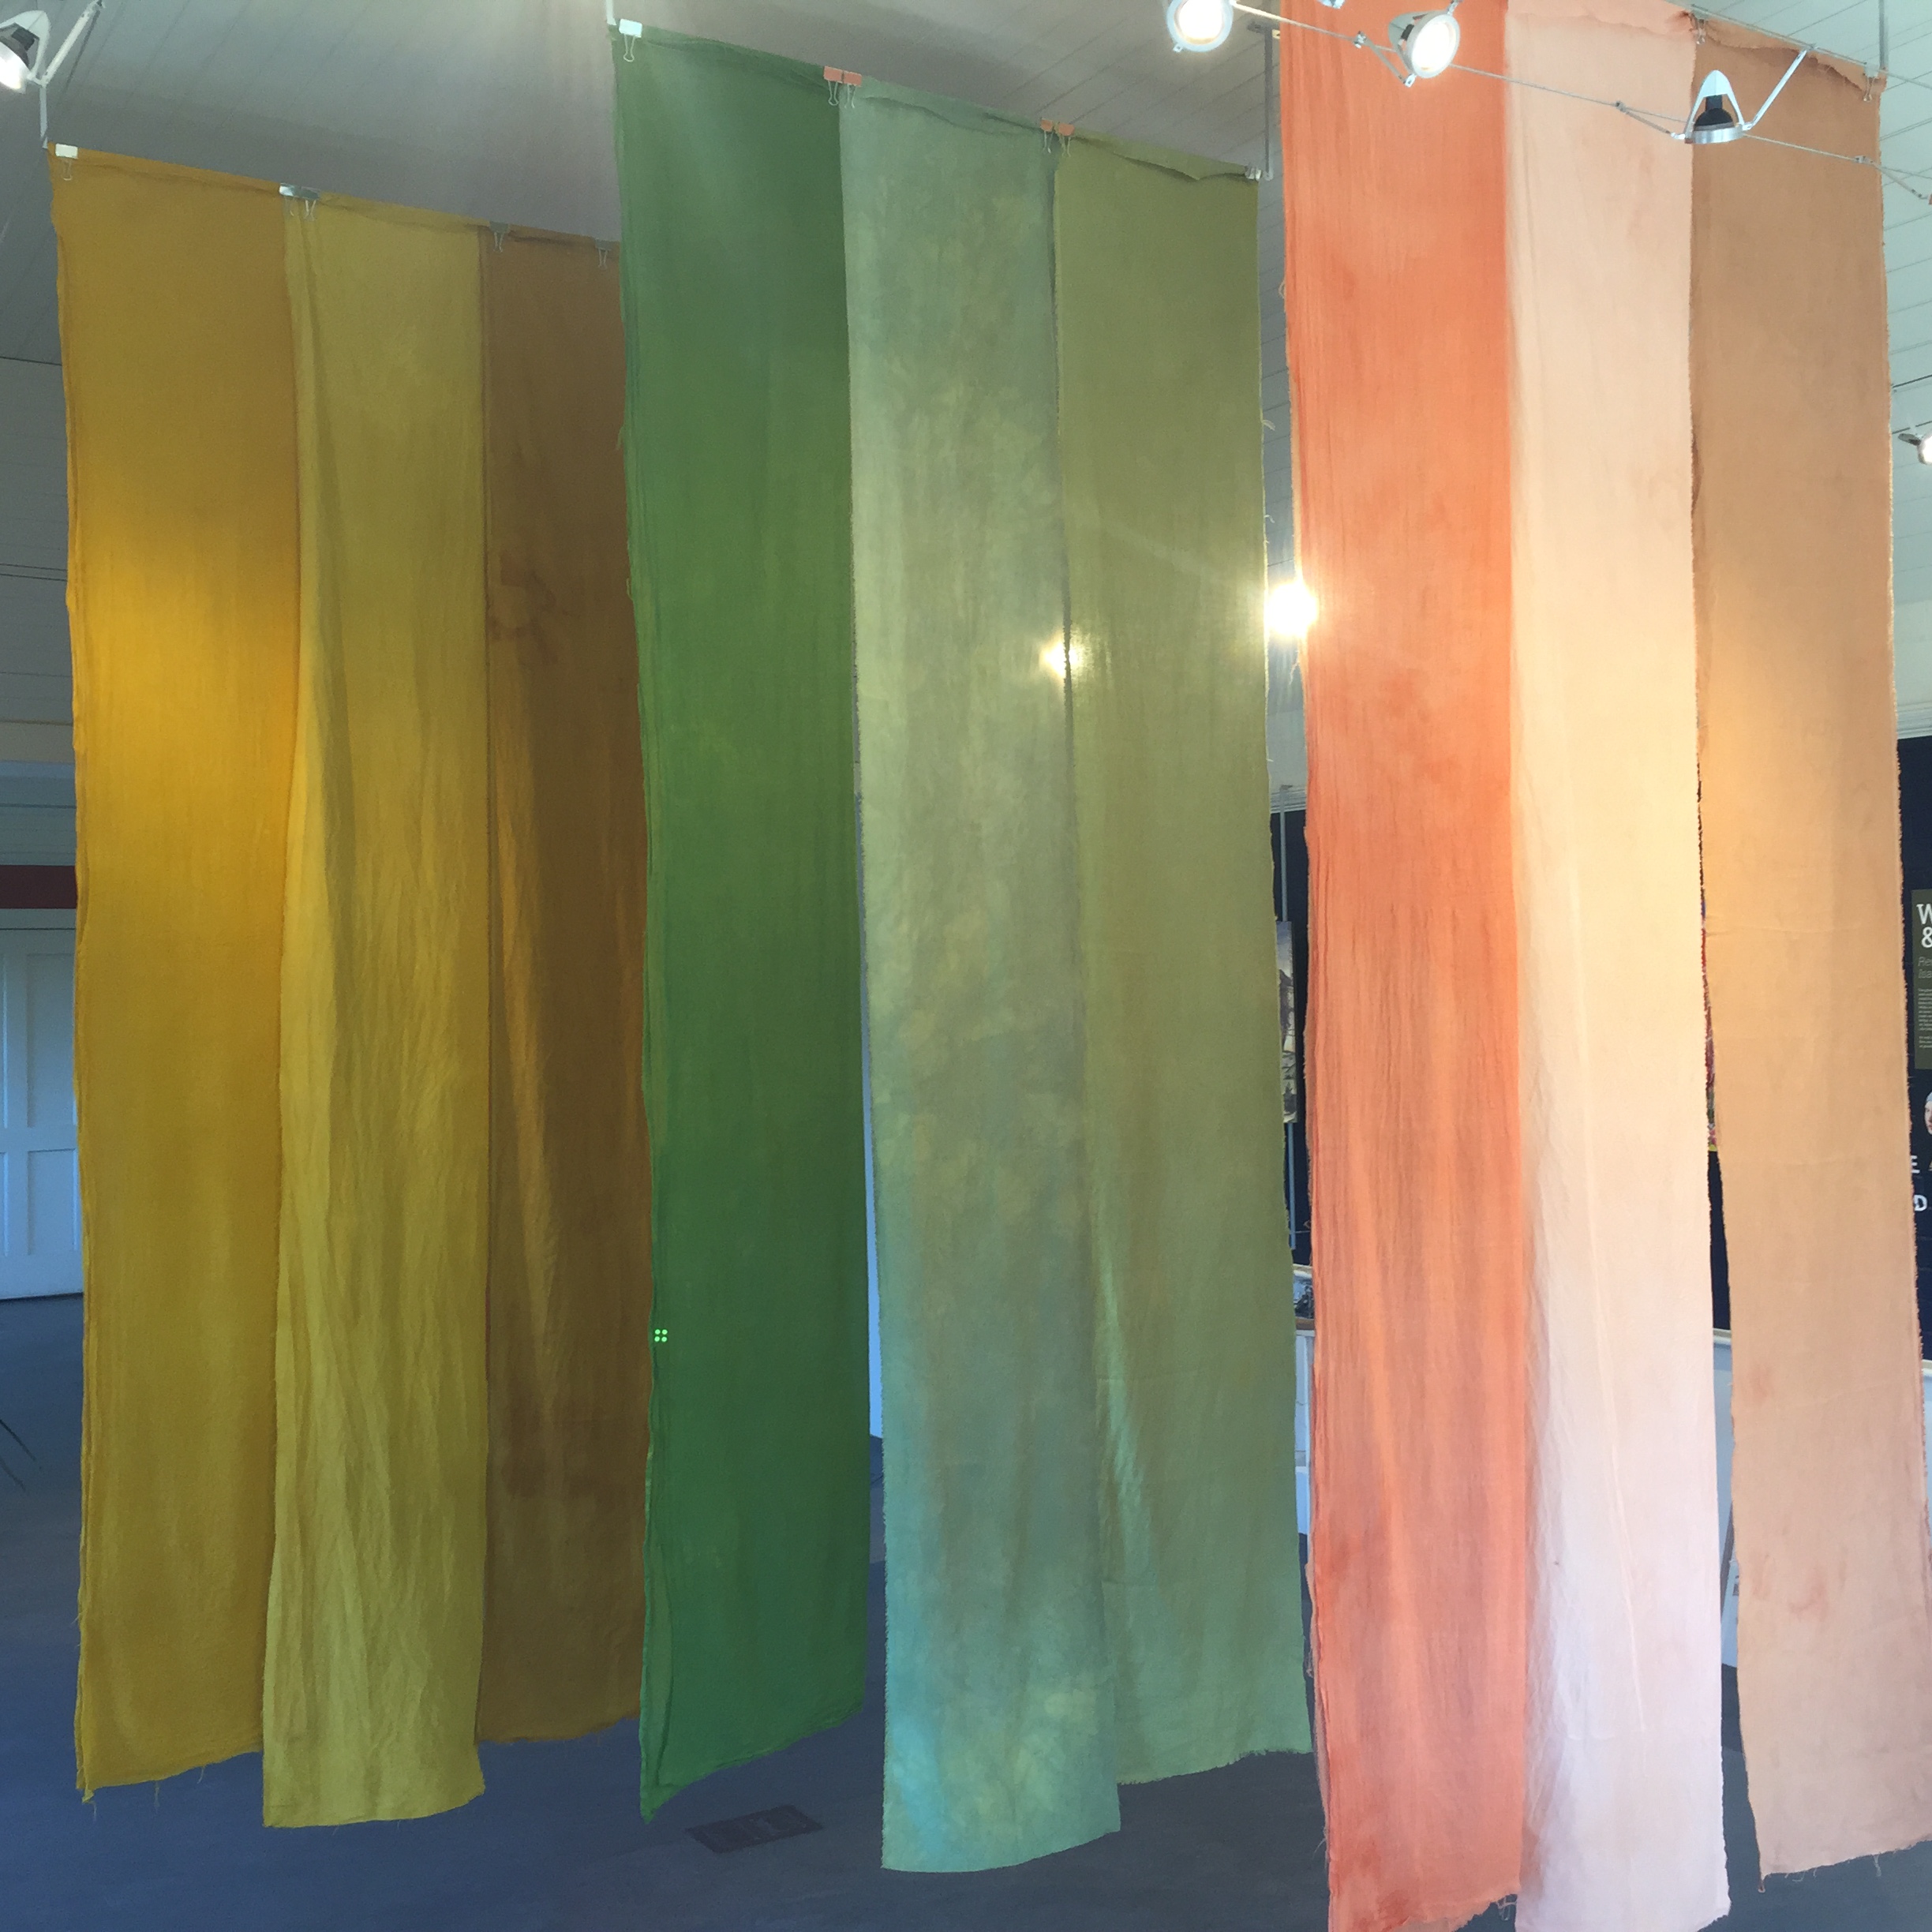
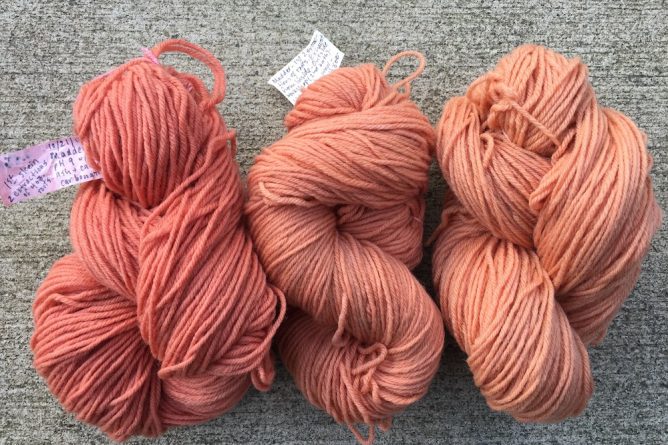
I typically add chalk and soda ash to weld for maximum oomph, so that’s what I did. Even though weld makes fantastic yellows in its own right, this time I was using it to make two secondary colors, green and orange. For the orange, I combined half of the weld bath with half of the madder bath. I guess I took a photo of the linen on Friday afternoon, but not the silk for some reason:

FYI, I prepped the linen and the silk for the orange bath just the same way that I prepped them for madder, which I wrote about in my last post. The linen was scoured, treated with chestnut tannin, then mordanted with aluminum acetate. The silk was just washed and mordanted with aluminum sulfate.

For making green, I had decided to dye the linen and silk blue first in the woad vat that we ran on Wednesday July 10th. For many years I have had good success dyeing woolen yarns blue first, then mordanting and dyeing them with yellow to make green. I have had much less success with linen or cotton using this method. Catharine Ellis’ research convinced me that the best way to make deep greens on cellulose fibers and silk was to do the woad dyeing first. All of her blog posts are incredibly informative, but this is the one that shifted my thinking about making green.

So, I dyed the linen and silk pieces in the woad vat on Wednesday July 10th. To prepare the linen for the weld bath, I decided to use gallotannin from Earthues (bought from Long Ridge Farm) since it is a lighter tannin.

There must have been some metal contamination as the cloth sat overnight, because by the morning the liquid was dark and so was the cloth. On some of my dye pots, the handles are attached with rivets.  I’m thinking that the rivets leaked iron or other metal into the tannin bath. At first I was dismayed.

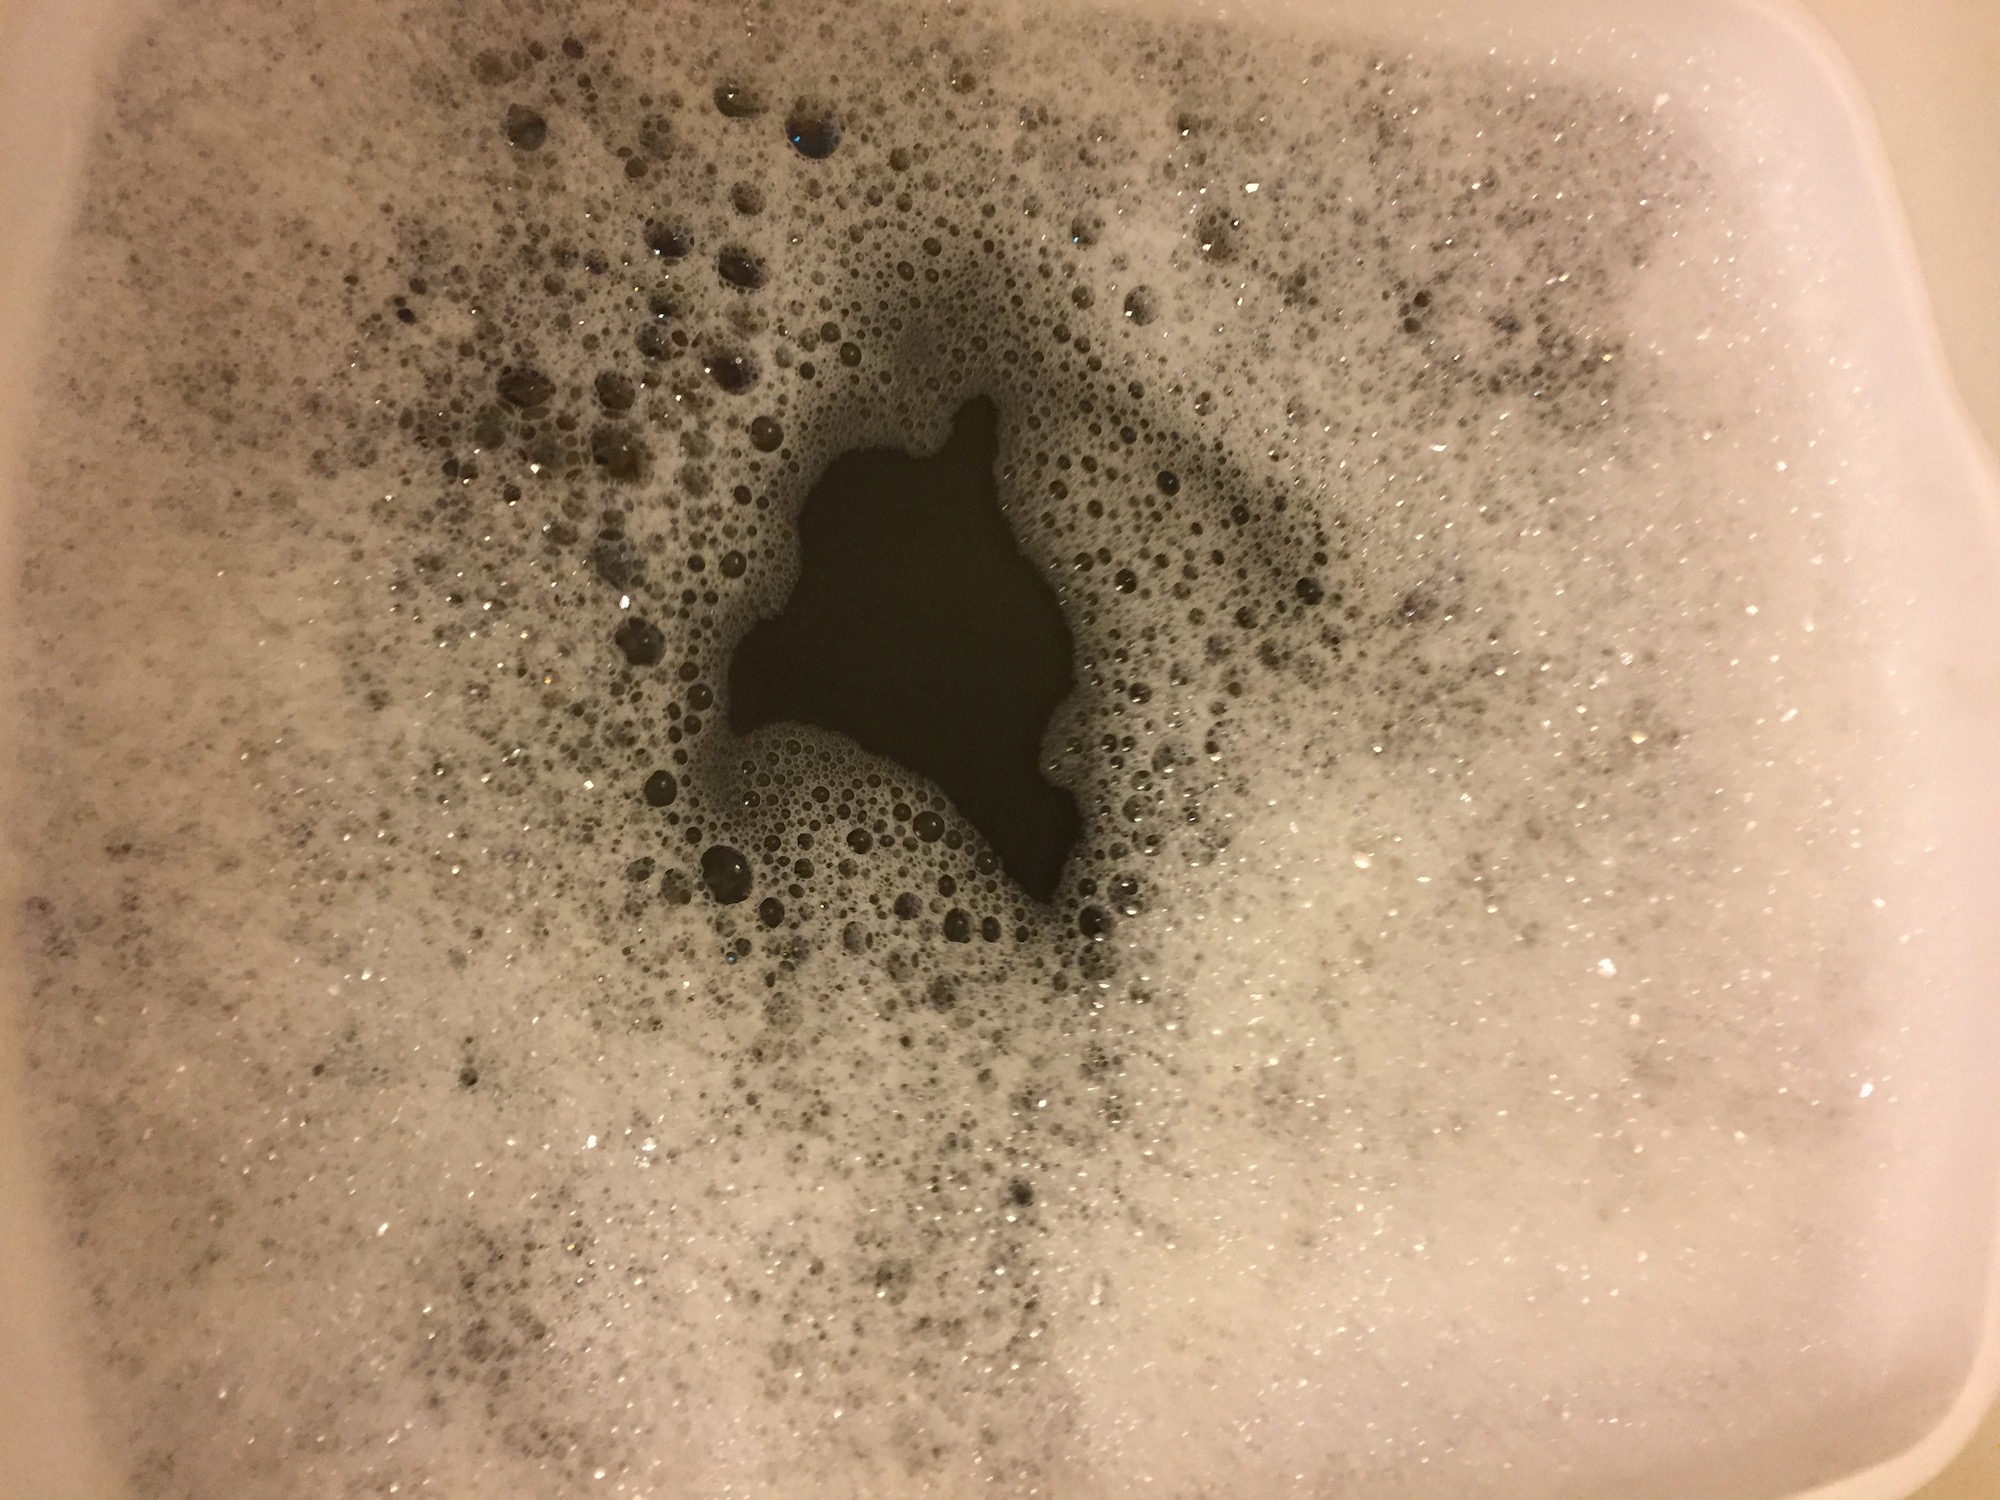
Normally I just rinse cloth with water between each step of the preparation, but I used detergent to see if the gray color would come out of the cloth. This is the color of the liquid when I washed the fiber:

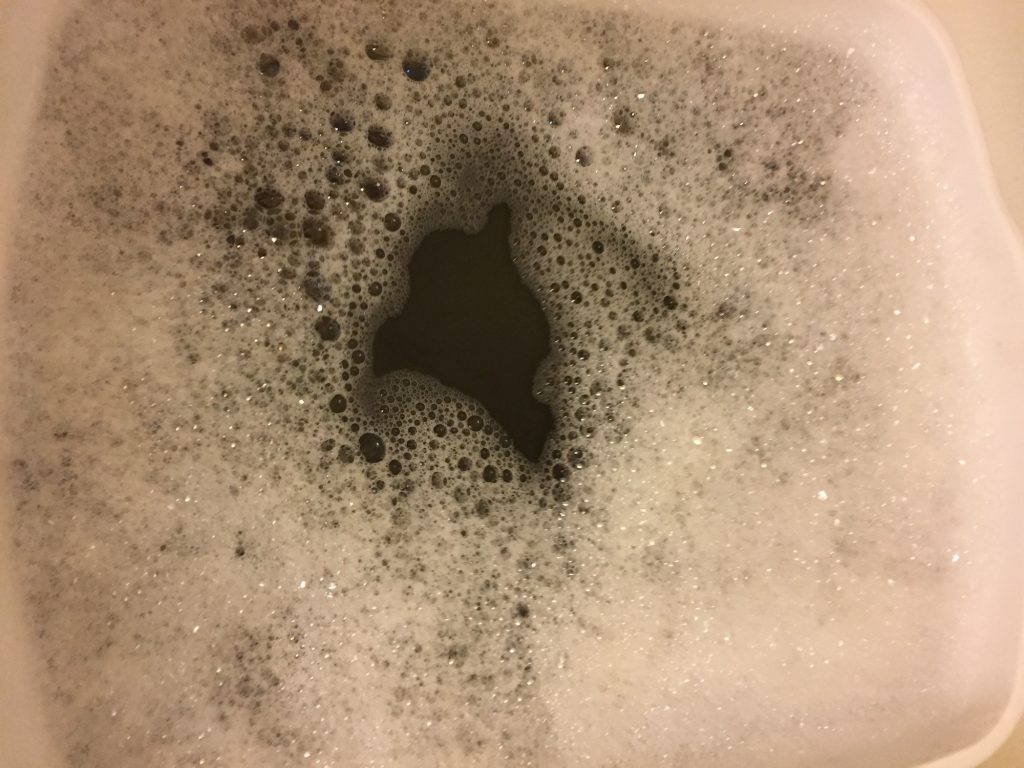
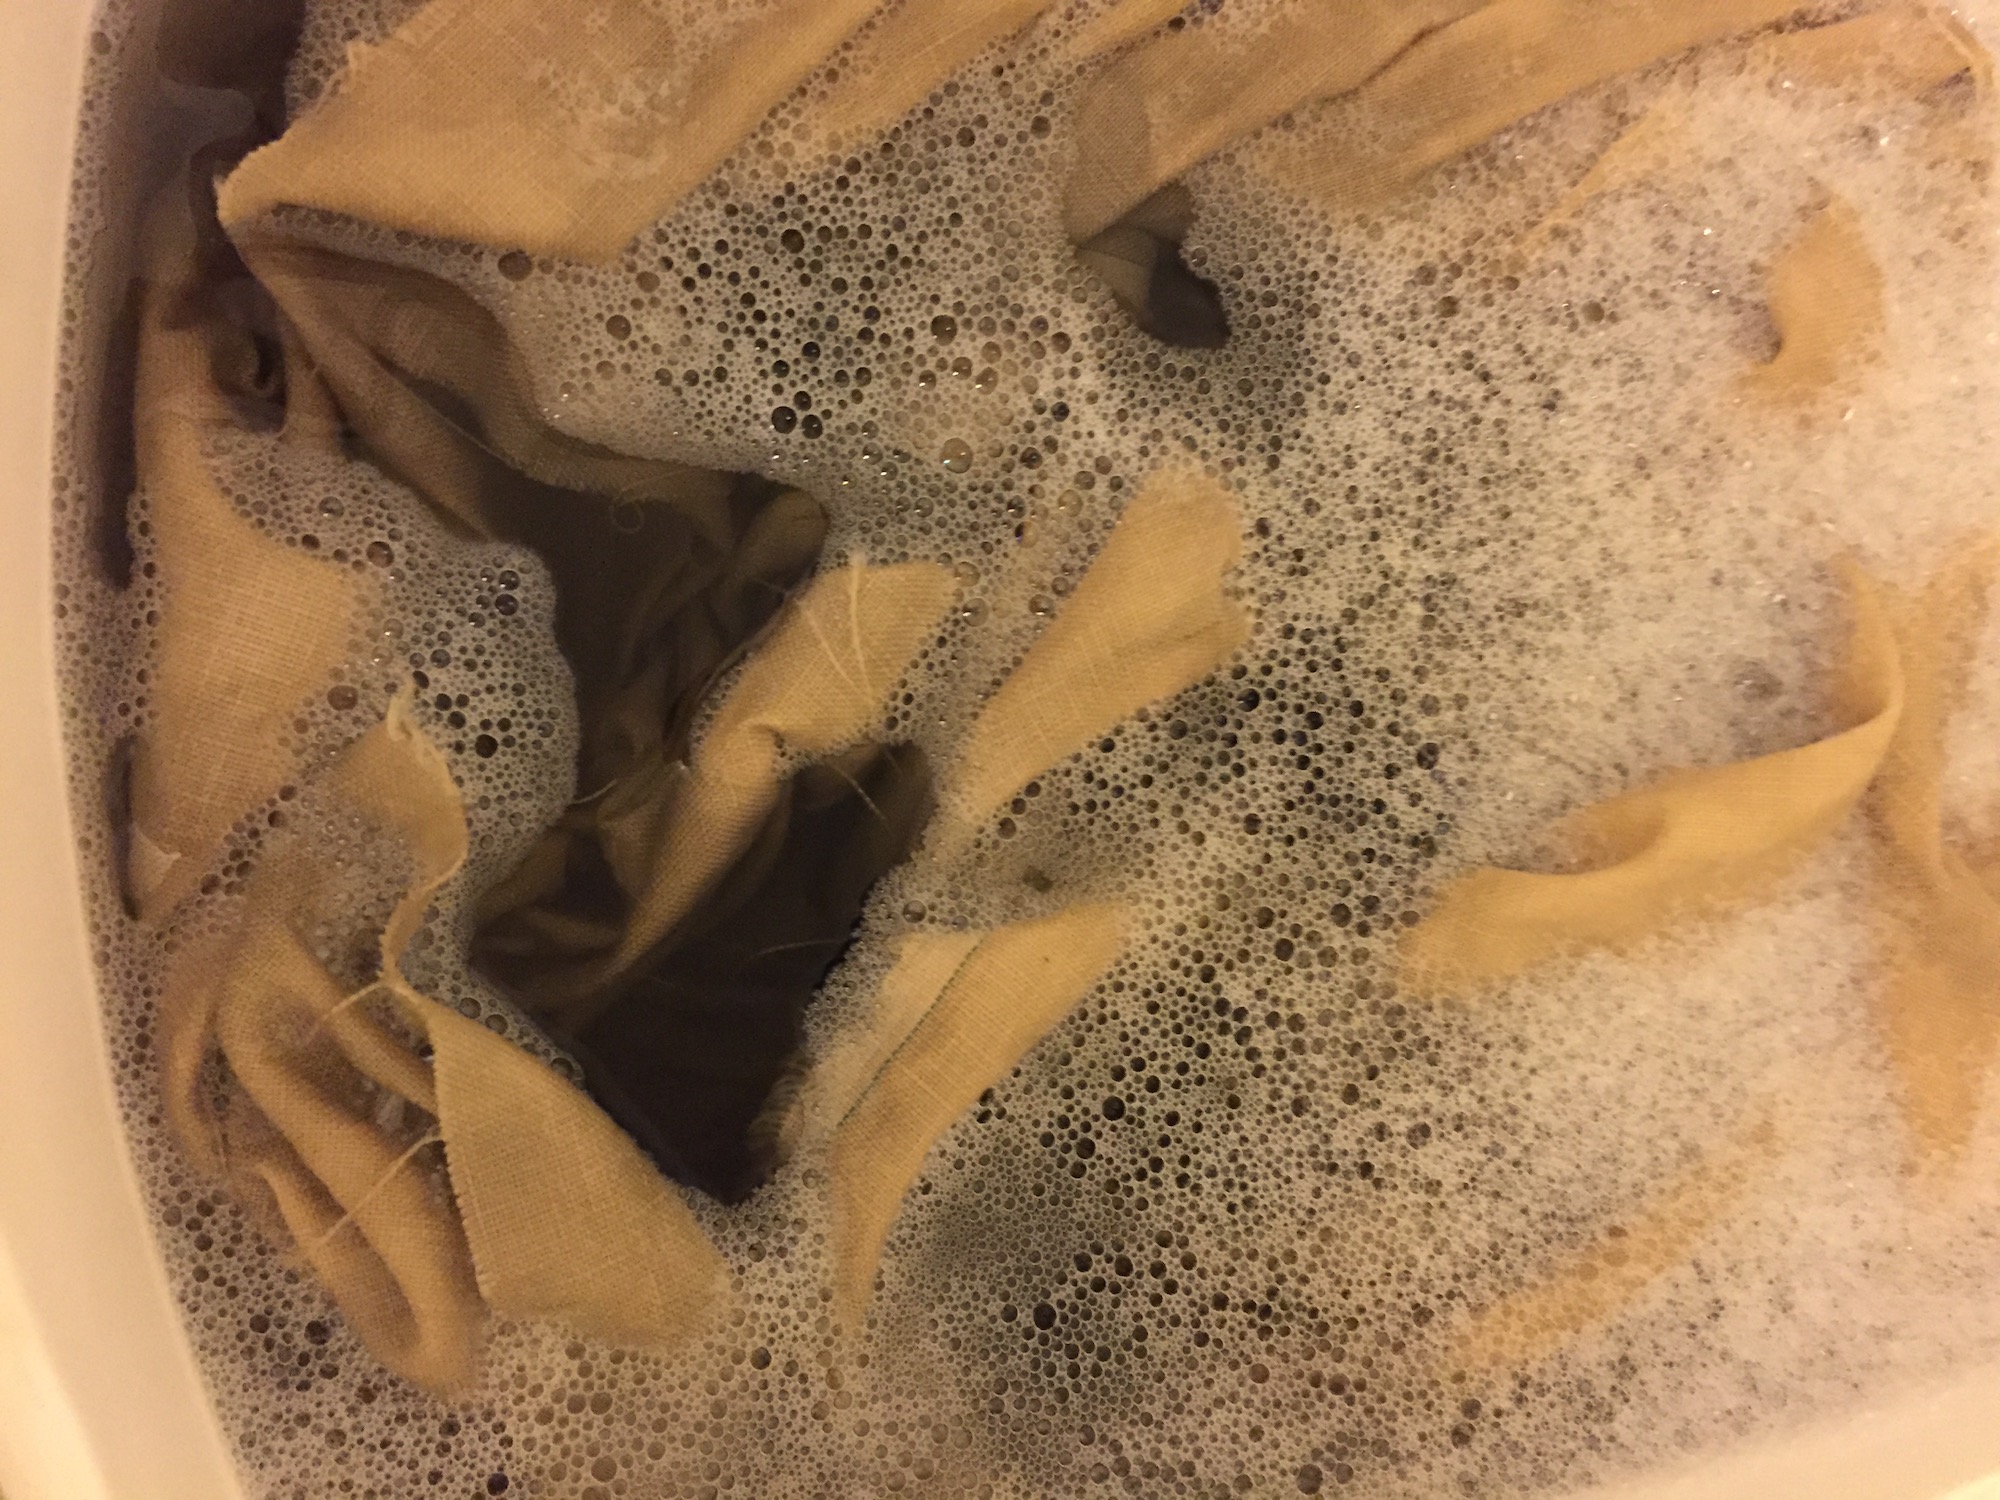
Fortunately, the cloth did lighten up:

I did not save the tannin baths to re-use them as I normally would:

After the tannin preparation, I used aluminum acetate to mordant the linen. I mordanted the silk with aluminum sulfate.

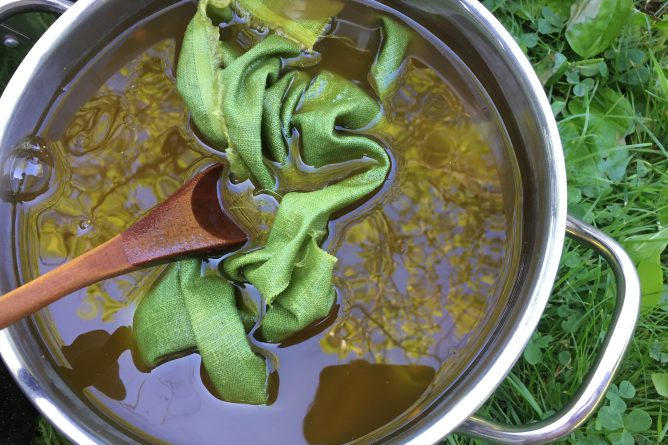
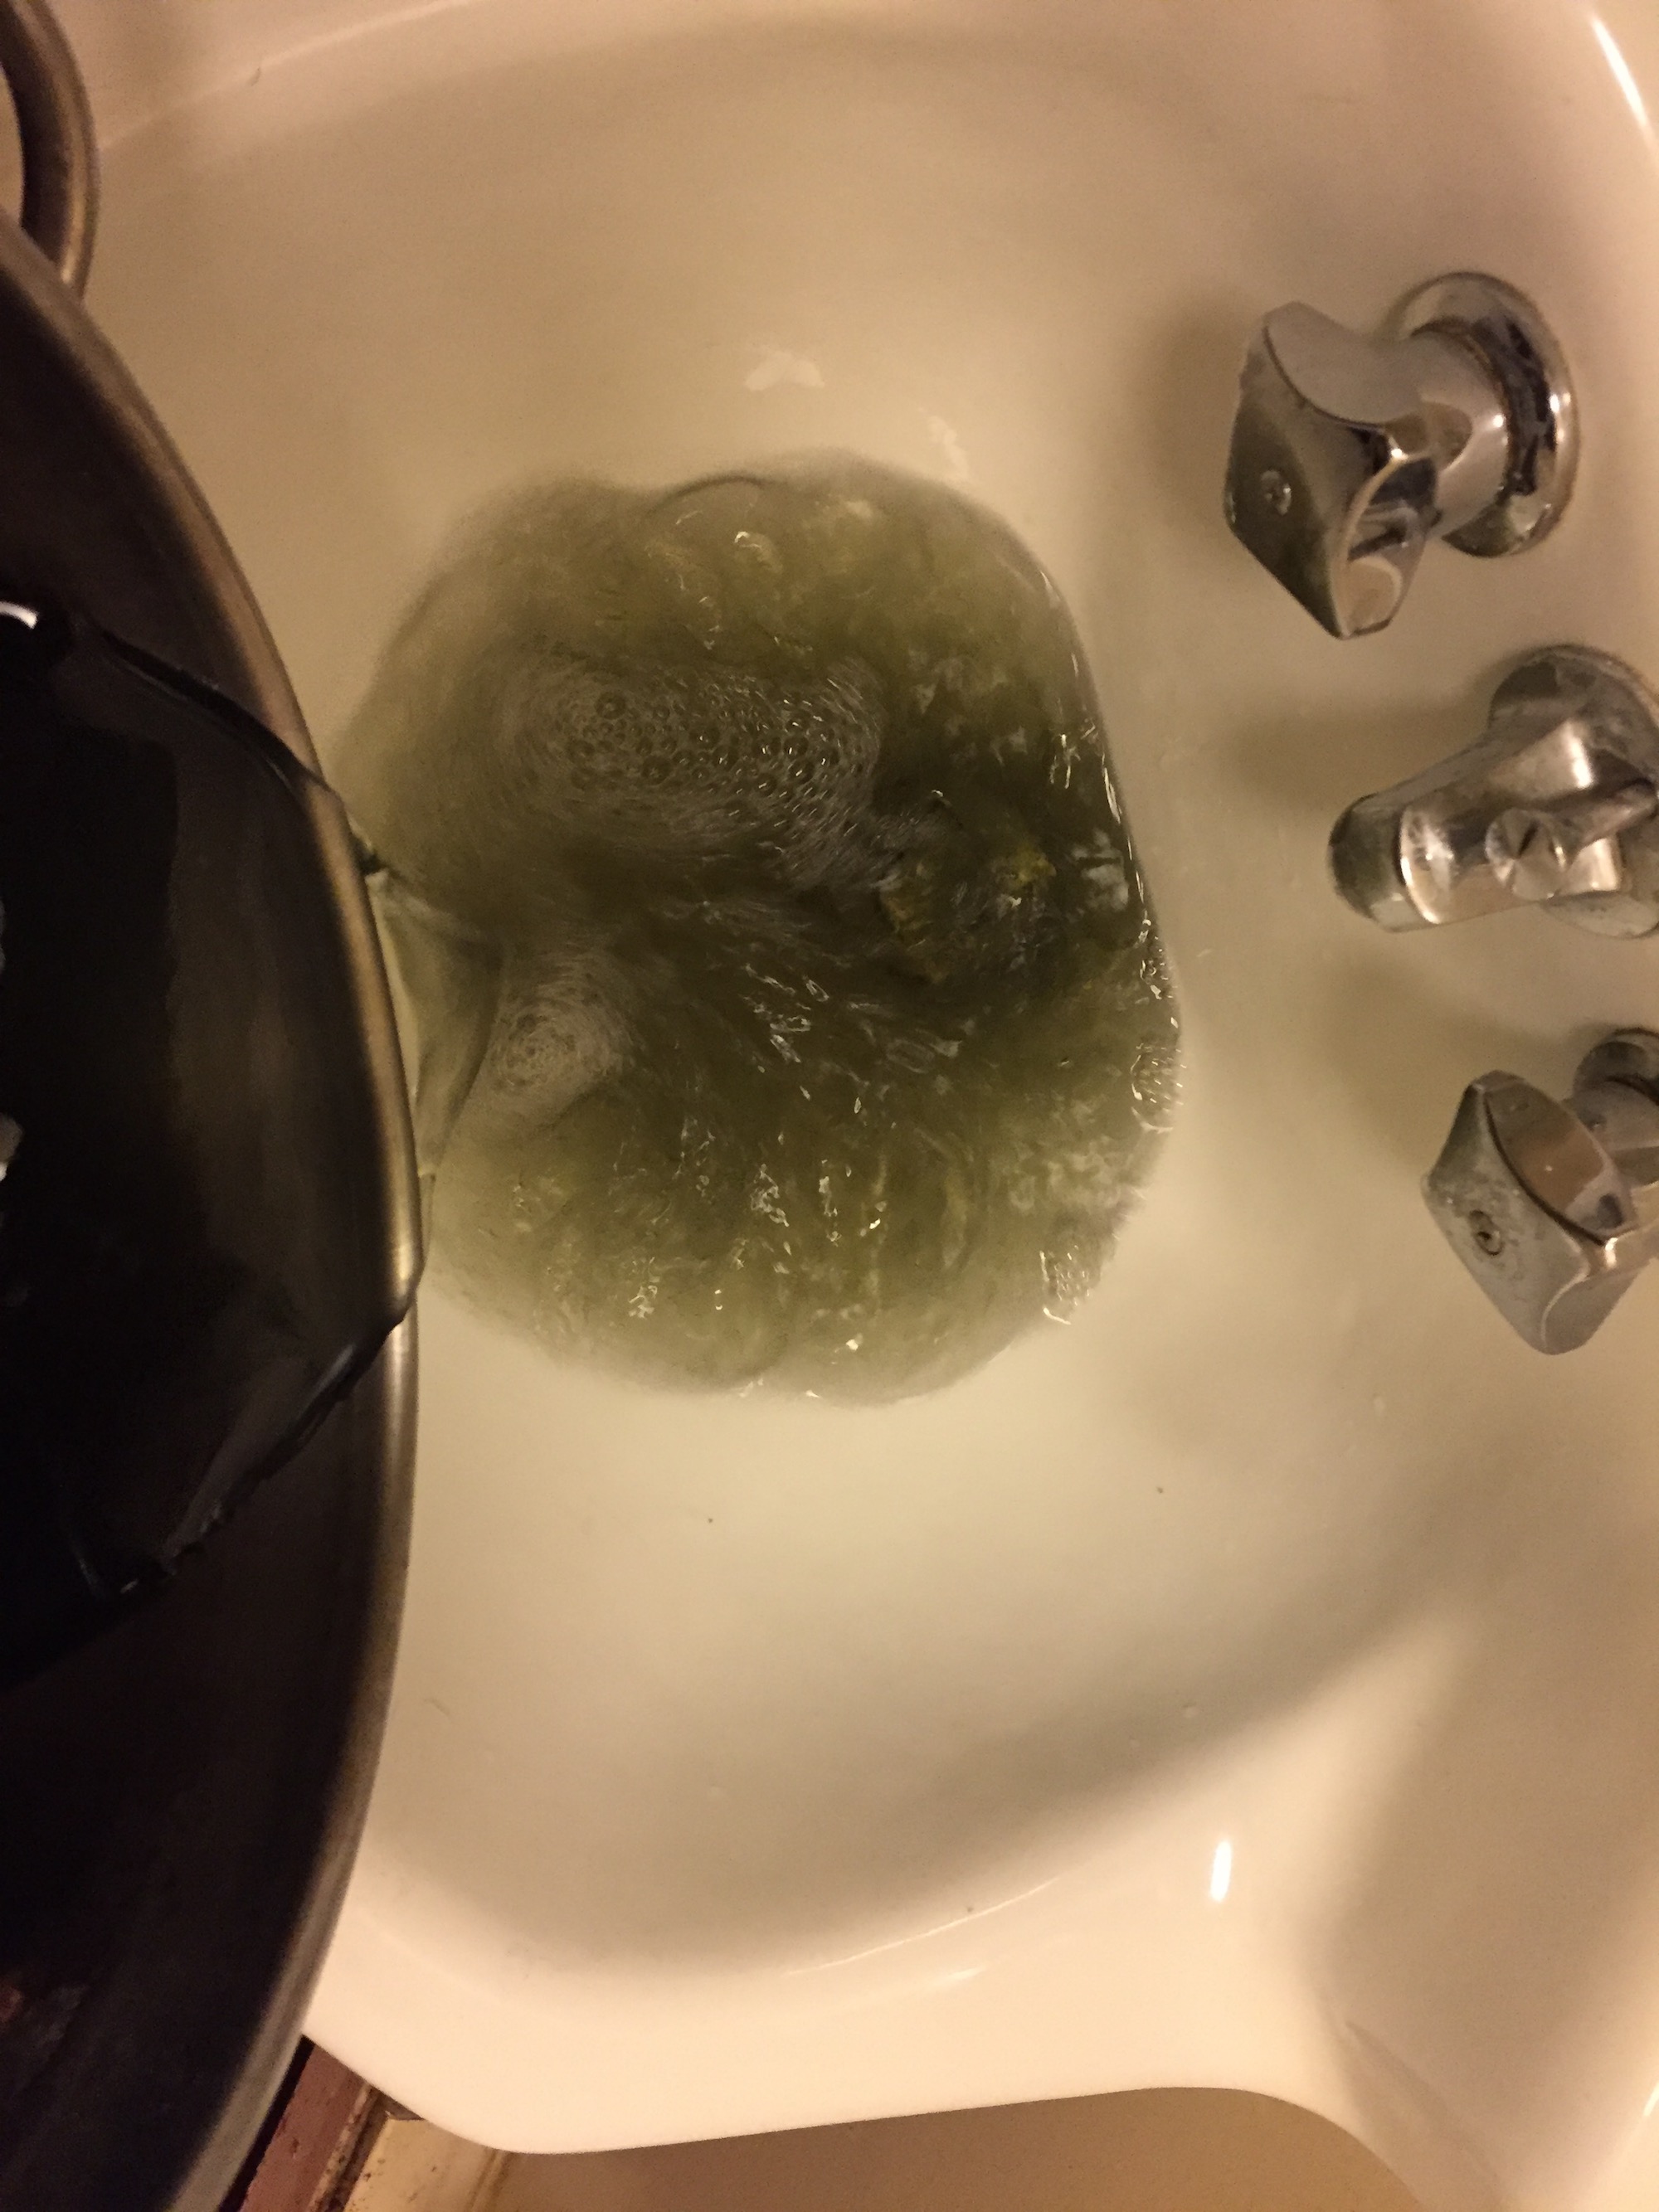
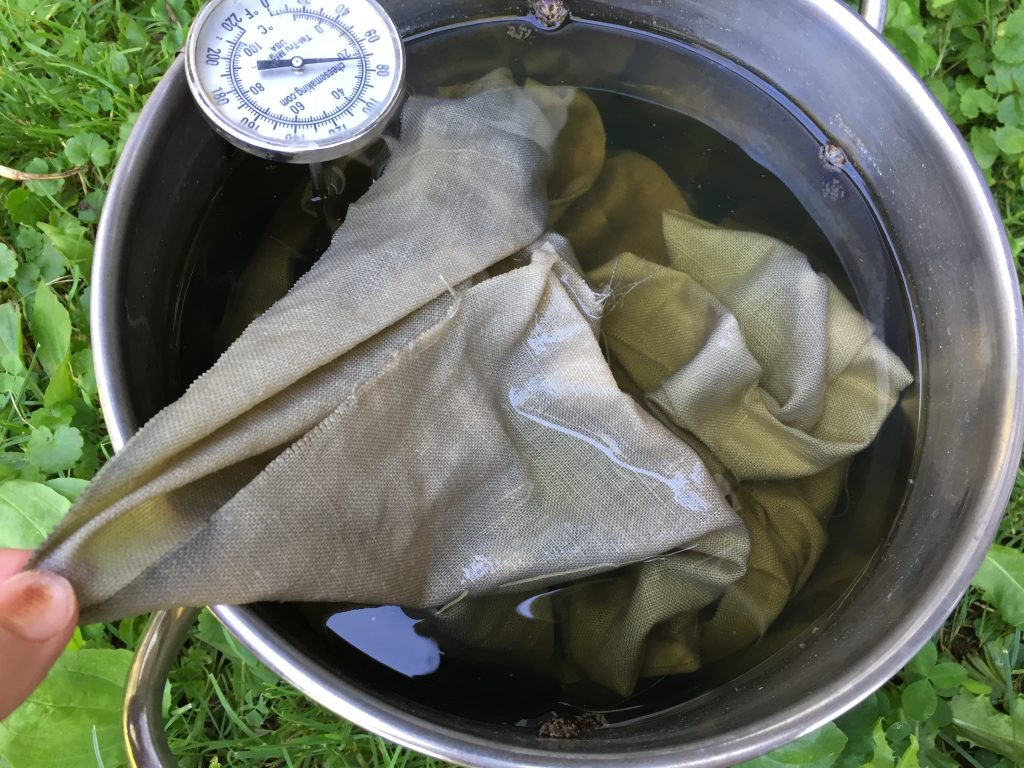
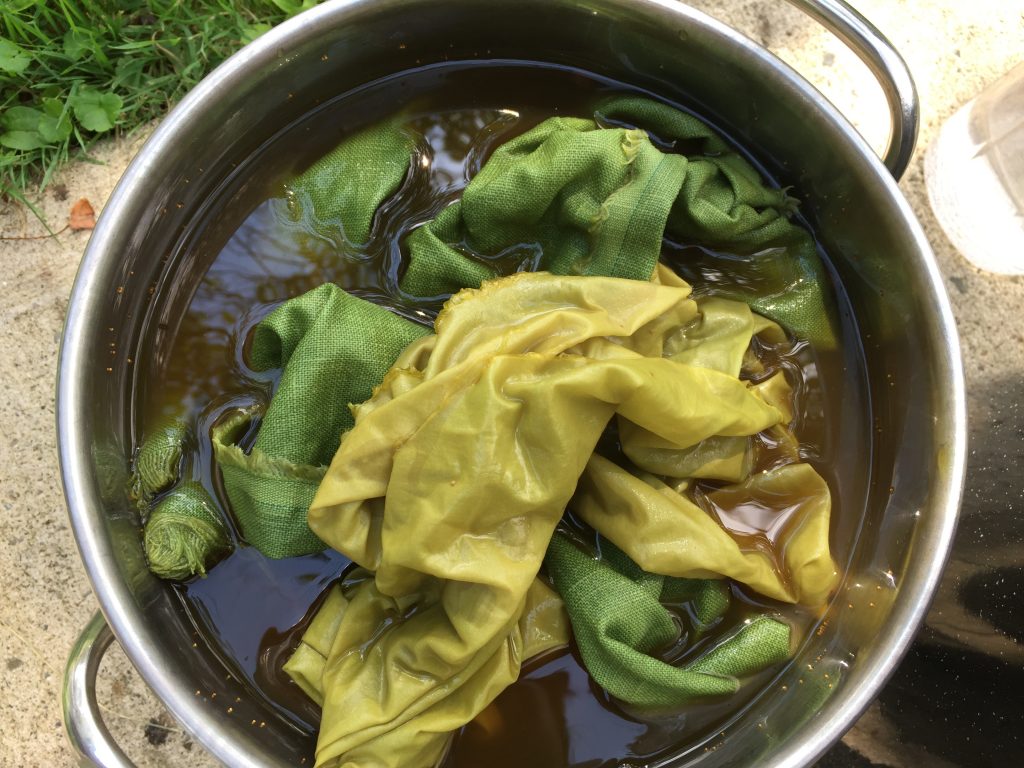
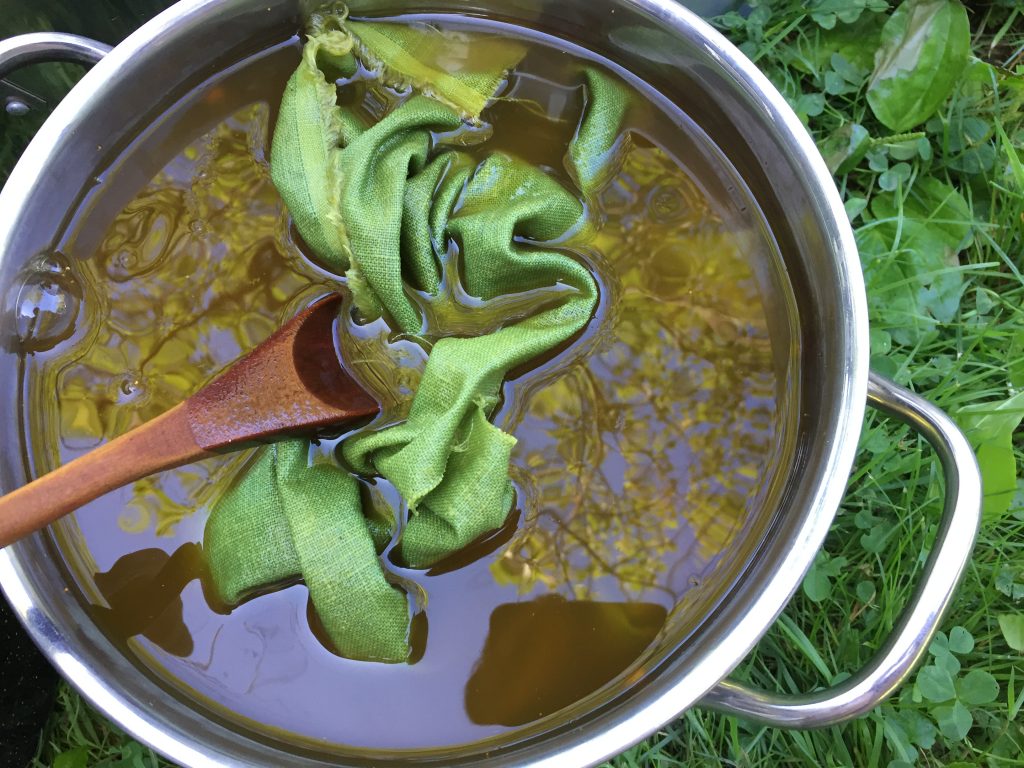
Here’s the weld bath with woad-dyed linen and silk on Friday afternoon. The bath heated up to 180 degrees, maintained for one hour, then steeped the rest of the day and overnight. The pH was 9:

Yes, the silk is yellow and annoying. The linen is lovely. Here they are on Saturday morning. This is the linen:

This is the silk:

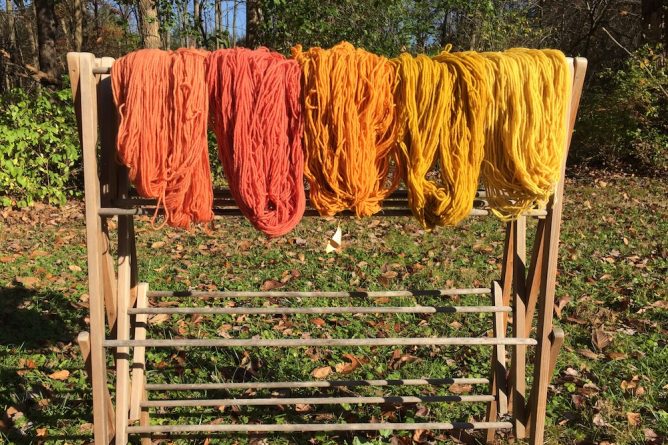
Here they are drying on the line on Saturday morning:

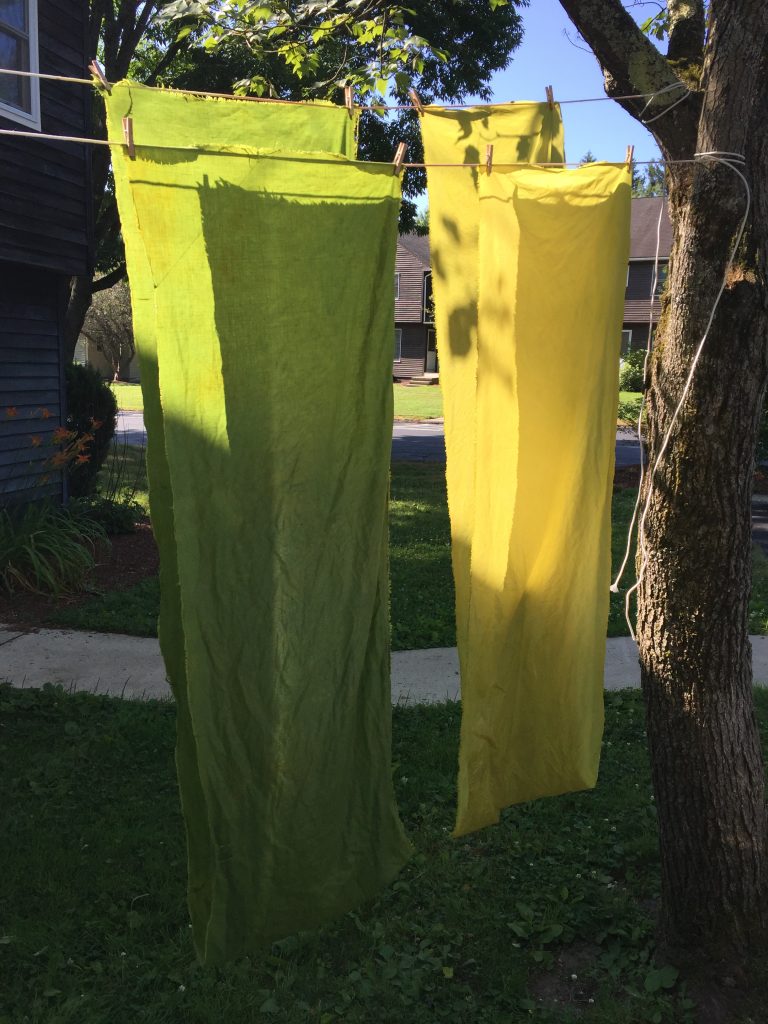
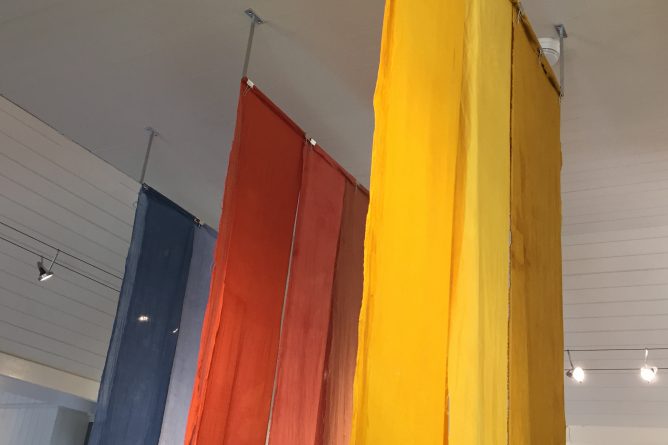
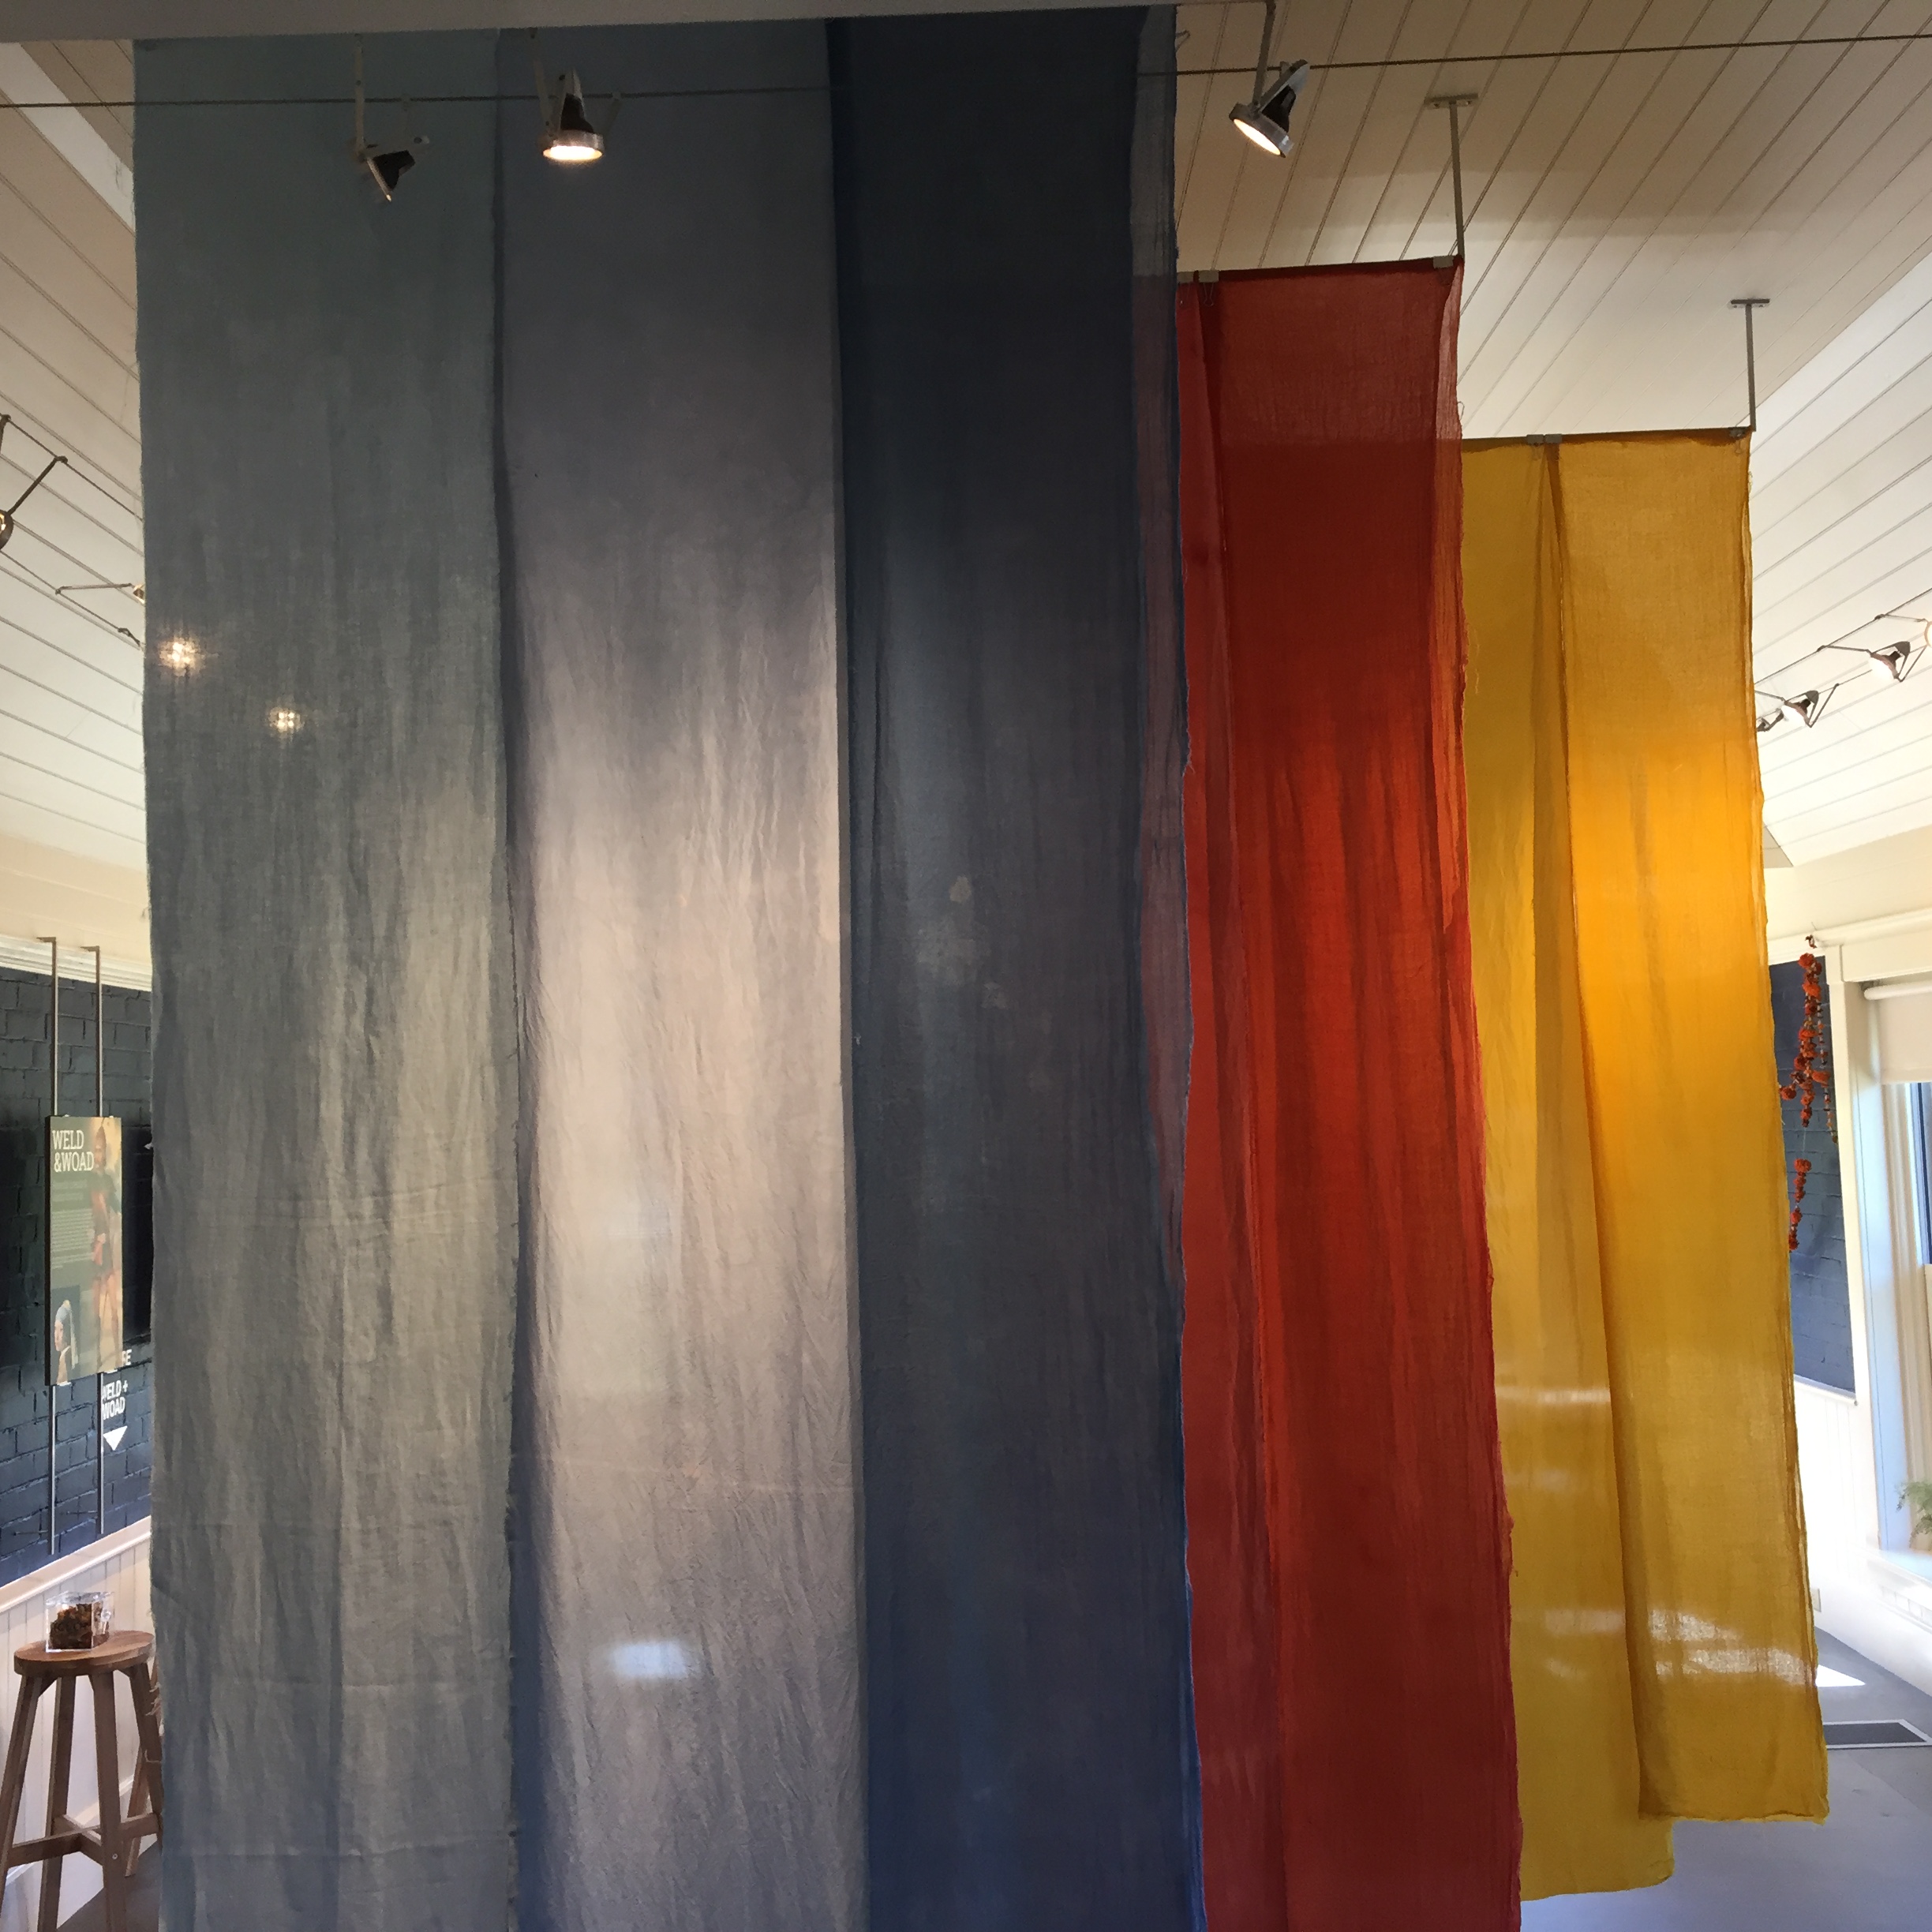
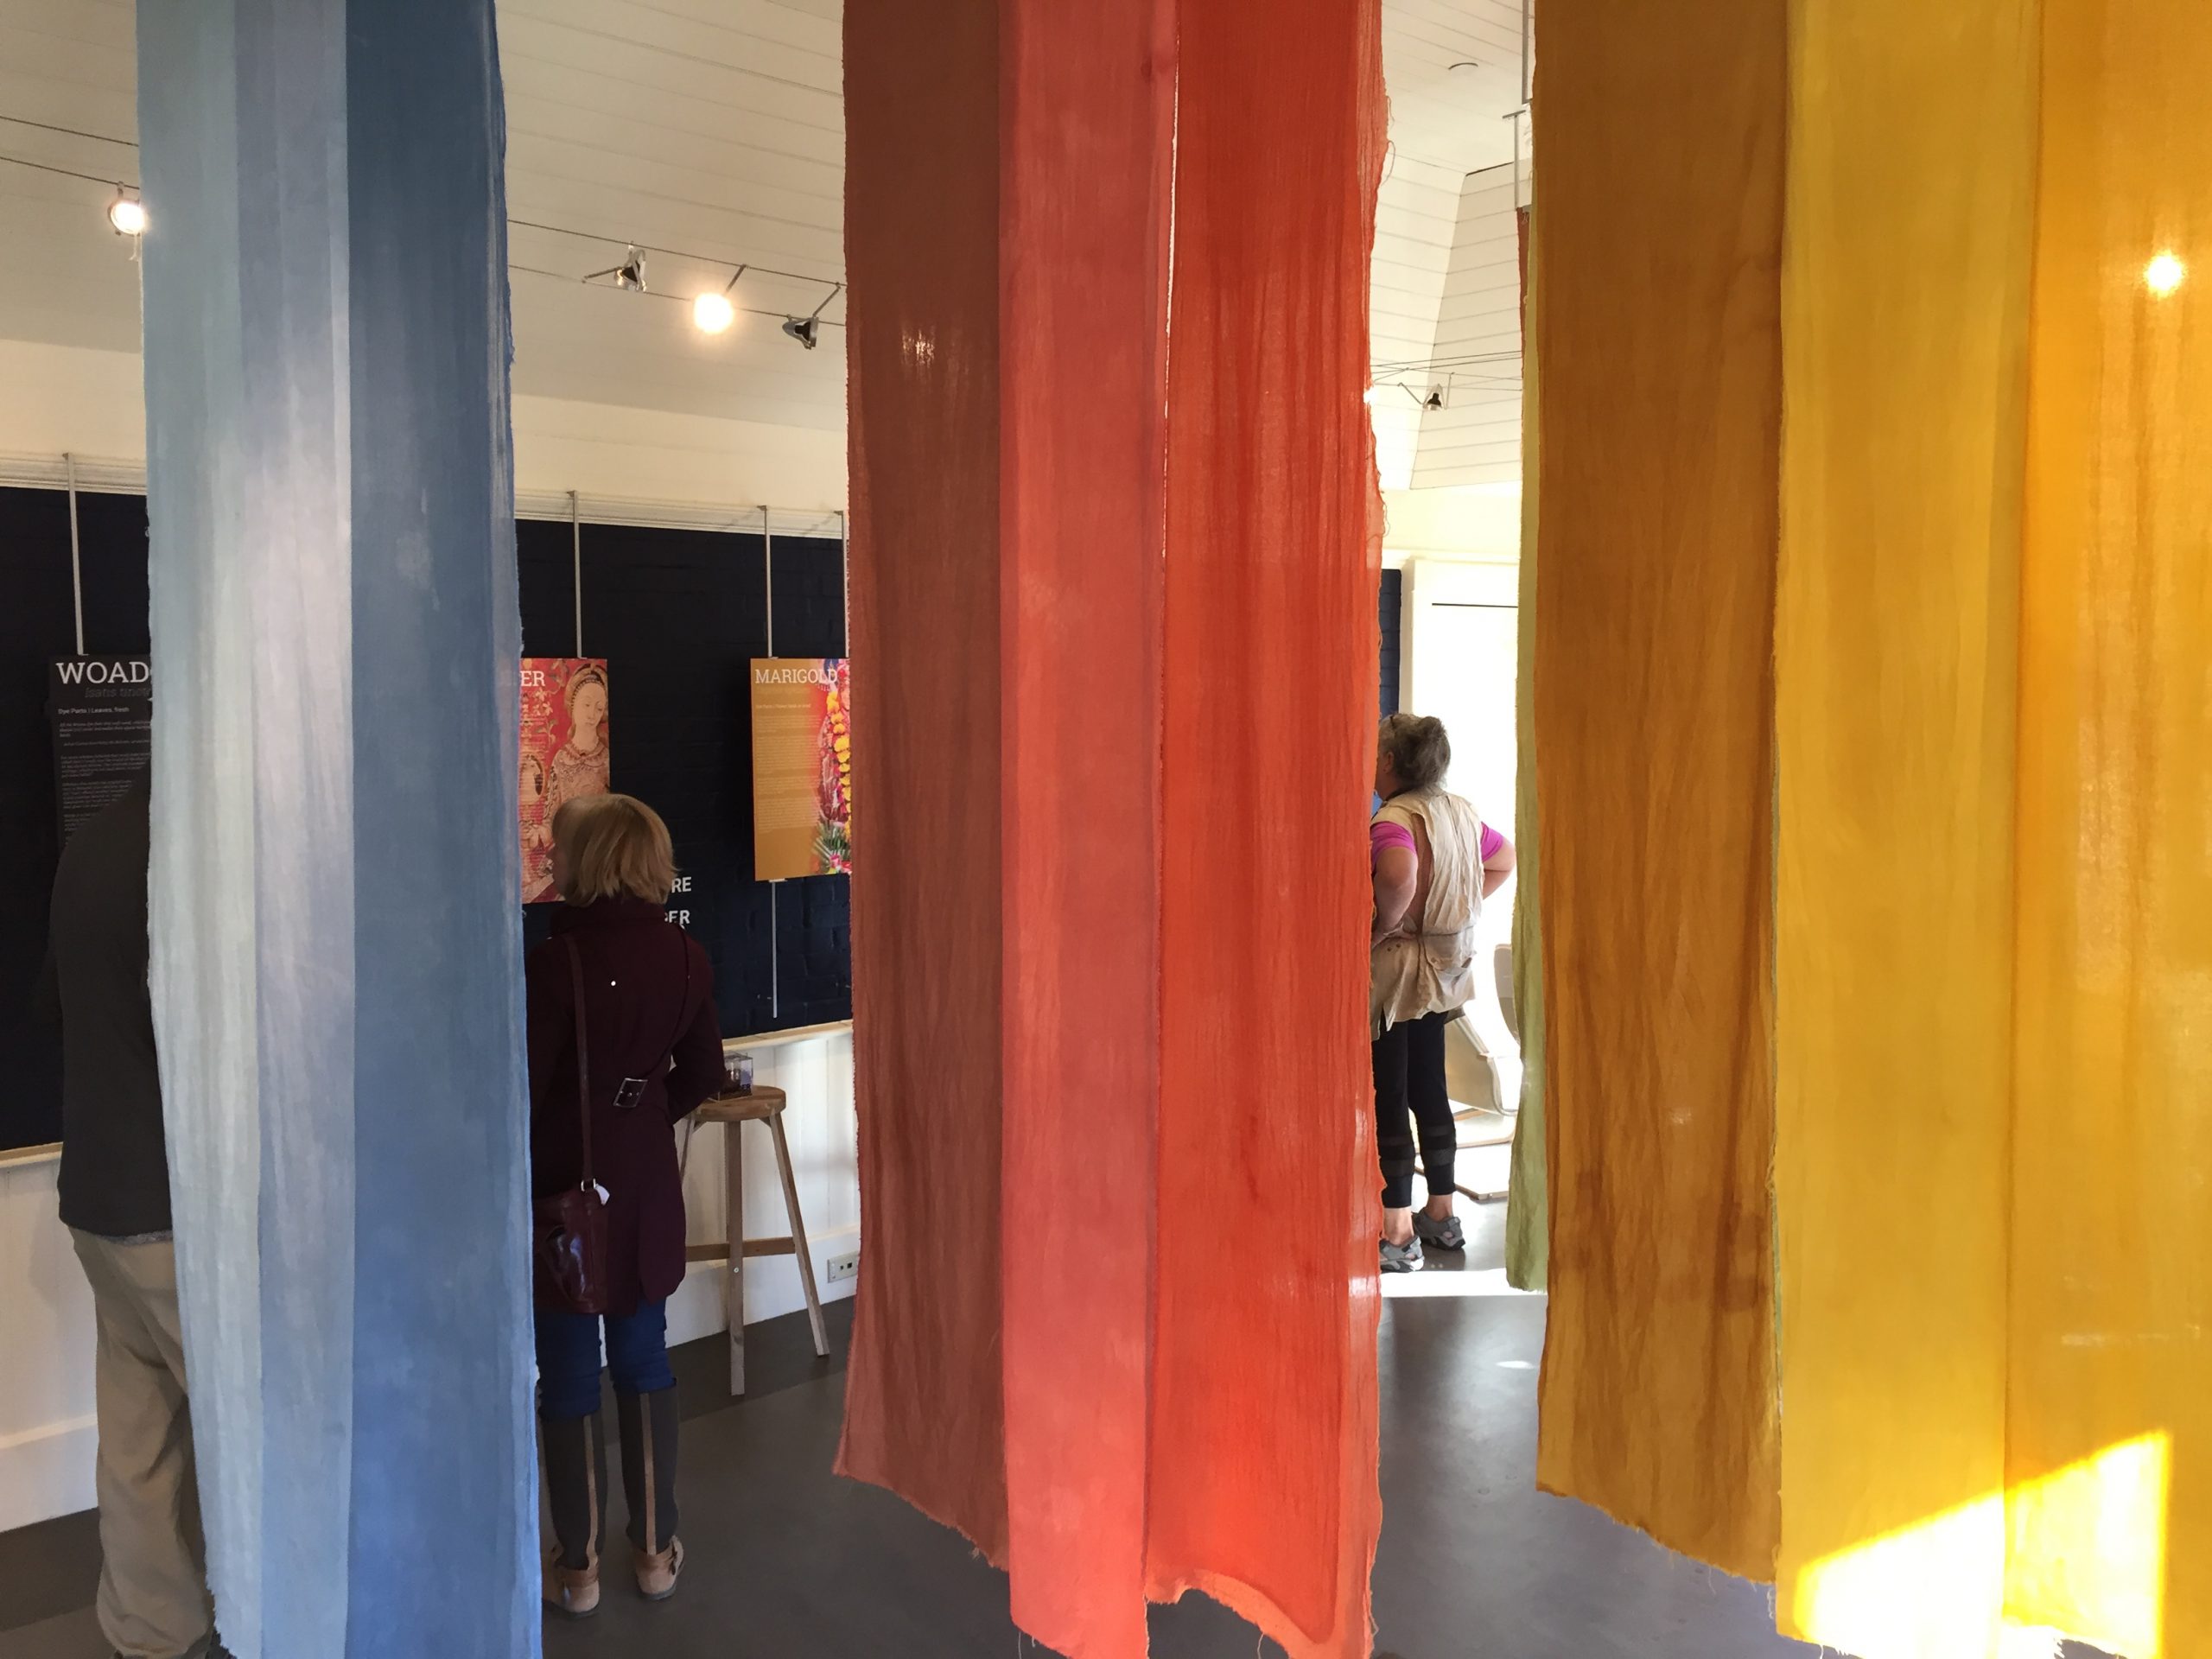
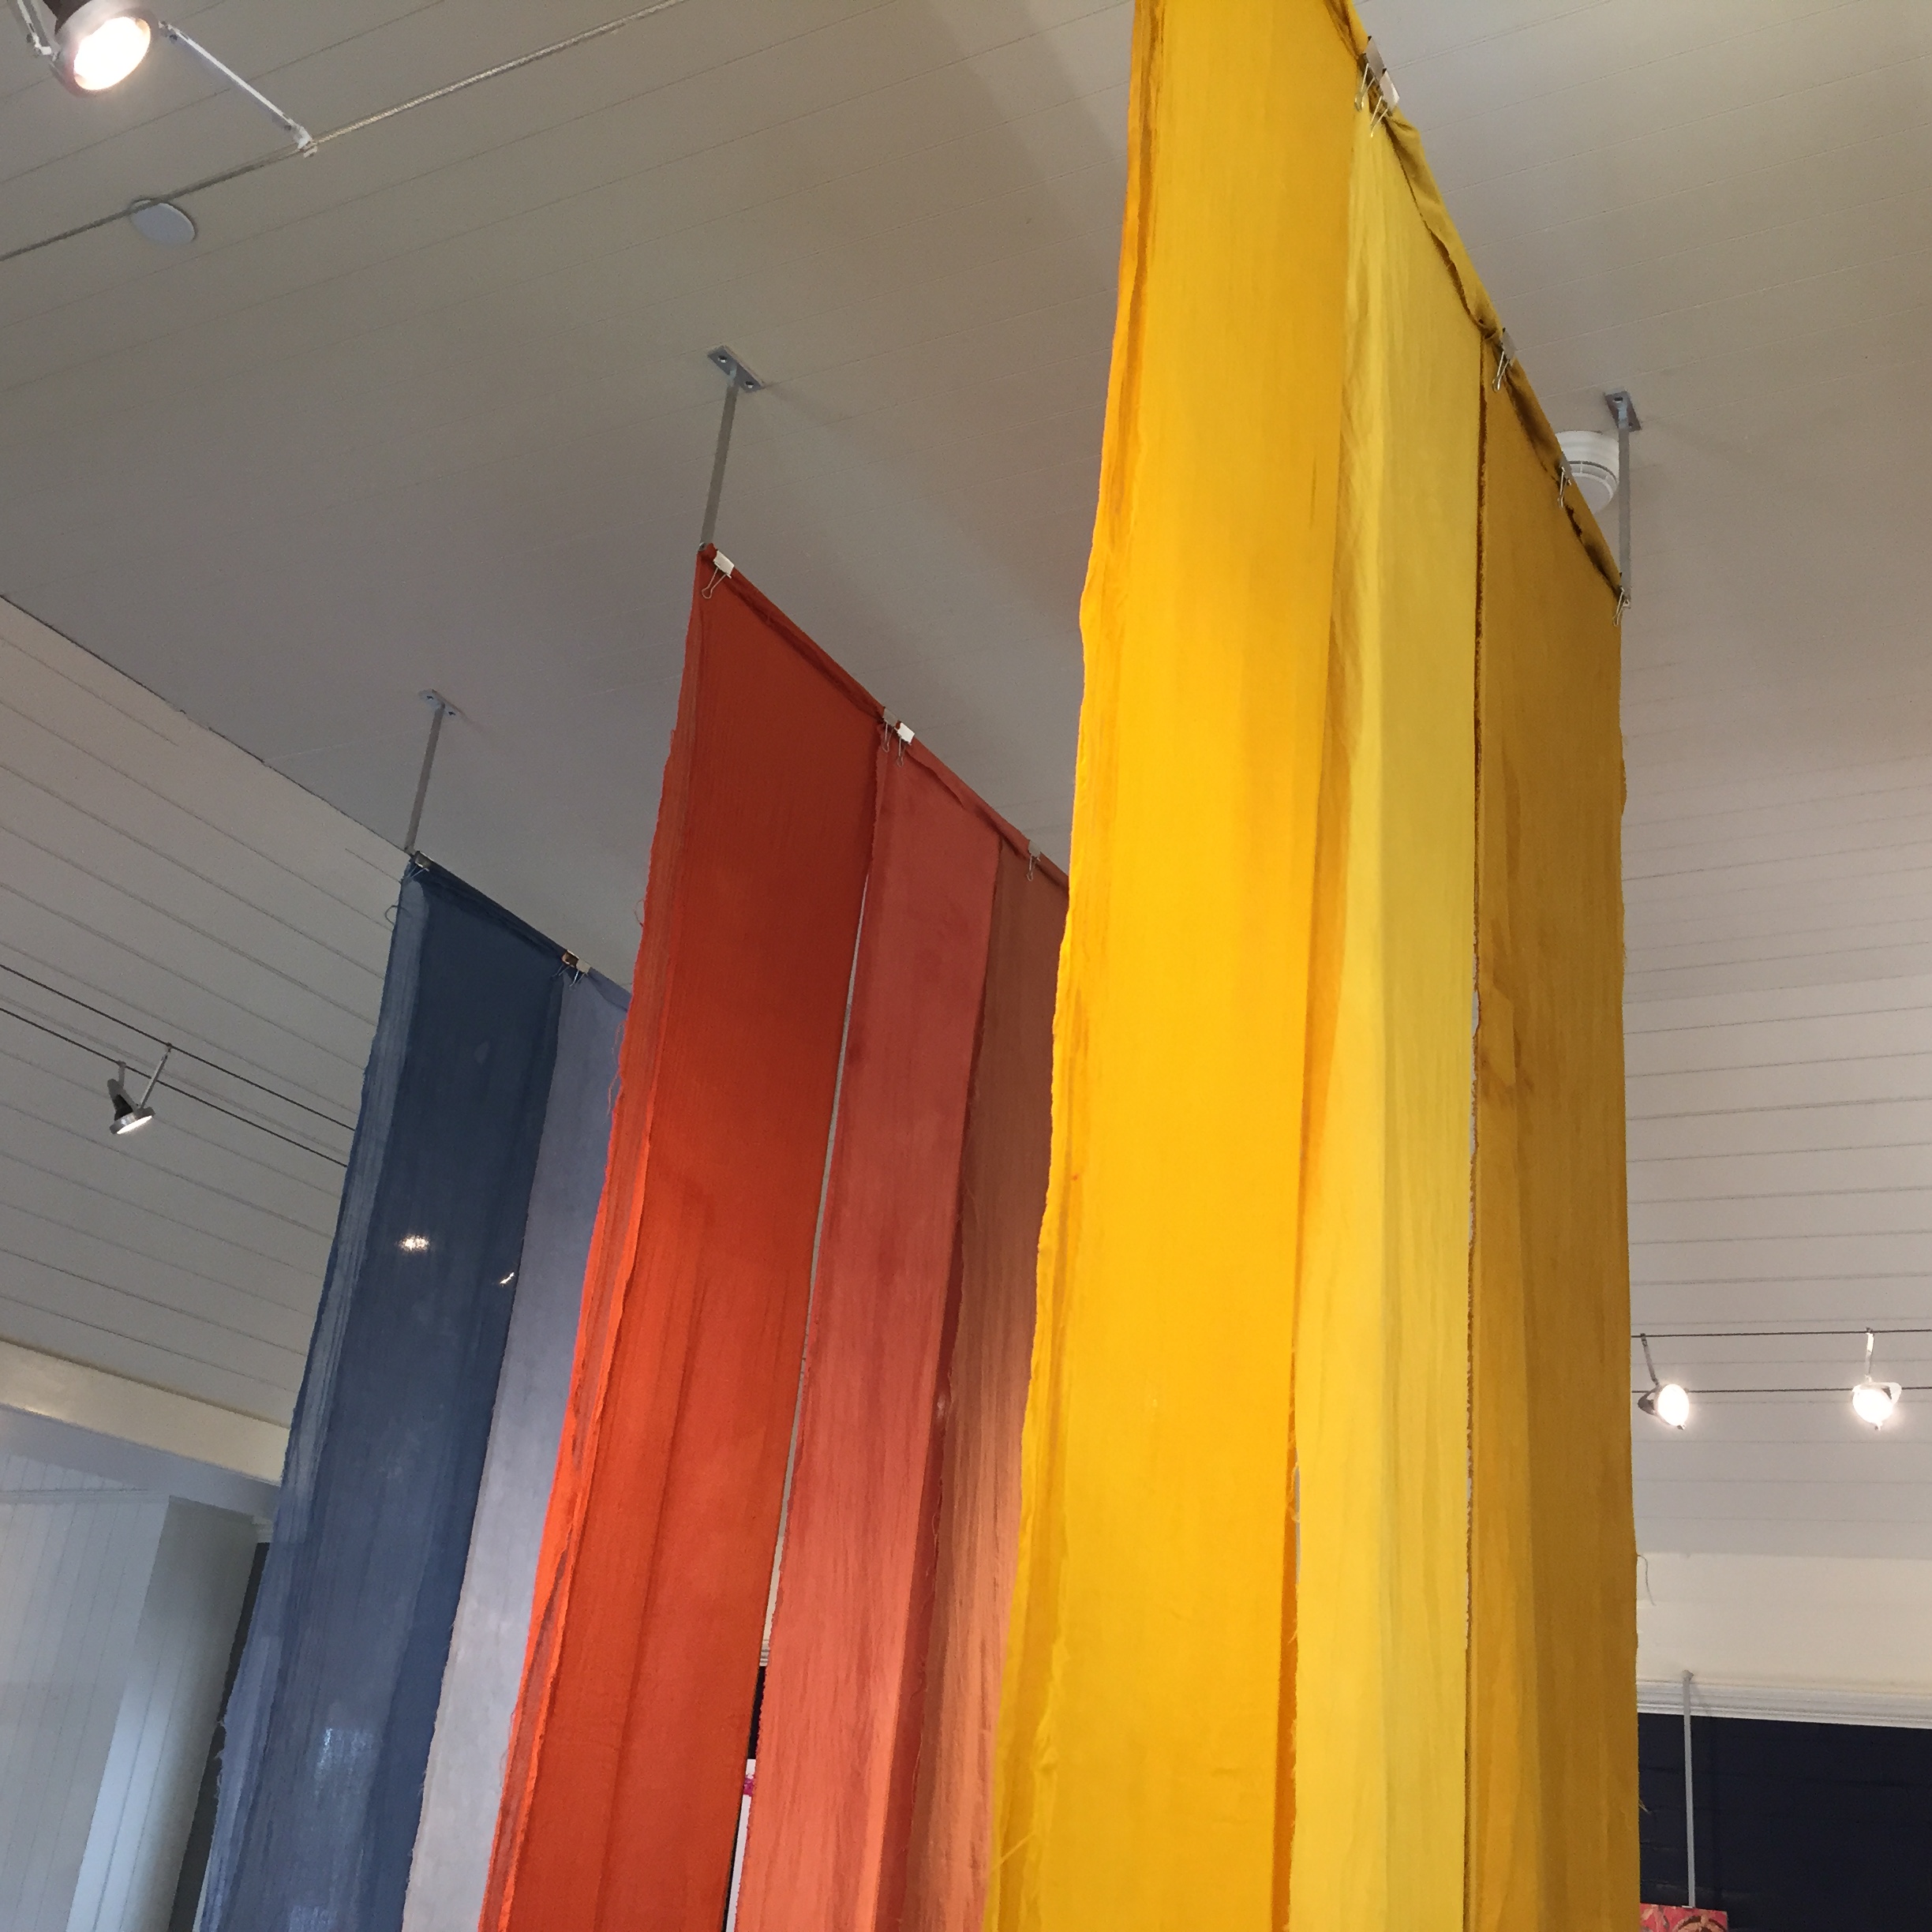
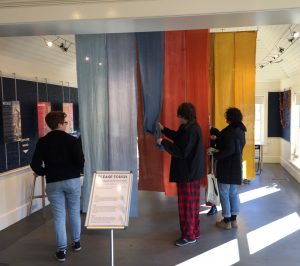
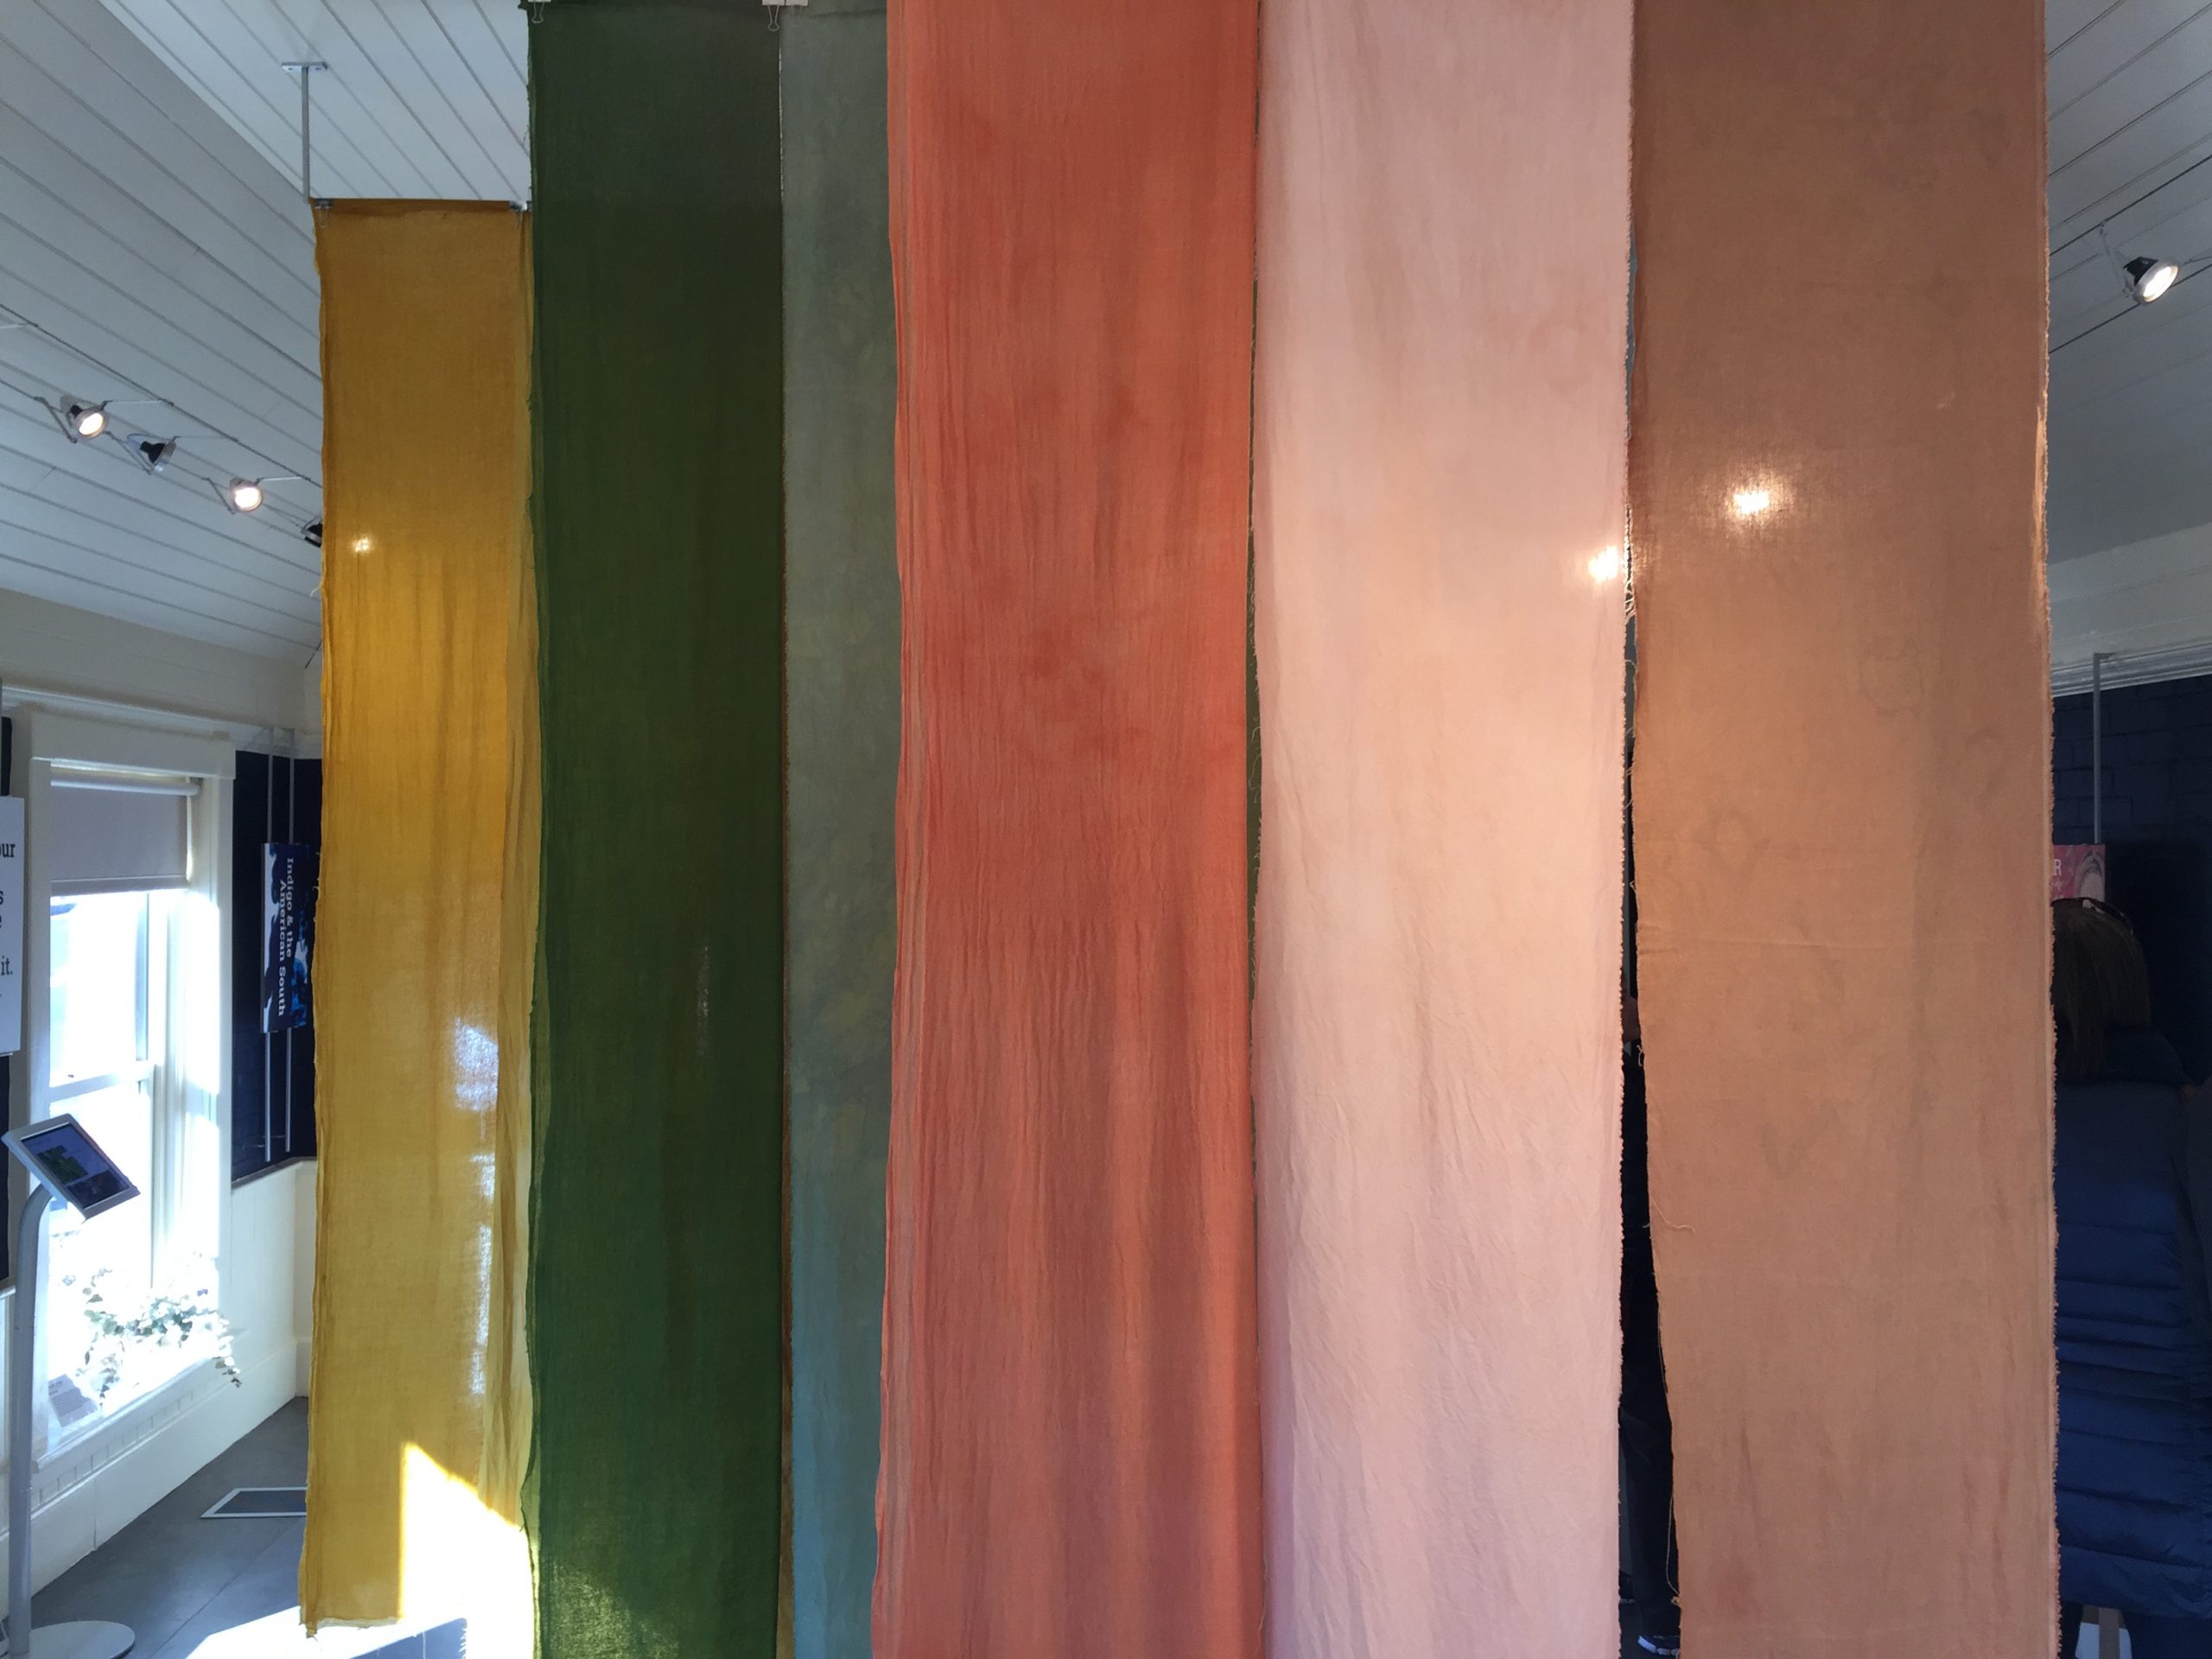
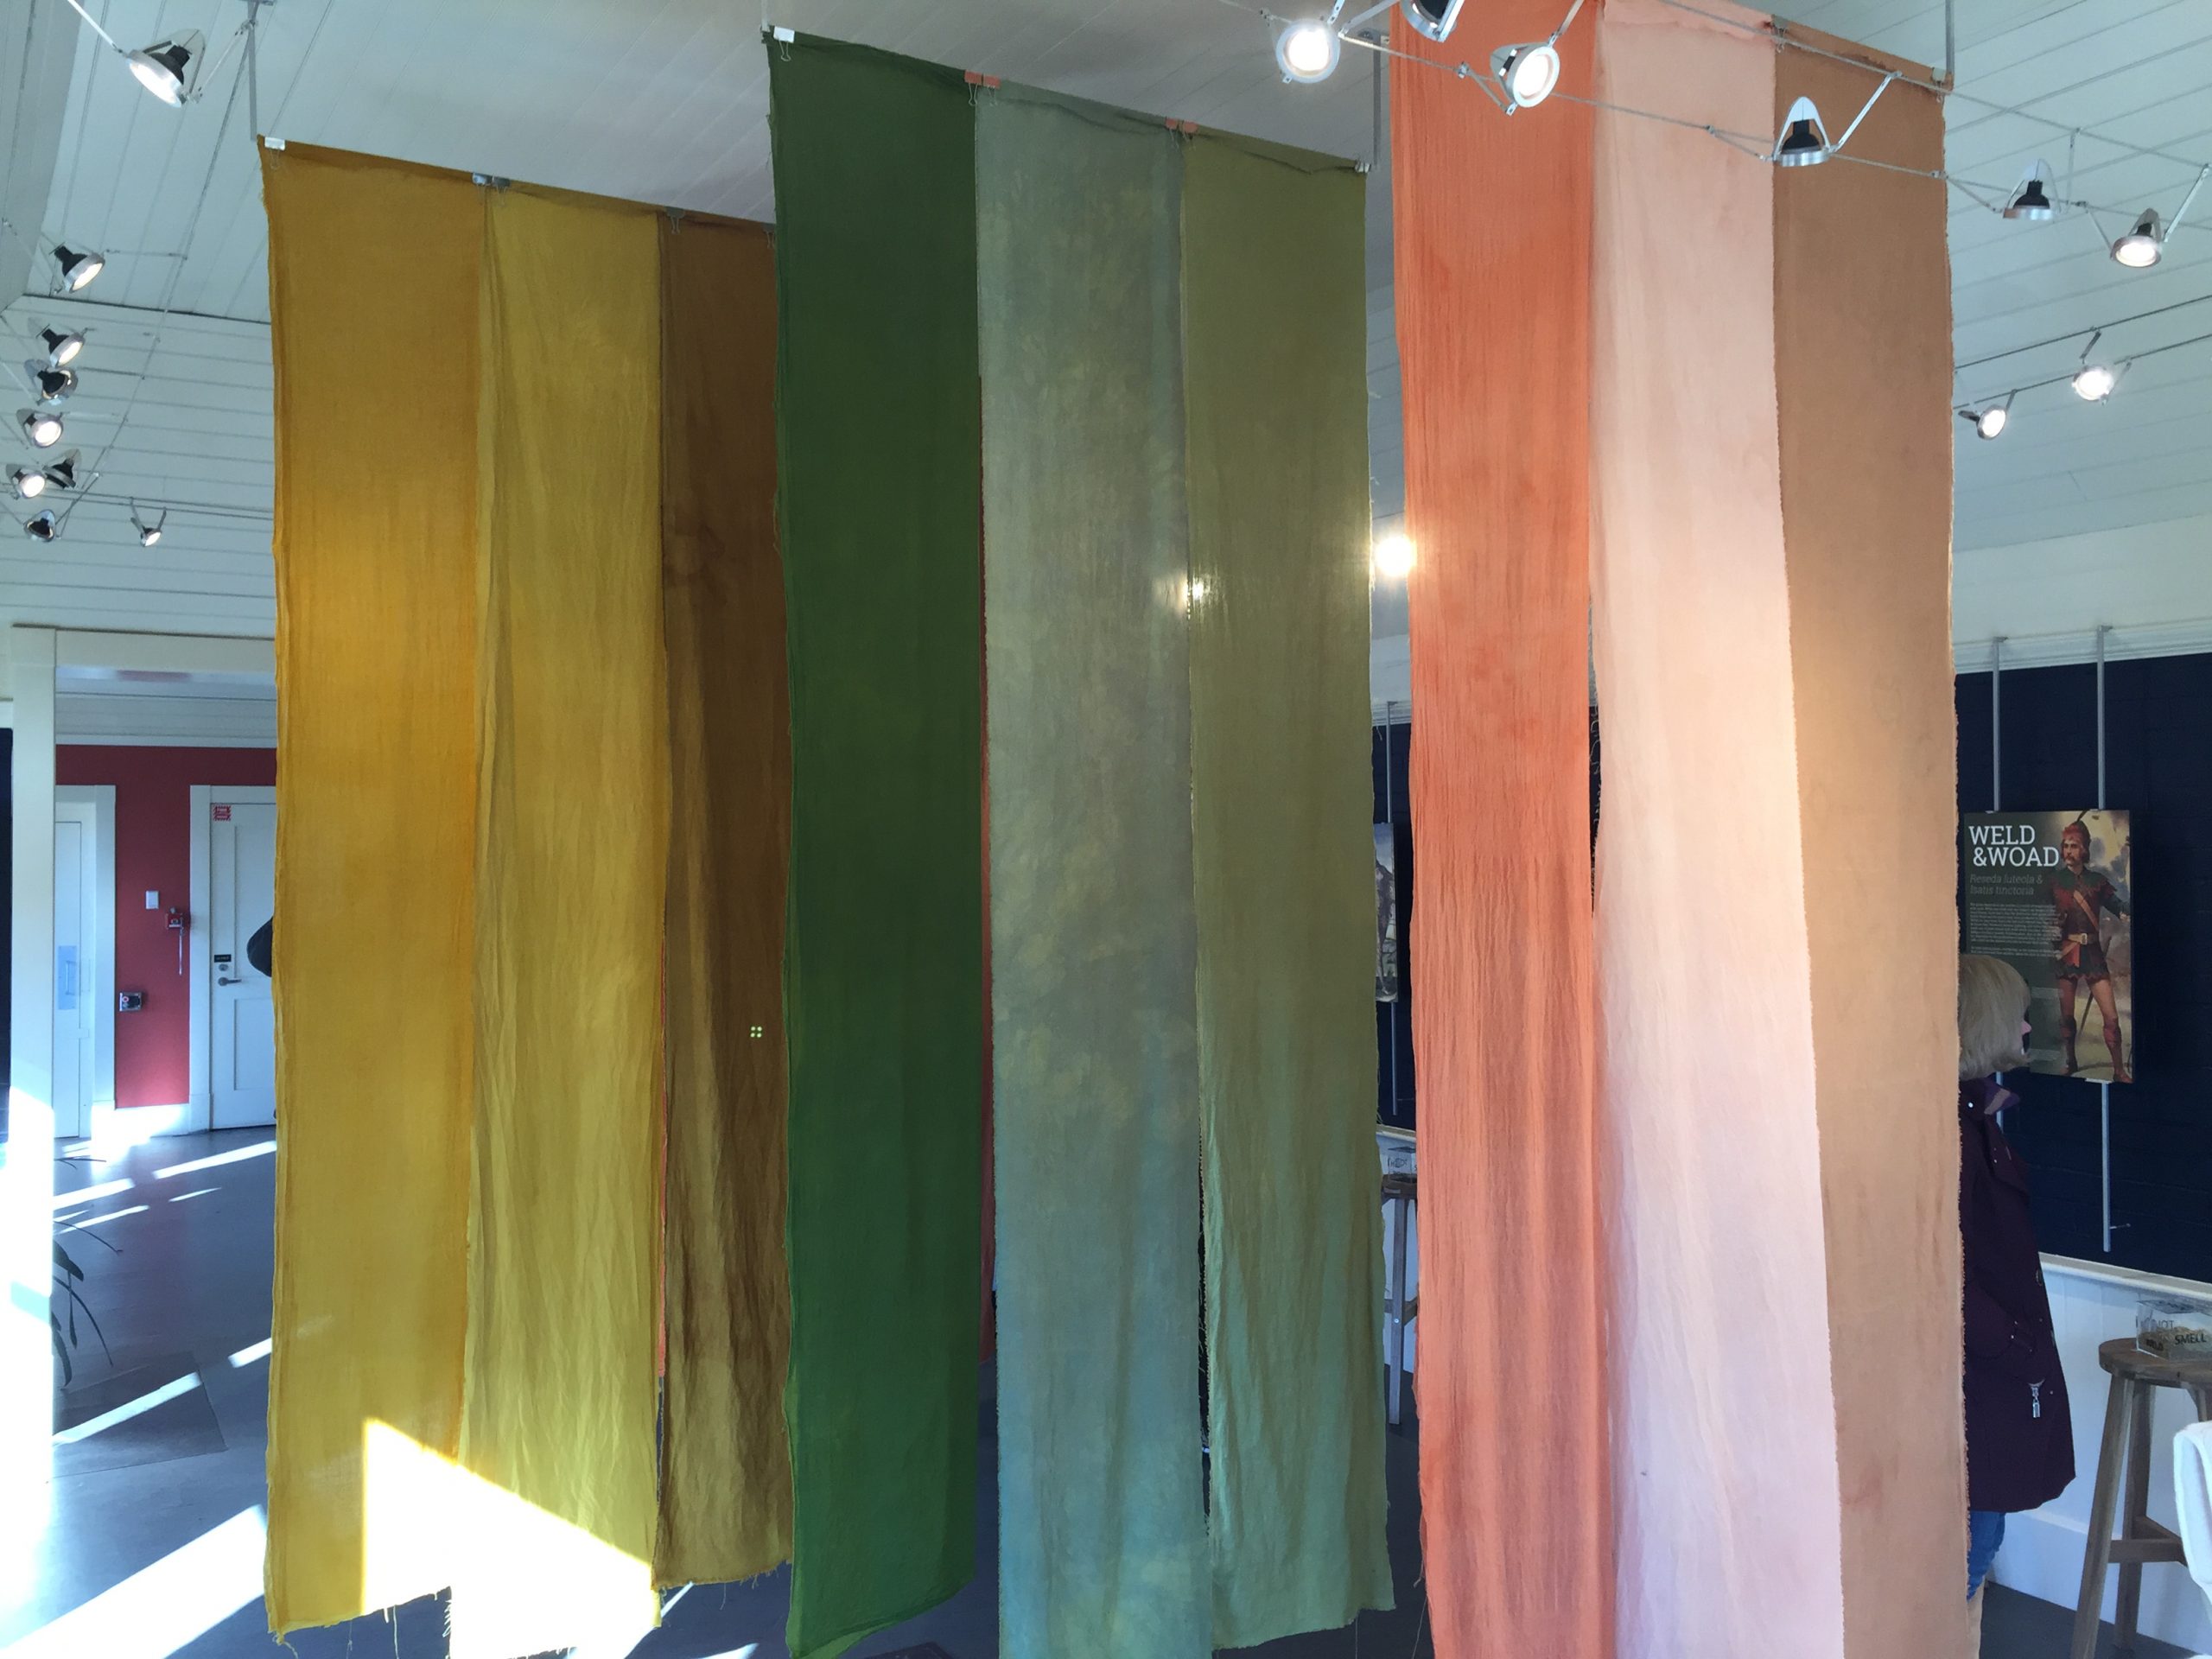
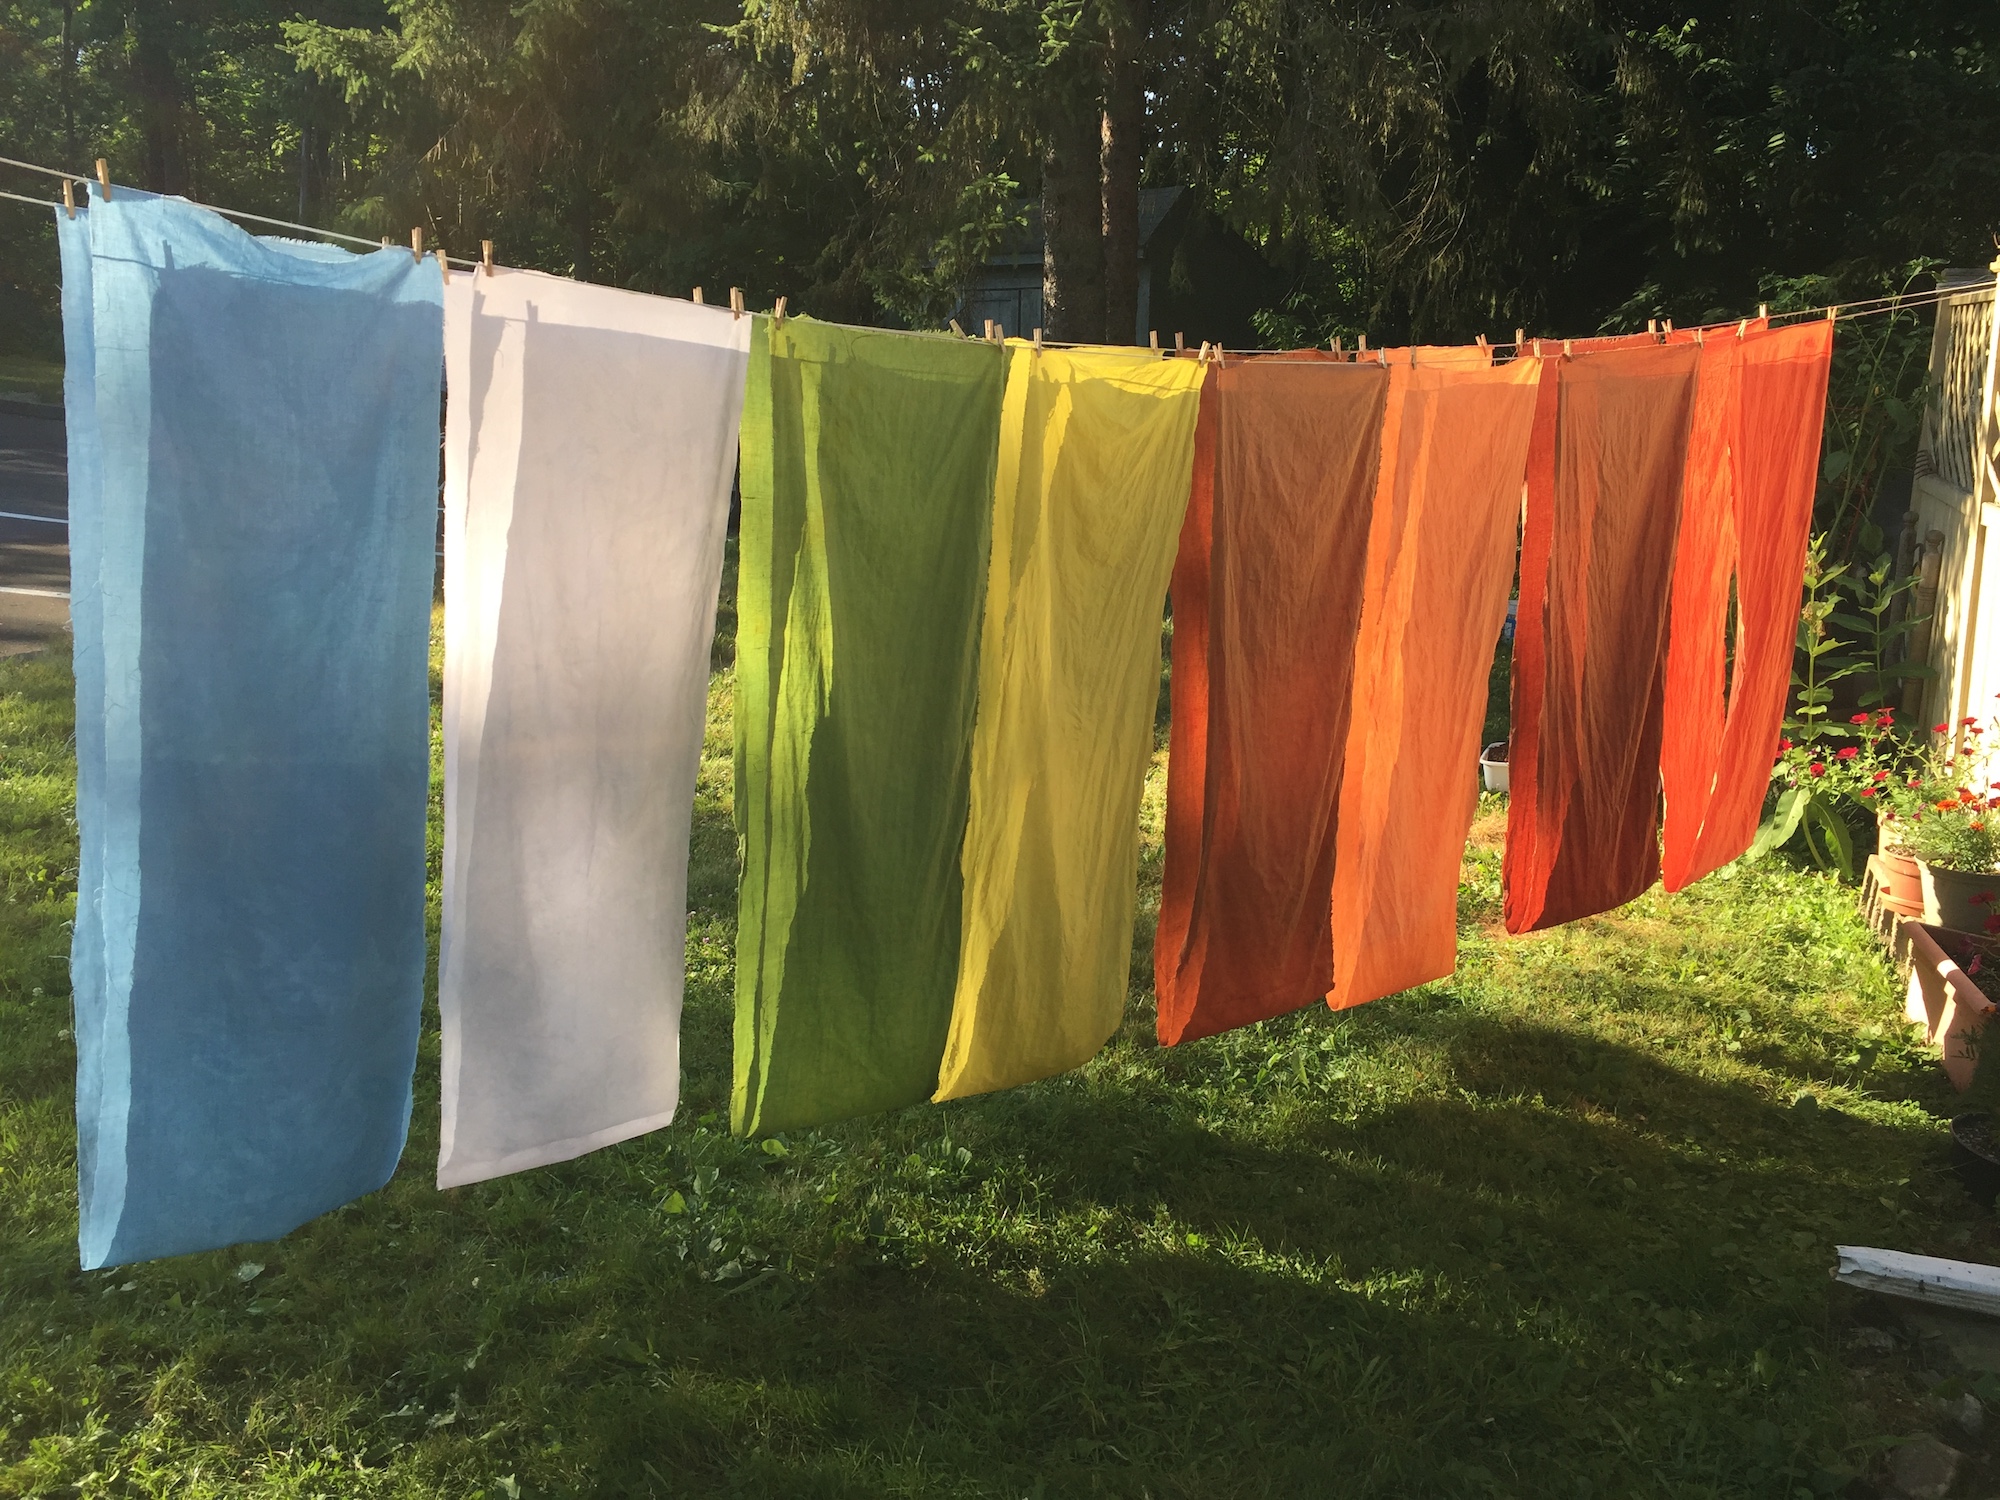
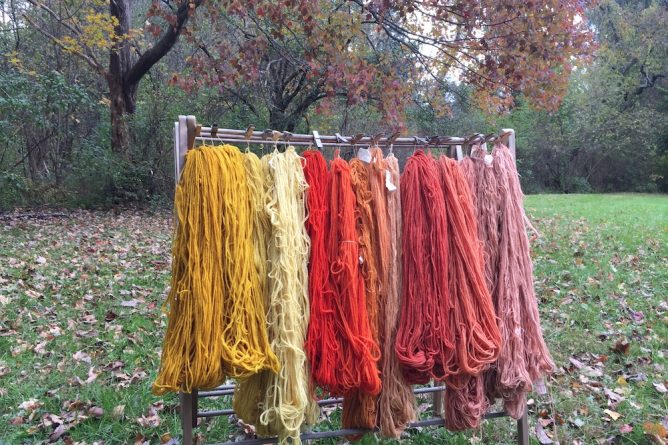
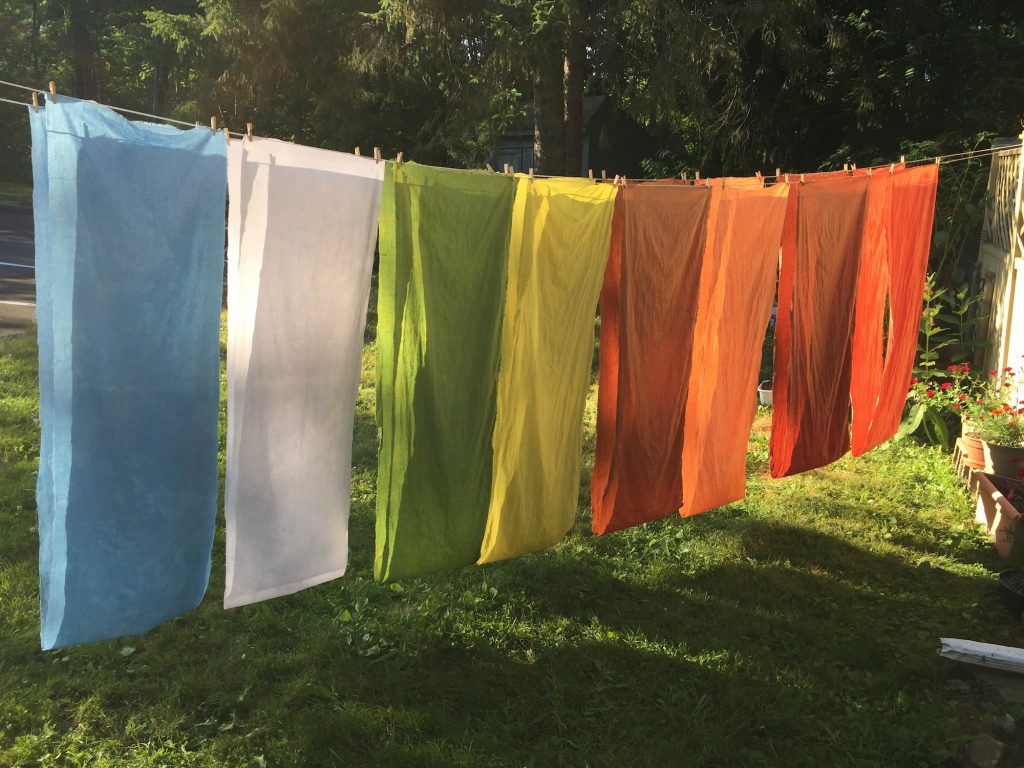
Here are the 9-foot pieces from that week hanging on the line on Saturday afternoon once they were all rinsed. I ended up overdyeing the silk pieces in a later woad vat:

Unfortunately, even though that weld bath was rich and luscious, it was so stinky that I couldn’t keep it for long. I ran a couple exhaust baths on woolen yarns with my Summerfun campers the following week at the Common School, but then they voted to throw it out due to its foul smell. It was great while it lasted!

Farm Aid Exhaust Baths

I have finally exhausted all the dye baths from Farm Aid! Here are some photos of the process, plus some of the ratios and measurements for each plant material. I didn’t keep close track of the times and temperatures during the demo itself because it was so busy. Each bath with the plant material heated for at least an hour, and some of them heated for longer.

As I mentioned in the first post, I used madder root, weld, orange cosmos, and marigolds. All the yarns at the demo were 4 ounces of 4-ply wool. They were pre-mordanted with aluminum sulfate at 1 tablespoon per 4 oz. fiber, and cream of tartar at 1 teaspoon per 4 oz. fiber. As I got further along with the exhaust process, I switched to alpaca yarns, pre-mordanted at the same ratios. All the exhaust baths were heated to about 140-160 degrees, kept at that temperature for an hour, then cooled overnight. Continue reading “Farm Aid Exhaust Baths”

Massachusetts Sheep and Woolcraft 2018

On Memorial Day Weekend I did a dyeing demonstration at Massachusetts Sheep and Woolcraft Fair in Cummington, MA. I’ve done demos there before, but this year was special. I was dyeing hand-spun yarns from a variety of sheep breeds, spun by Lisa Bertoldi of Weft Handwoven Linens, and supported by a grant from the Northeast Handspinners Association. (12/31/2023 Edited: Lisa’s website is no longer active, but you can read her bio on the Working Weavers Studio Trail website. Here’s a link to her old site, including some nice images of her dishtowels.)

Here was the table with examples of my own naturally dyed handspun yarns, some of my favorite books, fliers for the Northeast Handspinners Association, and a 6-pack of marigolds:

Continue reading “Massachusetts Sheep and Woolcraft 2018”

FIBERuary 2018

Since it has been so many months since I last posted, I am trying to catch up in chronological order. My last series of posts was from December 2017. This one is from February 2018.

Thanks to the efforts of Carole Adams of Whispering Pines Farm, and Liz Sorenson of Sheep and Shawl, among others, we have a new local tradition here in Western MA called FIBERuary. During the month of February, Carole features local fiber farmers and fiber artists on the FIBERuary blog, and Liz hosts a speaker series at her shop in South Deerfield, MA. (12/31/2023 Edited: Carole is sorely missed here in Western MA, may she rest in peace. Here’s a link to her old blog where you can read up about her adventurous life. Sheep and Shawl is now a virtual storefront on Etsy, but you can still take classes with Liz at Hill Institute.)

I have been a contributor to the FIBERuary blog on a couple occasions, and a speaker at their speaker series. In these hot and humid days of August, I decided to share an expanded version of the post I wrote this February. It’s about one of my favorite dye plants, weld: Continue reading “FIBERuary 2018”

Inside-Outside Part Two

In this post I will describe more details about the dyebaths we made at the Inside-Outside Conference in Keene on October 21st. We ran four dyebaths with madder root, marigolds, weld, and orange cosmos.  As usual when I am running or leading an event, I didn’t get any photos. Hopefully the notes provided here will be useful even if they are lacking in visual information.

First of all, the fiber we were dyeing was woolen yarn. We dyed four skeins, each of which was 4 oz. I had pre-mordanted the skeins many weeks earlier with aluminum sulfate at a rate of 2 Tbsp. per 8 oz. (2 skeins could fit in a pot). The skeins had dried in the meanwhile, and had been soaked in water on the day of the workshop to “wet them out”, i.e. make sure they were thoroughly wet before dyeing. Continue reading “Inside-Outside Part Two”

Inside-Outside

On October 21st, 2017 I presented a workshop on growing and using dye plants with kids at the Inside-Outside Conference in Keene, NH. The conference was a collaboration of several local organizations, including Antioch University New England, the Monadnock Region Placed-Based Education Committee, the Harris Center for Conservation Education, the Caterpillar Lab, Symonds Elementary School (where the conference was held), and the Keene School District. The theme was “Promising Practices in Nature- and Place-Based Elementary Education.” You can view the brochure by clicking this link Inside Outside 091817.

The audience was K-6 educators from a variety of educational settings. I don’t mention this very often on this blog, but I actually am a teacher! I co-teach in a combined first and second grade at the Common School in Amherst, MA, where I’ve been working since 2004. Most of the time, I am in the classroom doing all the usual academic things: reading, writing, word study, math, science, social studies, arts and crafts. I do fiber and dye projects with kids when I can, and the rest of the time I squeeze it in on weekends and vacations. Continue reading “Inside-Outside”

Woad, Weld, Rain and Humidity

It is now mid-July, a time of year which is inevitably humid here in Massachusetts and often rainy. It is also a peak time of year for harvesting many dye plants. The problem is, when it’s humid and/or rainy, where do you hang them up to dry? Not outdoors….

Here are the woad seeds I saved from the dye plant and fiber plant garden at Bramble Hill Farm. This was from just two or three plants, harvested on July 2, 2015. We had been having a dry spell and they had almost entirely dried on the plants before I cut them off. Yes, I do already have a lifetime supply of woad seeds, and yes, they stay viable for a pretty long time. But here’s my crop of woad seeds for 2015. They are very beautiful, in my opinion.

July 2 woad seed harvest Continue reading “Woad, Weld, Rain and Humidity”

Weld Harvest

Way back on October 5th, a Sunday, we had a frost warning. I had a shift at the Shelburne Arts Co-op that day, so my time for gardening was limited. In the morning I went over to the garden at Bramble Hill to assess the situation and do triage. I decided to go back to the garden after my shift to cover the Japanese indigo plants because I was hoping to nurse them along for a while to let the seed mature. More on that later.

I did not think it would be possible to cover the hugely tall weld plants, and I could also tell that plenty of seeds had matured on the weld already. I think I have written about this before, but just as a refresher I will remind readers that weld flowers keep growing off of the same stalk throughout the season. At harvest time, the tips will still be in bloom while the oldest seed heads at the base of the flower stalk will be mature. Only black weld seeds are viable. Every other color of seed, from brown to yellow, gets tossed in with the flowering tops, leaves, and stalks for the dye pot. Continue reading “Weld Harvest”