The Woad That (Almost) Wasn’t

Let me just start this post by acknowledging that I might be jinxing myself by writing it. But here goes anyway.

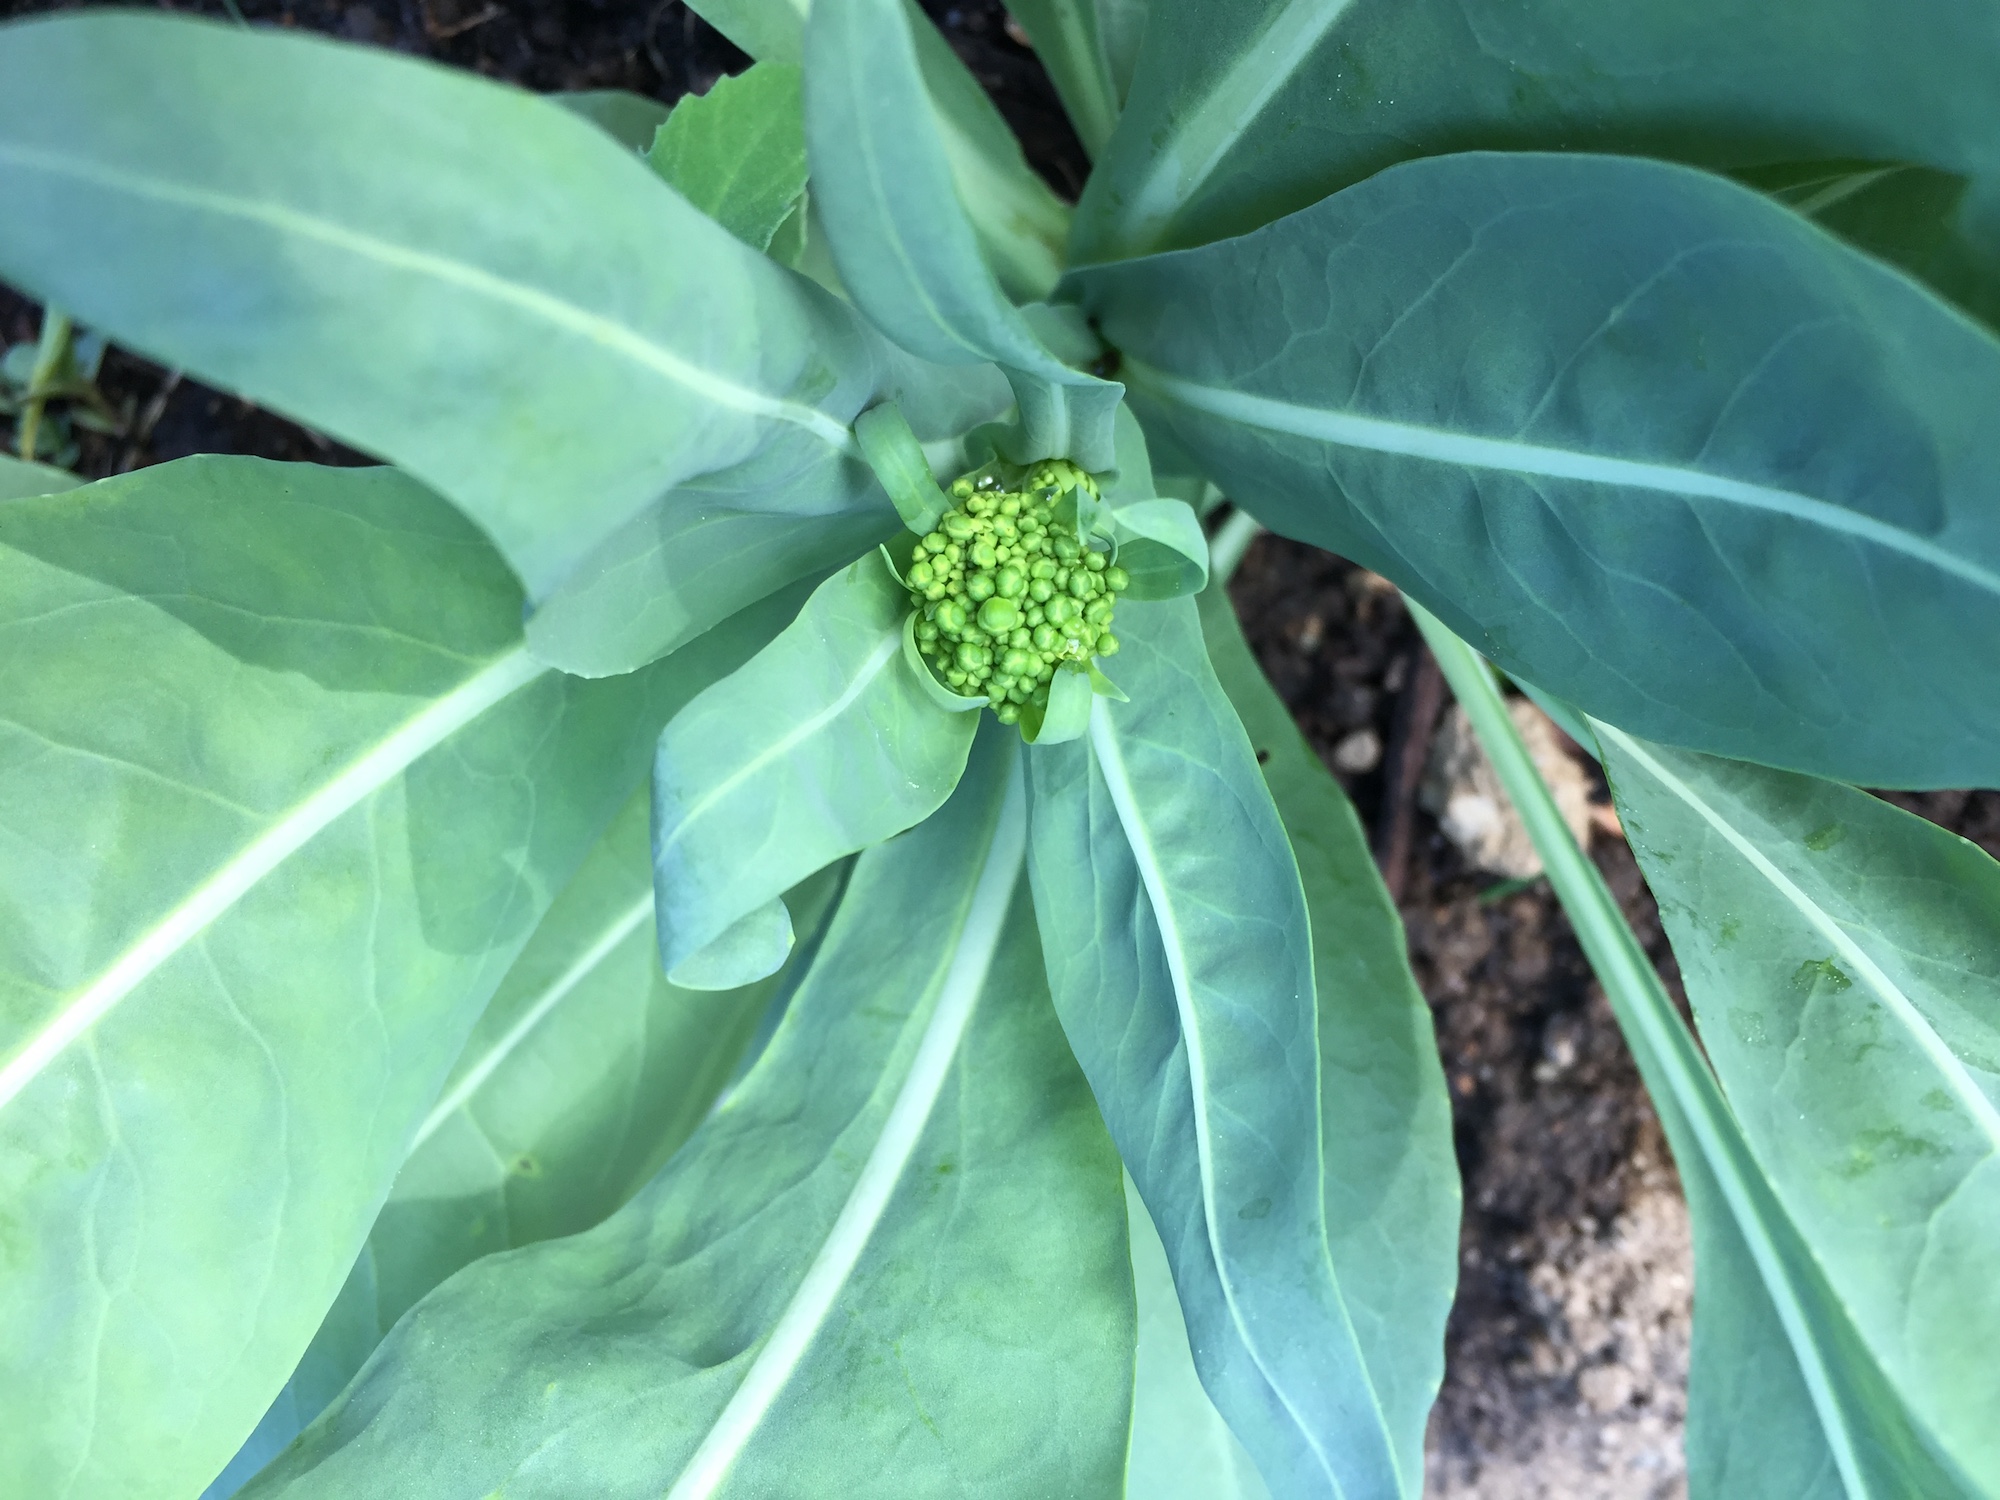
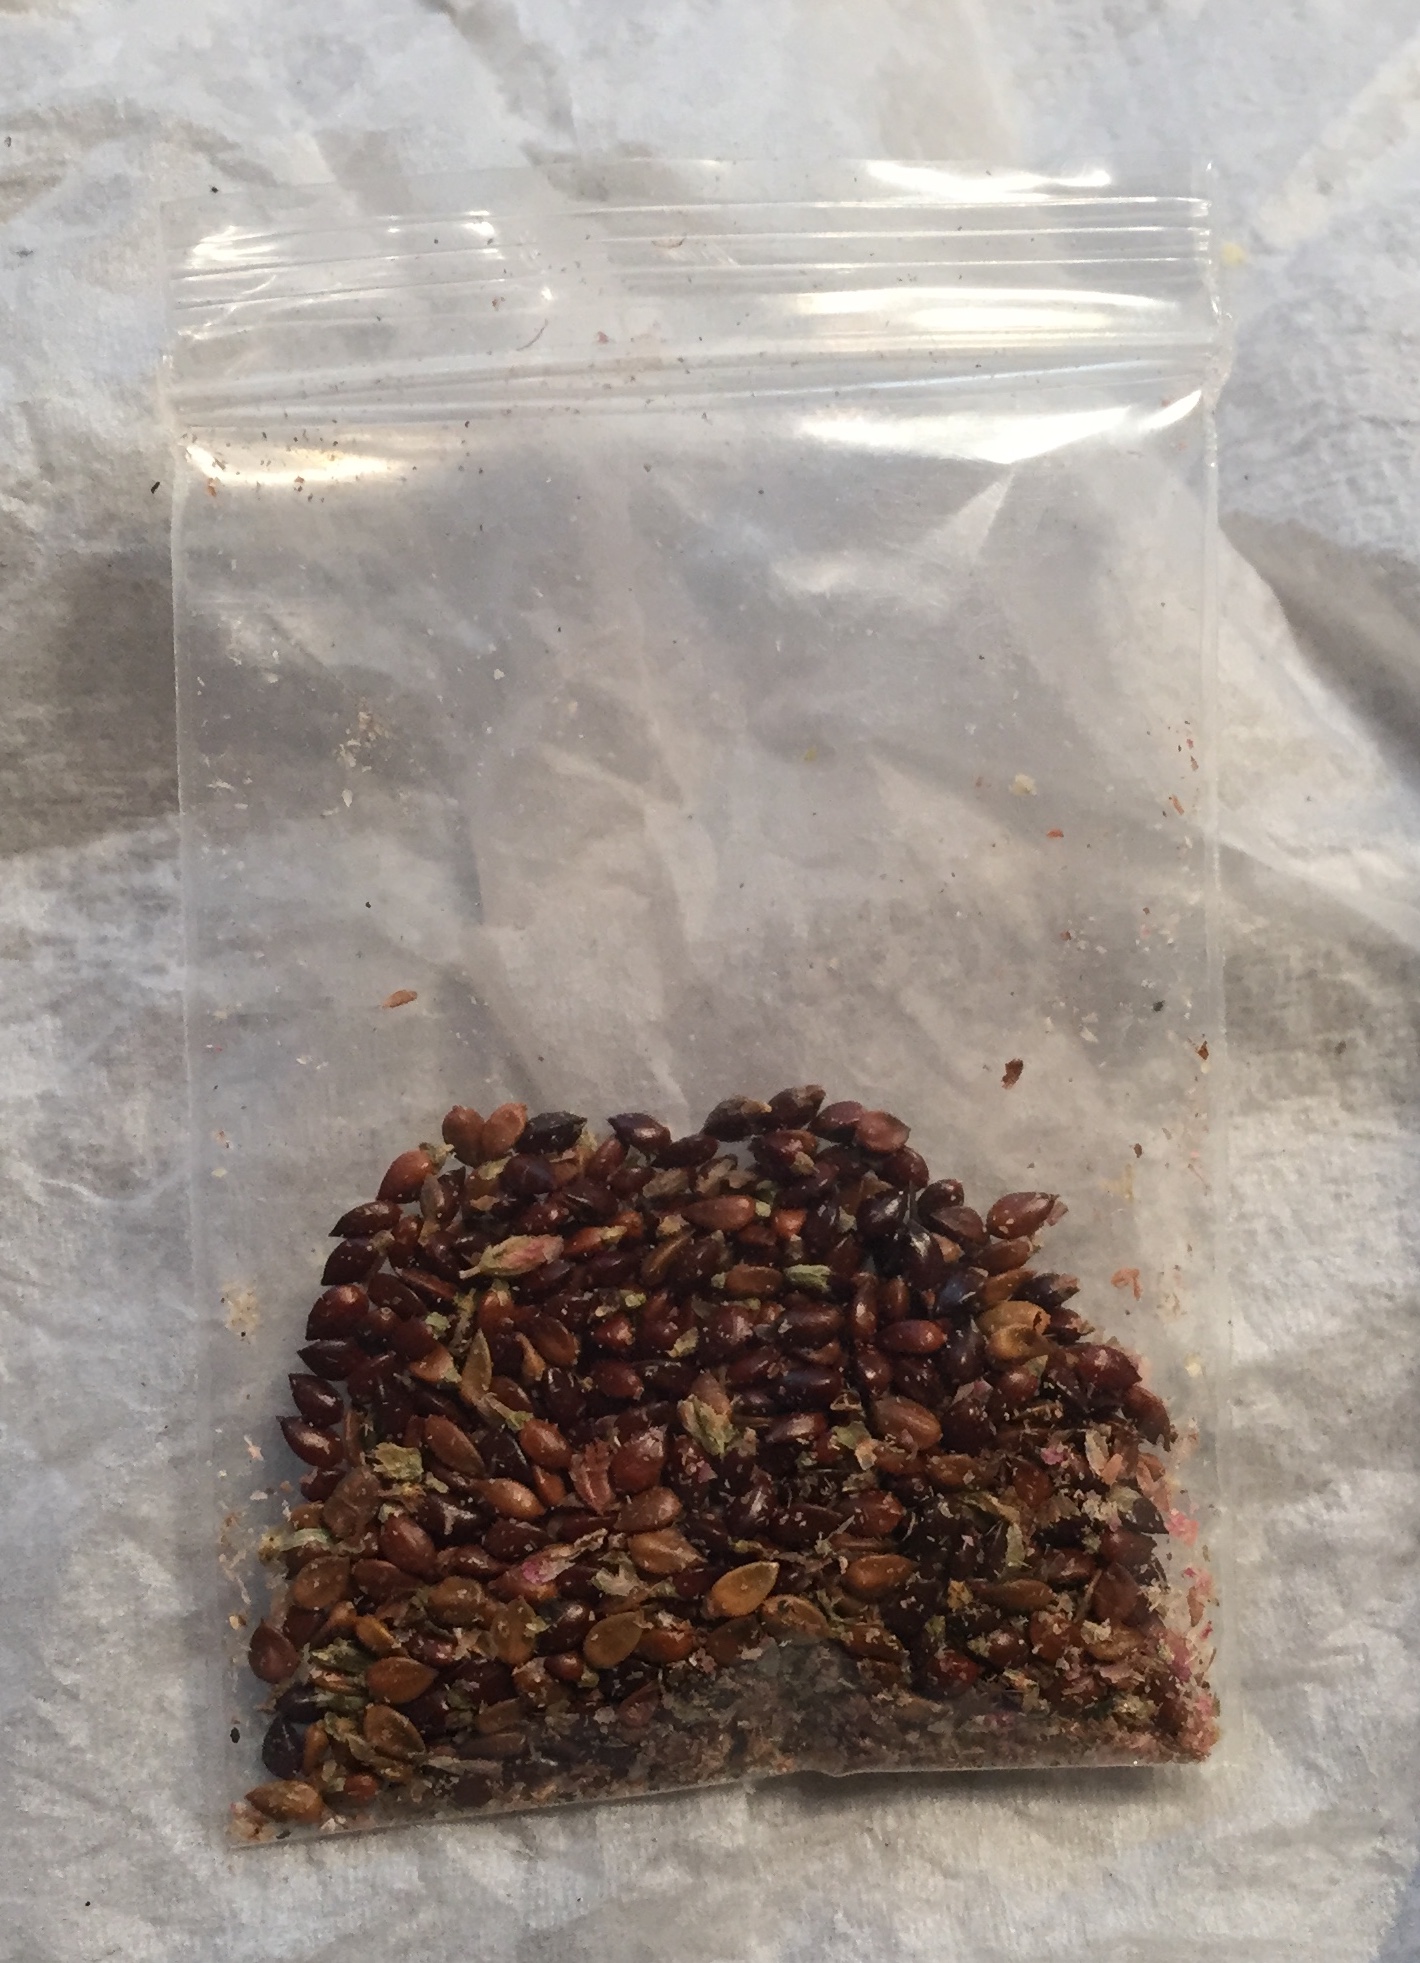
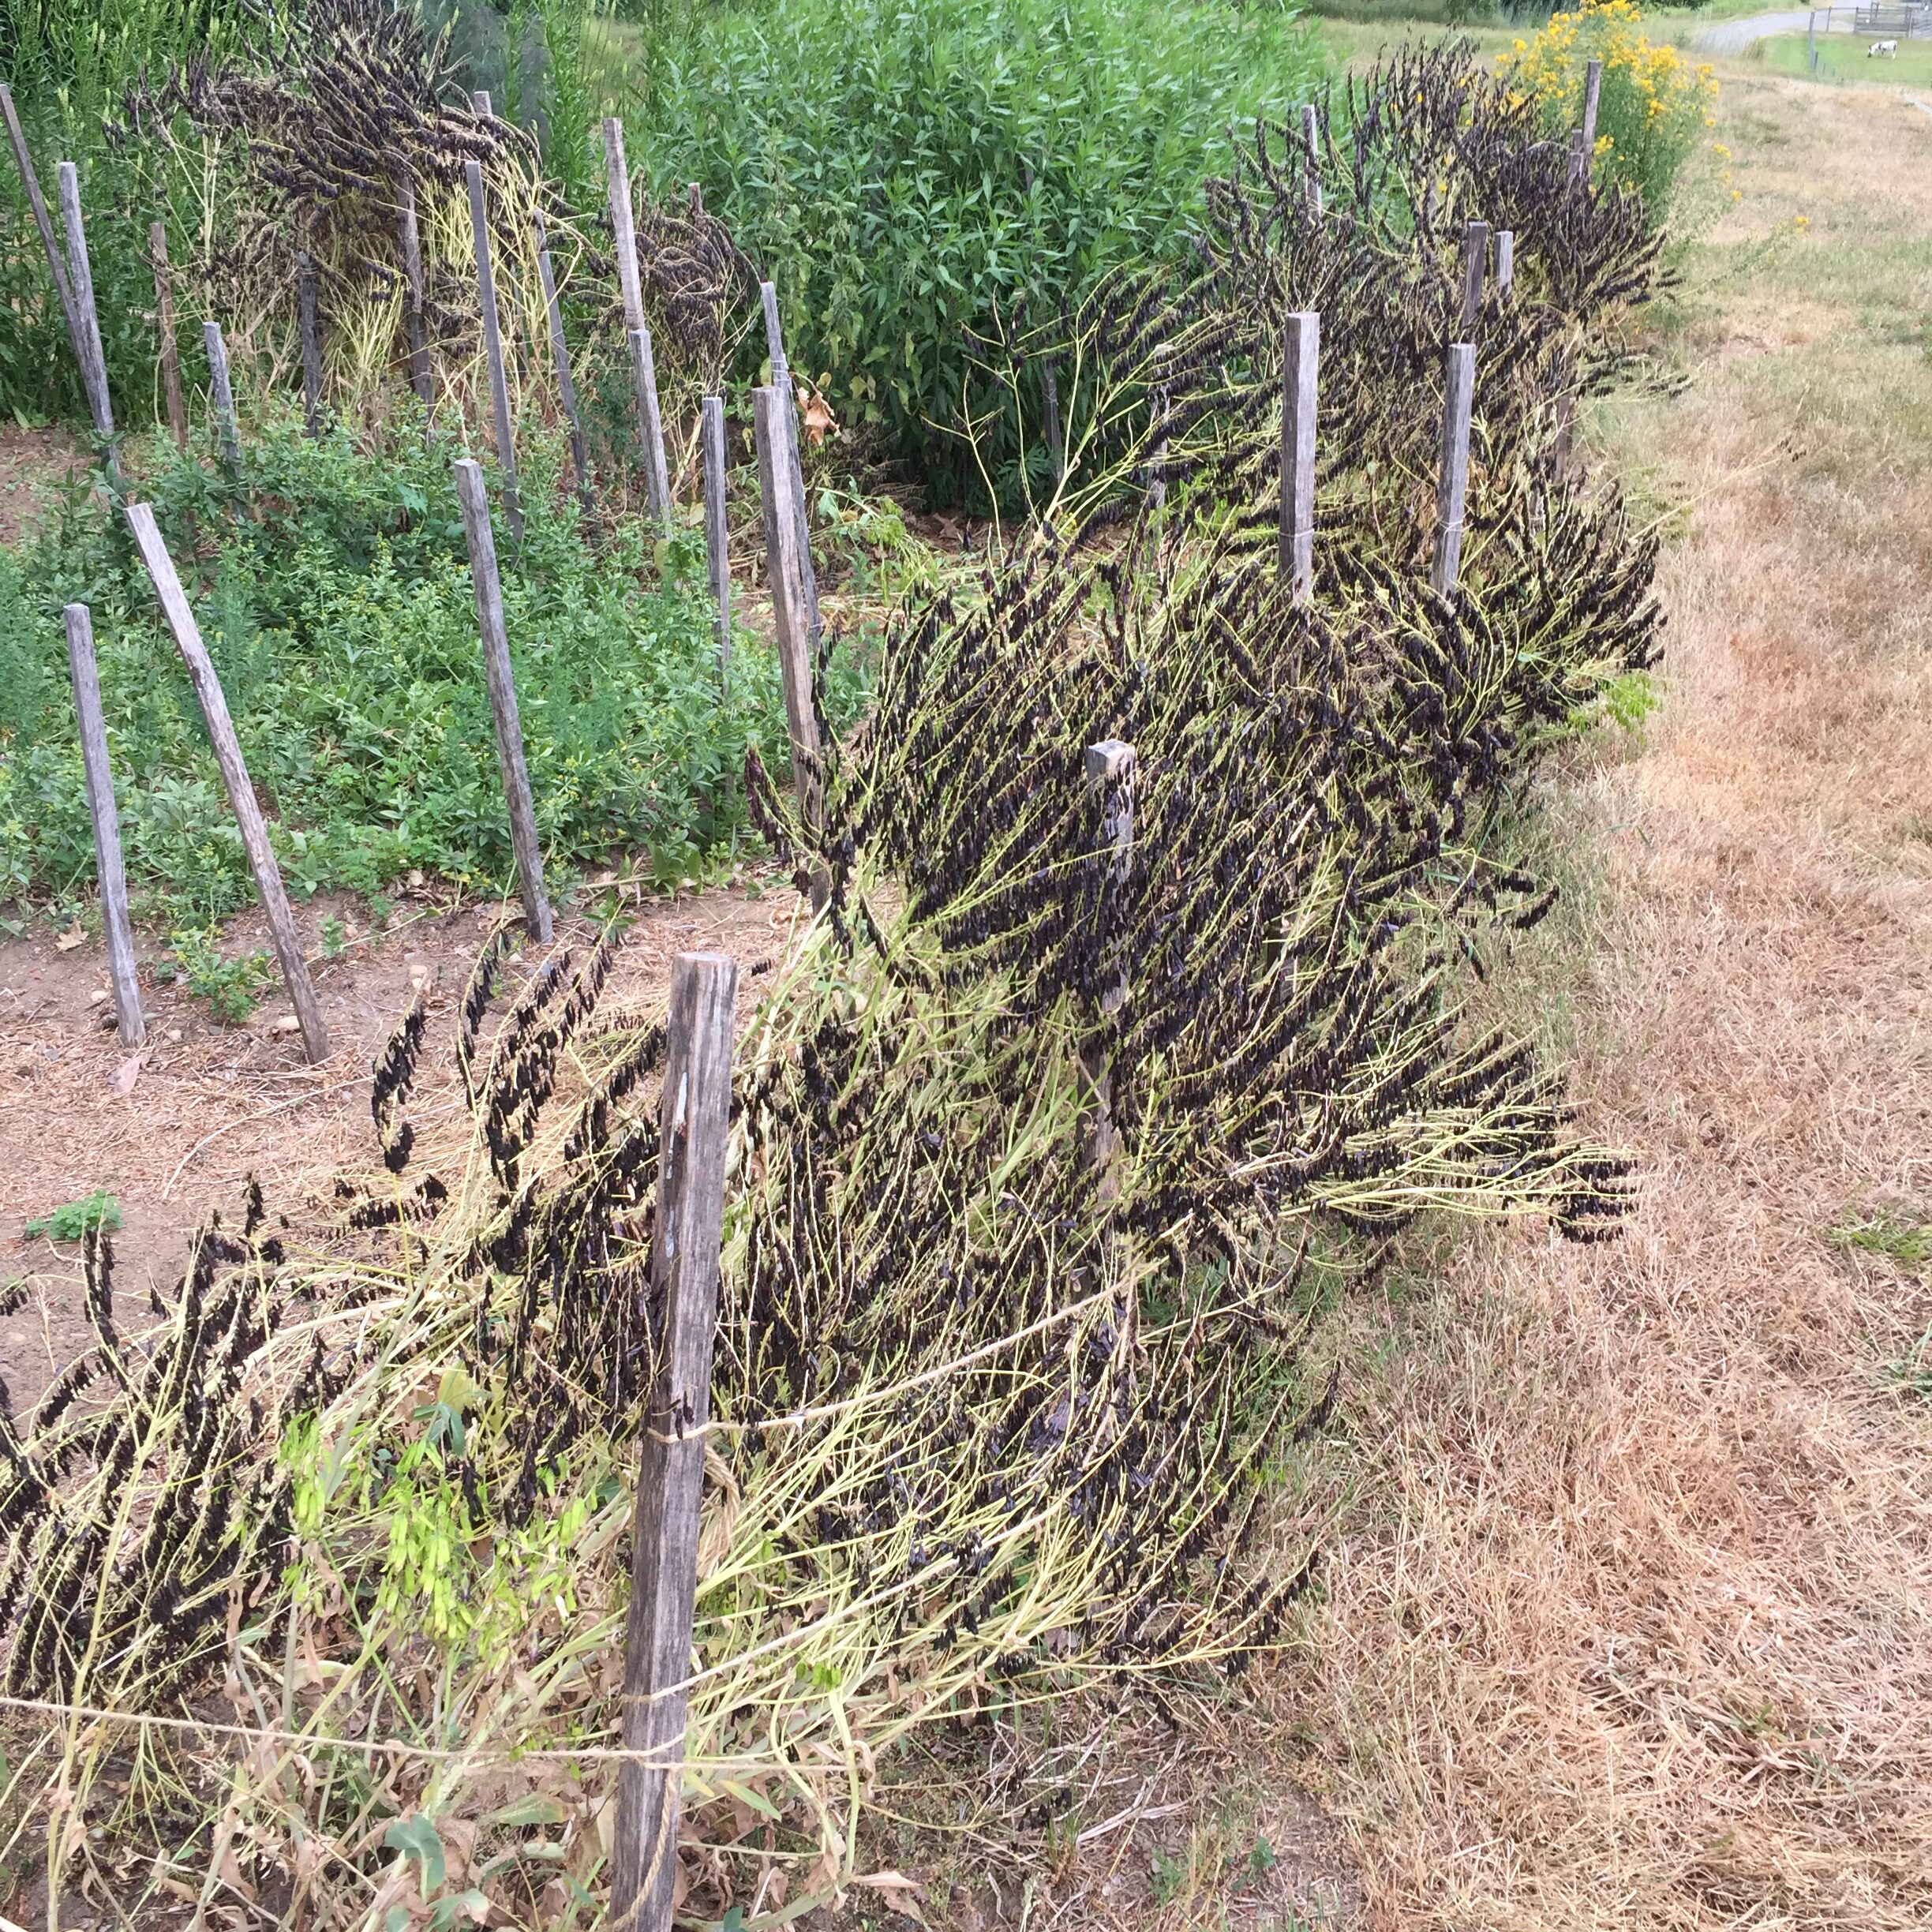
At the end of June I harvested woad seeds. I already have way more woad seeds than any sensible person needs. They are so beautiful I just like to watch them mature, so now I have even more.

A couple days after that, I dug over the bed, added compost, and planted more woad. In the same bed. Yes, I do know better than that, but I did it anyway. I hadn’t done a good job of planning out the location and rotation of the various beds this year, and all the other beds were full of other things. Even in a small garden, rotating beds is important. Crop rotation helps to keep the soil nutrients from getting depleted (because different plants have different nutrient demands) and helps to interrupt disease and pest cycles.

So, my first mistake was to plant woad, a nitrogen guzzling brassica with a host of possible diseases and pests, in the same bed two years in a row. I thought the compost would help with the nutrient issue, and hoped for the best.

The best did not occur. I got excellent germination, then the seedlings just disappeared overnight. Poof! Alien abduction! Or fairies. I replanted several times. Same problem. Having made my “bed” so to speak, I now had to figure out how to make the best of a bad situation.

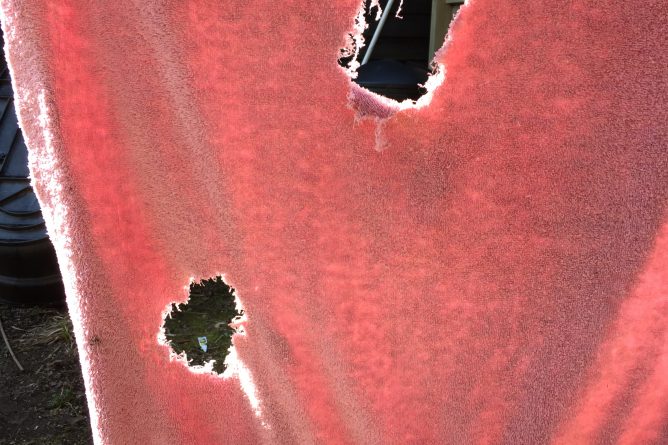
We had an extended dry spell in the spring and early summer, then in July we had some very hot weather. I thought the seedlings were drying out in between waterings. So, on July 18th I rigged up a little shade canopy with heavy-weight row cover.

I left the bottom open for air circulation and easy watering access. I increased my watering schedule from once a day to twice a day, morning and evening.

This did not solve the problem. Someone on my Instagram account commented that critters might be eating the seedlings. There are many, many rabbits this year, and they certainly might like a little nibble of tasty woad. OK, I do not actually know if it’s tasty, I have never tried it. But it’s a brassica, so it’s probably yummy to a bunny. Woad microgreens, even. A delicacy.

I moved the thicker row cover down to make a “fence” around the bed, and used clothes pegs to cover the top with lighter-weight row cover for shade. I continued with the twice-daily watering.

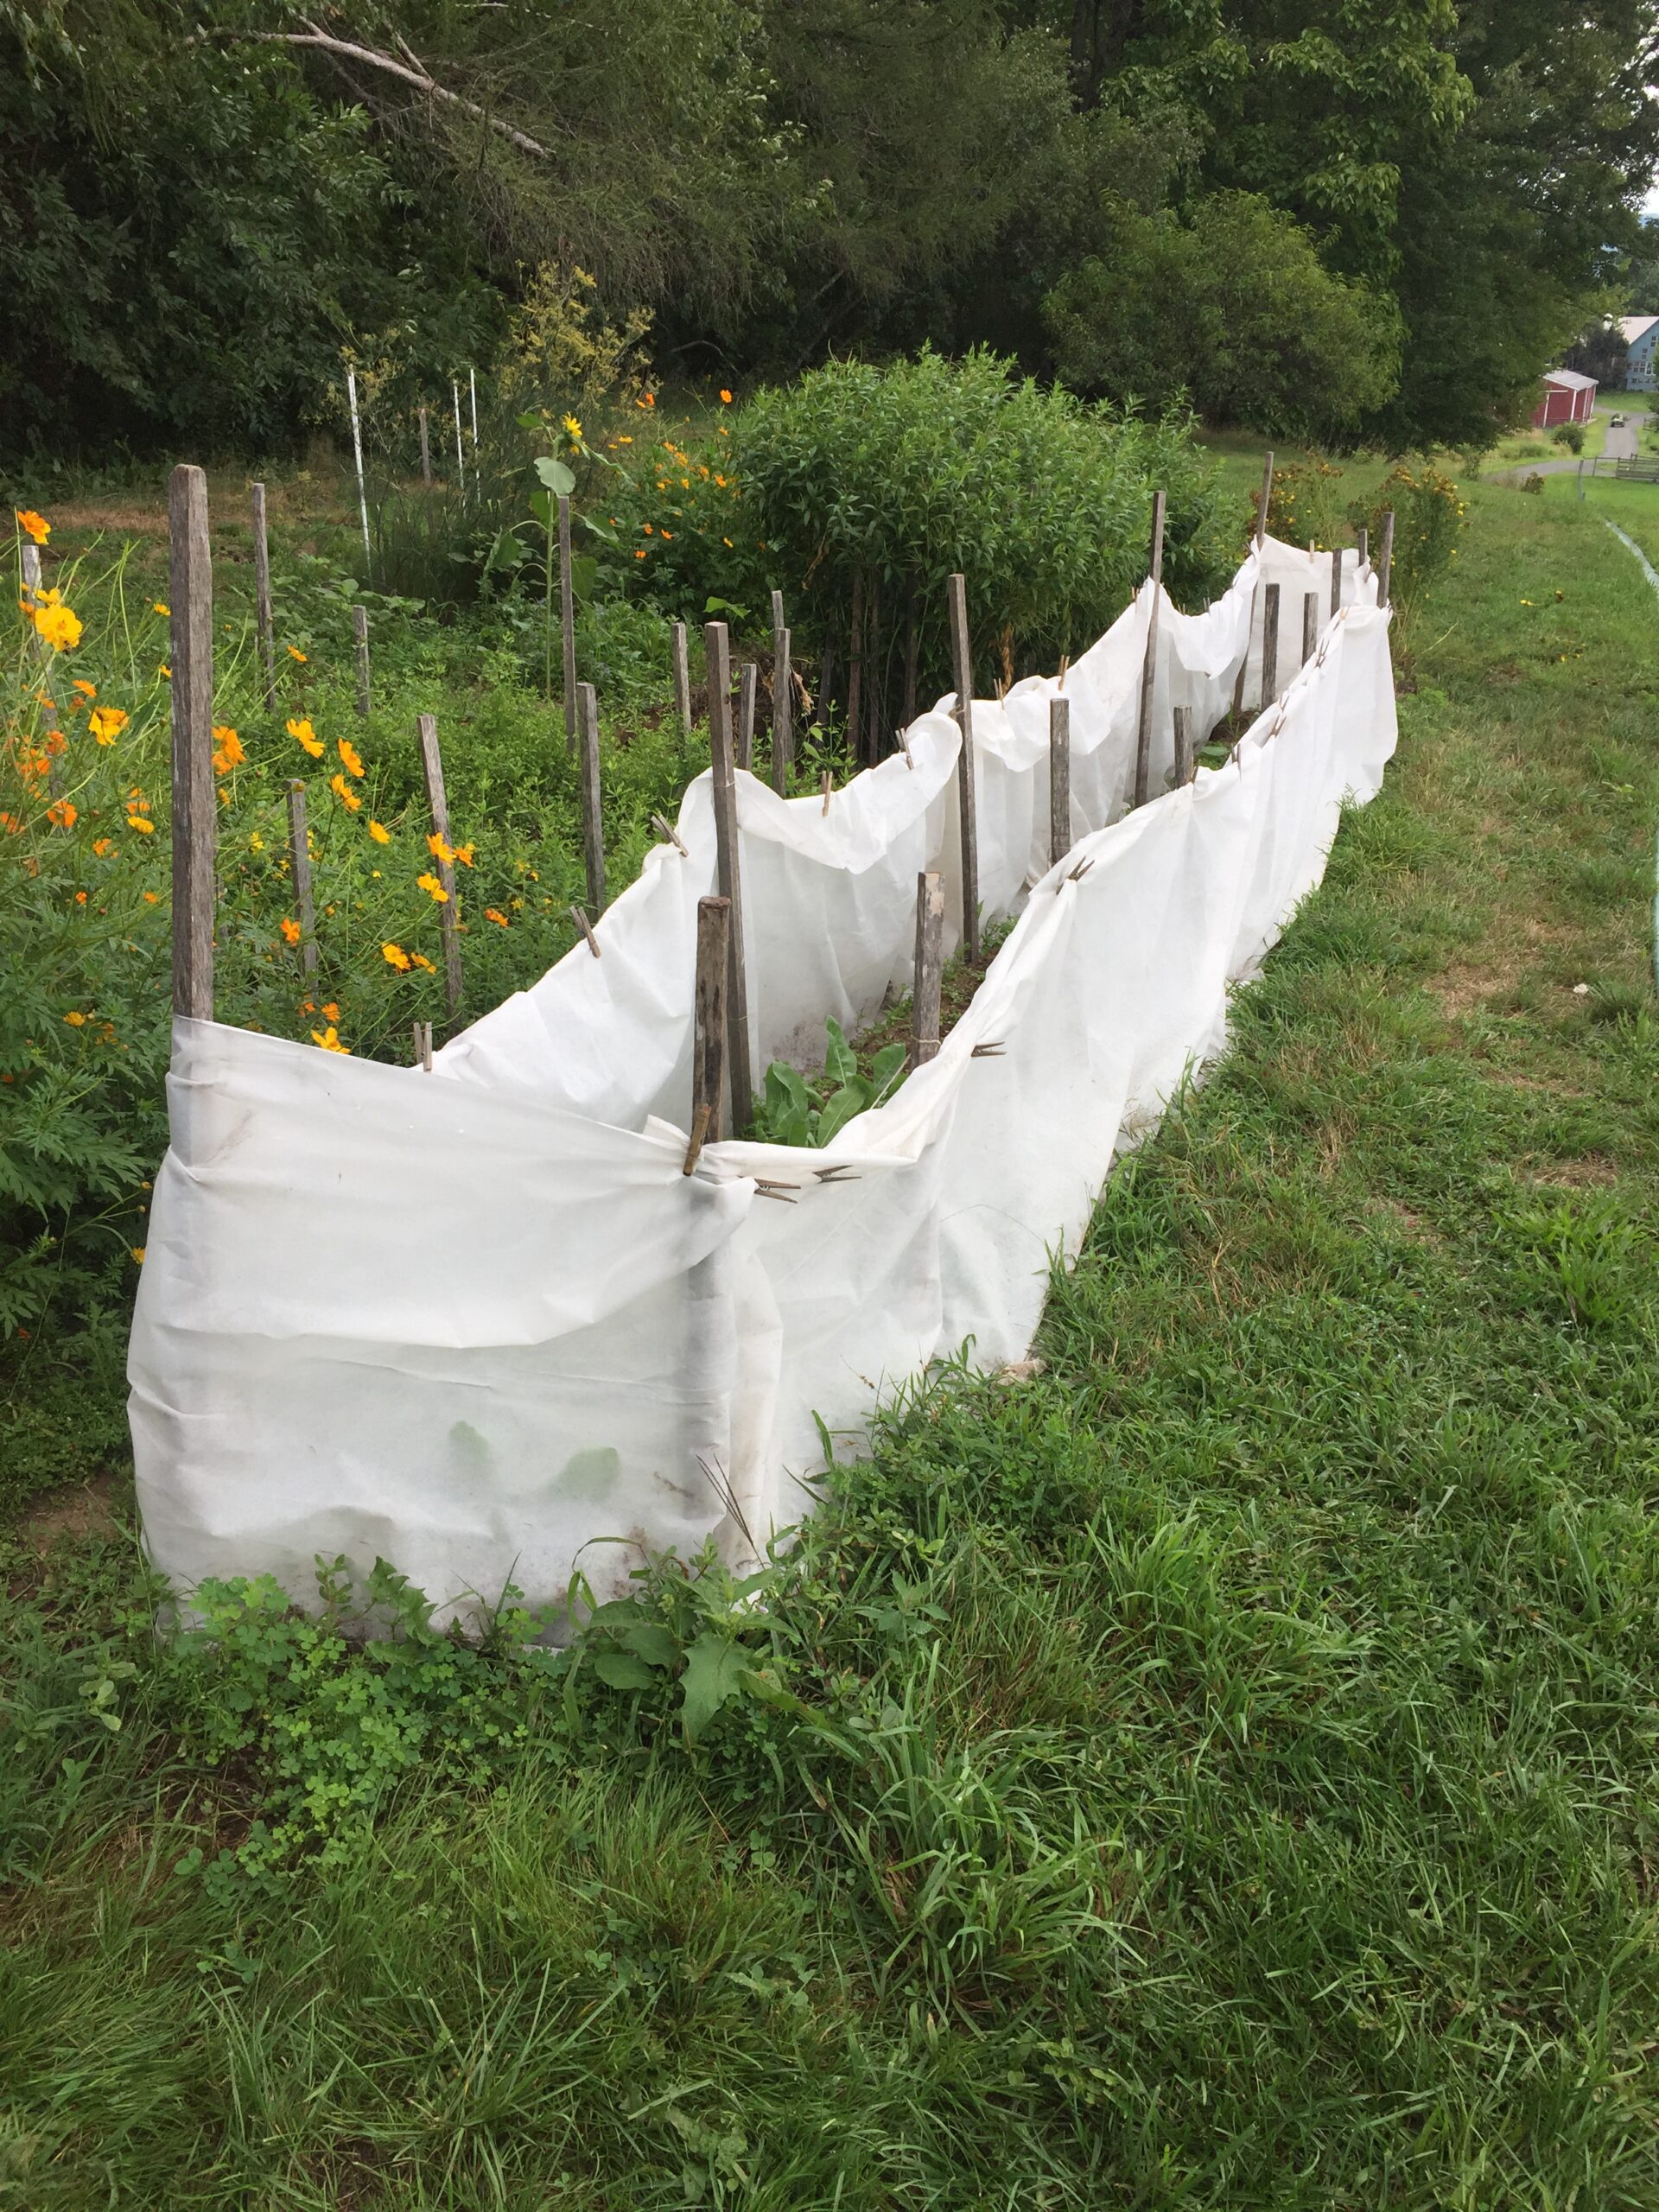
You’ll just have to imagine the row cover on top because for some reason I never took a photo of it.

This strategy did not help either. Successive re-plantings were still dying off.

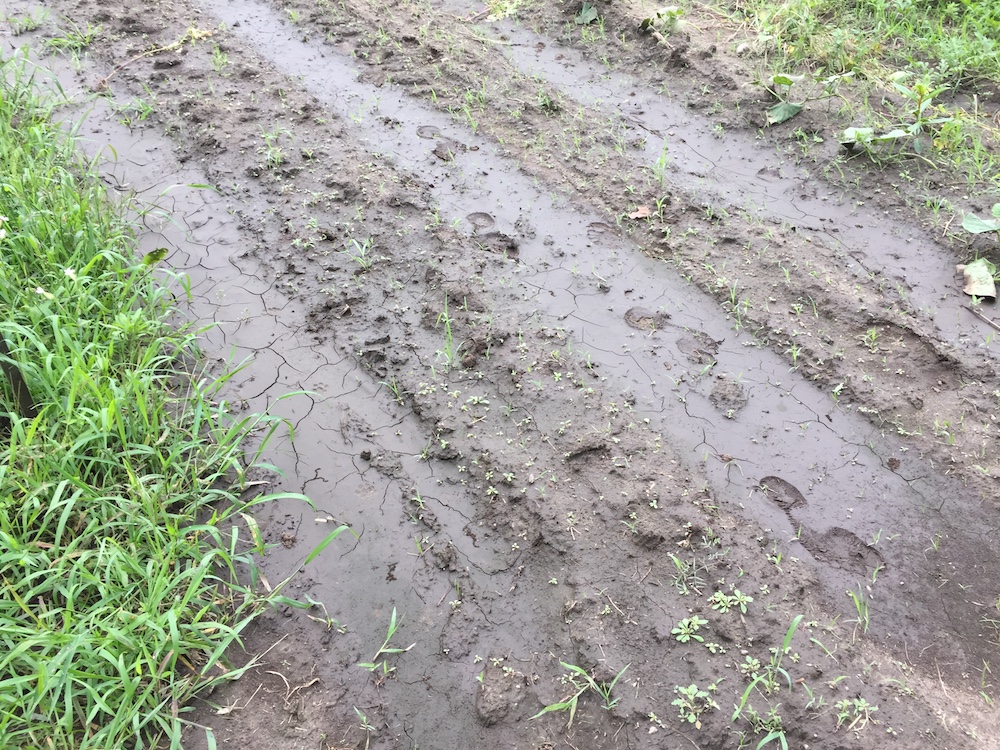
At least now I could rule out rabbit-nibbling. And I could rule out drying-out. There is no way the bed was drying out between waterings. In fact, it was very moist in there.

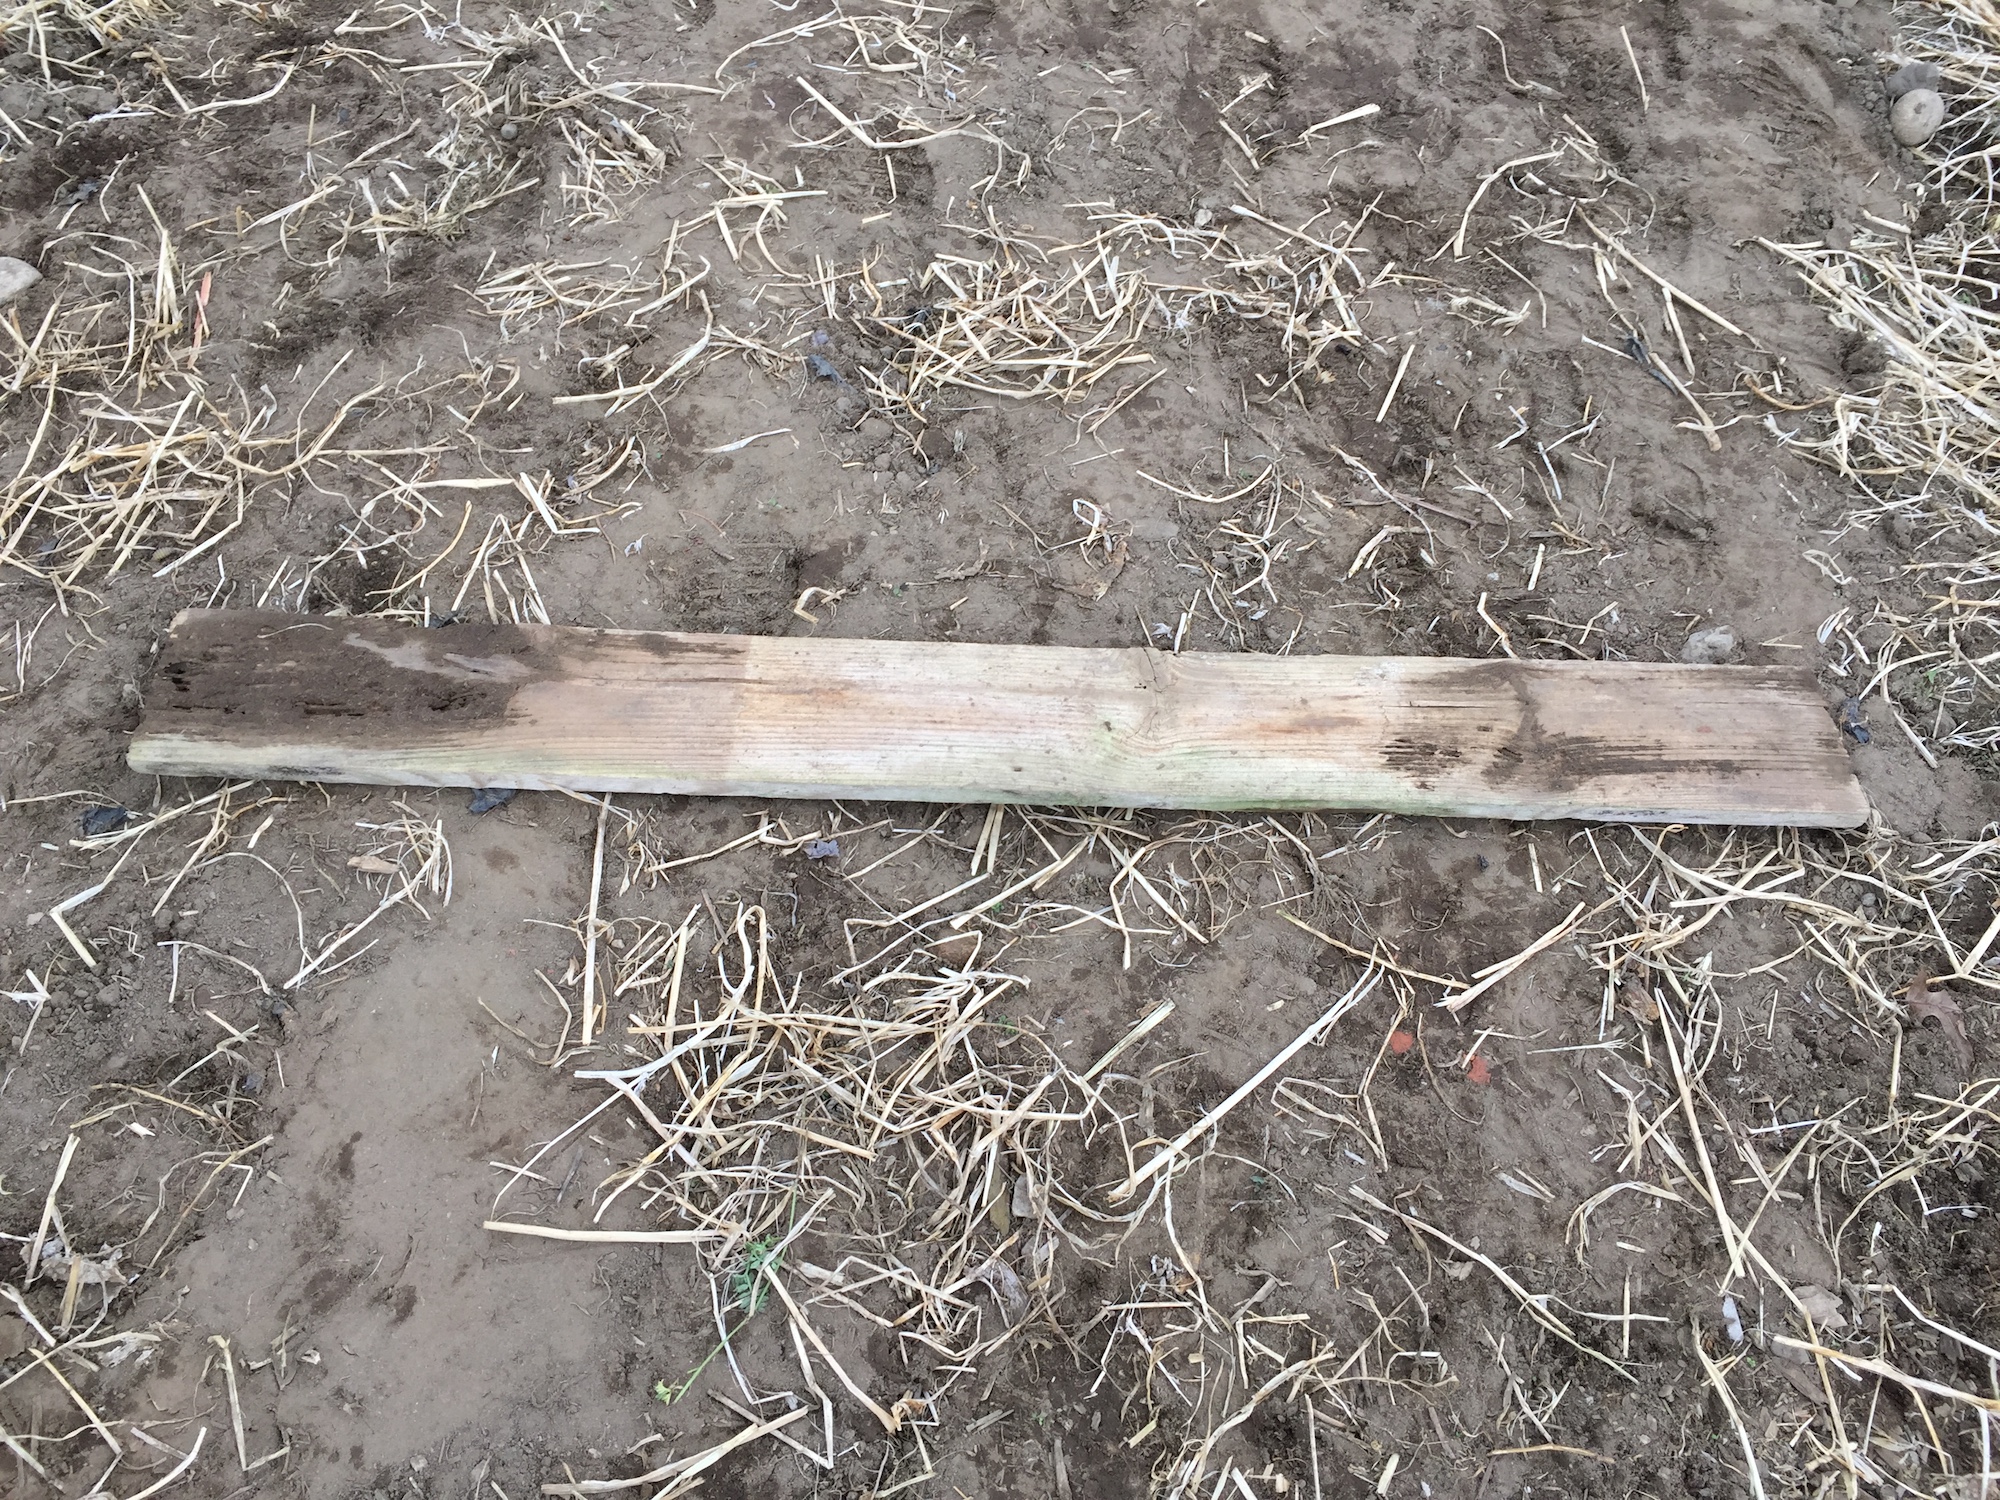
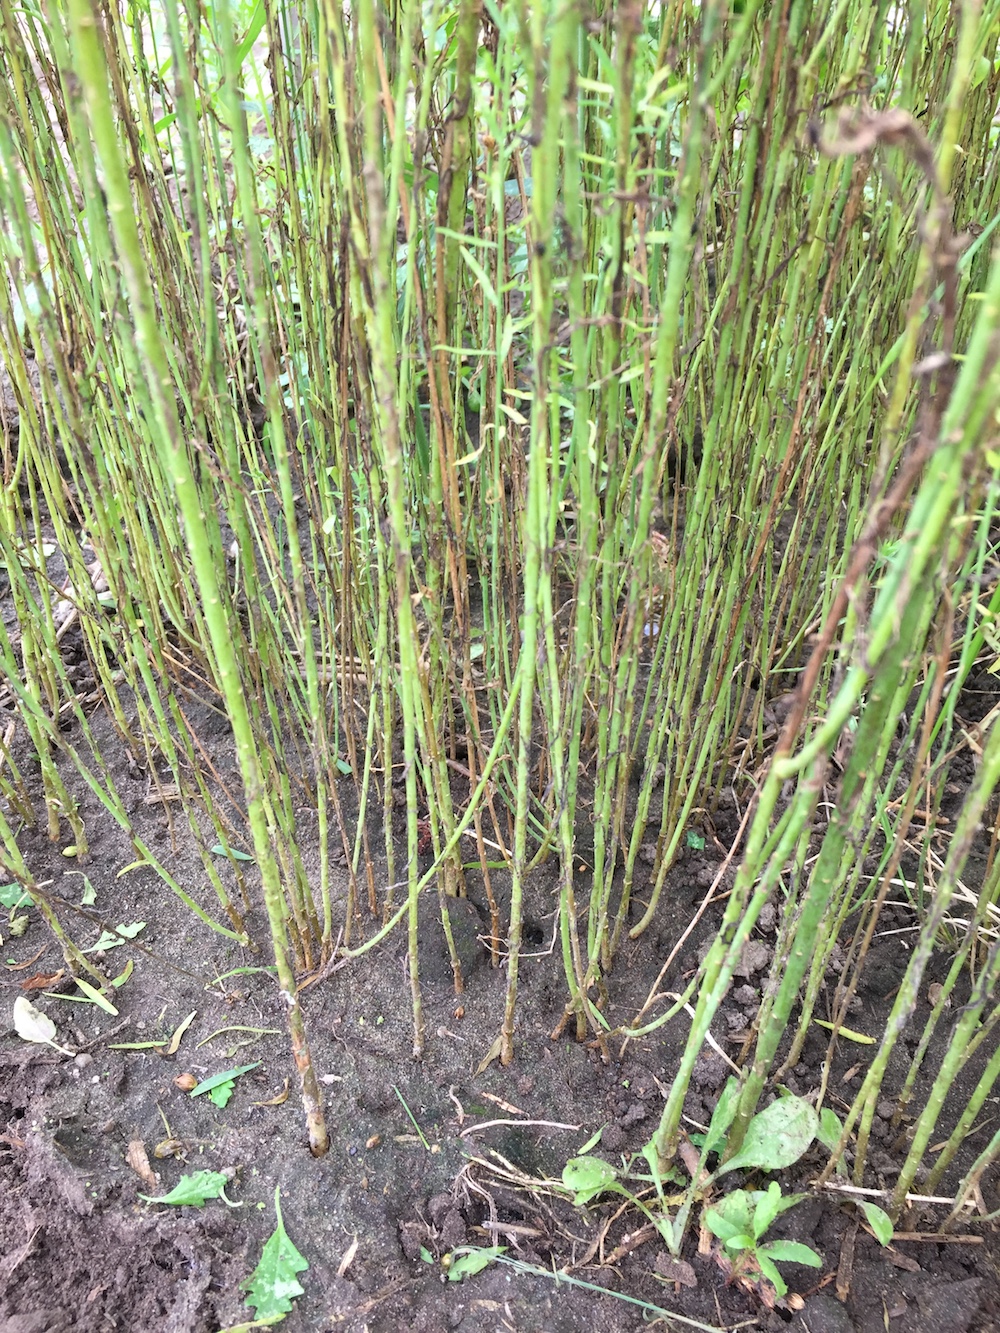
One disease I have encountered before with woad is club root, so I pulled up a few plants to see what the roots looked like.

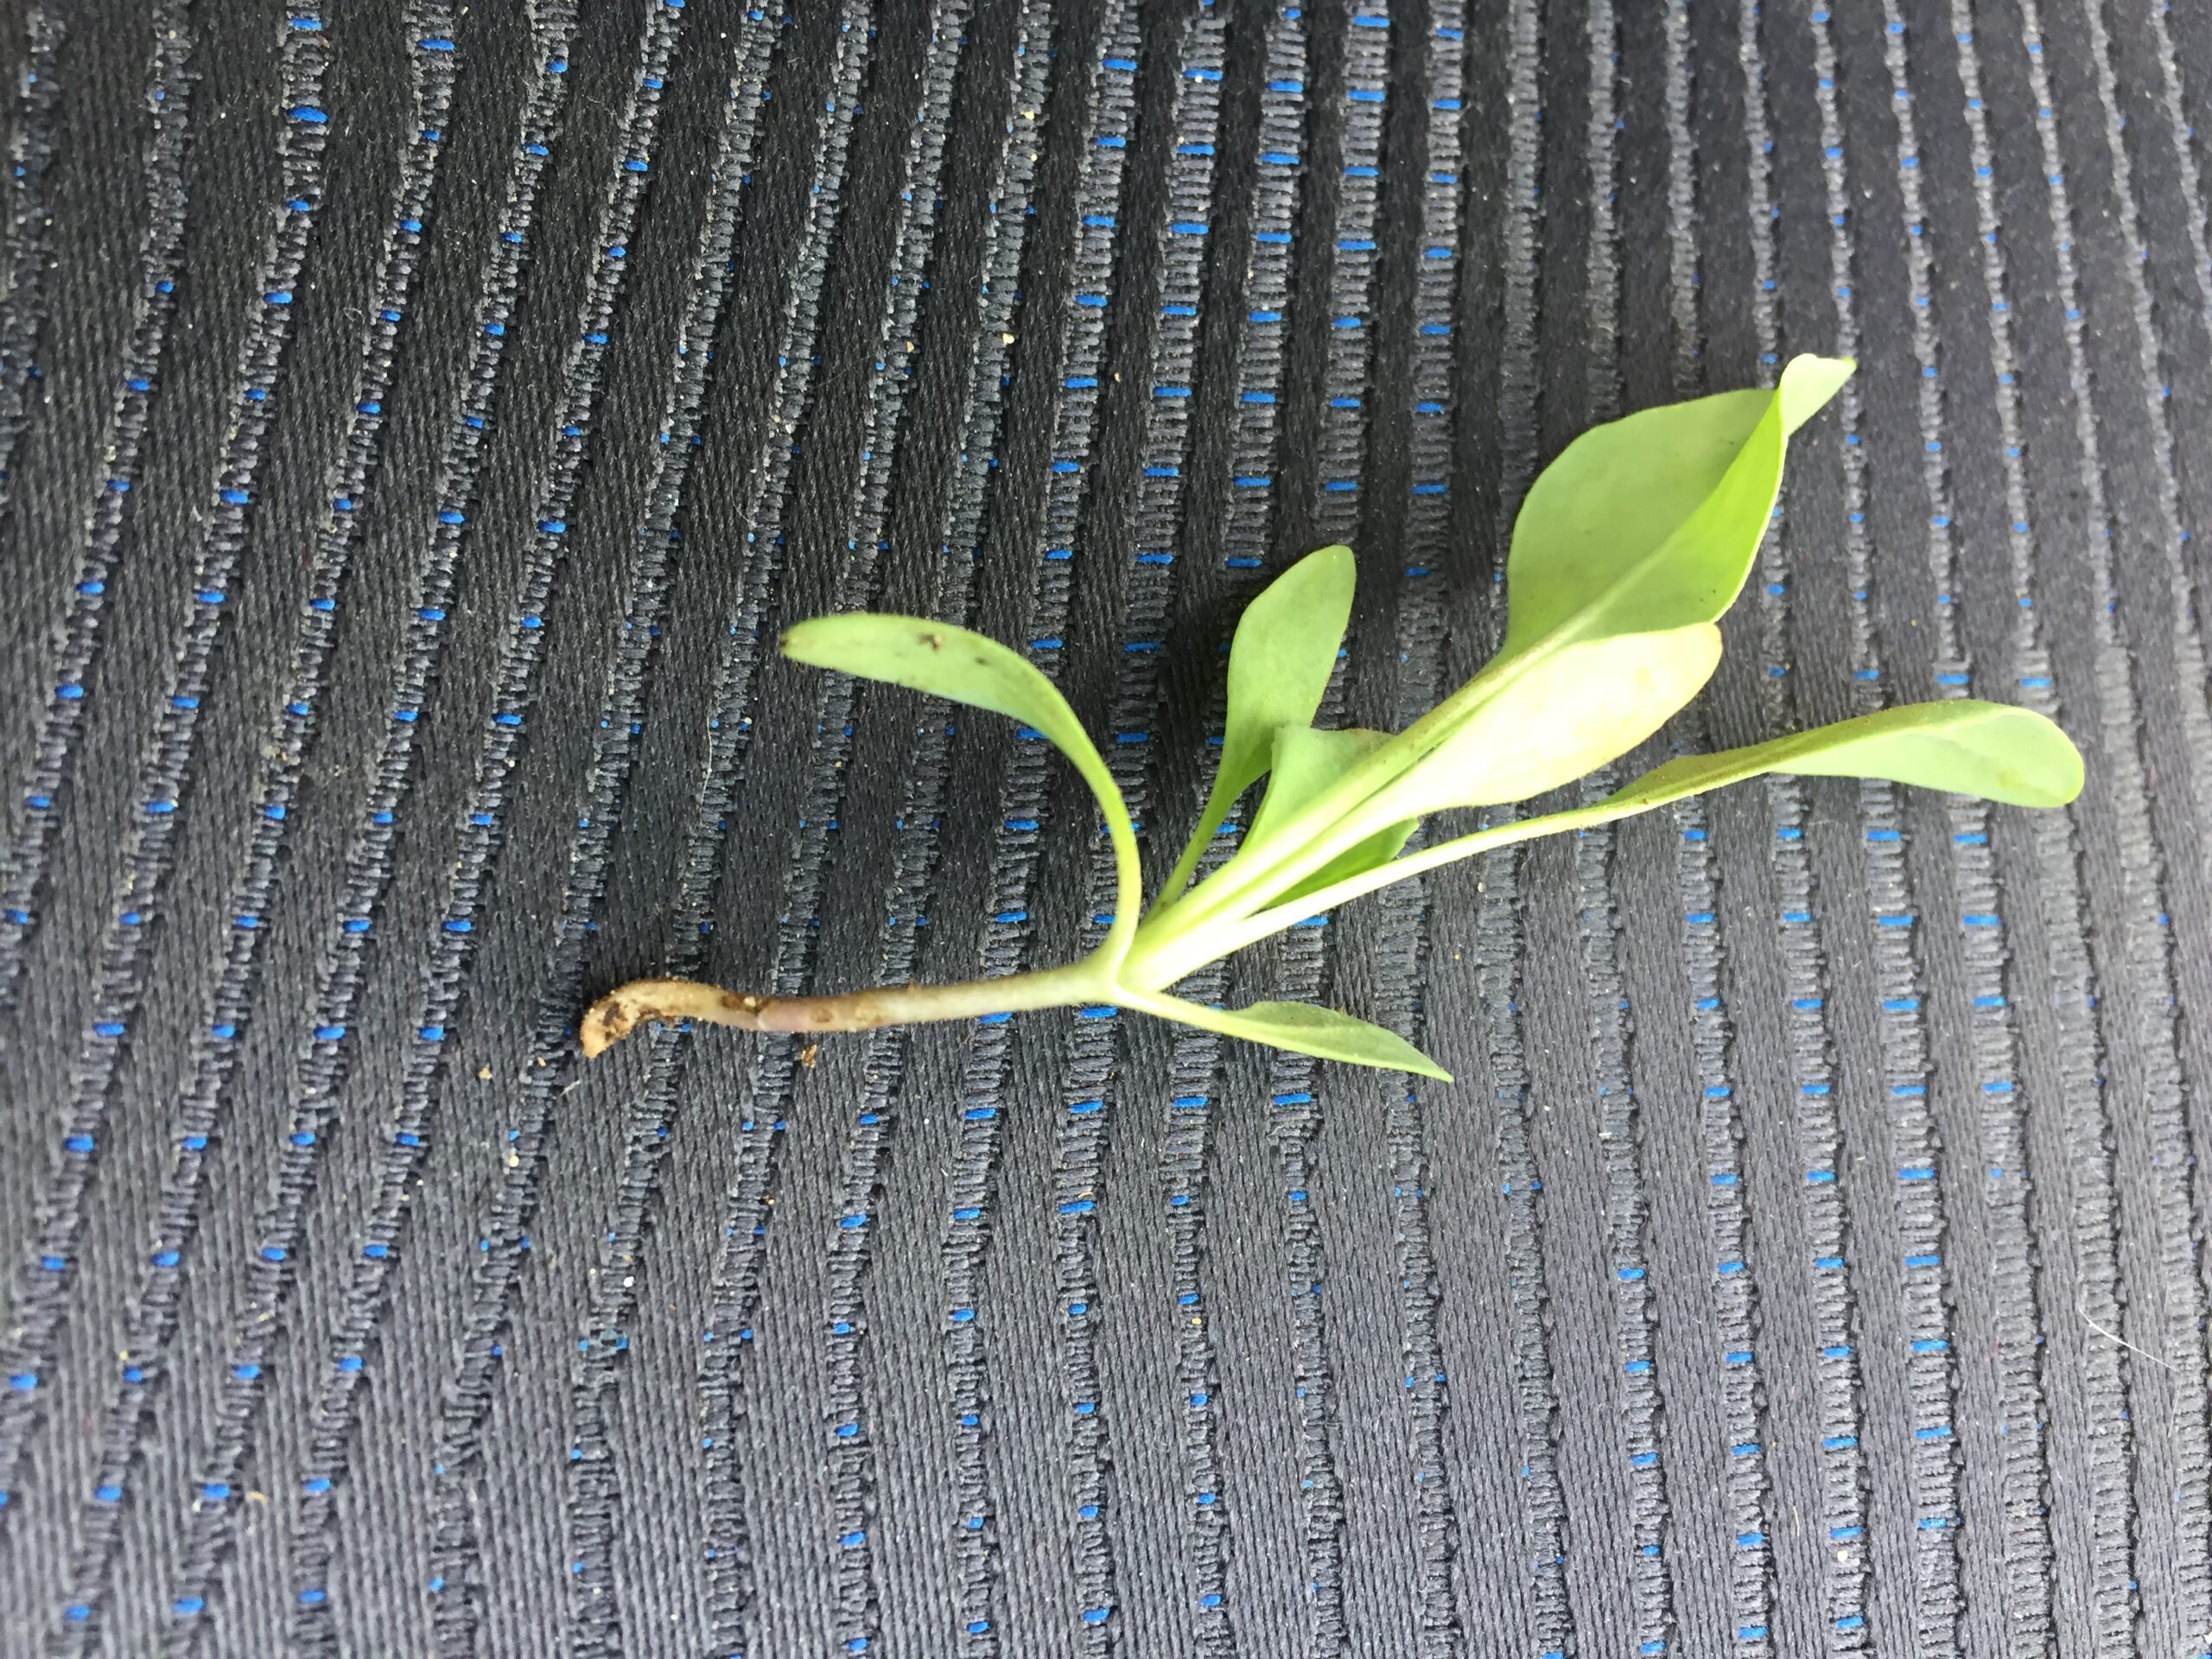
Nothing too weird-looking there. So, probably not club root.

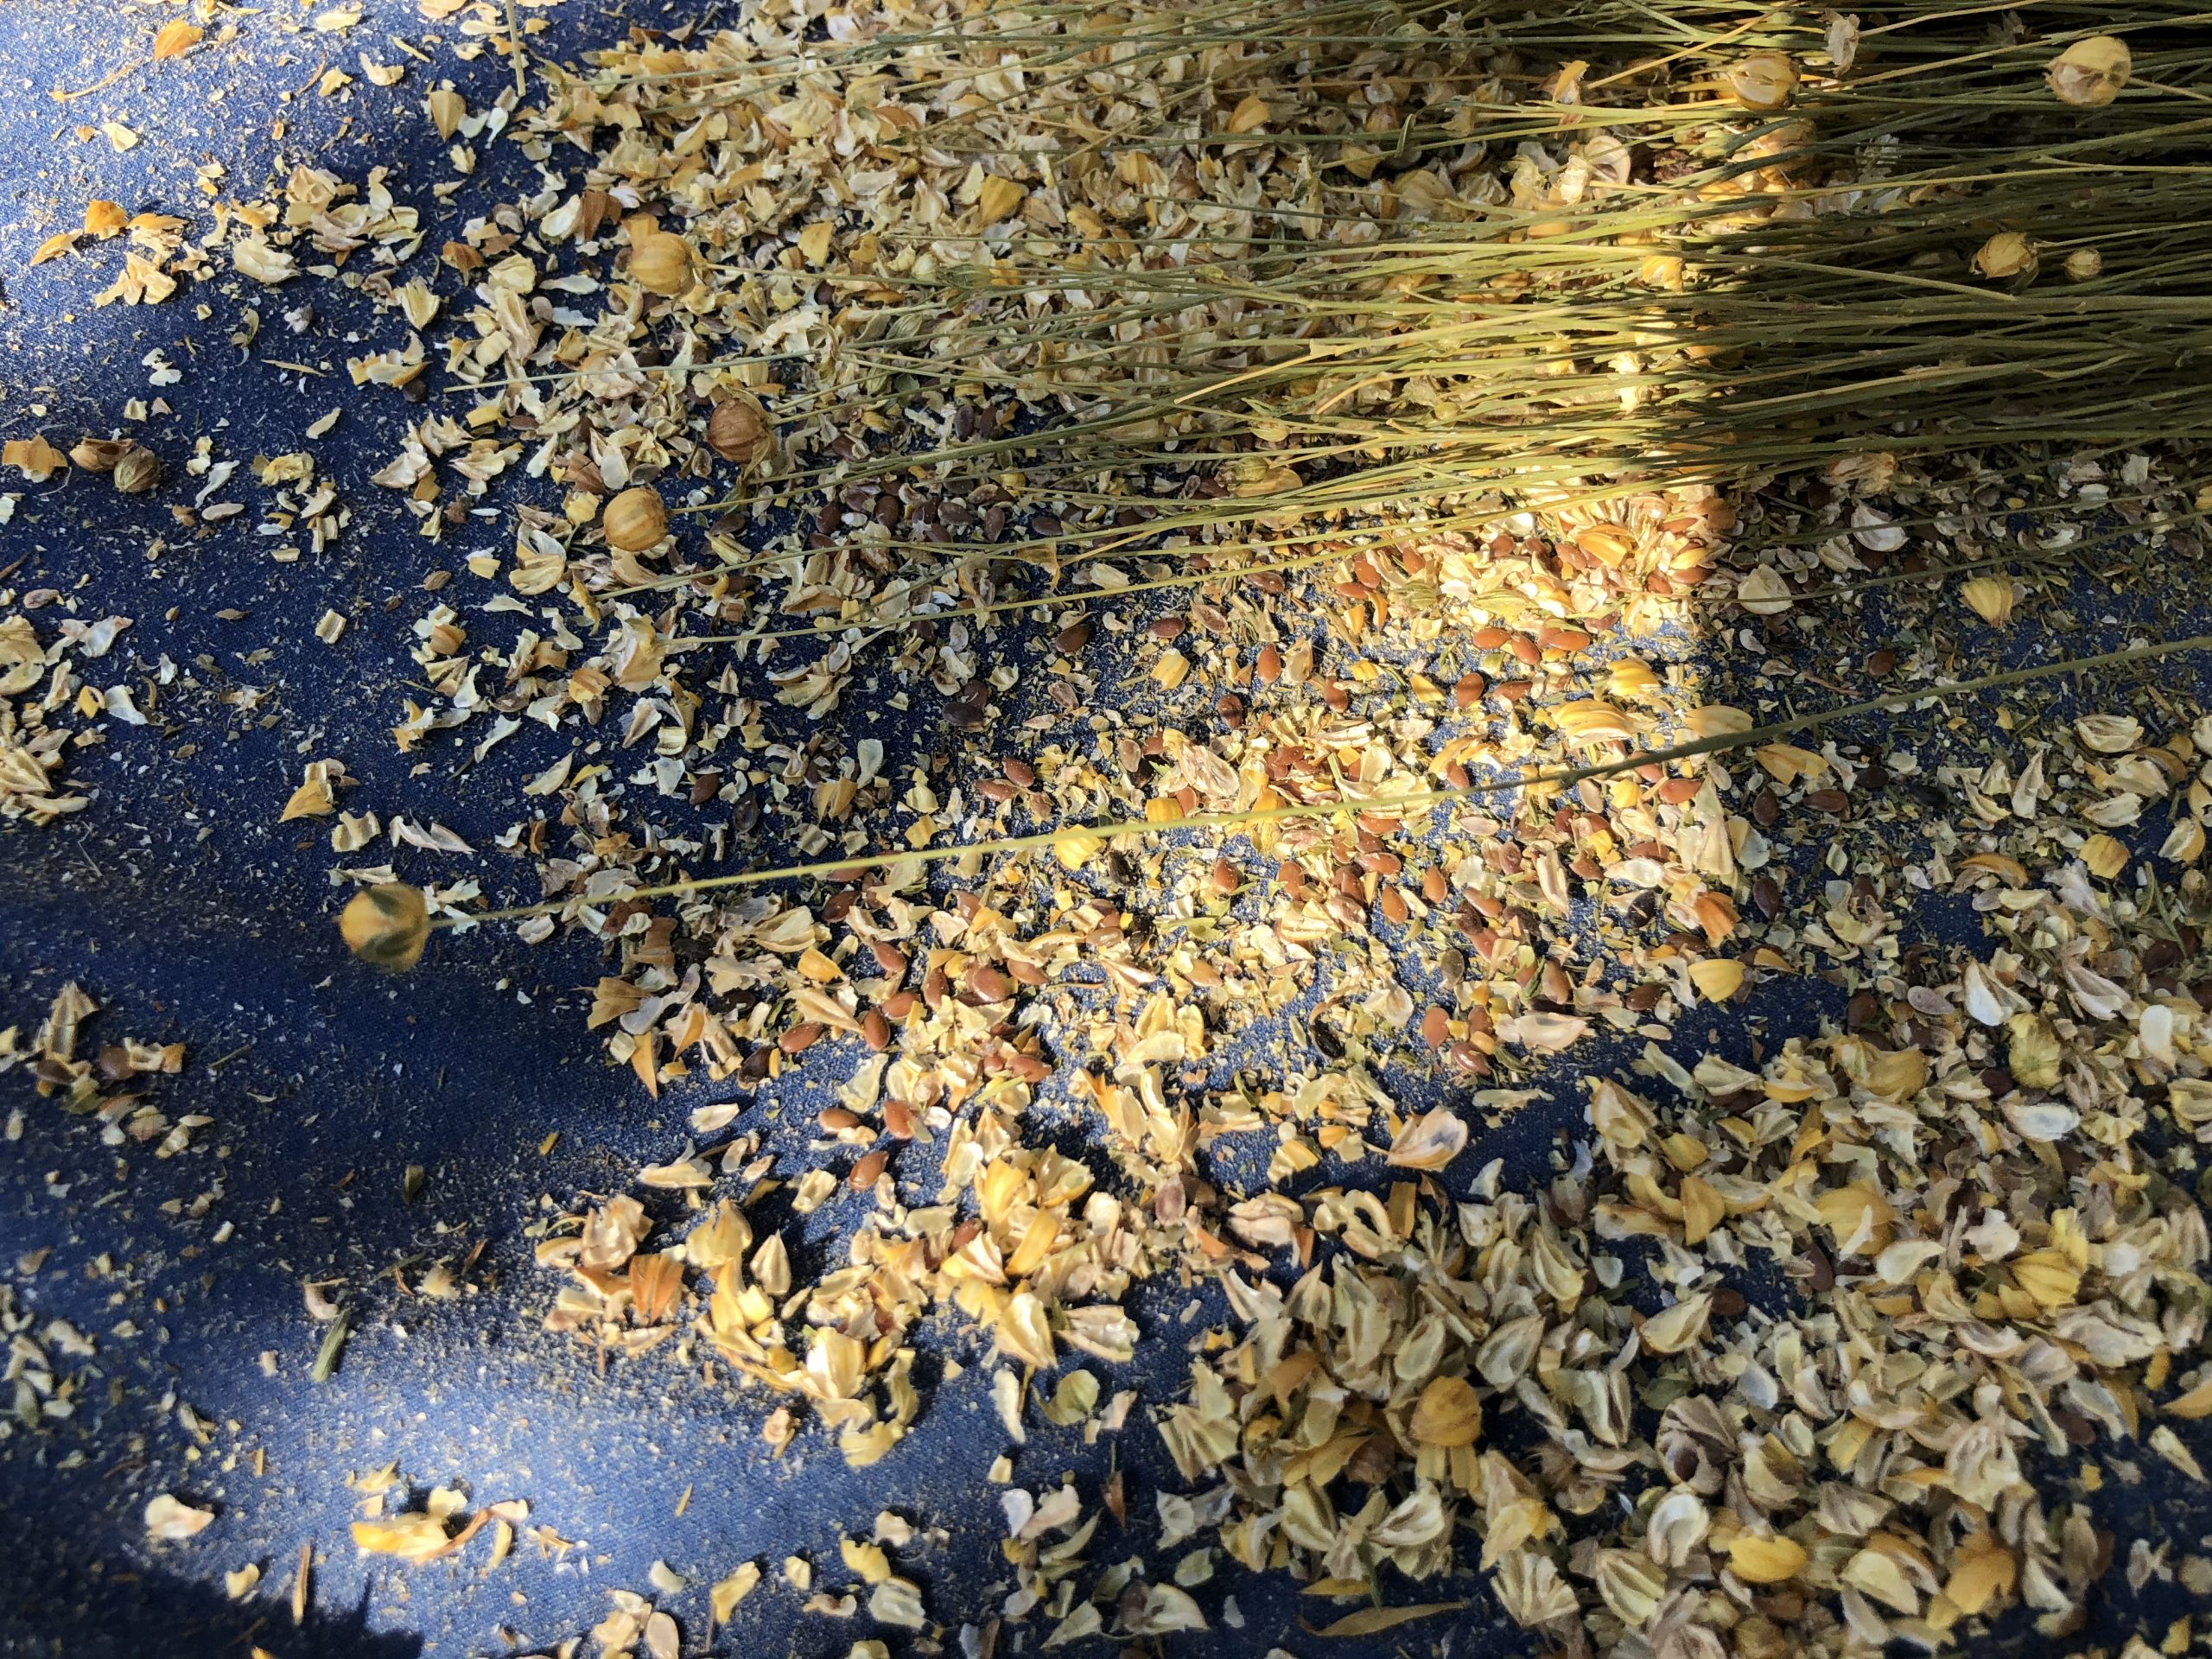
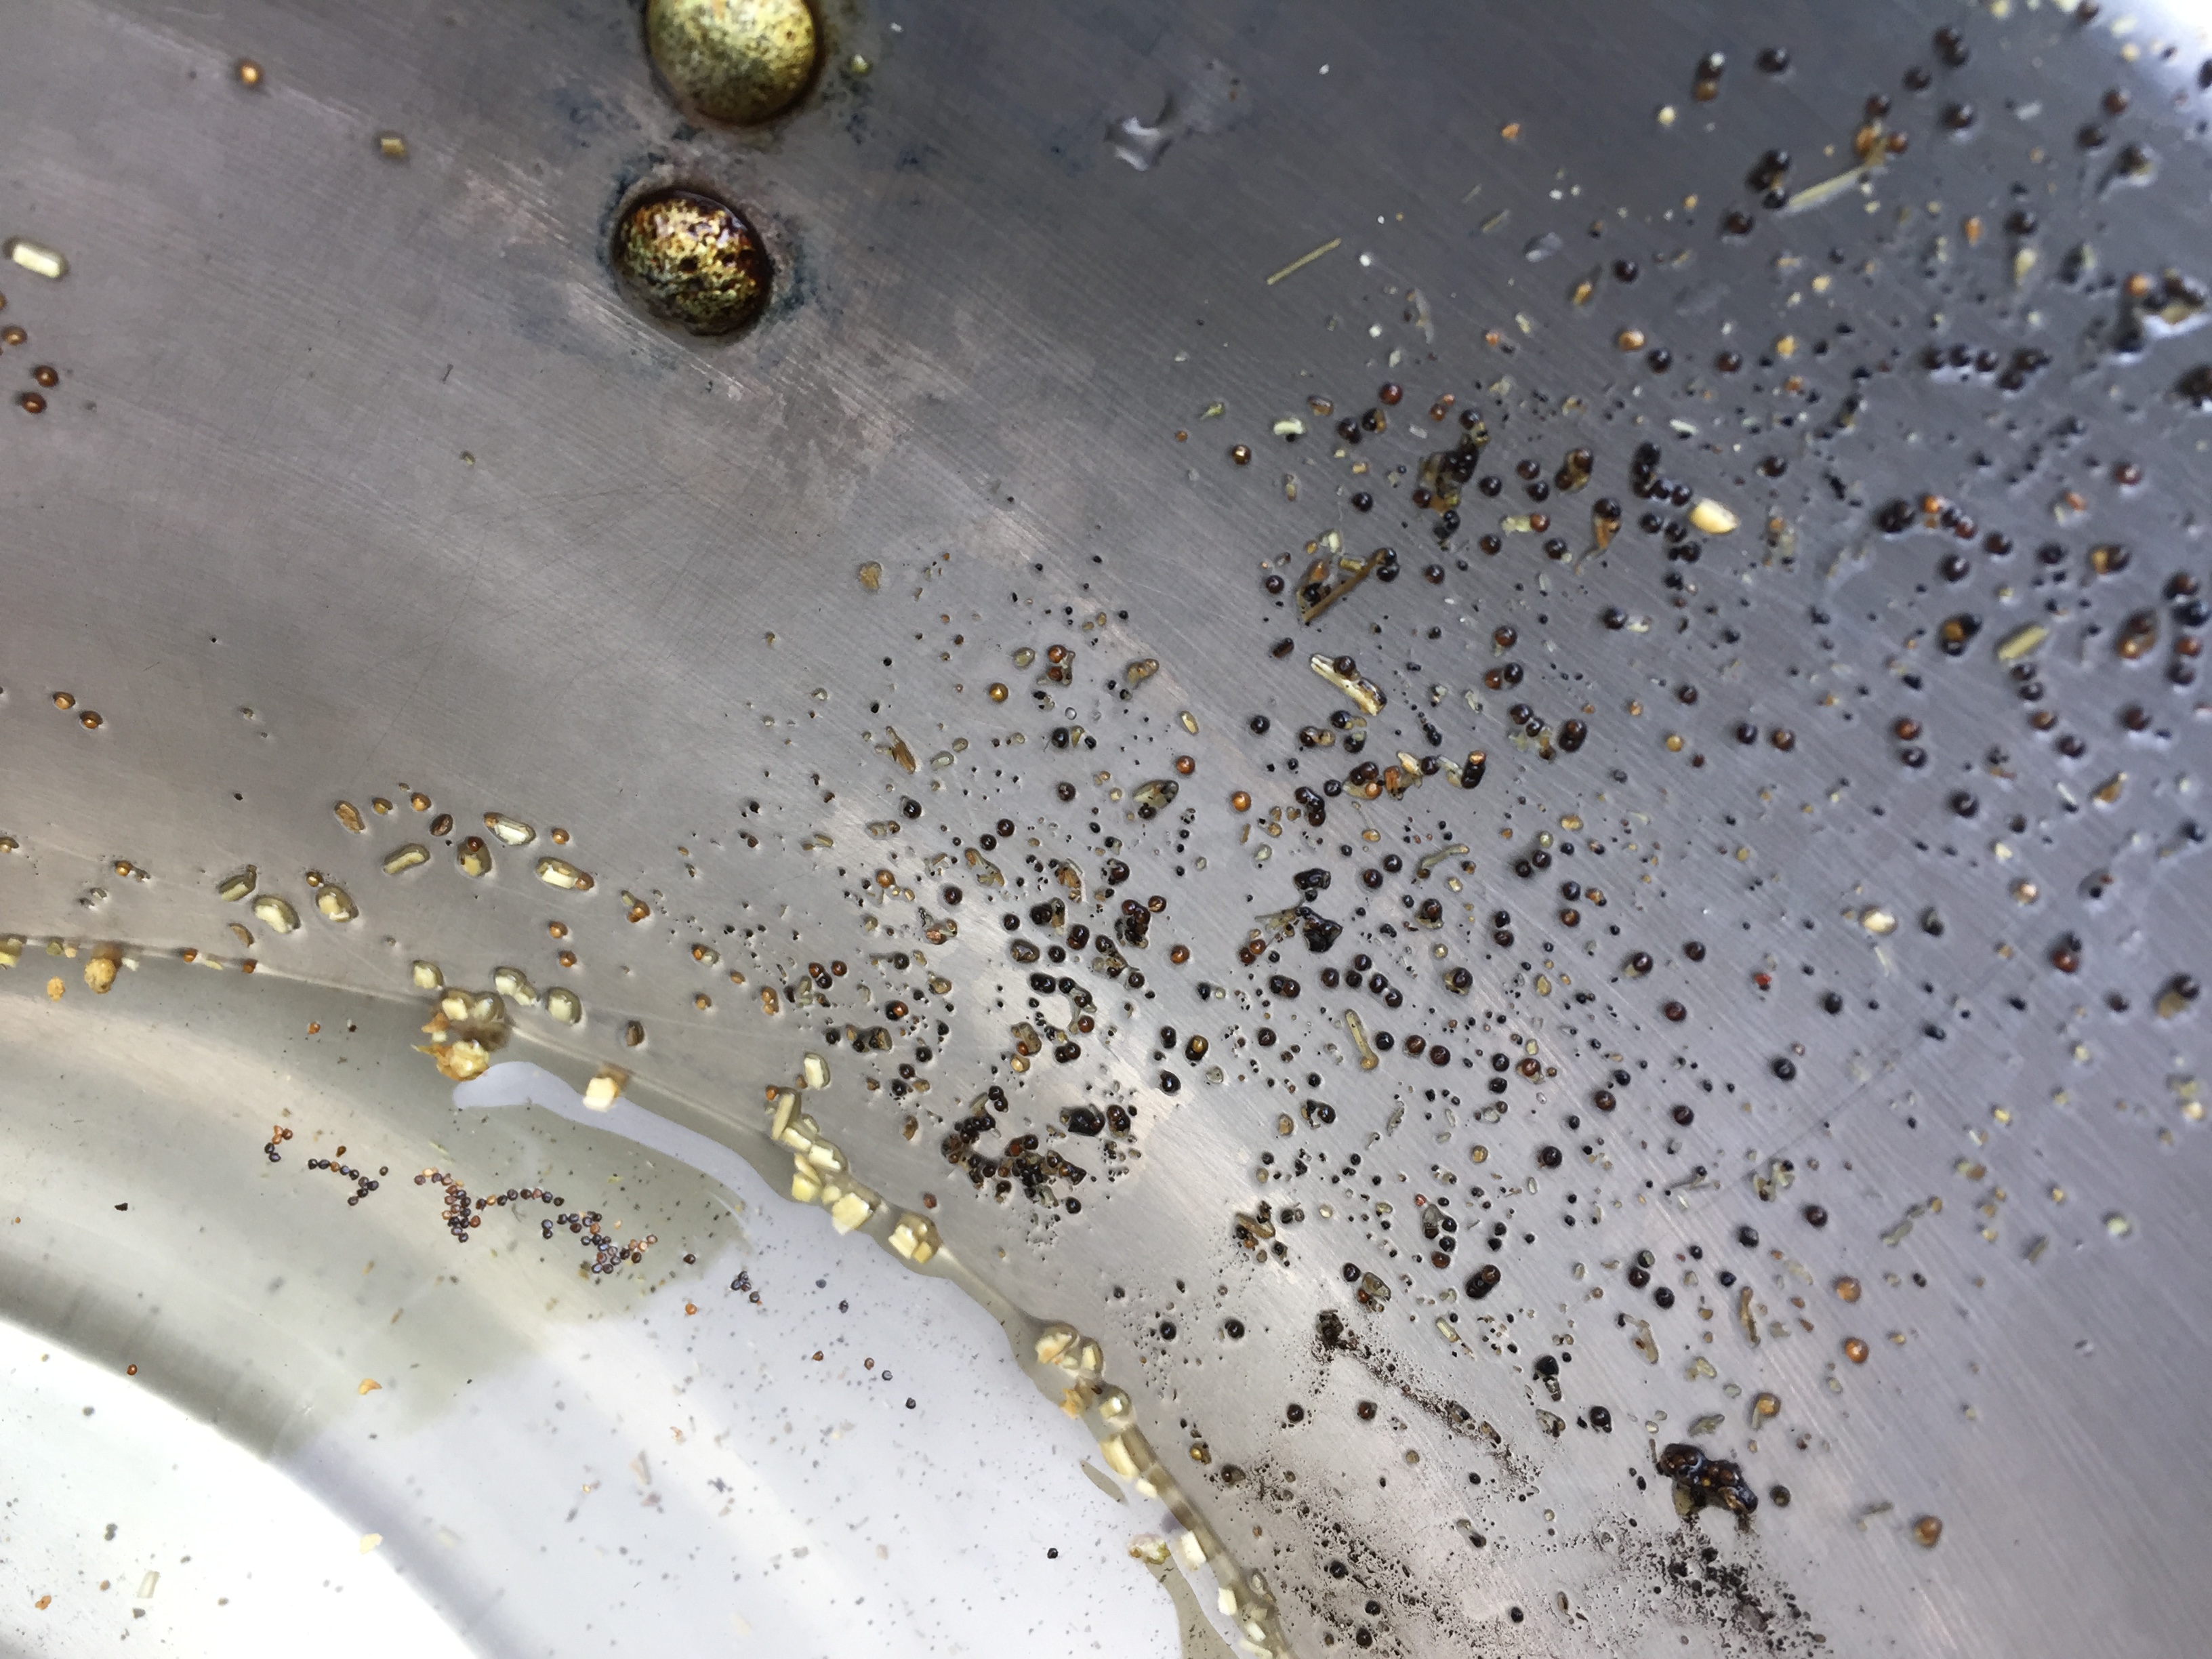
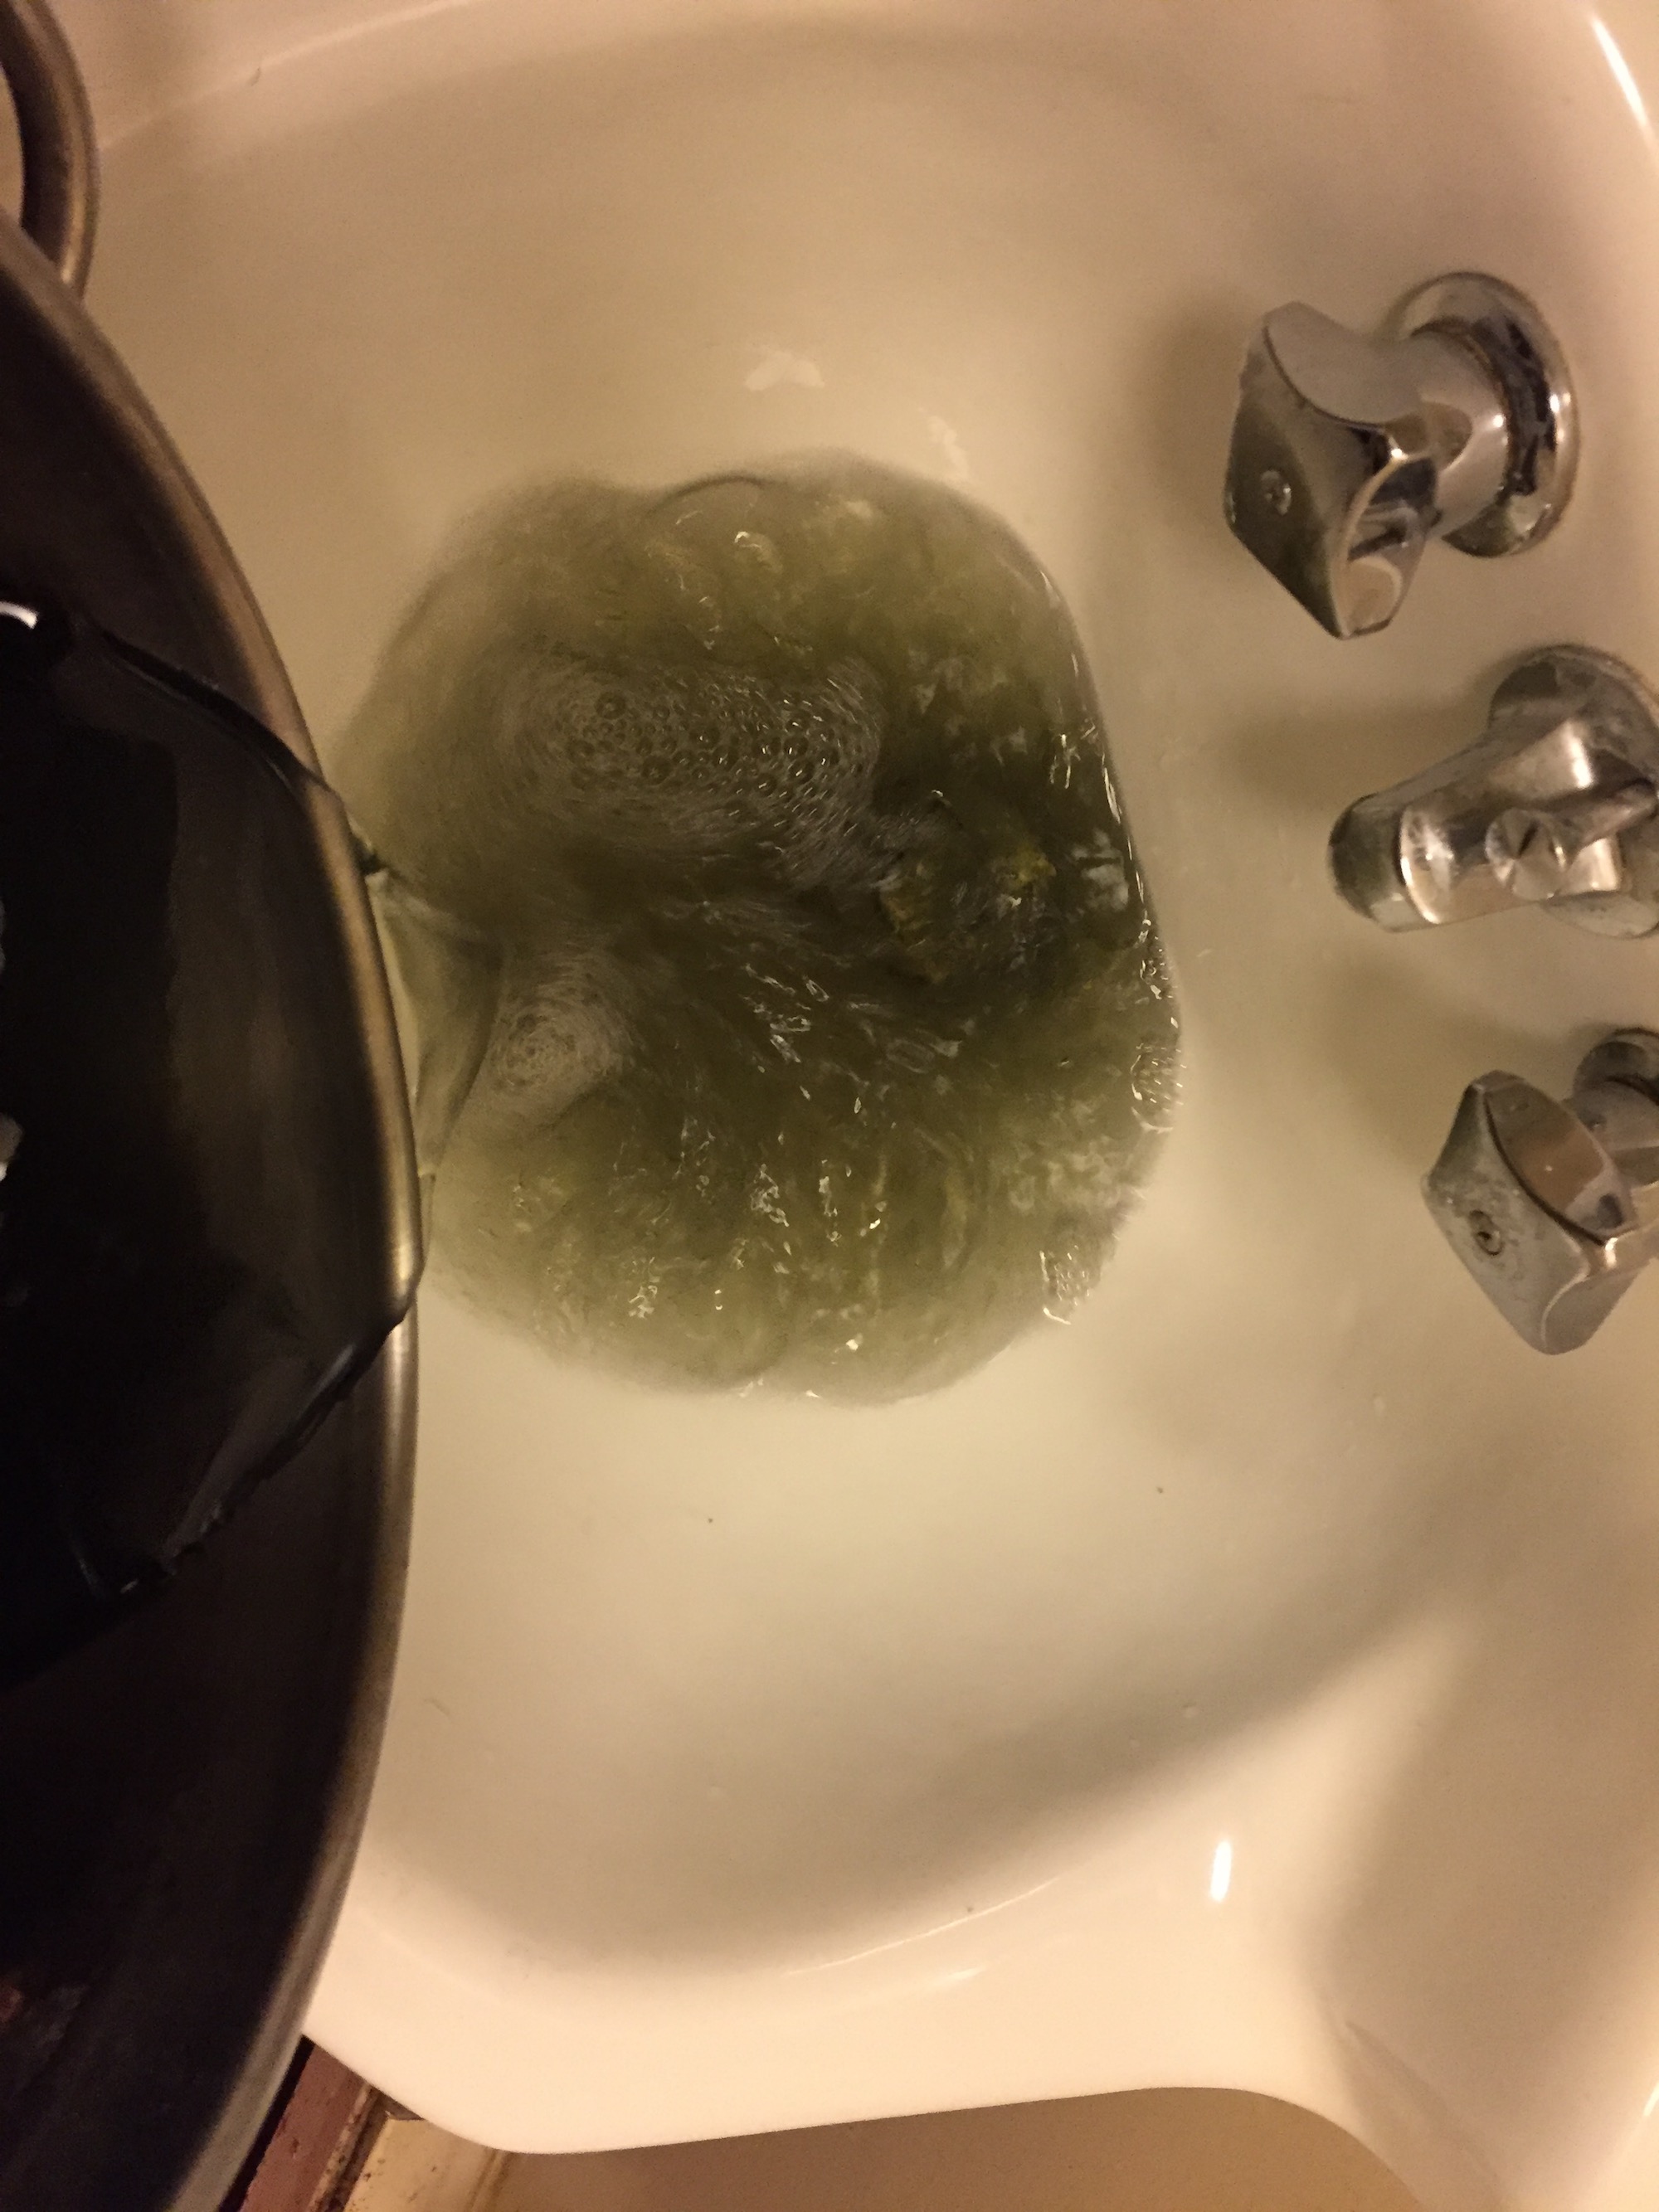
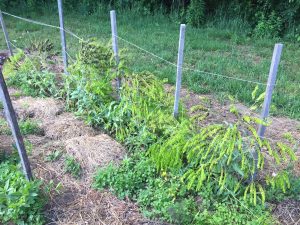
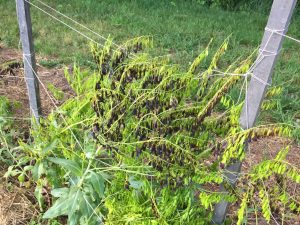
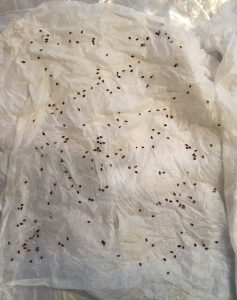
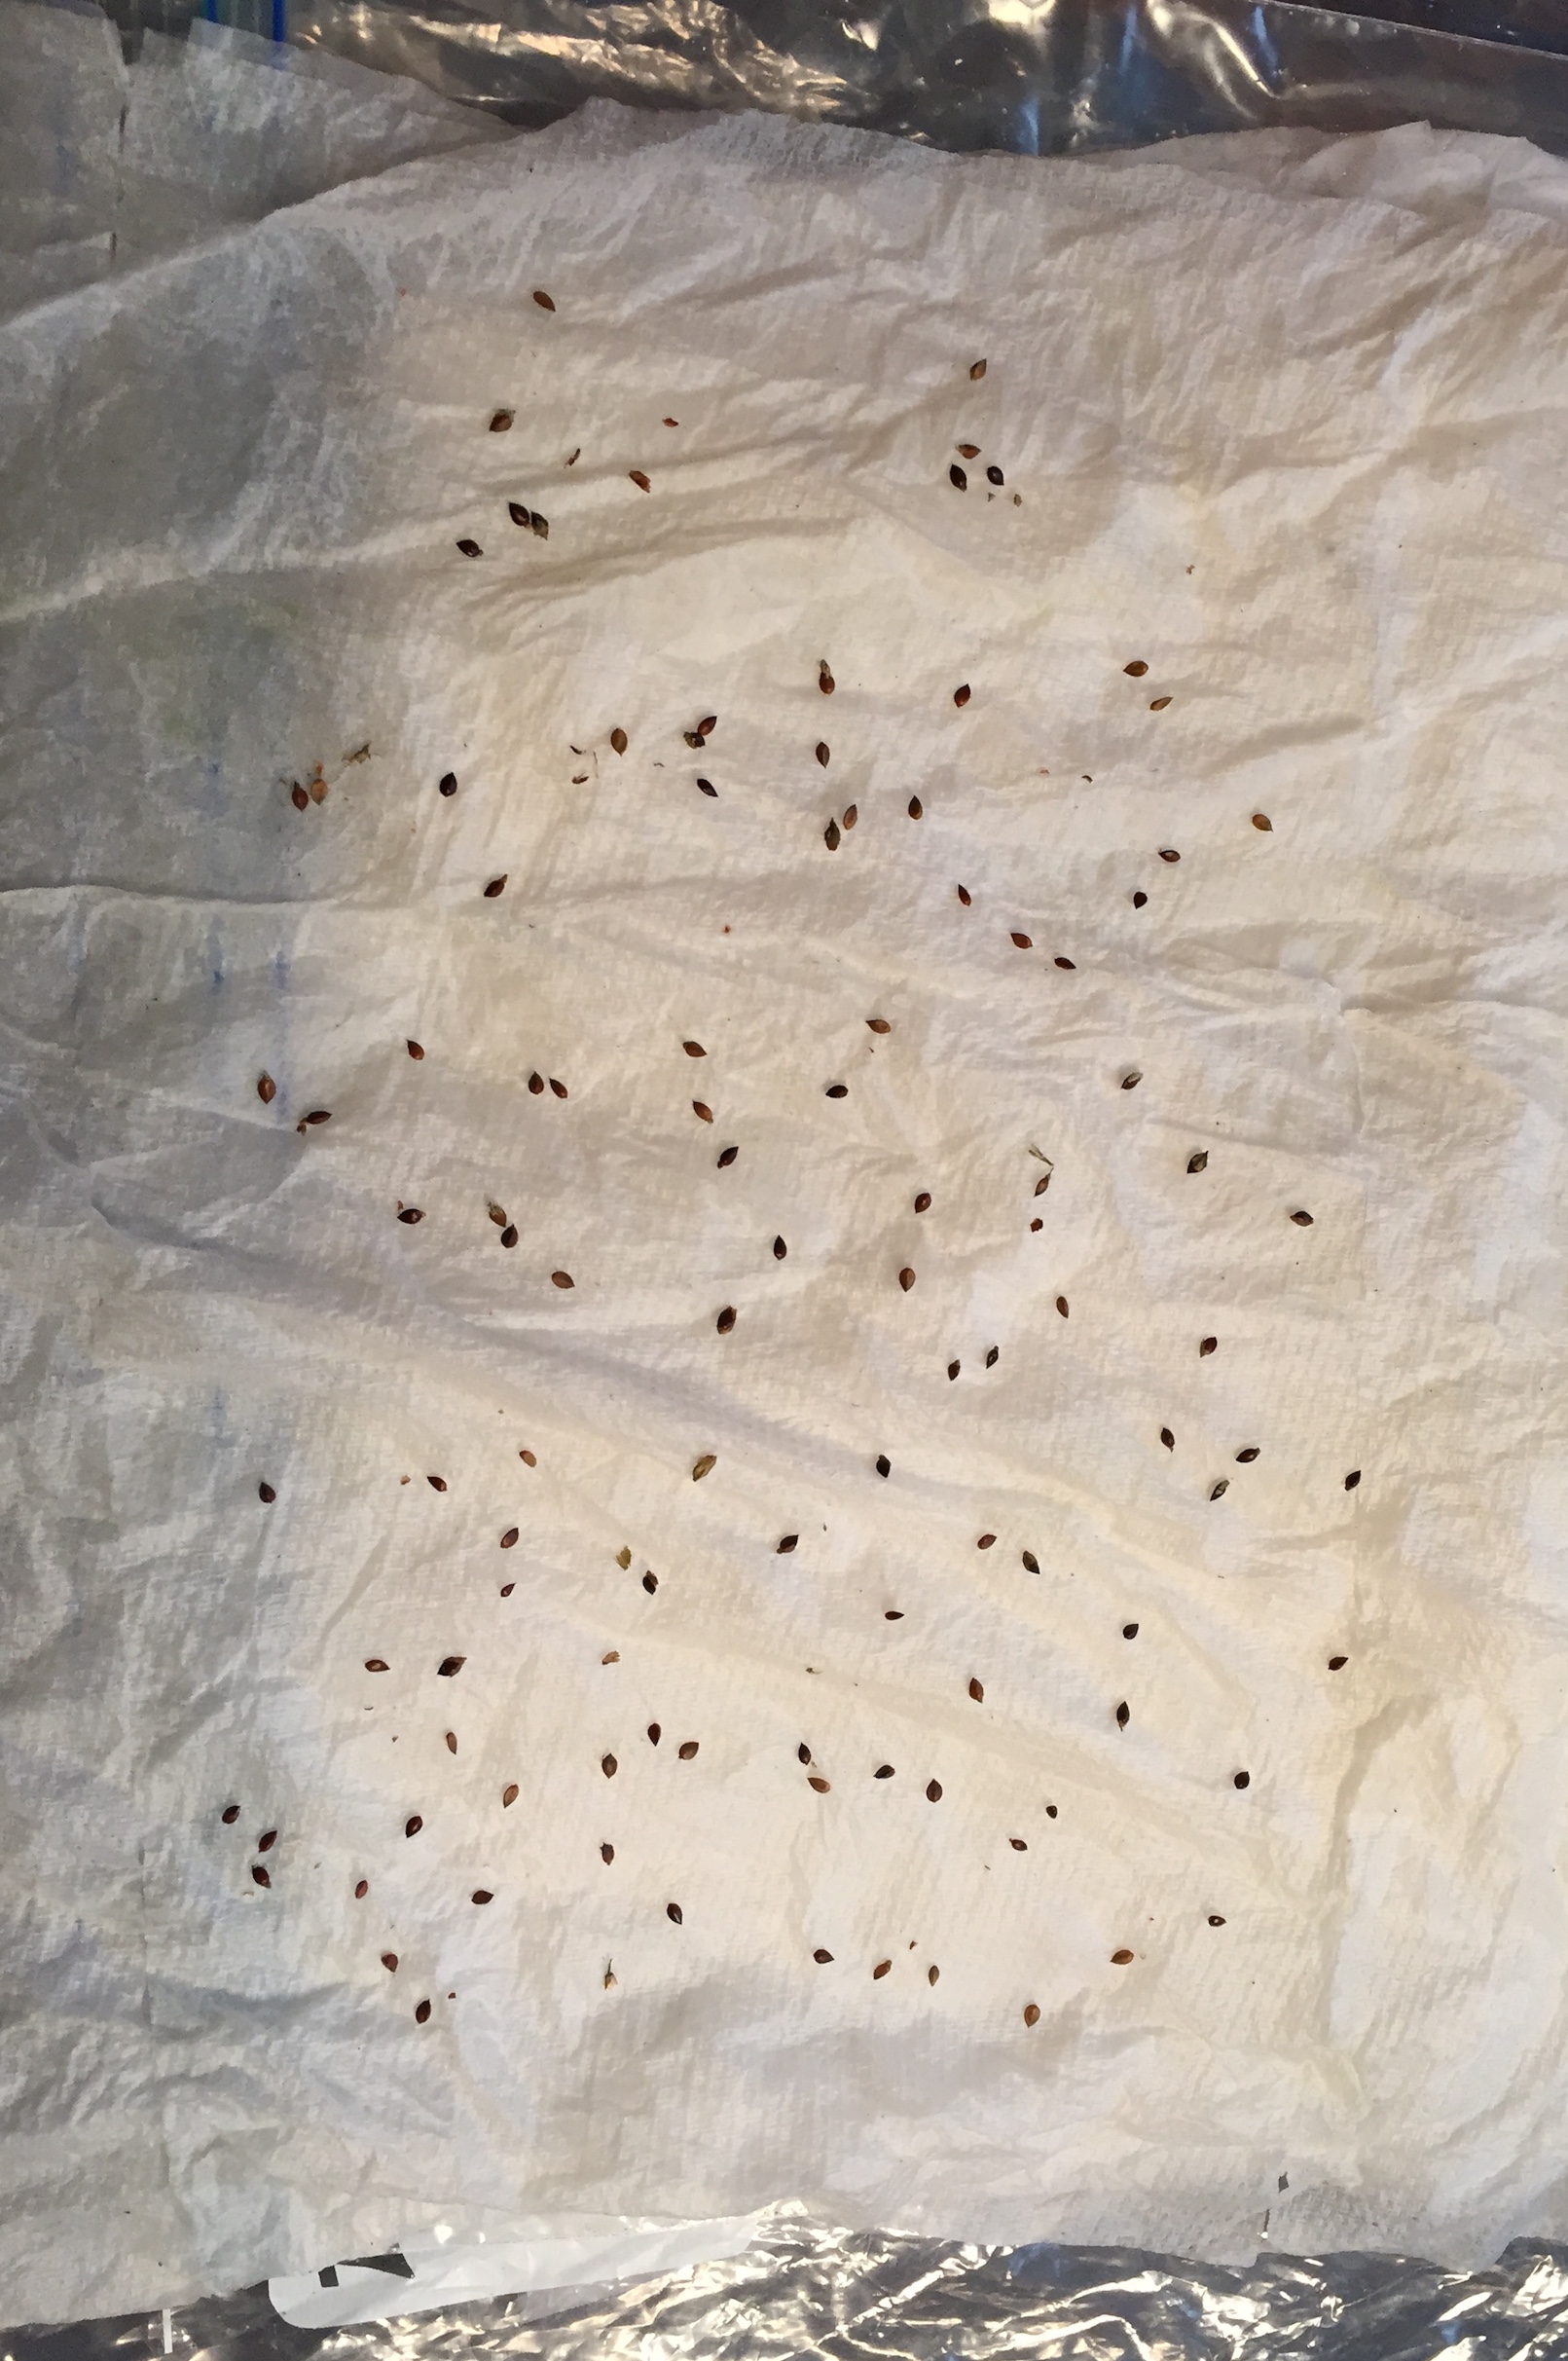
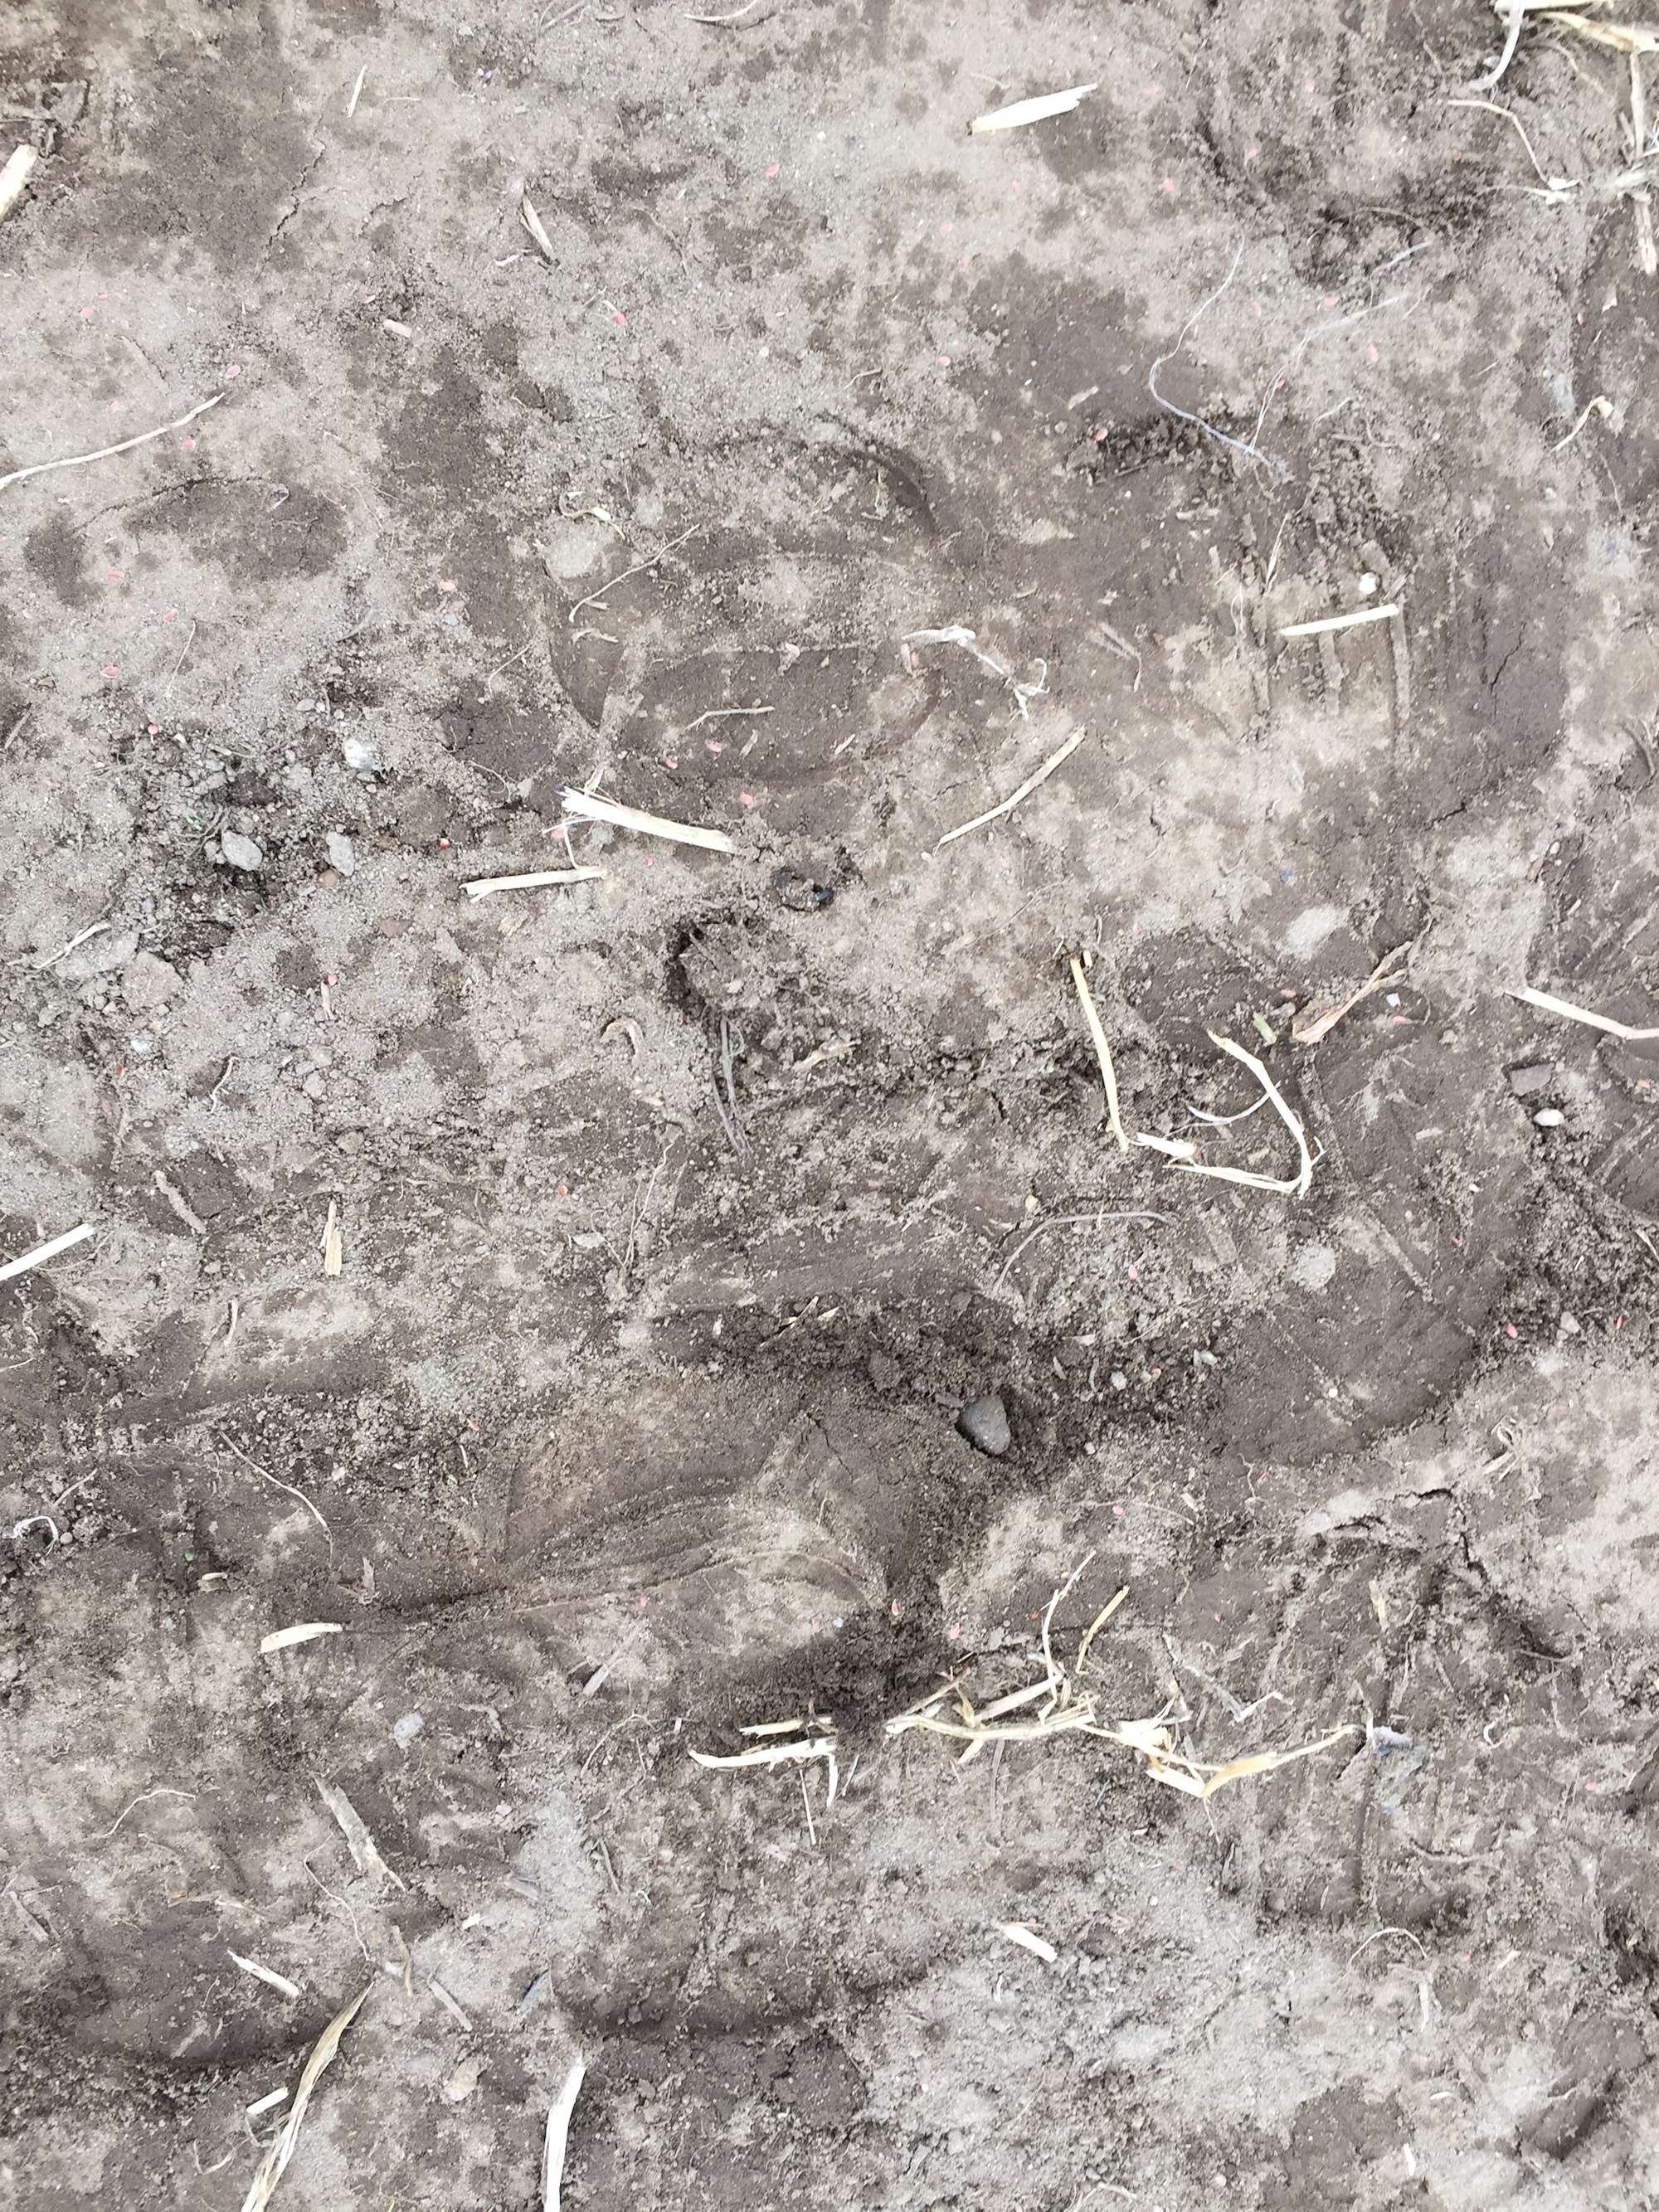
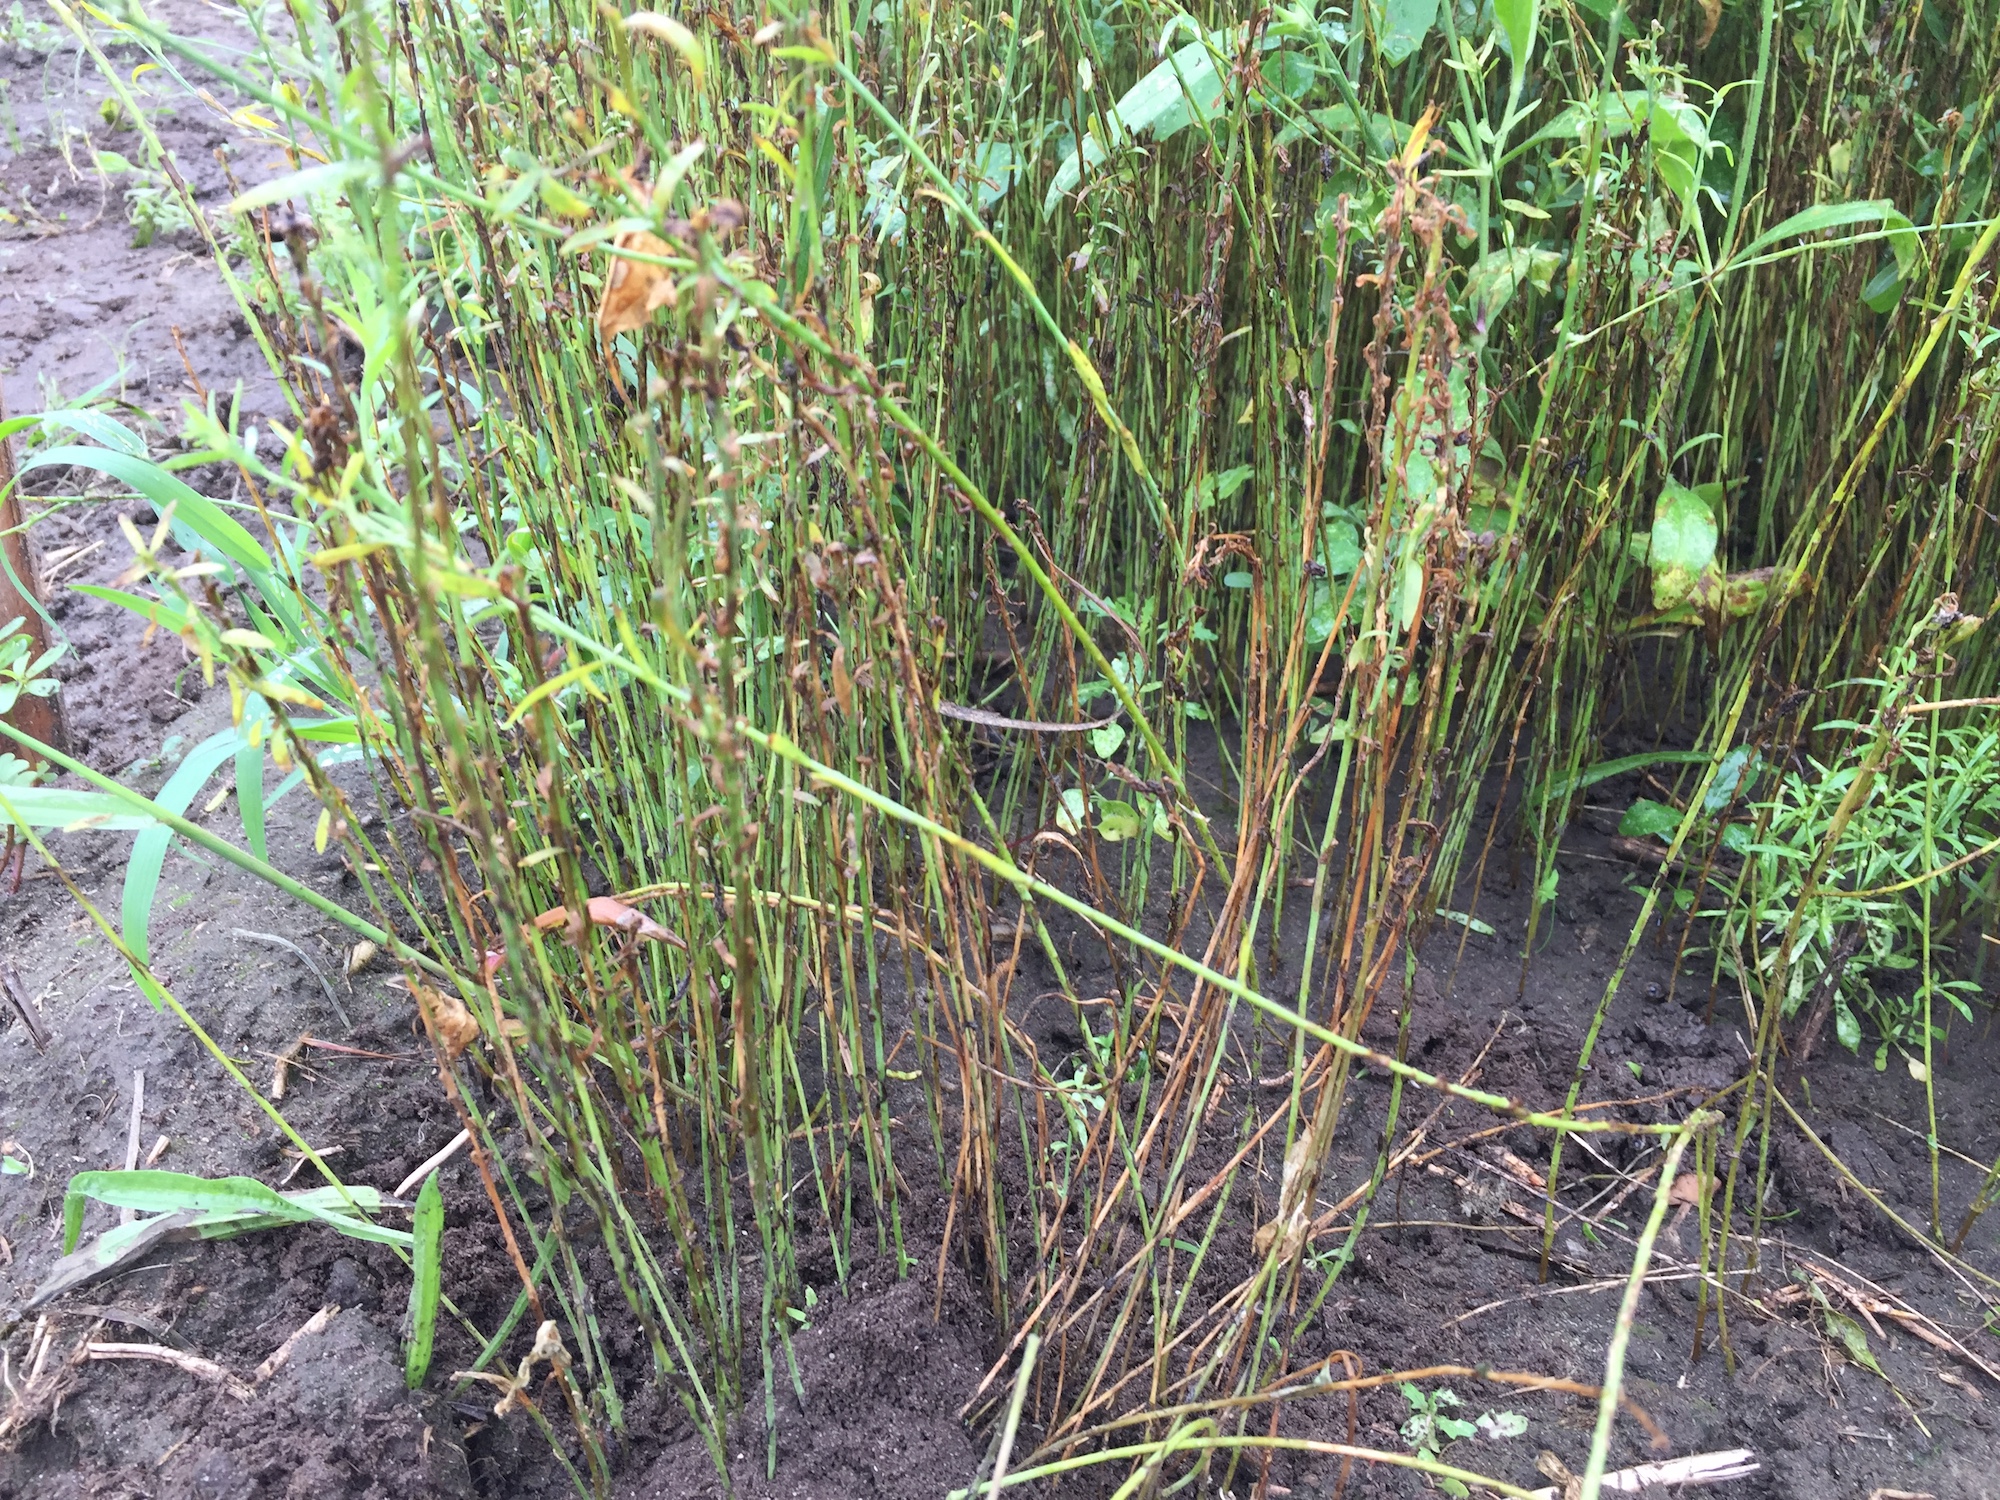
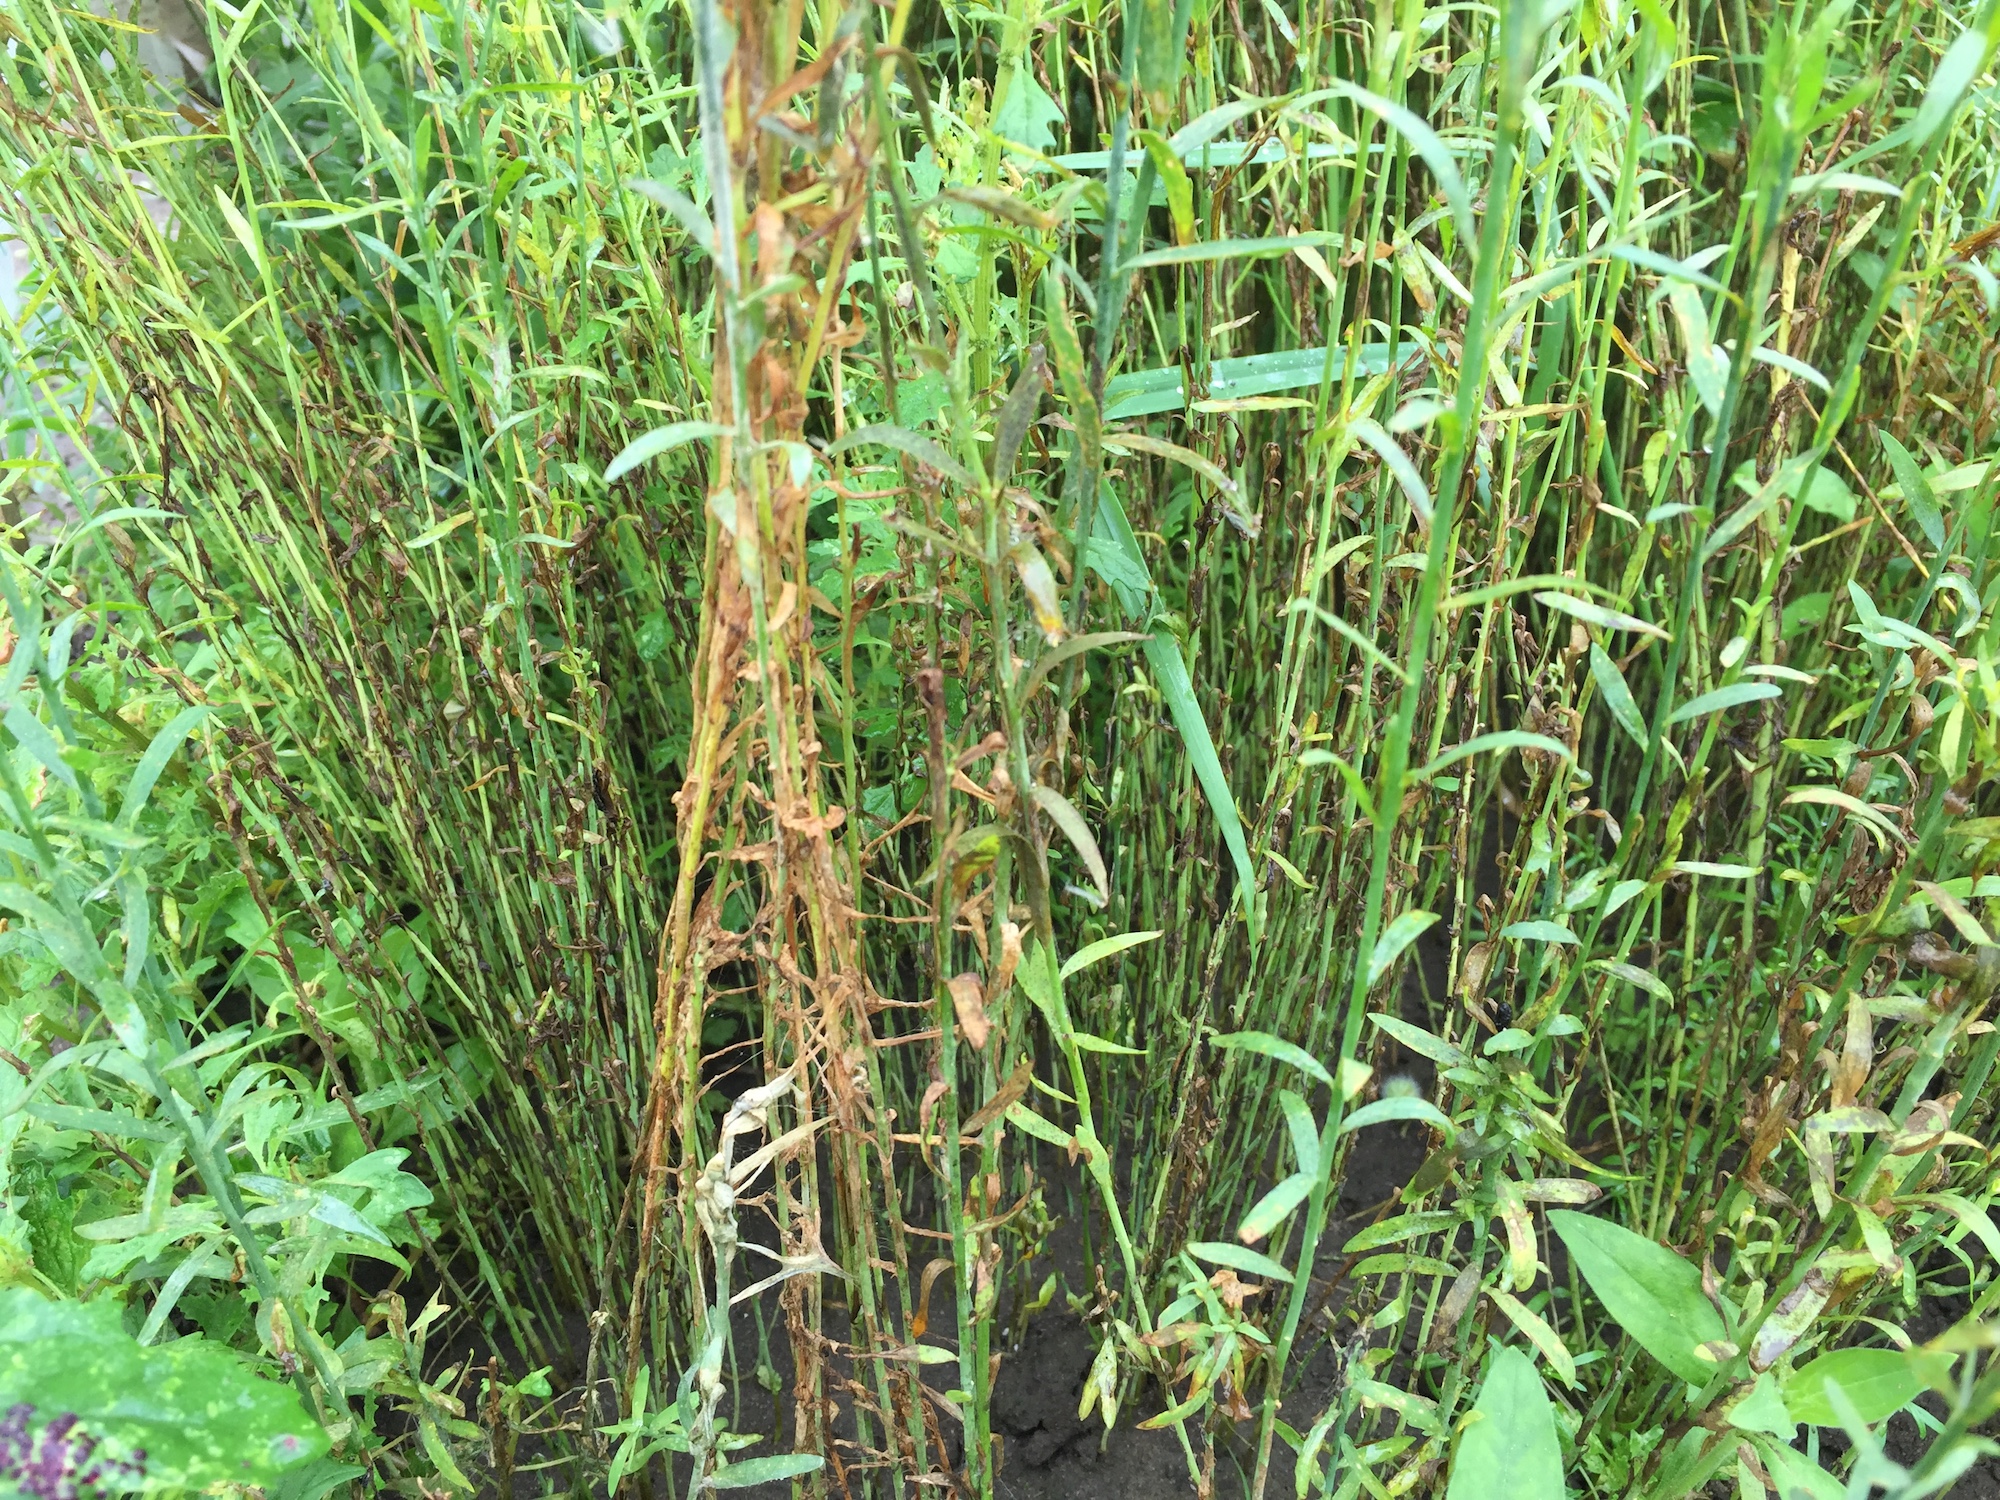
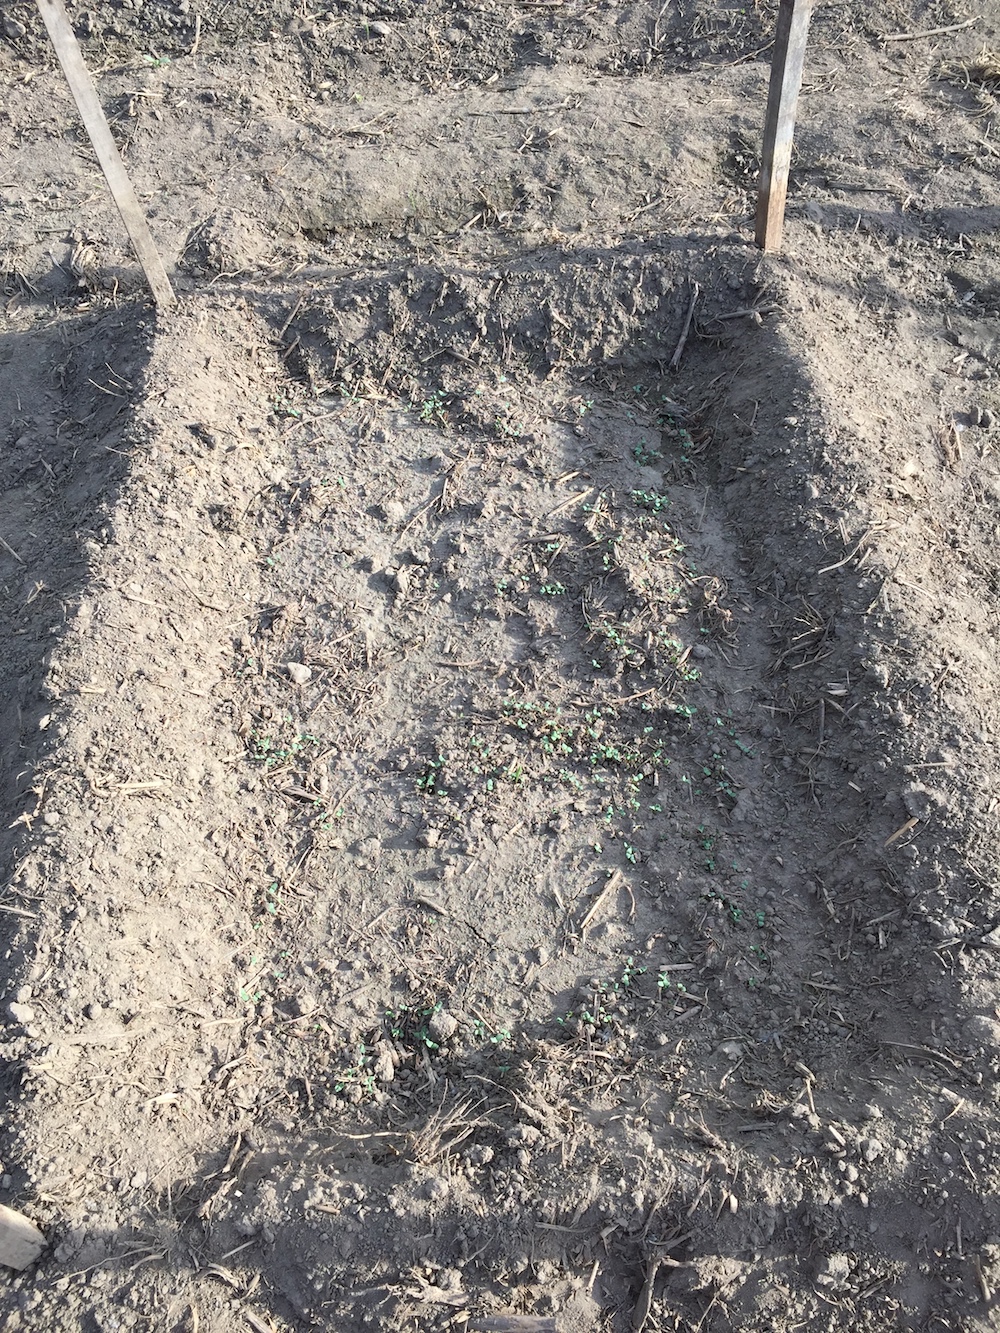
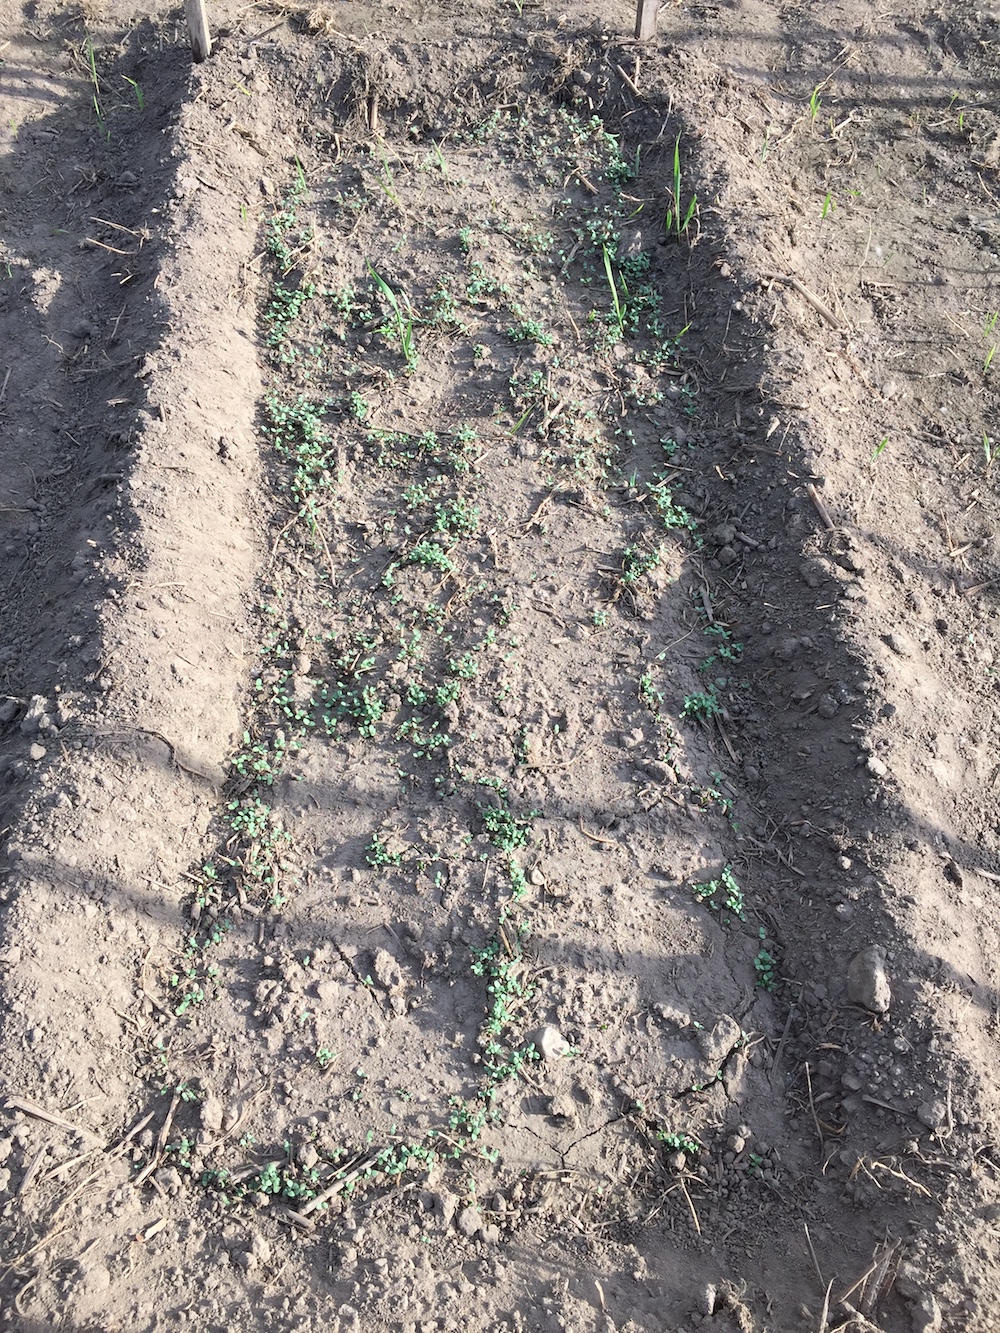
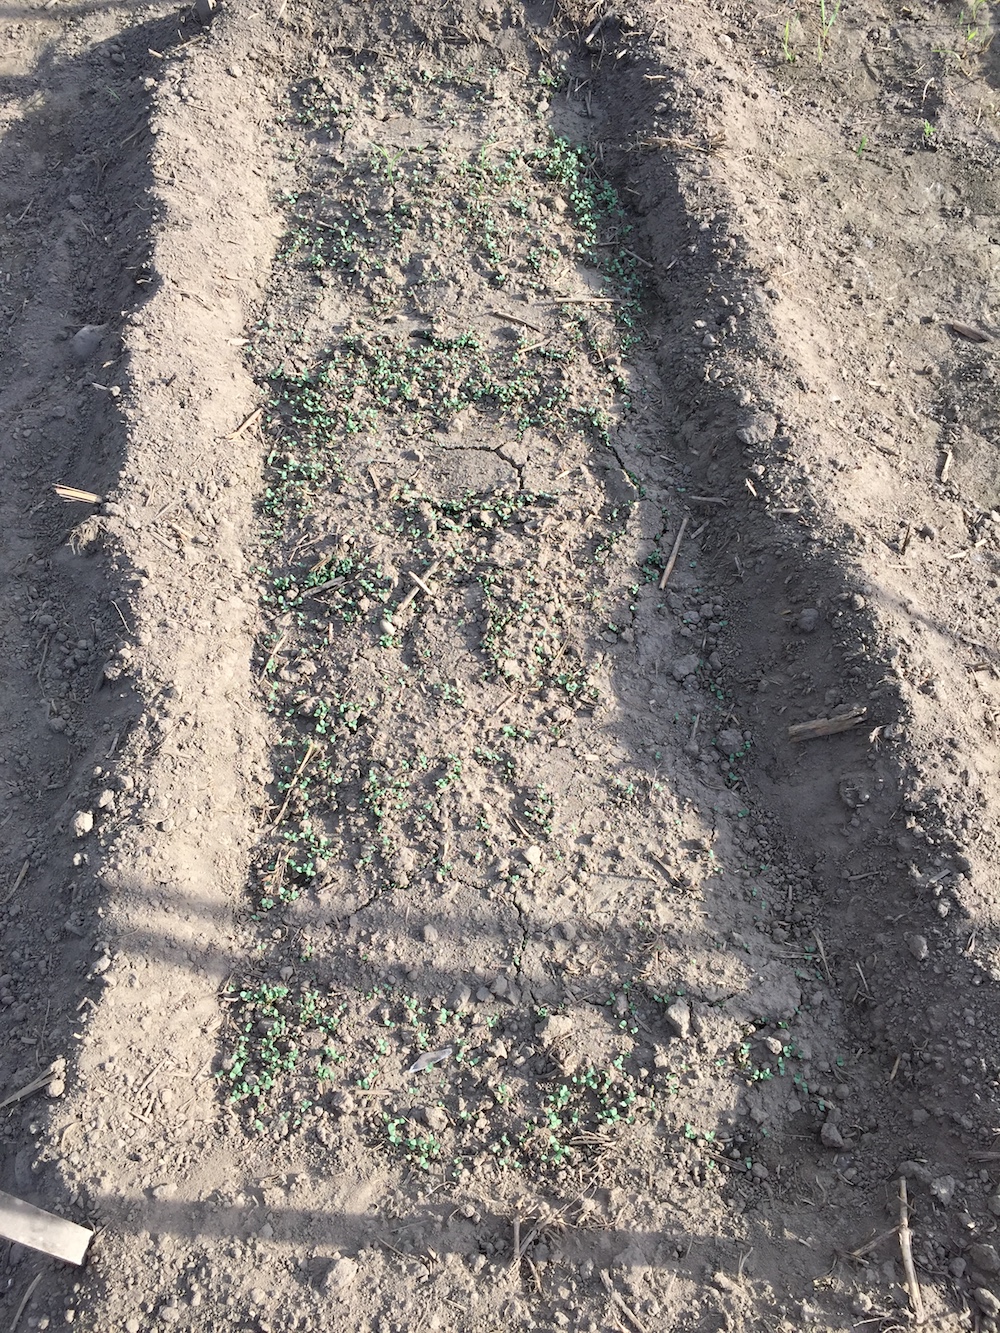
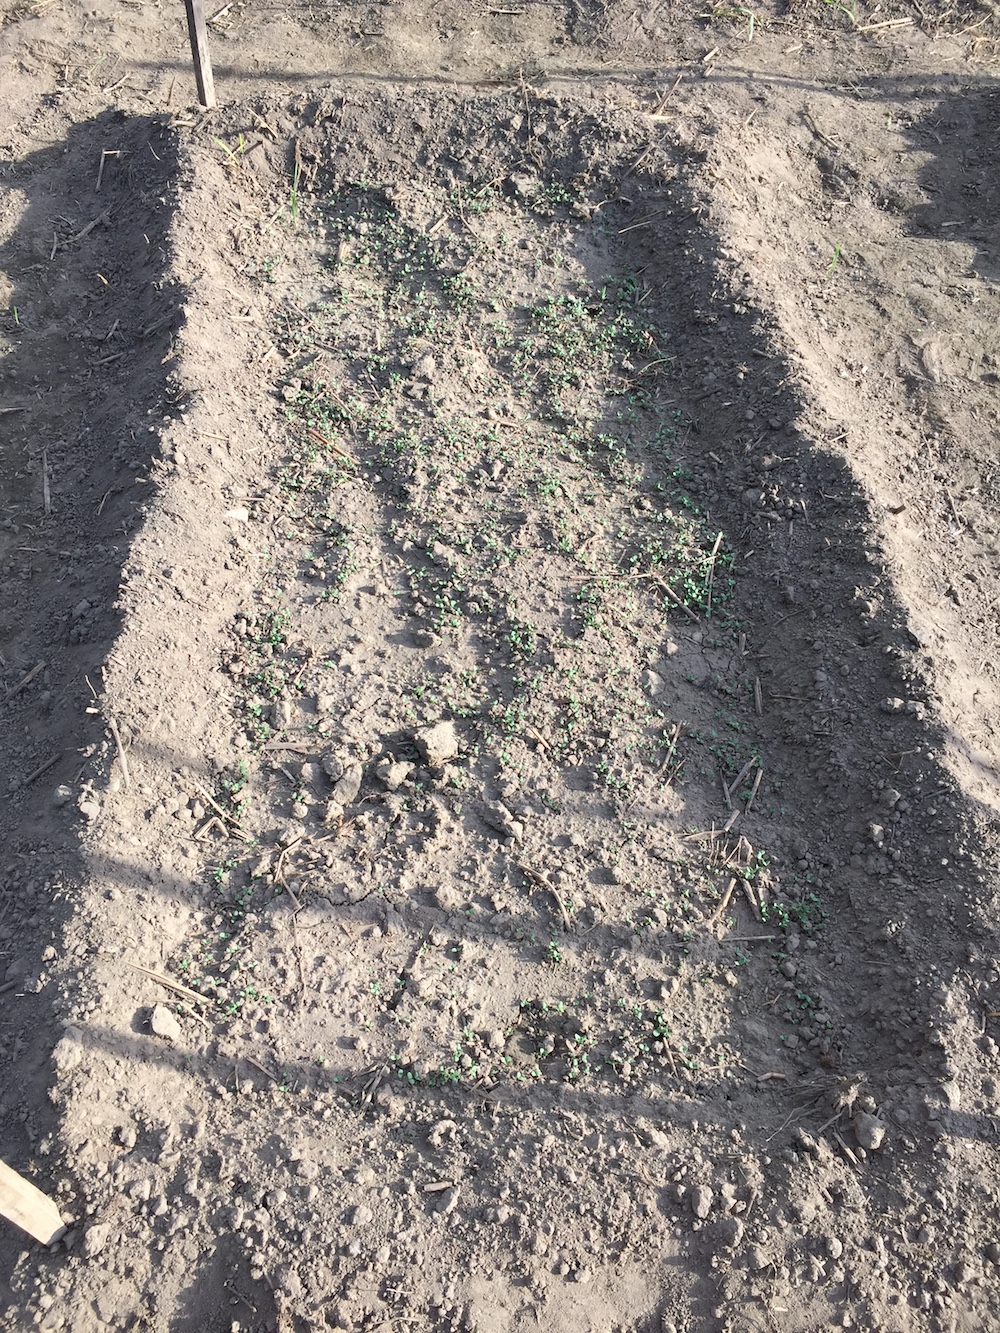
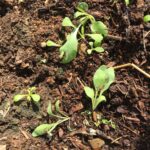
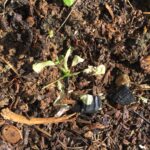
On August 3rd I was able to see the dying seedlings in the process of their demise. Here are some images of their sorry state:

Finally, I consulted the farmer who manages Bramble Hill Farm, Hans Leo. He suggested damping off, which is caused by a variety of molds and fungi in the soil.

Well, damping off made a lot of sense. I had inadvertently worsened the situation by making a hot, humid tent in which there was no air circulation. Recommendations for avoiding damping-off include allowing the soil to dry off between waterings, and having plenty of airflow.

Hans recommended spraying with chamomile tea to help the plants fight off the pathogen while they were small. Once plants get bigger, they are more resilient.

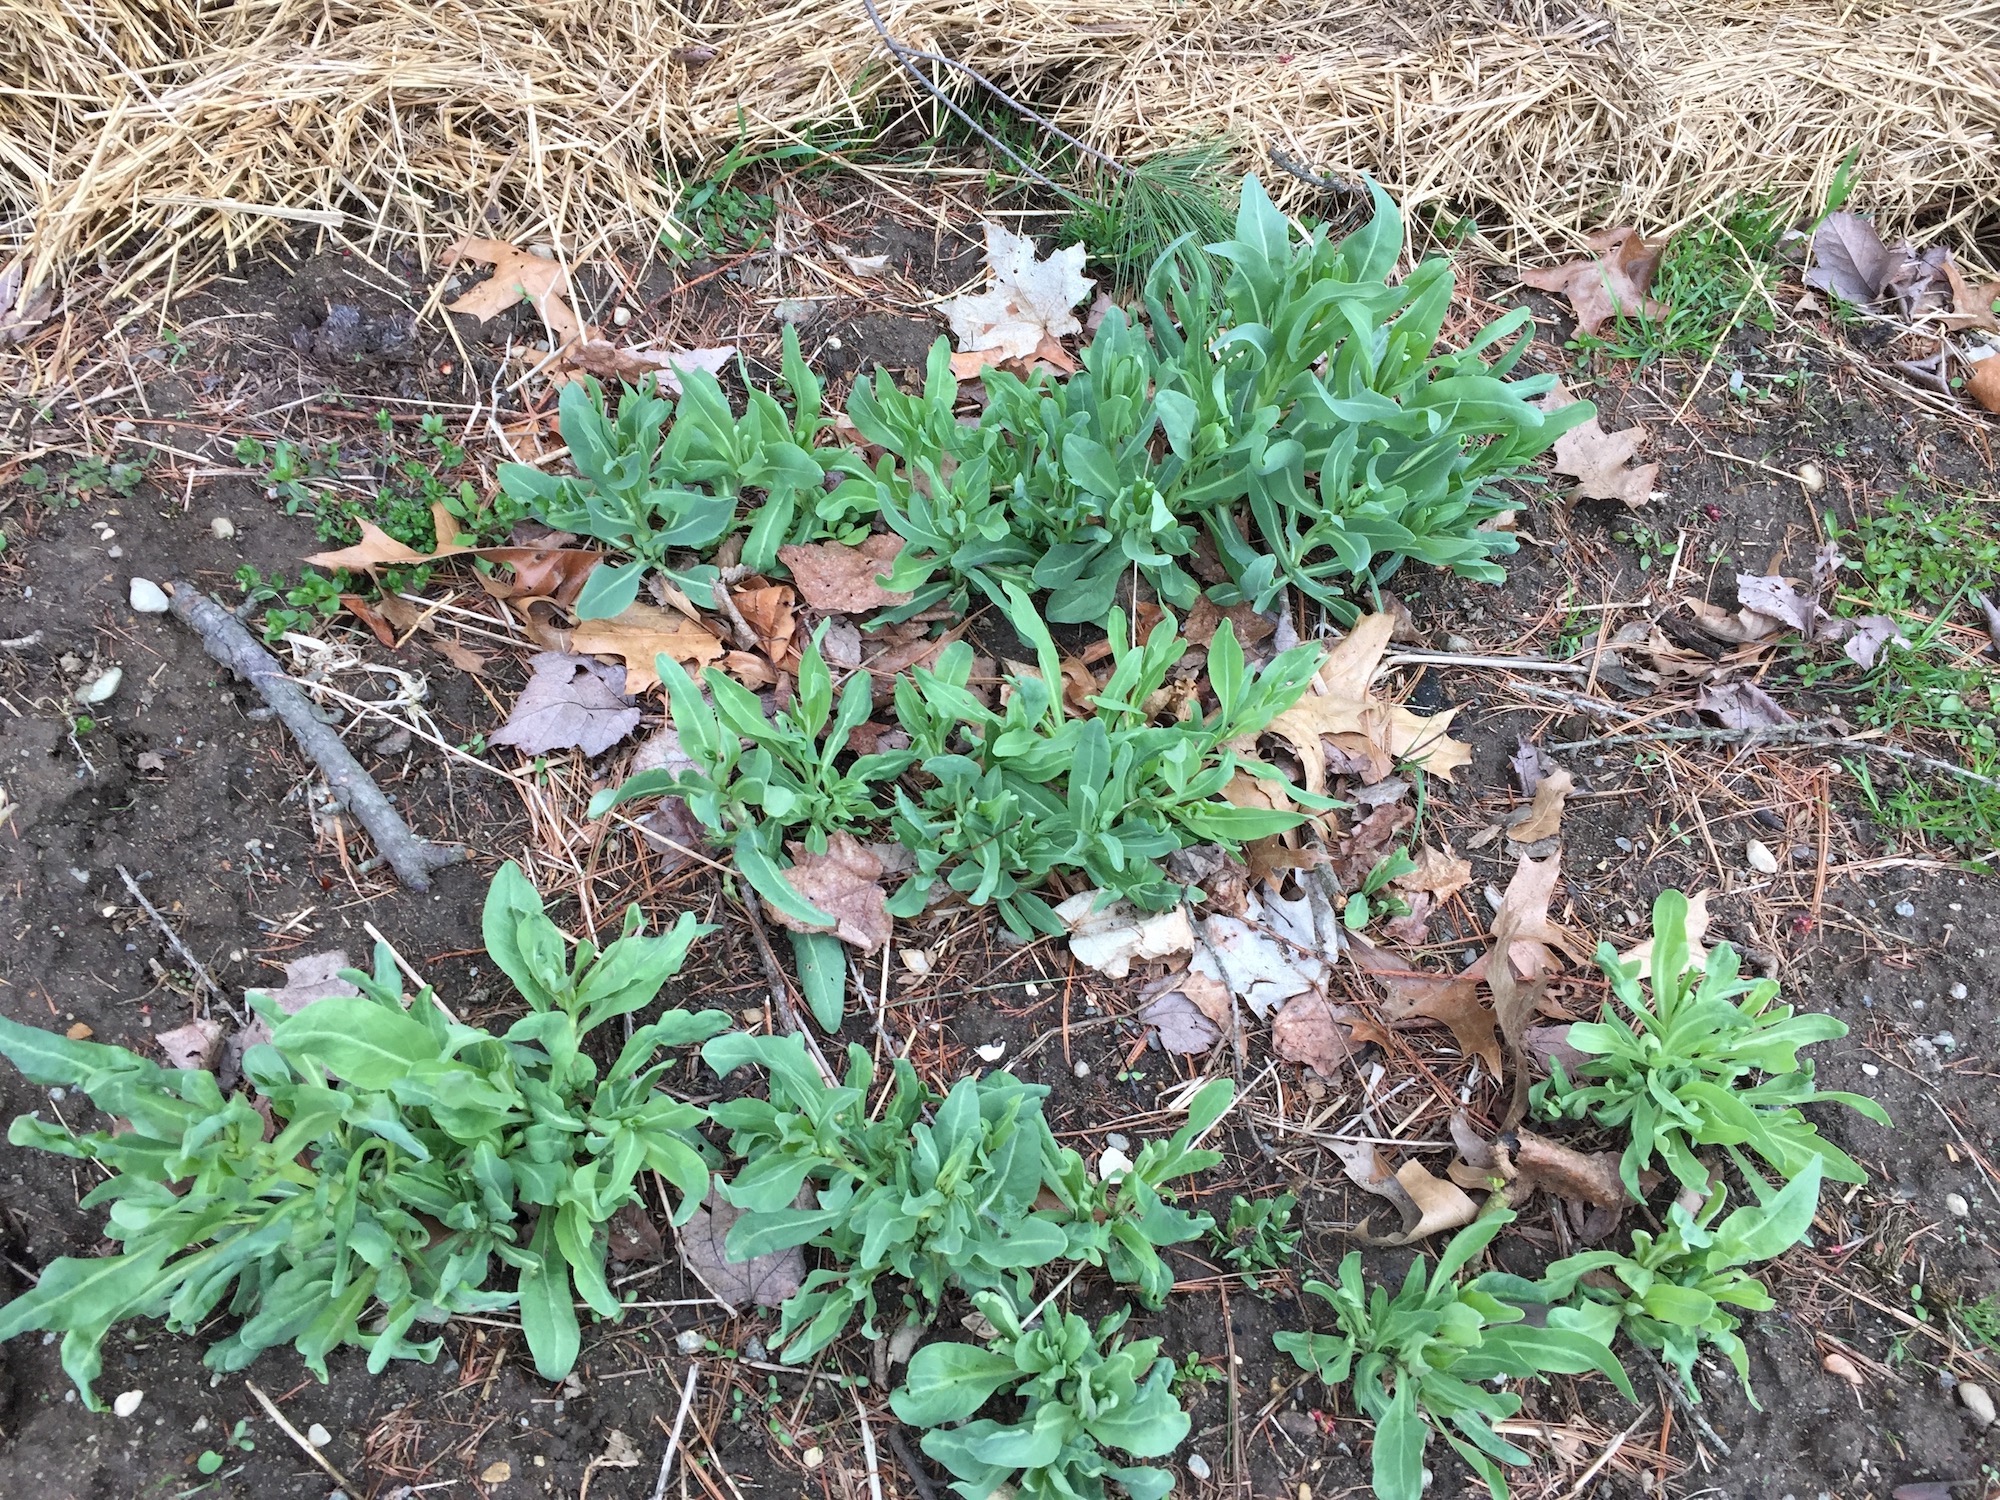
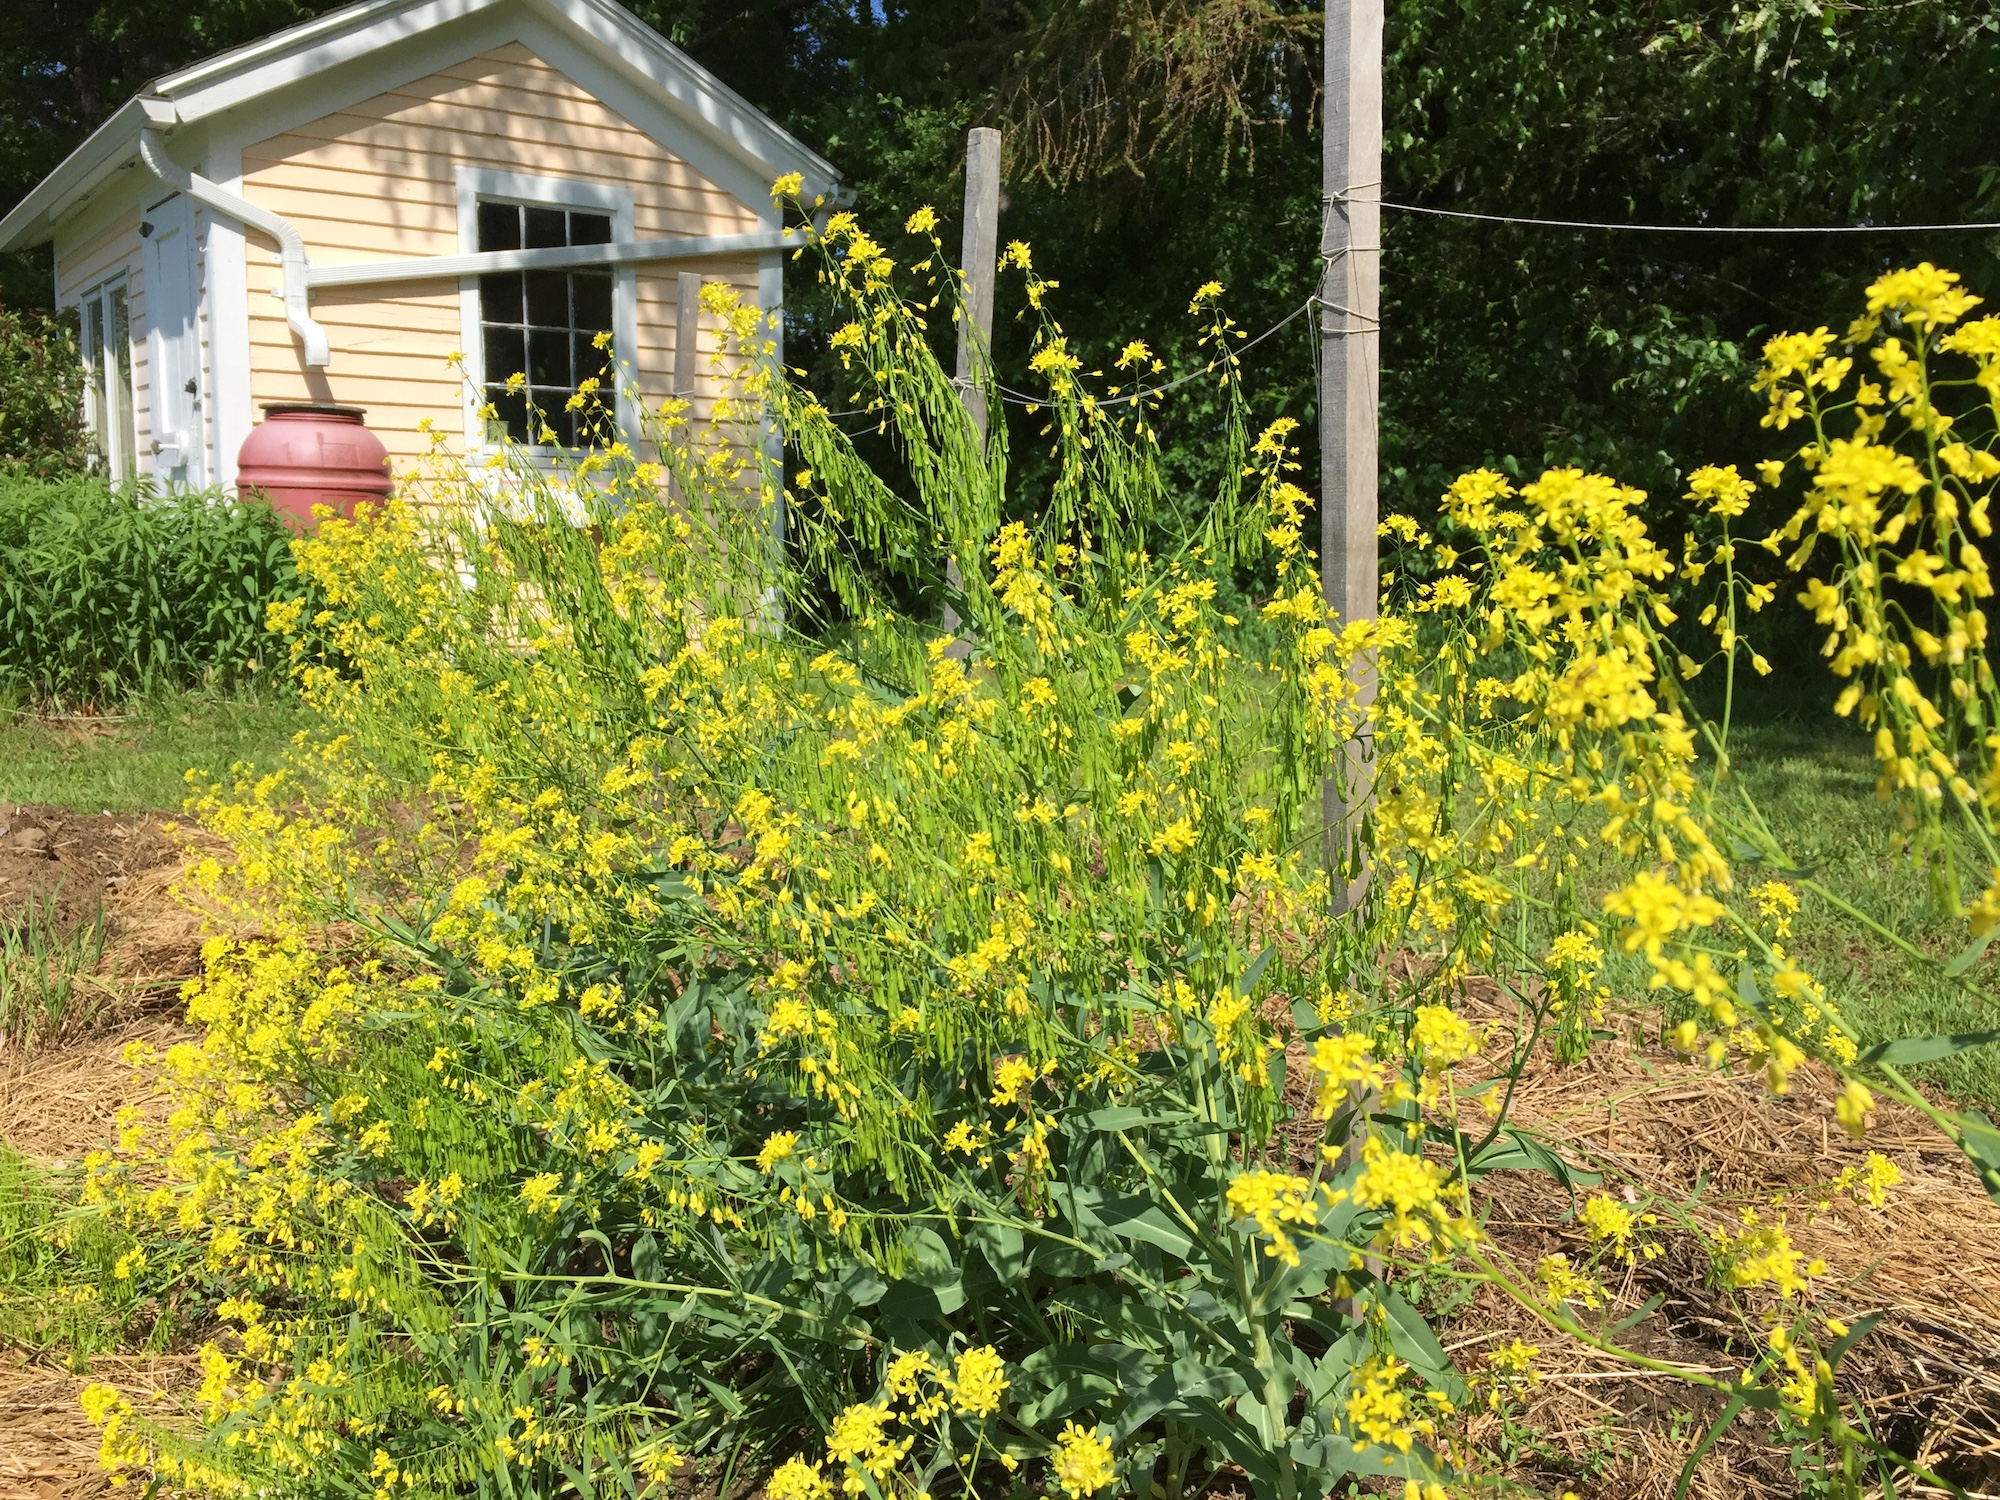
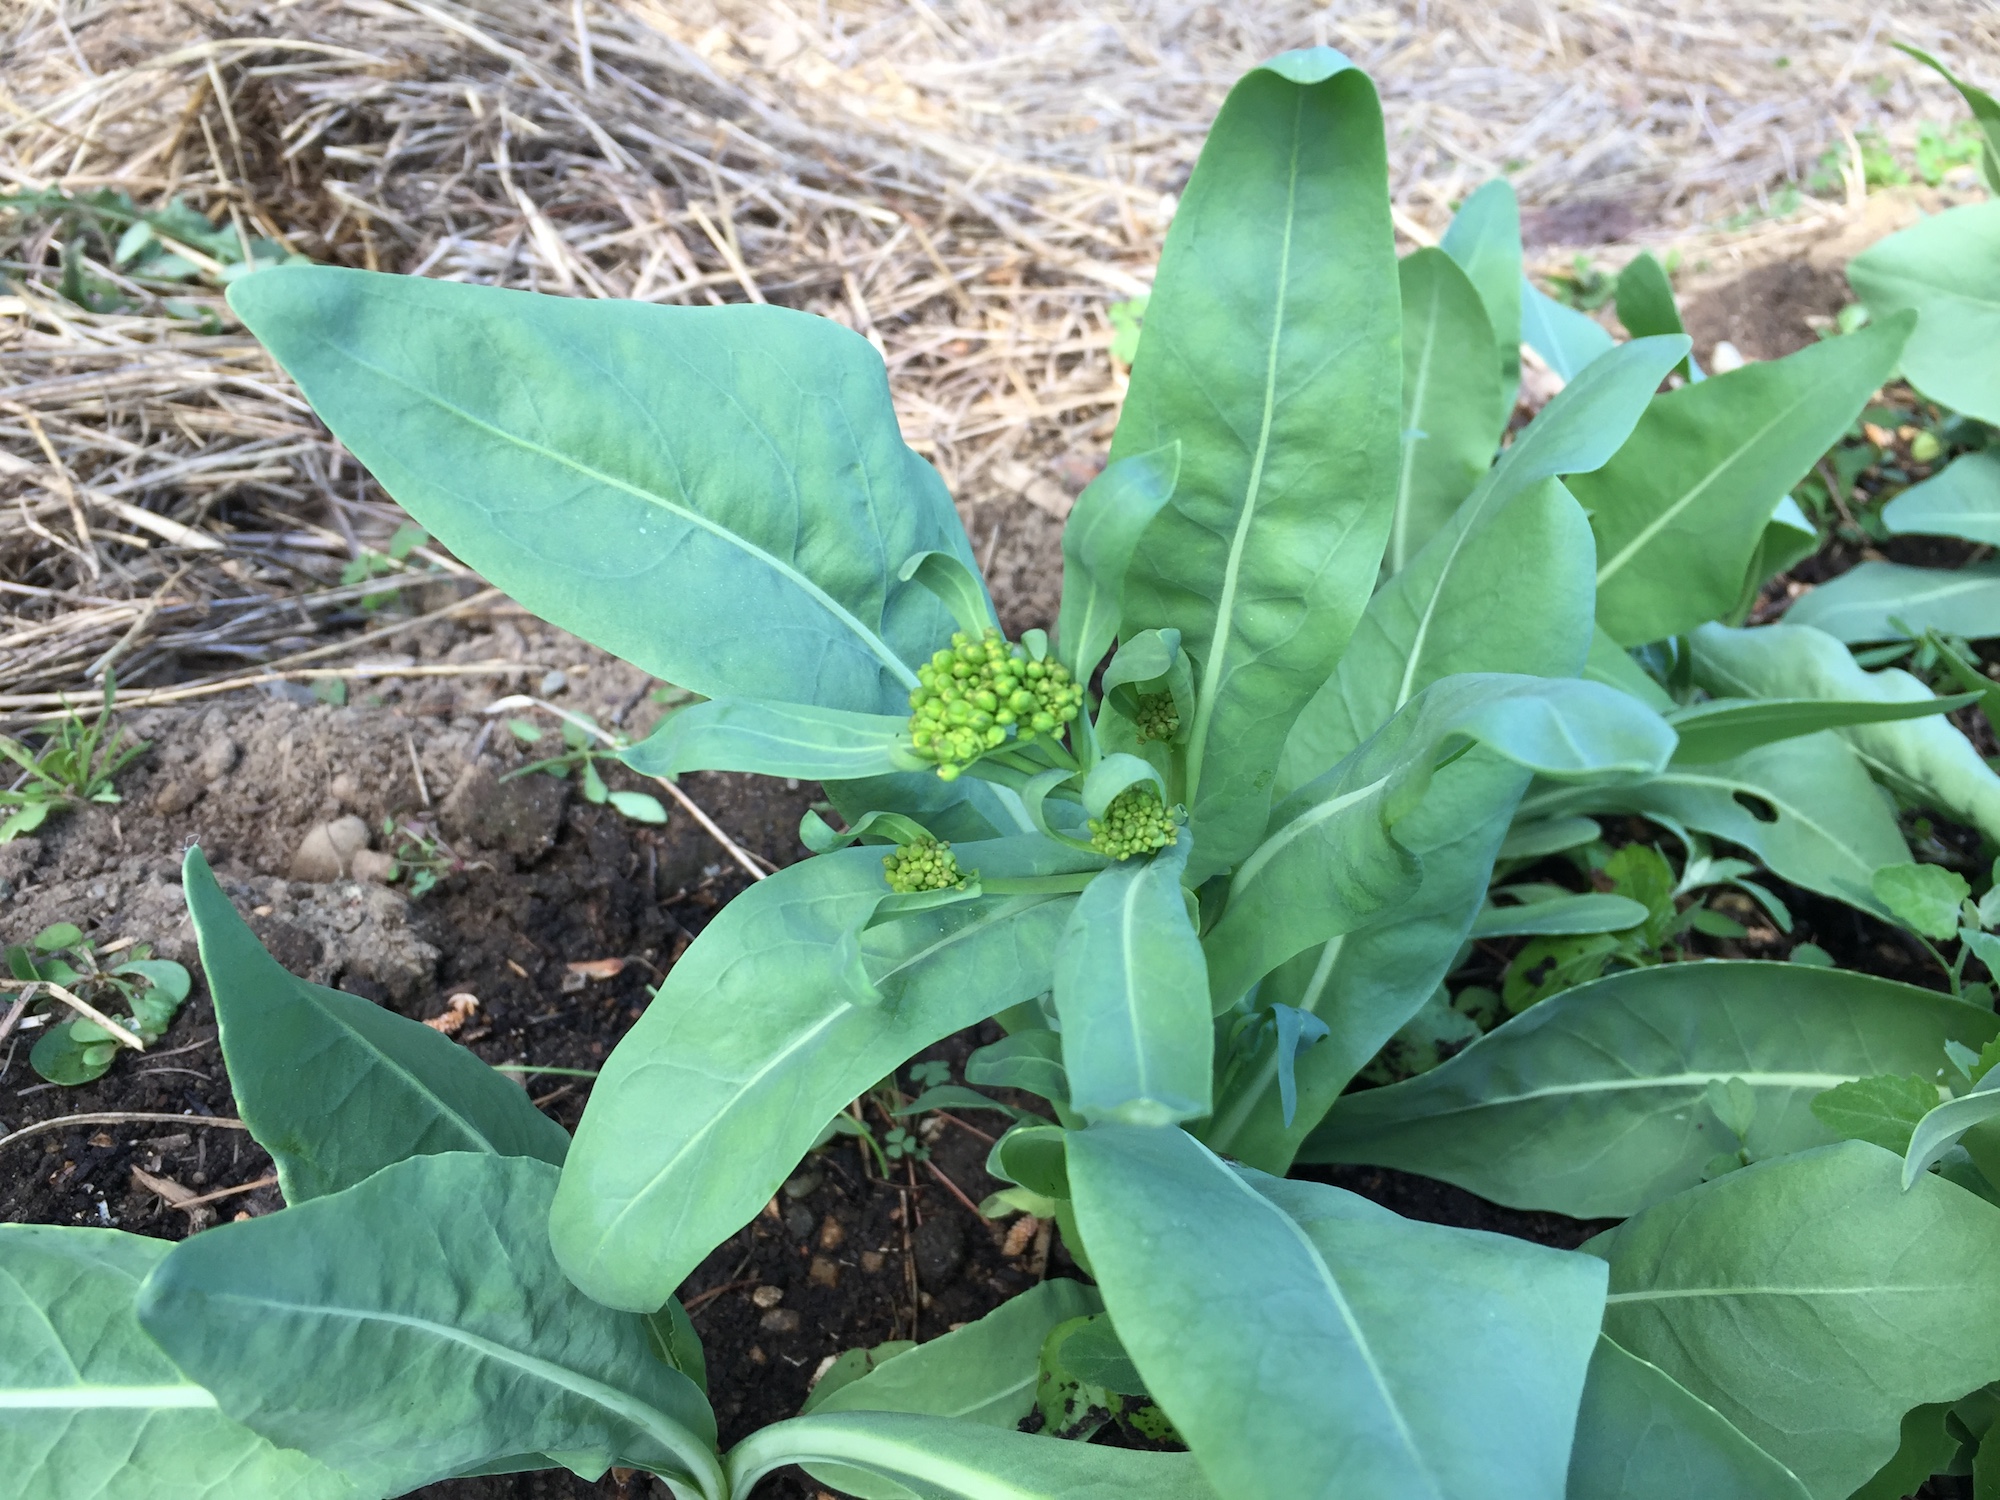
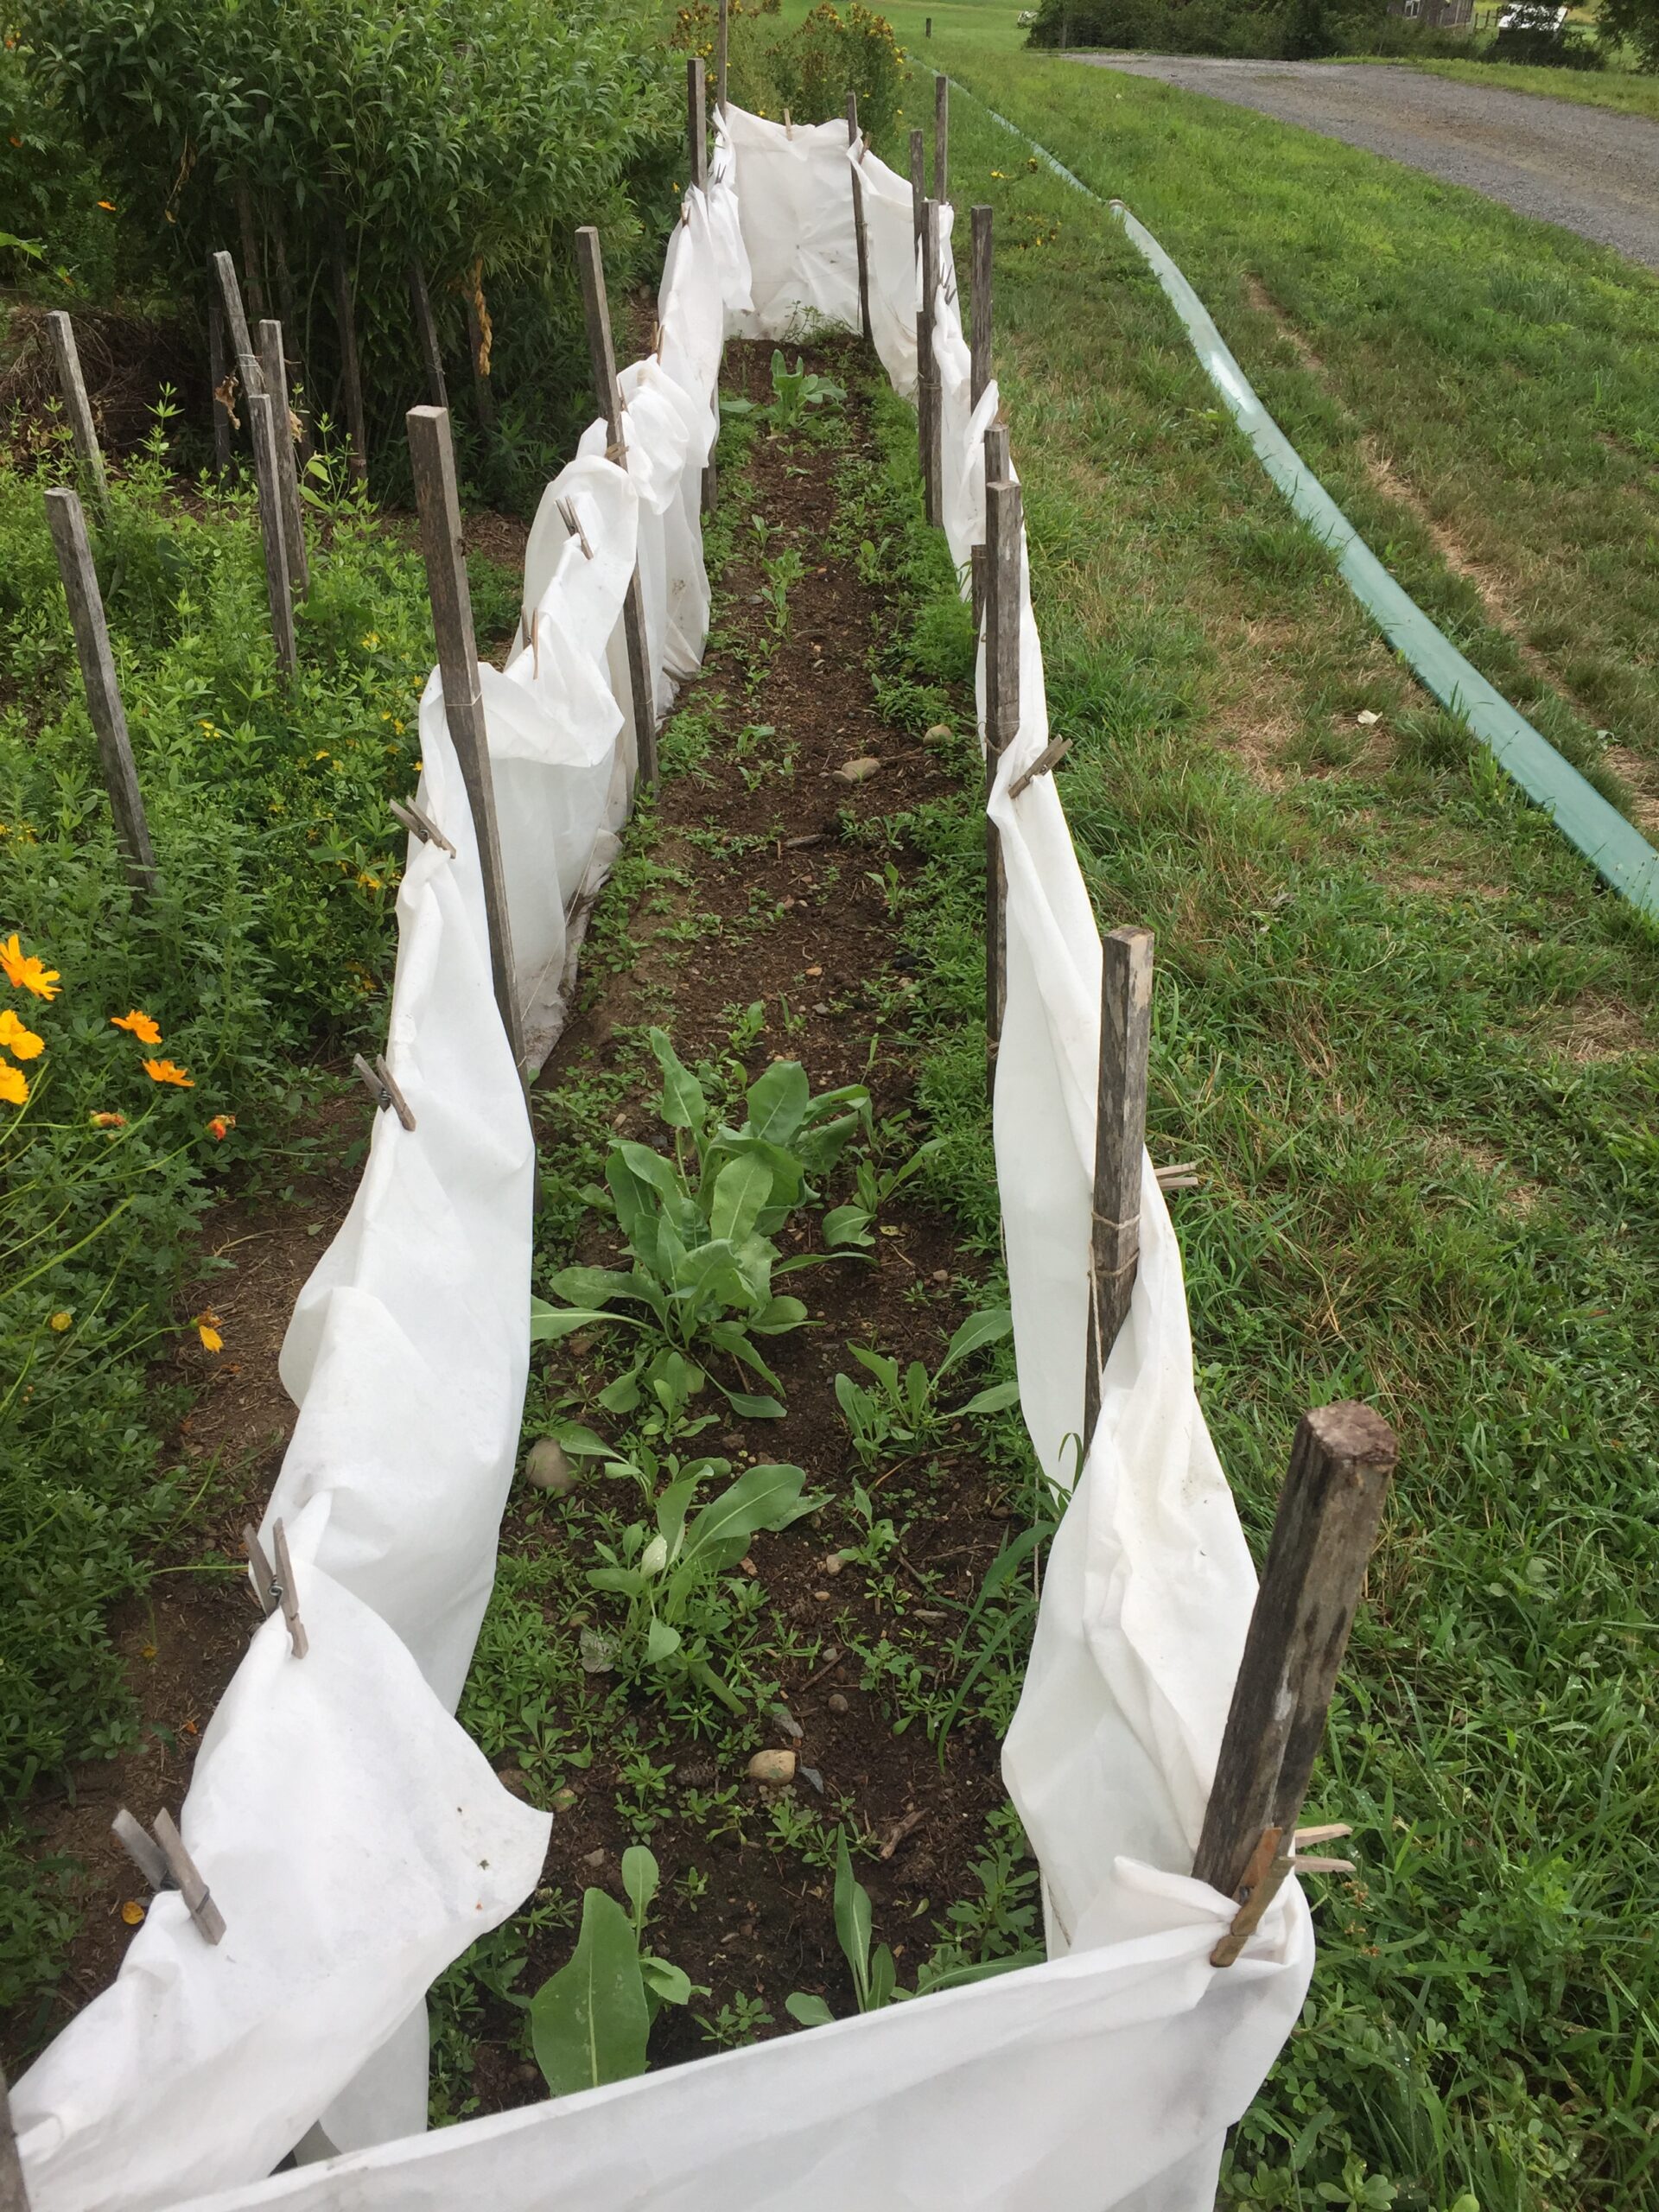
In fact, the few plants that had survived the seedling stage were doing great. You can see some big, healthy woad plants in the otherwise empty bed:

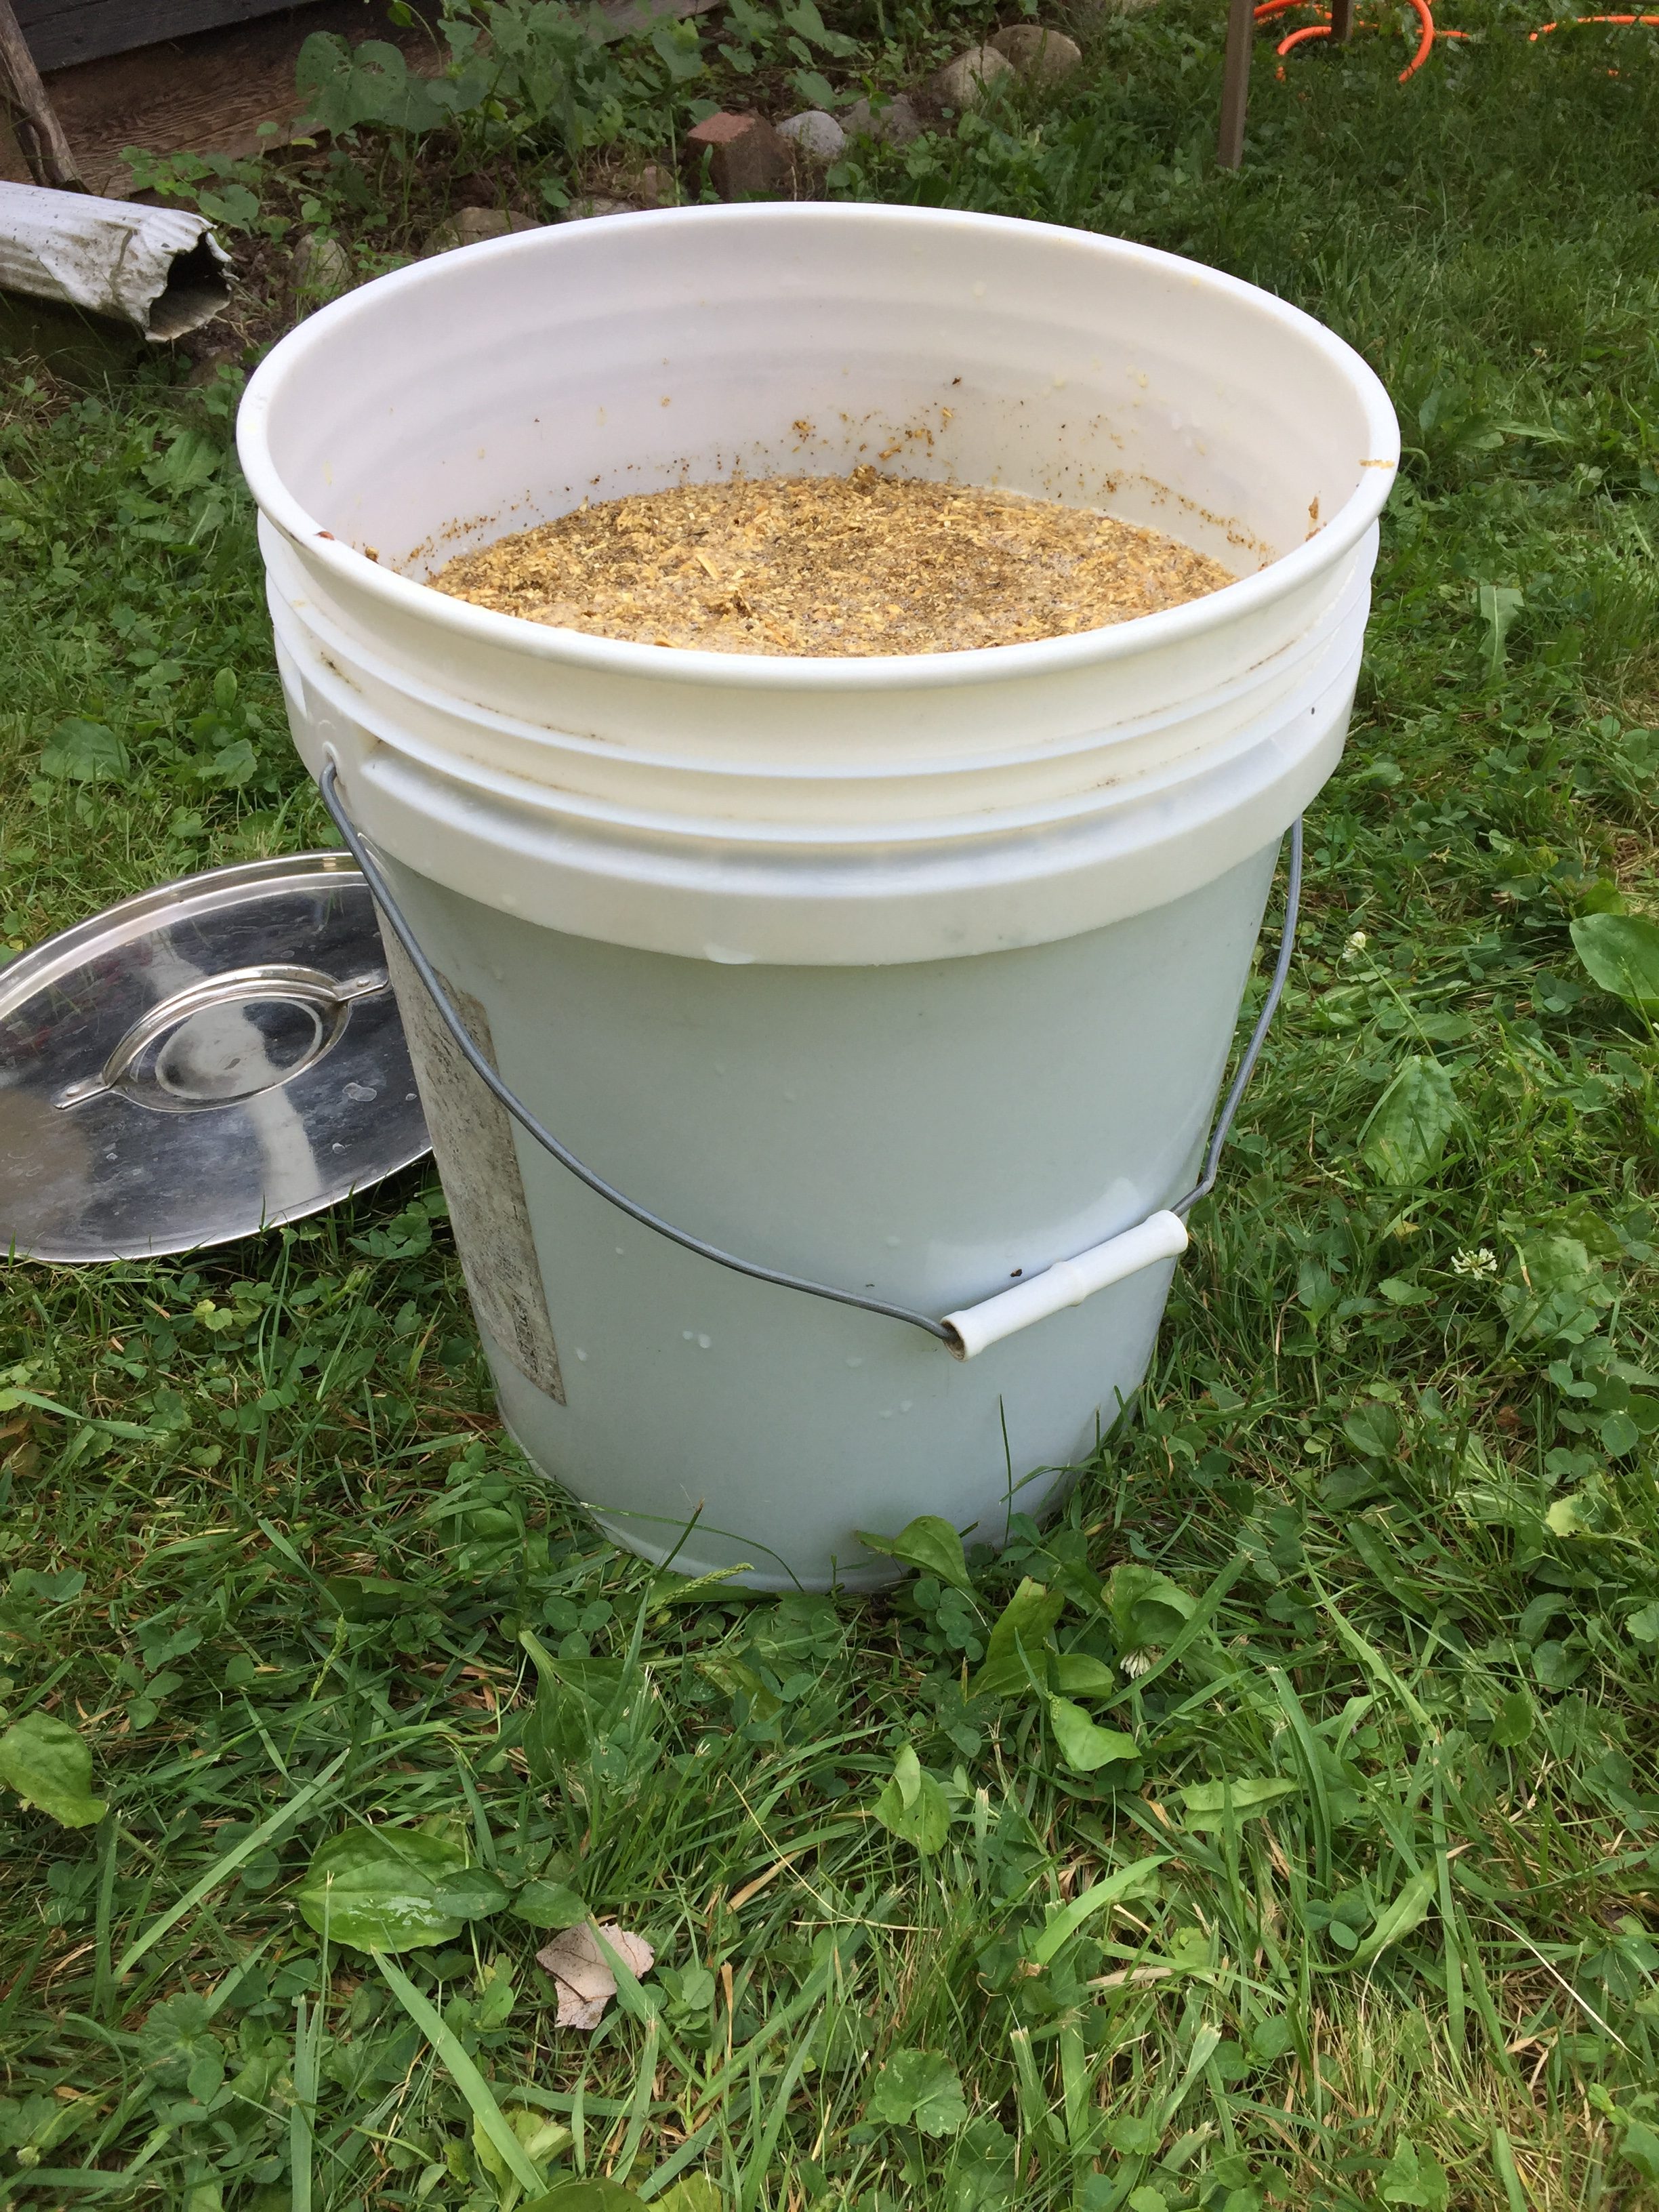
So, I brewed up some chamomile tea. Several years ago I was gifted a box of fancy dried chamomile, but hadn’t made much of a dent in it. Clearly this was its intended purpose!

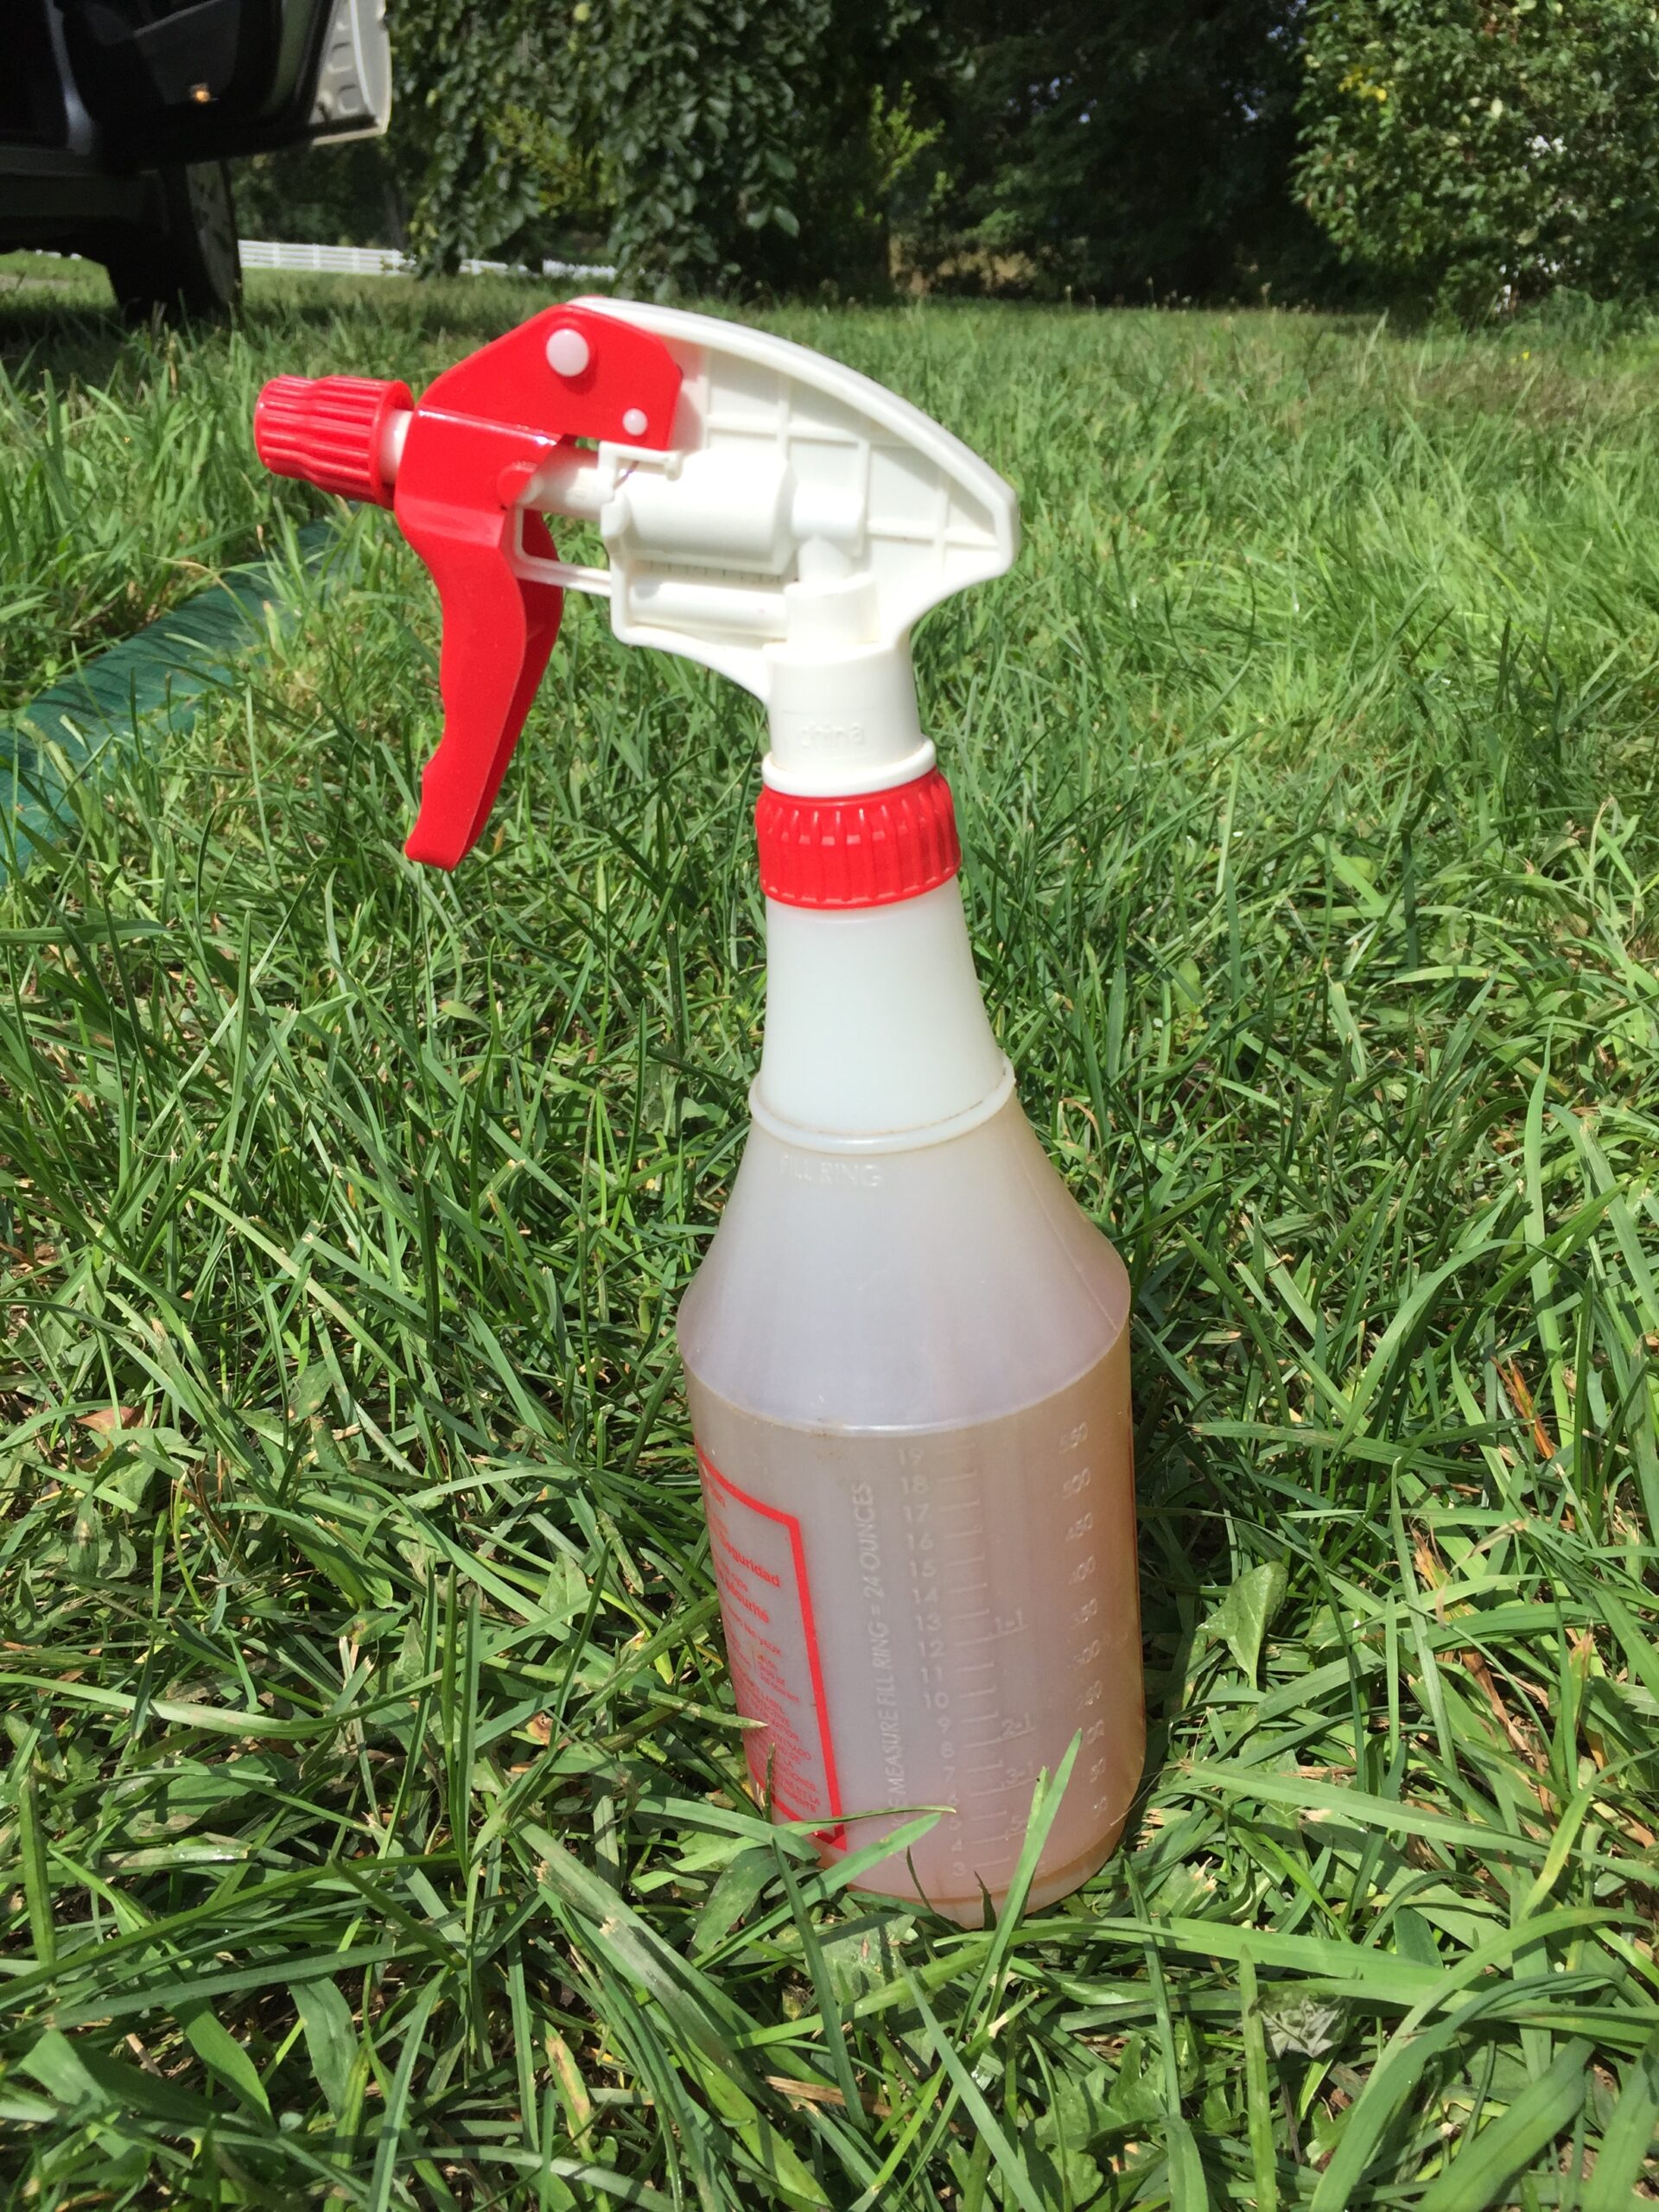
I got a spray bottle.

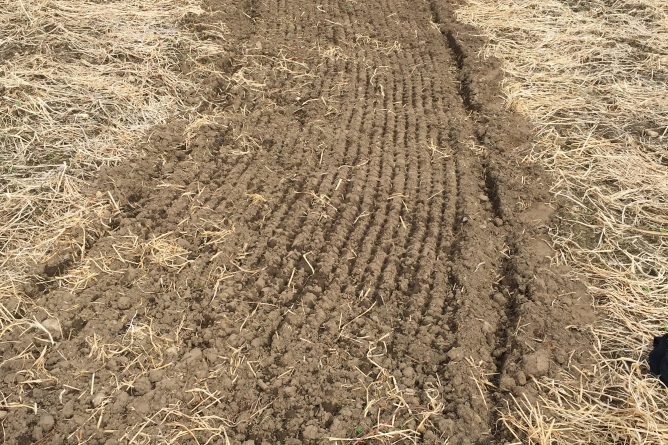
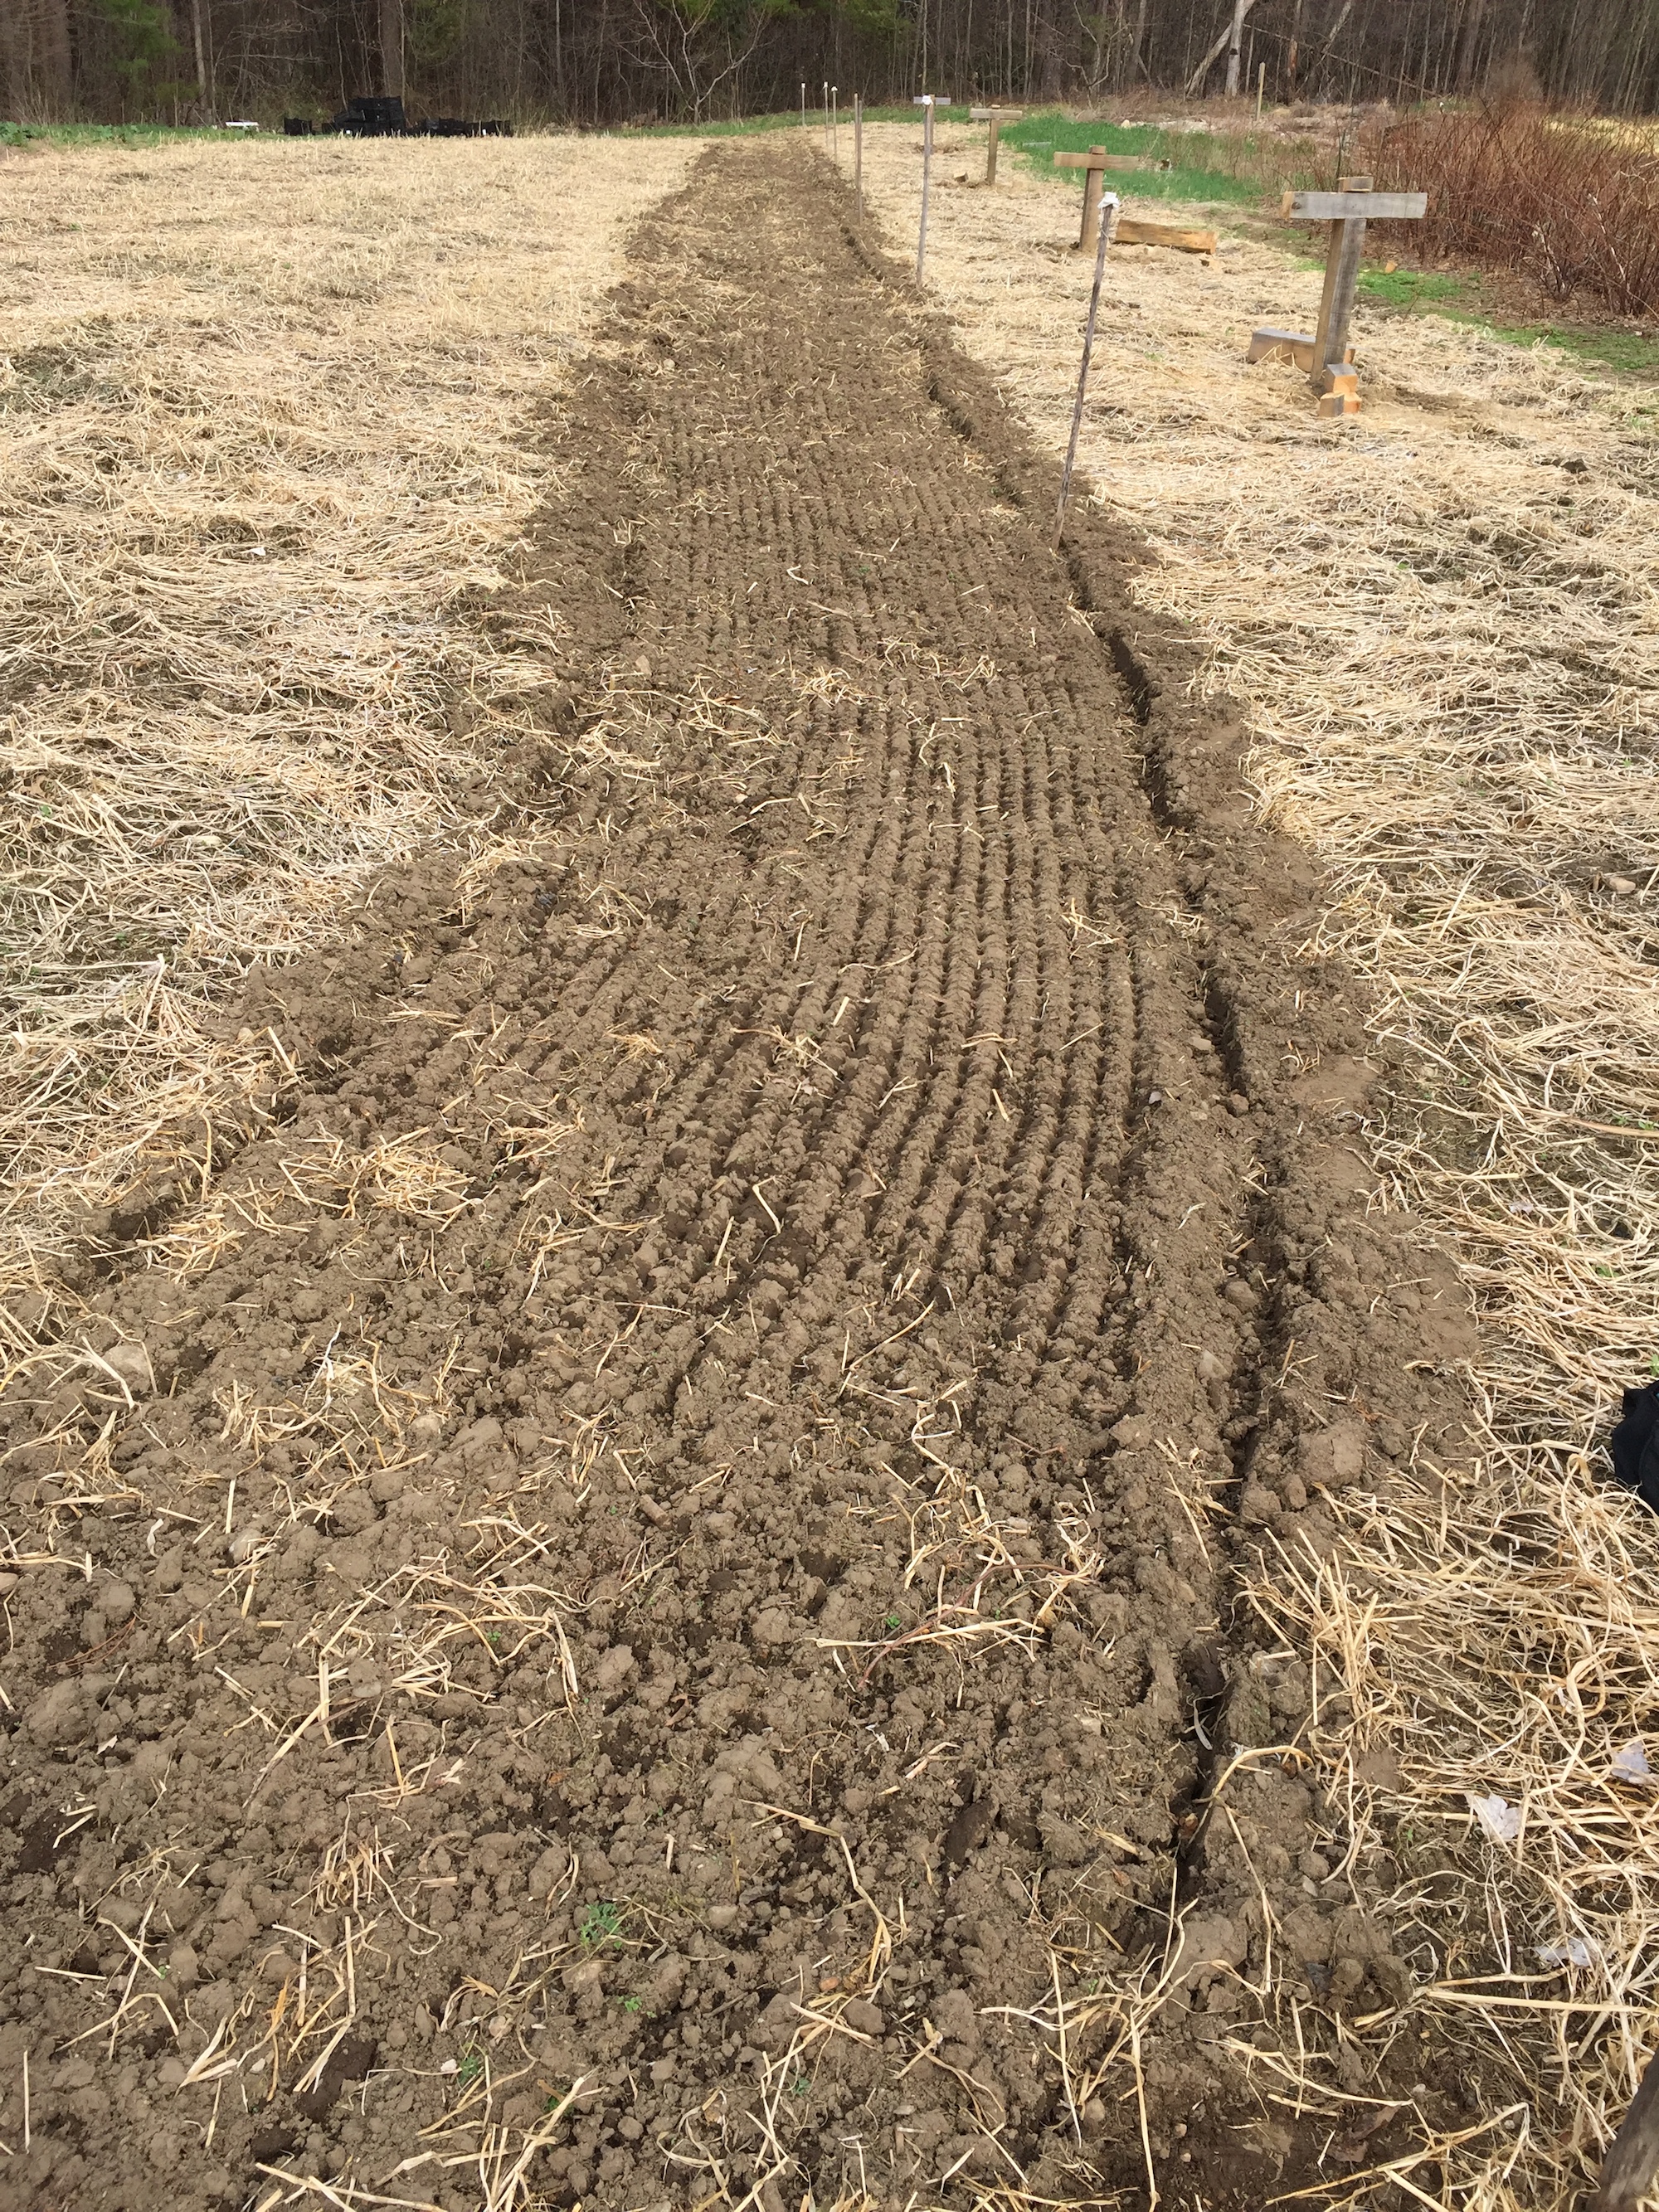
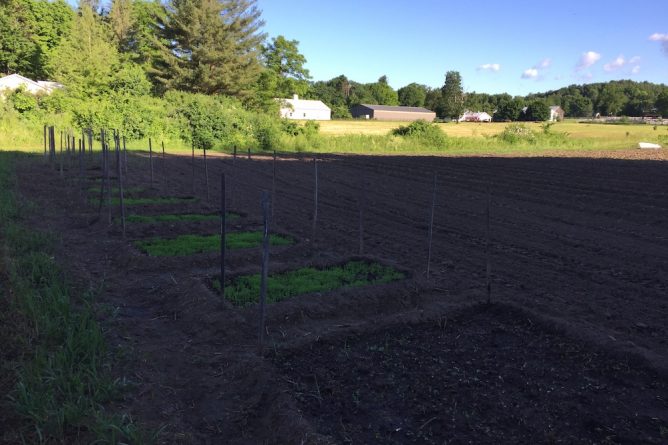
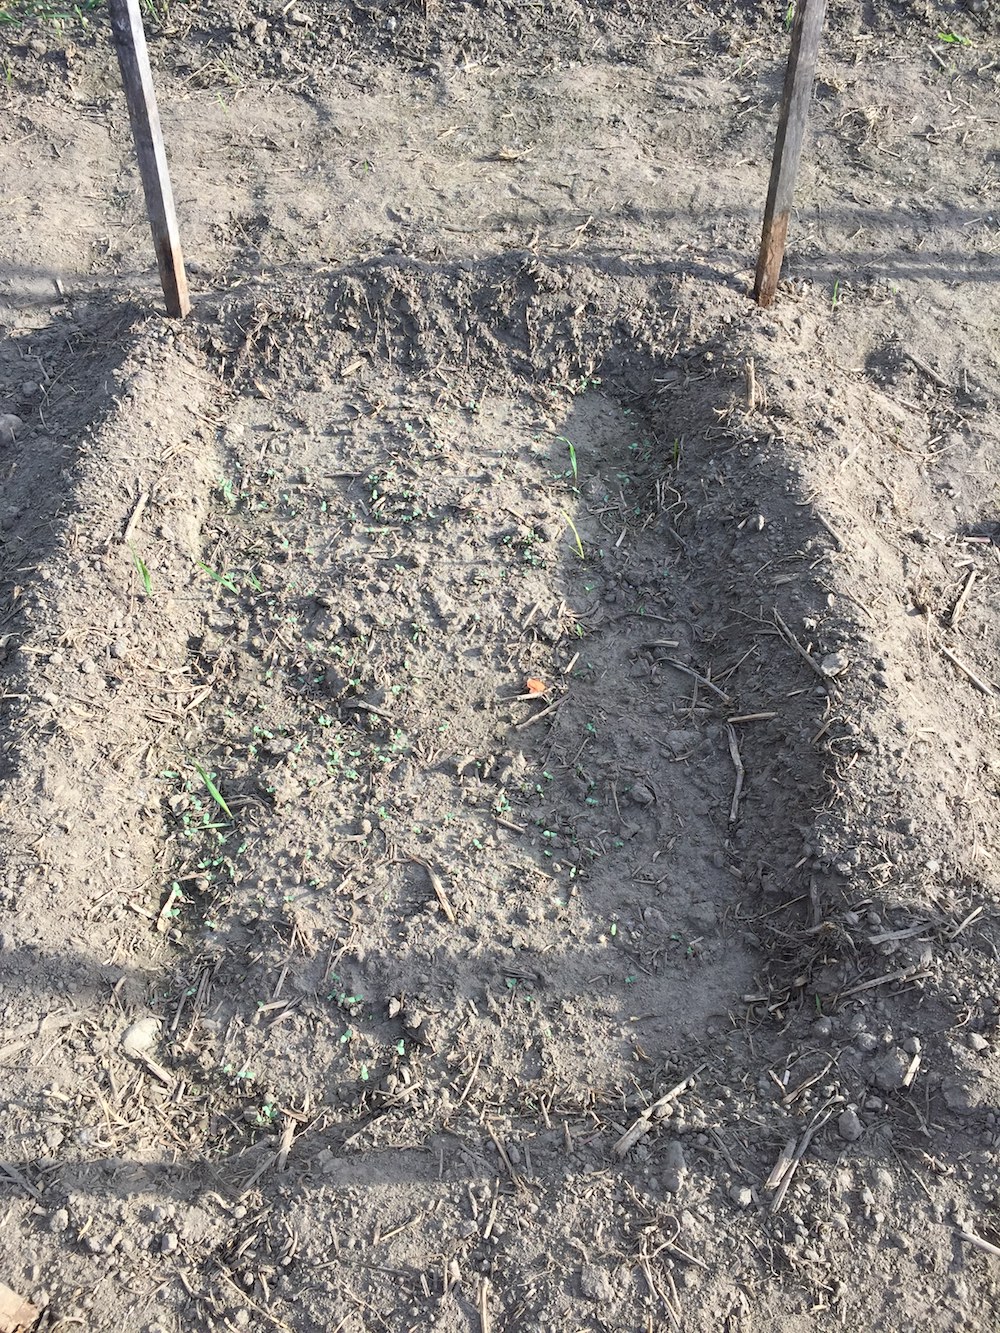
I took off all the row cover. Here’s the newly unwrapped bed on August 9th:

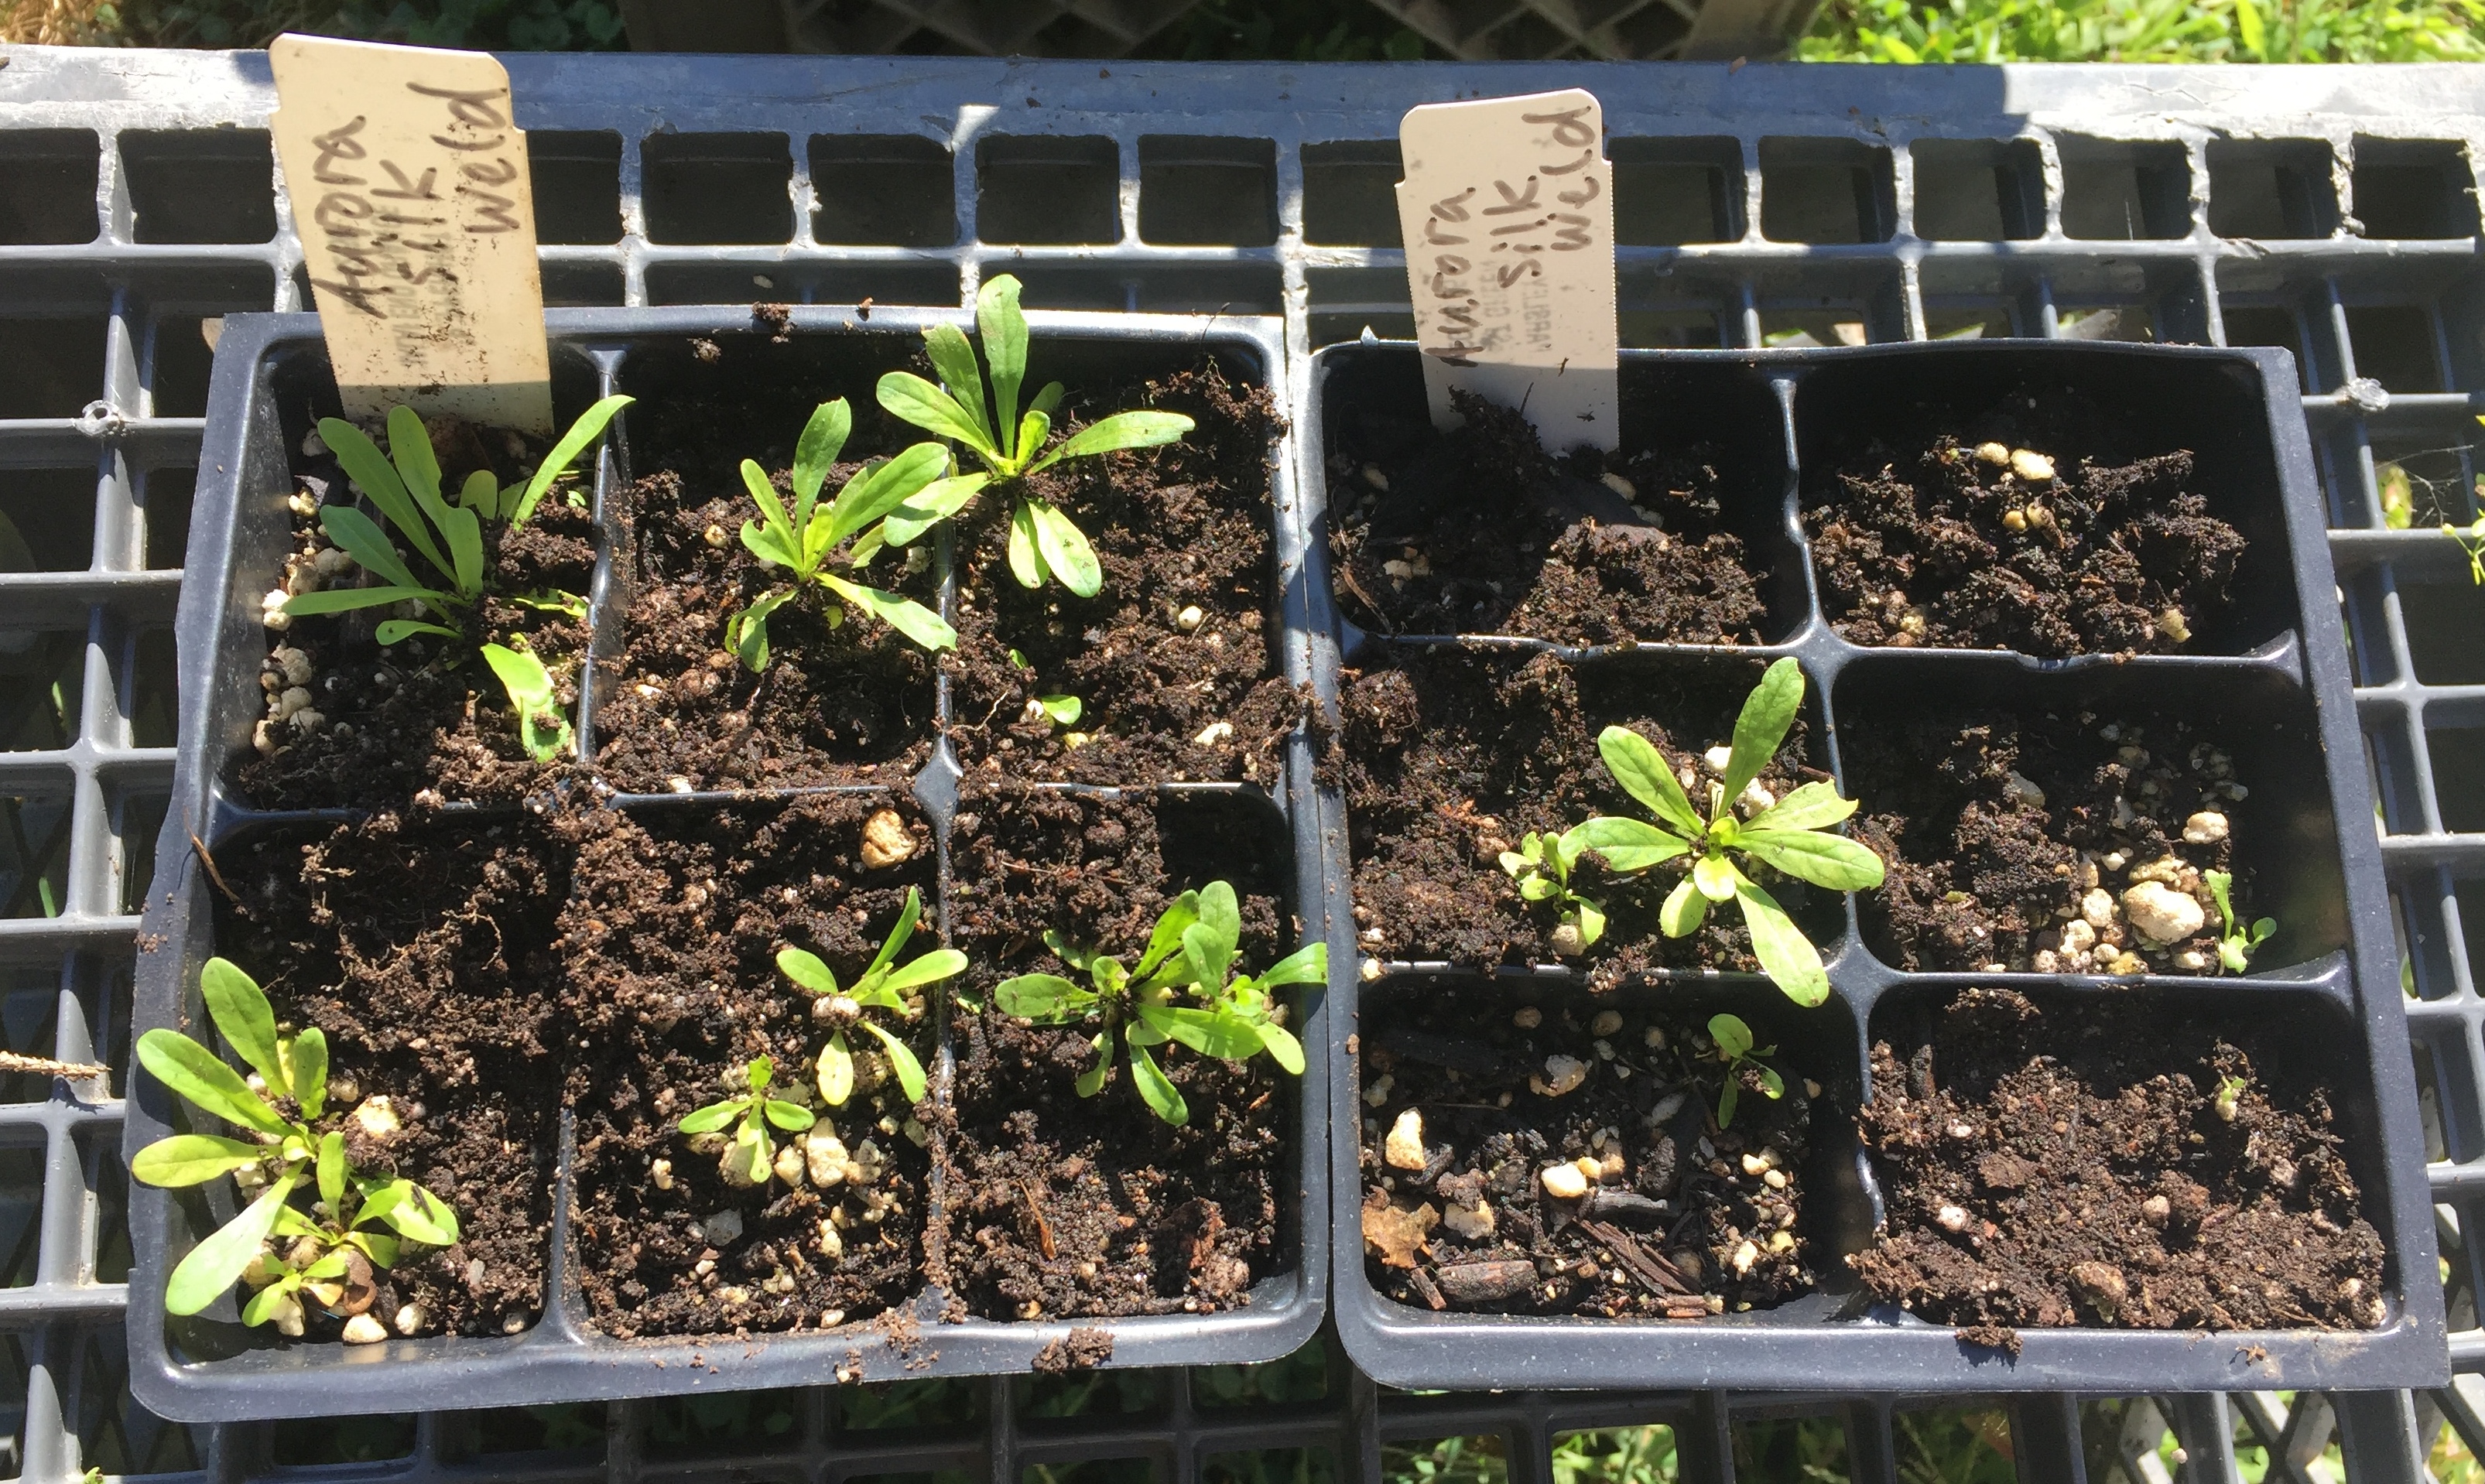
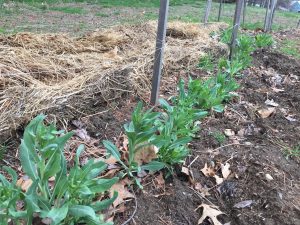
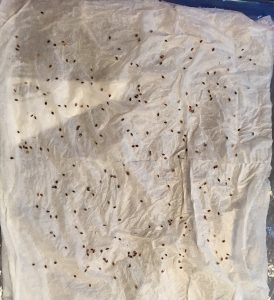
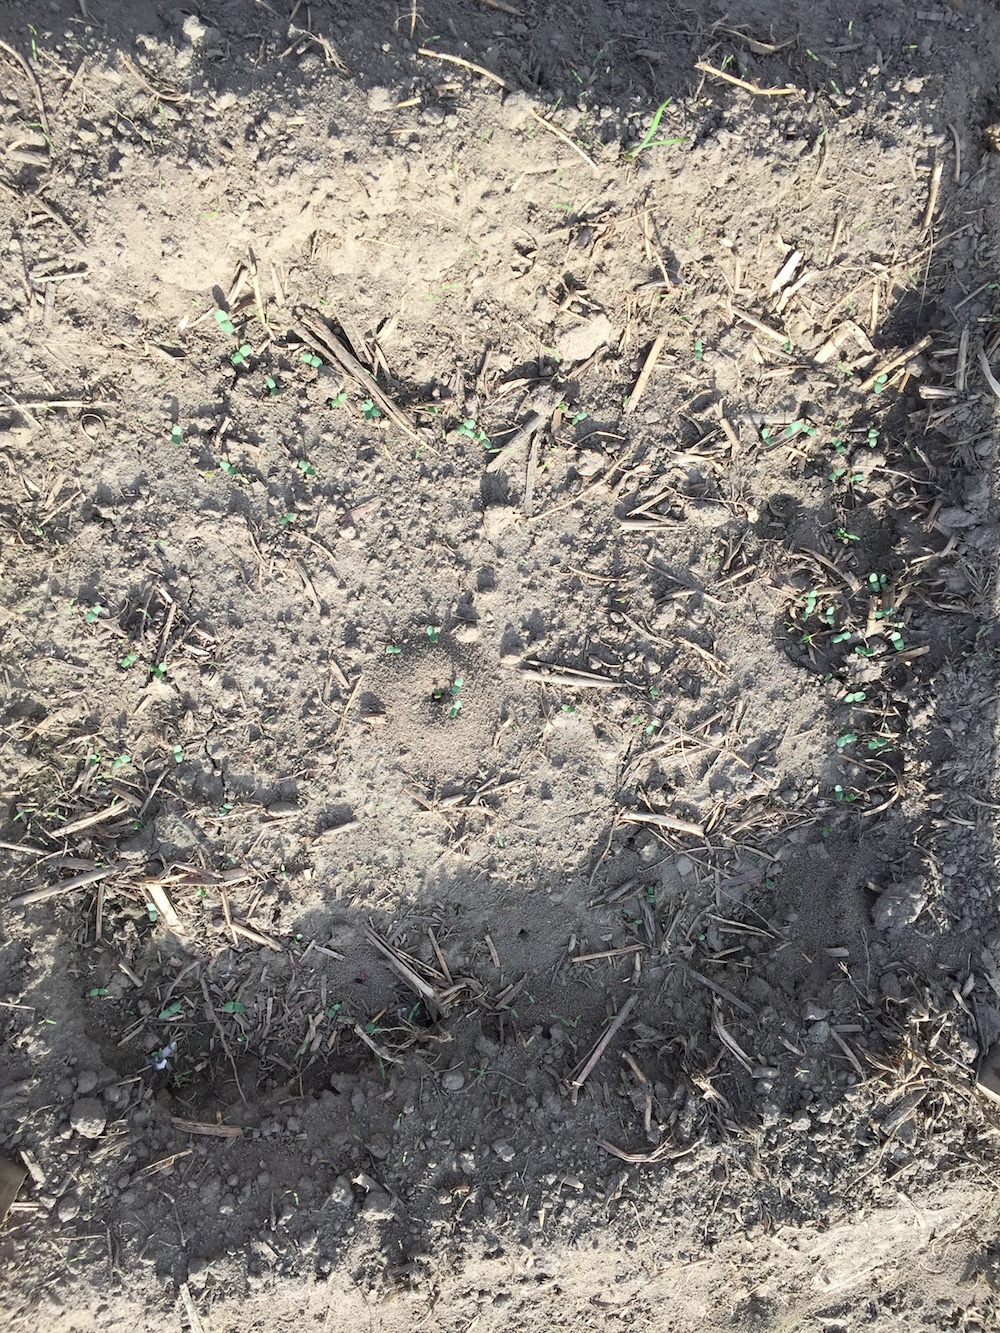
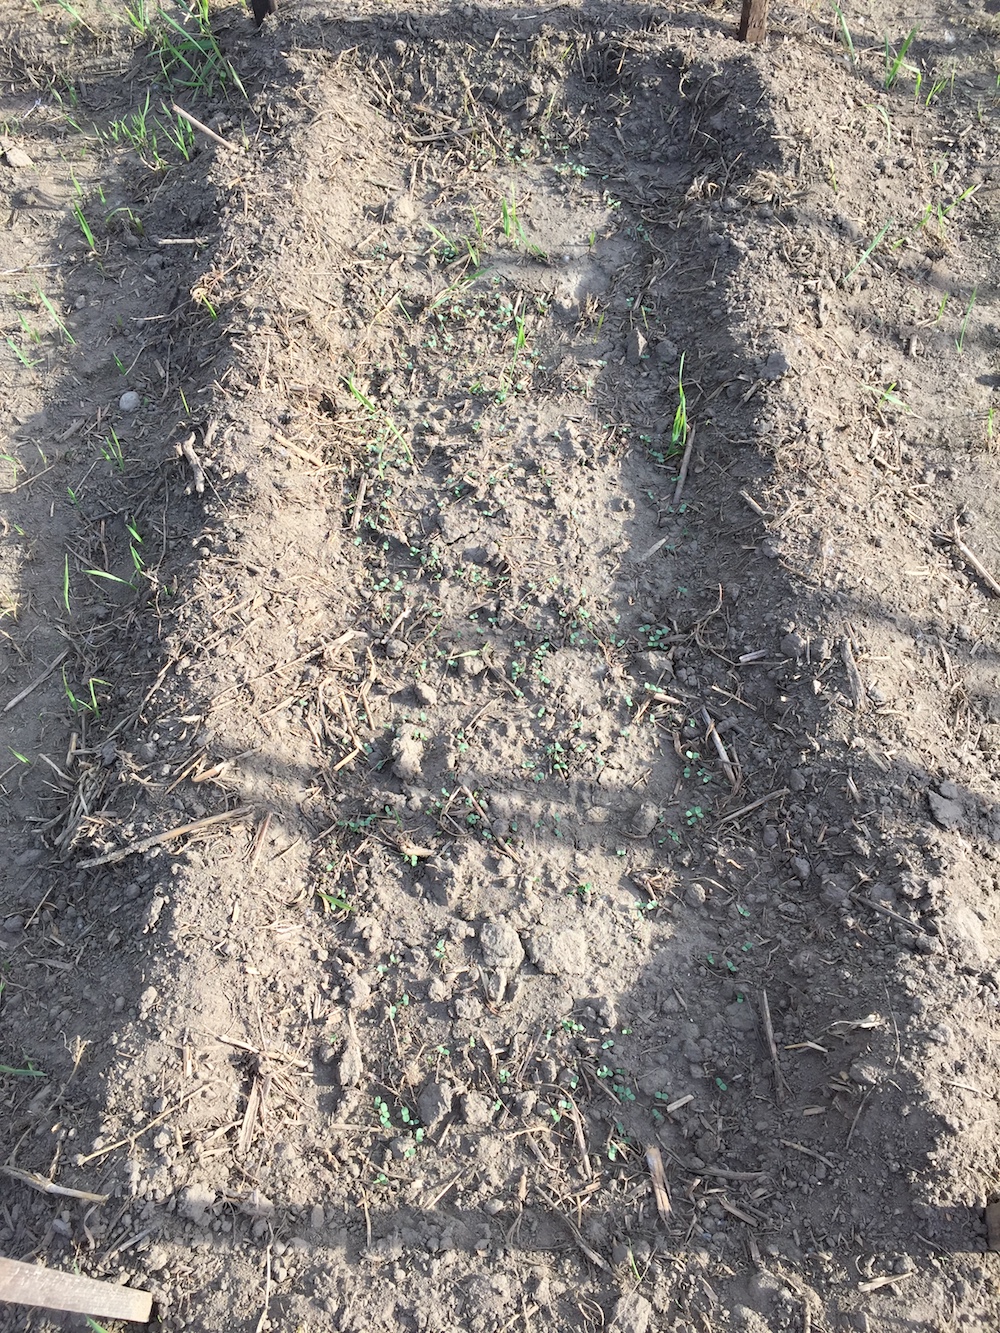
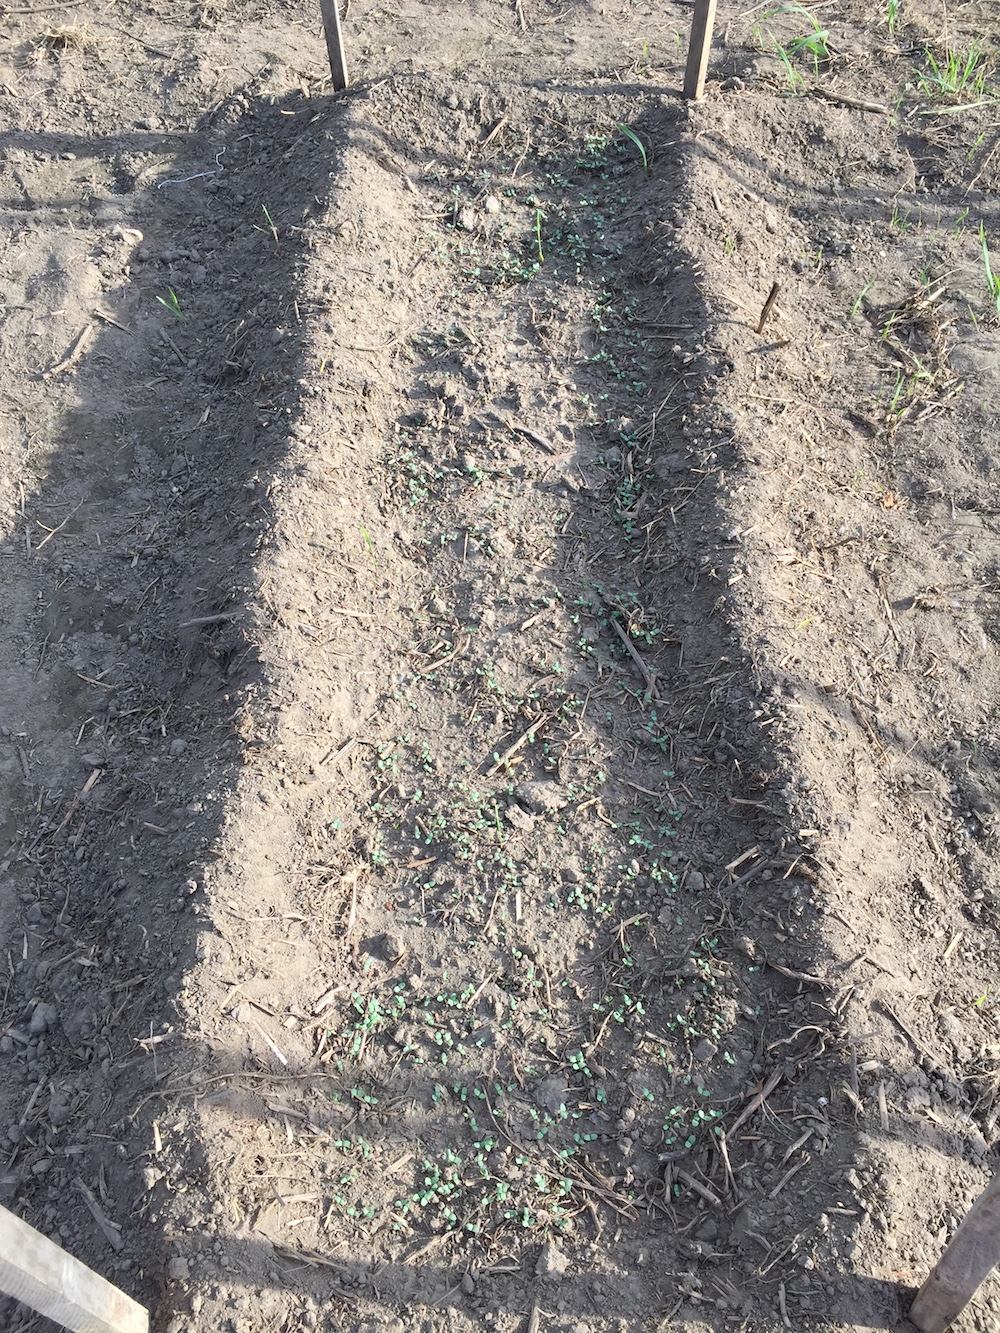
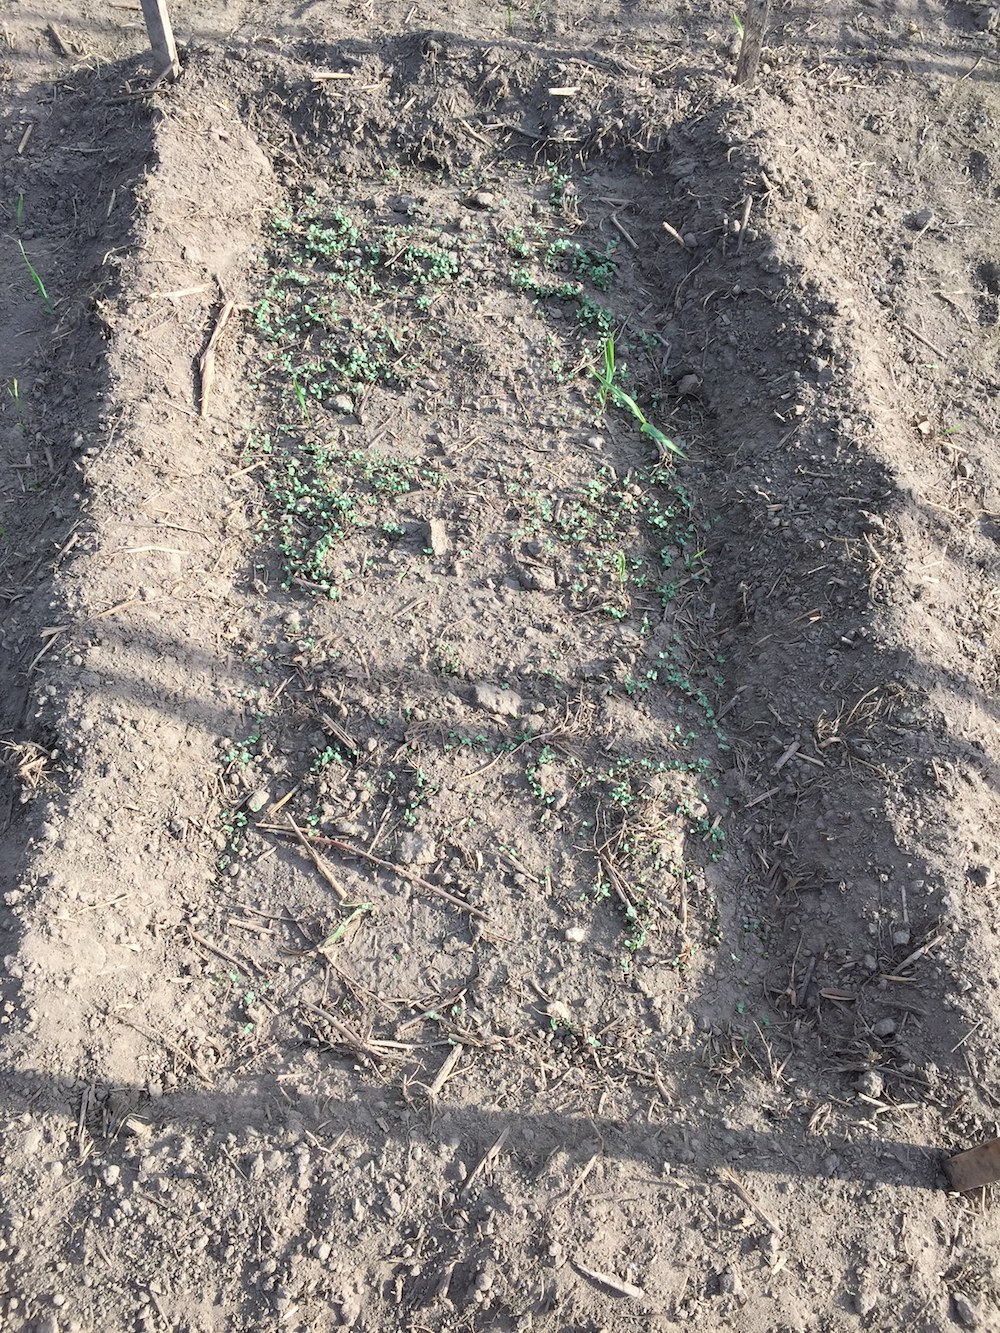
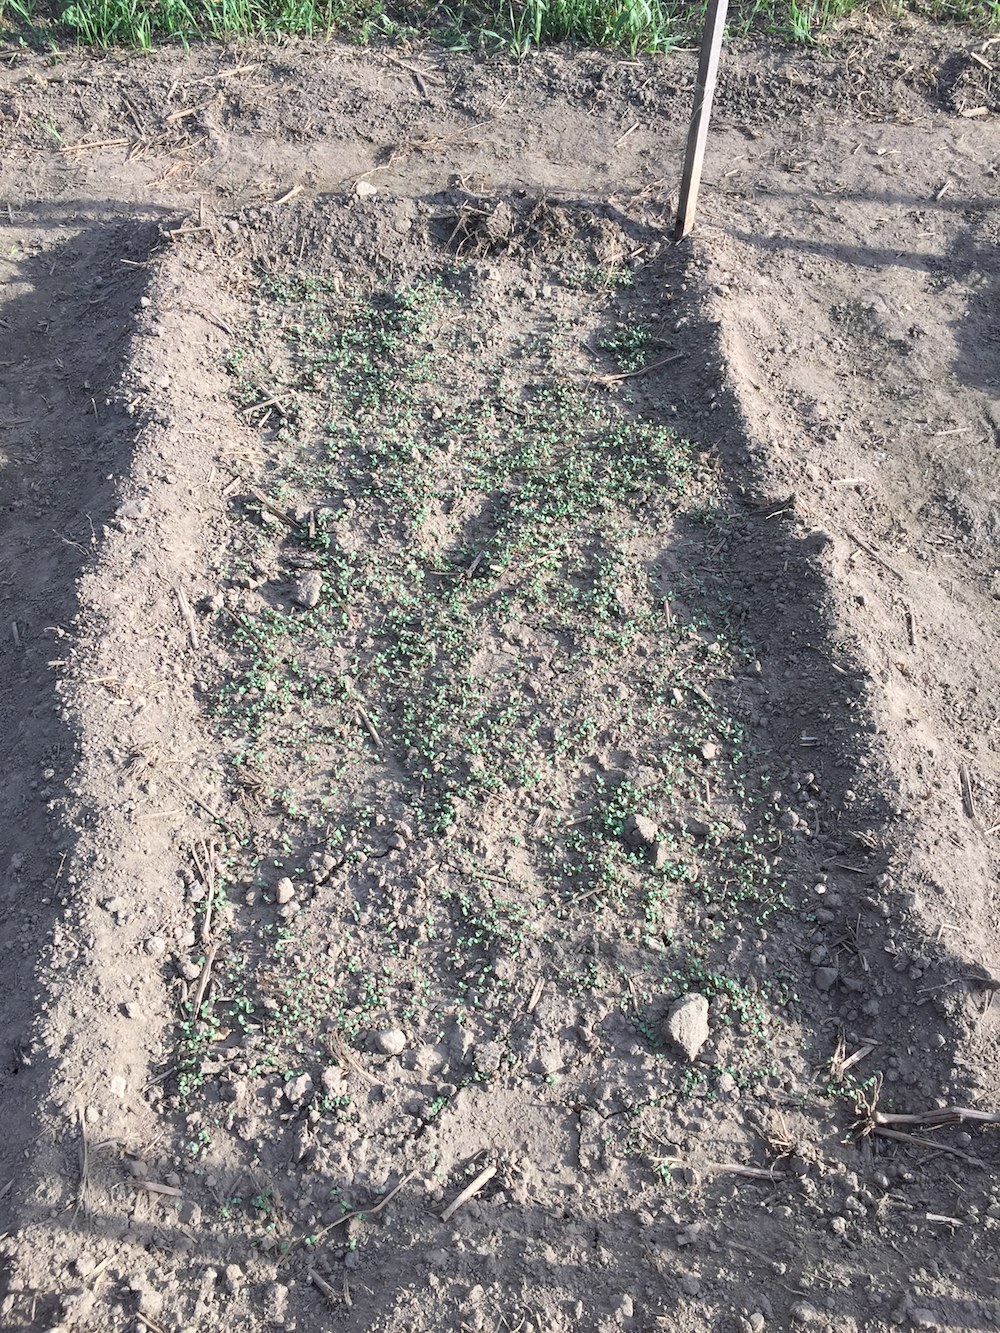
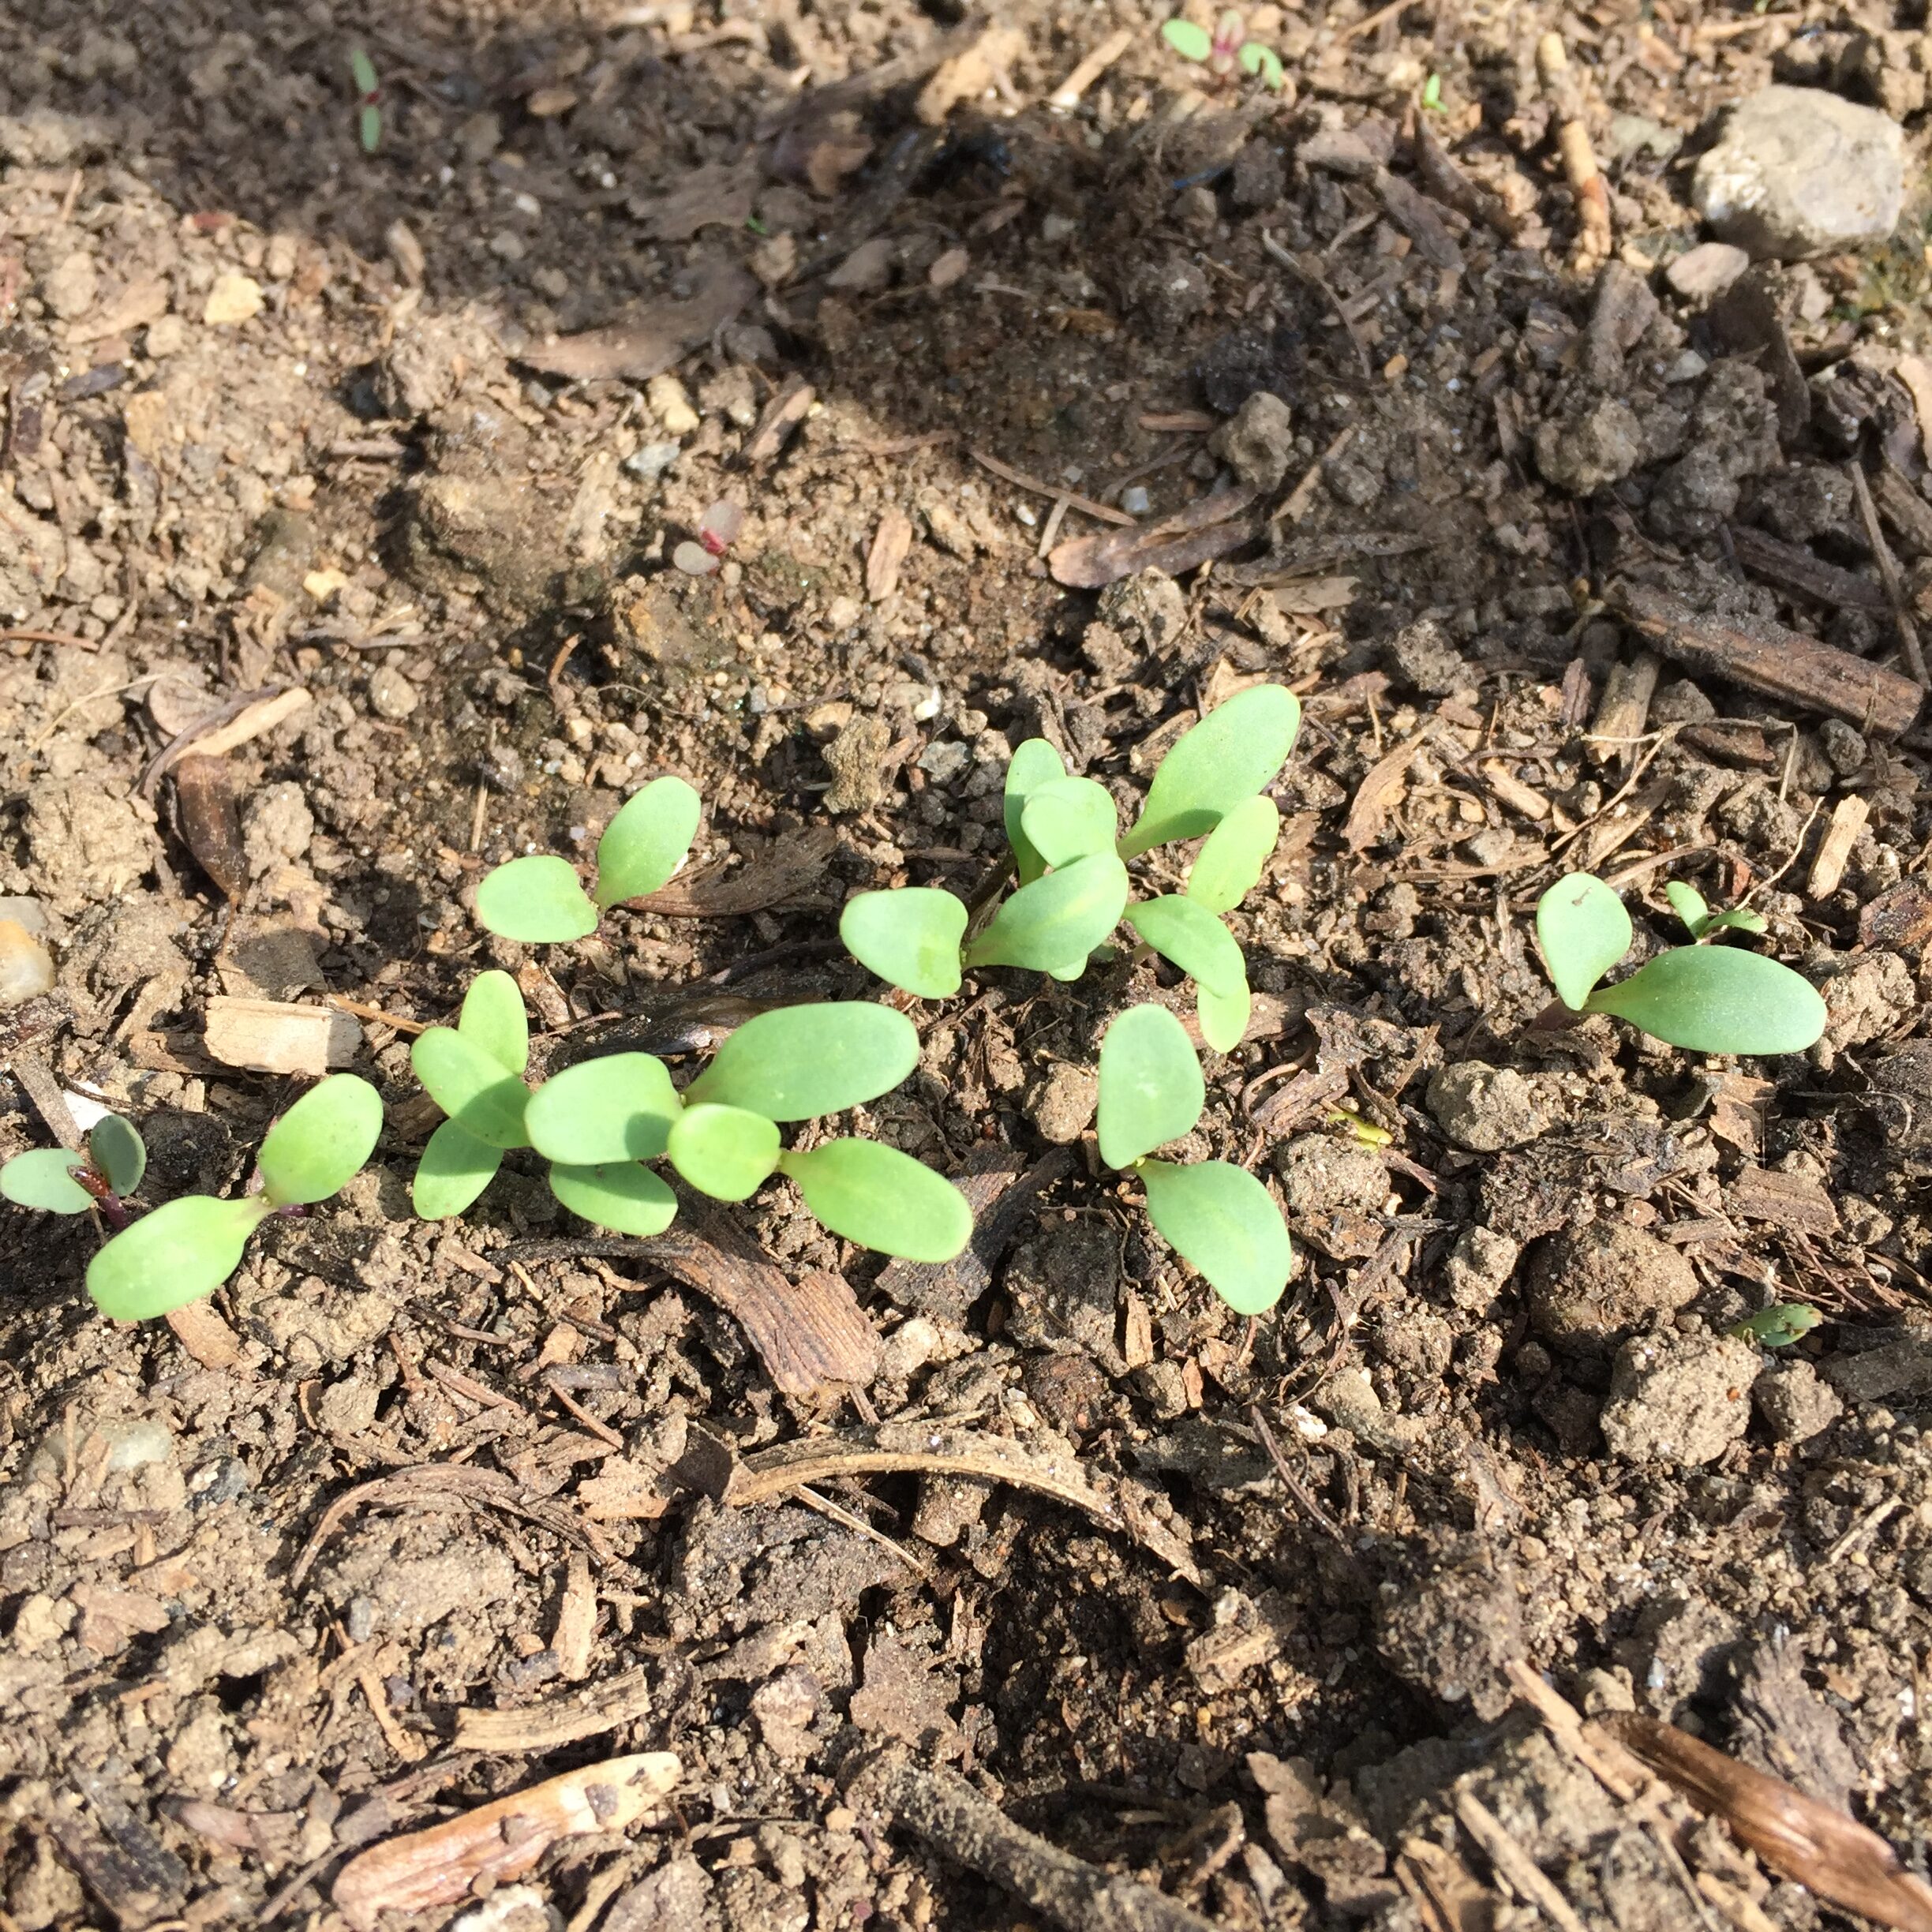
I started spraying the seedlings every morning after I watered, and reduced the watering to once a day. I replanted once again. Here are some seedlings emerging on August 12th:

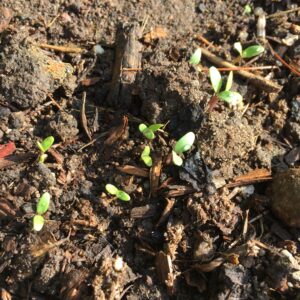
And here they are, not dead yet, on August 14th!

I am cautiously optimistic that the woad will actually grow to maturity!

If You Give a Mouse a Towel

If you give a mouse a towel, it will chew it up and make a nest. Then it will eat your flax seeds. Here’s how it happened.

Last year I grew a flax type called Suzanne. I’d never grown it before, and I planted too densely. It came up very crowded and the stalks were incredibly thin. That’s not necessarily a bad thing for fiber flax, but it wasn’t my plan and there were some negative side effects, such as lodging due to spindliness and early death of many stalks due to nutrient and water deficiency.

I harvested what seemed useful, and dried it and stored it. I will have to document the harvest in another blog post. All winter the flax lived in the back of the car, wrapped up nice and snug. It’s a relatively safe and out-of-the way place, until March rolls around and you want to collect 12 fleeces from Peggy Hart for a Western Massachusetts Fibershed project. Then the back of the car is no longer out-of-the-way. It’s prime real estate.

So, I moved the flax into the shed, despite the fact that it was still full of seed heads that I hadn’t removed. I told myself it would be OK, it was only temporary. I’d be skirting those fleeces in no time, and then the seedy flax would return to the relative safety of the car. No problem.

This was in March. Then, boom, COVID-19. School and everything closed. Time got all wonky. I was suddenly trying to teach 1st and 2nd grade via the internet. Skirting fleeces was not a thing.

Fast forward to April 12th. I went in the shed to get something else, and noticed suspicious mouse-eaten flax seed debris and mouse poop on top of the wrapped-up Suzanne from 2019. Yikes.

So I yanked it out without any photo-documentation of the mess. A verse of a song popped into my head that I’d written for myself years ago (I am not a song-writer) as a personal I-told-you-so.

“Don’t store your flax with the seeds on, for it will attract lots of mice. They’ll get fat on the seeds and leave tons of debris. Don’t store your flax with the seeds on.”

My usual flax-seed removal method is what I have dubbed the wine bottle or beer bottle method. It works equally well with any large glass jar or bottle. I got to work immediately, despite the dwindling light of the afternoon. I spread out a sheet on the front walk.

When I do this step, I keep the bundles tied together but splay out the tops so I can crush all the seed bolls by rolling and pressing with the bottle.

There was a lot more mature-looking seed than I’d expected. So, I was happy to be finally getting around to removing the seeds (traditionally called rippling), even though the timing wasn’t ideal.

I managed to get the seed bolls off about one third of the crop before the wind picked up and started whipping the sheet around and tossing all the seeds, etc. onto the lawn. Time to stop.

The bag next to me that says “Woad 2015” is actually full of flax seeds and chaff now, and will need to be winnowed eventually.

I was too busy to do any more work on either the flax or the fleeces until April vacation finally arrived. I set up an indoor space to skirt fleeces at my school, and spread out a big tarp on the ground to keep the floor clean. The tarp had been stored in the shed, rolled up neatly. The shed same shed that contained the towel and the mouse.

This was inside:

The pink stuff is from the towel. The jute is from twine. I’m not sure what the white material is, but it’s probably row cover. It looks very soft and warm indeed. Here is a close-up.

What an industrious and resourceful mouse.

250th Post!

This is my 250th blog post. It feels momentous. As I anticipated this post, I tried to decide whether I should write something just about the momentousness of the occasion, or write a post that will help me catch up on the backlog of topics that I’ve been meaning to write about. I read back through some of my earliest posts to ponder the best course.

My very first blog post was about black walnuts, but it’s too early to be using those just yet. My second post was about weld. I recently used weld for my Smith College Botanic Garden project, so that gave me a “full circle” sort of feeling to mark the occasion. Weld it is. Me and weld, we go way back.

Ironically, for the Smith project I did not use my own weld. I have been growing it for years, and saving my own seed for years. However, for this project I didn’t want to blow my whole stash on one project. So, we ordered weld from Aurora Silk because they had a volume discount on 5 lbs., which is what we bought (and used).

I had to laugh at the description on their website: “Weld smells delicious, like honey, and bees love the flowers.” It is absolutely true that while the plant is blooming, bees love the flowers, and that the flowers smell amazing. Dried, it is another matter entirely. And this was the stinkiest weld I have ever smelled!

As with the madder that I wrote about in my last post, we set the weld to soak in a 5 gallon bucket on July 10th. We soaked 51 ounces of finely chopped weld. That’s just over 3lb. We didn’t have the wool gauze in hand yet, so I wasn’t using all the weld that week. Still, it was a lot by my standards. Here’s the bucket:

I took a closeup photo of the surface. I couldn’t believe how many seeds there were. Well, OK, I could believe it. Weld makes zillions of seeds. The seeds are the glistening black, tan, and yellow spherical dots on the surface, because they float:

Because I am who I am, I had to try germinating some of these seeds. They were easy to separate from the rest of the plant material:

Yes, some of them grew.

I now have Anatolian weld plants to add to my dye plant collection. I do not know whereabouts in the world my original plants came from, alas. It’s actually getting a little late in the season to put these in the ground, so we’ll see what happens.

The weld soaked overnight. As with the madder, I extracted it twice on Thursday. Again, I divided the plant material into two or three pots. Here’s the first extraction heating up on Thursday morning July 11th:

Here’s Sarah on Friday morning helping me to strain out the plant material from the second extraction:

I typically add chalk and soda ash to weld for maximum oomph, so that’s what I did. Even though weld makes fantastic yellows in its own right, this time I was using it to make two secondary colors, green and orange. For the orange, I combined half of the weld bath with half of the madder bath. I guess I took a photo of the linen on Friday afternoon, but not the silk for some reason:

FYI, I prepped the linen and the silk for the orange bath just the same way that I prepped them for madder, which I wrote about in my last post. The linen was scoured, treated with chestnut tannin, then mordanted with aluminum acetate. The silk was just washed and mordanted with aluminum sulfate.

For making green, I had decided to dye the linen and silk blue first in the woad vat that we ran on Wednesday July 10th. For many years I have had good success dyeing woolen yarns blue first, then mordanting and dyeing them with yellow to make green. I have had much less success with linen or cotton using this method. Catharine Ellis’ research convinced me that the best way to make deep greens on cellulose fibers and silk was to do the woad dyeing first. All of her blog posts are incredibly informative, but this is the one that shifted my thinking about making green.

So, I dyed the linen and silk pieces in the woad vat on Wednesday July 10th. To prepare the linen for the weld bath, I decided to use gallotannin from Earthues (bought from Long Ridge Farm) since it is a lighter tannin.

There must have been some metal contamination as the cloth sat overnight, because by the morning the liquid was dark and so was the cloth. On some of my dye pots, the handles are attached with rivets.  I’m thinking that the rivets leaked iron or other metal into the tannin bath. At first I was dismayed.

Normally I just rinse cloth with water between each step of the preparation, but I used detergent to see if the gray color would come out of the cloth. This is the color of the liquid when I washed the fiber:

Fortunately, the cloth did lighten up:

I did not save the tannin baths to re-use them as I normally would:

After the tannin preparation, I used aluminum acetate to mordant the linen. I mordanted the silk with aluminum sulfate.

Here’s the weld bath with woad-dyed linen and silk on Friday afternoon. The bath heated up to 180 degrees, maintained for one hour, then steeped the rest of the day and overnight. The pH was 9:

Yes, the silk is yellow and annoying. The linen is lovely. Here they are on Saturday morning. This is the linen:

This is the silk:

Here they are drying on the line on Saturday morning:

Here are the 9-foot pieces from that week hanging on the line on Saturday afternoon once they were all rinsed. I ended up overdyeing the silk pieces in a later woad vat:

Unfortunately, even though that weld bath was rich and luscious, it was so stinky that I couldn’t keep it for long. I ran a couple exhaust baths on woolen yarns with my Summerfun campers the following week at the Common School, but then they voted to throw it out due to its foul smell. It was great while it lasted!

What Is Up With My Woad?

I have been growing woad for many years. I love it. It’s got some enemies, such as cabbage white caterpillars, and can get some diseases, such as clubroot. But mostly it’s easy going and reliable.

The second year woad at the dyeplant garden has been doing just fine. It started to bolt in April:

It got merrily taller:

It flowered prettily in May:

It set lots of seeds, and the seeds are maturing nicely now that it’s June:

The new woad that I planted this spring started out very well, too. I planted on April 24th. Here’s the bed on June 9th:

Here’s a particularly lush plant on the west end of the bed:

However, I noticed on June 8th that some of the plants were sending up little flower stalks already. Just a few of them, maybe two or three. This happens sometimes, so I made a note of it but I wasn’t too worried.

However, when I went to check on things yesterday I was baffled to discover that a lot of the plants have decided to make flowers. You can see that woad is a brassica by the distinctly broccoli-looking buds in this photo:

The plants are still short, but their growth habit is definitely changing. Here’s another view that shows the small leaves clasping the stalk, rather than just laying flat in a basal rosette:

Woad is a biennial and normally doesn’t bloom in the first year, hence my surprise. I have big plans for the woad this year, so I’m a little bit anxious about how this will all turn out.

Japanese Indigo Seeds 2019

Back in April I cleaned up some Japanese indigo seeds from plants I grew in 2017.

Here’s the little bag I stored them in as I cleaned them:

On April 7th I put them inside damp paper towels to sprout, as I’ve done before. You can read about earlier Japanese indigo sprouting efforts in my earlier posts here and here.

Here’s what one hundred Japanese indigo seeds looks like:

From what I’ve read and experienced, Japanese indigo seeds do not stay viable for long. You’re supposed to use them in the next growing season. if you try to store them longer than that, expect poor results. Since I do not plant Japanese indigo every year, my germination rate is always pretty low. I set up a sheet with 100 seeds to make the math easy.

This year I bought a seedling mat to keep them warm. I thought it might help with germination. Here’s the type I bought:

Here’s how I set it up:

The mat certainly worked to keep things toasty. In fact, I added a towel on top of the mat to keep the seeds off the direct heat. But as it turned out, I got way too impatient to wait for the seeds to sprout on the paper towels.

Planting Flax 2019

On Friday April 19th I planted flax. This year I’m growing a type called Suzanne, courtesy of Jeff Silberman at Fashion Institute of Technology’s Textile Development and Marketing department. Once again, I am very grateful to Bernard at Amethyst Farm and Ryan at Many Hands Farm Corps for giving me space to pursue my flax endeavors. I put in seven pounds of seed. (12/31/2023 Edited: Many Hands is no longer in operation, but here’s a link to an old version of their website from 2019).

This year my plot is right in the heart of the Many Hands CSA pick-your-own field and share pick-up barn. Here are the signs as you pull in to that part of the farm:

Ryan kindly tilled the strip for my plot on April 17th. Here’s what it looked like on Friday afternoon:

The plot is 5 feet wide by 140 feet long. Each of the vertical stakes along the right hand edge measures 20 feet in length. To help me plant evenly, I divided the seed into two pound bags. Here’s what two pounds of flax seed looks like:

After a series of mailing mishaps, I was eager, happy, and grateful to greet the postal person carrying the box of flax seed to the door of my apartment around 3pm on Friday. I zoomed over to the plot to plant as quickly as I could that afternoon.

In retrospect, maybe I shouldn’t have felt like I was in such a rush, but I had my reasons. First of all, it was April vacation week and I was hoping to get the flax in before the week was up. Second of all, I had regrets about planting so late last year. If I had planted in mid-April when I should have, all that heavy rain and mold nonsense in late July and August last summer wouldn’t have been a problem. So, I really wanted to get it planted by the middle of April this year. Third of all, it was supposed to rain for many days starting on Friday evening, and I figured I had a small window to get the seed in before all the wet weather rolled in.

So, I weighed out the seed in two pound bags ahead of time, but the rest of the measurements took place at the site. Fortunately, 5 feet wide by 20 feet long makes for easy calculations.

I planted one pound of seed per 100 square feet, or two pounds per 200 square feet. Using a hand-broadcast method, I spread two pounds at a time across forty feet. For the last twenty feet, I divided the last two pound bag in half. Then I raked the seed in with a hard-headed rake.

The cover crop that Ryan put in for the winter was peas, oats, and radishes (if I recall correctly). It left a very nice straw, which significantly cuts down on erosion. After I raked the seed in, I pressed down the seed bed with a combination of methods. I started with a wooden board, which I stepped on to press down the soil.

This has been my tried and true method for smaller plots, but for 140 feet it was tedious. Ryan offered me a roller, which was more efficient, for sure:

The roller wasn’t very heavy, though, so I went over the whole thing with repeated passes of the roller, the board, and my own vigorous foot stomping. Here’s the finished seed bed, all planted and smooth:

Here’s a close up:

The raking removed quite a bit of the cover crop straw, which I regretted when we got hours of pouring rain on Friday night and Saturday. We had intermittent showers on Sunday, too. However, the bed is in the middle of a very smooth and flat field. When I checked this evening (Sunday) I didn’t see any rivulets of run-off or other soil disturbance from the heavy rain.

The weather is supposed to be warm (50s to 70s F.) and lightly rainy for the next few days. Finger crossed for a good crop this year!

Flax 2018–Too Much Rain in July and August

“Better late than never” is my middle name, apparently. Here’s the belated installment about my flax in late July and August 2018.

In late July and early August of 2018 we had lots and lots of rain. I’m grateful to live in a place where it *does* rain, but too much rain and heat causes trouble. Fungal and bacterial diseases grow and spread, roots can’t take up nutrients, and plants rot. After a spectacular start in May, June, and early July, it didn’t turn out to be a great summer for flax here in Amherst.

It wasn’t just me. Local farmers struggled with rot and disease. Here’s a link to an article in the Daily Hampshire Gazette and here’s a piece in the Greenfield Recorder.

I am lucky that I do not depend on my flax for income. Nevertheless, it is frustrating and discouraging to put work into getting plants growing in a healthy, happy way, only to watch them struggle and fail. It also raises concerns about the prospect of flax being a viable crop on a larger scale around here.

According to my notes, it rained every day between July 22nd and August 4th, and rained heavily. We continued to have high humidity and periods of very heavy rain until August 13th.

Here’s the state of the field on August 11th:

All that water was very conducive to fungal growth. I took photos of more types of mushroom than these, but the rest all came out blurry. Here are some teensy things which I assume are fungi on Aug. 11th:

The once-lush plants had experienced significant rotting and die-off. This is the type nicknamed 1807 on August 11th, 2018:

Here are two other sad scenes on August 12th:

Most of the seed bolls had not filled in or ripened. Some of the immature bolls had just dropped off their stalks. Here’s what I wrote in my notes on Tuesday August 7th, 2018:

“It doesn’t look like I will get any seed from some of the USDA plots. This year it’s not mice/chipmunks/rodents. I think it might be too much rain. The ones on the end that were so lush, esp. 1787, have very spindly stalks that have lodged pretty badly. There are practically no seed bolls, and the ones I can see are tiny. Some of the other plots have a few more seeds. When we get past this hot spell and next round of rain I’ll inspect more carefully.”

Here’s what the lodging and subsequent die-off looked like:

And similarly:

The plants had not gained any height since the water-logging began, so for fiber this year everything was useless.

It turned out that I was able to collect some seed from some of the plots. Here are a few ripening bolls:

It was really very dismal, though, with all those shriveled and withered tips. I did manage to collect and dry some seed bolls, but the amount of mature seed inside was minimal:

I think I have less seed now than when I started. When I first began this project in 2015, I had a notion that I’d be able to select the fiber flax varieties that did well in the growing conditions here in Western Massachusetts. In 2016 we had a drought, and in 2018 we had this excessive rain. I’m honestly not sure where to go from here.

Flax 2018-What Happened in May

I usually aim to plant flax in mid-April. Sometimes it is snowy at that time, so I have to wait. Sometimes I just don’t get everything organized in time. This year was a case of the latter. Well, it did snow during my vacation week in April, but that wasn’t the main obstacle. It took me a long time to winnow all my seed and to figure out what I wanted to do this season. Long story short, I didn’t plant my flax until the Monday of Memorial Day Weekend, May 28th.

Here’s what the site looked like on May 28th:

I grew flax at Amethyst Farm again this year. I am more grateful than I can say to Bernard at Amethyst Farm for generously sharing his land and to Ryan at Many Hands Farm Corps for working me into his crop rotation and tilling the site this spring. I am also grateful for their encouragement and advice every time I have encountered difficulties. Continue reading “Flax 2018-What Happened in May”

Grow Flax Everywhere

In 2015, my flax and linen study group got 29 types of different fiber flax seed from the USDA. I’ve been doing my best to keep them isolated as I grow them, though I’m down to 12 types now that I’ve been able to keep going. Many earlier blog posts document my successes and failures with this project thus far.

My “beer bottle” method for removing flax seeds has some draw-backs. Hunching over like Gollum while I work is one of them. I have specific goals when I’m working with these seeds, which lead to specific practices that have (hopefully) specific outcomes. Namely, I am trying to keep the different varieties of flax isolated so that I can grow them out and increase the quantity of seed that I have from each type. When I’m taking the seeds off, I make an effort to keep the types separate. Continue reading “Grow Flax Everywhere”