Two adult ladybugs on the stalks of a Japanese indigo plant.

Japanese Indigo Vs. Whitefly

This post is one of the many posts I’ve been meaning to write since 2024. A long time ago. We don’t know how long. Well, OK, in this case we do know how long, thanks to math and calendars and our lived experience.

Why post now? Because 2024 wasn’t the first time I’ve had to deal with a whitefly problem, and I am pretty sure it won’t be the last, so it still seems worth documenting.

Over Memorial Day Weekend of 2024, while I was busy at Massachusetts Sheep and Woolcraft Fair, my Japanese indigo seedlings got exposed to too much sunshine. I was dismayed to find them shriveled and crispy when I got home, but they bounced back quickly thanks to the loving ministrations of my partner Matthew, who watered them and put them in the shade.

Here’s what that recovery looked like: Shriveled leaves of Japanese indigo seedlings along with newly formed green leaves.

The shriveled up leaves just fell off and the new growth emerged from the joints or nodes along the stem. At the time I didn’t notice the suspicious little white blobs. I was just worried about heat stress on the plants, and relieved that they recuperated. But I should have paid closer attention!

About a week later, on June 1st, I noticed suspicious white fuzz. This was also the time of year that thick rings of yellow-green pollen were circling the puddles in the parking lot and cottonwood fluff was blowing everywhere and accumulating like mini snow drifts. There were a lot of gunky, airborne plant-parts settling on things in general, but I finally noticed that this wasn’t cottonwood fluff. Here are a couple photos of the fuzz:

A fibrous white fuzz clings to a spindly Japanese indigo seedling.

Thin filaments of white fuzz are sticking to light green leaves of Japanese indigo seedlings.

Closer inspection revealed whitefly larvae. I had trouble getting my phone to focus on the teensy white blobs, so this not the most in-focus image. But you get the idea:

Also, there was a sticky sheen of honeydew on the leaves. It’s both a visual and a tactile clue. Obviously the tactile quality is missing here, but just imagine the stickiness:

Bright green Japanese indigo seedling leaf with a sheen of sticky honeydew.

Here are the whitefly larvae backlit from the other side of the leaf:

Yellow sunlight shines through a green leaf casting shadows on tiny insect larvae.

So, I read up about dealing with whitefly and decided that physical removal was my best option. I sprayed the leaves with water using a spray bottle, gently smooshed the larvae with my fingertips, and wiped off the leaves with a wet paper towel. This was on June 2nd.

At first I didn’t think that was going to work. The stress of the whitefly attack so soon after the stress of the sunburn put the plants into a physical stance that almost looked like a scream, like the plant equivalent of AHHHHGGG!!!!! The leaf color was yellow tinged with red, and the leaves shifted their angle to point straight up, close to and parallel to the stalk:

Small seedlings convey their stress by orienting their leaves vertically.

I decided that they also needed bigger pots with more soil that wouldn’t dry out so quickly, and more nutrients. With the combination of repotting and wiping off the sucking insects, it didn’t take too much time for them to settle down again and return to a happier, more relaxed state. Here they are, not completely happy, but moving in a good direction.Leaves on small Japanese indigo seedlings are returning to a more relaxed, horizontal position after wiping off the whitefly larvae.

Fast forward to July 28th. Seedlings had been transplanted into beds. Plants were huge. I’d been tending the garden and at the macro level, everything looked good. It was time to harvest leaves and prep samples for a program at work. I posted about that project on Instagram at the time, and may eventually post here, too, even though it was a long time ago. But, when I looked closely, I was dismayed to see that despite the lush plant growth in a whole new growing locale, there were still teensy white blobs!!!!

Granted, these look a little different than the earlier whitefly larvae and I don’t have high resolution closeups to get a definite comparison. It’s possible this was a different white, soft-bodied, juice-sucking insect. Maybe a white aphid, if there is such a thing, though most aphids I’ve met are greenish or yellow. So, it seemed likely that the whitefly had come along to the new location after transplanting.

Fortunately, the plants were clearly not stressed and were clearly thriving. They had plenty of nutrients and water, and they could just shrug those juice-sucking bugs right off! They had plenty of juice to share.

AND, looking closer while I cut the stalks, I noticed one, two, a few, many ladybugs!!!

Here are some of the adult ladybugs on the leaves in the garden:

A red and black spotted ladybug on a green leaf.

An adult ladybug nestled in the crevice of a leaf.

Two adult ladybugs on the stalks of a Japanese indigo plant.

While I was stripping leaves off the stalks, I found a ladybug larvae, which I saved and returned to the bed:

A ladybug larva on the back side of a Japanese indigo leaf.

And this is a very blurry photo of what I believe is a ladybug pupae that I found on one of the leaves:

A blurry image of what is possibly a ladybug pupae.

In conclusion, my observations were that even with a heavy, persistent, recurring whitefly infestation over the course of a growing season, Japanese indigo plants had no trouble fighting it off and thriving. Early on, they managed to bounce back from a double-whammy of heat and sun shock followed by whitefly. I would not be surprised if the first shock made them more vulnerable to the second. It seems likely, actually, that their weakened state made them more vulnerable to insect attack, initially.

With plenty of nutrients and water, the plants were able to thrive, regardless. They were producing plenty of pigment, which you can get a sense of with the dark blue mark on this leaf:

Small white soft bodied insect larvae on a Japanese indigo leaf with an oval shaped blue mark indicating the indigo precursors in the leaves.

I realize in retrospect that I could have done a better job of documenting the nutrients I added. I don’t have records of exactly what I added to the seedling mix or to the beds. I had the garden soil tested at UMass in February of 2024, and added blood meal and lime according to their recommendations. So, I can’t tell you exactly which nutrients or in what quantities you’ll need to keep your persicaria plants happy and resilient enough to fend off pests such as whitefly, should you encounter a similar problem.

But I do feel confident in sharing my experience that plants, pests, and predators can coexist in a balance as long as the plants have plenty of food and water. I did not introduce the ladybugs. The plants were able to call in the help they needed from insect friends in the neighborhood, even when the human helper did not notice that they needed more support. Ladybugs found the food source and created a robust multigenerational community to eat up the whitefly larvae.

Here’s the bed on August 6th looking lush and exuberant:

Lush bed of deep green Japanese indigo plants with a bed of orange cosmos in the background.

Close up of a swamp milkweed seed pod with a few seeds still inside.

Goings On in the Winter Garden

New year, new attempt to revive my beloved but neglected blog with a post about my garden in winter. These photos are from midday Saturday January 3rd, 2026.

Here are two slightly different perspectives. One view says, “Sticks are here, amidst other sticks.” Big sticks and little sticks, above and below, in many shades of copper and silver, laying this way and that.

Dormant plants in the dyeplant garden with snow on the ground.

The other view says, “Hill! Sky! Look to the distance!” There’s a broader, hilltop perspective. Both true and both lovely. I think this second view shows more of the tracks in the snow reflecting all the activity that’s going on, even in the dormancy of winter.

View of the snowy hill top garden with distant hills in the east.

As I approached the far side of the garden, an oval-shaped dark gray furry creature toodled away quickly from the garden towards the woods. I am pretty sure it was a vole judging from the velvety dark gray color, the trundling gait, and the other vole tunnel and channel tracks around the garden. I think this line of tracks was made by that hasty vole. I don’t have a before and after photo to confirm, but it’s in the very same spot. For more about identifying meadow vole tracks, see the lovely descriptions and images in this post by Mary Holland.

Small tracks in the snow left by a vole.

Quite a lot of teensy prints were clustered in the black-eyed Susan bed:

Lots of tiny prints in the snow with small black seeds from black eyed Susan scattered about.

It makes me wonder whether the seeds are a good source of food. I suspect so, though maybe there’s something else about this bed that makes it appealing. It’s on the southeast corner of the plot. Here are a couple images of dense, intensely dark black-eyed Susan seed heads:

Spherical intensely brown seed head of black eyed Susan against a white snowy background.

A singular spiky and spherical black eyed Susan seed head against a snowy white ground.

Despite my worry in the “Whodunit” post that the black-eyed Susans weren’t coming back and that possibly the bronze fennel was to blame, they have spread and thrived and have been happy as can be.

Next up, going around to the south-facing bed, are the marigolds. It was a bumper year for marigolds. In the background behind this dried flower head there are some tracks in the snow, but I didn’t look closely enough to figure out who made them:

Faint tracks in the snow behind a dried marigold seed head.

It’s interesting how the colors fade differently on different flower heads, and the different stages of growth they were in when they froze/dried out. The in-focus one in the photo below is bleached out, glossy, and luminous while the out-of-focus ones are a dull mildewy gray. And the dried head behind them still has petals clinging to it.

One very pale bleached out marigold seed head amidst other darker ones.

Then there are the star-like orange cosmos seed heads, one of my favorites, a little further toward the west on the south-facing bed:

Single orange cosmos seed head.

Next to the cosmos, in the southwest corner of the plot, are the dyers coreopsis. I grew them from seed last year, in various colors and sizes, with seeds I’d saved from a previous year, originally from Grand Prismatic Seed. I saved seed again for this summer, and there are still tons of seed heads left, as you can see:

Flopped over stalks of dyers coreopsis.

Single dyers coreopsis seed head against a snowy background.

Behind the dyers coreopsis towards the north side is the Japanese indigo bed (also grown from seed, also originally from Grand Prismatic). There’s a lot going on here, with blue-green dried leaves, red-brown stems, and some pinkish-tan dried flower clusters. So beautiful! I know that mice like Japanese indigo seeds (ask me how I know), but in this case they don’t seem to be seeking them out.

Tangle of pink and tan colored dried Japanese indigo stalks and some dried seed clusters.

In the center of the garden is the madder bed. It was a very productive year for madder seeds, both this this garden at Bramble Hill and in the second-year raised bed at Historic Deerfield. Hopefully that will be the subject of a future post.

I had a hard time convincing my phone that those hard, round, black blobs were truly the things I wanted to focus on, so the madder seeds aren’t quite as clear as I’d like. But here, hopefully, you can see the abundance, even after I collected a lot in the fall:

A mound of pale colored dried madder tops with dark-colored seeds scattered throughout.

A small cluster of three madder seeds with snow behind.

One sole intensely black madder seed that's not quite in focus.

On the the northeast corner of the garden is the perennial bronze fennel. No wonder it self-seeds everywhere!

Umbel-shaped bronze fennel seed head drooping over.

This next photo is the curled-up leaves of a woad plant. It’s like it got too hot and threw off the covers in the middle of the night! I’ve never read that woad plants generate heat, so something else is probably going on here.

Green, curled up leaves of a woad plant surrounded by white snow.

And last but not least, back on the east side of the garden, the swamp milkweed made a come-back over the past couple years. It has established itself in a couple new spots (another future blog post, hopefully).

Close up of a swamp milkweed seed pod with a few seeds still inside.


Unusual Woad Behavior

I have a giant backlog of posts to write from 2024. Selected photos are sitting in folders labeled things like, “Weld Regrows After Cutting,” “Mice Like Japanese Indigo Seeds,” “Making Lakes,” and “Swamp Milkweed Returns.” Maybe I will write those posts at some point. They’re not exactly time-sensitive updates, more like observations and experiences to share that might be of interest any time to like-minded dye plant growing people.

But meanwhile, I am going to write a short post about unusual woad behavior that I observed in June of this year, which is currently 2025.

I grow woad every year. I just love it. The type of woad I grow and seed-save is Chinese woad. When I bought the seeds from Richters in 2004, it was labeled as Chinese woad, Isatis indigotica.

Then, some while later, I heard about a dispute among botanists regarding the existence of this type of woad. The argument was that it’s not its own species, it’s just a variety of European woad, Isatis tinctoria. So, for a time I stopped referring to it that way, and just called it woad.

However, in the past couple years other people I know who grow woad (hello Molly McLaughlin and Becky Ashenden) have commented that mine doesn’t look like theirs. The plants look quite different and they seem to behave a bit differently, too. I now feel confident that the differences between Isatis indigotica and Isatis tinctoria are significant enough that at the very least they should not be considered “the same.”

I had the chance to compare the two types of woad plants growing side by side at the Fabric of Life dye garden during my workshop last fall. They had already been growing European woad (self-seeding). In the spring of 2024, we planted Chinese woad right next to it for the fall workshop. But I neglected to take a photo of the two side by side, both of which we harvested for our vat that day, because it was raining all day. I didn’t pull out my camera until the very end when there were bright colors to feel happy about (another potential blog post).

Here’s a photo of the self-seeding European woad in the Fabric of Life dyeplant garden in Shelburne, MA this spring. The leaves are dark green, hairy, and a bit sticky to the touch (even when it’s not raining).

In contrast, my woad is a much lighter, chalky shade of green, completely smooth to the touch with no visible hairs. I have posted a great many images of woad on this blog over the years, but here’s one for comparison:

In fact, this image is from a post where I described another unexpected woad behavior. In this earlier post from 2019, I was dismayed that my woad was already bolting in its first year. It was surprising and unexpected to me, but perhaps it’s typical of Chinese woad under certain conditions.

This was illuminated for me thanks to the incredibly informative post by Ashley Walker on Nature’s Rainbow from March 2021 entitled Growing Chinese Woad Isatis indigotica. Their post includes excellent photos, several helpful academic references, descriptions of the way that I. indigotica behaves in their climate, and how it differs from I. tinctoria. It’s a really thorough summary and a very interesting read!

*Edited to add:  I don’t regularly have the problem of first year Chinese woad bolting and flowering, which seems to be a bigger issue in the gardens of Nature’s Rainbow. It’s happened to me a few times, but not often enough to be an inconvenience.

This spring I decided not to let the whole bed of woad at Bramble Hill Farm go to seed. I did let them all bloom for the sake of the beautiful color, that sweetly stinky fragrance, and the insects who love the flowers. But then I dug up most of the bed before the seeds matured.

A few days later, I noticed that snake decided to shed its skin in the pile of uprooted plants, which was quite a thrill. It feels like magic is afoot here.

I left a few plants for seed, which I harvested later in June.

OK, so finally we get to the “behavior” part of this post.

One of the plants I cut down to seed-save from was both laden with mature, purplish-black seeds AND growing new flowers lower down the stalk.

The whole stalk:

Close up of the seeds (sorry, not a lot of contrast against the grass):

Little yellow (sweetly stinky) flowers lower down the stalk:

So, in addition to bolting in its first year when exposed to very cold night-time temperatures, Chinese woad can apparently continue to put out new flowers even when the main part of the stalk has already produced mature seed and it’s presumably past the flower-setting stage. So versatile!

There’s Treasure Everywhere!

I love gardening. As someone who doesn’t own property, I have always been grateful for access to land to cultivate a garden, whether it was a town community garden plot or space on a farm owned or managed by a generous neighbor. There’s nothing quite as grounding or satisfying as getting my hands in the dirt and tending plants.

However, gardening can be full of frustration and disappointment. It can be exhausting. One’s labors can be many and one’s successes few.

Gardening dye plants comes with a particular irony for me. You can’t eat them. They are not, strictly speaking, necessary. One can certainly live without dye plants. Why go to all that trouble?

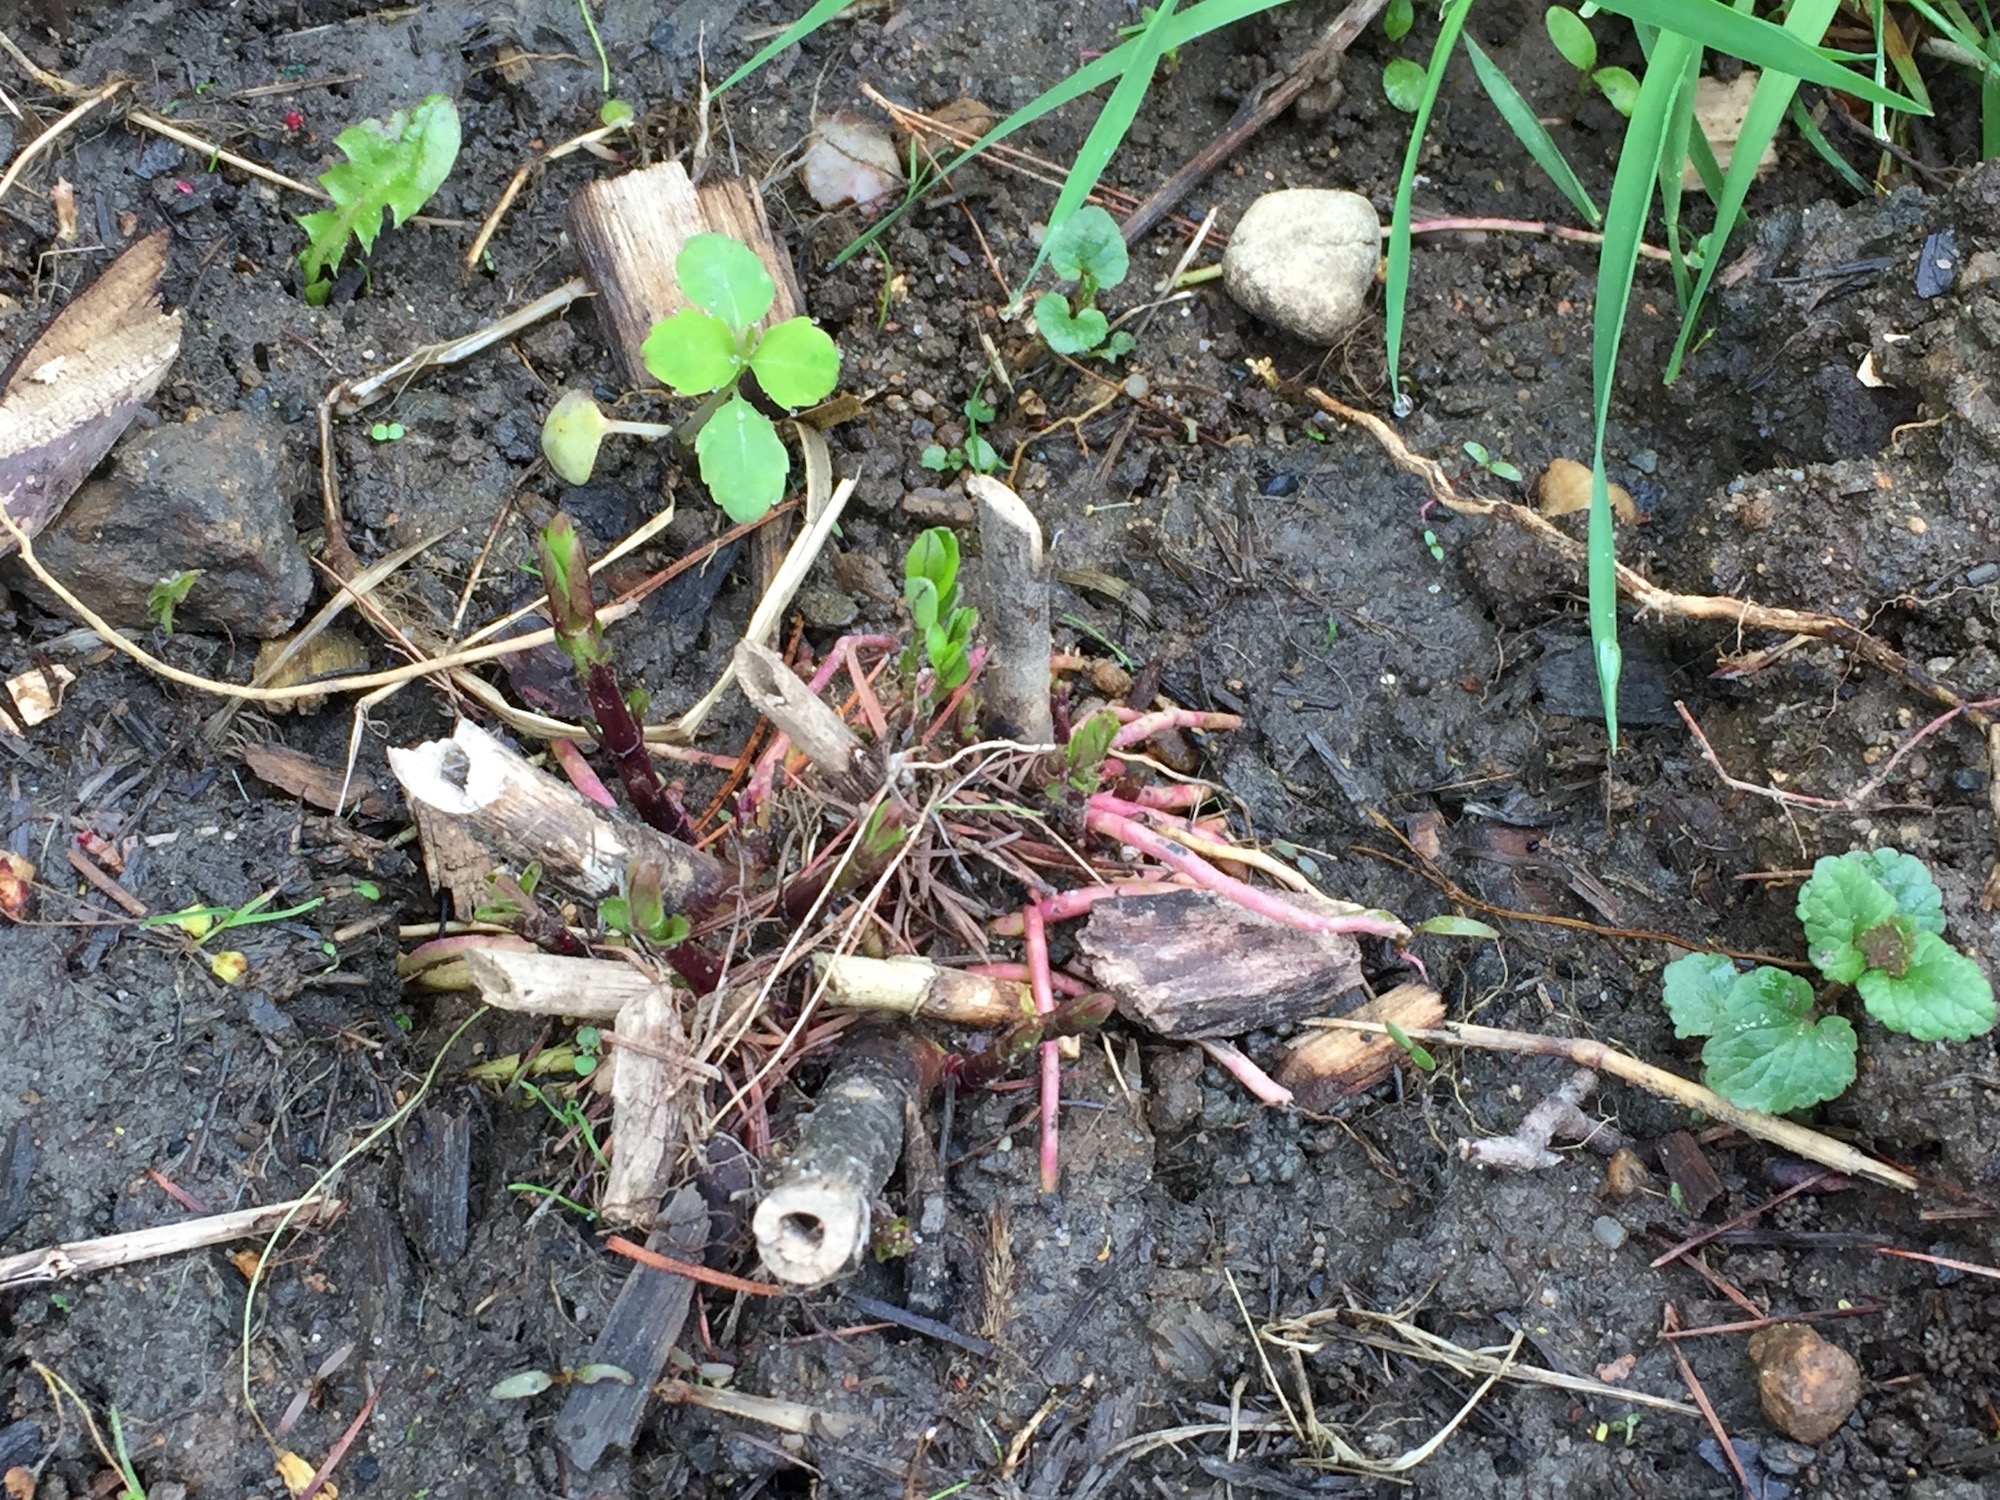
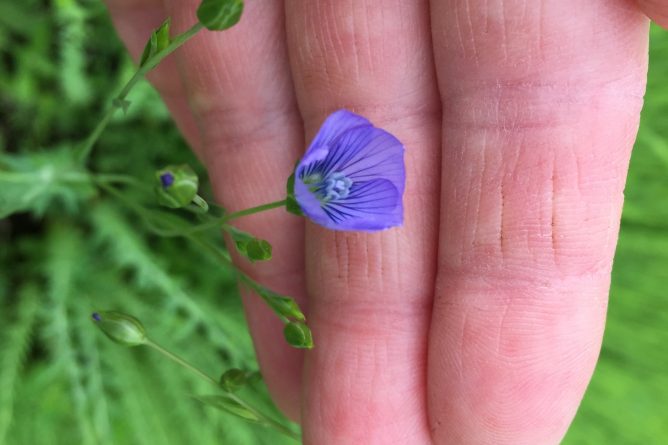
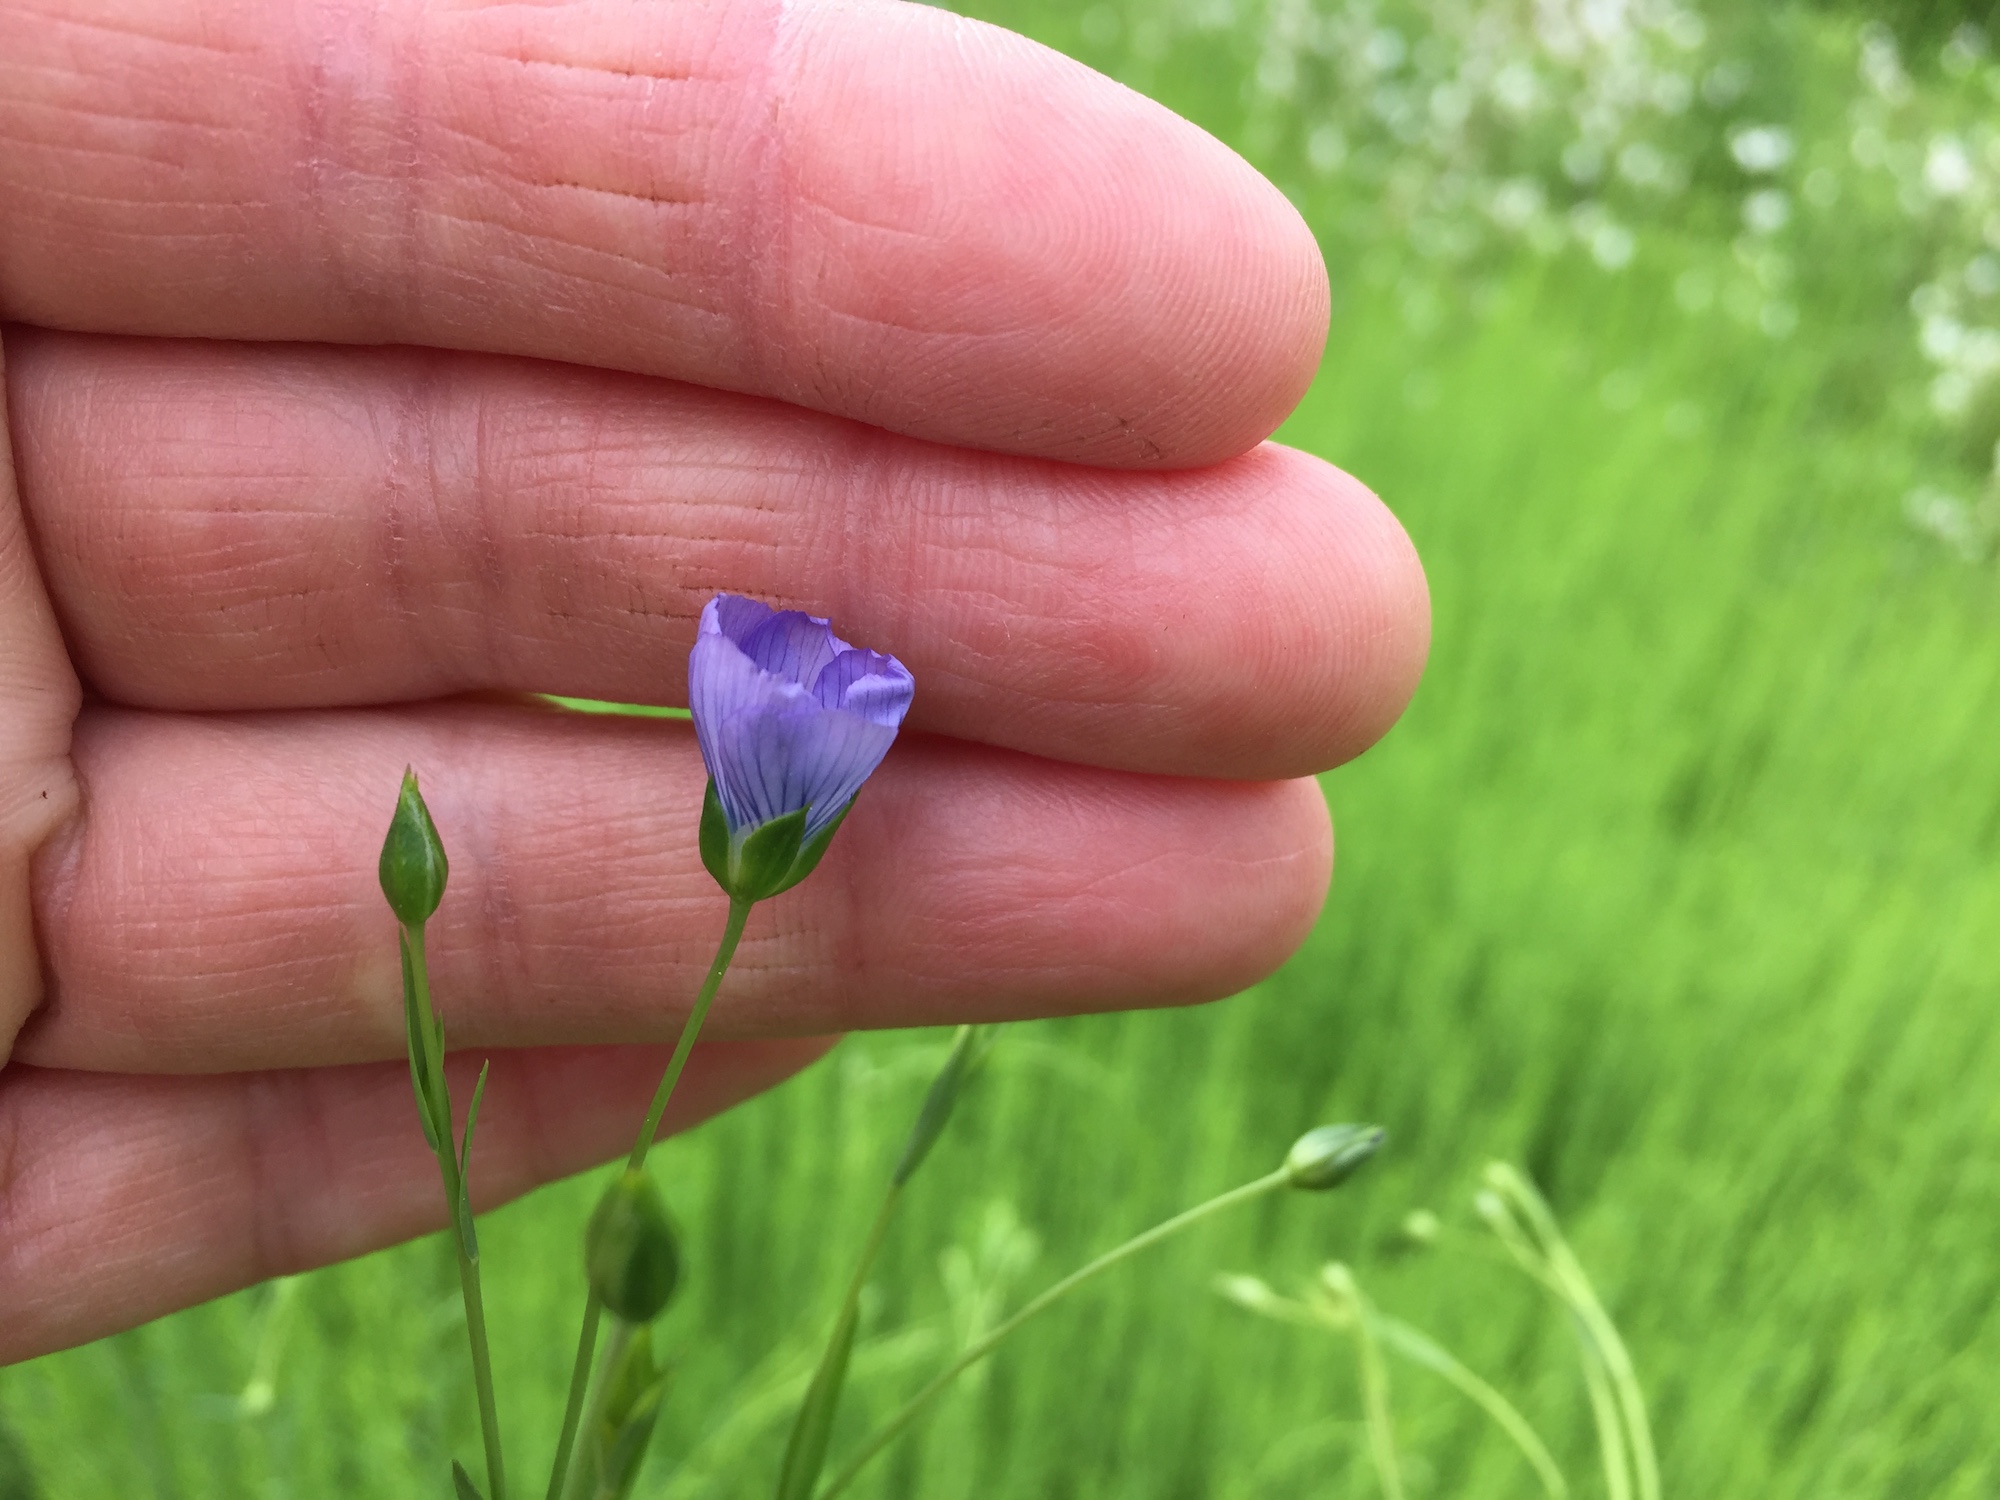
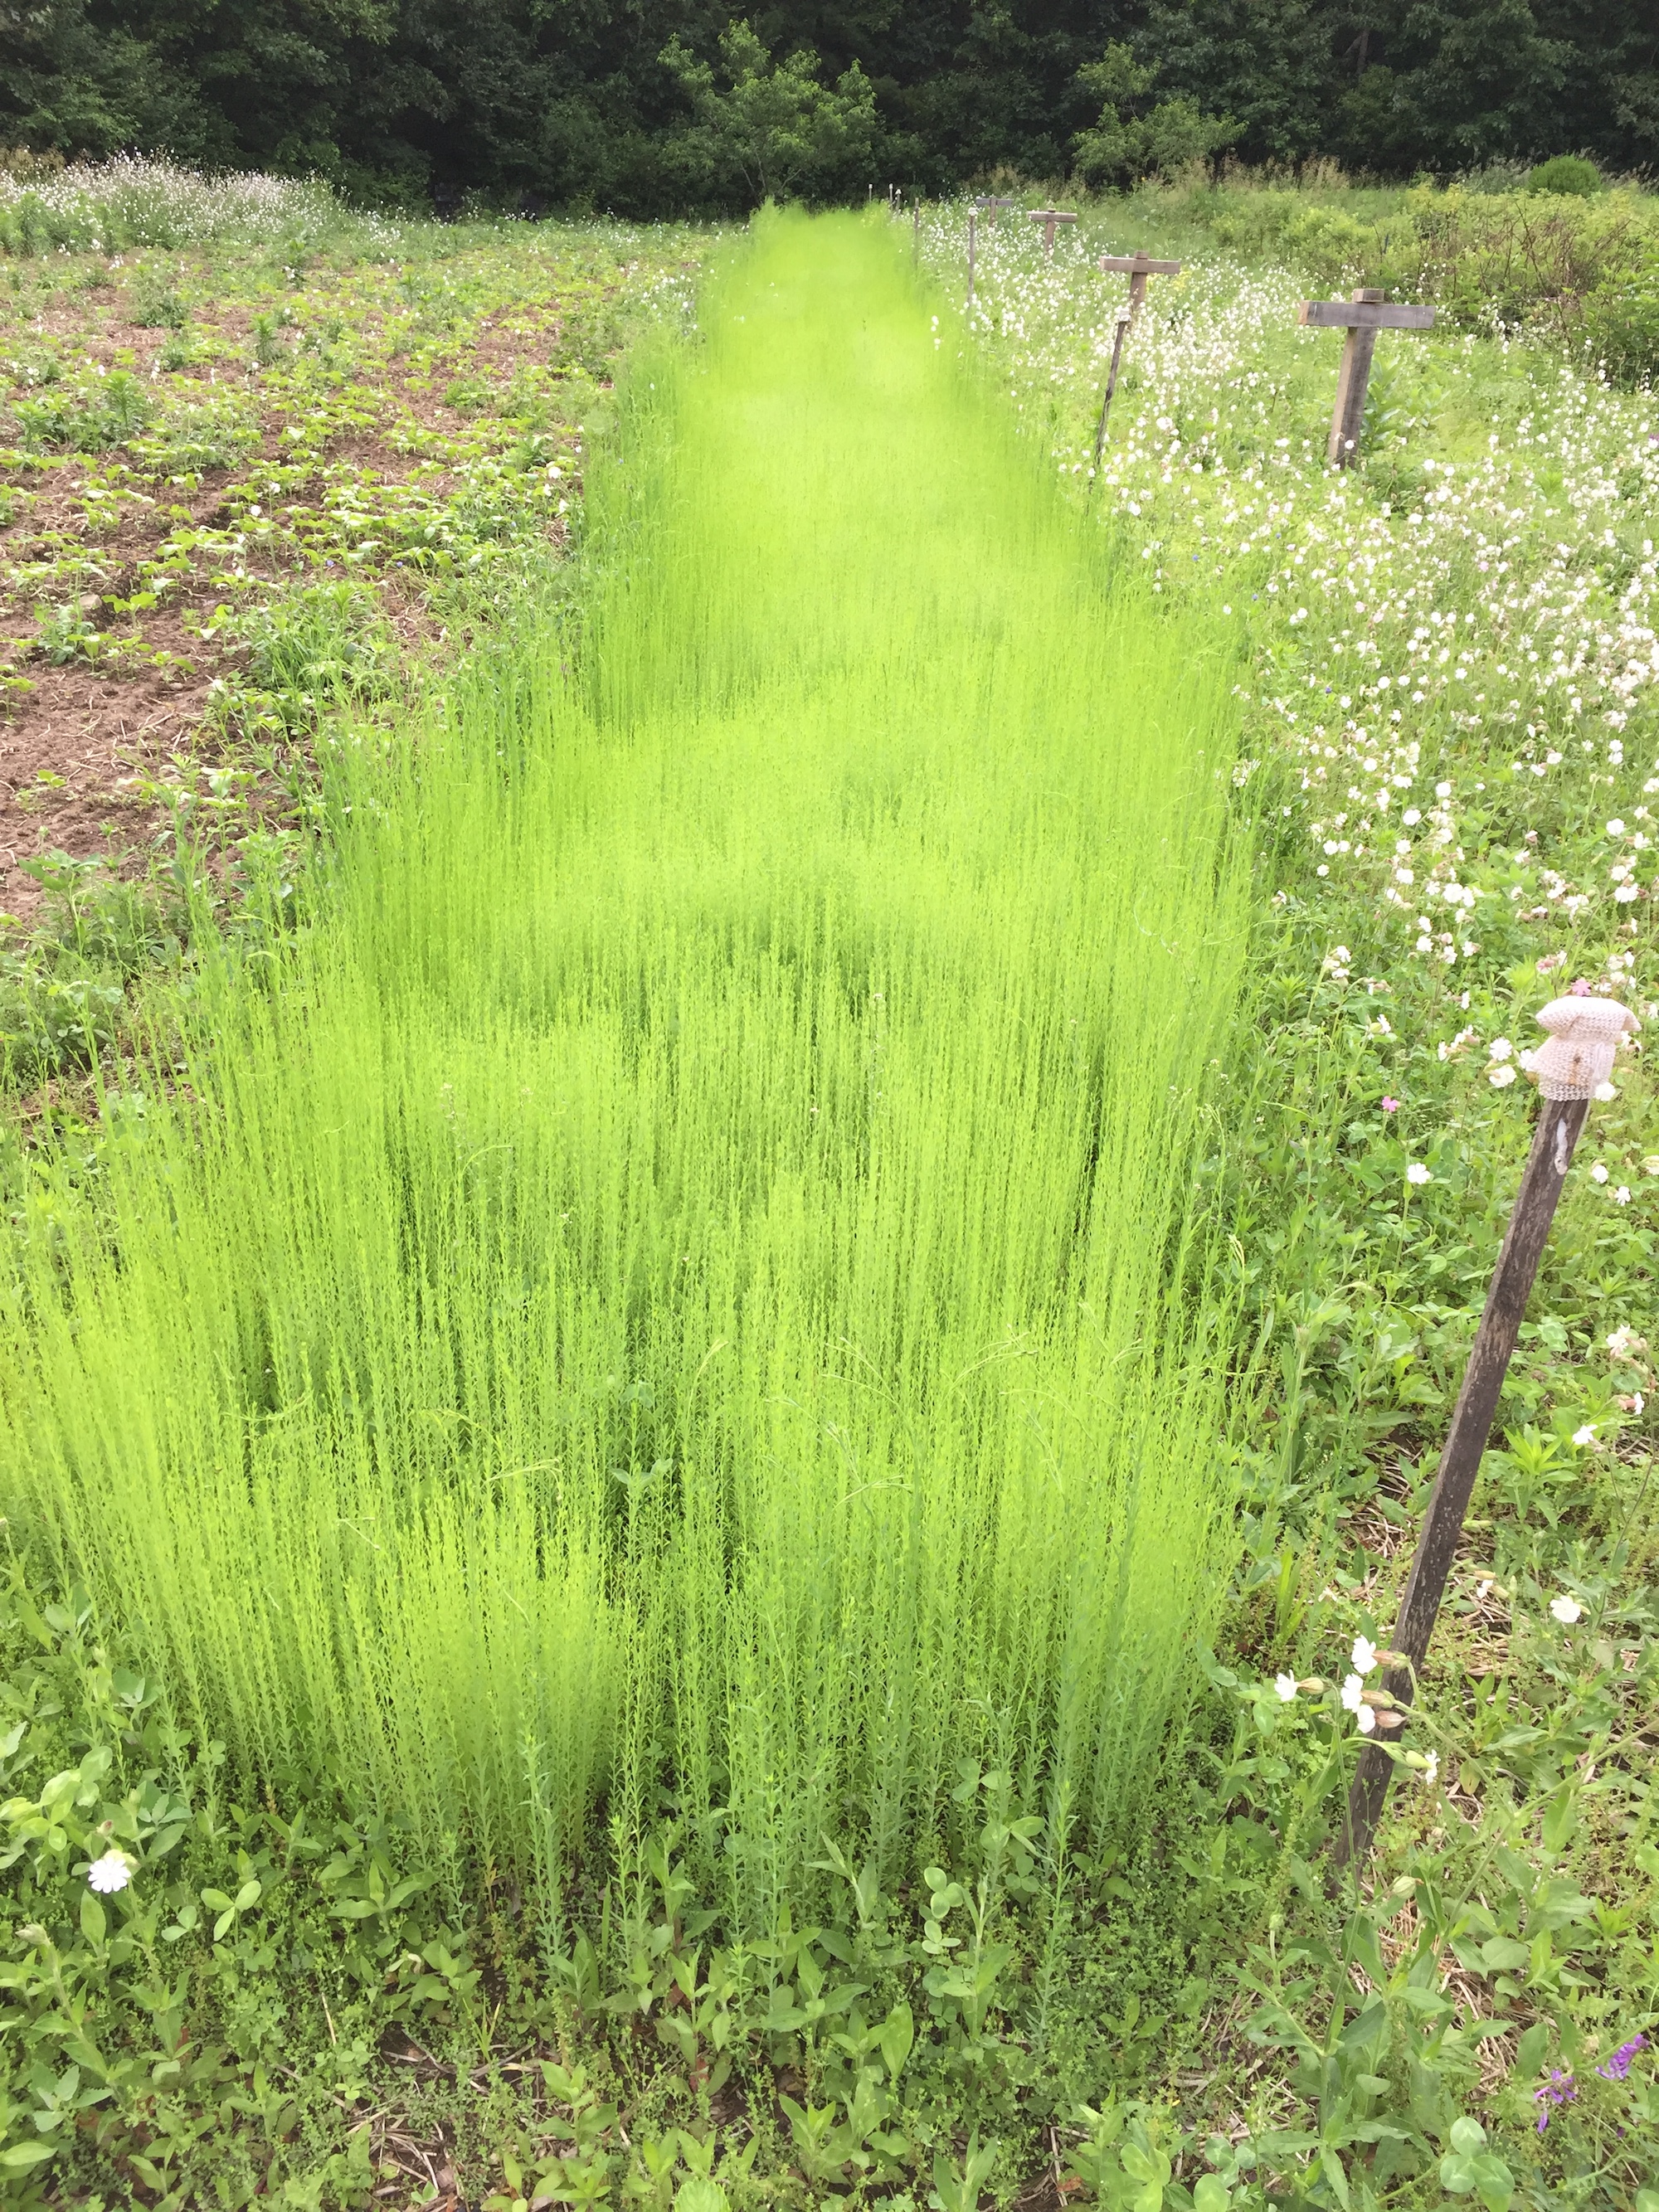
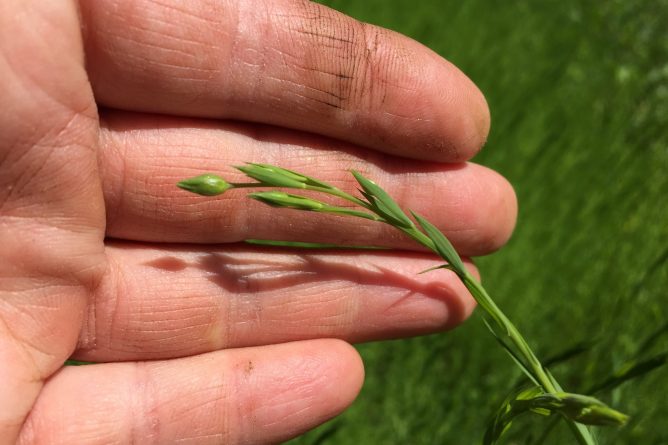
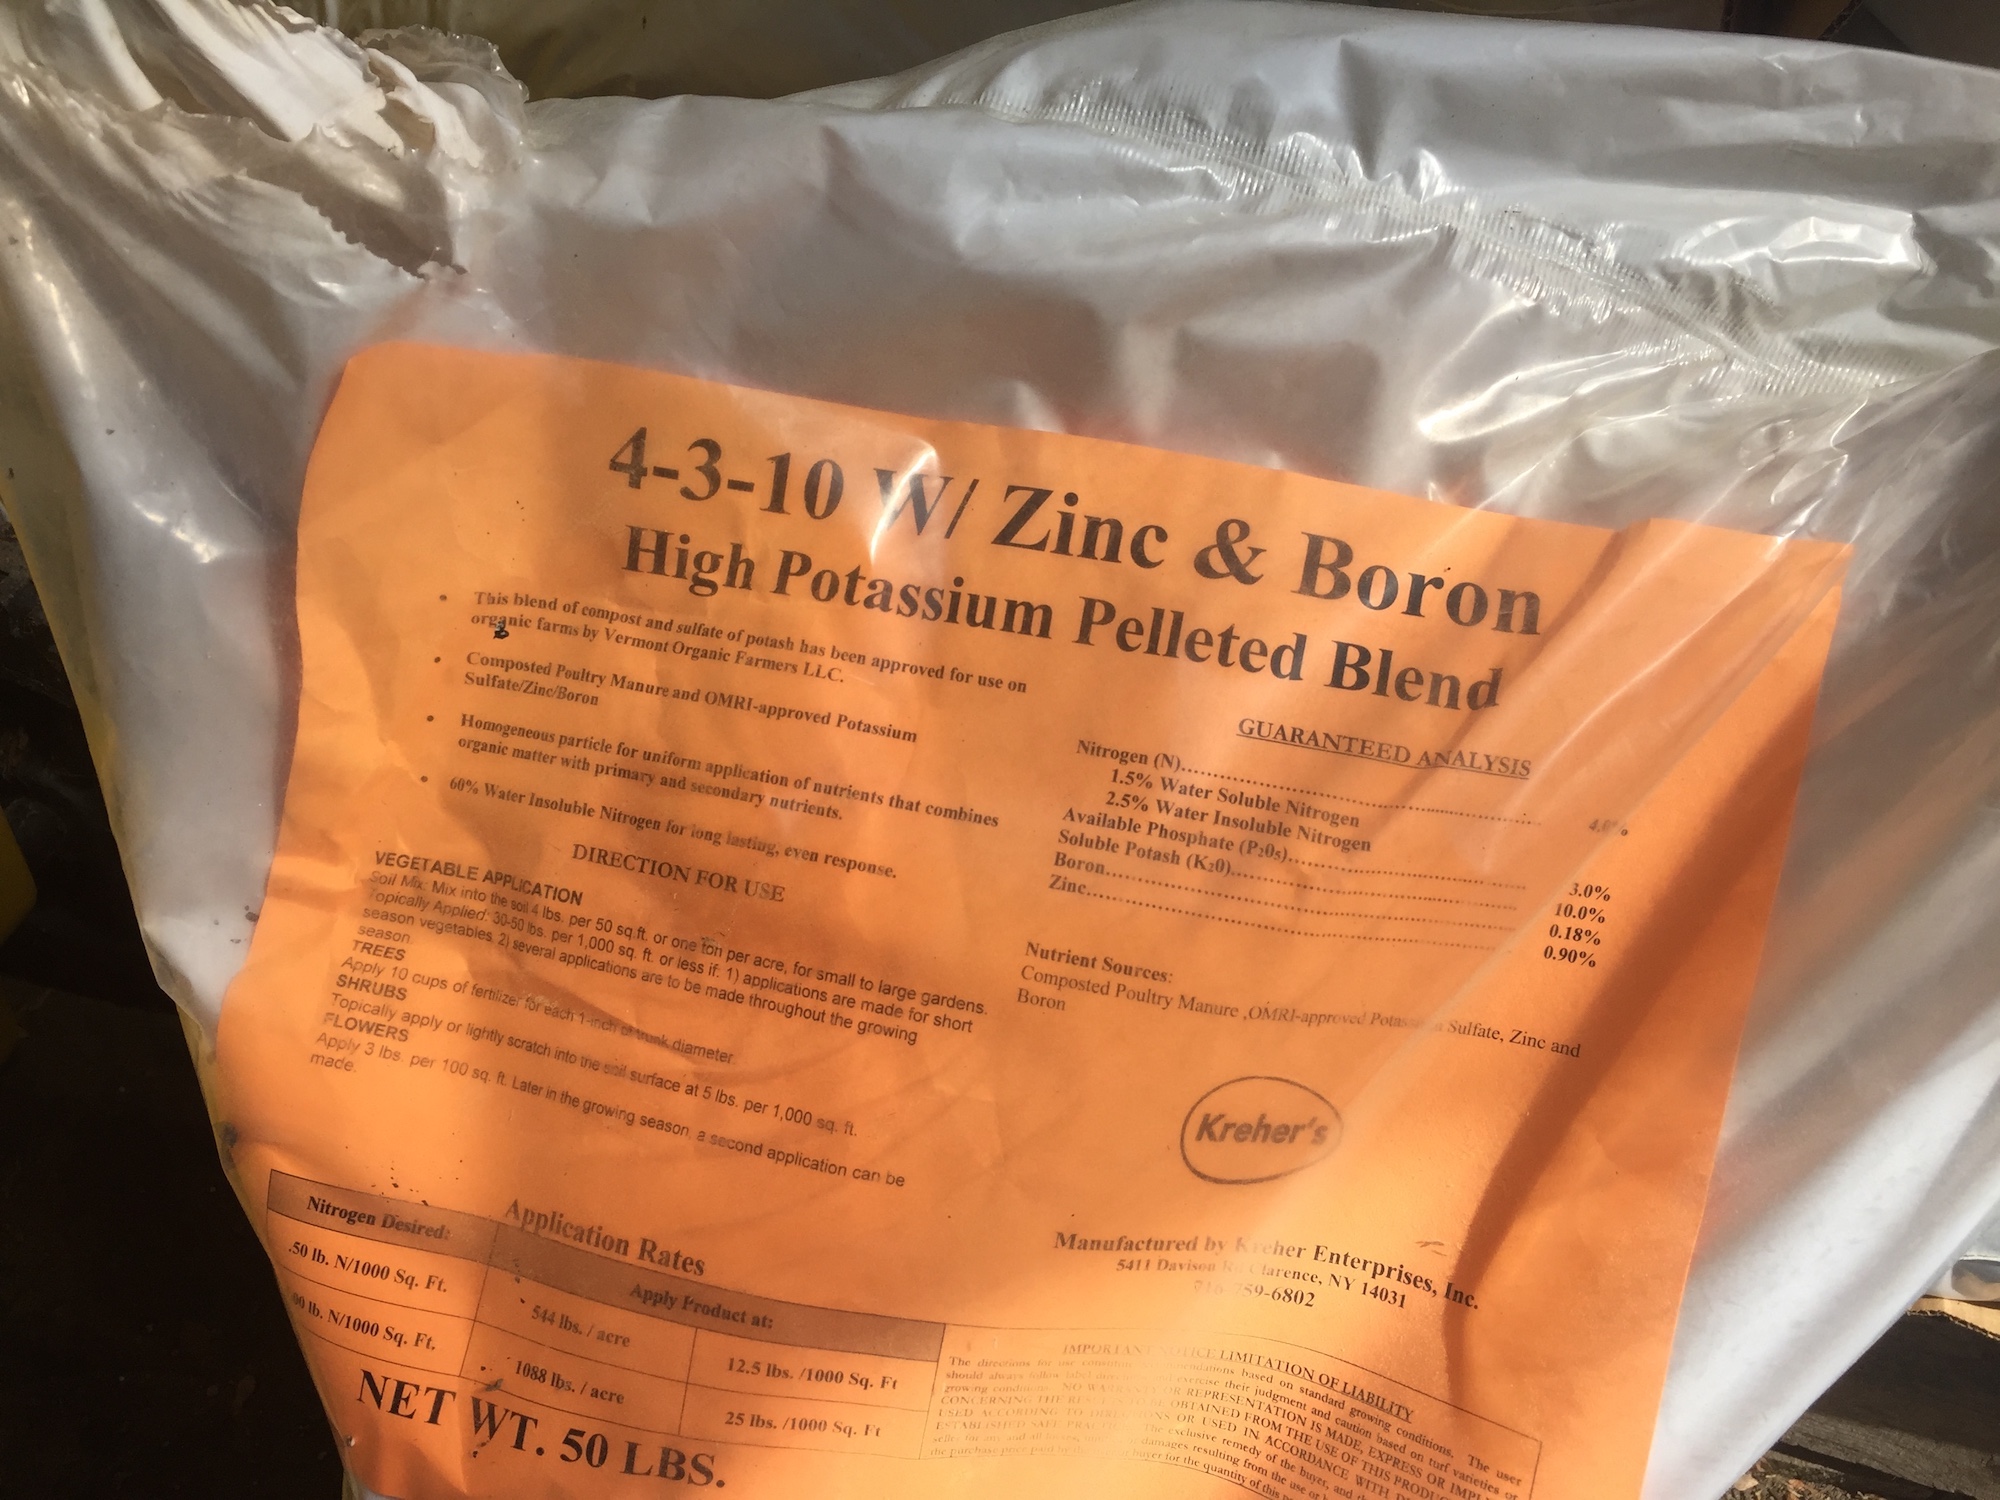
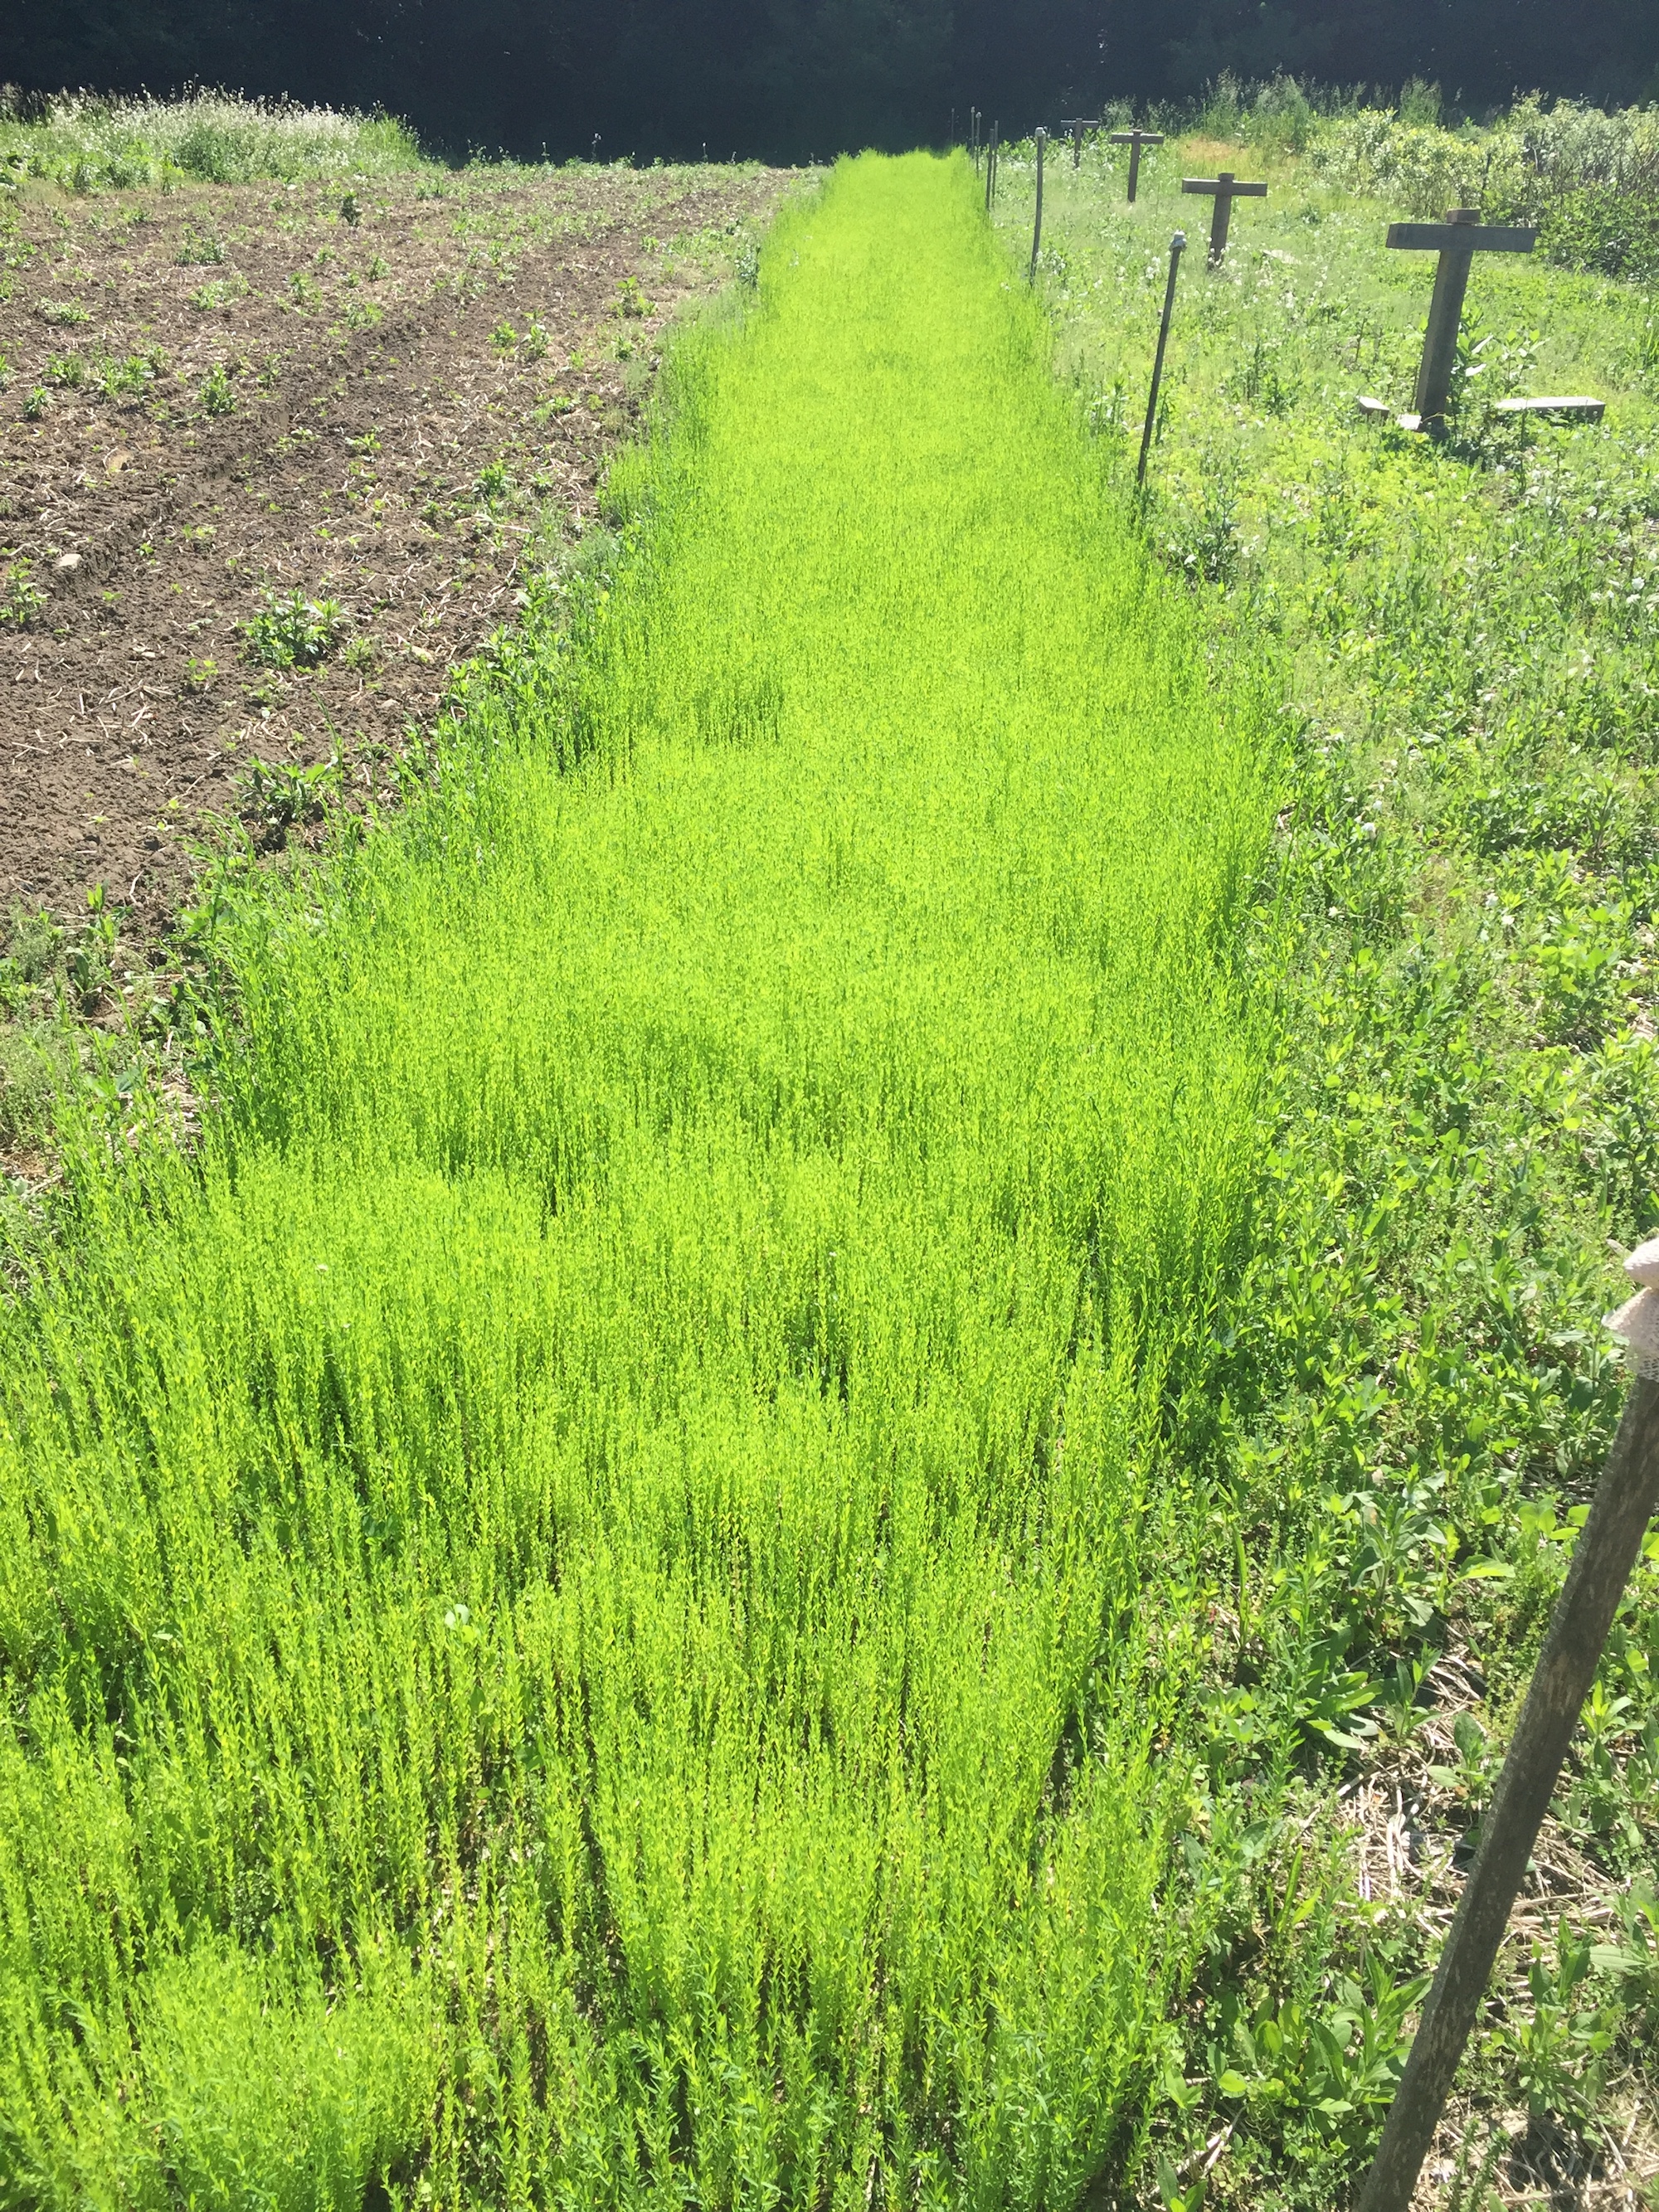
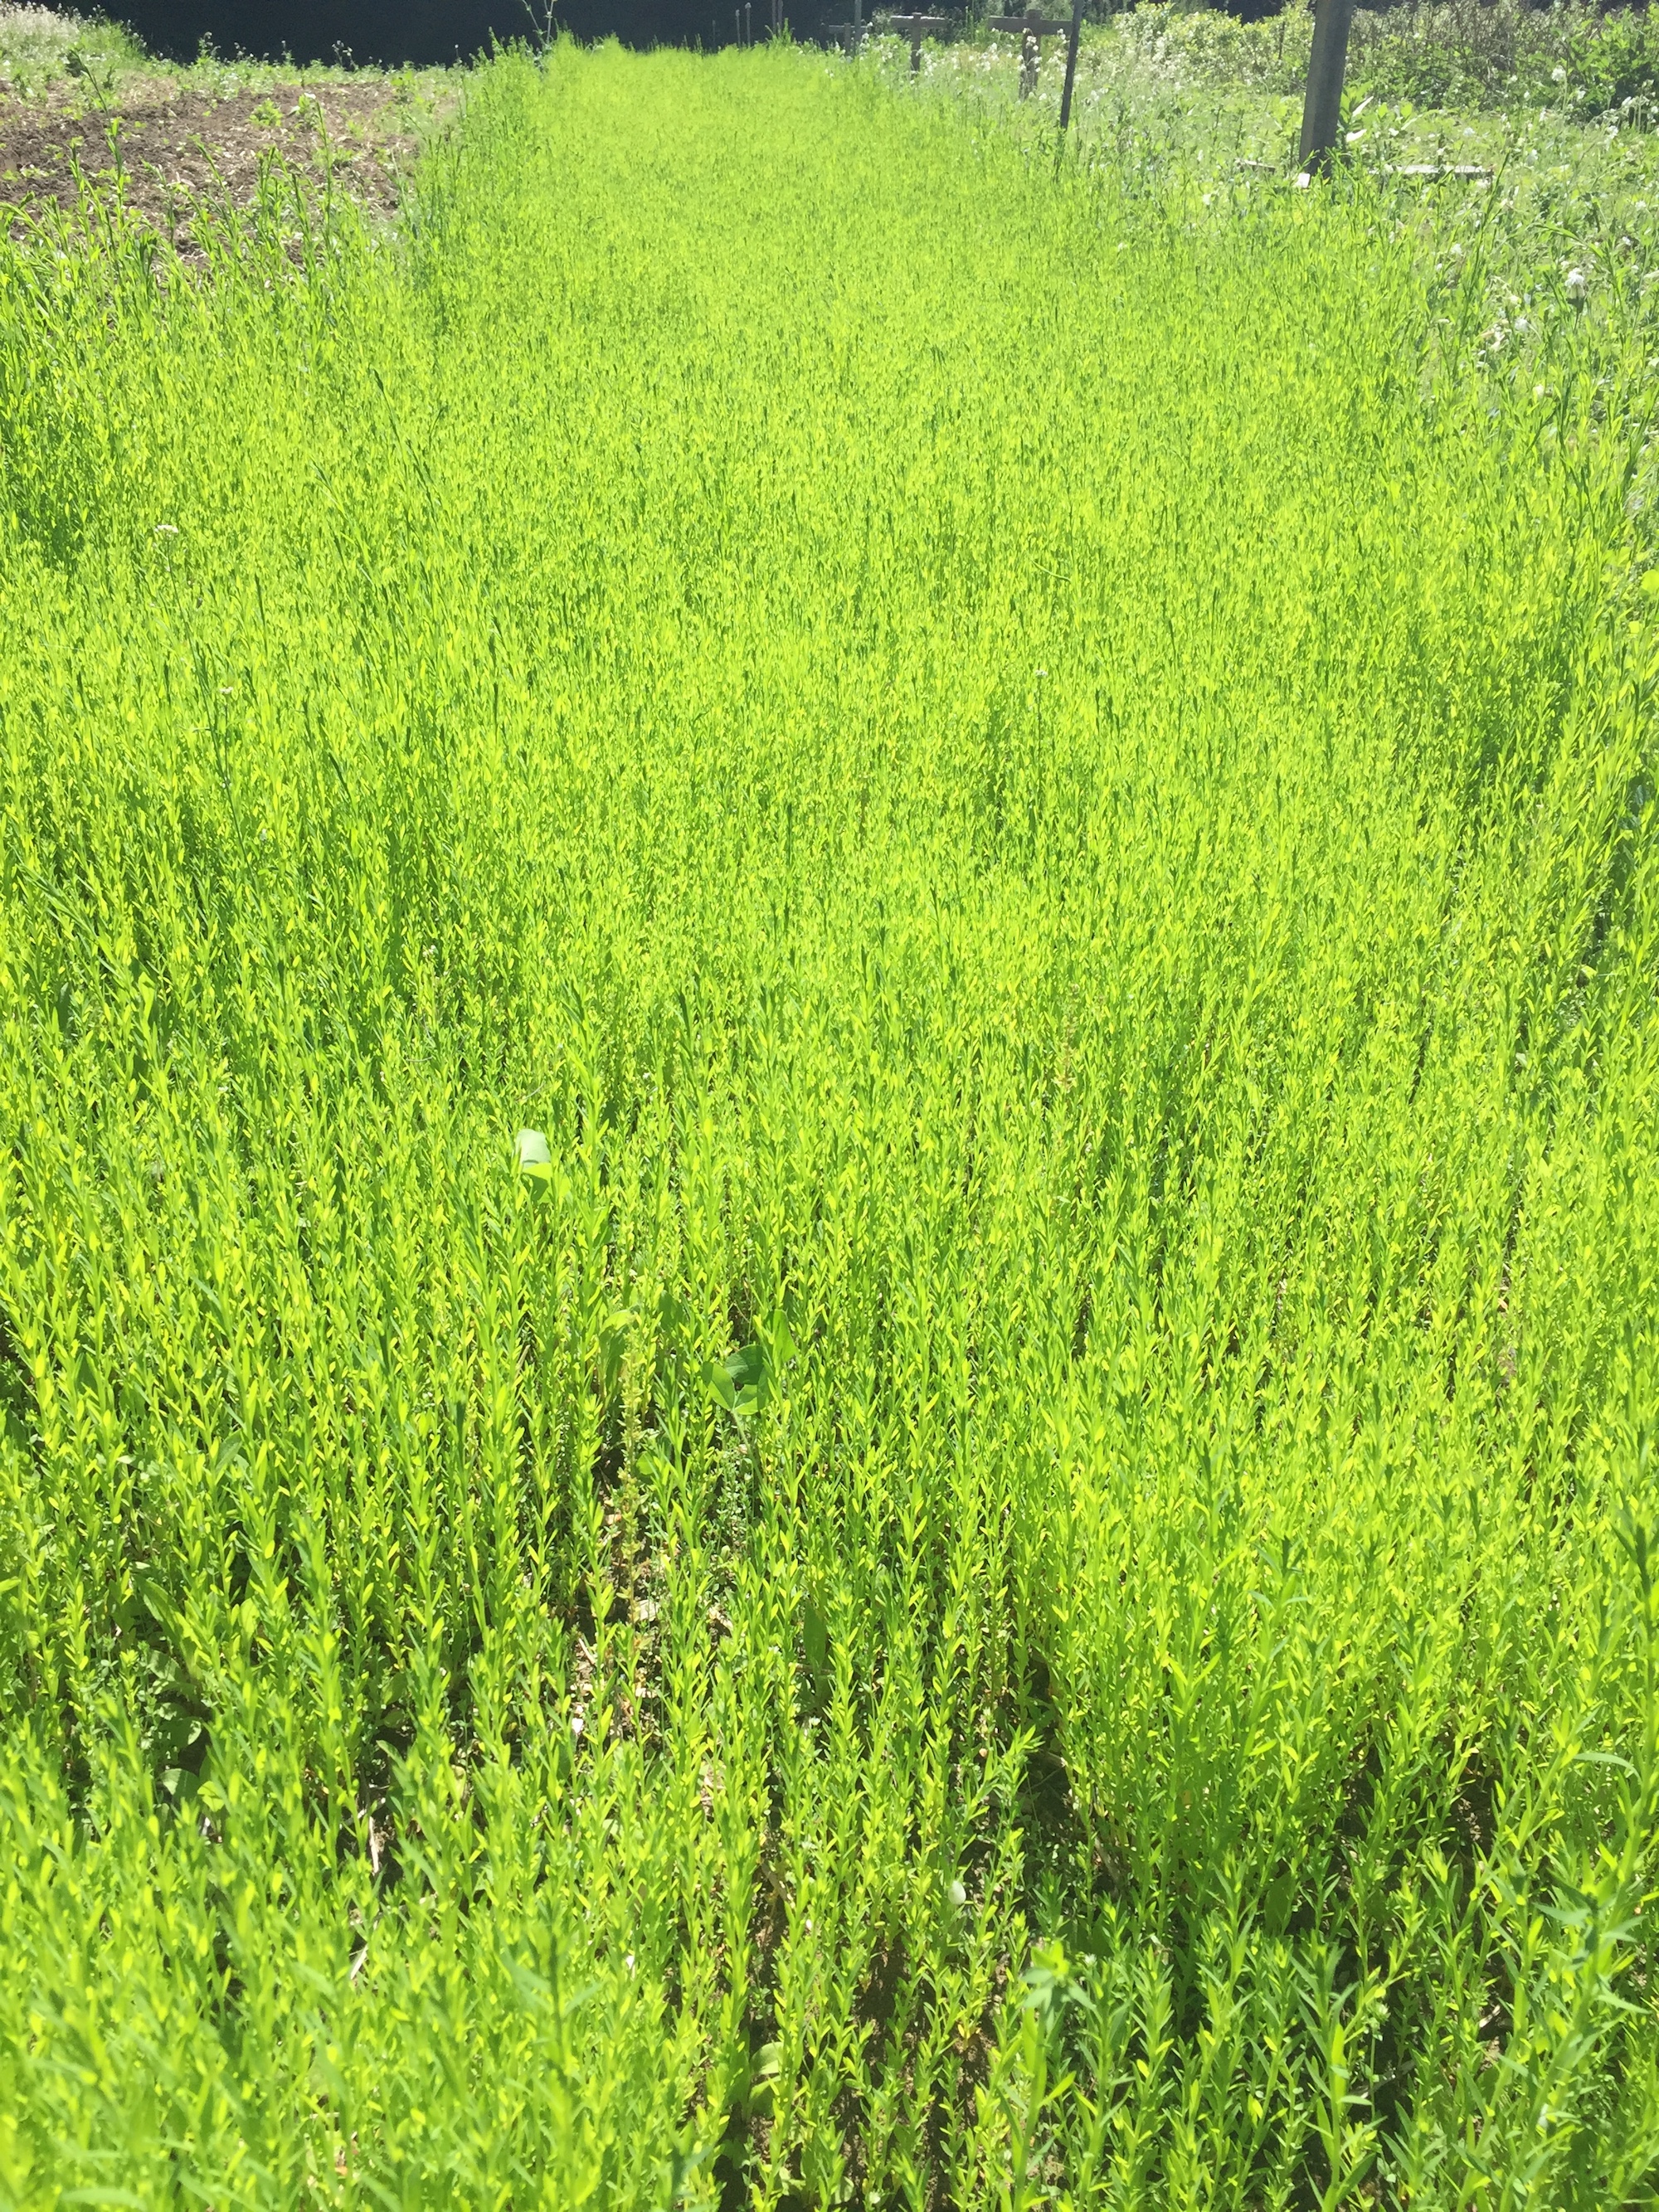
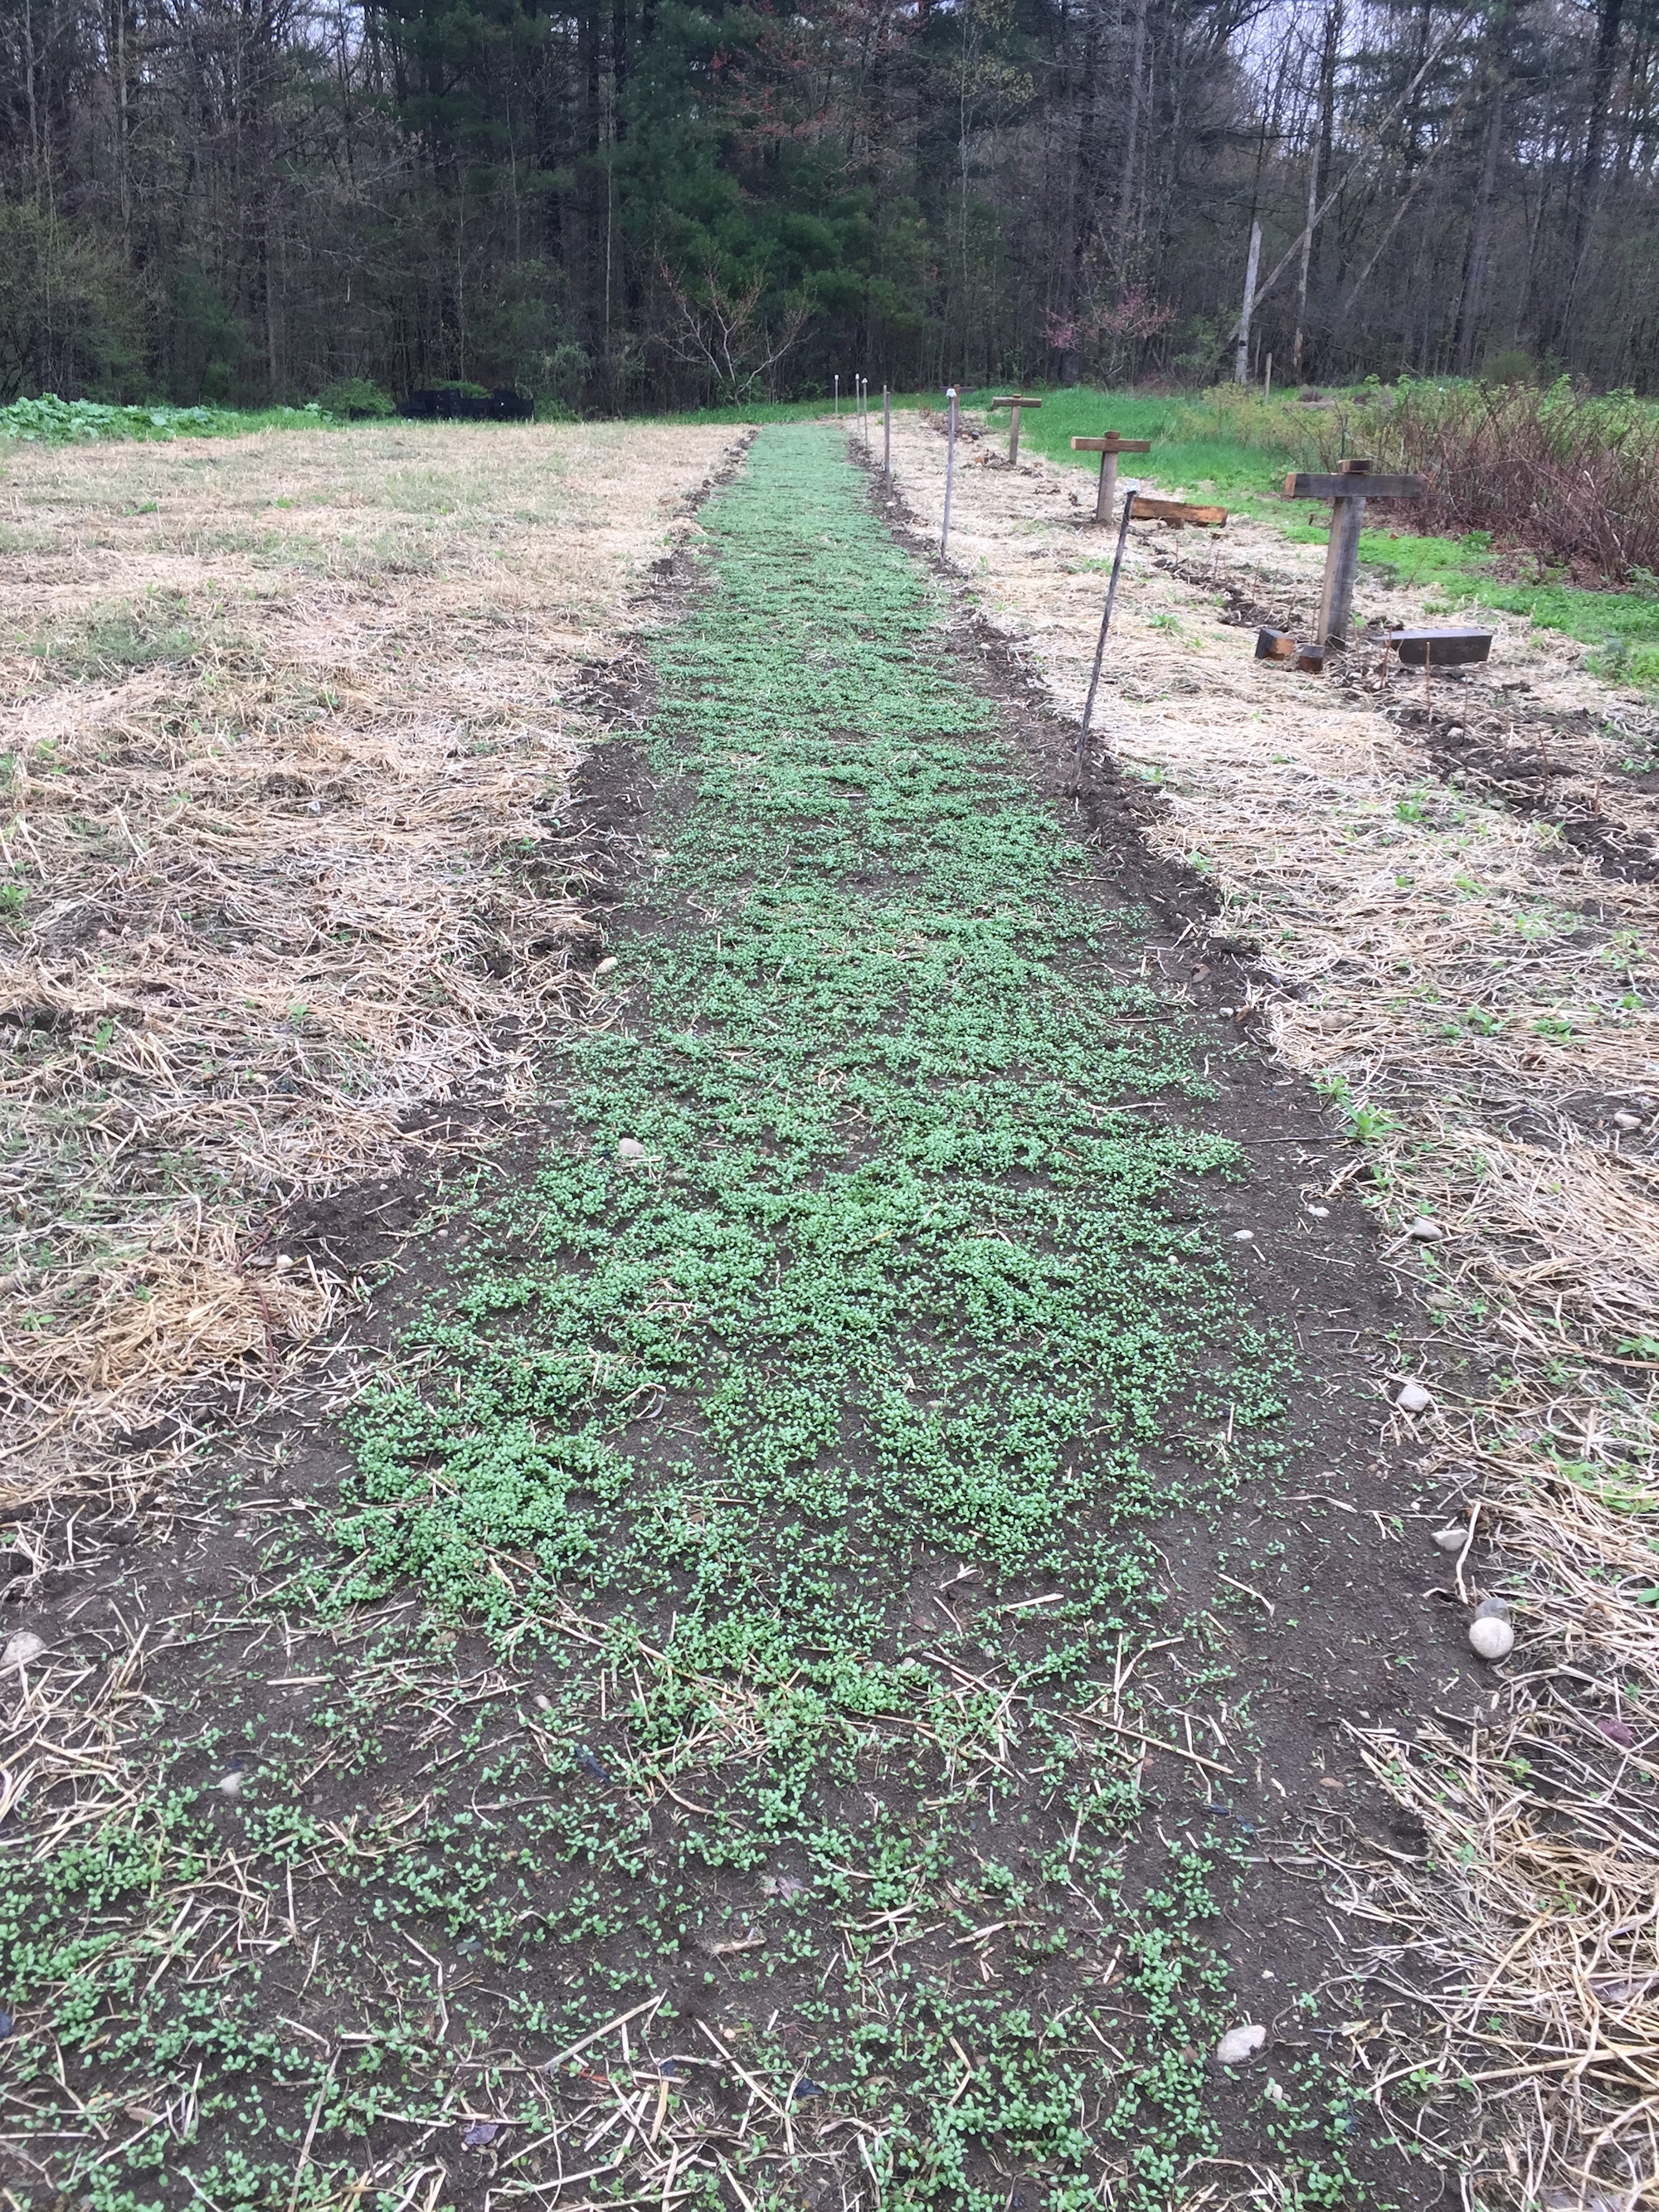
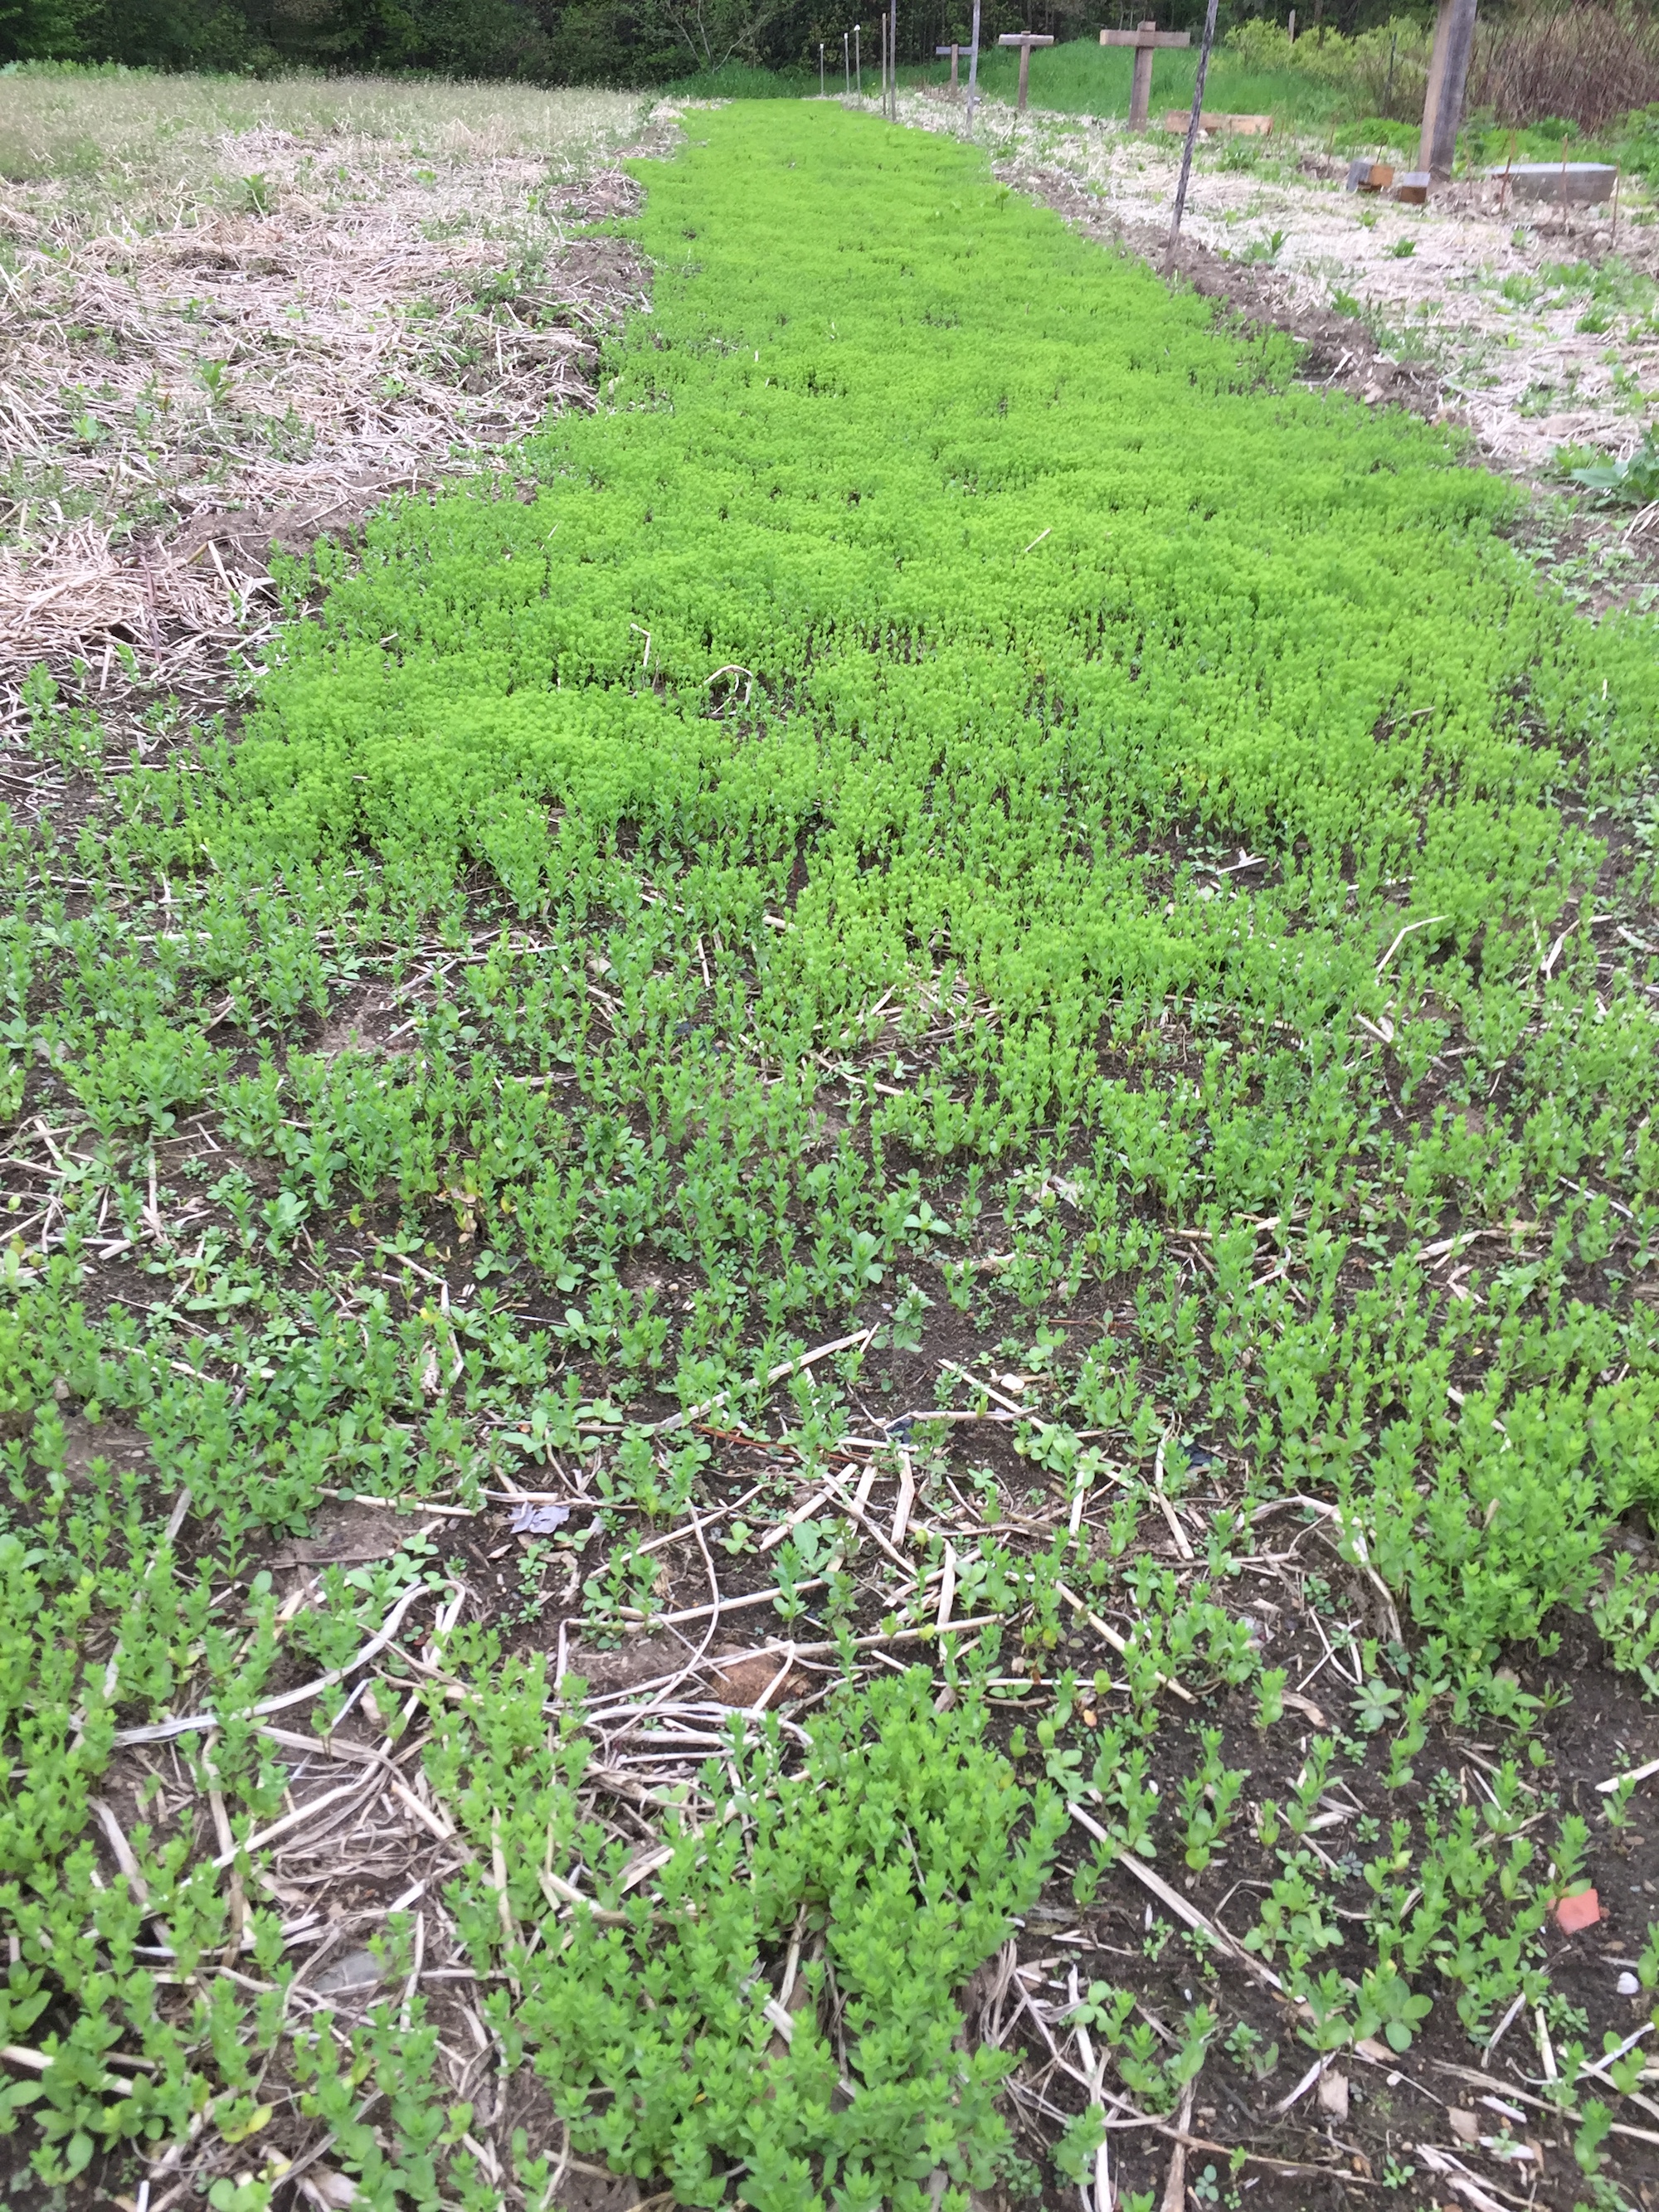
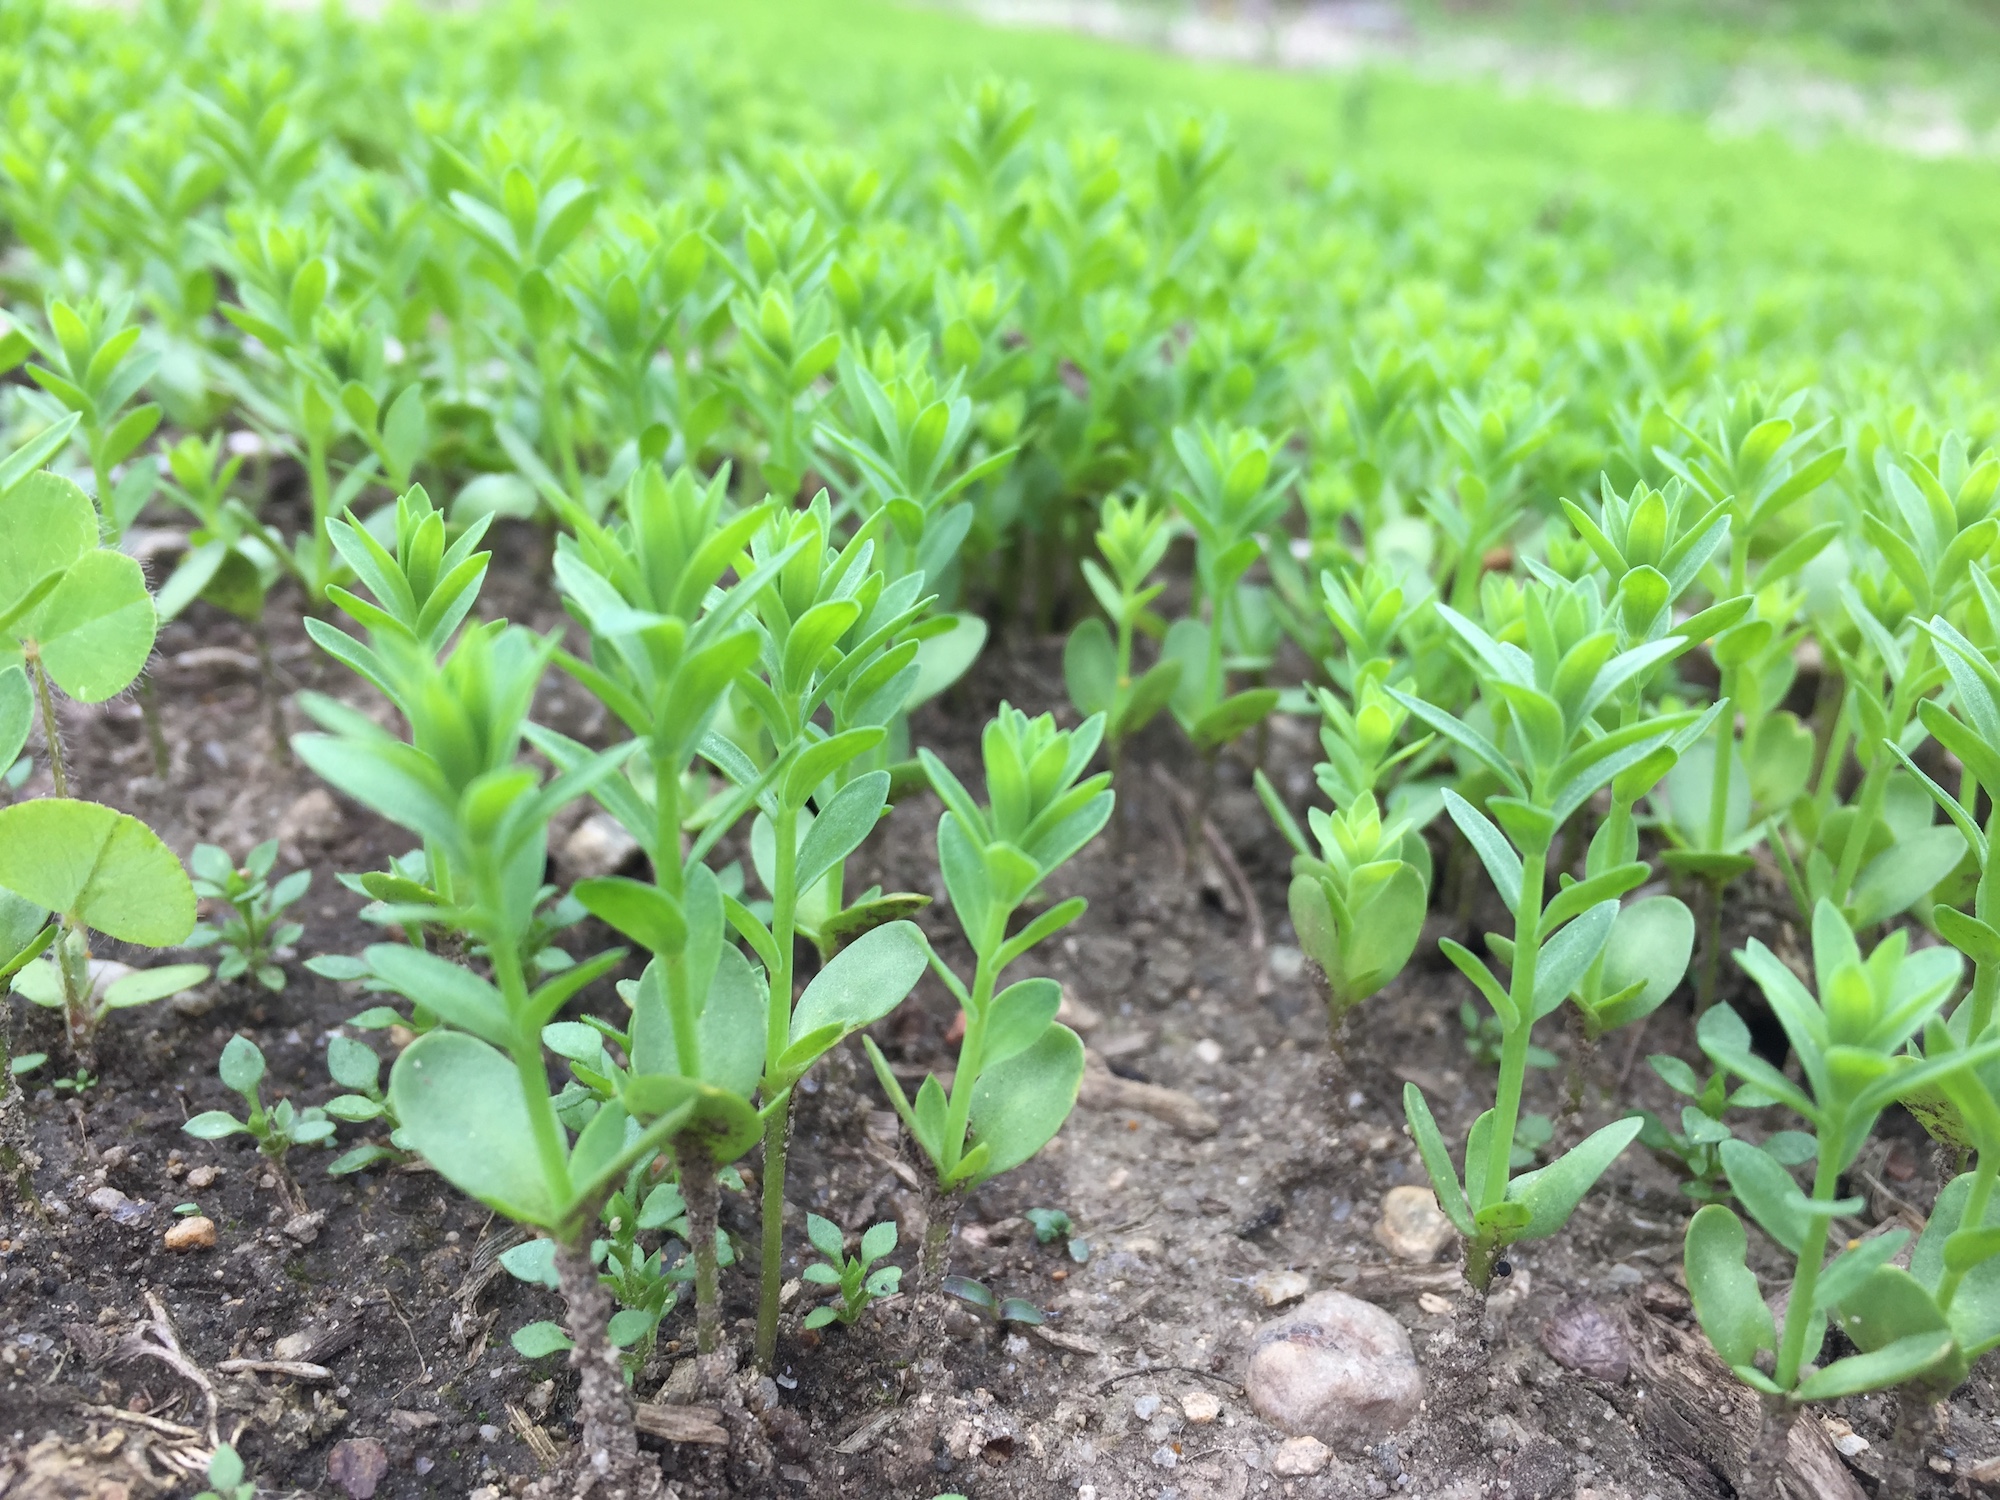
I started writing this post in the summer of 2020. We had a dry spring. We had a dry summer. As of May 2020 our part of the state was under “significant” drought conditions, which persisted through the fall. We were lucky never to get to the “critical” level that other parts of the state faced. You can check out the map of drought conditions in Massachusetts here, with updates posted throughout the summer and fall. I spent a ridiculous number of hours hauling gallons of water via car, which comes with a fossil fuel burden, trying to keep a couple beds of woad alive. I gave up entirely on the bed of flax I planted in April.

Honestly, why bother?

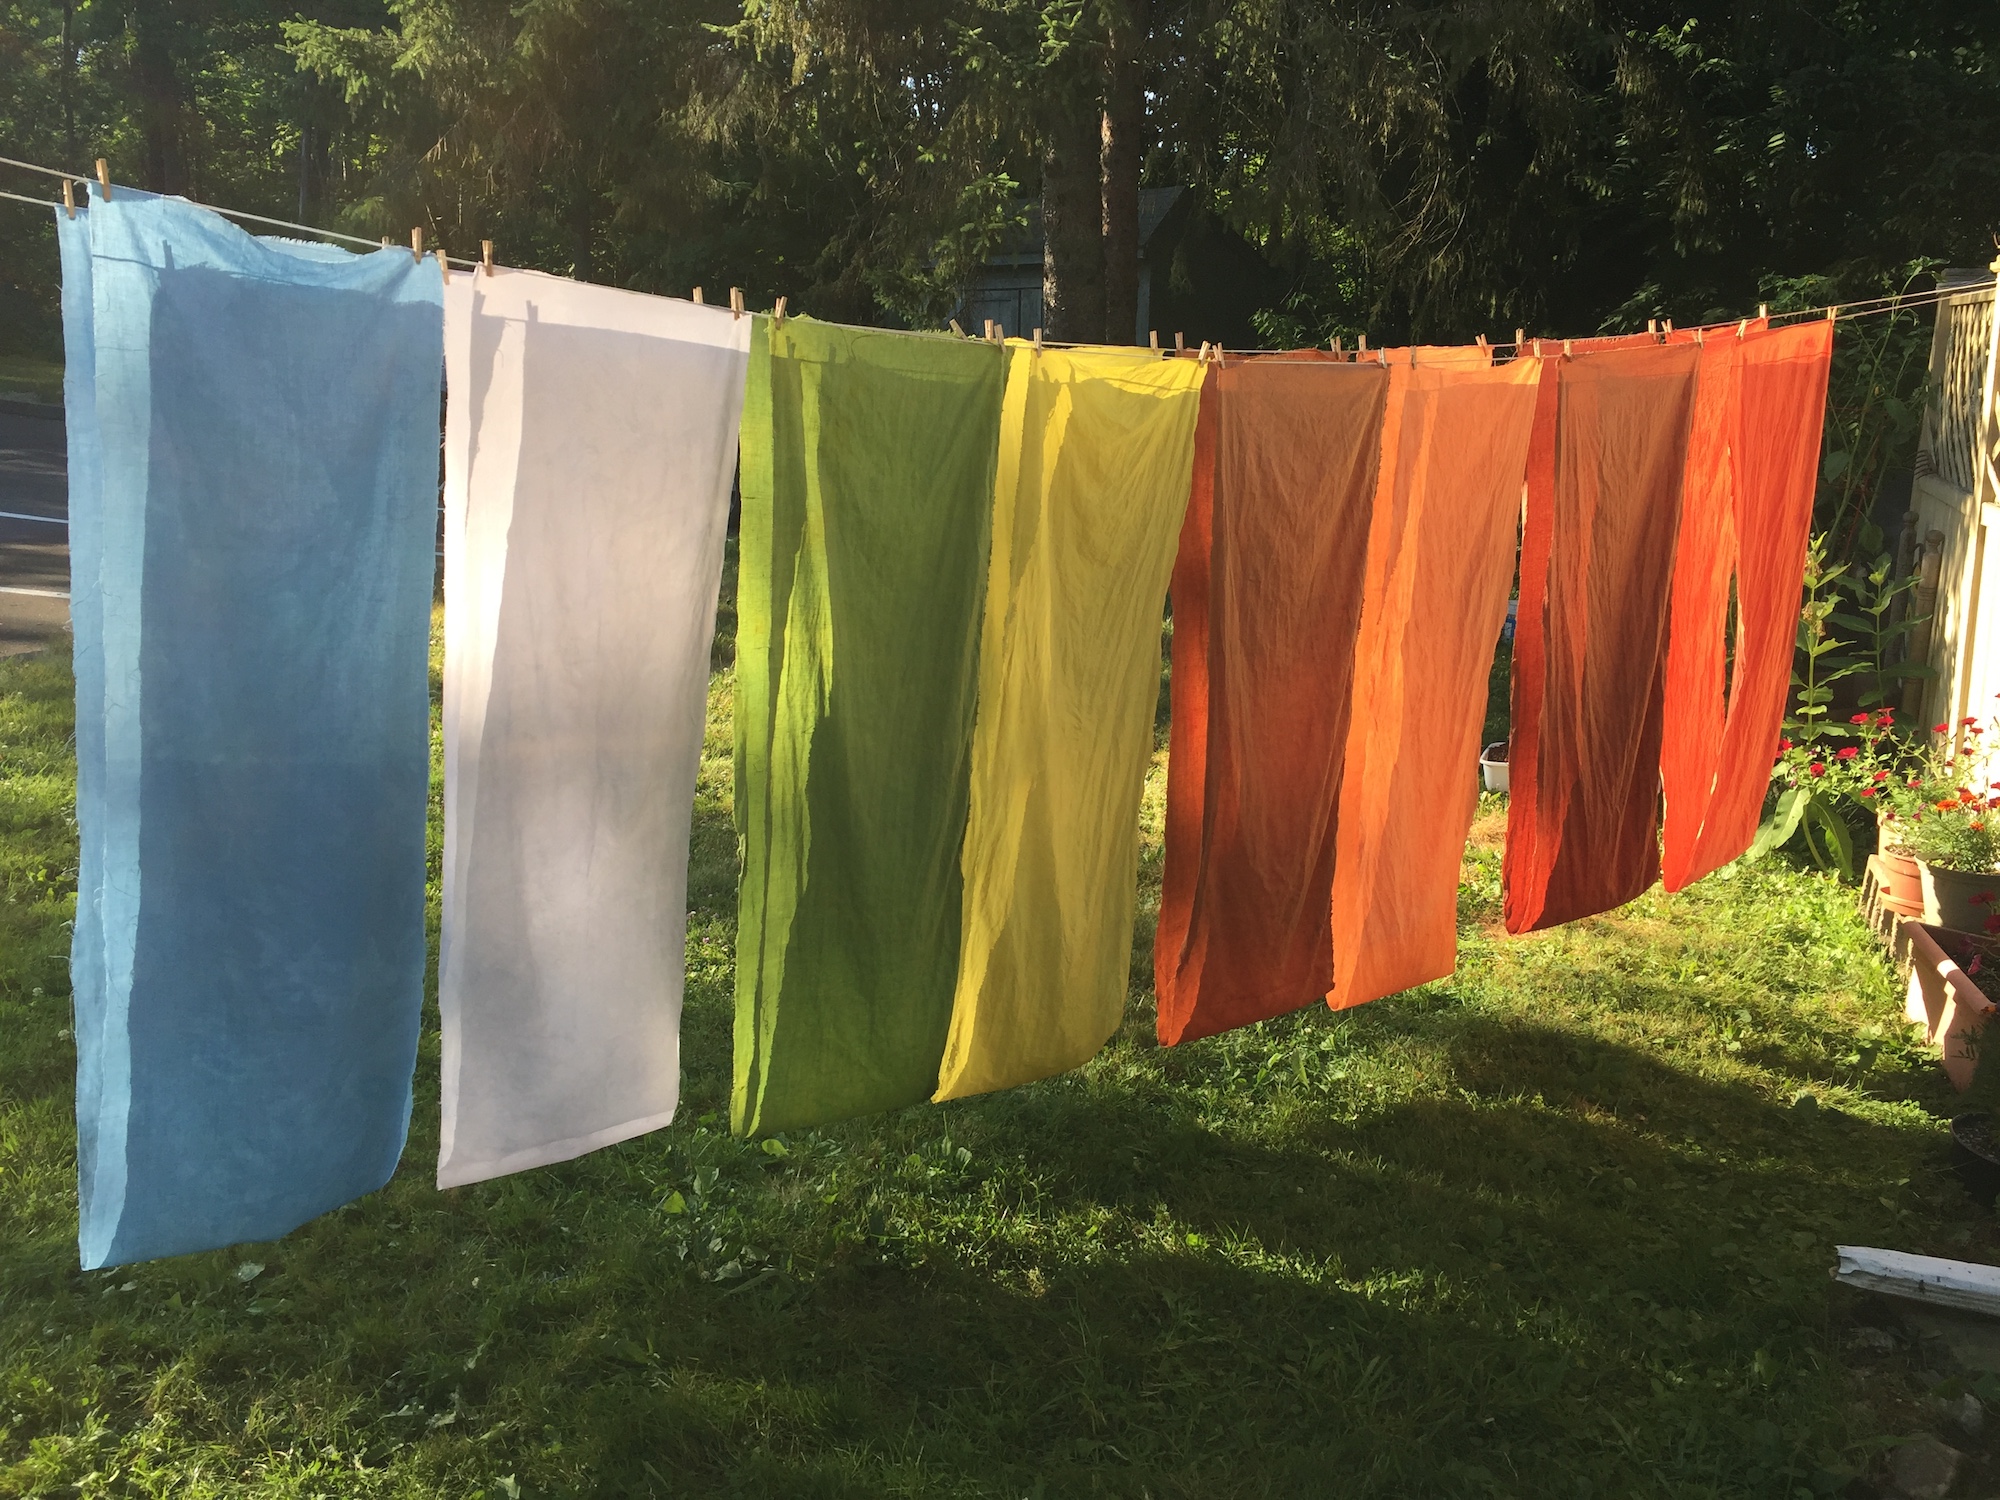
I know why I love making dyes with plants. Color is beautiful and beauty makes me happy. To be able to participate in this process of beauty-making helps me feel connected to, and part of, the many incredible forms of life on this planet. Creating color feels magical and meaningful. It is mind-boggling and humbling that plants can give these colors to us, over and above all the other gifts that plants bestow. Medicine, food, fragrance…. Oxygen alone would be enough!  I am deeply grateful to plants for all their lessons and awe-inspiring power. “Hey, need some color to brighten your day? Let me help you with that.”

But sometimes I look at all the abundant color that grows freely, of its own accord, with no effort expended on my part, in the fields and roadsides all around me, and wonder why I work so hard to maintain a dye plant garden. July and August (when I first started writing this post) are especially good times to reflect upon the abundance and take stock. There’s treasure everywhere (to quote a beloved line from Calvin and Hobbes).

Calvin and Hobbes There's Treasure Everywhere

It’s the middle of winter now. Gardeners are planning gardens and ordering seeds, or feeling glad for seeds saved. What to devote garden space to, and what to gather by the wayside?

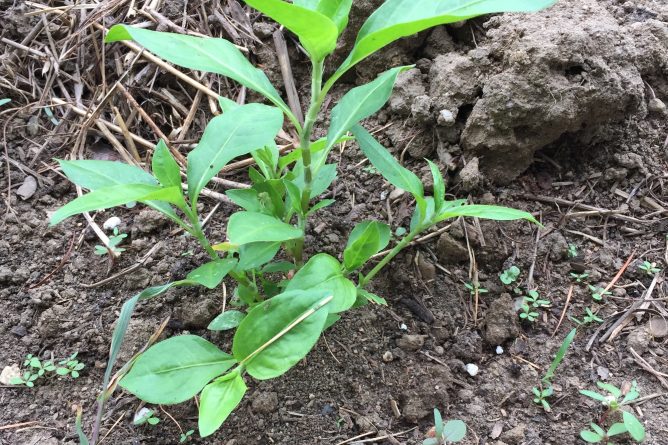
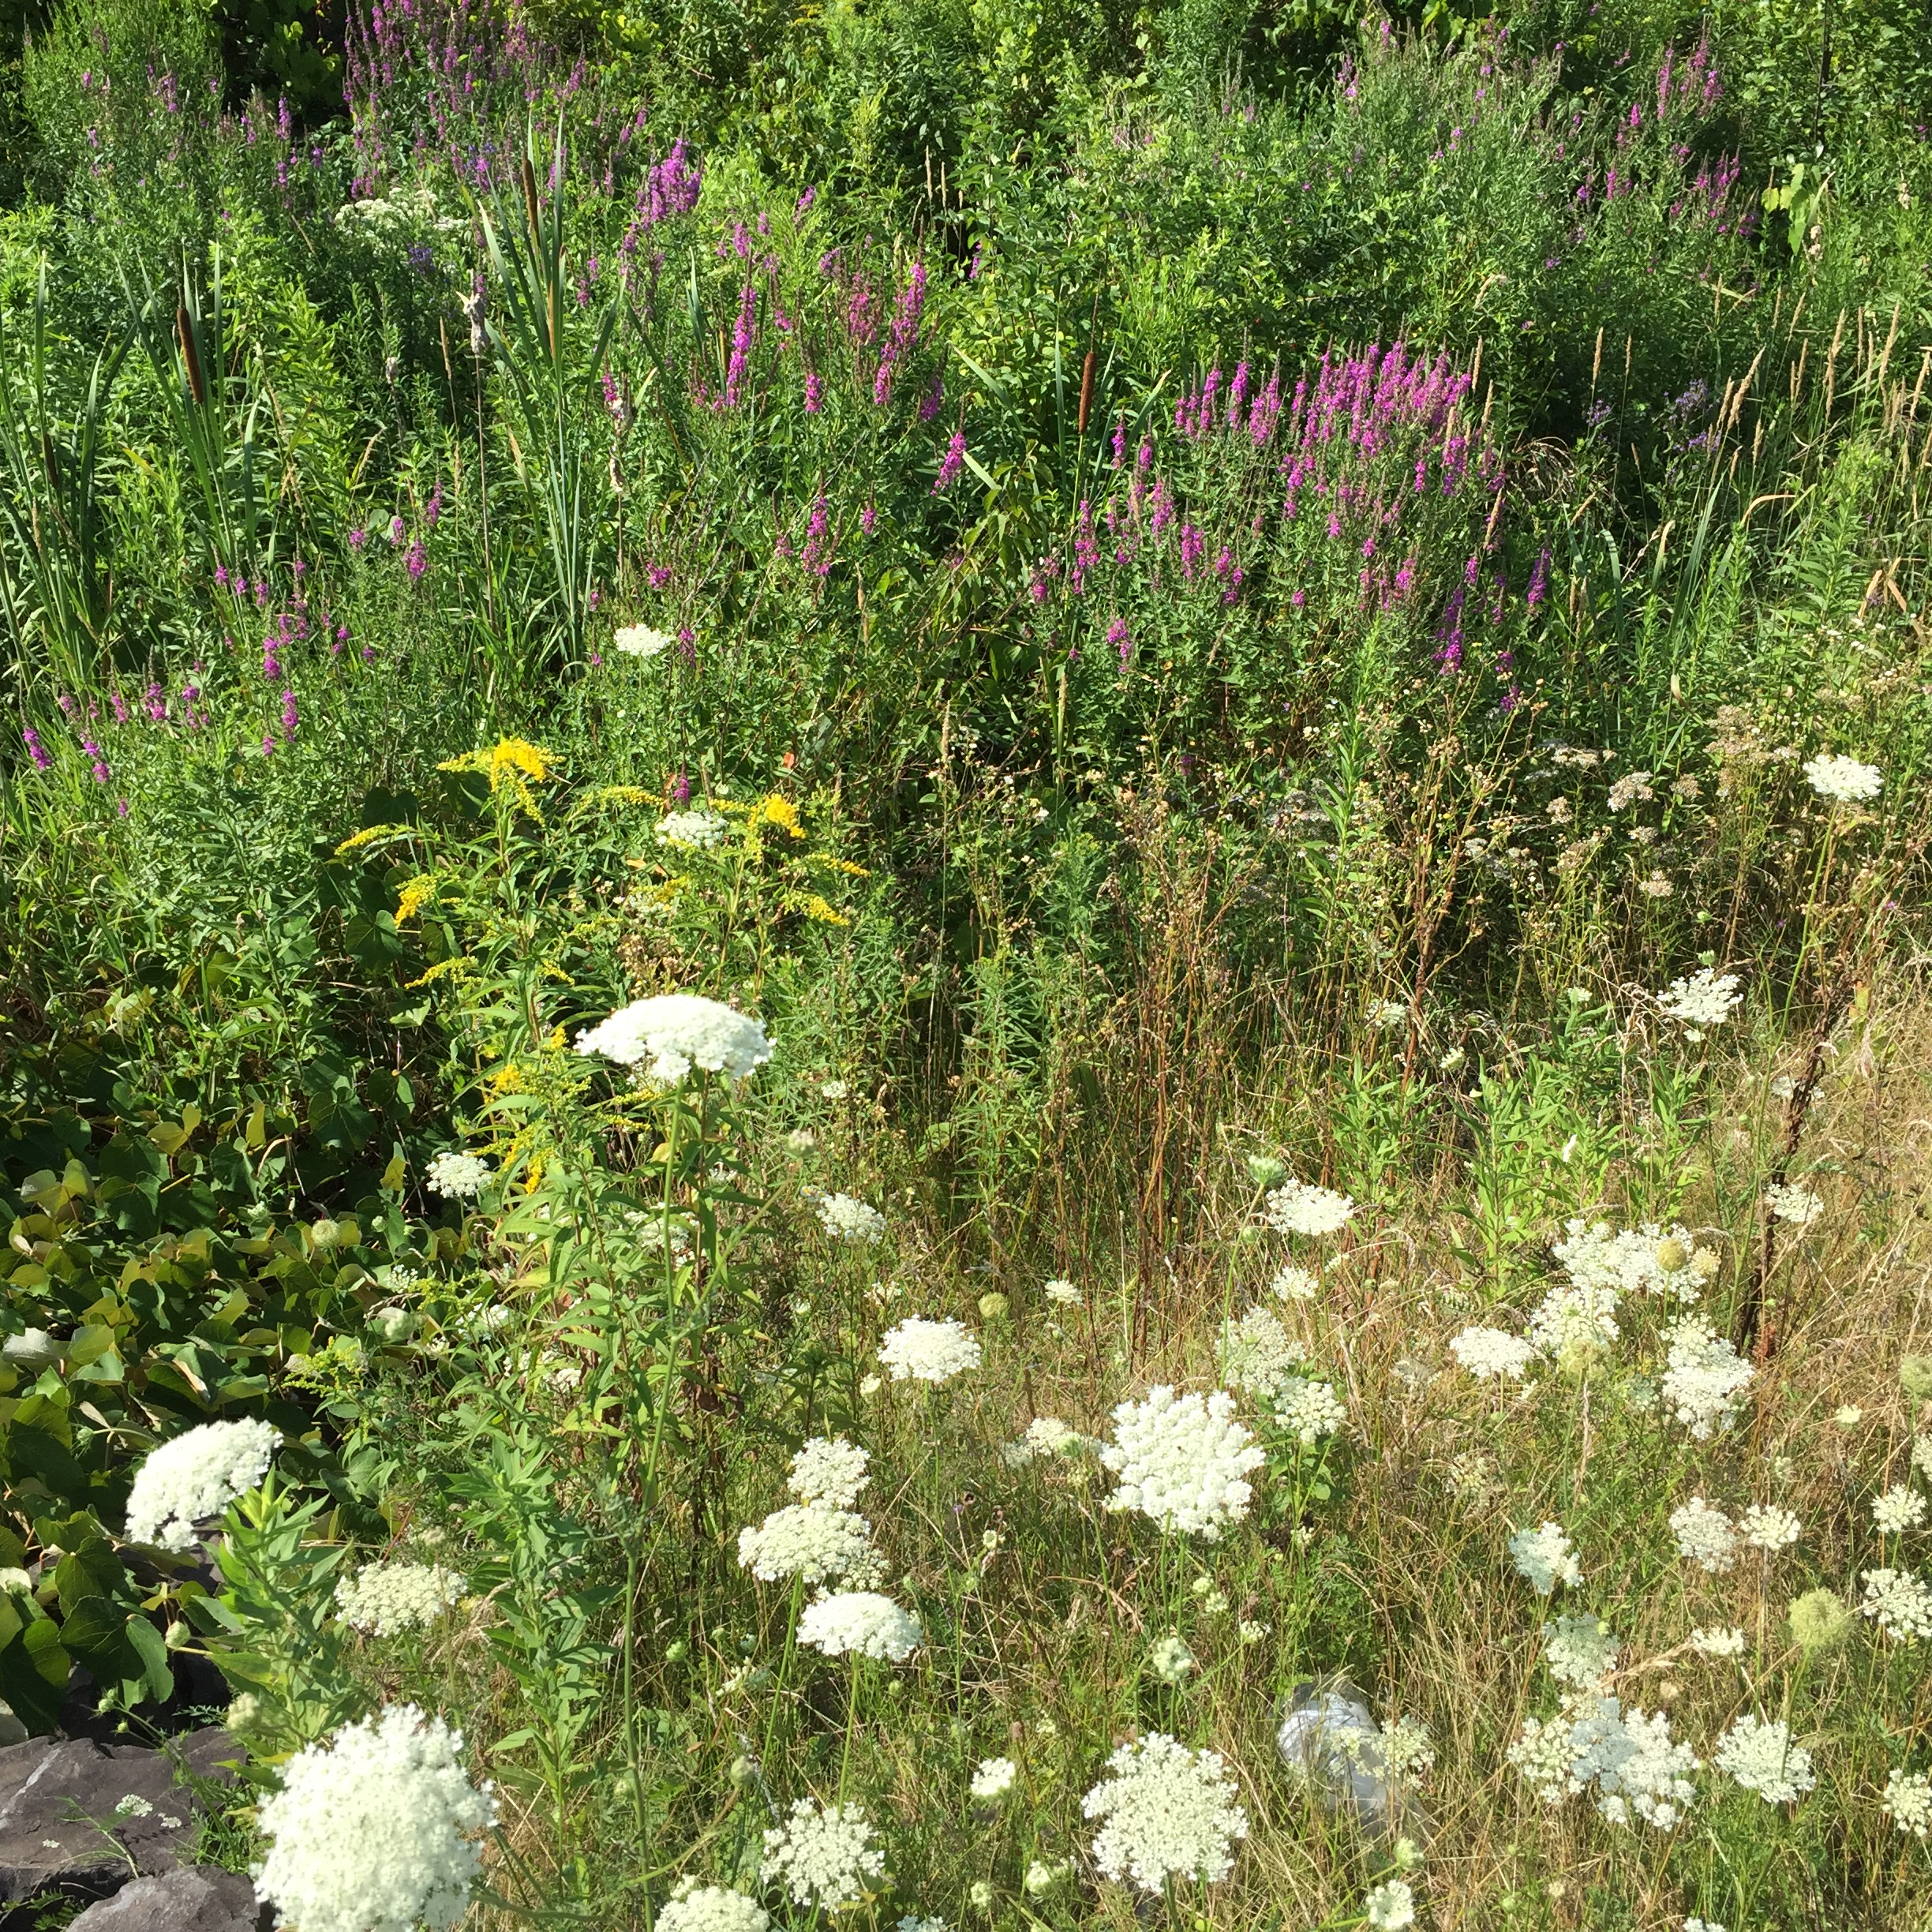
Here are a few of the most prolific dye plants in my neighborhood, photographed in June, July, and August of 2020. I will save a discussion of the use and implication of terms such as invasive, noxious, and opportunistic for another day. Hopefully “introduced” or “naturalized” are accurate enough for now.

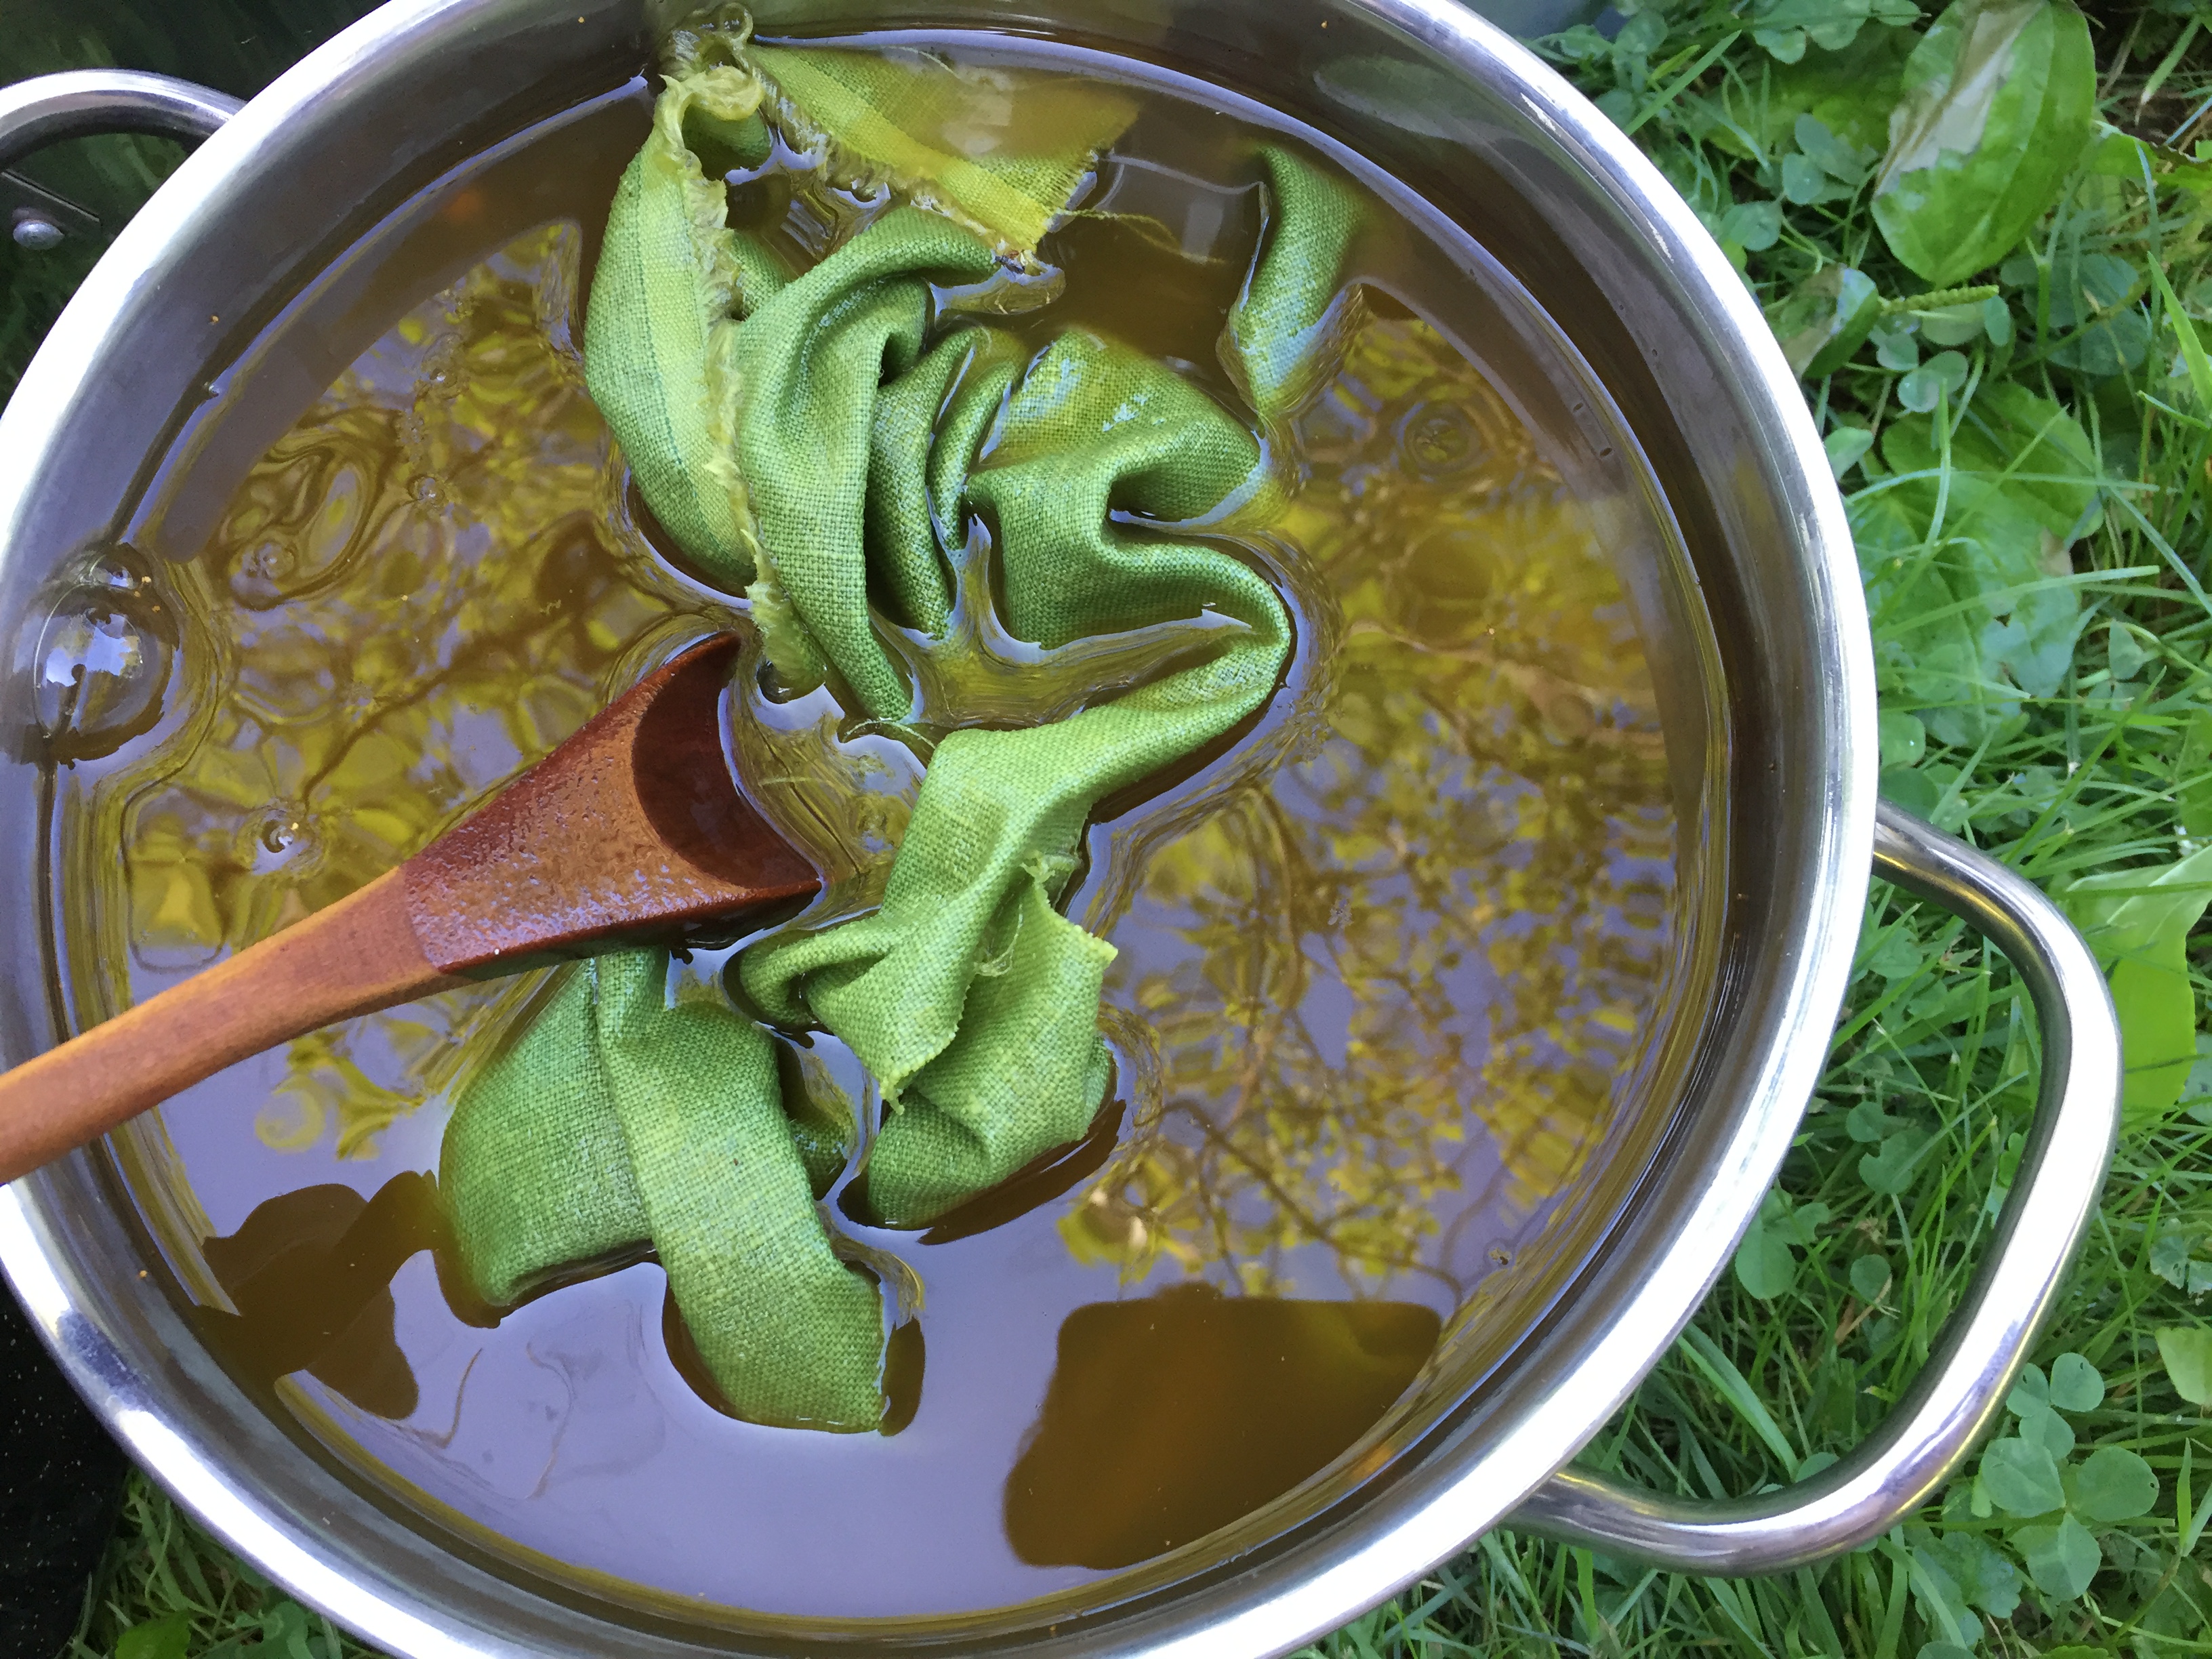
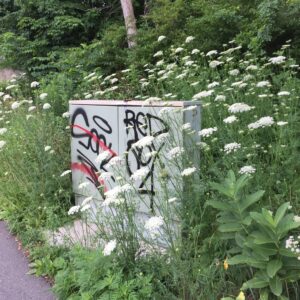
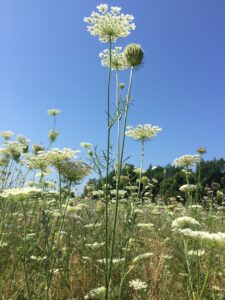
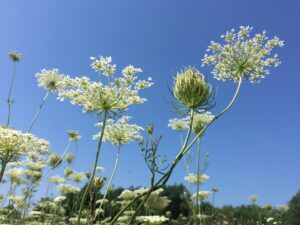
Queen Anne’s lace (Daucus carota) is an introduced species from Europe that can be found everywhere. It makes a lovely cool, clear yellow. It readily fills in marginal spaces along the side of the road, next to railroad tracks, and under power and utility lines.

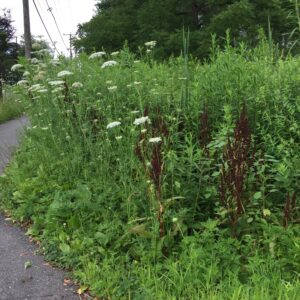
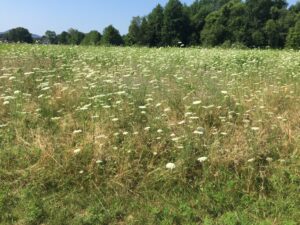
It also fills in fields and open places. It is so prolific that I usually use just the flowers for dyeing, but I suspect the foliage gives similar colors. Also, it smells delicious when the dye bath is heating up!


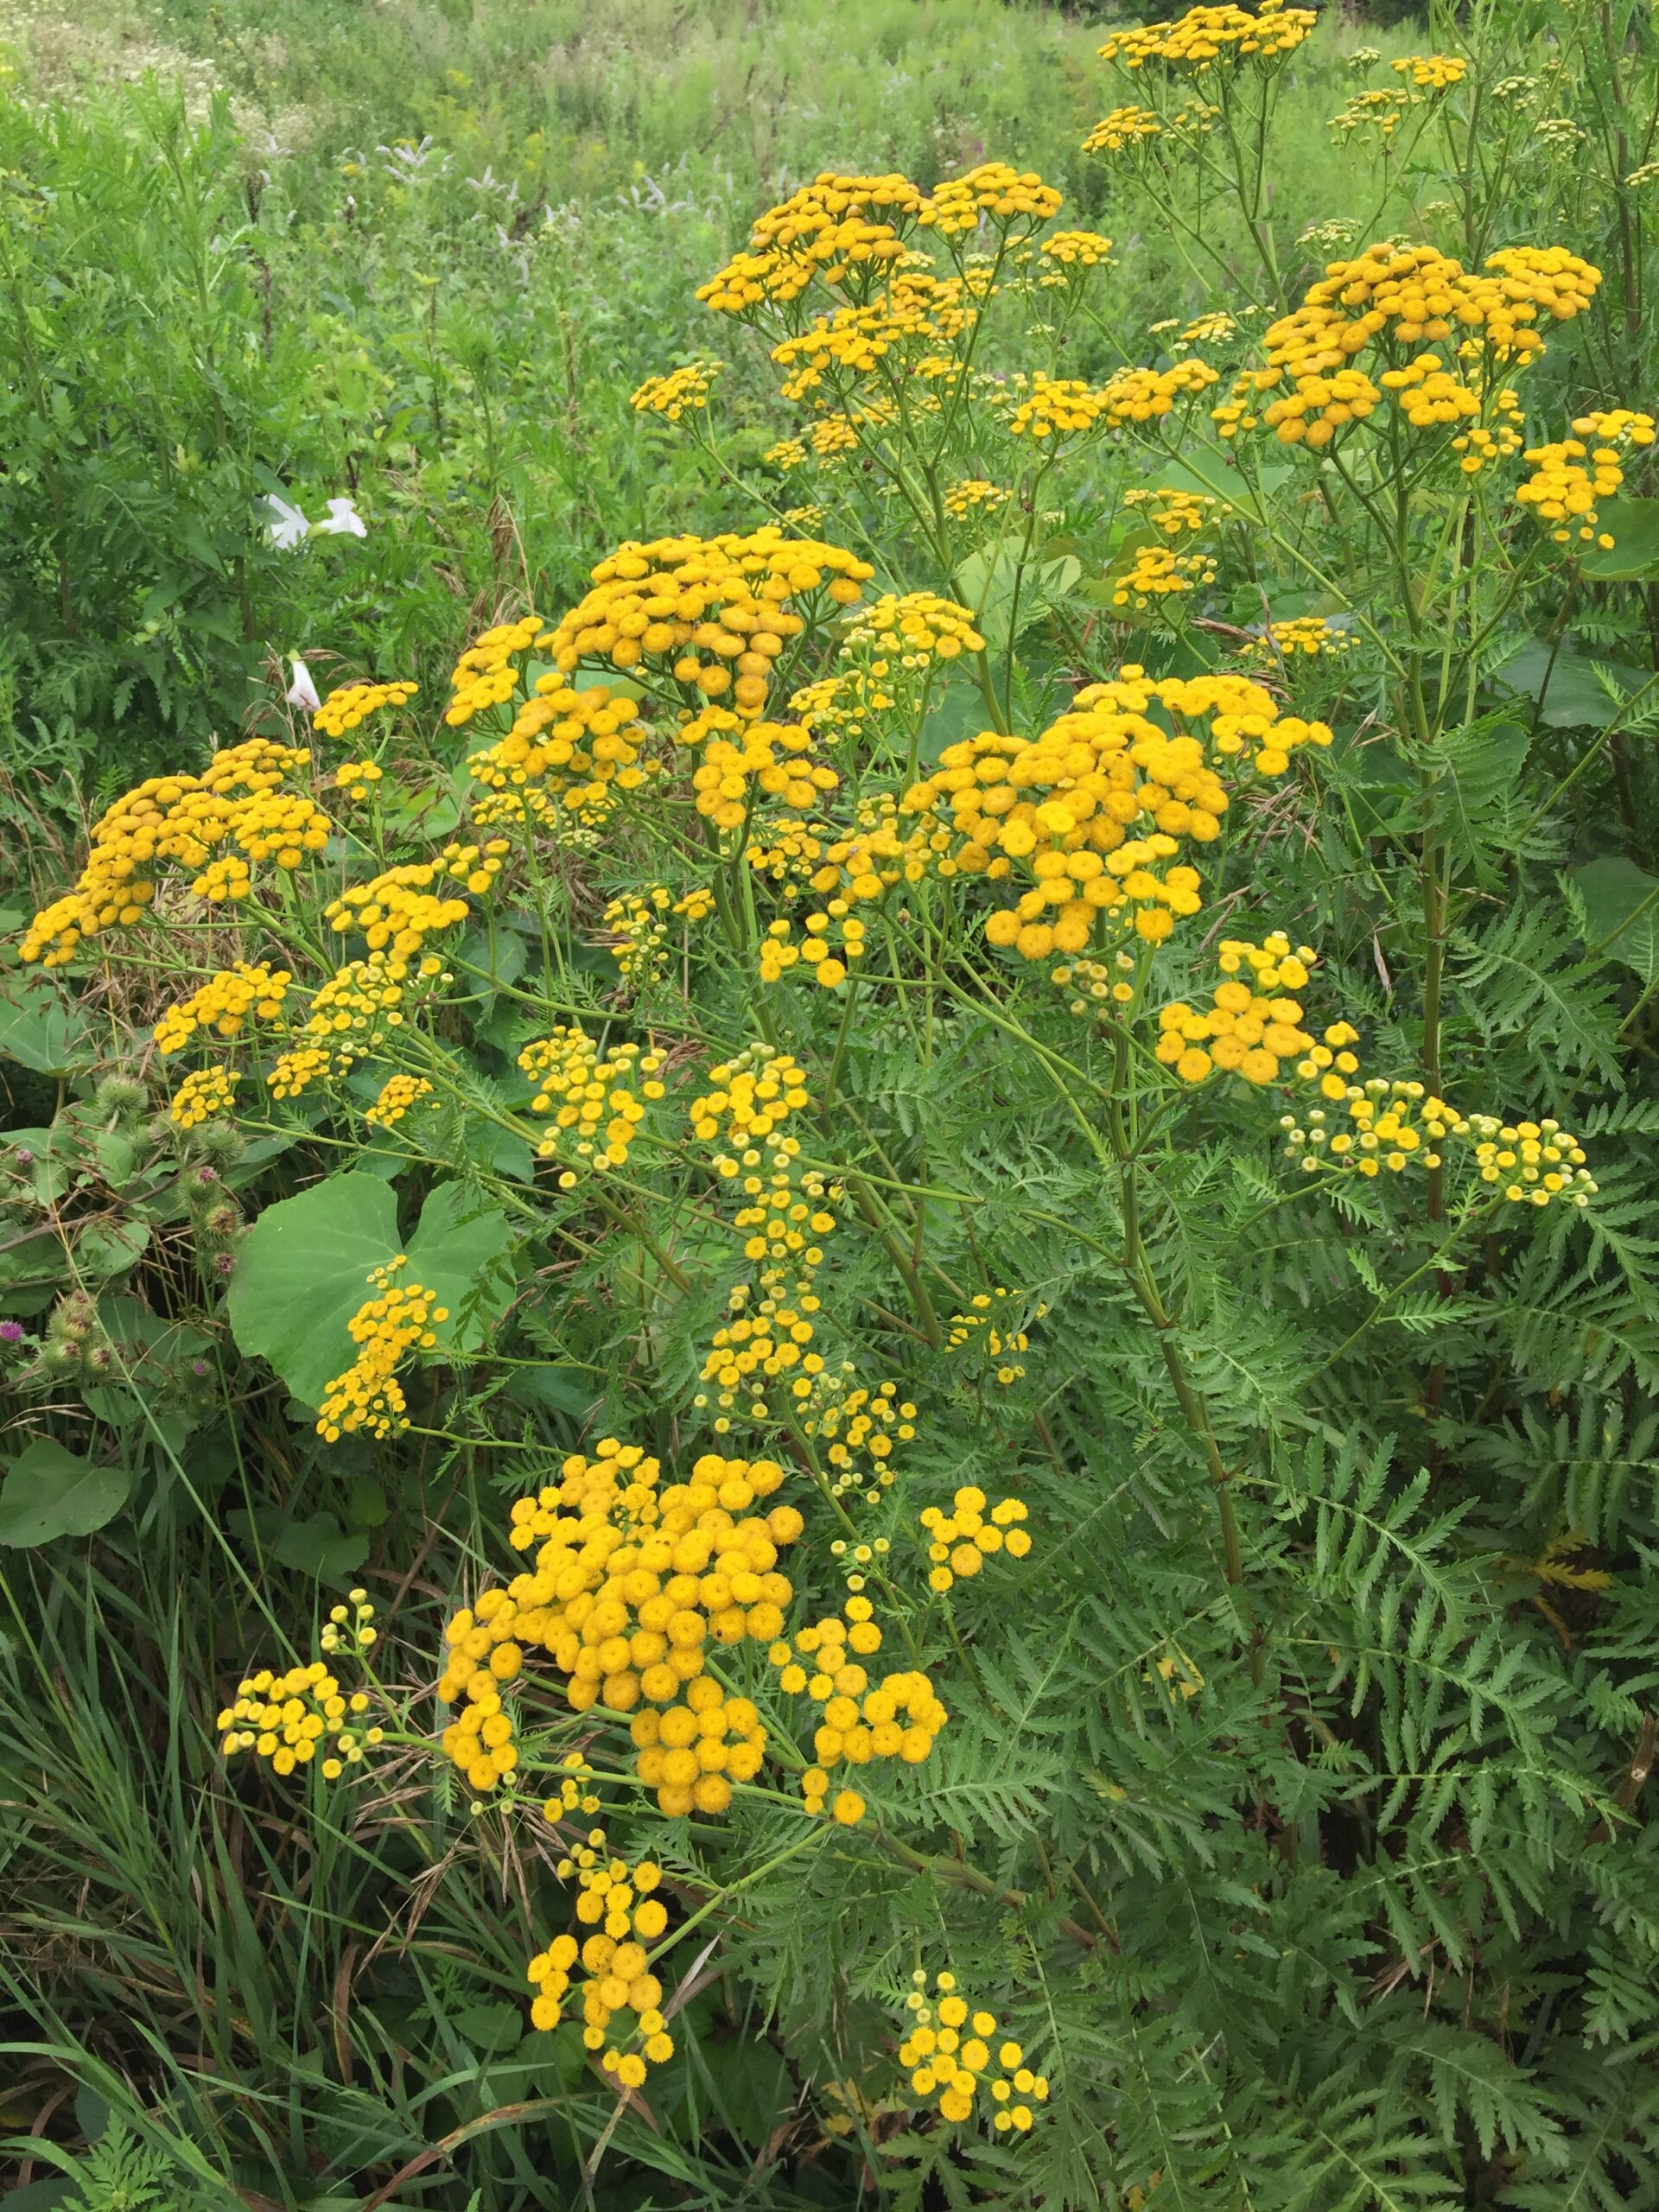
Next up, tansy (Tanacetum vulgare). It is also introduced from Europe. It is also quite aggressive. It is another source of yellow, albeit stinkier. It’s more on the gold side of yellow, a bit more brassy or brown than Queen Anne’s lace.

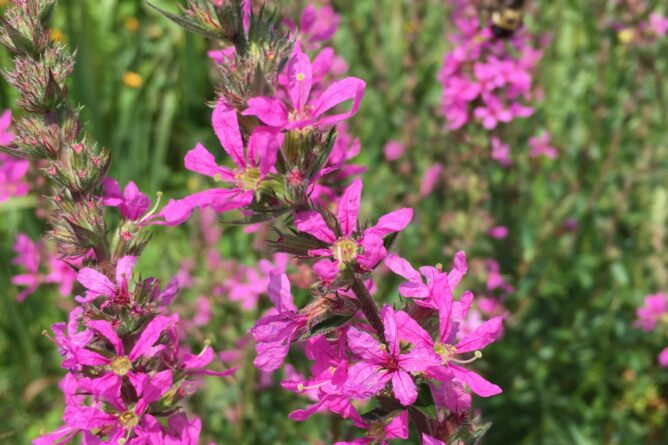
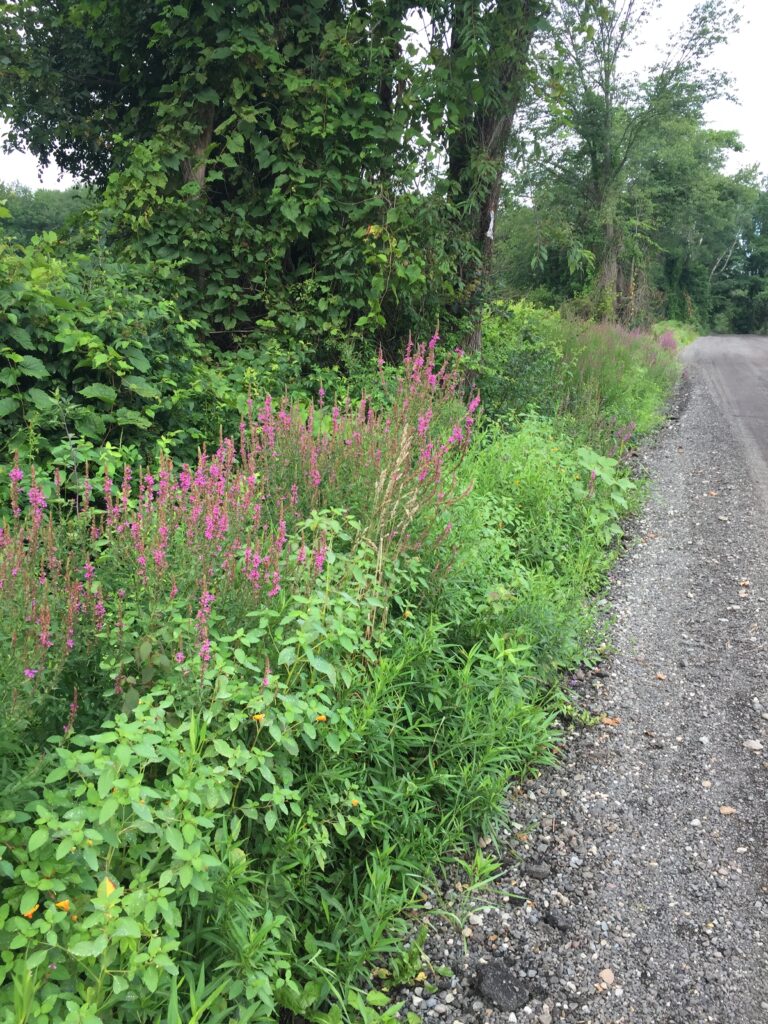
Purple loosestrife (Lythrum salicaria) is yet another introduced species from Europe. It is especially known (and lamented) for displacing native wetland plants in New England, but can also be found in drier habitats along the side of the road or underneath power lines. Whatever else one may wish to say about purple loosestrife, it is stunningly beautiful and makes bees very happy.


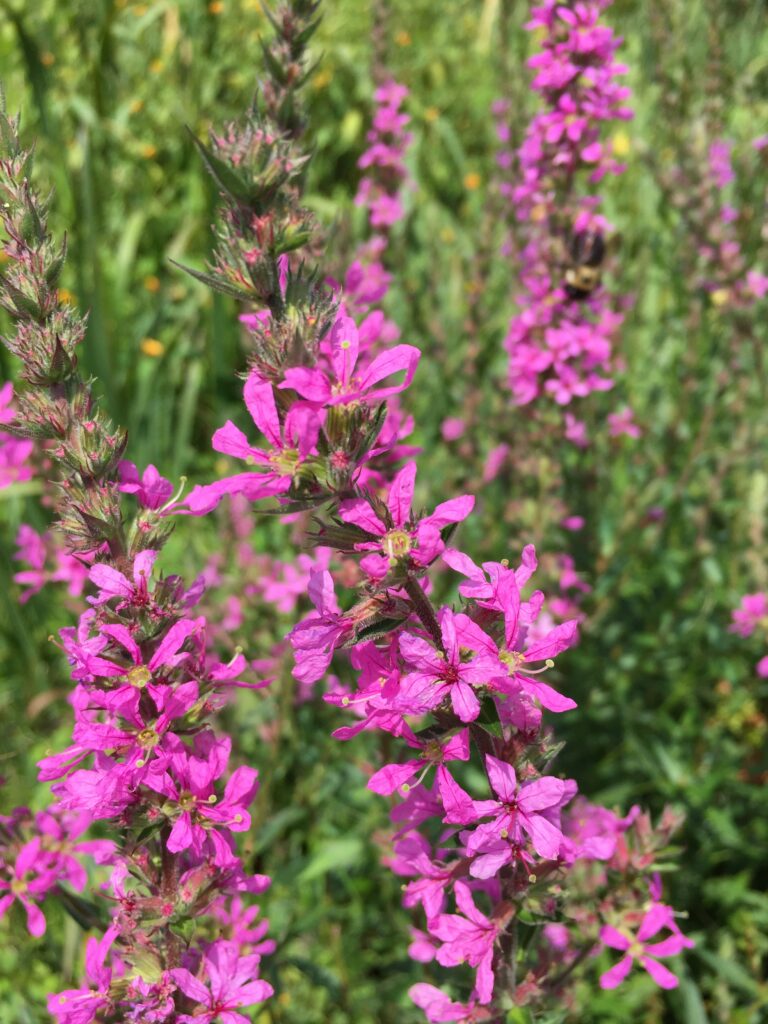
Purple loosestrife can make a variety of colors ranging from tan to olive green to gray, with the use of iron. I have even read a recipe for making black, but the amount of iron and heat called for seem overly harsh for wool. I feel like it has a lot of potential as a tannin source, and I haven’t explored it nearly enough.

Also visible above is jewelweed (Impatiens capensis) which is a native species here in New England. I have never used it for dyeing. I have heard from other dyers that it makes a rich yellow or gold. Personally, if I’m gathering rather than cultivating, I tend to stick with dye plants that are generally agreed to be *too* abundant. If I’m going to use a native species, I feel that it, too, ought to be unquestionably abundant. While jewelweed is not at risk or endangered here in Massachusetts, I don’t tend to find it in wide swaths, so thus far I have left it alone.

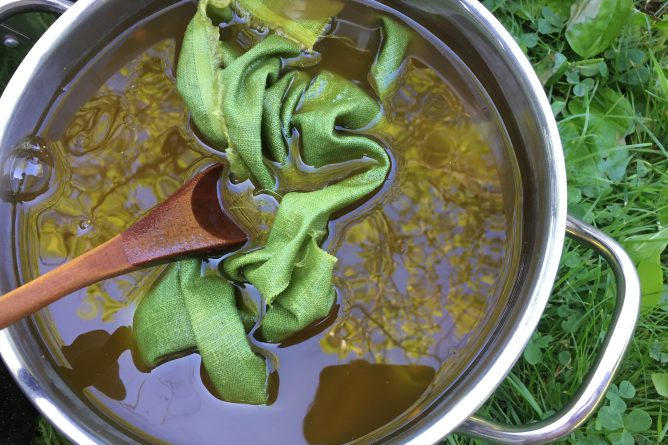
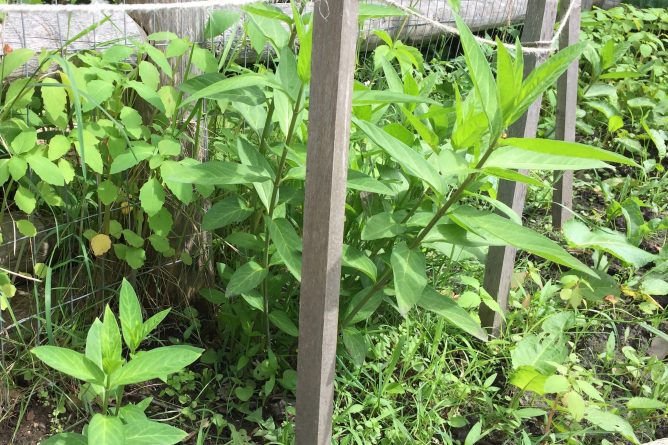
A native plant here in New England that I feel totally fine using is goldenrod. There are several species, and I’m sorry to say that I can’t identify them all, so maybe I shouldn’t be so cavalier. The type I’ve used is Solidago canadensis, I believe, though I am not positive that I can tell it apart from Solidago odora or sweet goldenrod. Yes, it makes yellow. A cheery, intense yellow. I think it’s the most vivid when you pick the flowering tops just before they are starting to bloom, when the buds are still pretty tight and the overall color is a neon greenish-yellow. In this photo it is a modest presence amidst a collection of other plants, but you can often see it filling whole fields around here.

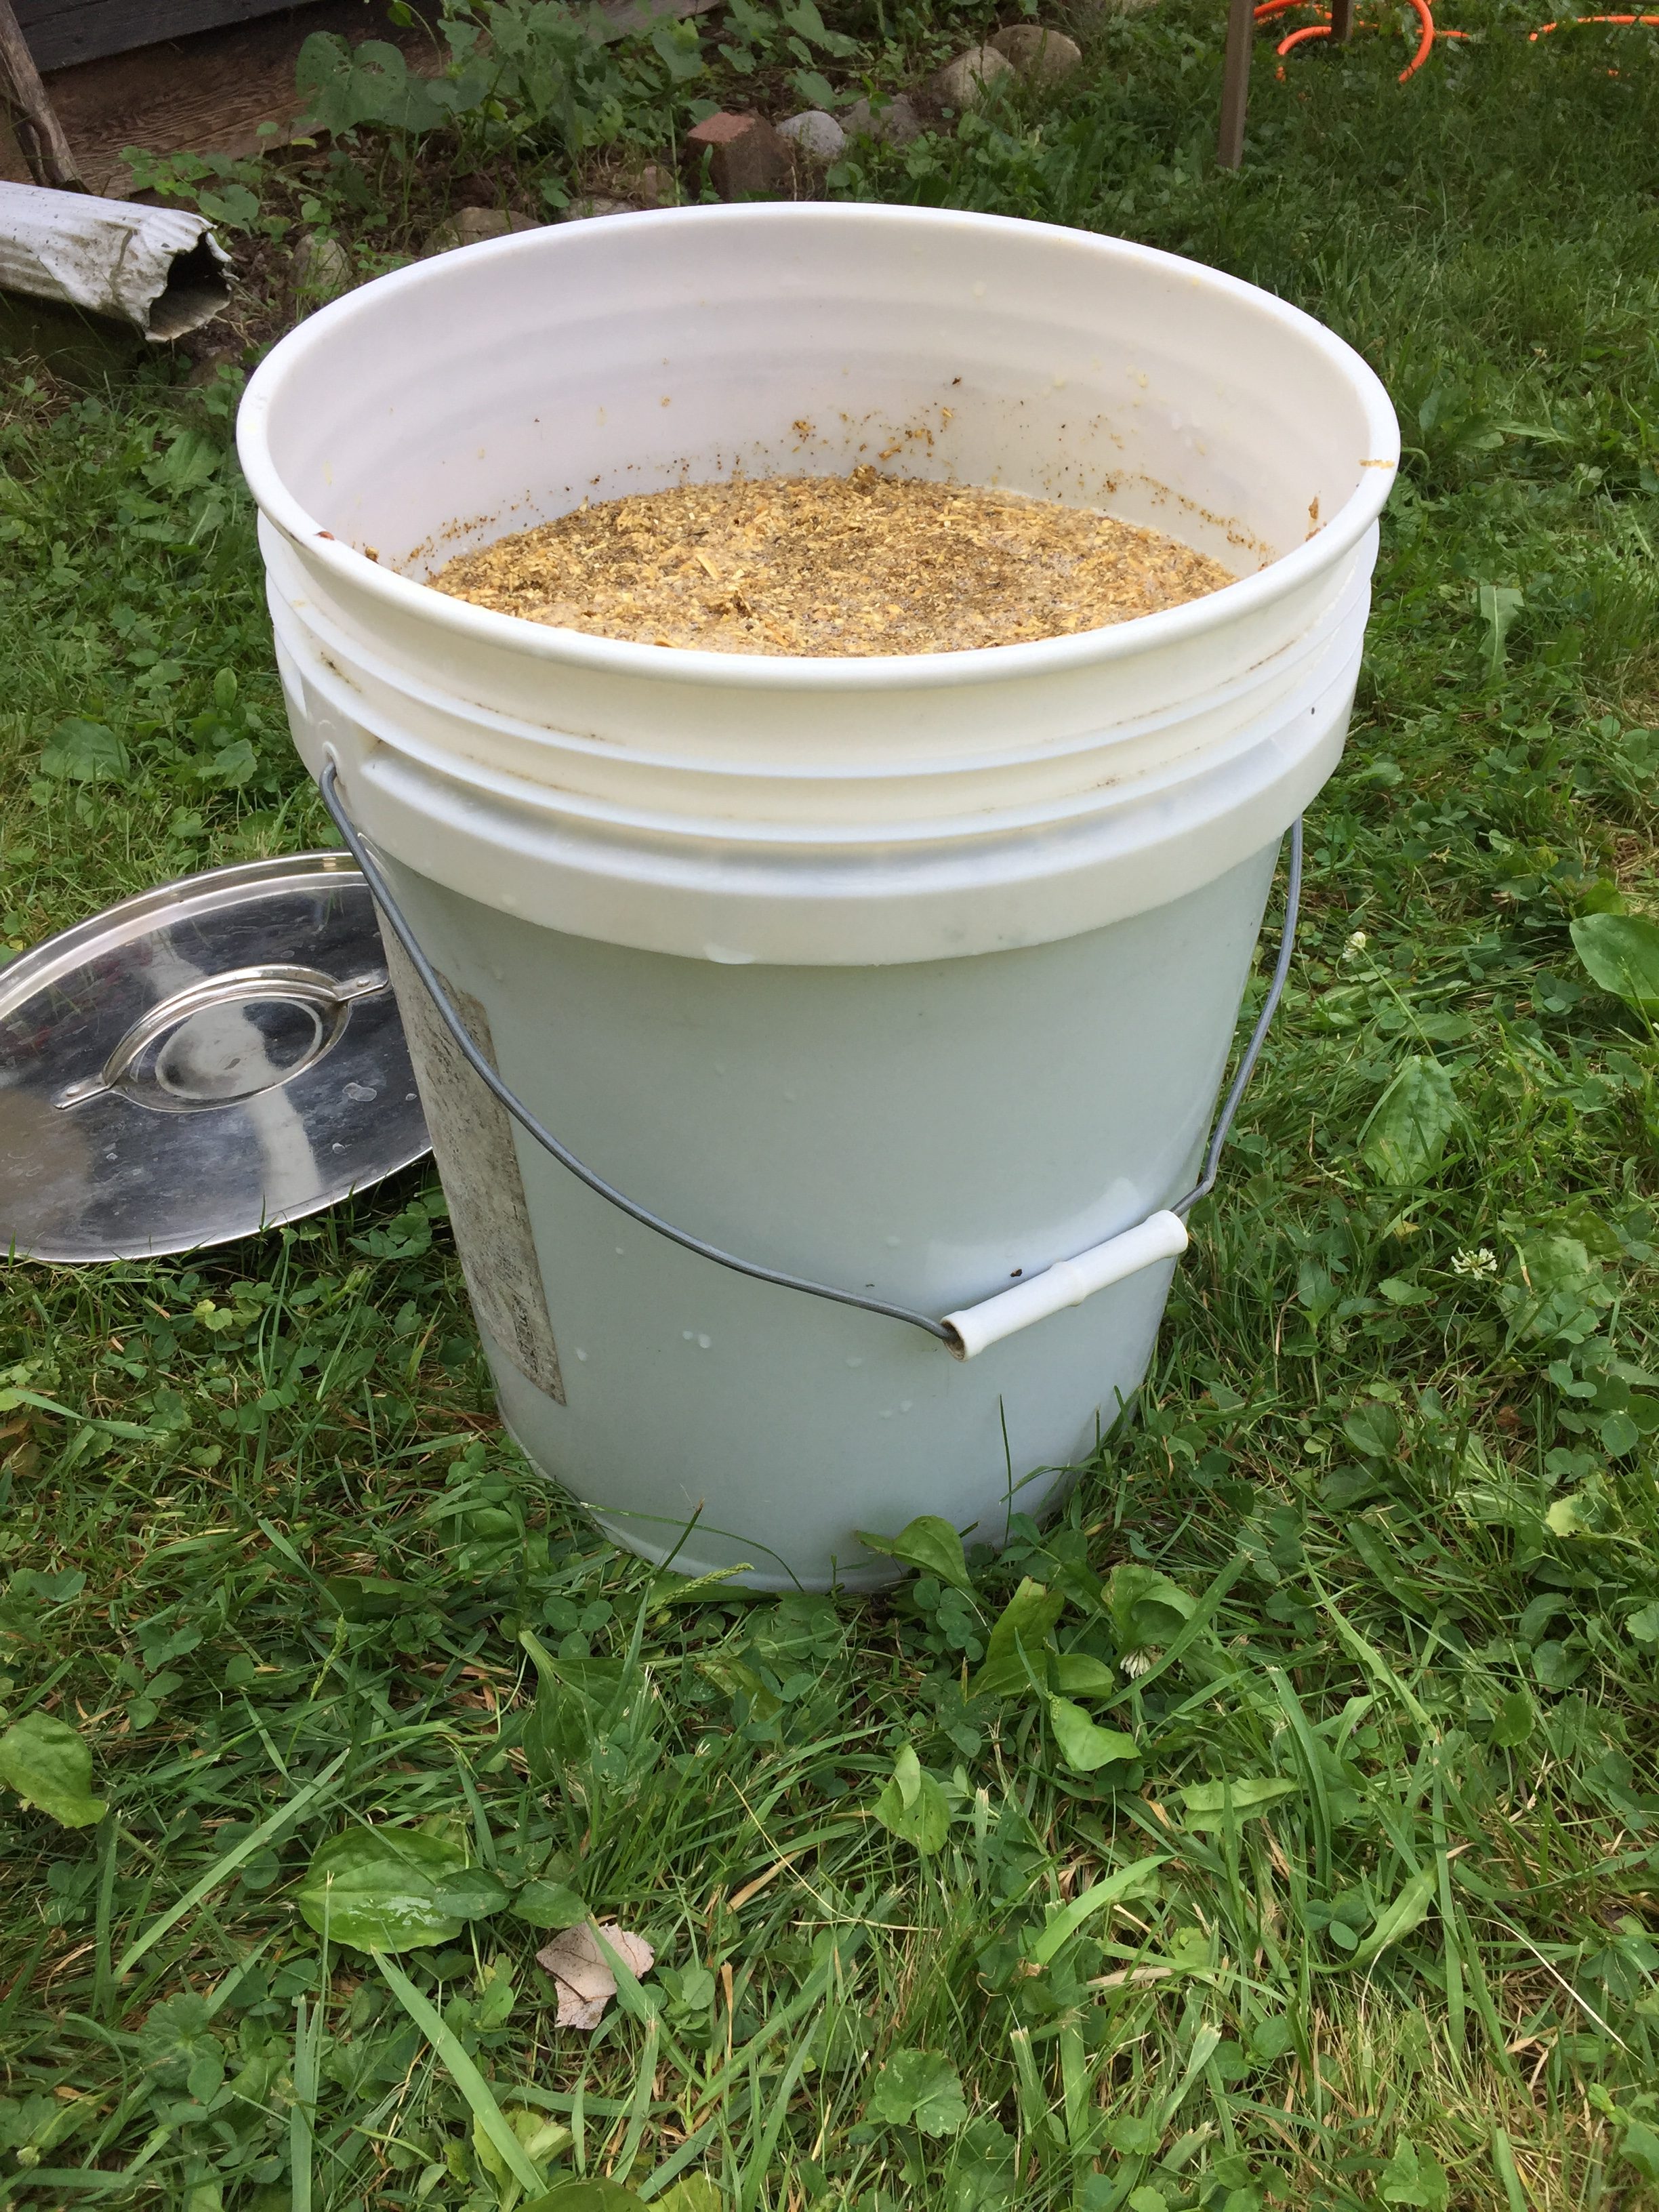
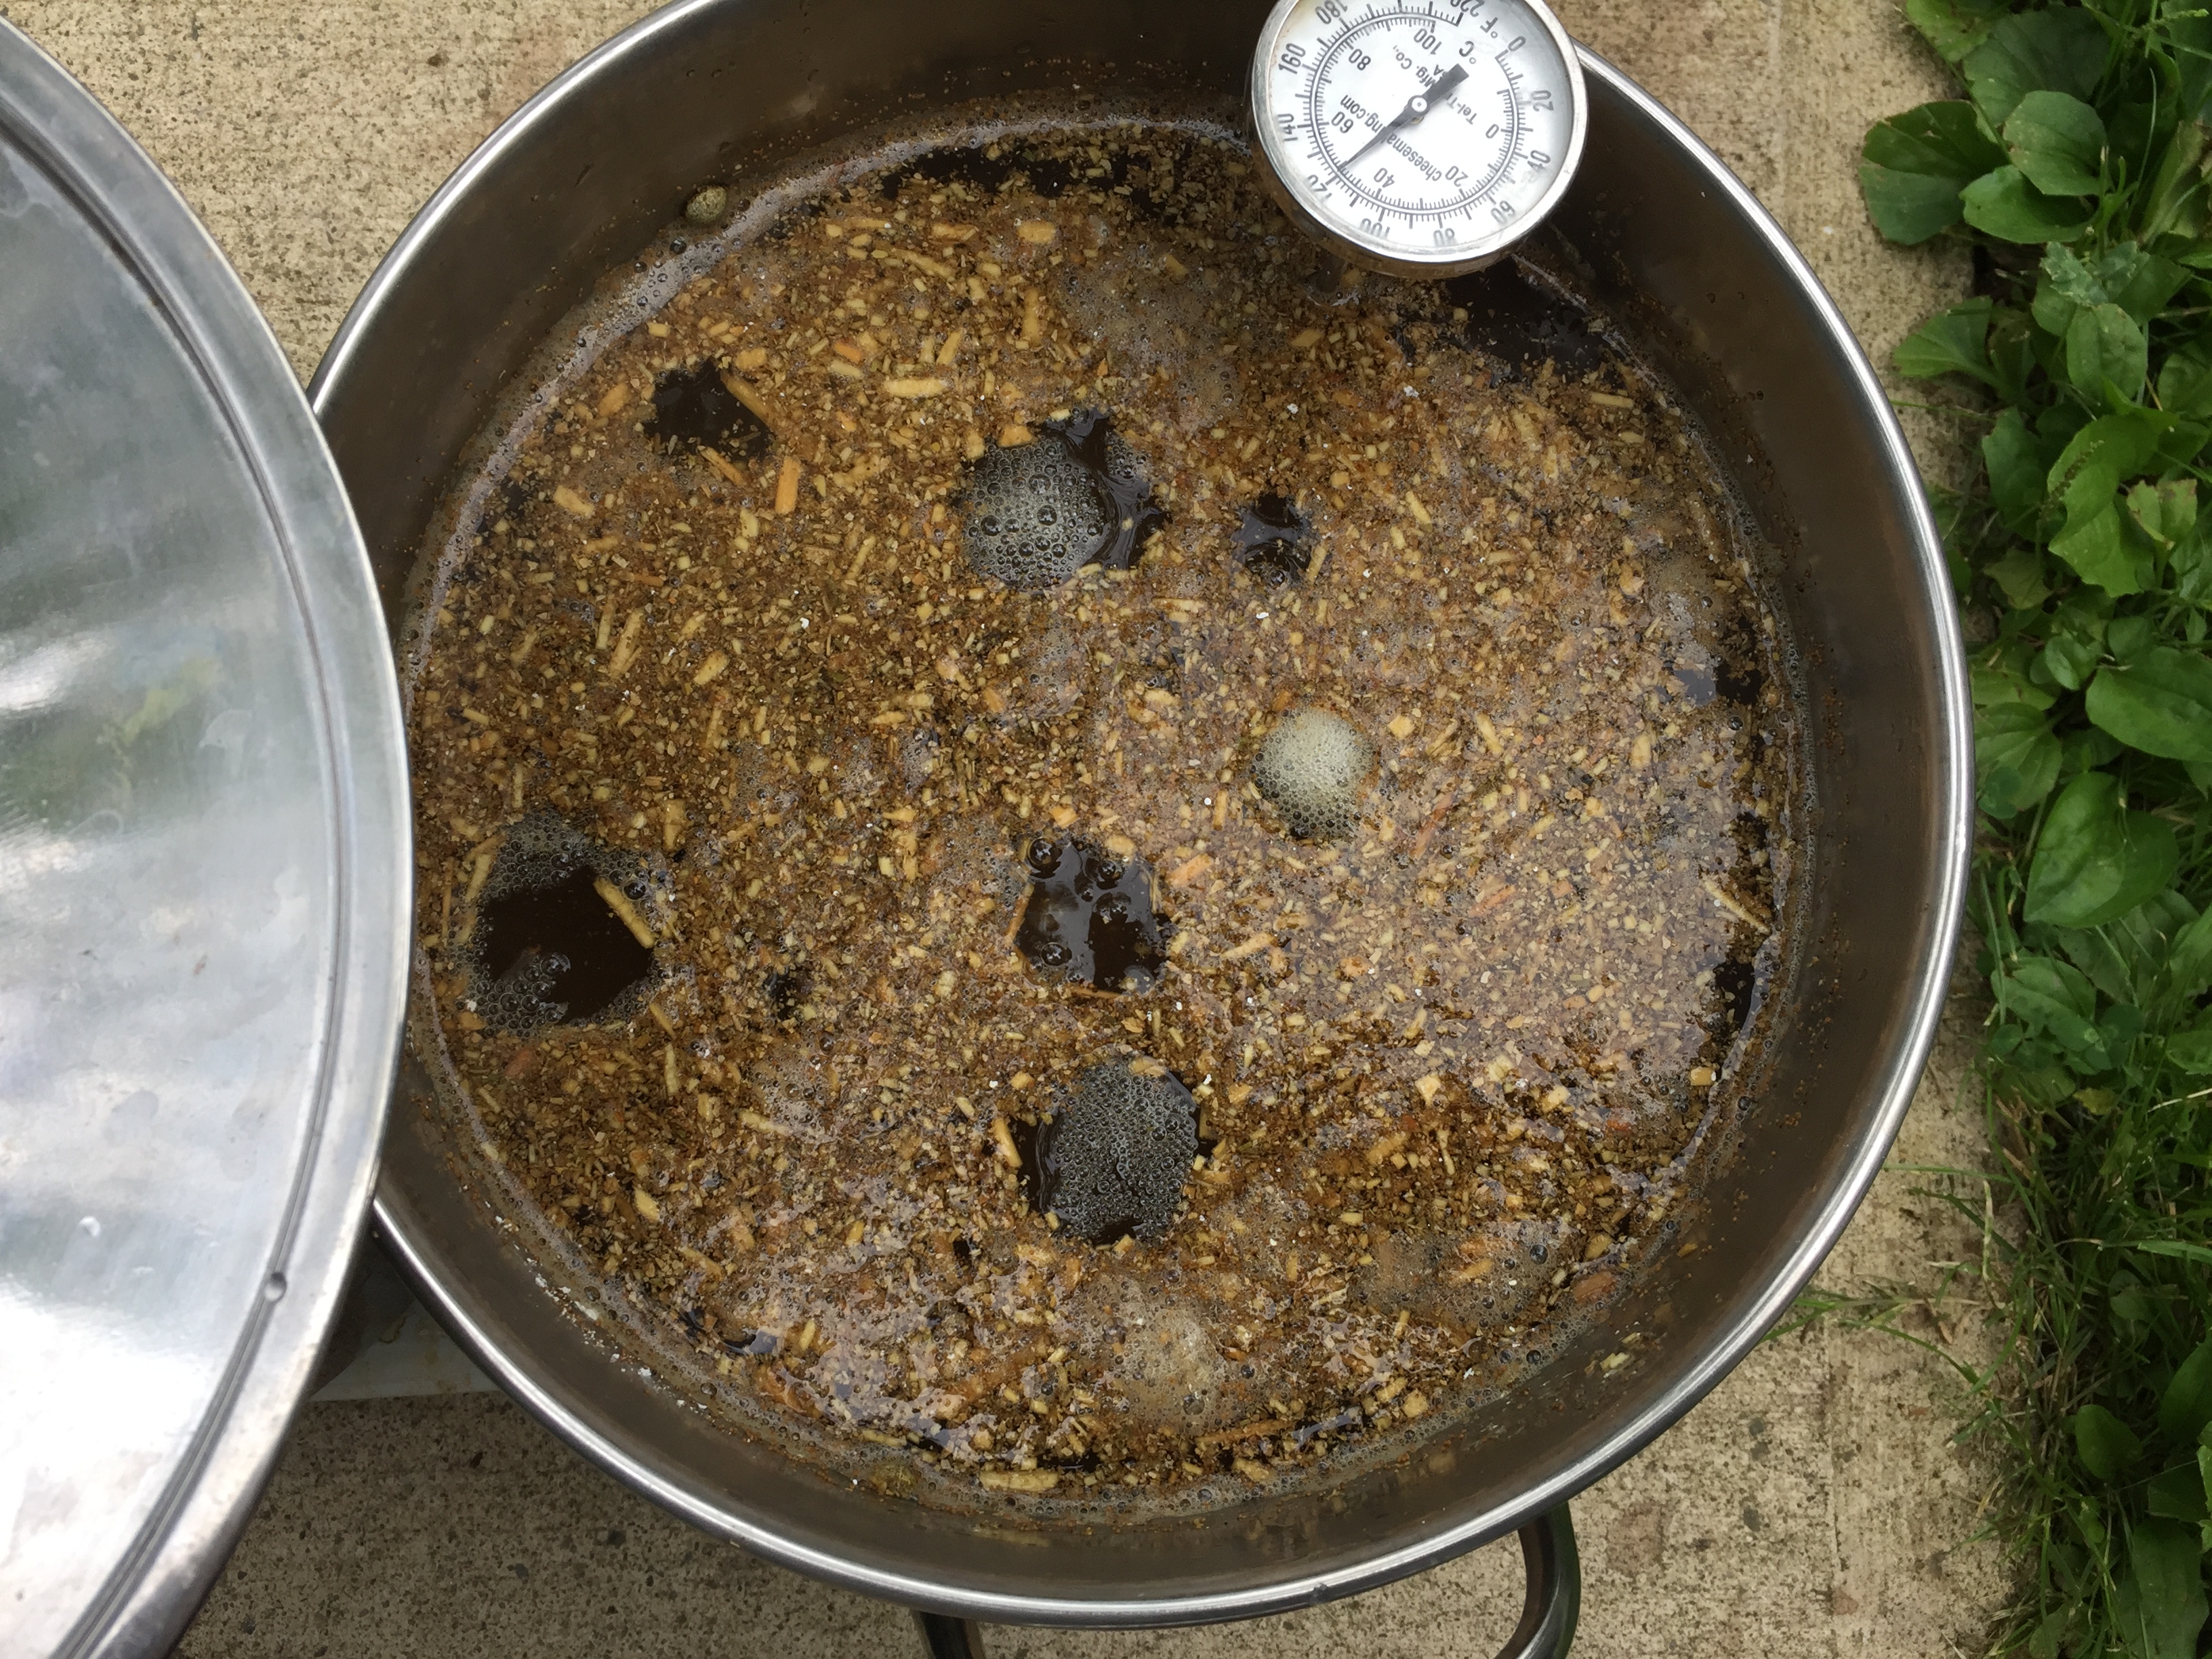
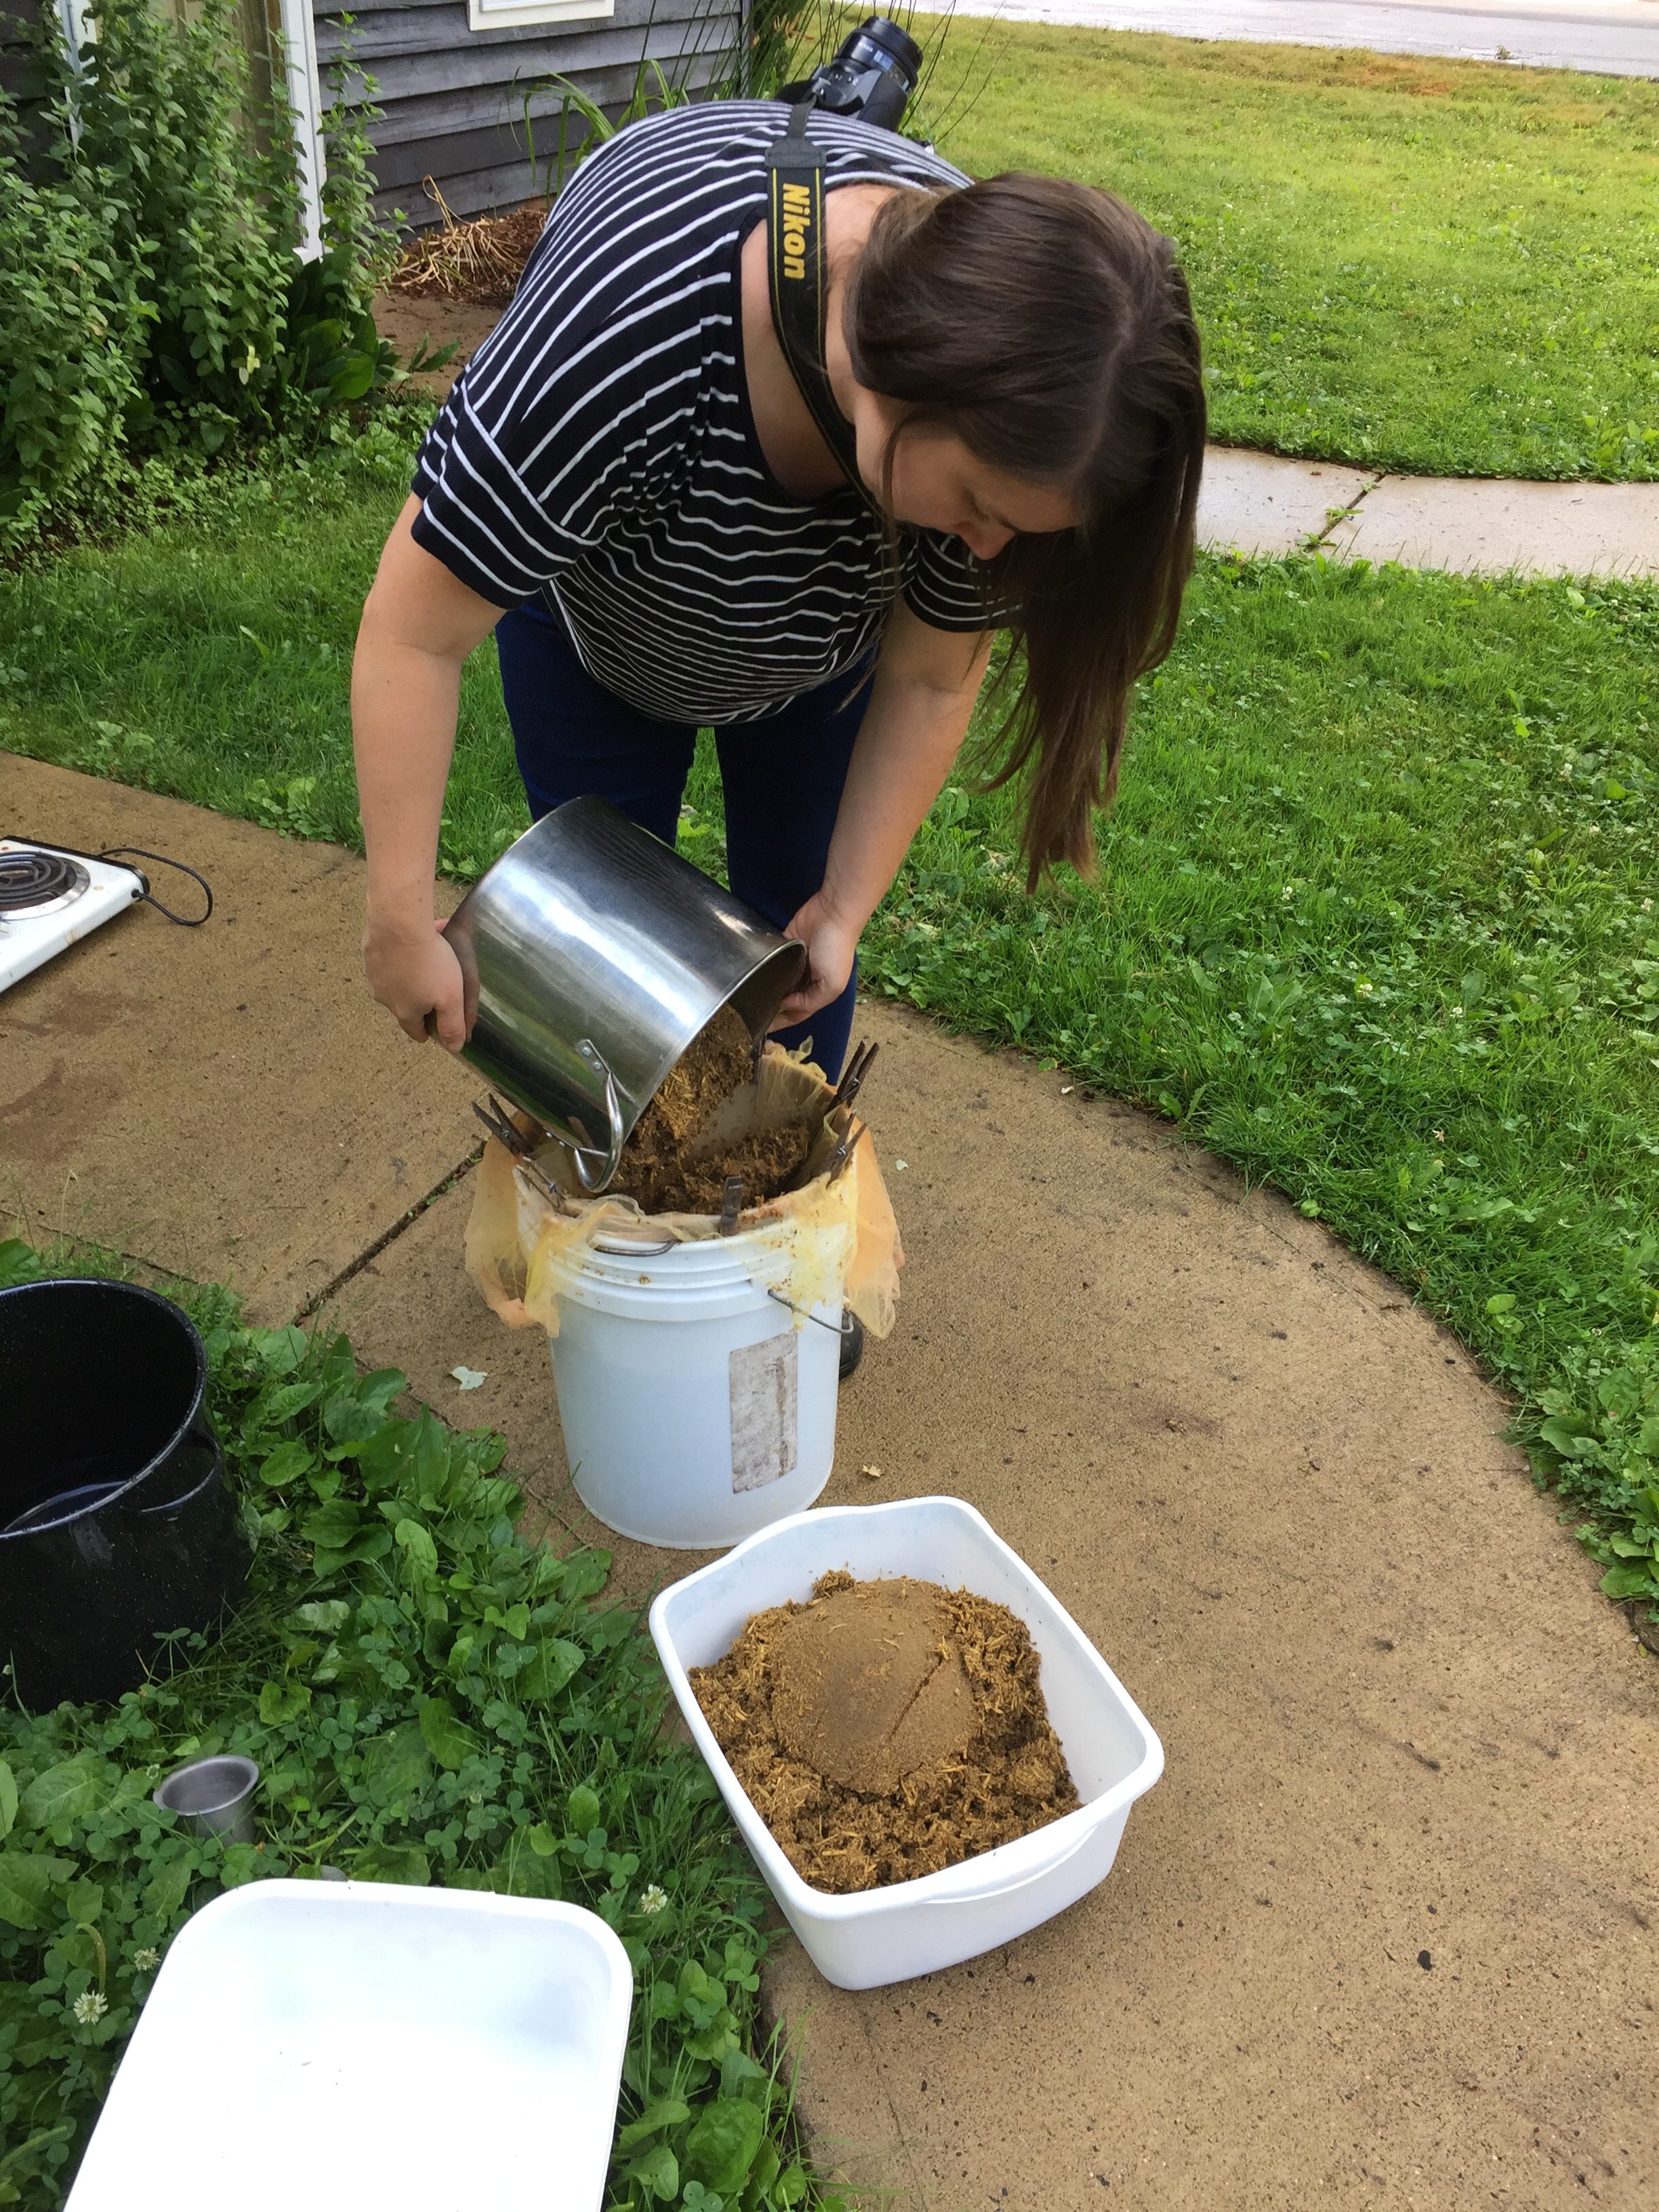
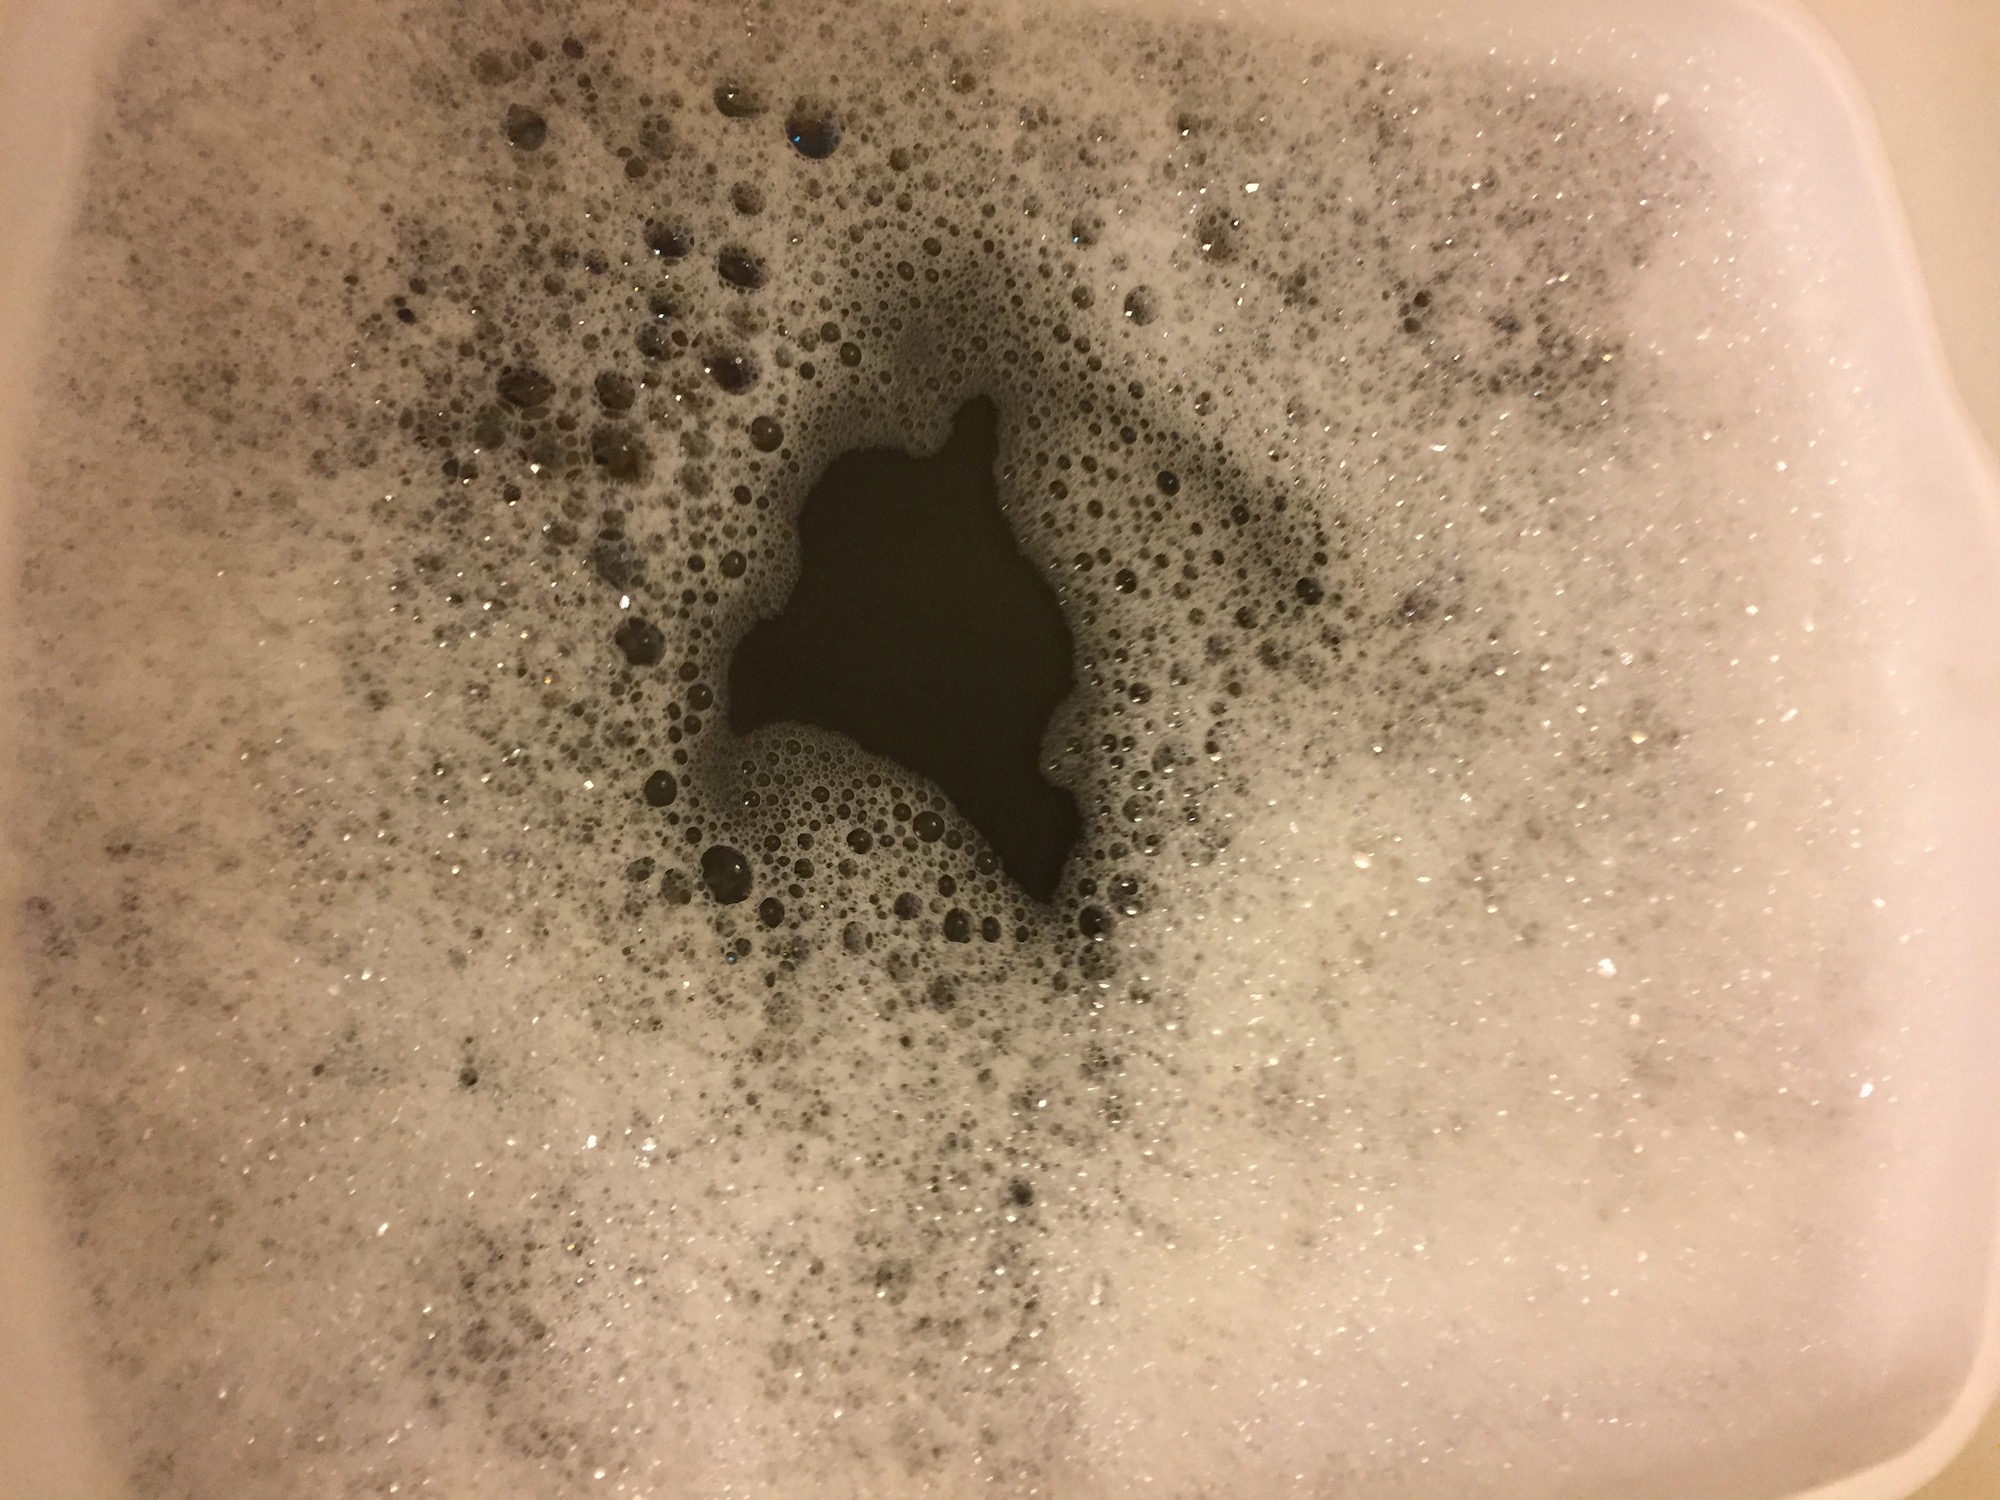
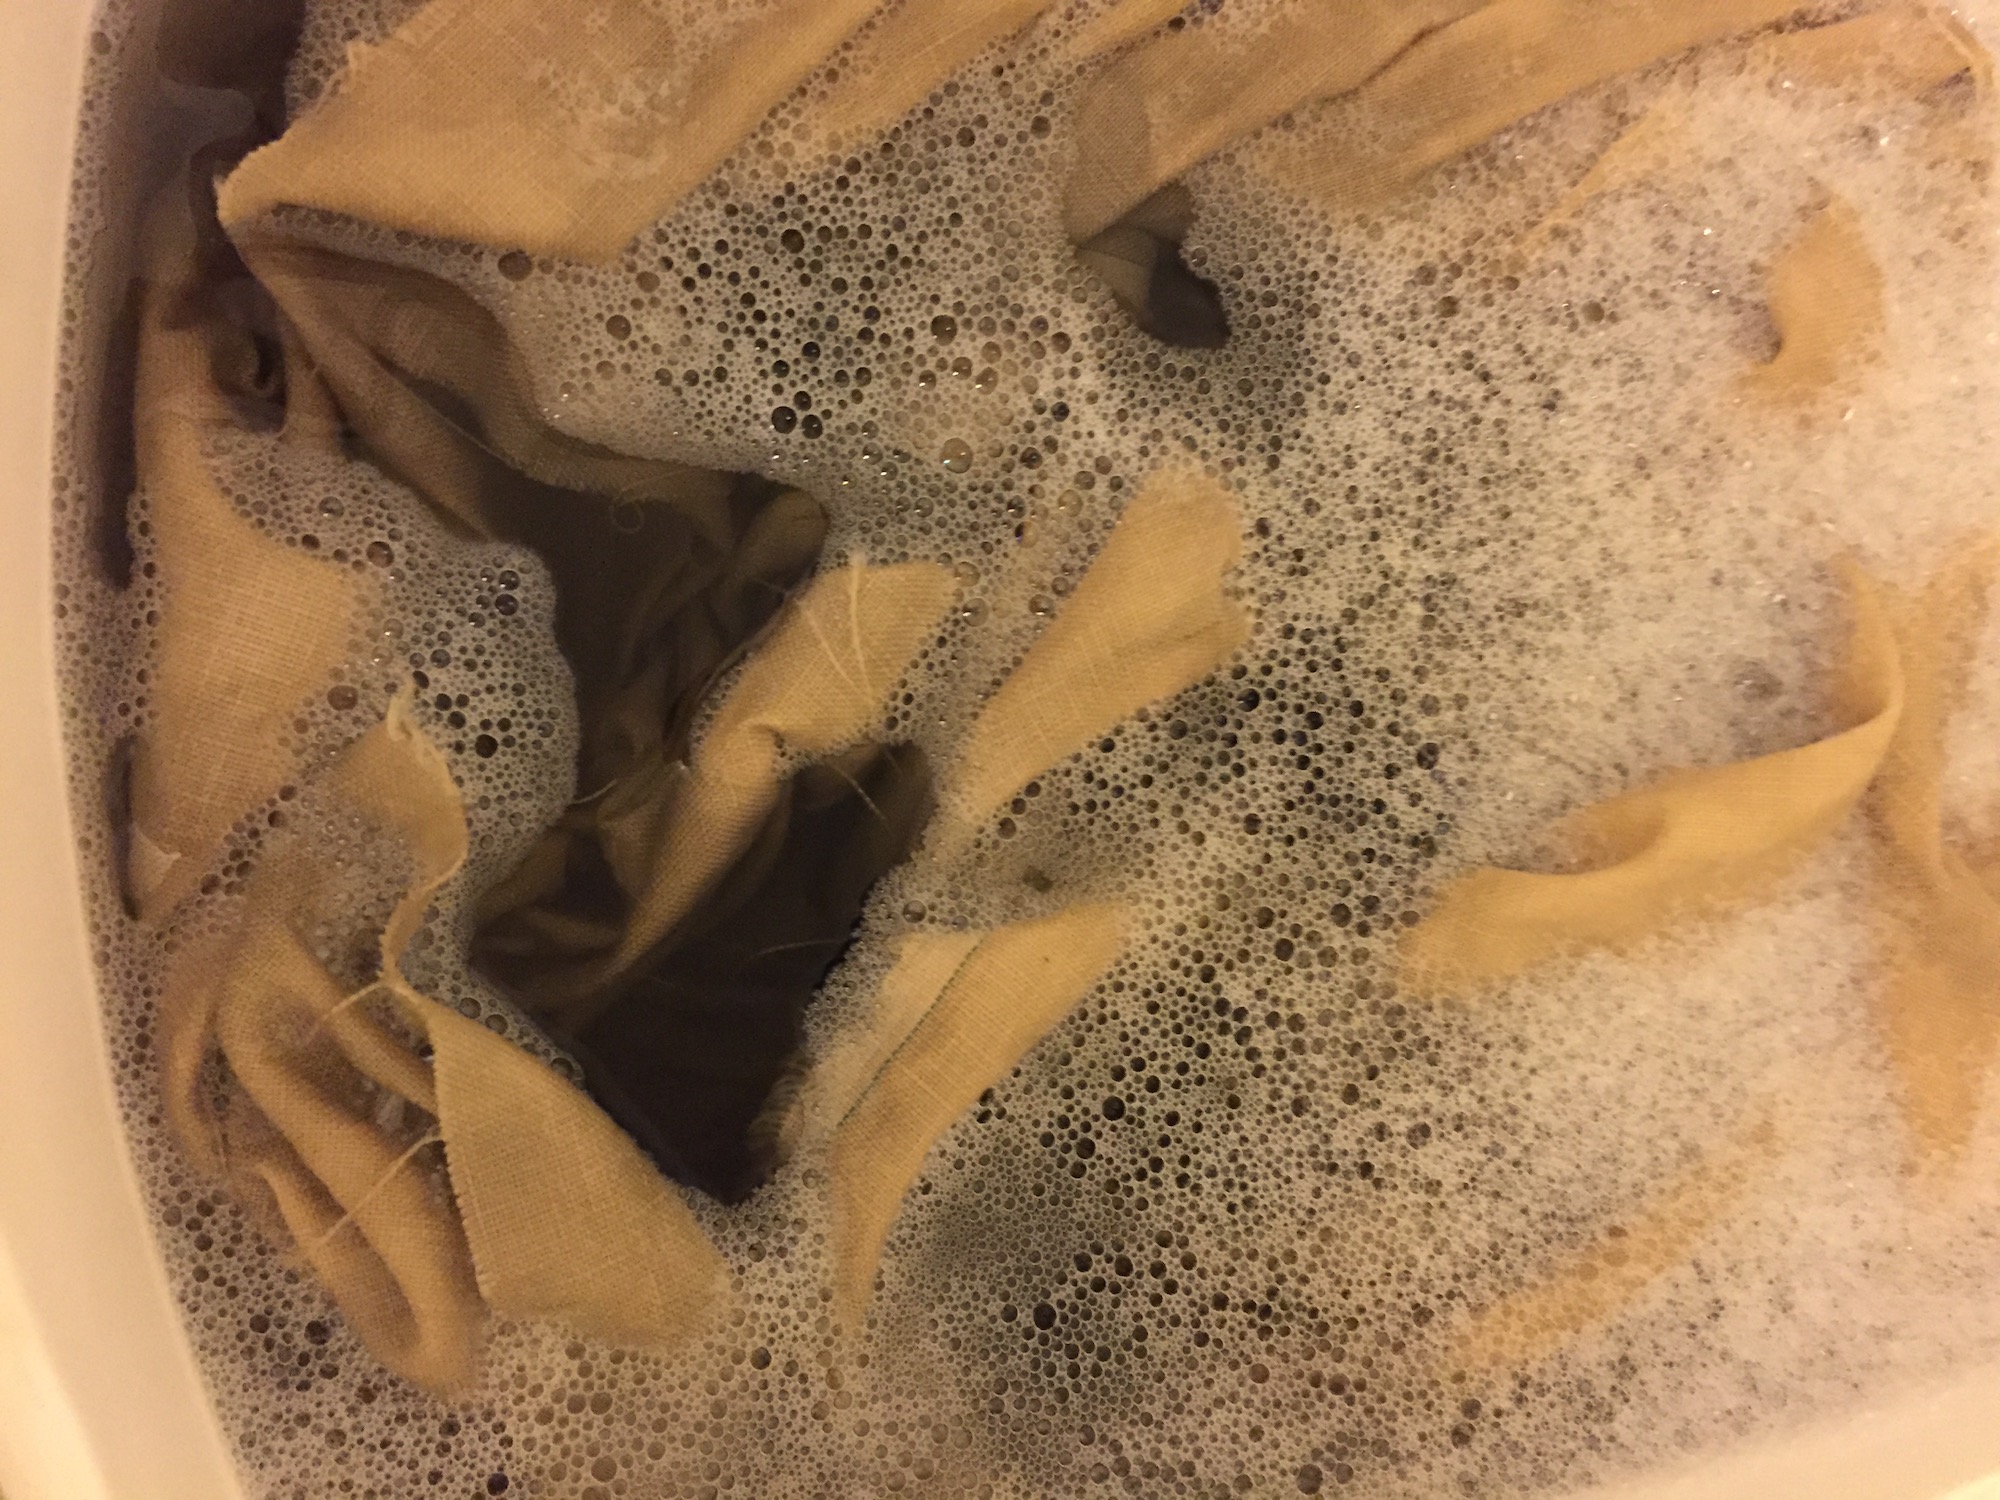
For now, I think I’ll wrap things up with black walnut (Juglans nigra). The green hulls from the nuts of these tall, lovely trees are a rich source of brown. Last year was actually not an abundant year for black walnuts. These were some early drops in August, and after that I didn’t find many mature nuts. Maybe it was the drought or maybe just not a mast year for black walnuts.

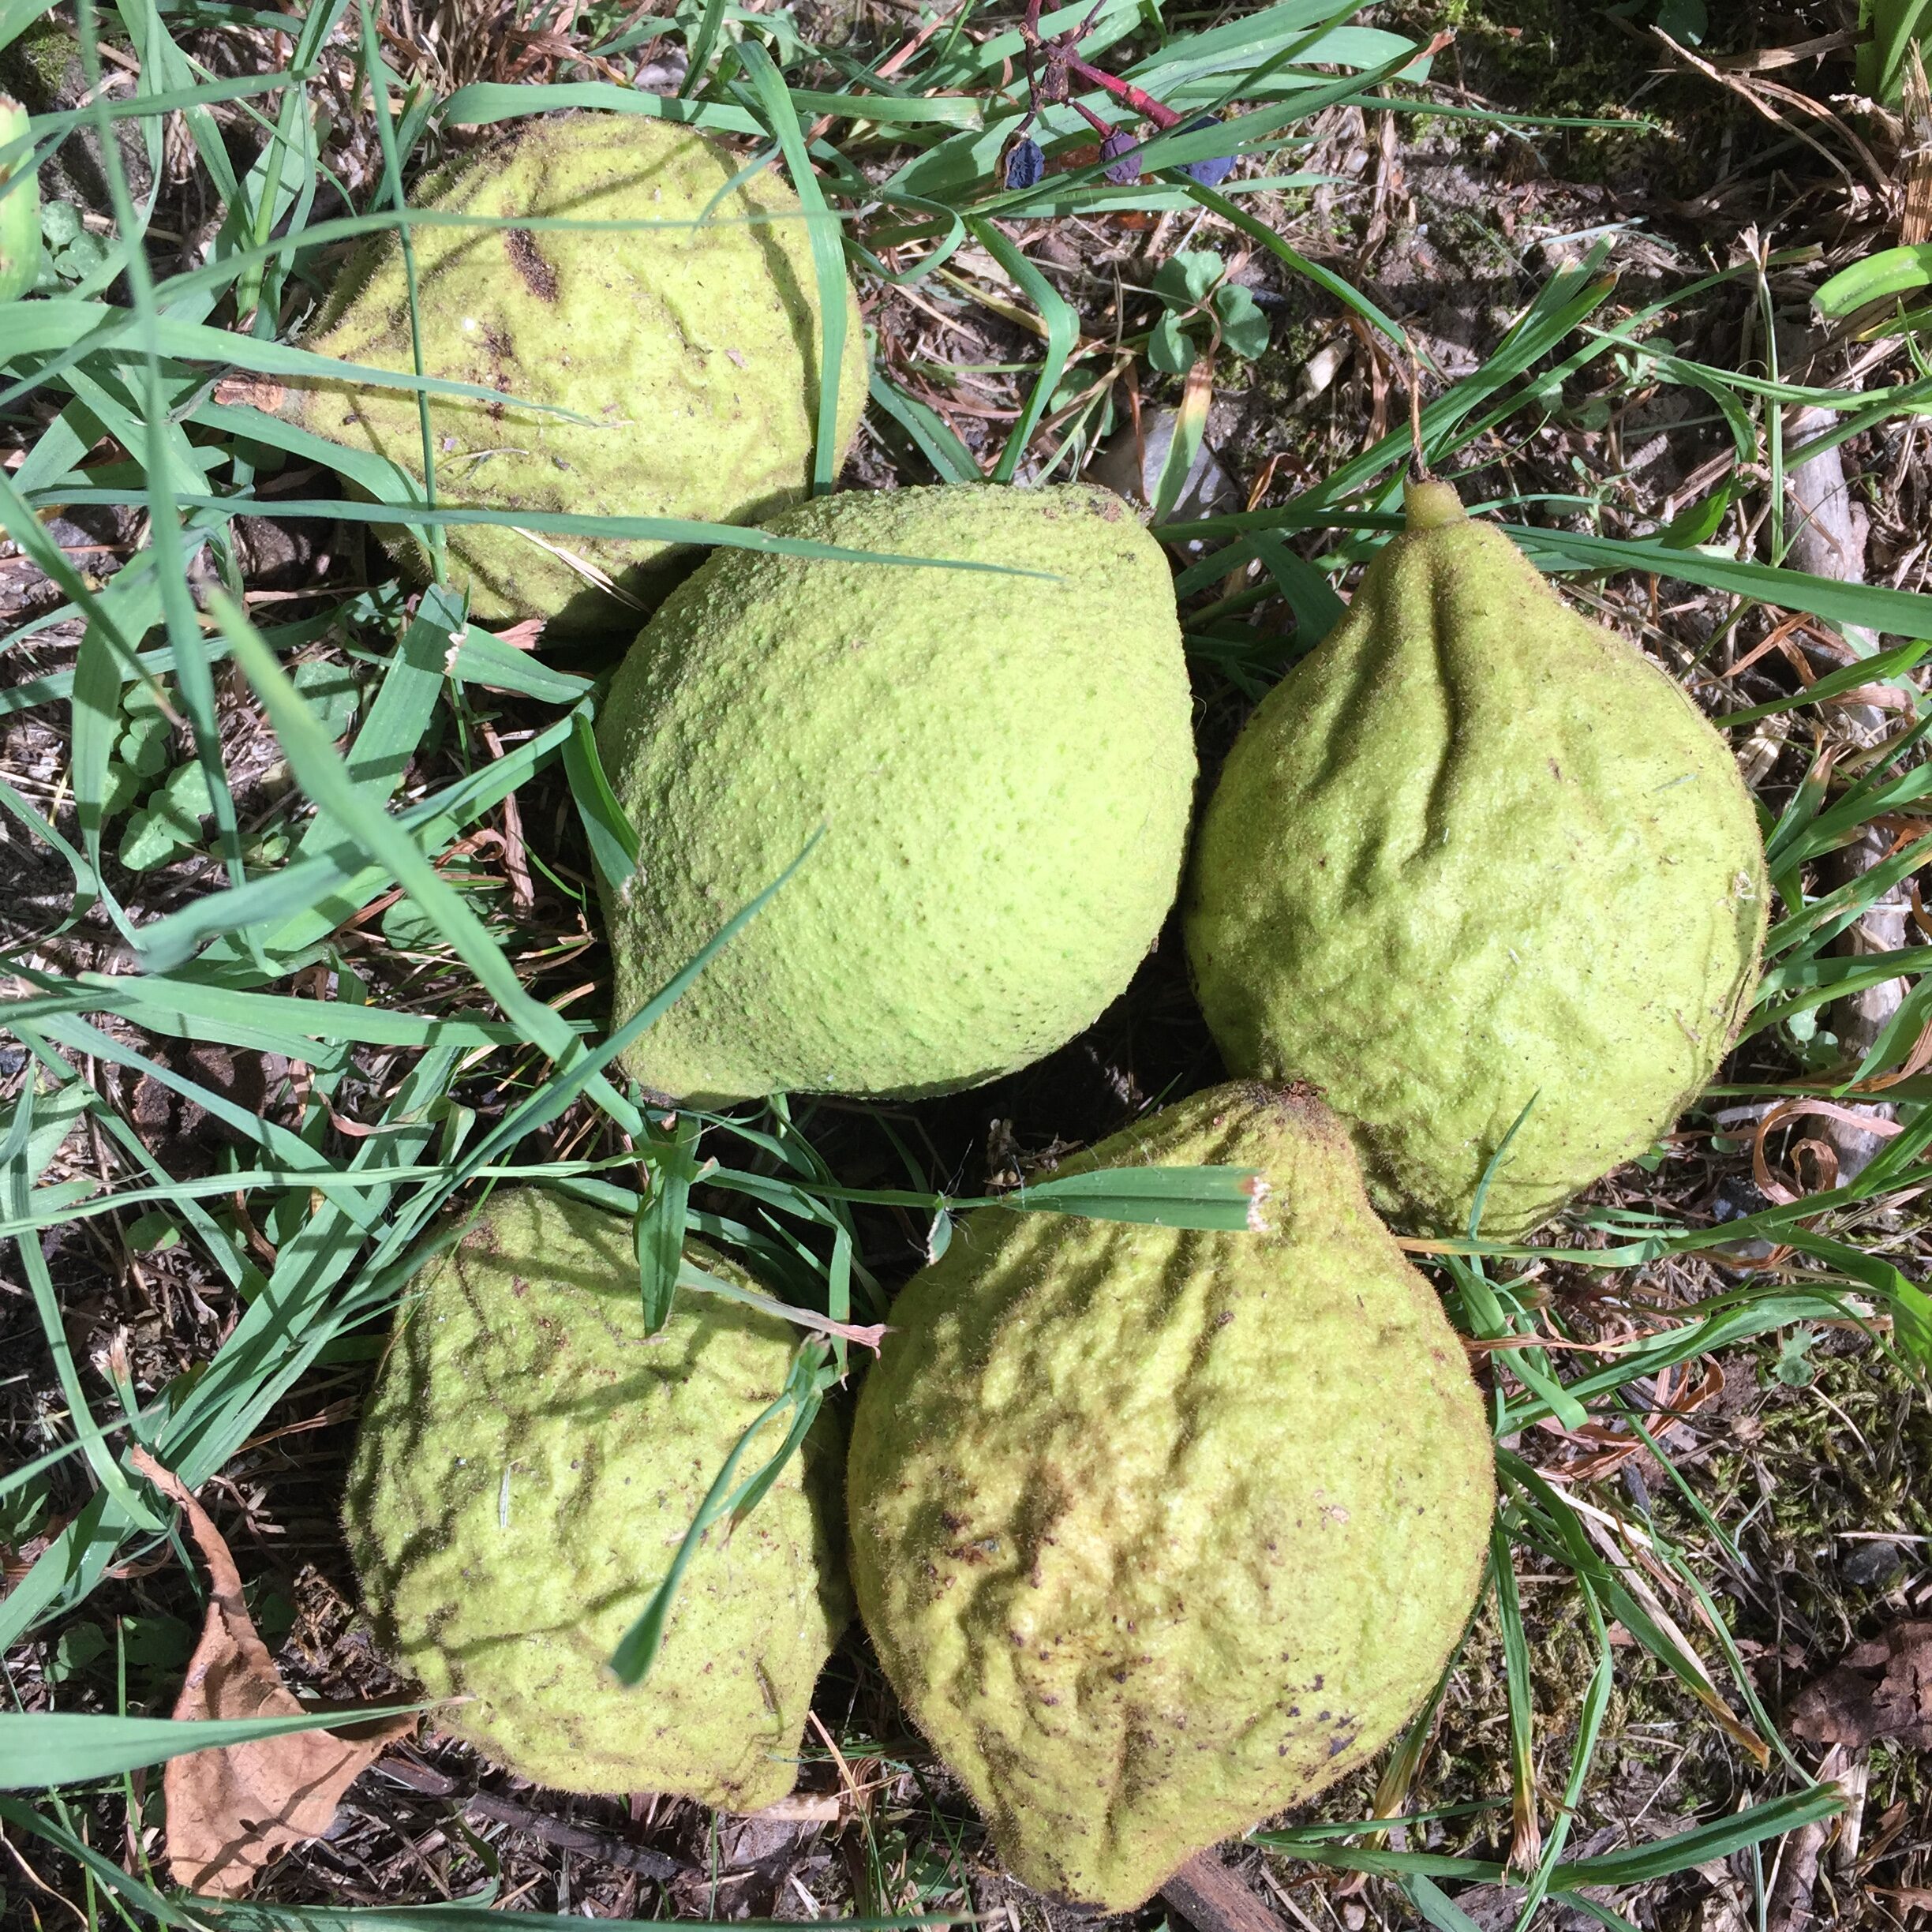
In a more abundant year, I can easily collect a five gallon bucket full from underneath just one tree.

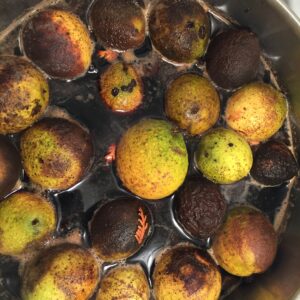
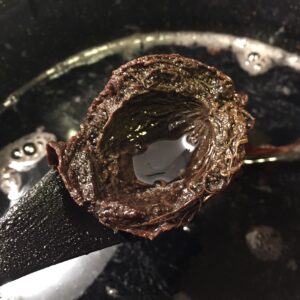
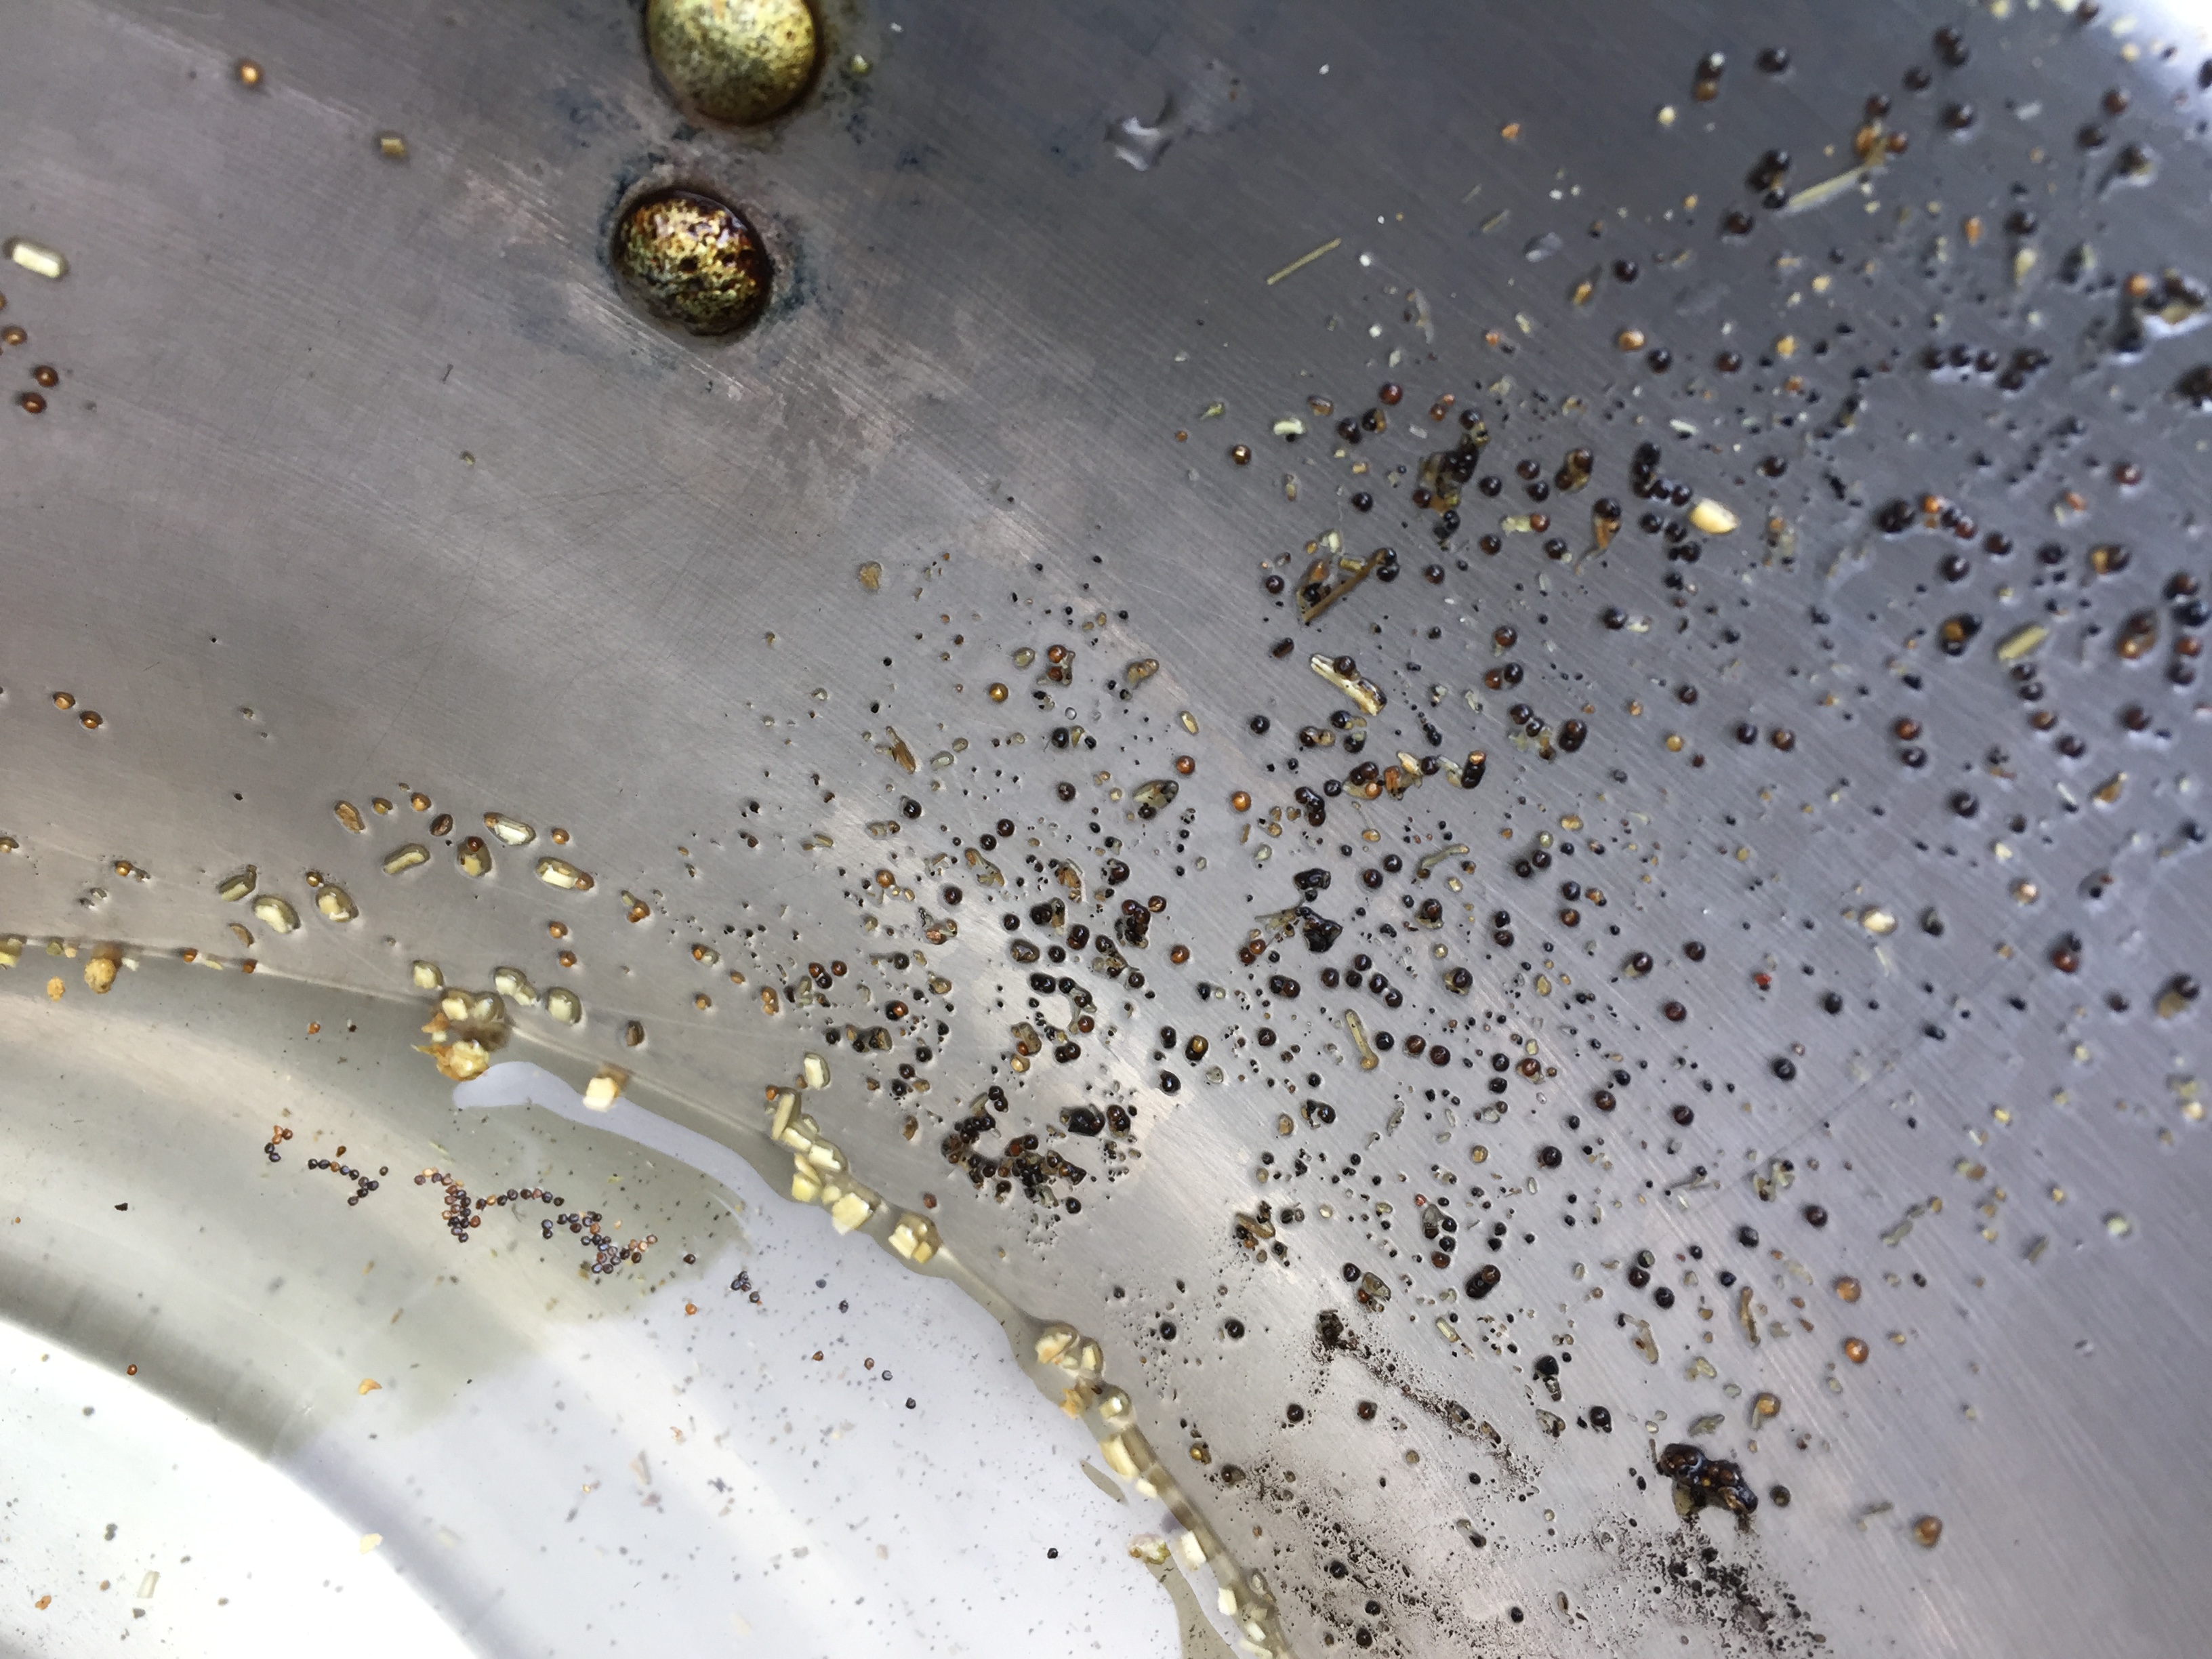
To get the most intense color from black walnut hulls, you have to pick them up promptly and use them while the hulls are still green. They also smell wonderfully fragrant at this stage. If they sit on the ground too long, they start to get soft and black, and teeny little maggots start to grow. I believe that these are either walnut husk flies or walnut husk maggots, but I need to read up more about them. I find them squirmy and off-putting, but I’m sure they have their own lives to live and jobs to do on this earth, so I feel kind of bad boiling them to death.

As Calvin gleefully notes above, one of the treasures that are everywhere are disgusting grubs!

The Woad That (Almost) Wasn’t

Let me just start this post by acknowledging that I might be jinxing myself by writing it. But here goes anyway.

At the end of June I harvested woad seeds. I already have way more woad seeds than any sensible person needs. They are so beautiful I just like to watch them mature, so now I have even more.

A couple days after that, I dug over the bed, added compost, and planted more woad. In the same bed. Yes, I do know better than that, but I did it anyway. I hadn’t done a good job of planning out the location and rotation of the various beds this year, and all the other beds were full of other things. Even in a small garden, rotating beds is important. Crop rotation helps to keep the soil nutrients from getting depleted (because different plants have different nutrient demands) and helps to interrupt disease and pest cycles.

So, my first mistake was to plant woad, a nitrogen guzzling brassica with a host of possible diseases and pests, in the same bed two years in a row. I thought the compost would help with the nutrient issue, and hoped for the best.

The best did not occur. I got excellent germination, then the seedlings just disappeared overnight. Poof! Alien abduction! Or fairies. I replanted several times. Same problem. Having made my “bed” so to speak, I now had to figure out how to make the best of a bad situation.

We had an extended dry spell in the spring and early summer, then in July we had some very hot weather. I thought the seedlings were drying out in between waterings. So, on July 18th I rigged up a little shade canopy with heavy-weight row cover.

I left the bottom open for air circulation and easy watering access. I increased my watering schedule from once a day to twice a day, morning and evening.

This did not solve the problem. Someone on my Instagram account commented that critters might be eating the seedlings. There are many, many rabbits this year, and they certainly might like a little nibble of tasty woad. OK, I do not actually know if it’s tasty, I have never tried it. But it’s a brassica, so it’s probably yummy to a bunny. Woad microgreens, even. A delicacy.

I moved the thicker row cover down to make a “fence” around the bed, and used clothes pegs to cover the top with lighter-weight row cover for shade. I continued with the twice-daily watering.

You’ll just have to imagine the row cover on top because for some reason I never took a photo of it.

This strategy did not help either. Successive re-plantings were still dying off.

At least now I could rule out rabbit-nibbling. And I could rule out drying-out. There is no way the bed was drying out between waterings. In fact, it was very moist in there.

One disease I have encountered before with woad is club root, so I pulled up a few plants to see what the roots looked like.

Nothing too weird-looking there. So, probably not club root.

On August 3rd I was able to see the dying seedlings in the process of their demise. Here are some images of their sorry state:

Finally, I consulted the farmer who manages Bramble Hill Farm, Hans Leo. He suggested damping off, which is caused by a variety of molds and fungi in the soil.

Well, damping off made a lot of sense. I had inadvertently worsened the situation by making a hot, humid tent in which there was no air circulation. Recommendations for avoiding damping-off include allowing the soil to dry off between waterings, and having plenty of airflow.

Hans recommended spraying with chamomile tea to help the plants fight off the pathogen while they were small. Once plants get bigger, they are more resilient.

In fact, the few plants that had survived the seedling stage were doing great. You can see some big, healthy woad plants in the otherwise empty bed:

So, I brewed up some chamomile tea. Several years ago I was gifted a box of fancy dried chamomile, but hadn’t made much of a dent in it. Clearly this was its intended purpose!

I got a spray bottle.

I took off all the row cover. Here’s the newly unwrapped bed on August 9th:

I started spraying the seedlings every morning after I watered, and reduced the watering to once a day. I replanted once again. Here are some seedlings emerging on August 12th:

And here they are, not dead yet, on August 14th!

I am cautiously optimistic that the woad will actually grow to maturity!

If You Give a Mouse a Towel

If you give a mouse a towel, it will chew it up and make a nest. Then it will eat your flax seeds. Here’s how it happened.

Last year I grew a flax type called Suzanne. I’d never grown it before, and I planted too densely. It came up very crowded and the stalks were incredibly thin. That’s not necessarily a bad thing for fiber flax, but it wasn’t my plan and there were some negative side effects, such as lodging due to spindliness and early death of many stalks due to nutrient and water deficiency.

I harvested what seemed useful, and dried it and stored it. I will have to document the harvest in another blog post. All winter the flax lived in the back of the car, wrapped up nice and snug. It’s a relatively safe and out-of-the way place, until March rolls around and you want to collect 12 fleeces from Peggy Hart for a Western Massachusetts Fibershed project. Then the back of the car is no longer out-of-the-way. It’s prime real estate.

So, I moved the flax into the shed, despite the fact that it was still full of seed heads that I hadn’t removed. I told myself it would be OK, it was only temporary. I’d be skirting those fleeces in no time, and then the seedy flax would return to the relative safety of the car. No problem.

This was in March. Then, boom, COVID-19. School and everything closed. Time got all wonky. I was suddenly trying to teach 1st and 2nd grade via the internet. Skirting fleeces was not a thing.

Fast forward to April 12th. I went in the shed to get something else, and noticed suspicious mouse-eaten flax seed debris and mouse poop on top of the wrapped-up Suzanne from 2019. Yikes.

So I yanked it out without any photo-documentation of the mess. A verse of a song popped into my head that I’d written for myself years ago (I am not a song-writer) as a personal I-told-you-so.

“Don’t store your flax with the seeds on, for it will attract lots of mice. They’ll get fat on the seeds and leave tons of debris. Don’t store your flax with the seeds on.”

My usual flax-seed removal method is what I have dubbed the wine bottle or beer bottle method. It works equally well with any large glass jar or bottle. I got to work immediately, despite the dwindling light of the afternoon. I spread out a sheet on the front walk.

When I do this step, I keep the bundles tied together but splay out the tops so I can crush all the seed bolls by rolling and pressing with the bottle.

There was a lot more mature-looking seed than I’d expected. So, I was happy to be finally getting around to removing the seeds (traditionally called rippling), even though the timing wasn’t ideal.

I managed to get the seed bolls off about one third of the crop before the wind picked up and started whipping the sheet around and tossing all the seeds, etc. onto the lawn. Time to stop.

The bag next to me that says “Woad 2015” is actually full of flax seeds and chaff now, and will need to be winnowed eventually.

I was too busy to do any more work on either the flax or the fleeces until April vacation finally arrived. I set up an indoor space to skirt fleeces at my school, and spread out a big tarp on the ground to keep the floor clean. The tarp had been stored in the shed, rolled up neatly. The shed same shed that contained the towel and the mouse.

This was inside:

The pink stuff is from the towel. The jute is from twine. I’m not sure what the white material is, but it’s probably row cover. It looks very soft and warm indeed. Here is a close-up.

What an industrious and resourceful mouse.

250th Post!

This is my 250th blog post. It feels momentous. As I anticipated this post, I tried to decide whether I should write something just about the momentousness of the occasion, or write a post that will help me catch up on the backlog of topics that I’ve been meaning to write about. I read back through some of my earliest posts to ponder the best course.

My very first blog post was about black walnuts, but it’s too early to be using those just yet. My second post was about weld. I recently used weld for my Smith College Botanic Garden project, so that gave me a “full circle” sort of feeling to mark the occasion. Weld it is. Me and weld, we go way back.

Ironically, for the Smith project I did not use my own weld. I have been growing it for years, and saving my own seed for years. However, for this project I didn’t want to blow my whole stash on one project. So, we ordered weld from Aurora Silk because they had a volume discount on 5 lbs., which is what we bought (and used).

I had to laugh at the description on their website: “Weld smells delicious, like honey, and bees love the flowers.” It is absolutely true that while the plant is blooming, bees love the flowers, and that the flowers smell amazing. Dried, it is another matter entirely. And this was the stinkiest weld I have ever smelled!

As with the madder that I wrote about in my last post, we set the weld to soak in a 5 gallon bucket on July 10th. We soaked 51 ounces of finely chopped weld. That’s just over 3lb. We didn’t have the wool gauze in hand yet, so I wasn’t using all the weld that week. Still, it was a lot by my standards. Here’s the bucket:

I took a closeup photo of the surface. I couldn’t believe how many seeds there were. Well, OK, I could believe it. Weld makes zillions of seeds. The seeds are the glistening black, tan, and yellow spherical dots on the surface, because they float:

Because I am who I am, I had to try germinating some of these seeds. They were easy to separate from the rest of the plant material:

Yes, some of them grew.

I now have Anatolian weld plants to add to my dye plant collection. I do not know whereabouts in the world my original plants came from, alas. It’s actually getting a little late in the season to put these in the ground, so we’ll see what happens.

The weld soaked overnight. As with the madder, I extracted it twice on Thursday. Again, I divided the plant material into two or three pots. Here’s the first extraction heating up on Thursday morning July 11th:

Here’s Sarah on Friday morning helping me to strain out the plant material from the second extraction:

I typically add chalk and soda ash to weld for maximum oomph, so that’s what I did. Even though weld makes fantastic yellows in its own right, this time I was using it to make two secondary colors, green and orange. For the orange, I combined half of the weld bath with half of the madder bath. I guess I took a photo of the linen on Friday afternoon, but not the silk for some reason:

FYI, I prepped the linen and the silk for the orange bath just the same way that I prepped them for madder, which I wrote about in my last post. The linen was scoured, treated with chestnut tannin, then mordanted with aluminum acetate. The silk was just washed and mordanted with aluminum sulfate.

For making green, I had decided to dye the linen and silk blue first in the woad vat that we ran on Wednesday July 10th. For many years I have had good success dyeing woolen yarns blue first, then mordanting and dyeing them with yellow to make green. I have had much less success with linen or cotton using this method. Catharine Ellis’ research convinced me that the best way to make deep greens on cellulose fibers and silk was to do the woad dyeing first. All of her blog posts are incredibly informative, but this is the one that shifted my thinking about making green.

So, I dyed the linen and silk pieces in the woad vat on Wednesday July 10th. To prepare the linen for the weld bath, I decided to use gallotannin from Earthues (bought from Long Ridge Farm) since it is a lighter tannin.

There must have been some metal contamination as the cloth sat overnight, because by the morning the liquid was dark and so was the cloth. On some of my dye pots, the handles are attached with rivets.  I’m thinking that the rivets leaked iron or other metal into the tannin bath. At first I was dismayed.

Normally I just rinse cloth with water between each step of the preparation, but I used detergent to see if the gray color would come out of the cloth. This is the color of the liquid when I washed the fiber:

Fortunately, the cloth did lighten up:

I did not save the tannin baths to re-use them as I normally would:

After the tannin preparation, I used aluminum acetate to mordant the linen. I mordanted the silk with aluminum sulfate.

Here’s the weld bath with woad-dyed linen and silk on Friday afternoon. The bath heated up to 180 degrees, maintained for one hour, then steeped the rest of the day and overnight. The pH was 9:

Yes, the silk is yellow and annoying. The linen is lovely. Here they are on Saturday morning. This is the linen:

This is the silk:

Here they are drying on the line on Saturday morning:

Here are the 9-foot pieces from that week hanging on the line on Saturday afternoon once they were all rinsed. I ended up overdyeing the silk pieces in a later woad vat:

Unfortunately, even though that weld bath was rich and luscious, it was so stinky that I couldn’t keep it for long. I ran a couple exhaust baths on woolen yarns with my Summerfun campers the following week at the Common School, but then they voted to throw it out due to its foul smell. It was great while it lasted!

Japanese Indigo Update

So, my attempts to germinate my own Japanese indigo seeds were futile. I kept scrutinizing the tiny little green things that were growing, but none of them seemed quite right. Not pink or plump enough. Eventually I gave up.

Jeff Silberman and Carolyn Wetzel to the rescue! Jeff has been growing Japanese indigo for several years as part of a sustainability project at FIT. Carolyn was driving down to Pennsylvania to teach a lace-making class. Wearing her New England Flax and Linen Study Group hat, she was also dropping off a custom-made flax brake for Jeff made by her neighbor. Gotta love the incredible skills and social networks of the Western MA hilltowns! On her return trip, Carolyn picked up some seedlings for me and dropped them off at our apartment.

At first I was puzzled and a bit dismayed. Dozens of teensy seedlings were crammed tightly together.

I conferred with Jeff. He said that they were very hardy and resilient, and could stand quite a bit of disruption. I used a plastic knife to separate a few at a time.

On June 15th I transplanted them into small pots. I regretted the violence done to the roots. I was literally tugging teensy roots apart with my hands. But after my over-crowded flax experience, I figured it was better to give them room to grow.

I was worried that they would all die of shock. The next morning, though, they looked fine. Here they are on June 16th:

Behind our apartment there is quite a bit of squirrel action. They run amok and tend to knock things over and dig things up, including the Japanese indigo seedlings. So, on June 19th I covered the seedlings with plastic covers in an attempt to protect them. Sammycat inspected and approved the set-up.

I also sprinkled red pepper flakes around the plants. The squirrels had been digging and we hoped that the capsaicin would dissuade them. All the plants got the same treatment (we also grow tomatillos, chili peppers, and a bunch of other plants). It mostly worked. This plant wasn’t so lucky:

Here’s a closer view of some of the other Japanese indigo plants:

I guess I didn’t do any further photo-documentation until they were ready to transplant into the garden bed. The bed I was planning to use had been occupied all spring by the second year woad plants that were going to seed. On July 4th the woad seeds were ripe. I harvested them and cleared the bed for a new crop.

Here are most of the transplanted Japanese indigo plants on July 7th:

Here’s a ground-level view:

There have been a lot of rabbits this year. This photo is from our school garden, but I’m including it because I didn’t manage to photograph the rabbit at Bramble Hill.

The very day that I transplanted the Japanese indigo seedlings, I arrived at the garden to find a rabbit sitting right in the midst of everything! Now, the bunny at the school garden was rightfully scared and hid under the platform.

Not so the bunny at the Bramble Hill Farm plot. Instead of running away like a small creature might normally do when a human comes along, it just shuffled over and settled down under the amsonia like it lived there or something. Cheeky rabbit.

So, I figured I needed to protect the seedlings from chewing. Here was my first effort on July 7th:It was enough to discourage the rabbits, thankfully, but I tightened things up on July 8th:

Eventually we had a hot spell, on top of a long dry spell. At first I left on the row covers thinking it would provide a bit of shade. But on July 18th I figured the time had come to uncover the plants and let them take their chances with the rabbits:

On July 18th the seedlings were looking great:

The rain barrel got low, so I had to deliver water via car, but on July 20th, despite the hot spell, they were thriving. Yesterday, July 22nd, we had heavy rain. The rain barrel is full again. I am optimistic about continued health and growth.

Transplanting Swamp Milkweed

So far this season I have been feeling deficient in my dye and fiber plant growing skills. Here’s a success story, at least thus far (knock on wood).

The swamp milkweed was not faring well in the dye and fiber plant garden at Bramble Hill Farm. As I have noted in earlier posts, that site is not a swamp. It is a dry, wind-swept, hilltop garden spot. I kept felt guilty that I could not successfully fend off the yellow aphids on the swamp milkweeds plants in that location. I finally decided that the plants were experiencing an overall undue level of stress which was making them vulnerable to attack. The responsible thing would be to move them to a wetter spot. So I did.

Here is what one of the plants looks like at Bramble Hill on April 21, 2019:

It was still dormant, so I figured it was OK to dig it up and move it. In the photo above you can see the fibrous tendrils that are still attached to the outer papery skin on a couple of the stalks. Below you can see the same plant but from a little higher up. This is what I sometimes think of as the “nothing to see here” vantage point. Mostly it’s the dandelion that stands out:

The resources I’ve consulted recommend moving milkweed plants either in the fall when the plants are dormant, or in the early spring. I have had good luck moving swamp milkweed before so I was pretty confident it would work. A. incarnata has a wide network of roots, but the plant doesn’t form colonies with long runners like common milkweed does, so it’s easier to be sure that you’ve dug up the whole root system.

Here is what the emerging shoots of another A. incarnata plant looked like on April 21st. They are the small buds with a pinkish-purplish tinge:

Here is the mucky site I was moving them to:

It is the designated mud-play area of our school garden at the Common School. A drainage culvert empties out underneath that wooden platform to the right of the photo, hence the additional water in that part of the garden. Since we have had such a rainy spring, it was still very puddly and wet at the end of April and early May.

Here’s what it looked like once I had dug over a “bed” next to the fence:

The black plastic was left over from our initial lawn-smothering process when we expanded that area of the garden in 2016.

Here is a plant emerging happily on May 10th:

And on May 26th:

As of yesterday, June 17th, the plants were lush and happy:

It has continued to be a wet and cool spring, which is suiting them just fine:

It remains to be seen if they will bloom this year. I have read that milkweed plants may forego flowering if they are stressed after transplanting. Whatever happens this summer, and in seasons to come, I hope they will be happier in their new watery home.

Flax Is Blue!

Well, I was totally wrong in my prediction that Suzanne was a white flowering type. Behold:

Whatever the disappointment and heartaches that befall, I love flax! I am so happy to be celebrating this next phase of the life cycle. Blue flowers!

In the dim light of a cloudy morning, I could not convince my phone that the crinkly purplish-blue flowers were deserving of focus, hence the inclusion/intrusion of my crinkly skin. The photo function on my camera seems to find my skin more recognizable than a flower amidst a sea of green.

Here’s the sea of green: