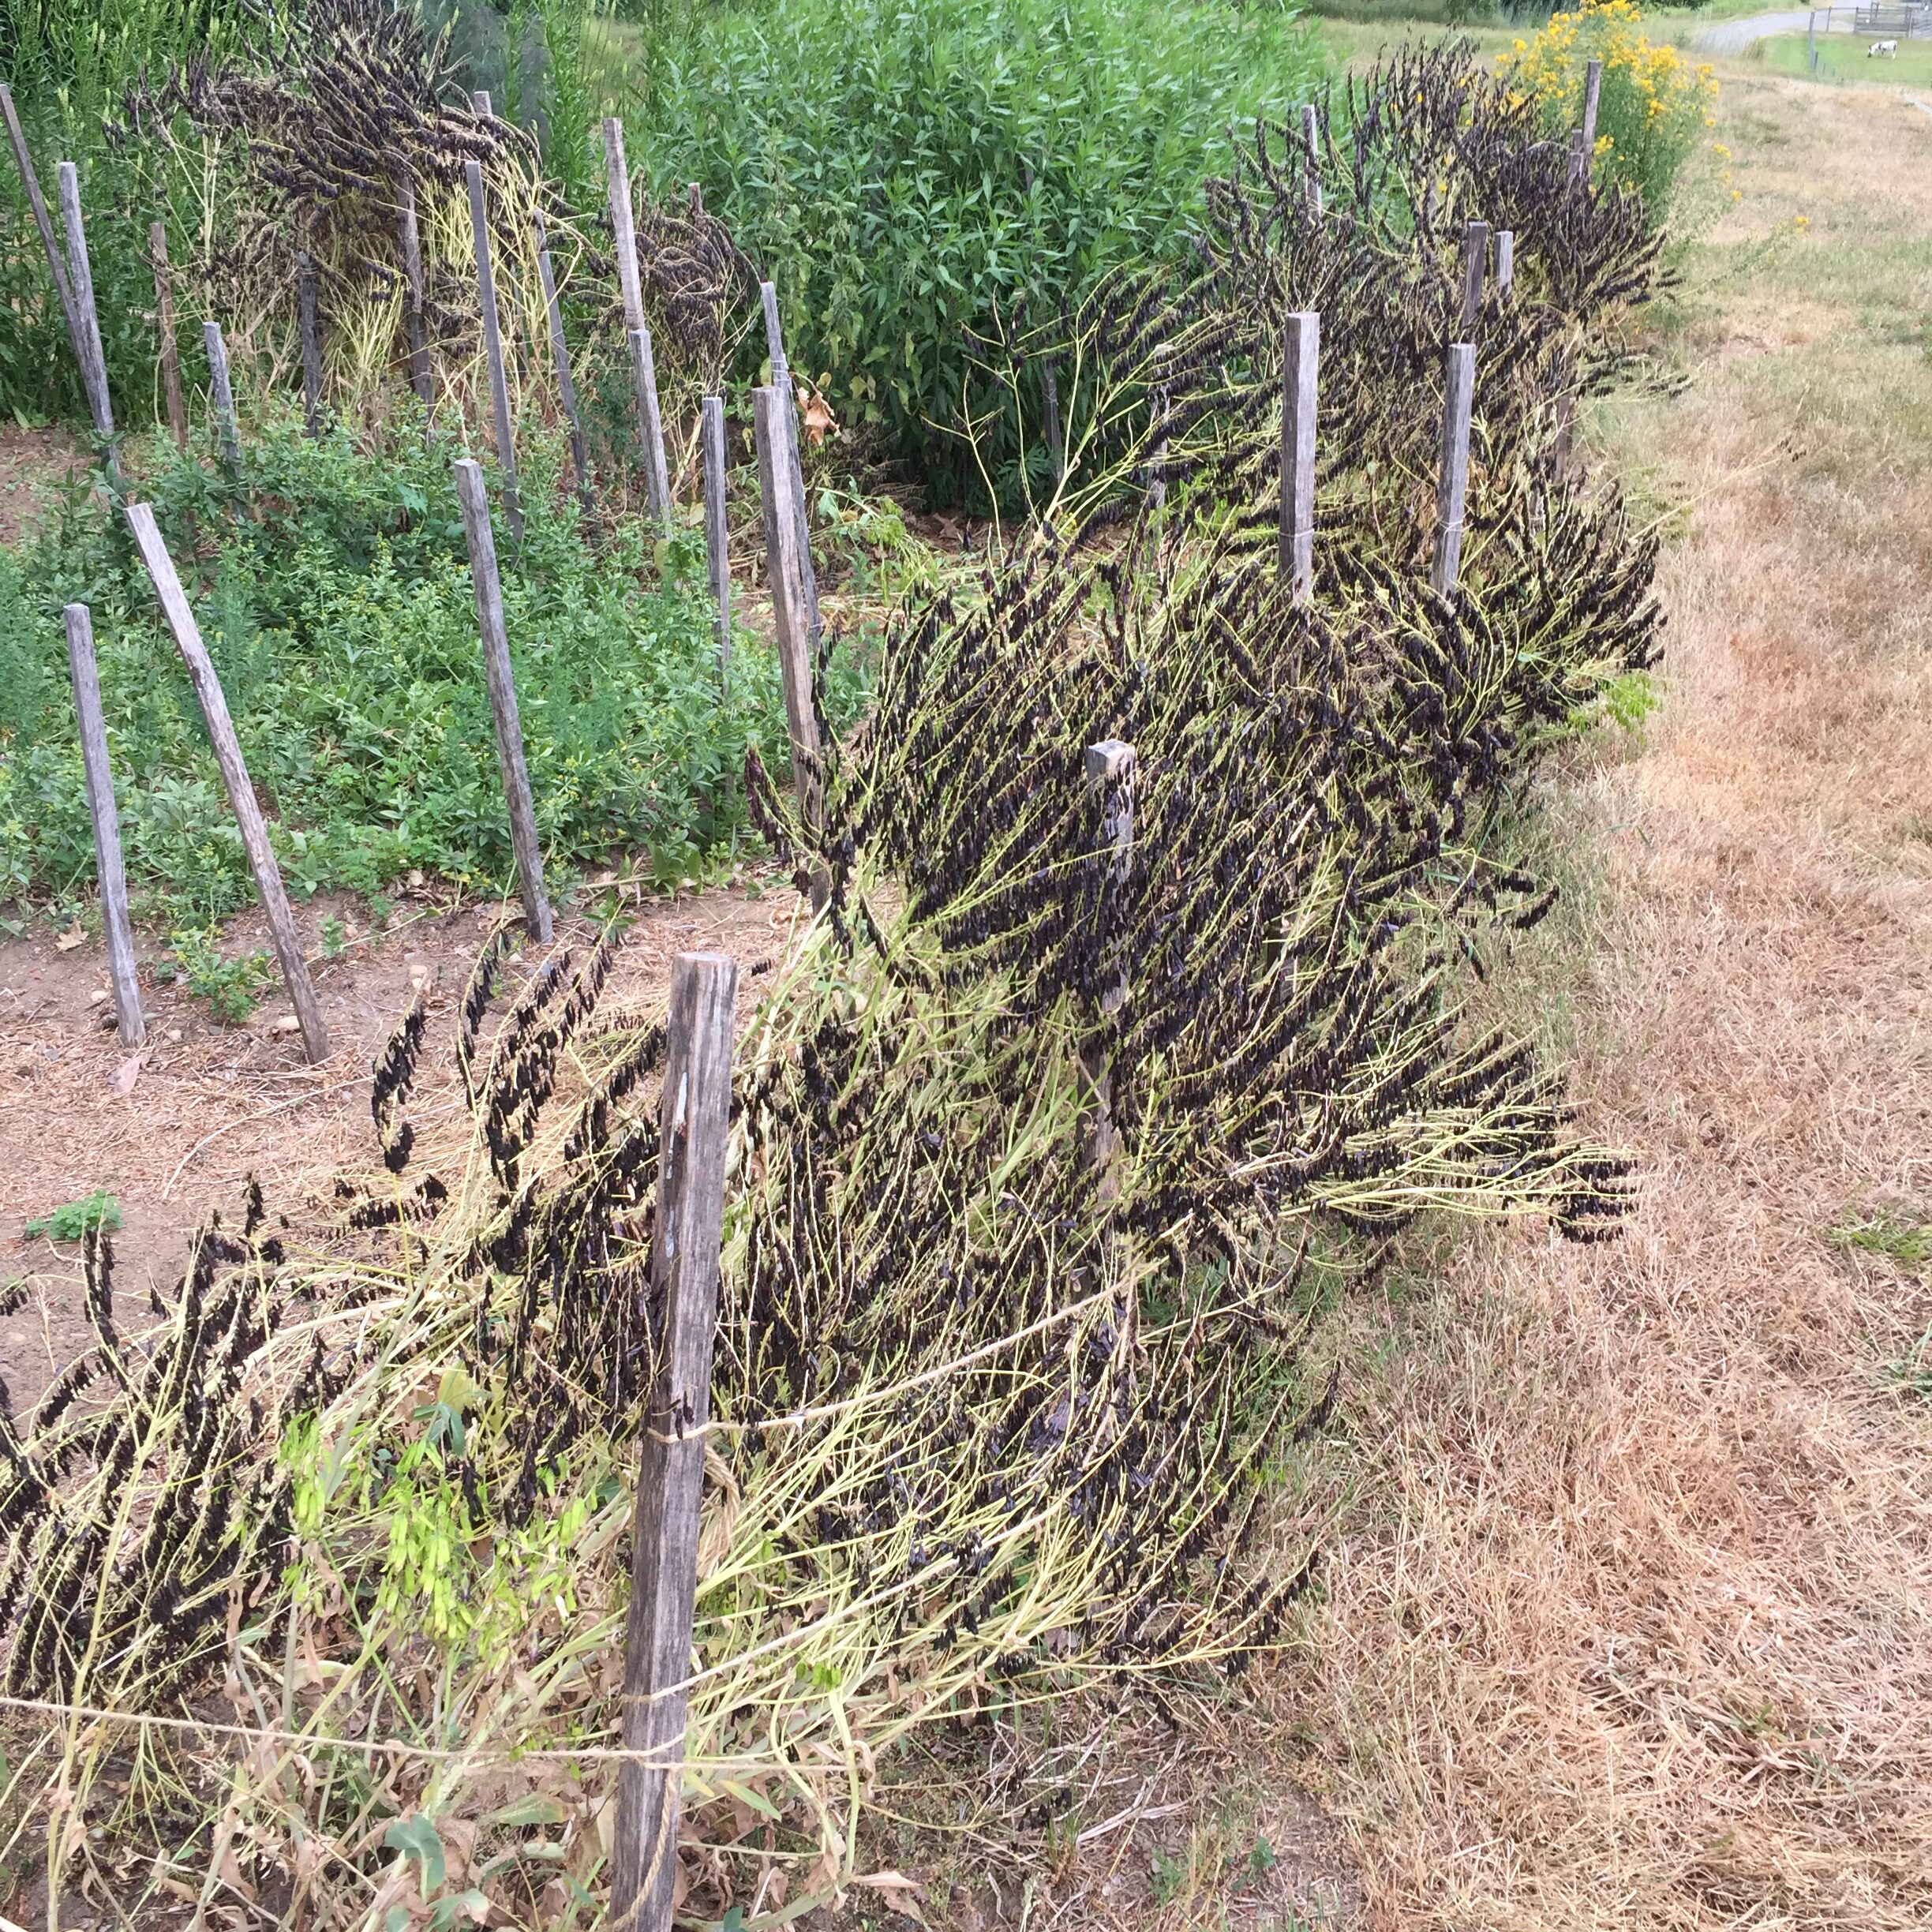
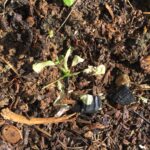
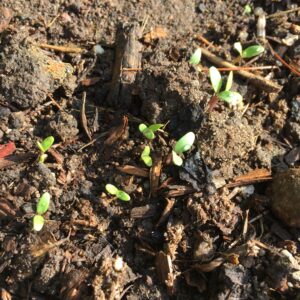
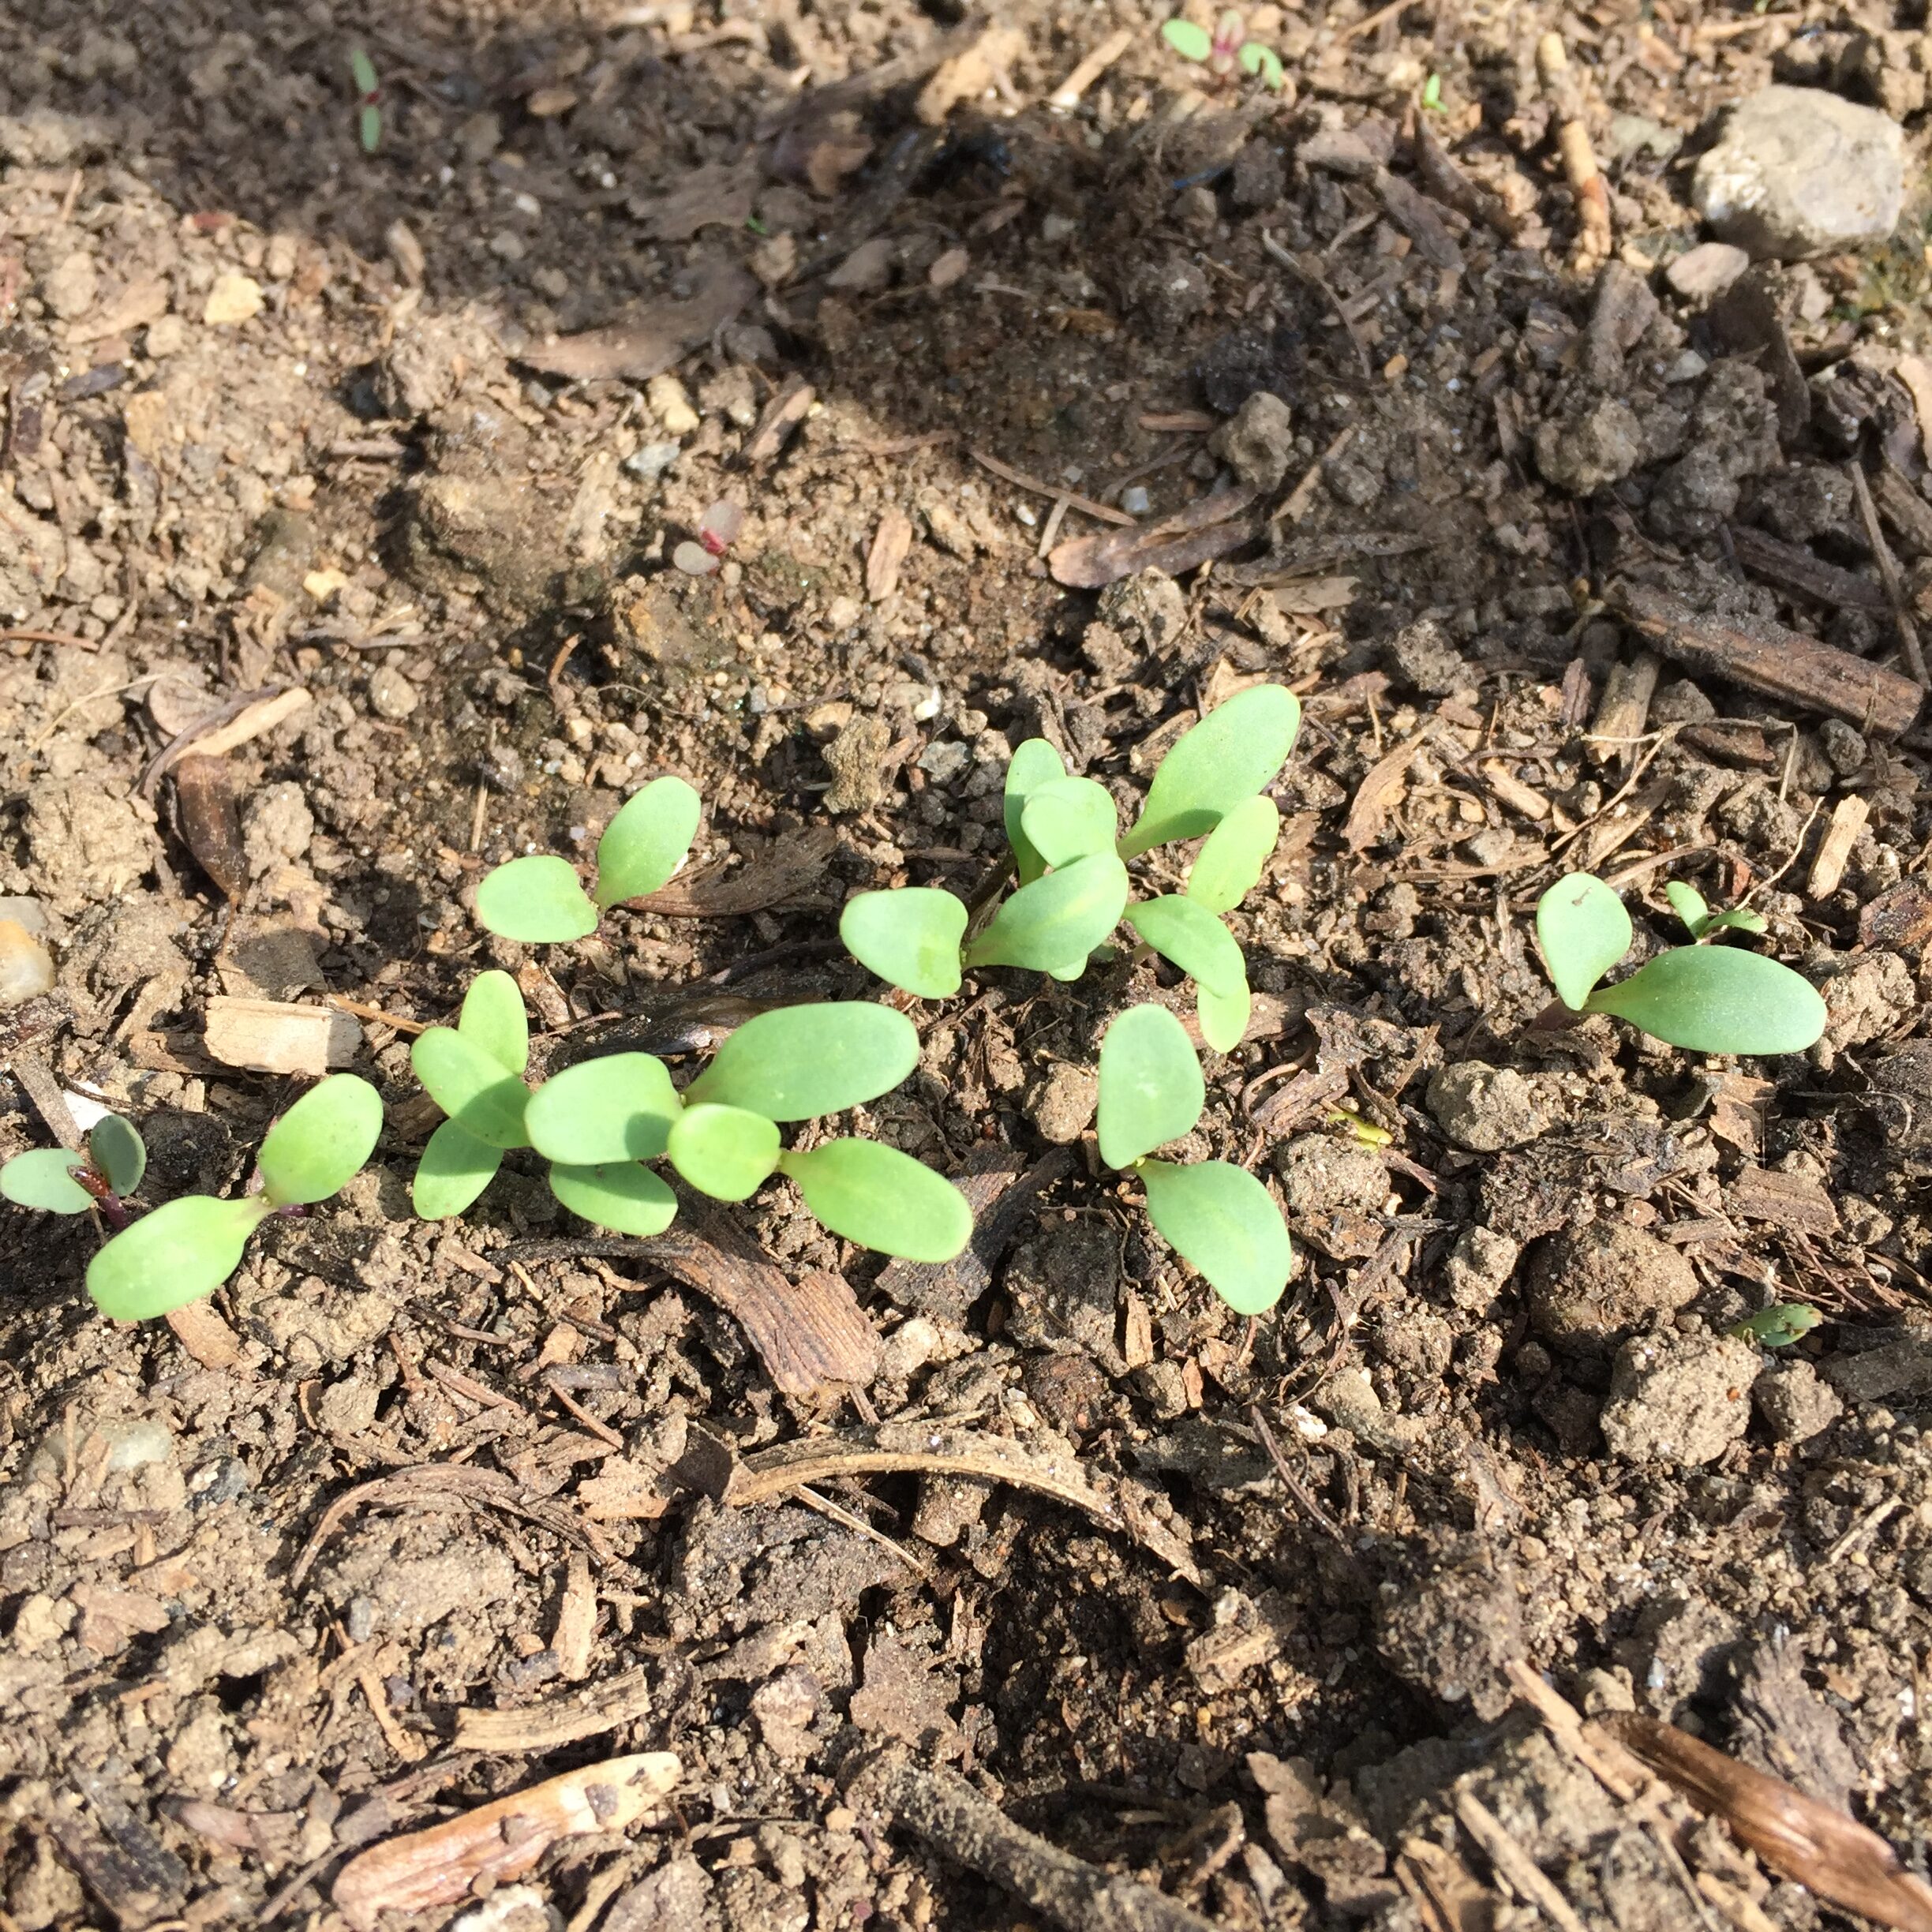
Before the woad that (almost) wasn’t, there was the woad that was. I planted a bed at the end of May, and it grew just fine.
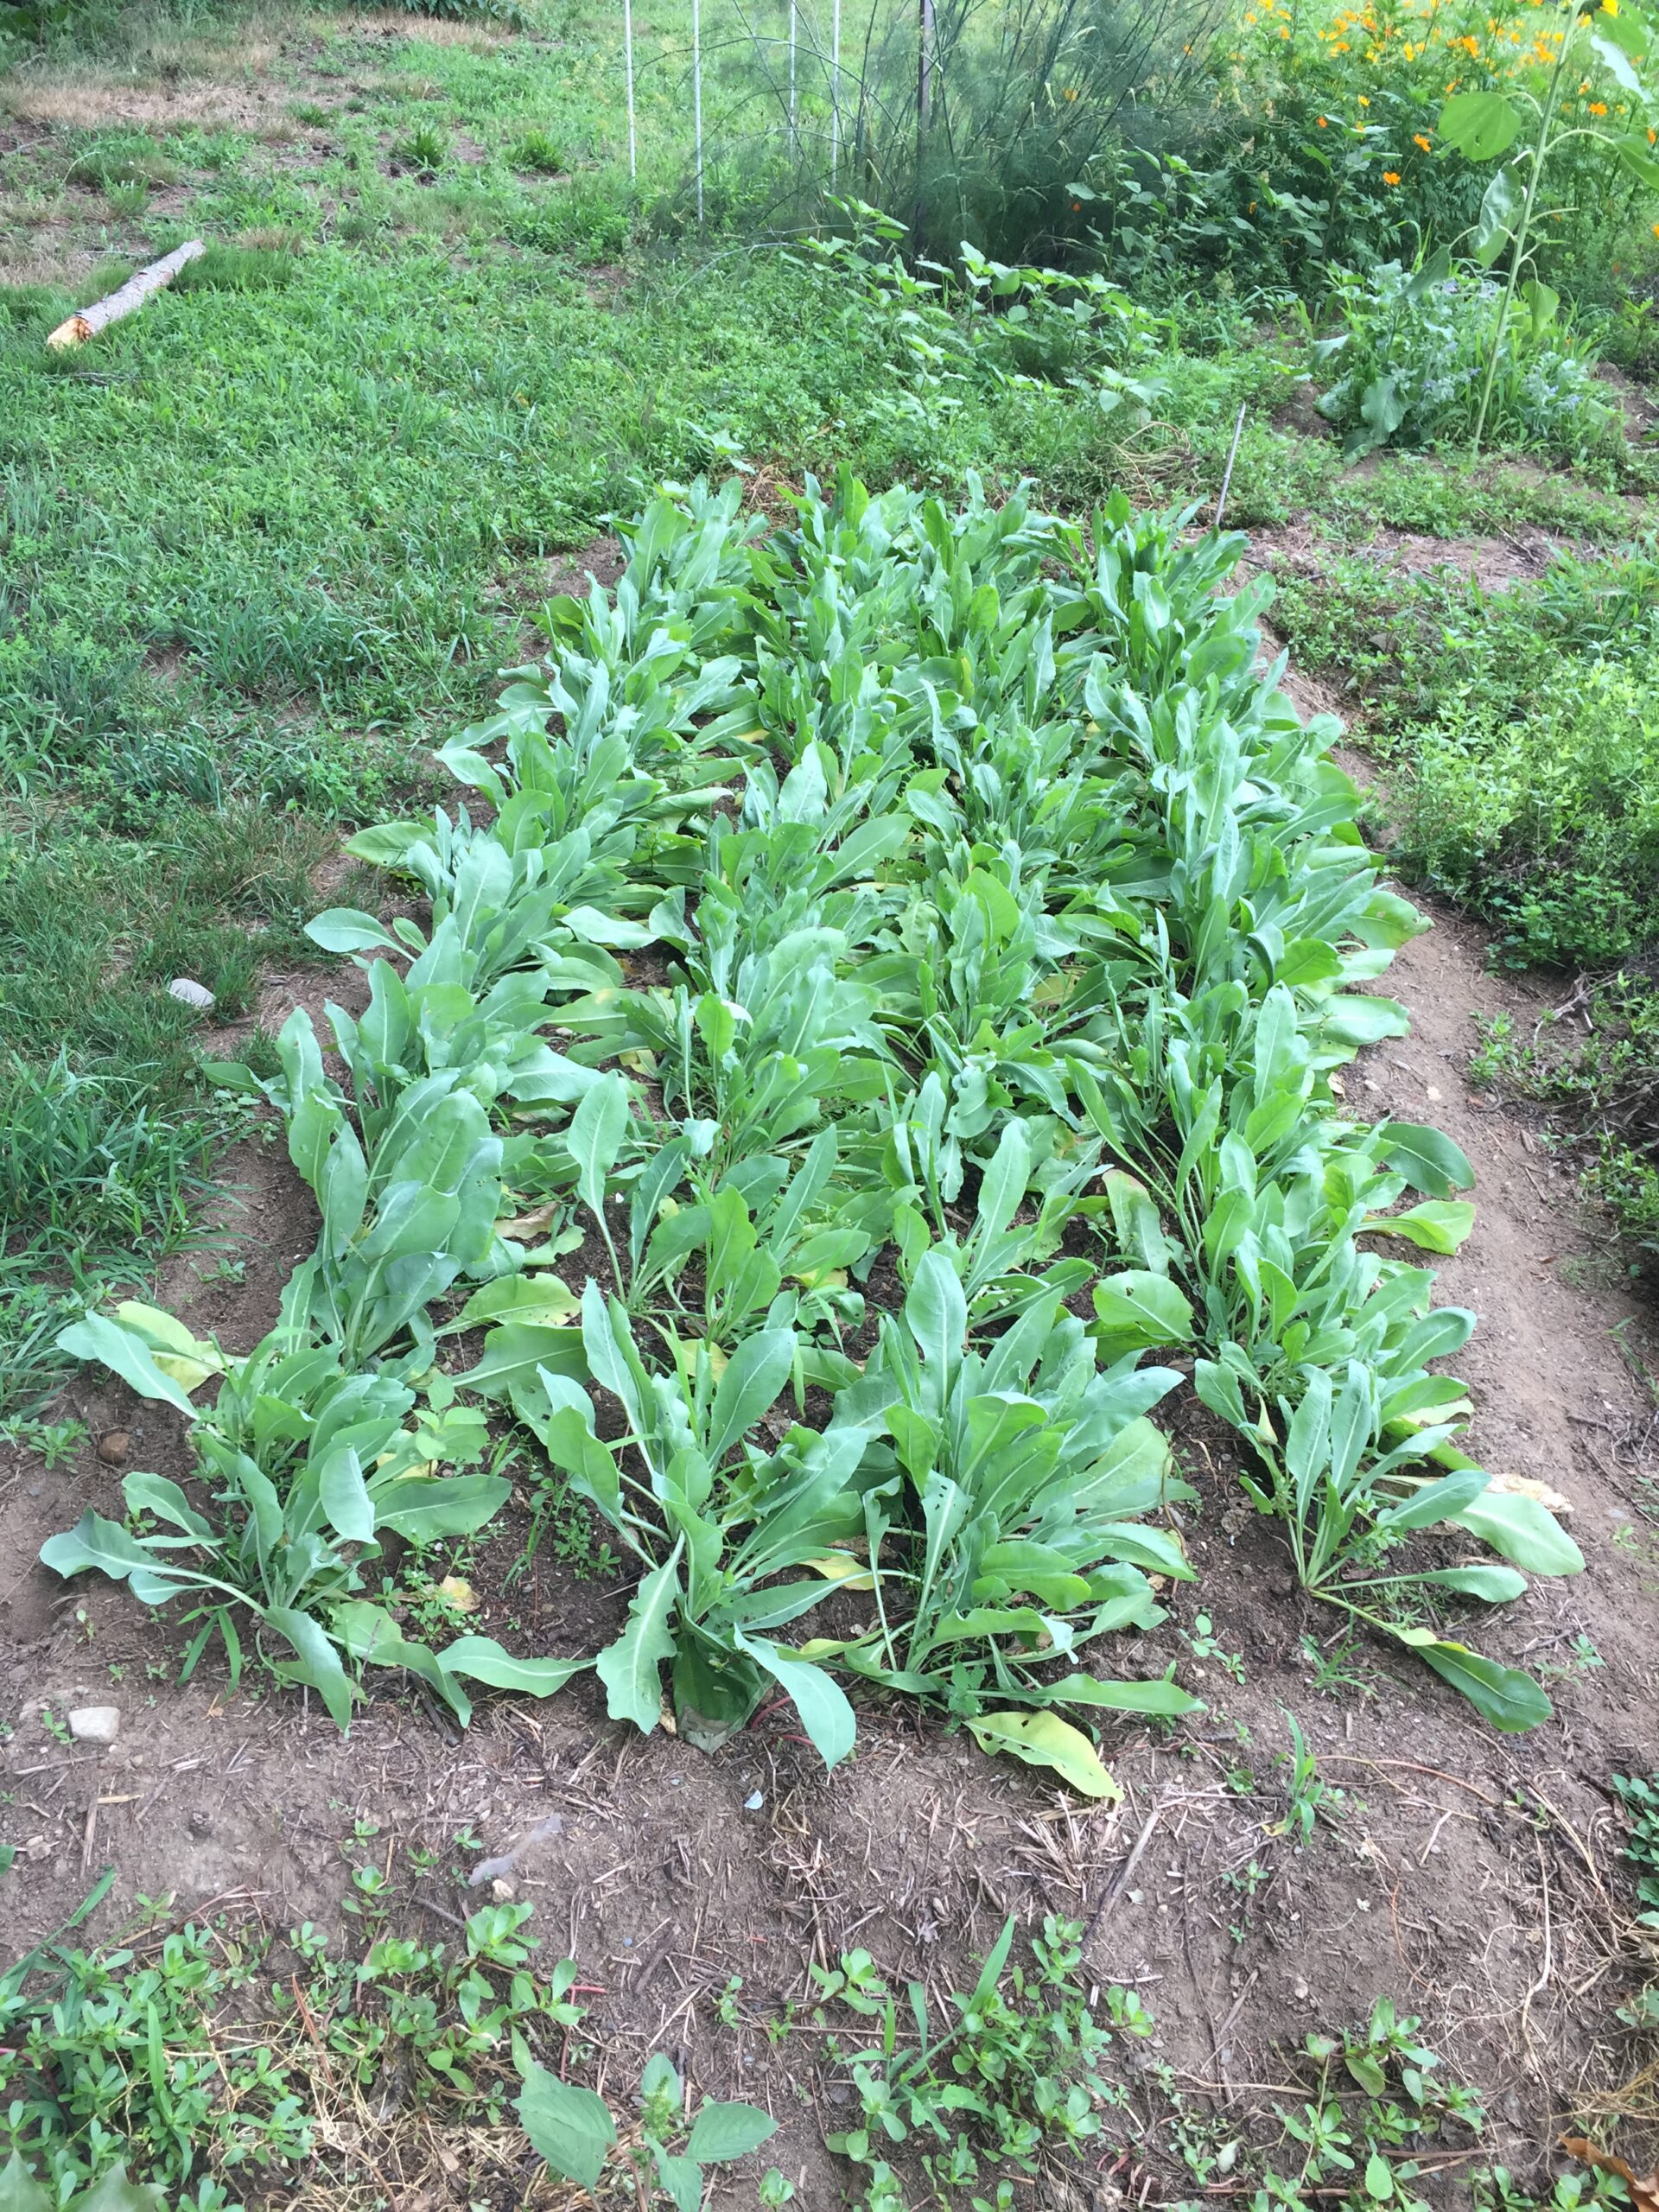
Here it is, a teensy bit past its prime but still happy as can be, on August 7th. I harvested 4 lbs. of leaves.
I know I have posted many times about woad vats, but I never get bored of woad. After all these years, there is always something new to learn. Lately I have been trying to be more aware of the temperature at different points in the process.
I have often noticed that the woad vats I run at the end of the season, once the weather is cool (or even freezing), give more color. I had always assumed that it was because older plants gave darker blues. But now I wonder whether the cold air temperatures that bring down the temperature of the vat liquid very quickly are responsible for the enhanced color.
Recently it’s come to my attention that high temperatures reduce the amount of color you can get from woad. If this is so, then hot weather in July and August might be the reason for lighter vats earlier in the summer. To test this temperature hypothesis out in the hot summer weather, I was trying to follow the guidelines from Teresinha Roberts on her site woad.org.
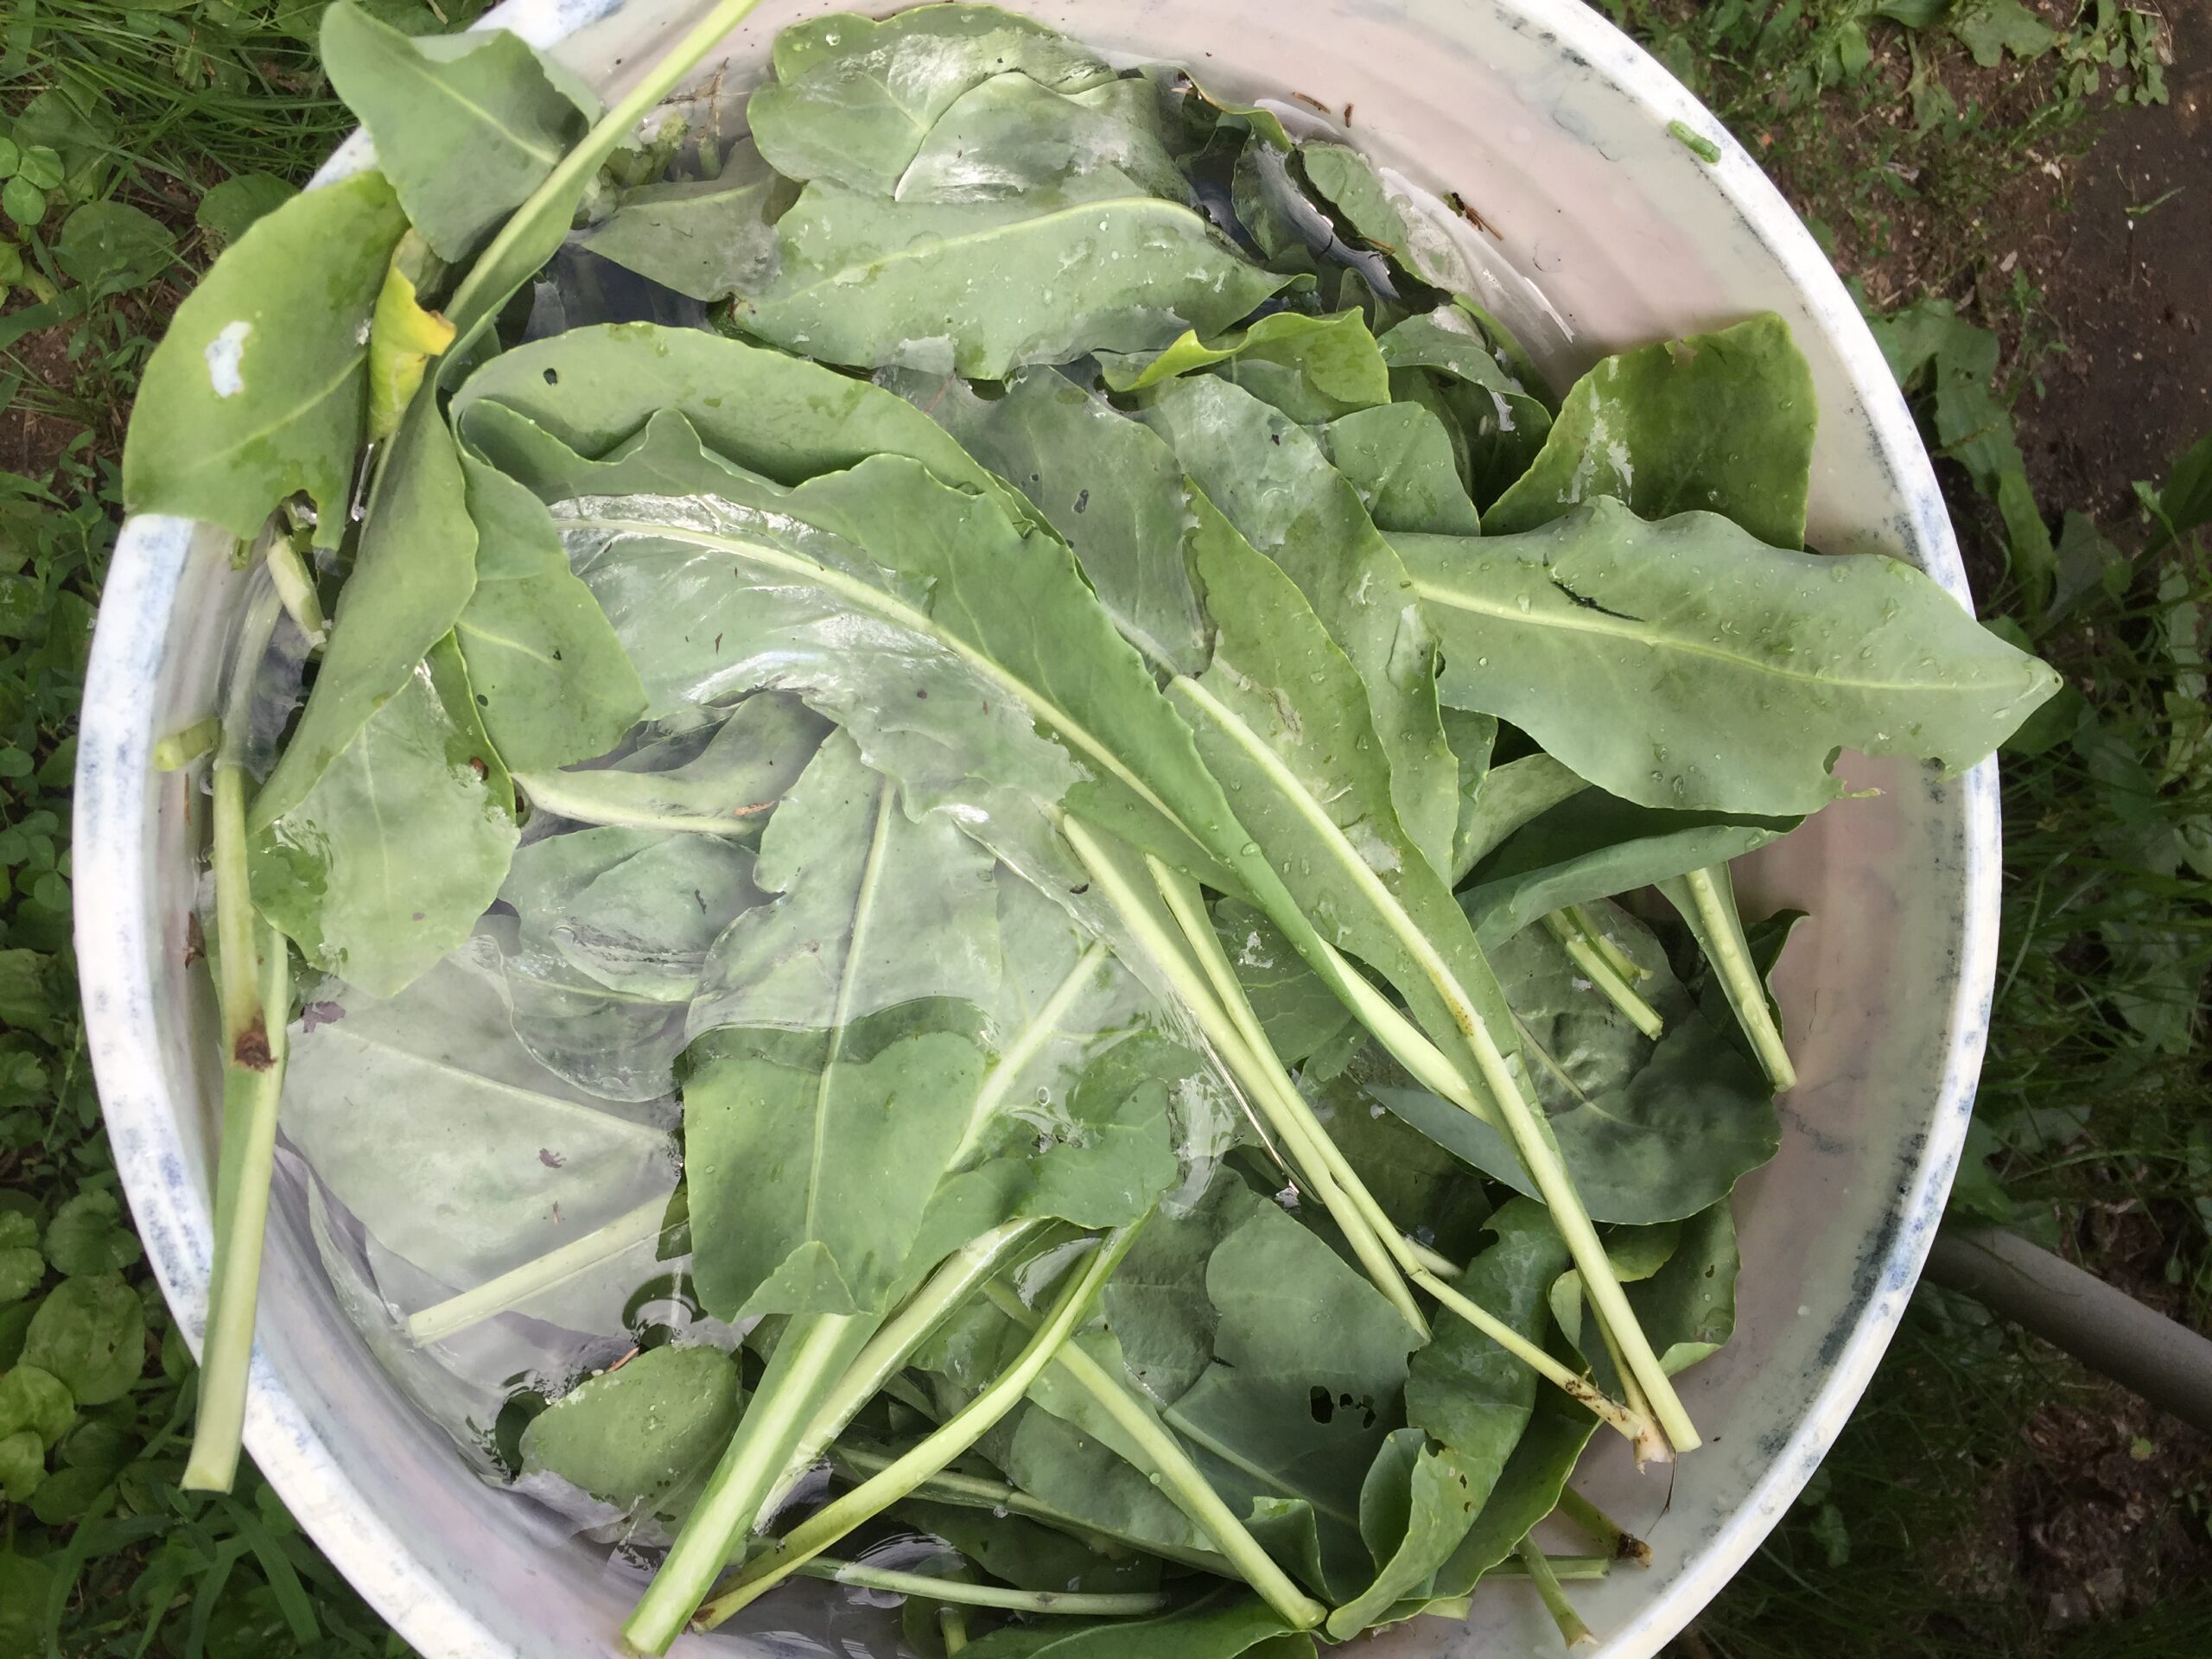
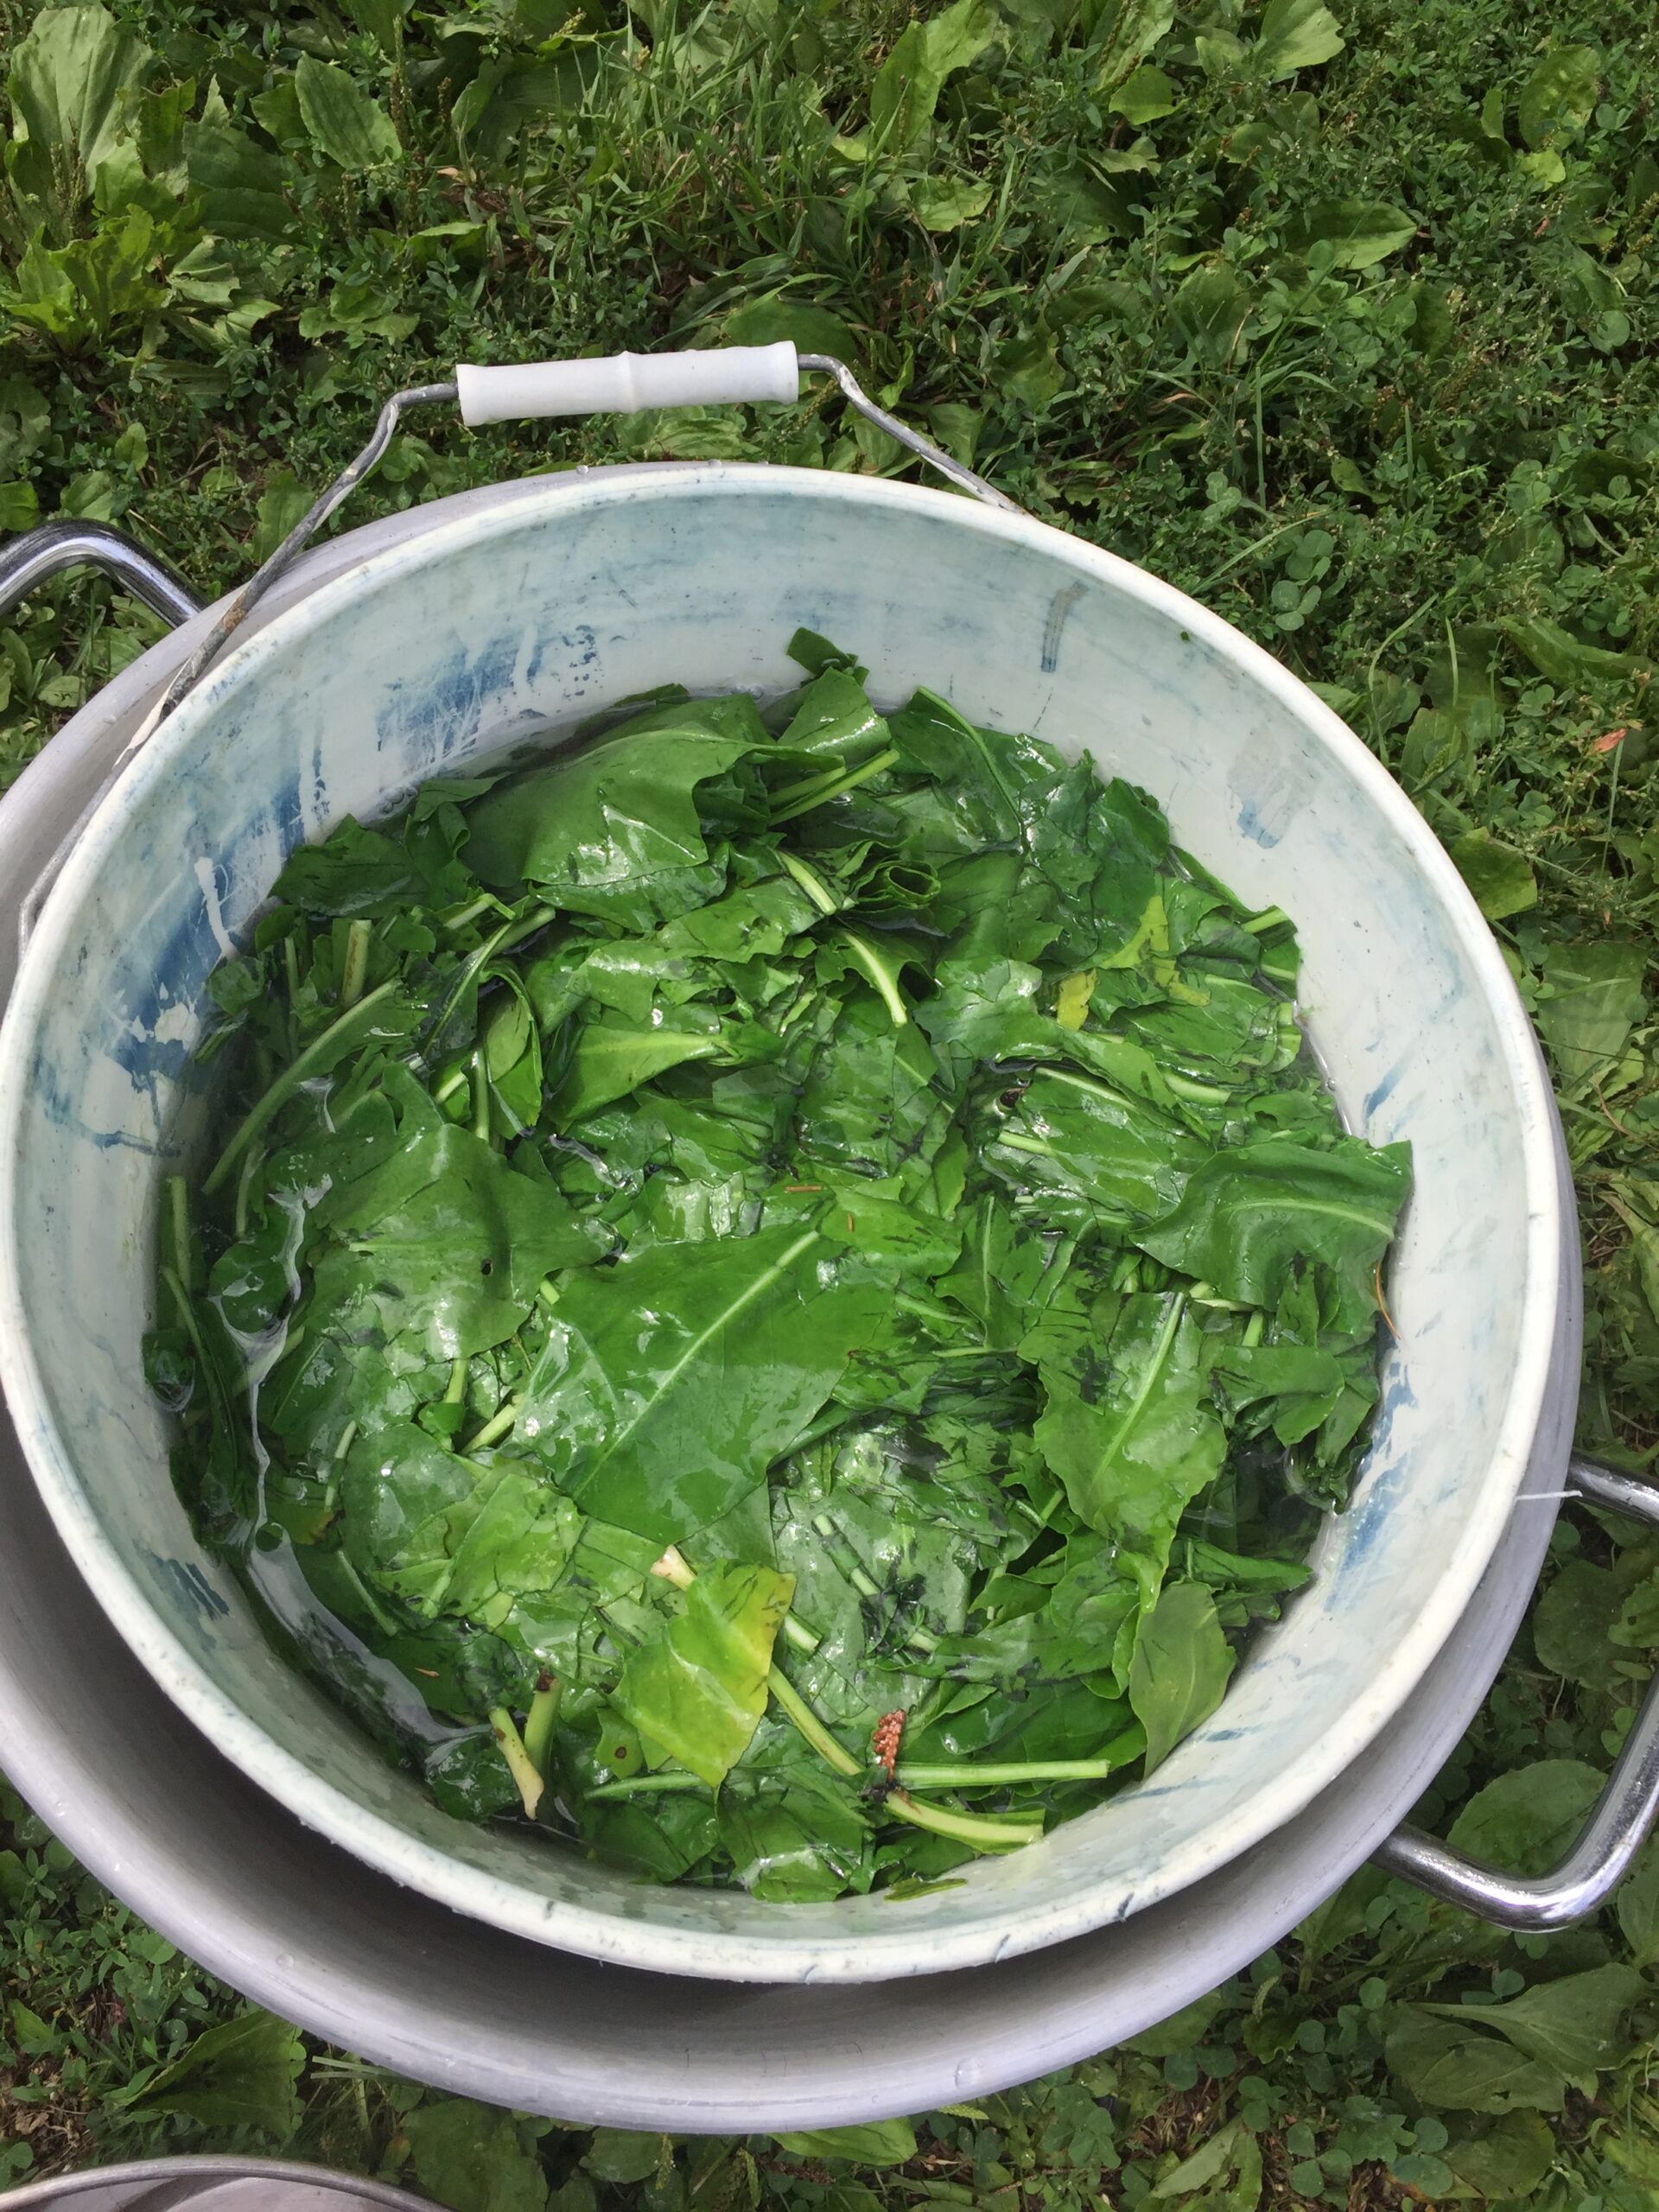
I rinsed the leaves.
I coarsely shredded them, put them in another 5-gallon bucket, and poured on the steaming hot water. In the past I have always just boiled the water, and poured it straight over the clean leaves. It’s always (or almost always) worked fine. But I was trying to learn more about the temperature factor this time, so I let the water cool to about 180 degrees F. before pouring it over the leaves.
I like to fill up the bucket all the way with water so I can expel some air when I put on the lid. I topped up this bucket before putting on the lid. Once the bucket was full, the temperature came down to 160F.
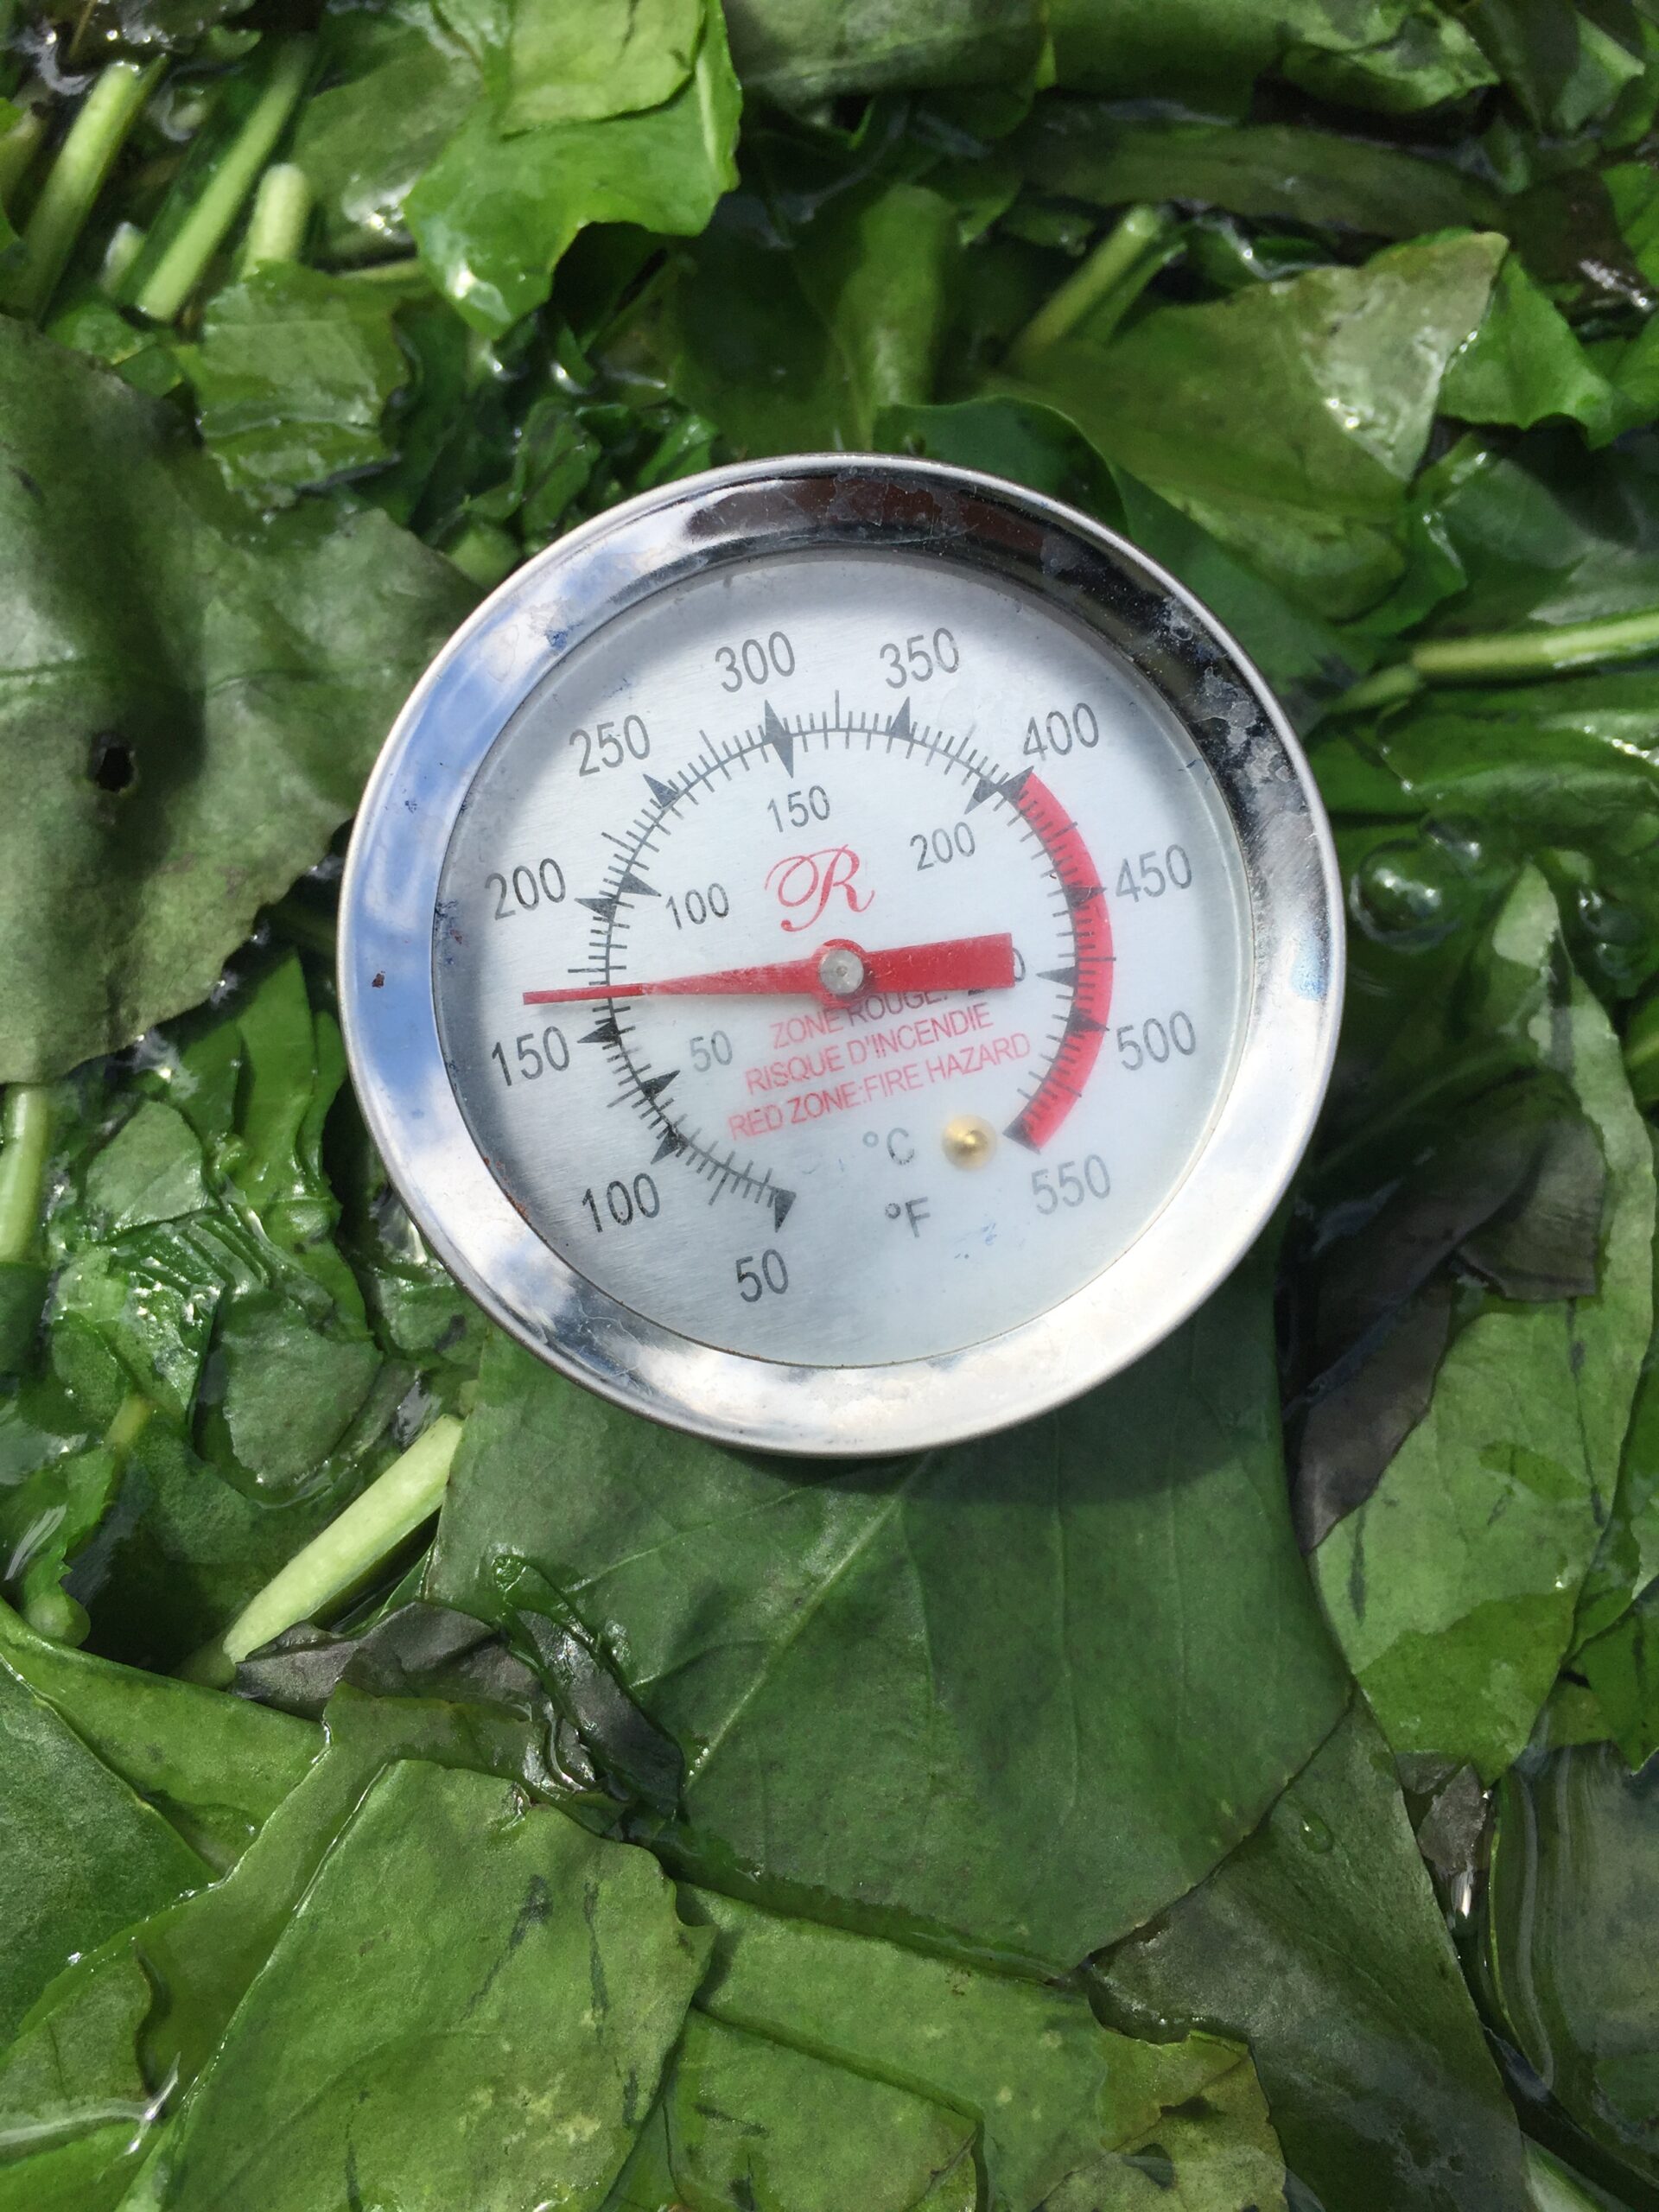
Then the leaves steeped for 45 minutes. After 45 minutes, the temperature was about 150F.
I wanted to get the liquid down to about 130-135F before adding the ammonia. I had a long way to go.
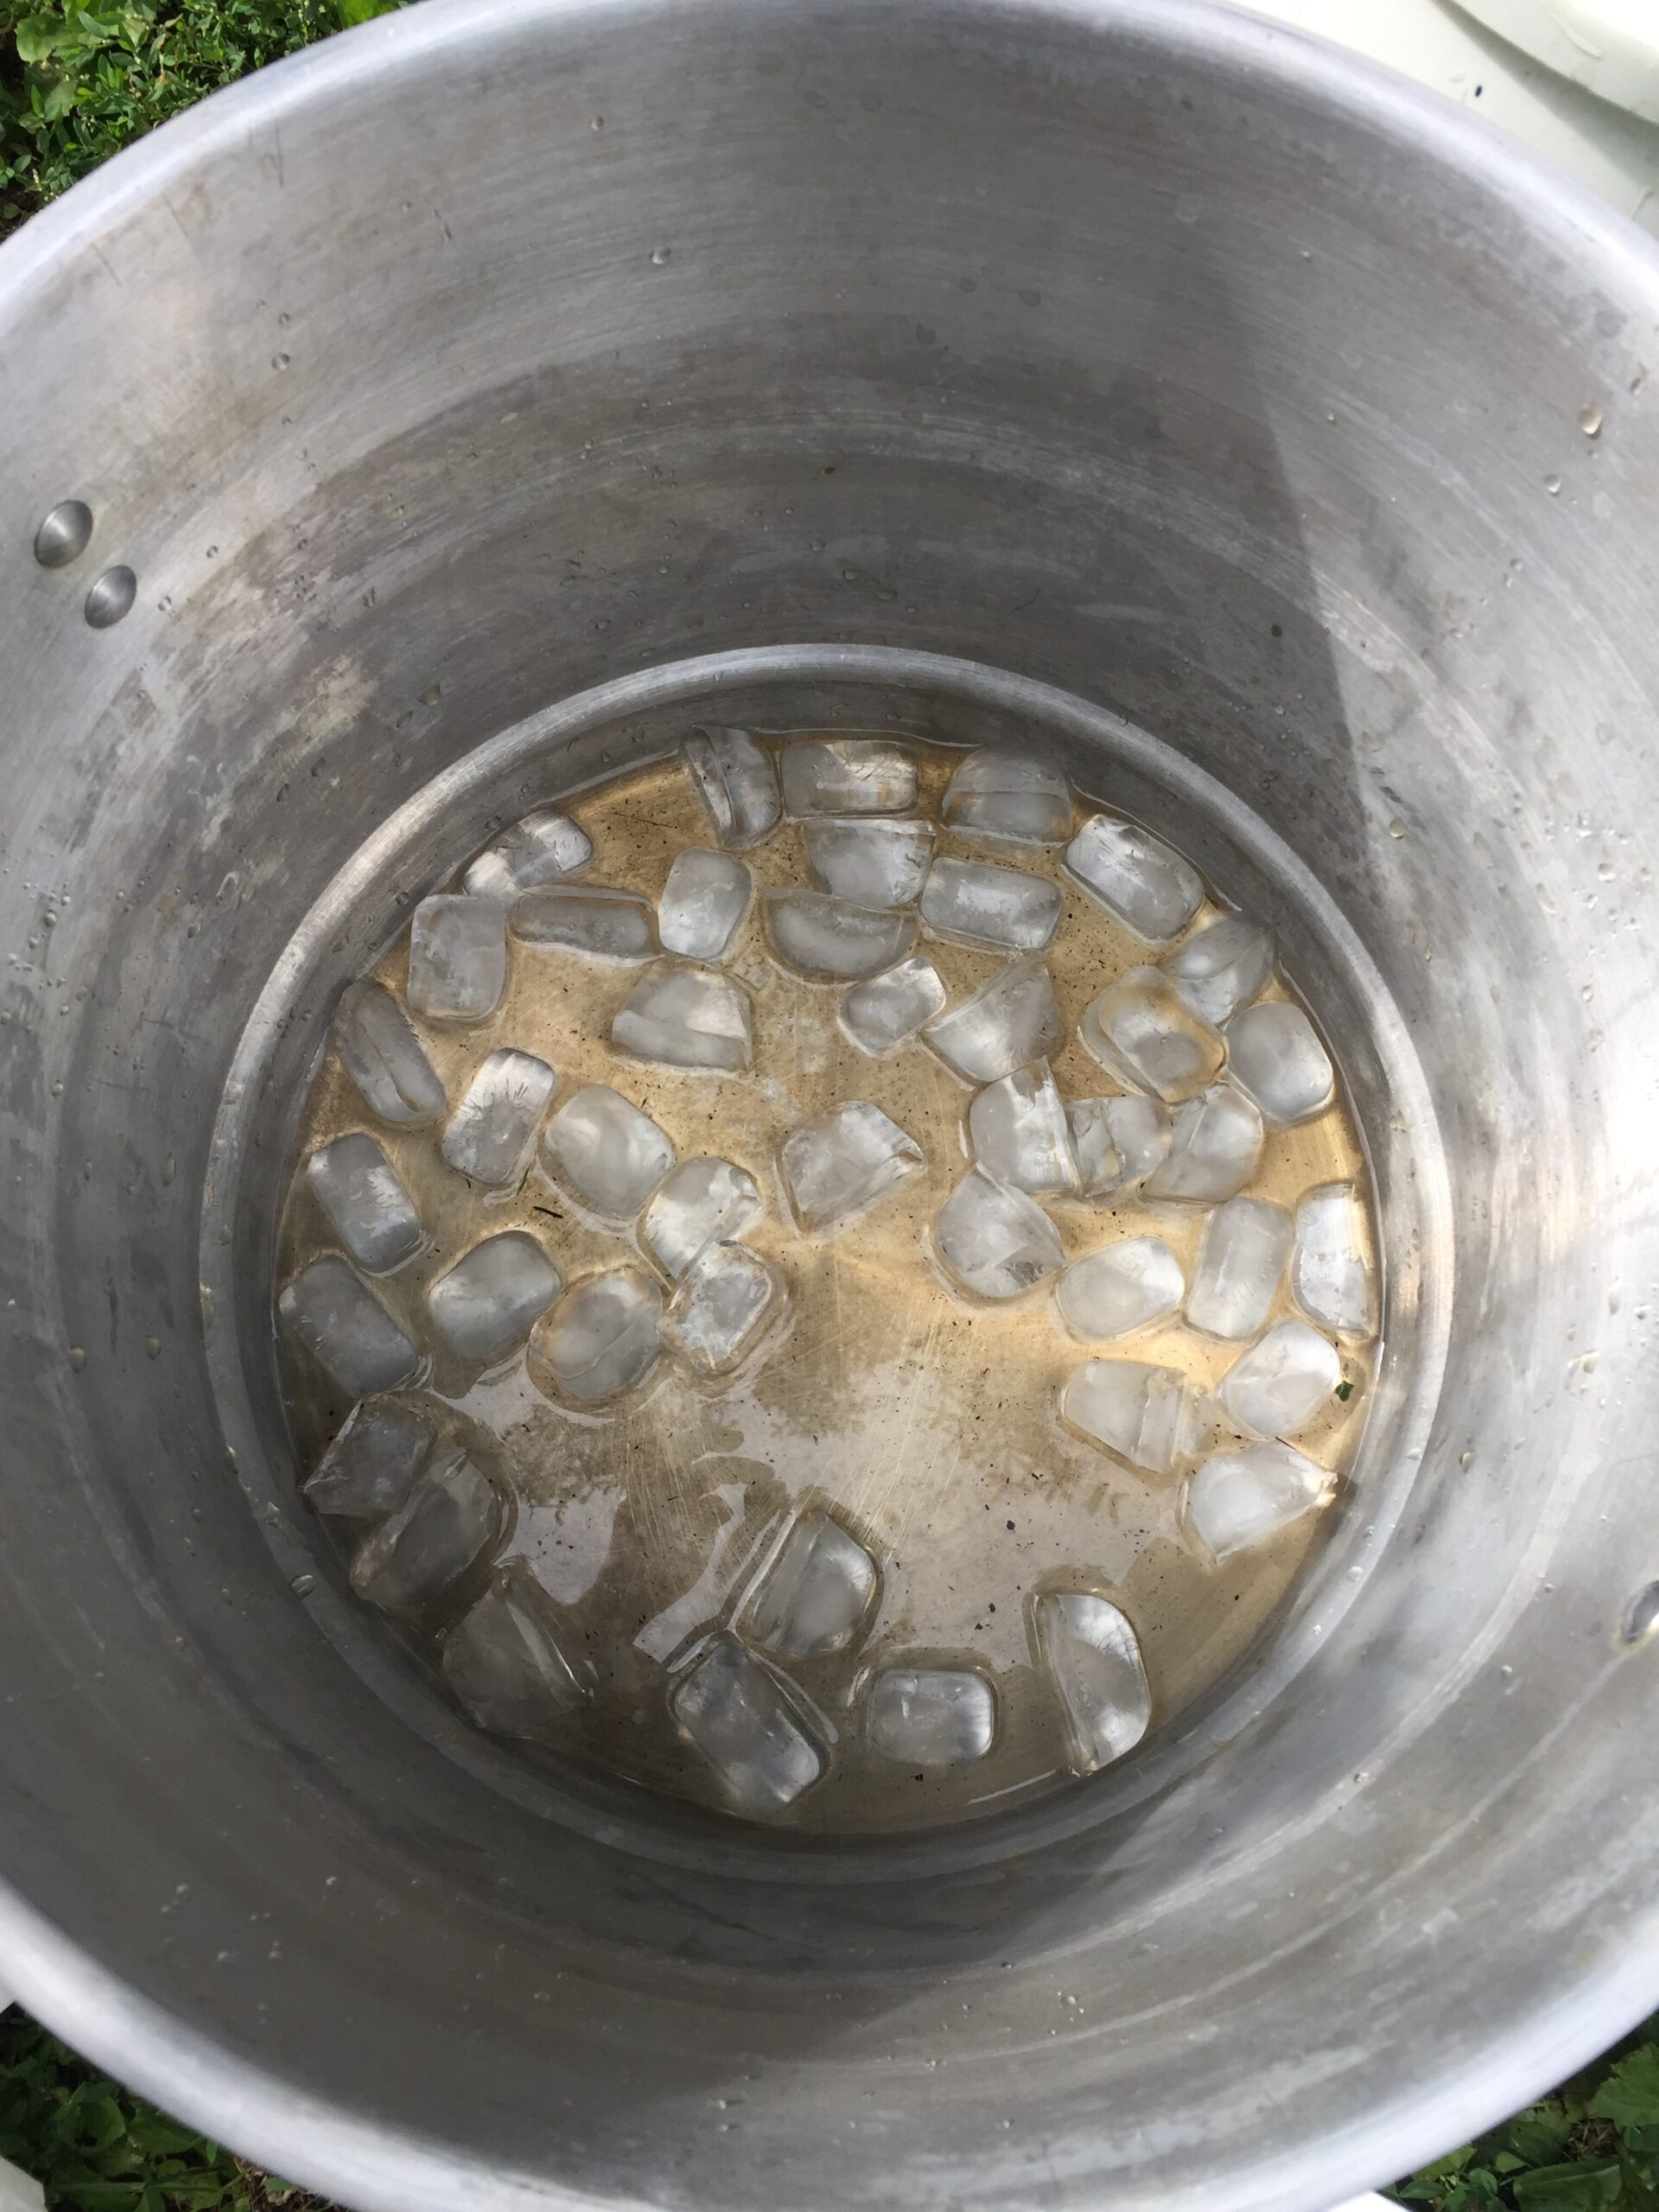
At this point I realized I should have bought a big bag of ice. The few icecube trays in the freezer were woefully inadequate to cool five gallons of hot liquid on a hot summer’s day.
Here’s my puny amount of ice cubes:
I put the five-gallon bucket into the larger pot, and added cold water.
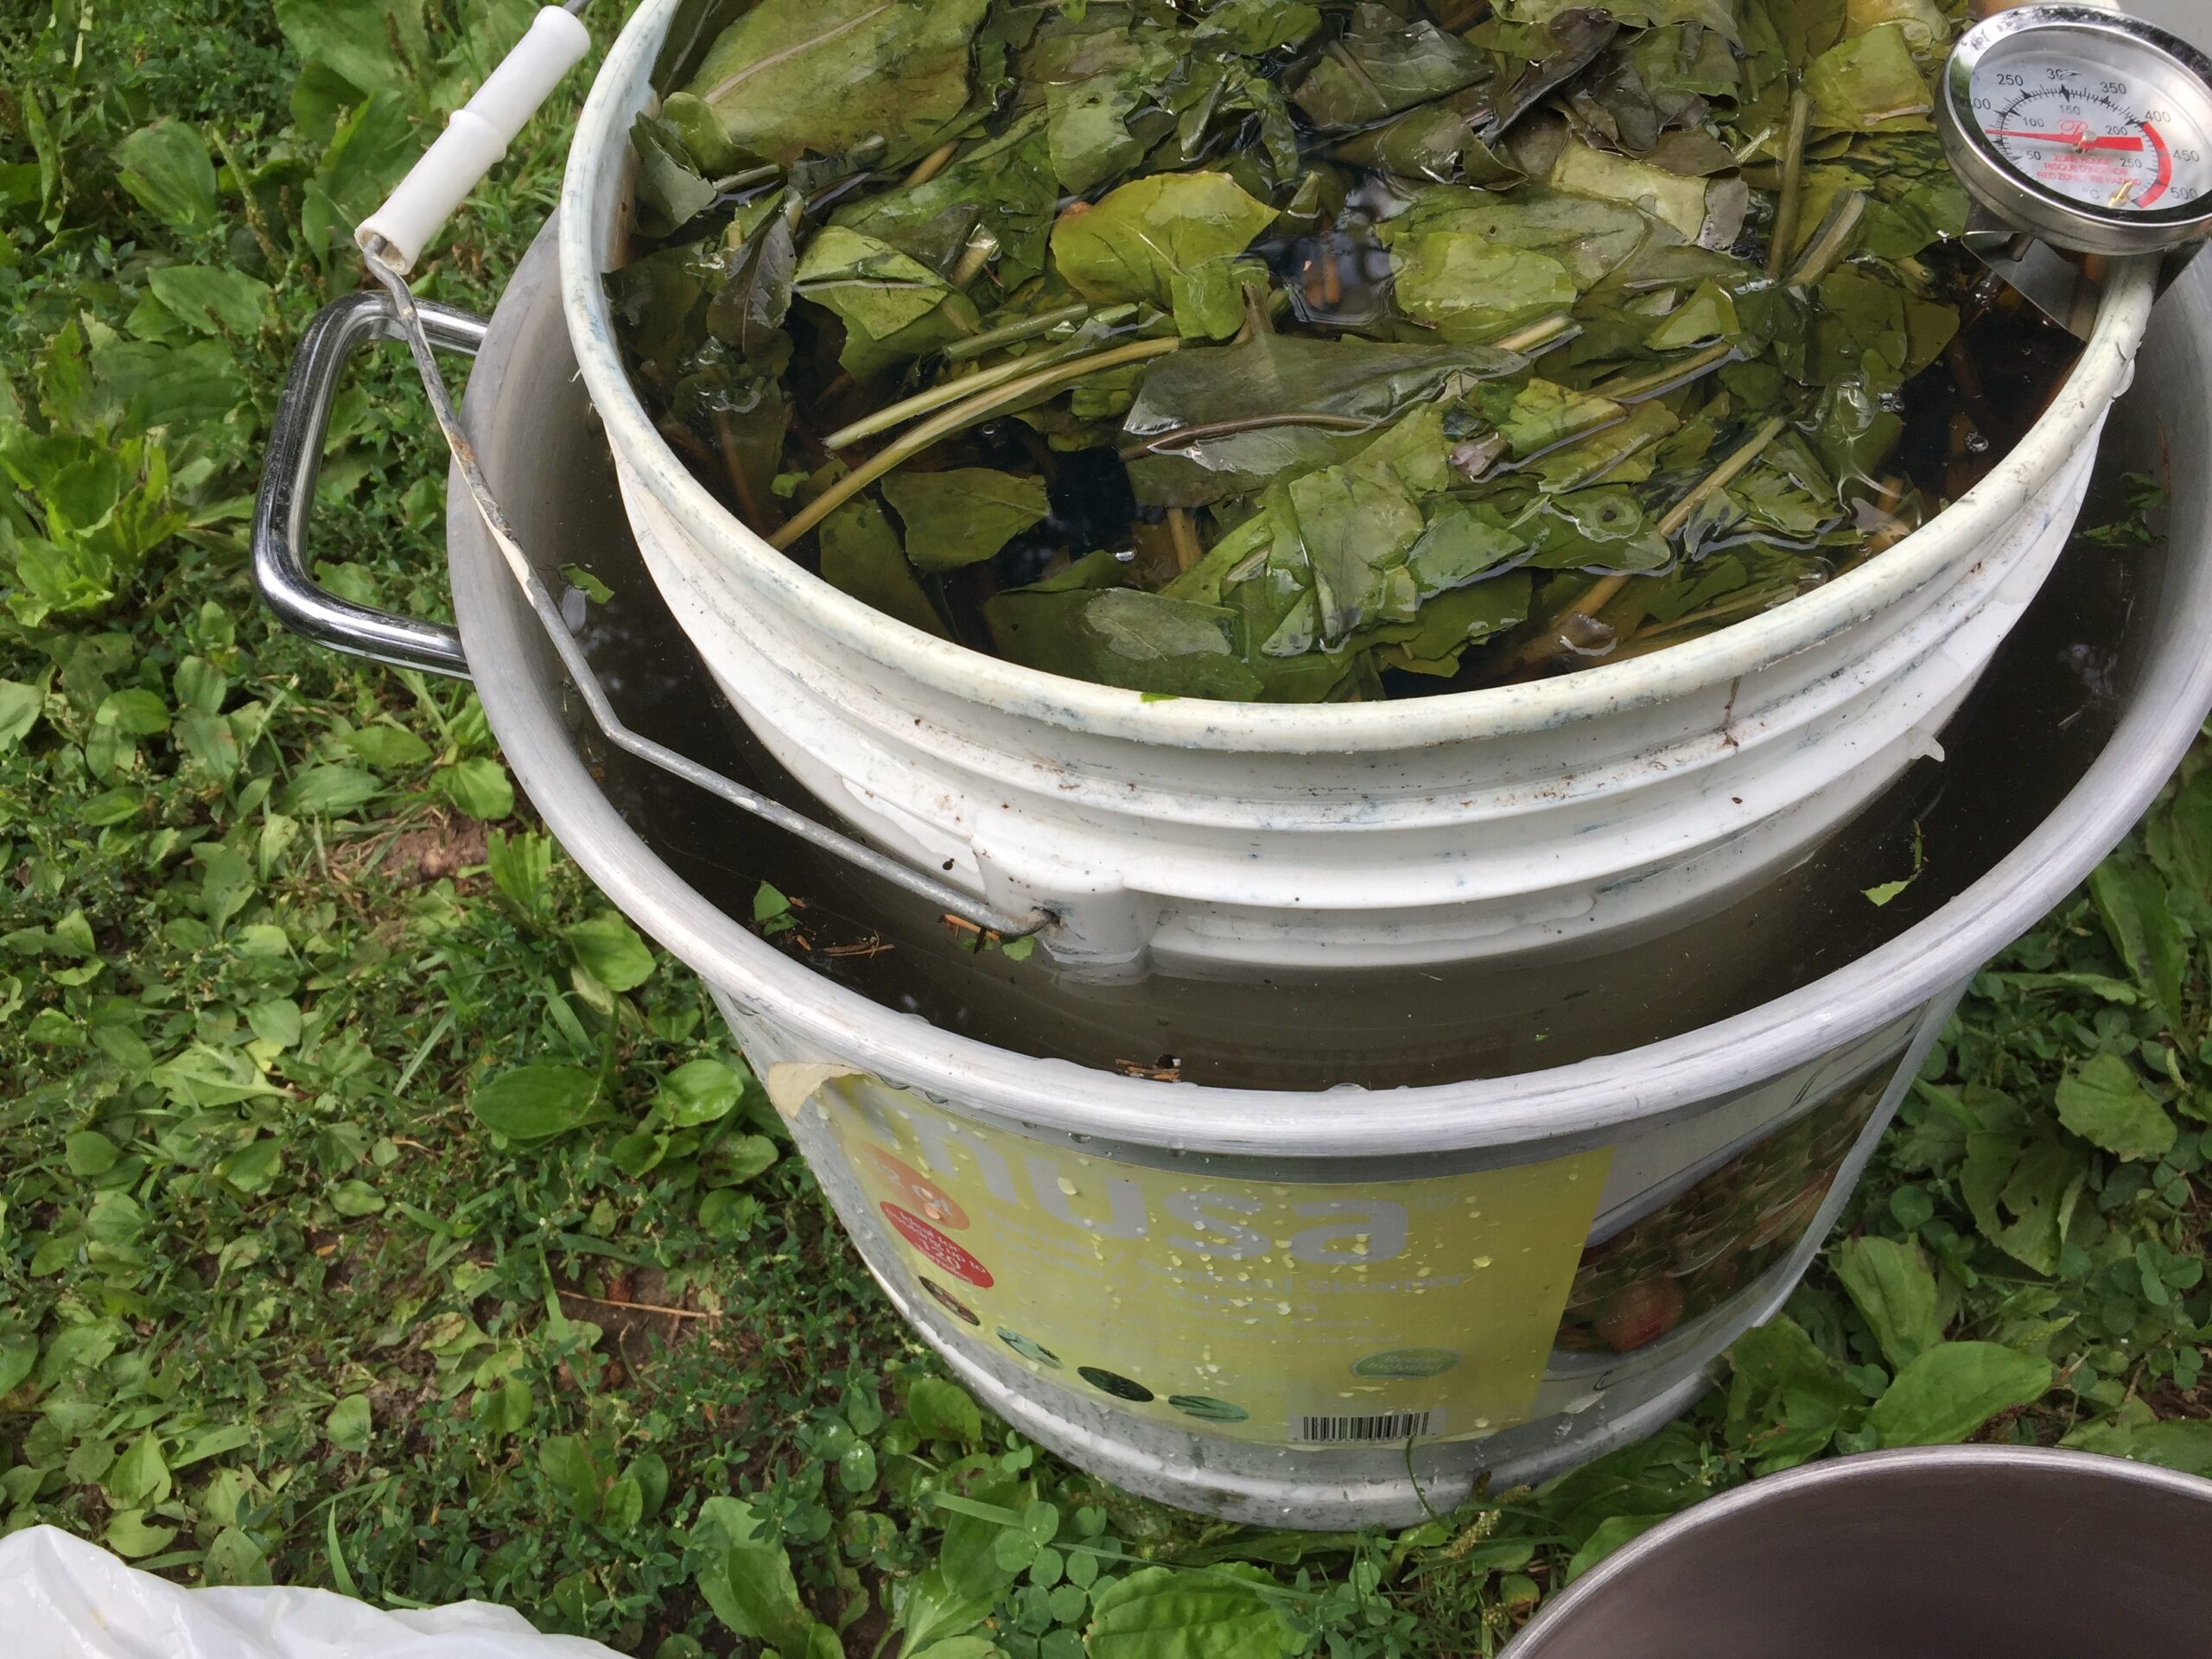
It didn’t do a whole lot to bring down the temperature. Not one jot, in fact.

As I understand Teresinha’s directions, I should have brought down the temperature while the leaves were still in the liquid. But, I felt that the thermal mass of all those leaves would just retain the heat forever. So, I strained out the leaves and put the bucket of liquid back into the ice water. I also tried to press icepacks around the outside of the bucket. It was very inefficient.

This cooling process is supposed to occur very quickly. I was not very quick, alas. But I did get the temperature down to about 140F, eventually.
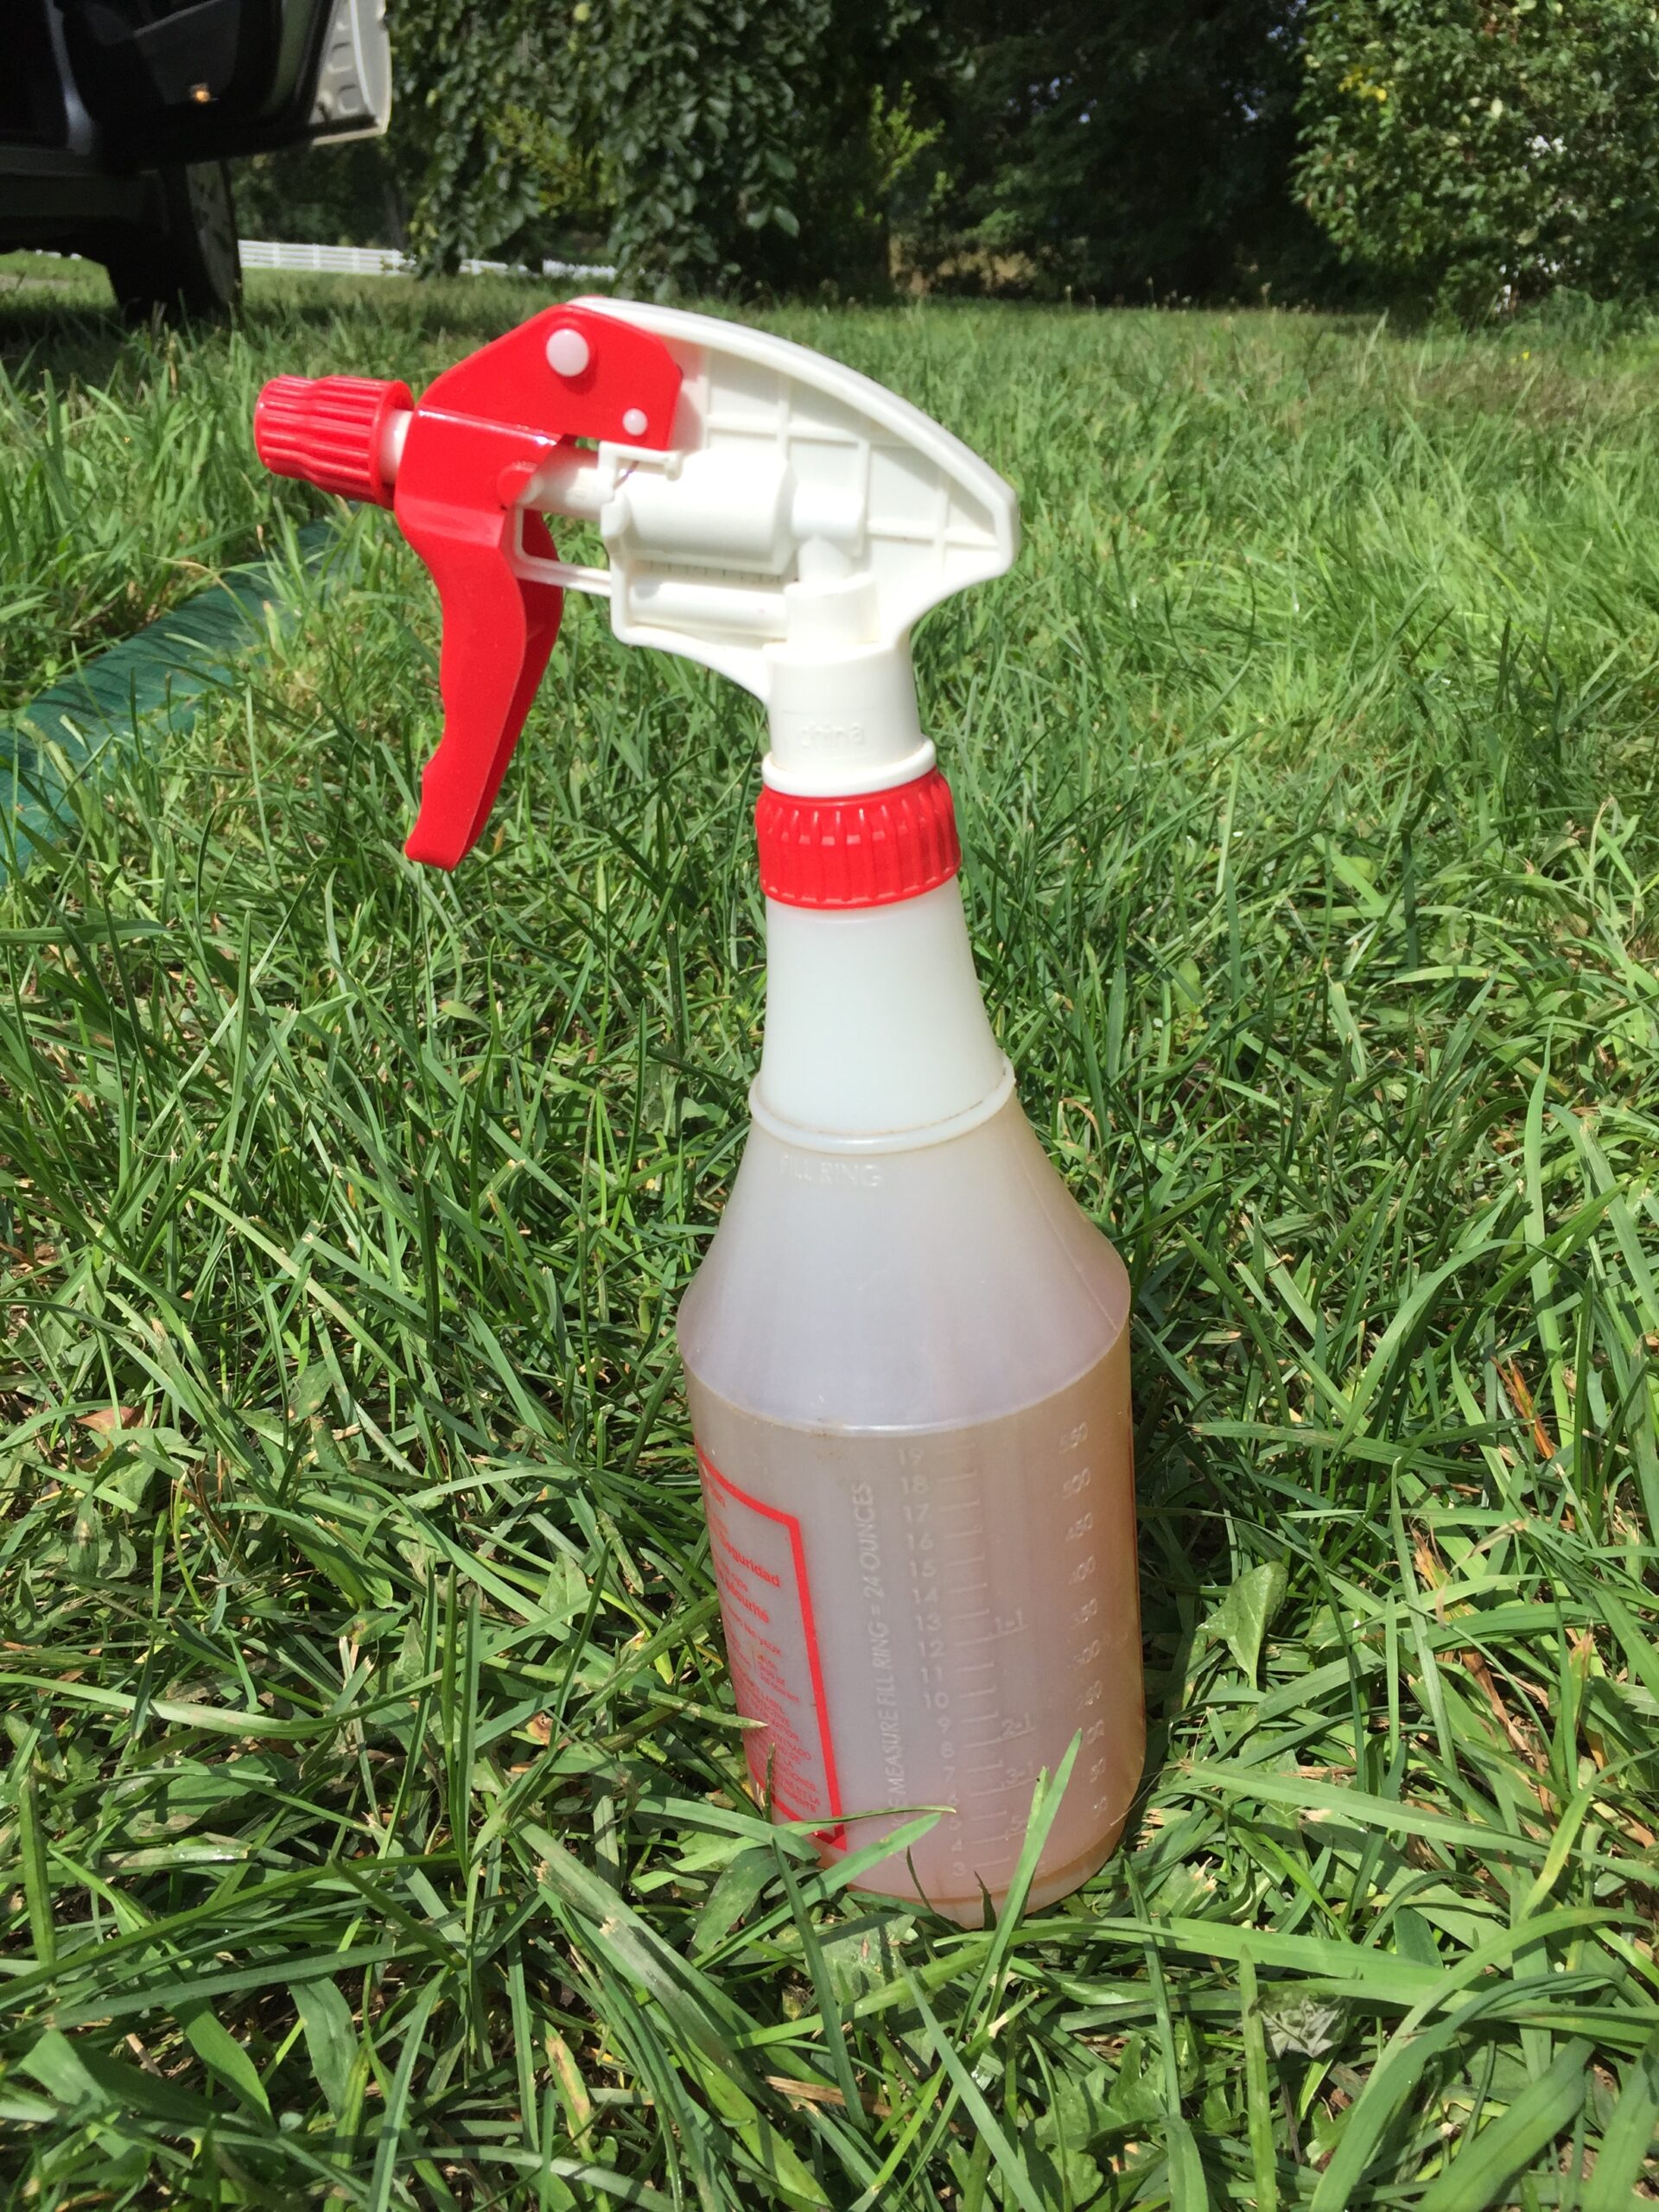
I added the ammonia to pH 9. Ammonia is my preferred alkali for this because it is already liquid and I can buy it at the grocery store without advanced notice when I have failed to plan ahead. It’s purely a matter of practicality.
I aerated for 10 minutes with my back-and-forth-bucket-pouring method. It seemed very blue but not as foamy as usual.
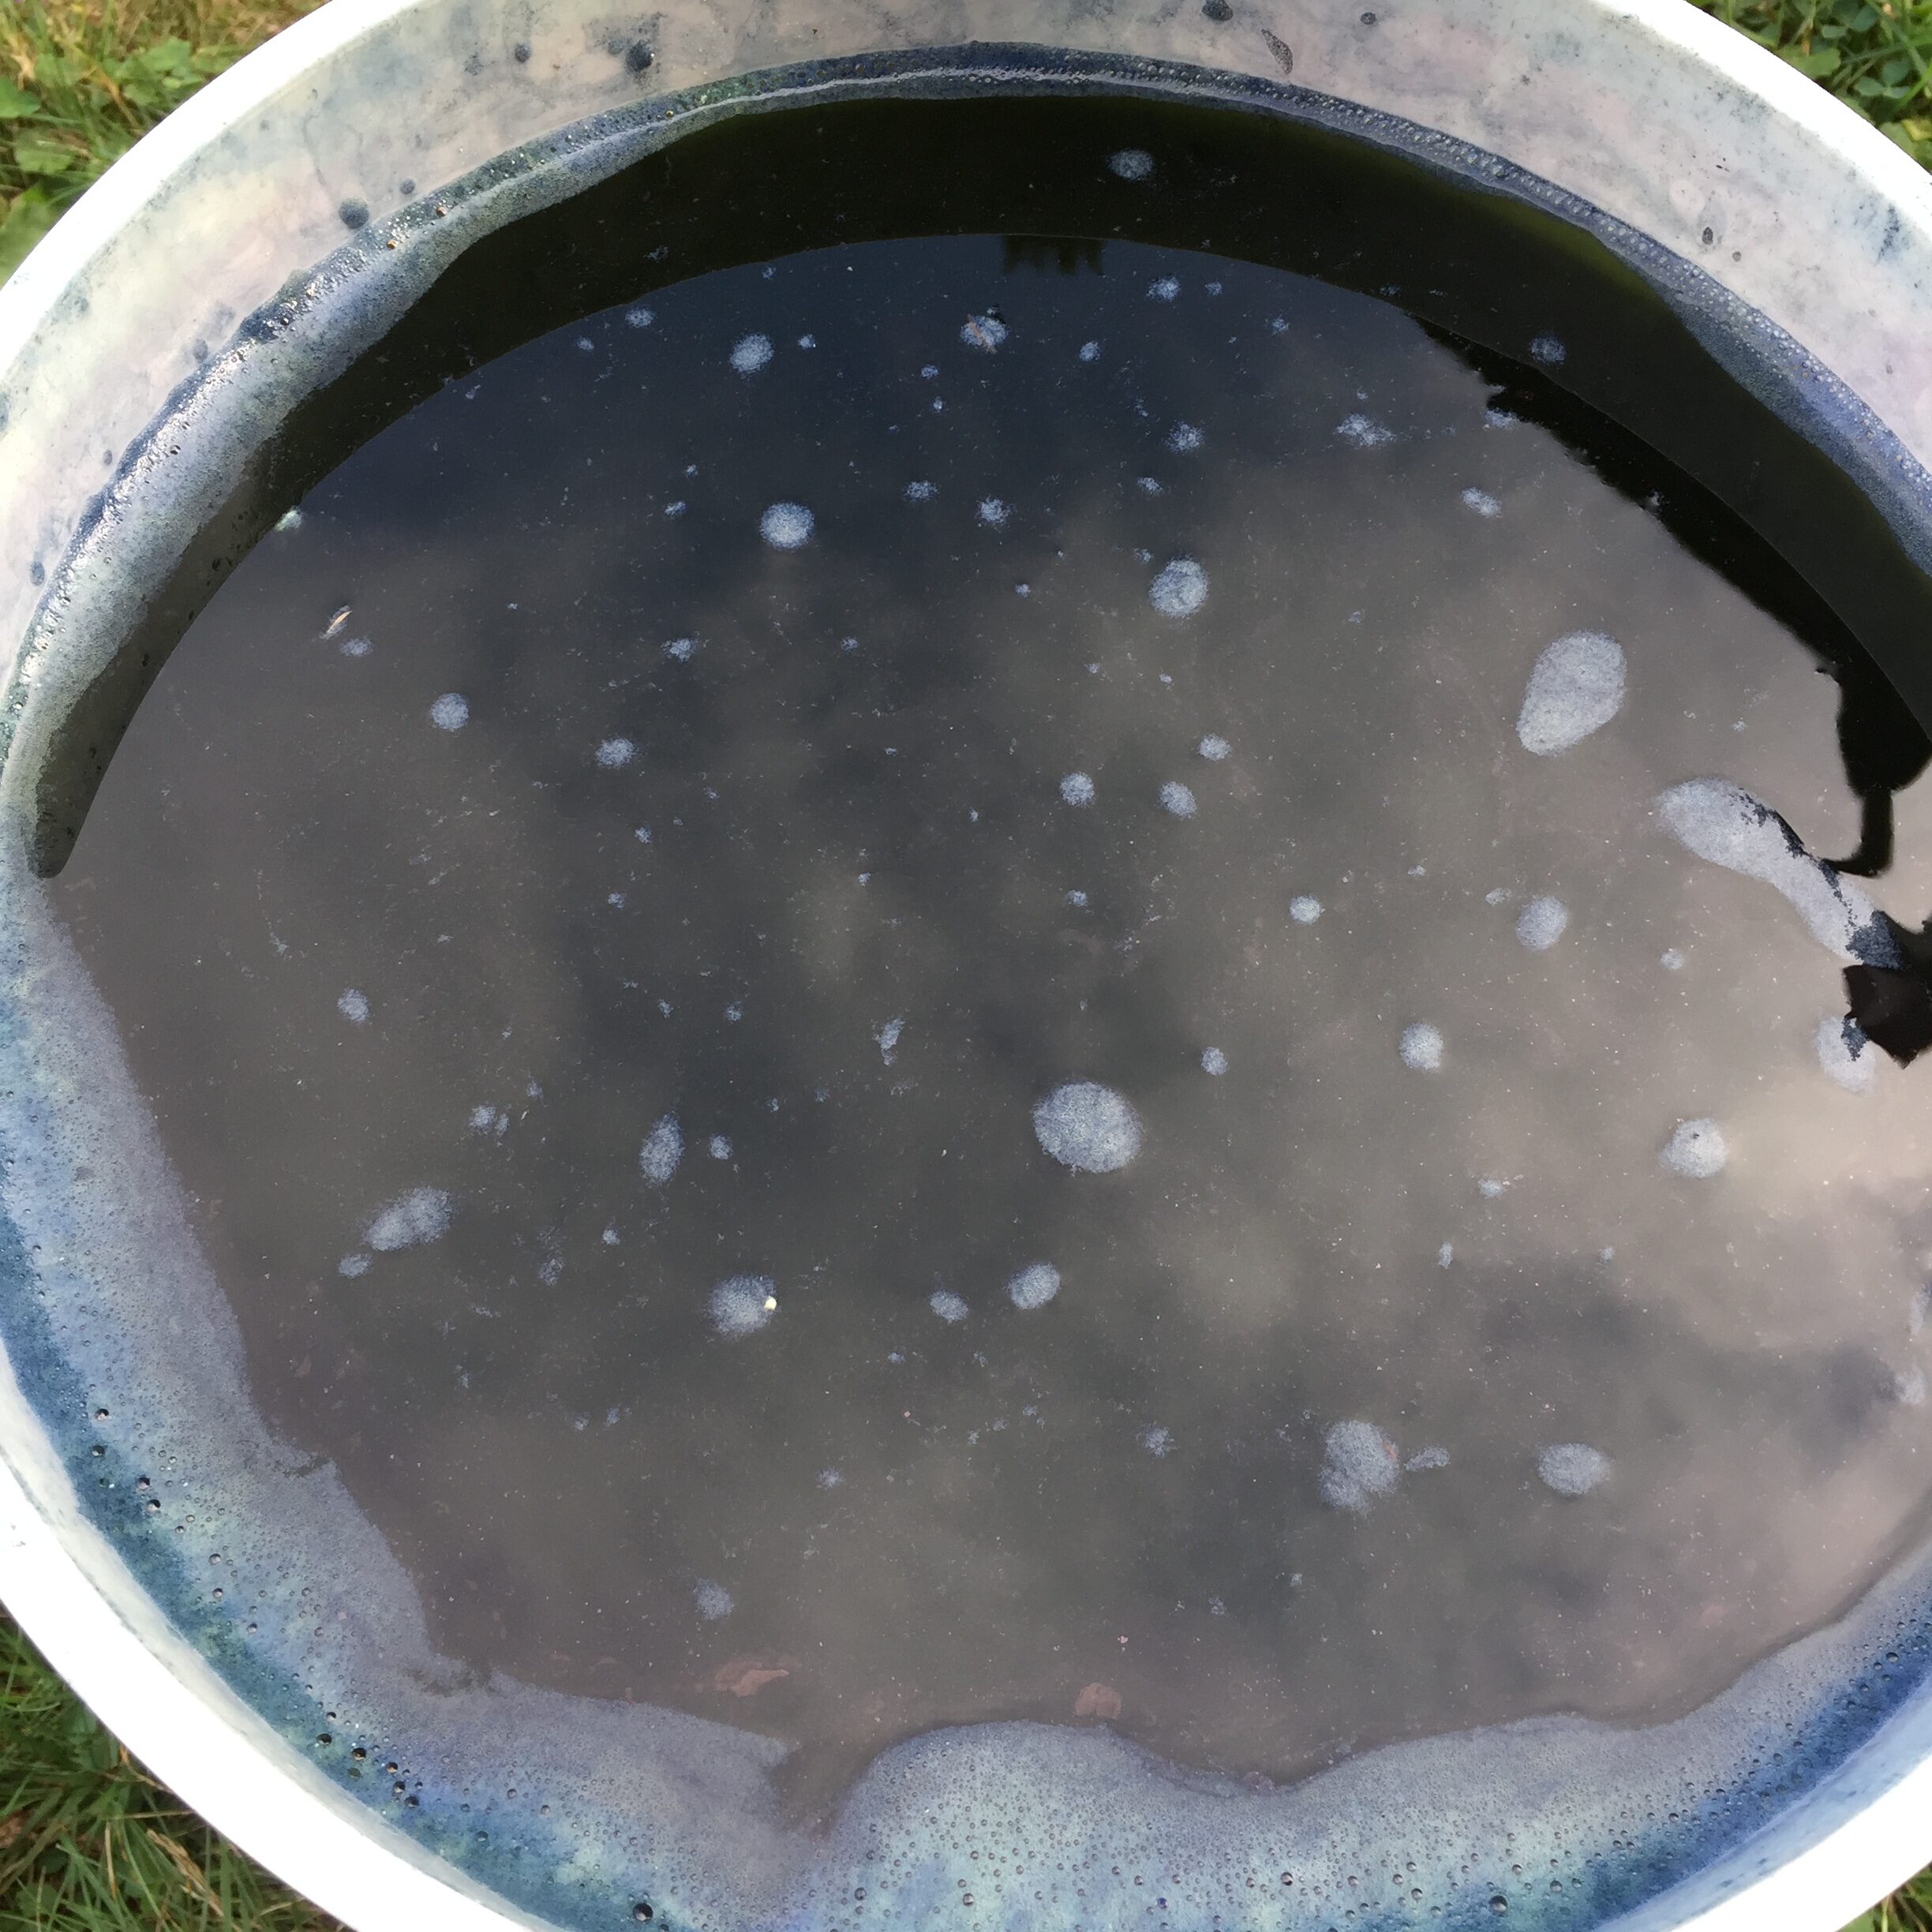
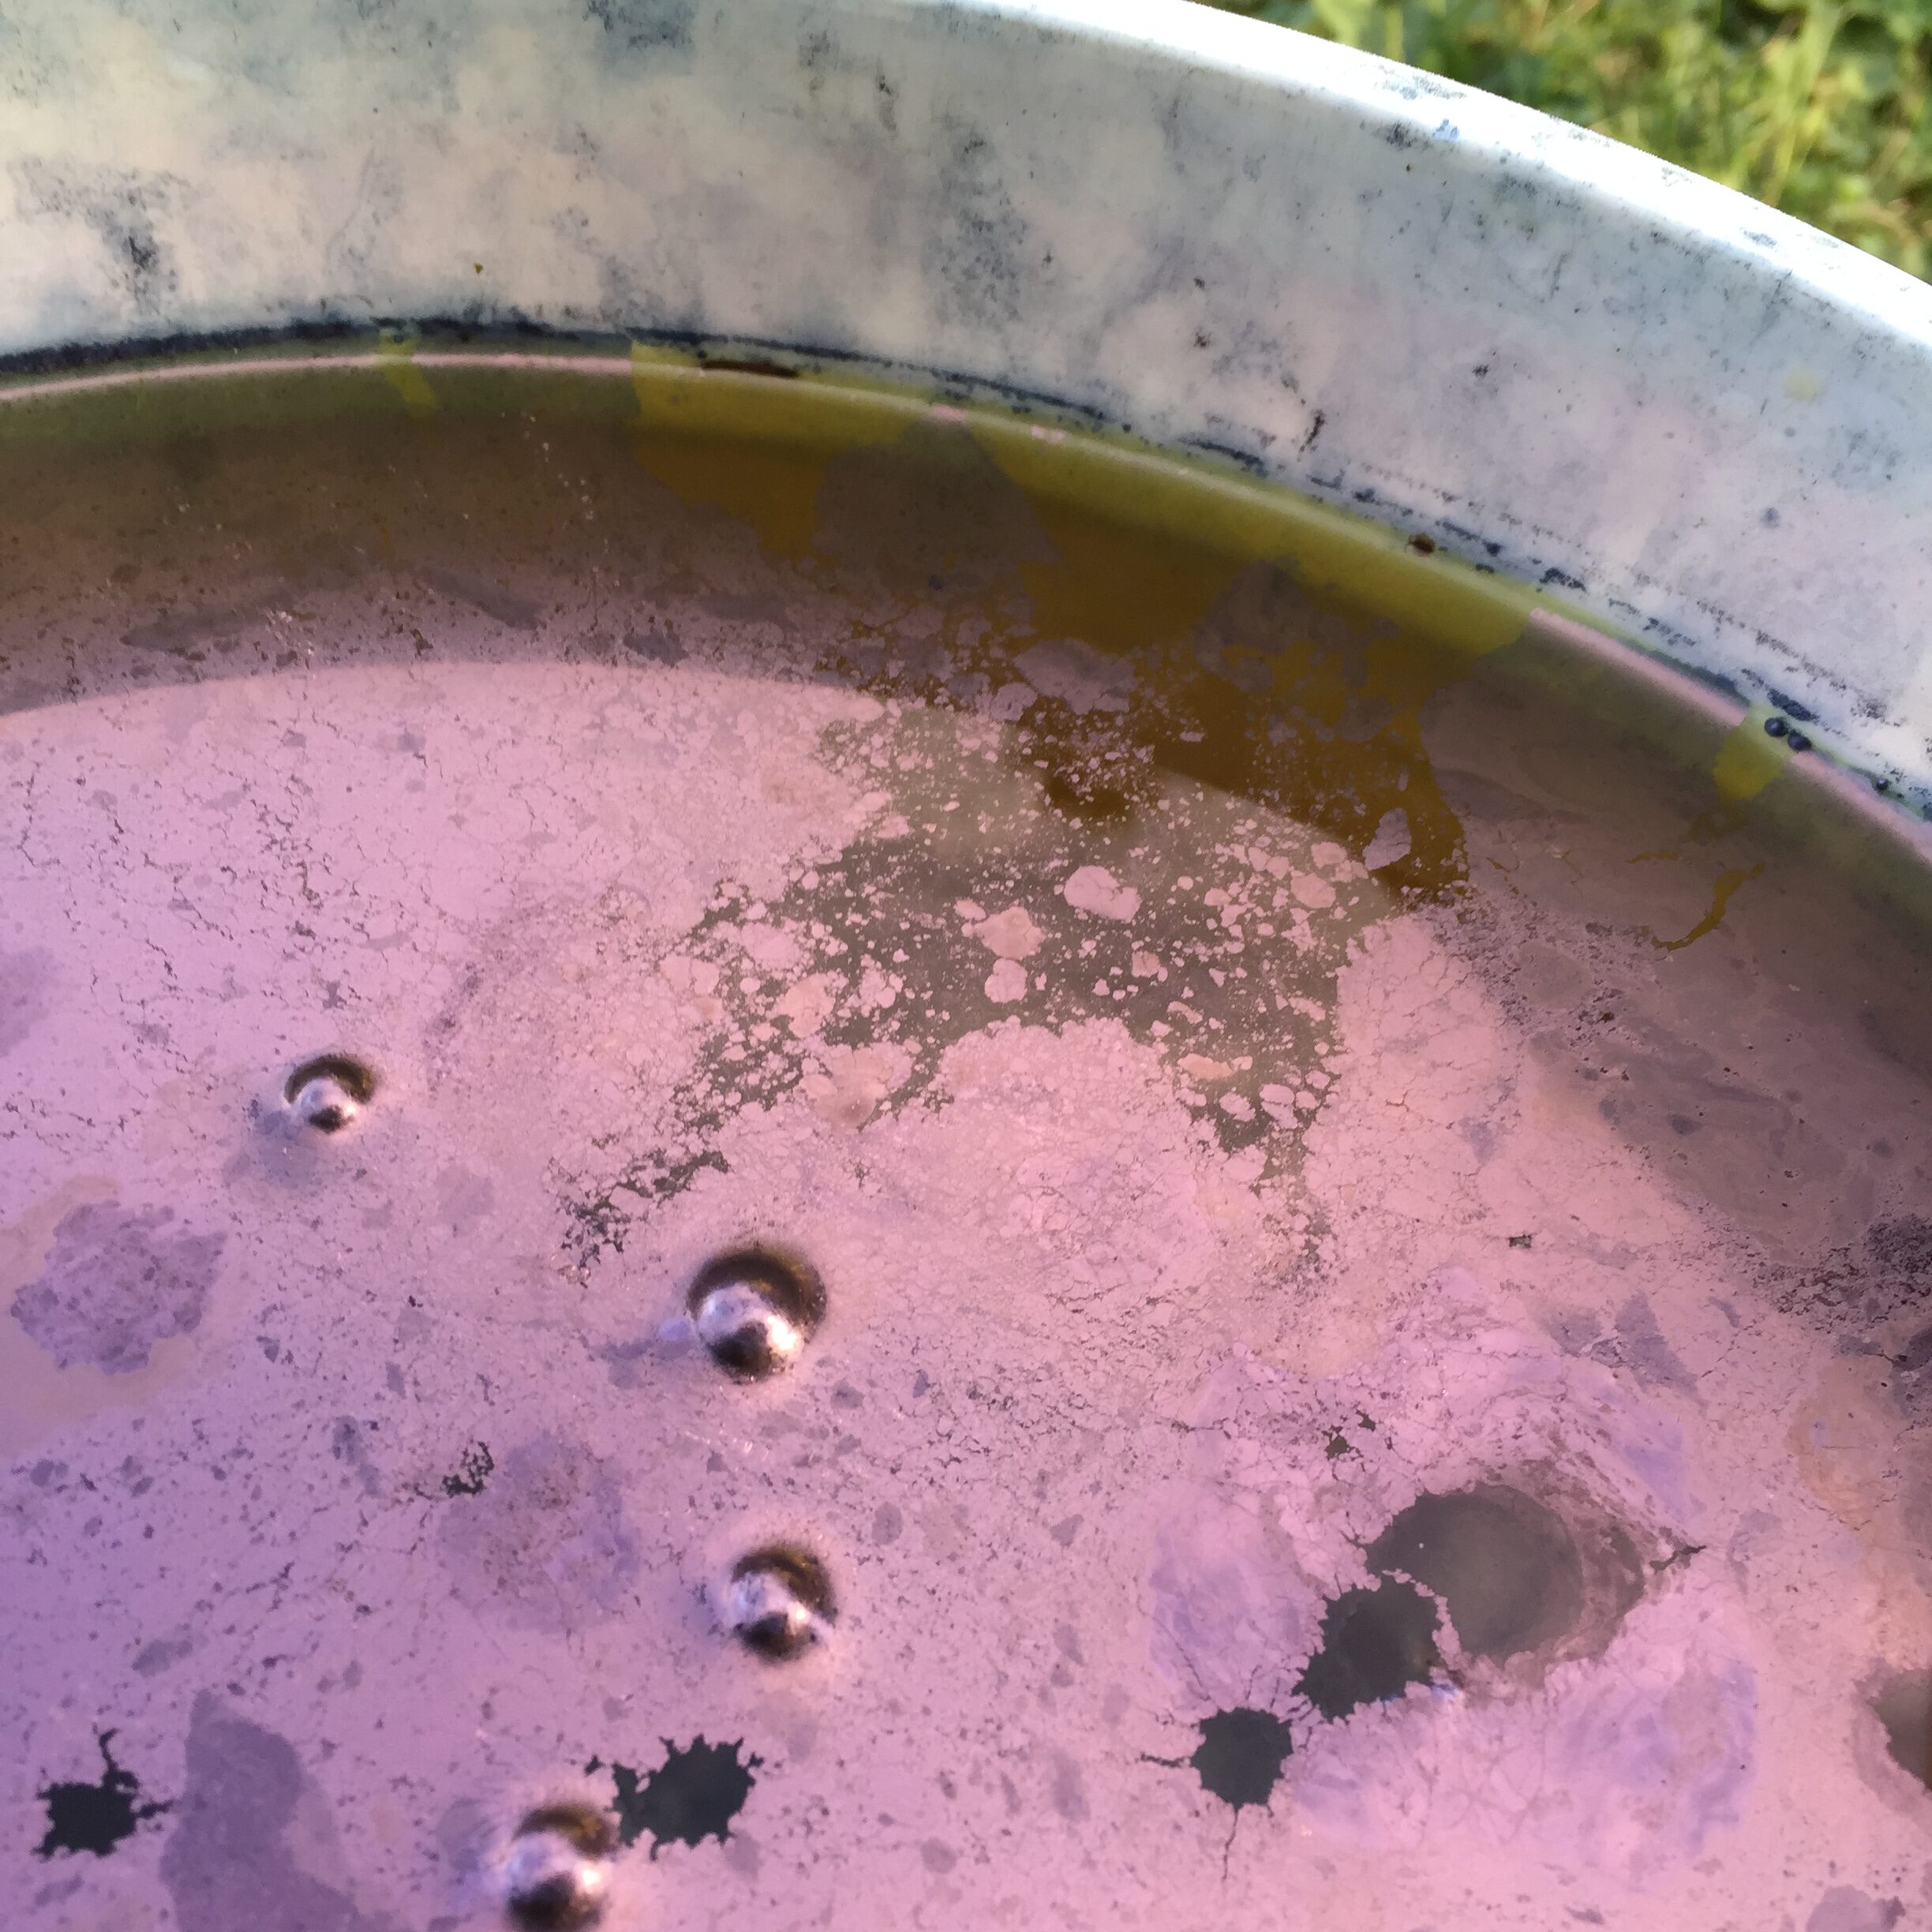
After all that pouring back and forth, the liquid was about 135F. Not ideal, but close. Sprinkle on some RIT Color Remover (sodium hydrosulfite) and wait another 45 minutes. Ta da! Reduced. Maybe a tad over-reduced. It’s fine, don’t sweat the technique. This video is NSFW but the song is so very funky and fabulous! I felt like I had already fretted more than I ought about my failures with the temperature, and just needed to get in the groove and move along with the process.
For this vat I was using two skeins of two-ply woolen yarn from our most recent Western Massachusetts Fibershed project, spun at Green Mountain Spinnery. The white is a blend of Montadale and Merino crosses. The gray includes some Romney and Romney cross fleeces. I also used two skeins of dark gray wool-alpaca blend from New York Textile Lab. And, some kinda scrappy fleece that was either too long, too short, or too much vm to send to the mill. Hand carding is slow, but I hate to waste anything.
The white wool skein was in first for 20 minutes*, then the gray wool skein for 25 minutes*, and then I put the NY Textile Lab skeins in together a couple hours*. I left the first batch of fleece in the vat overnight*. Here are the skeins and the first batch of fleece (about 8 oz.) oxidizing in the dappled shade of a spruce tree out back the next day.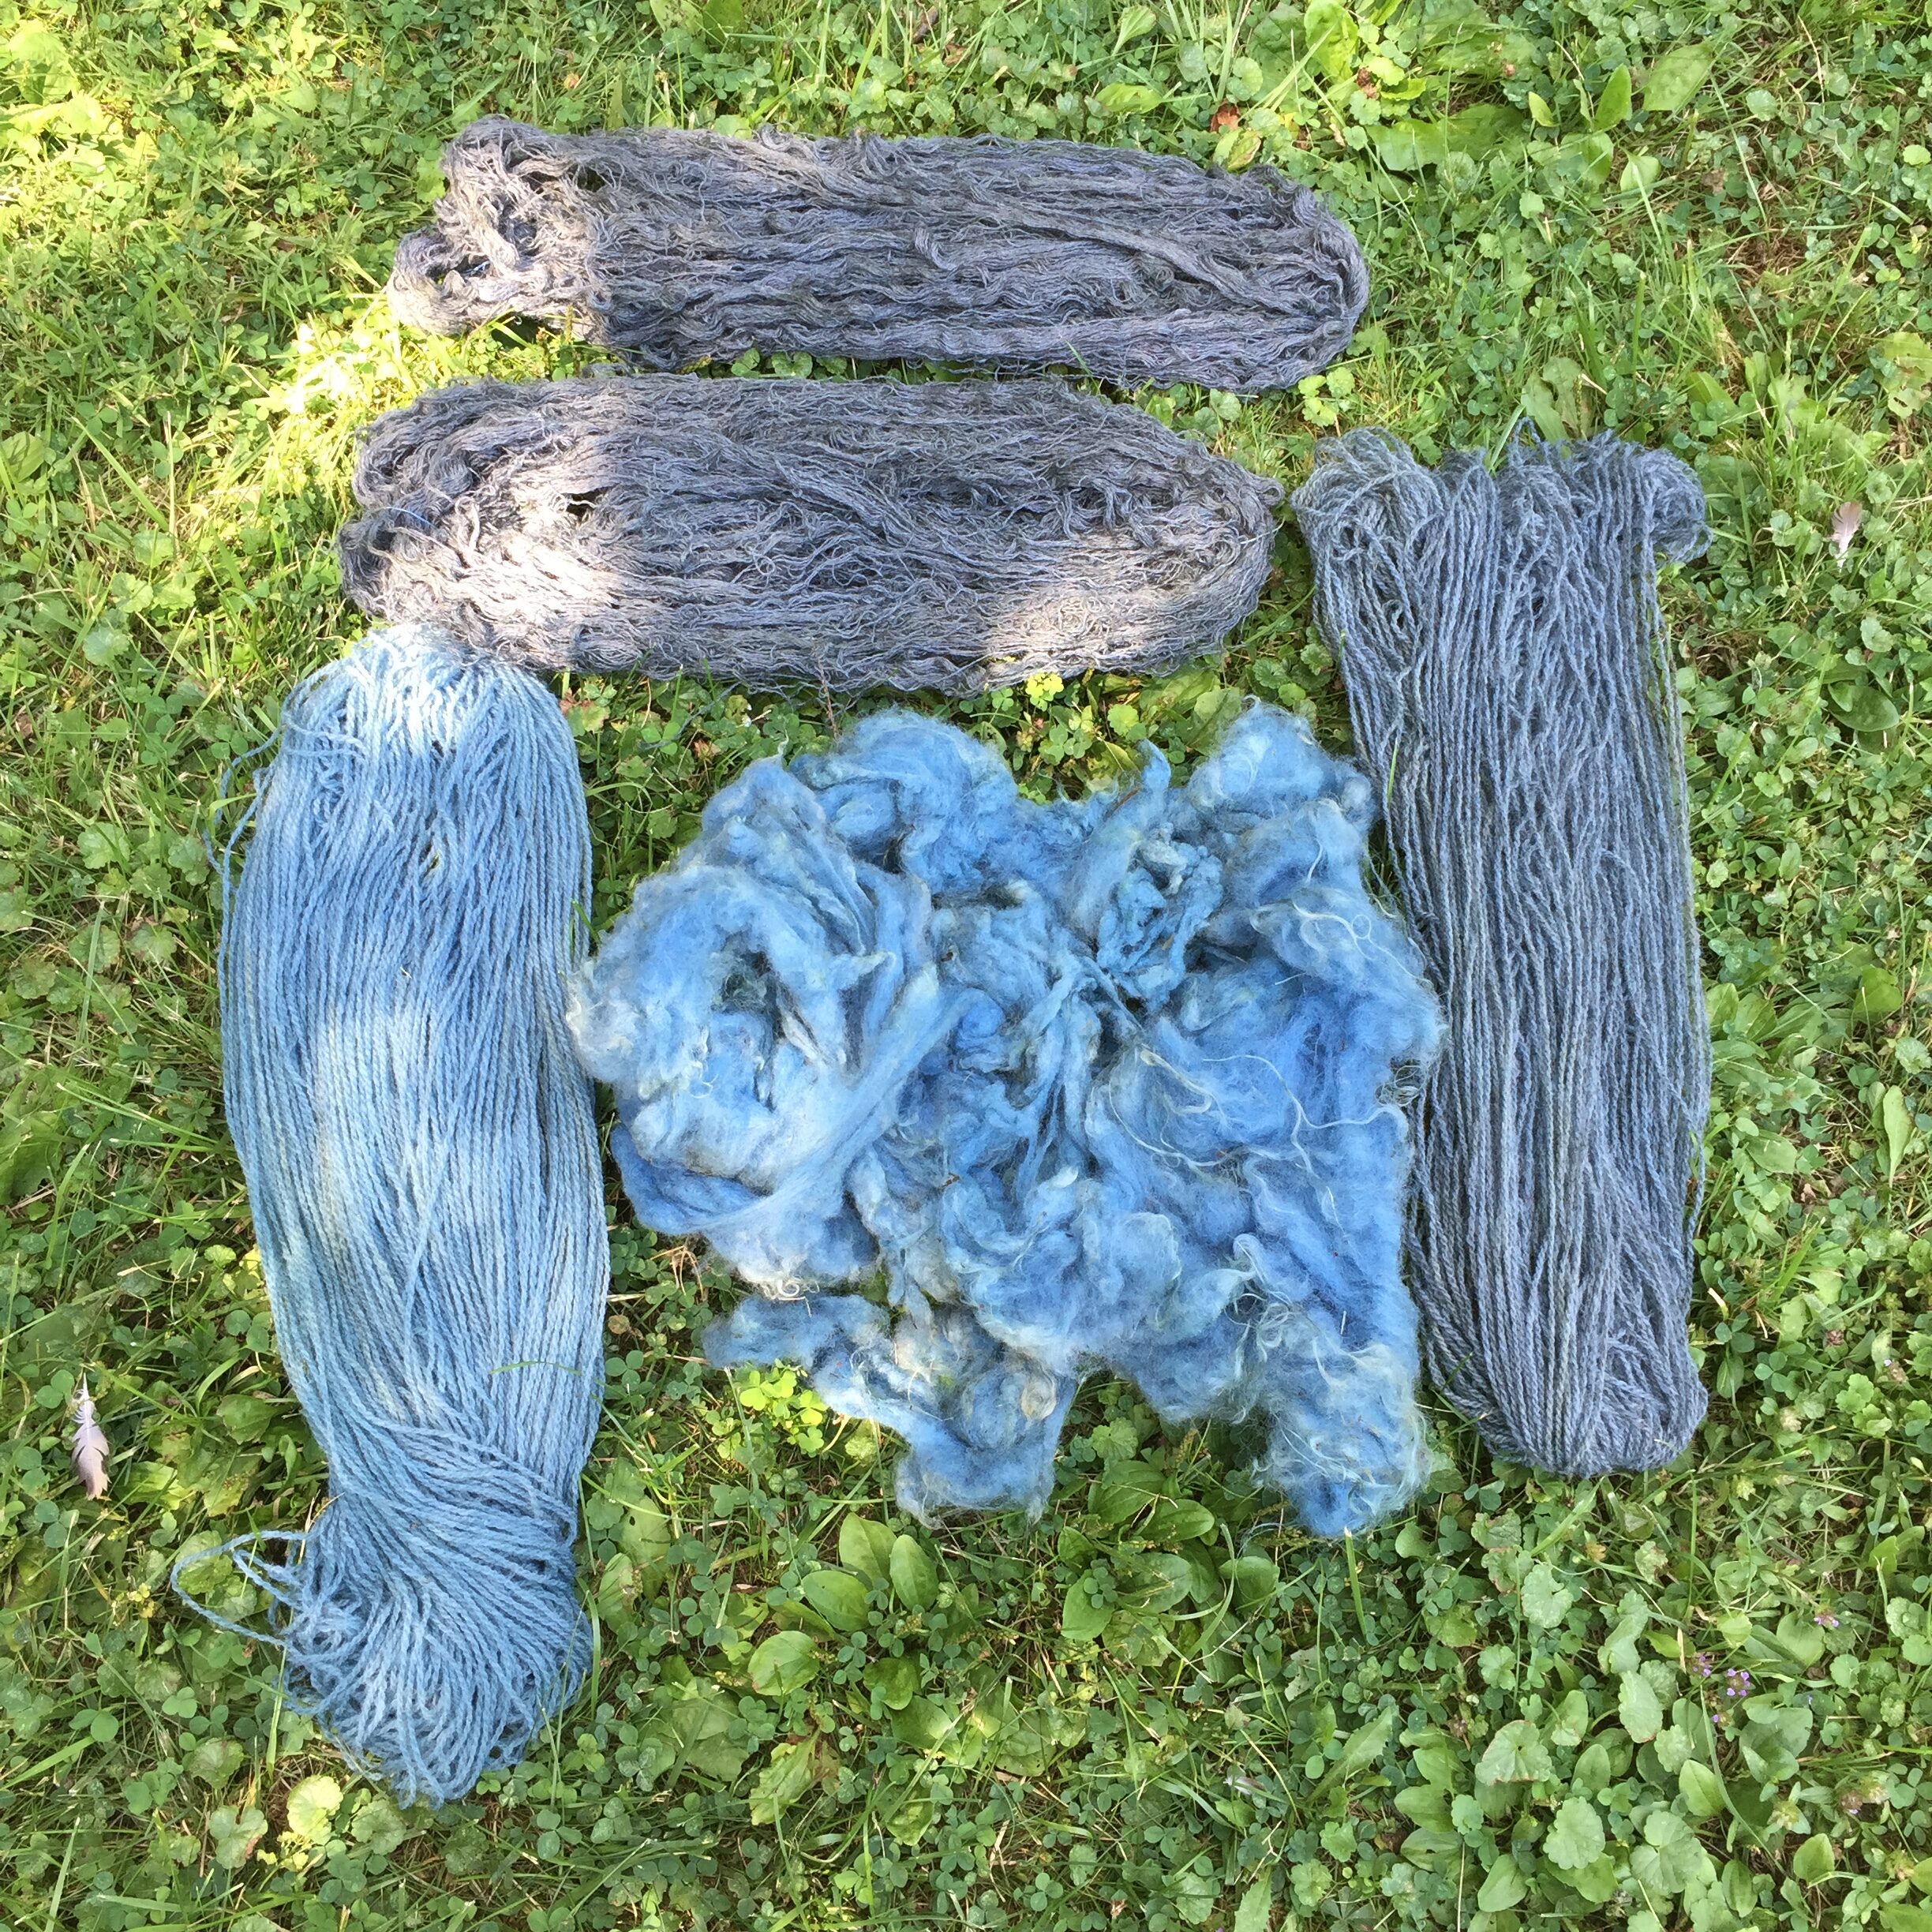
There was a lot of color left in the vat, so the next morning I put in the second batch of fleece (about 6 oz.), and left it in all day. I pulled it out in the afternoon.*
Here it is in the afternoon of Aug. 8th.* If you’ve done any indigo dyeing then you’ve seen this transformation from yellow to blue before, but it’s always exciting! Fleece still submerged in the reduced vat:
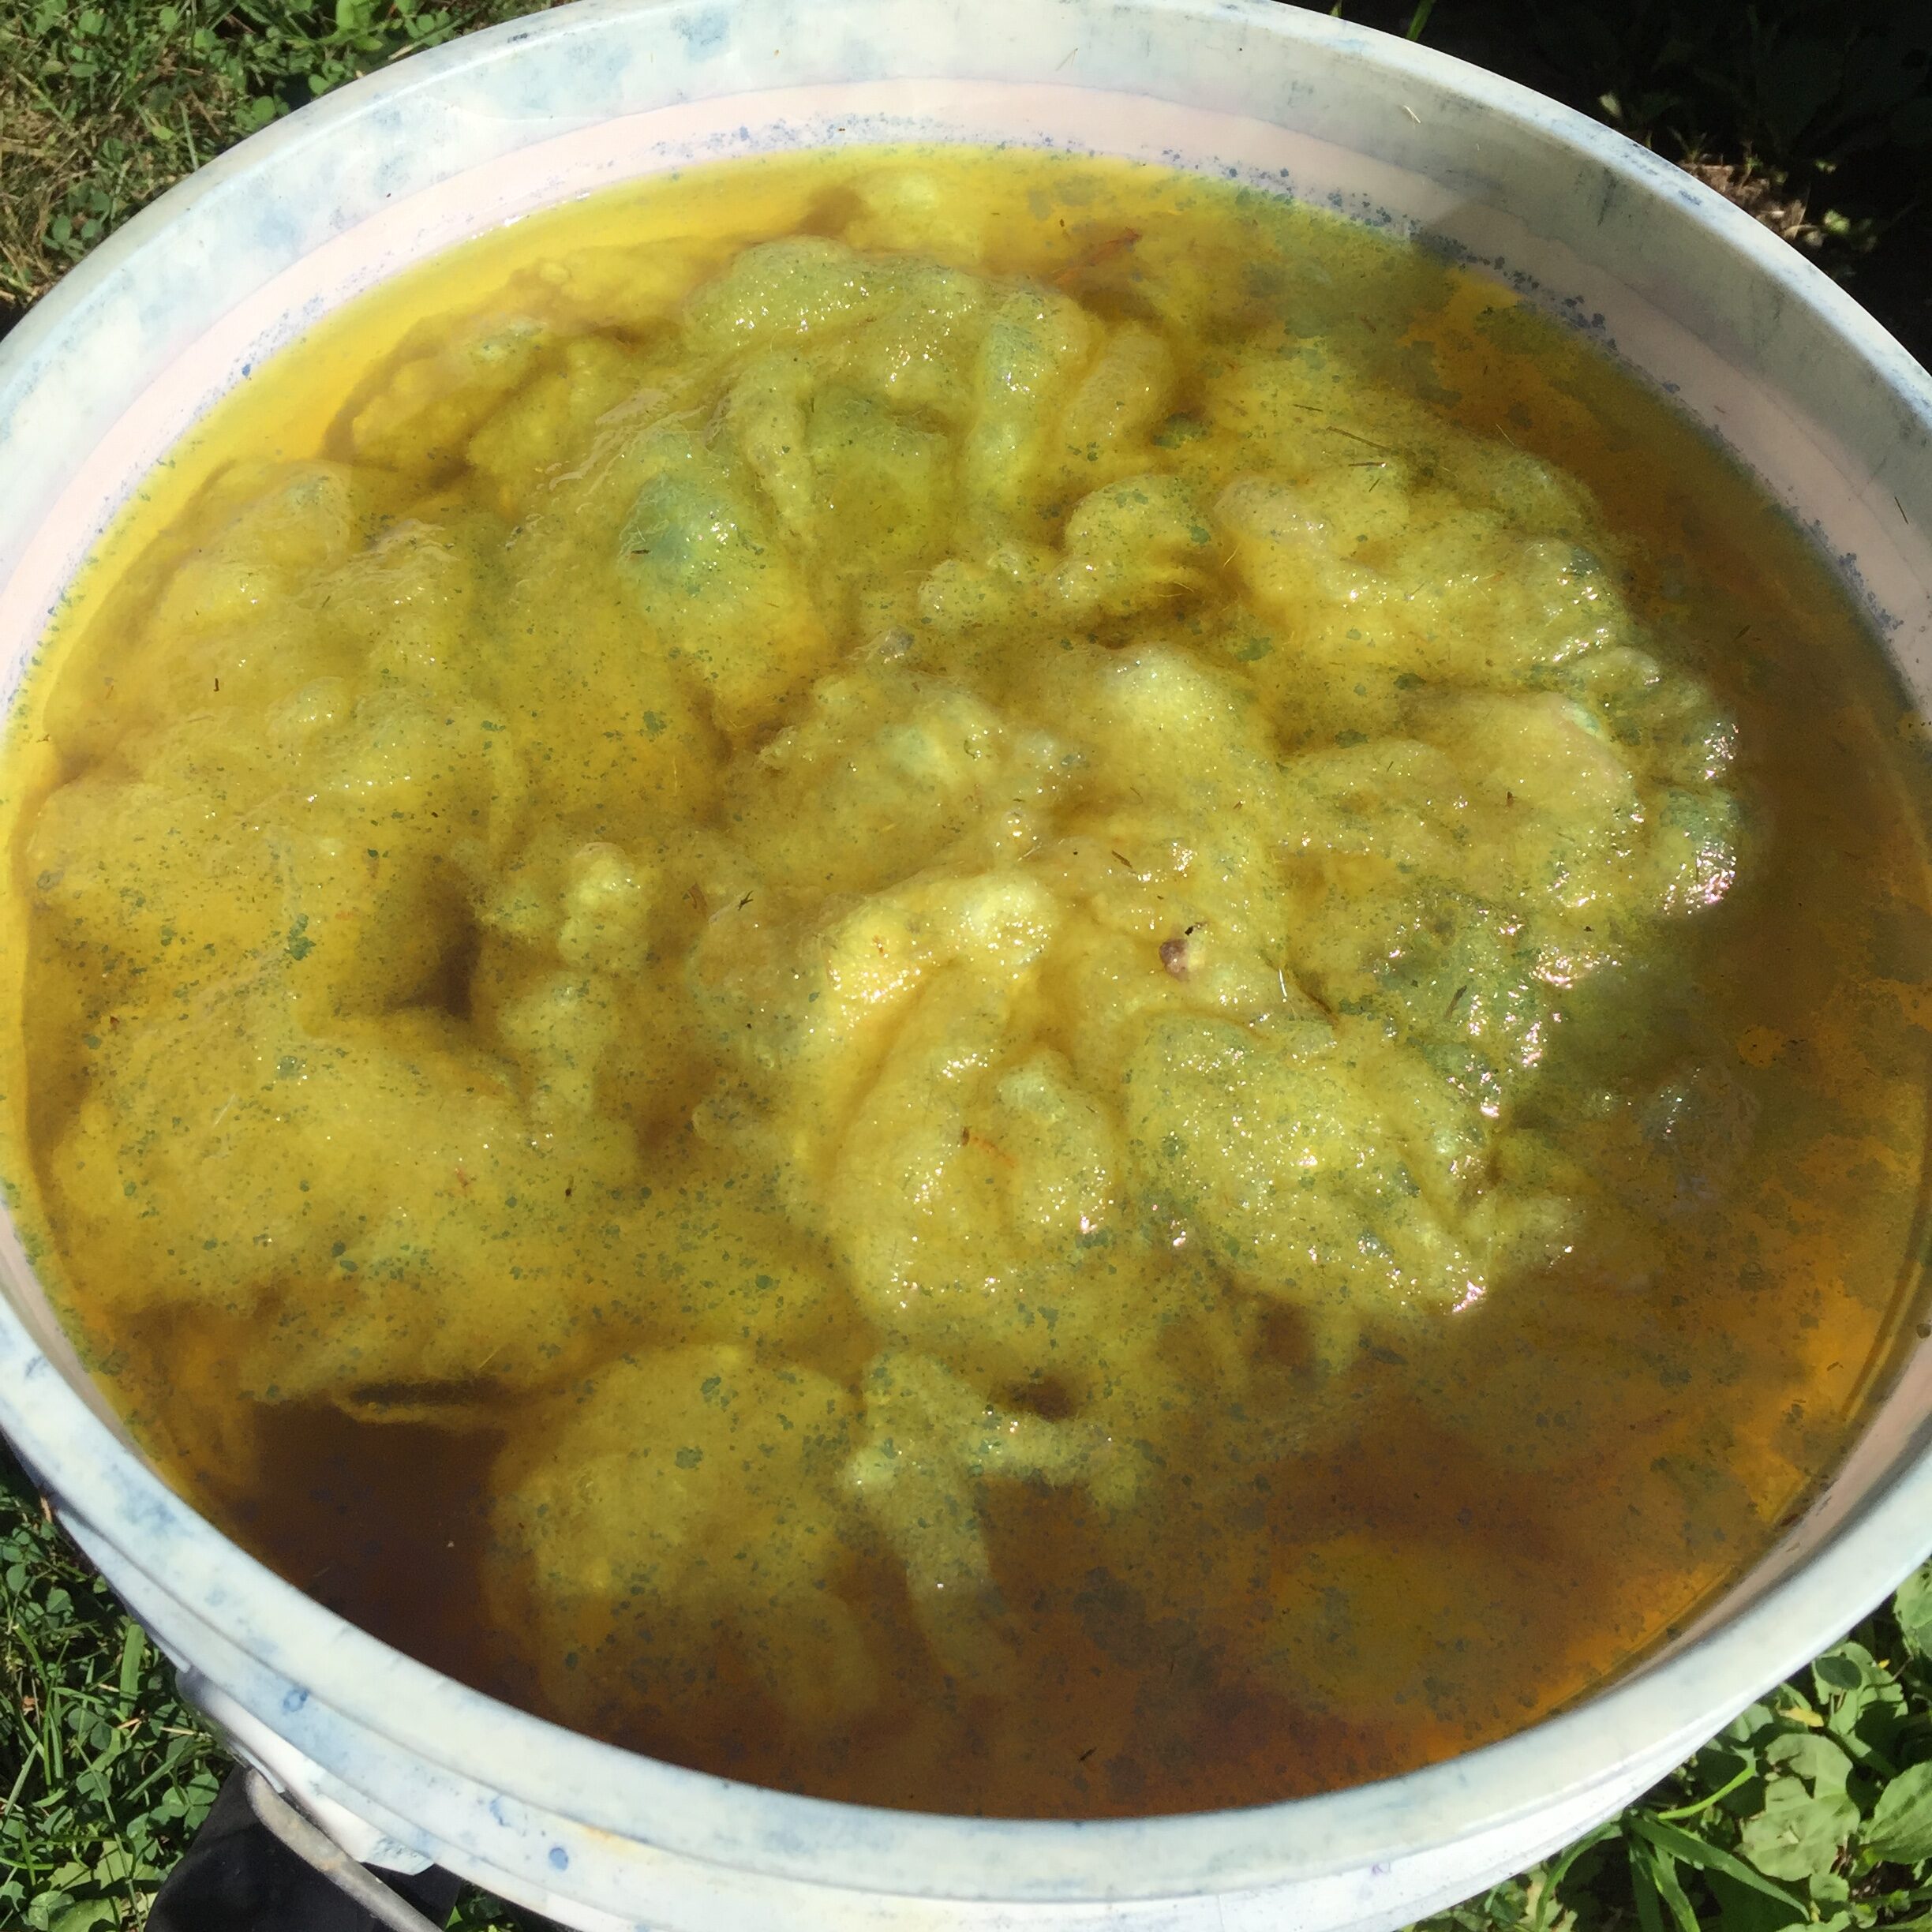
Oxygen starts to hit the fibers and the blue starts to develop:
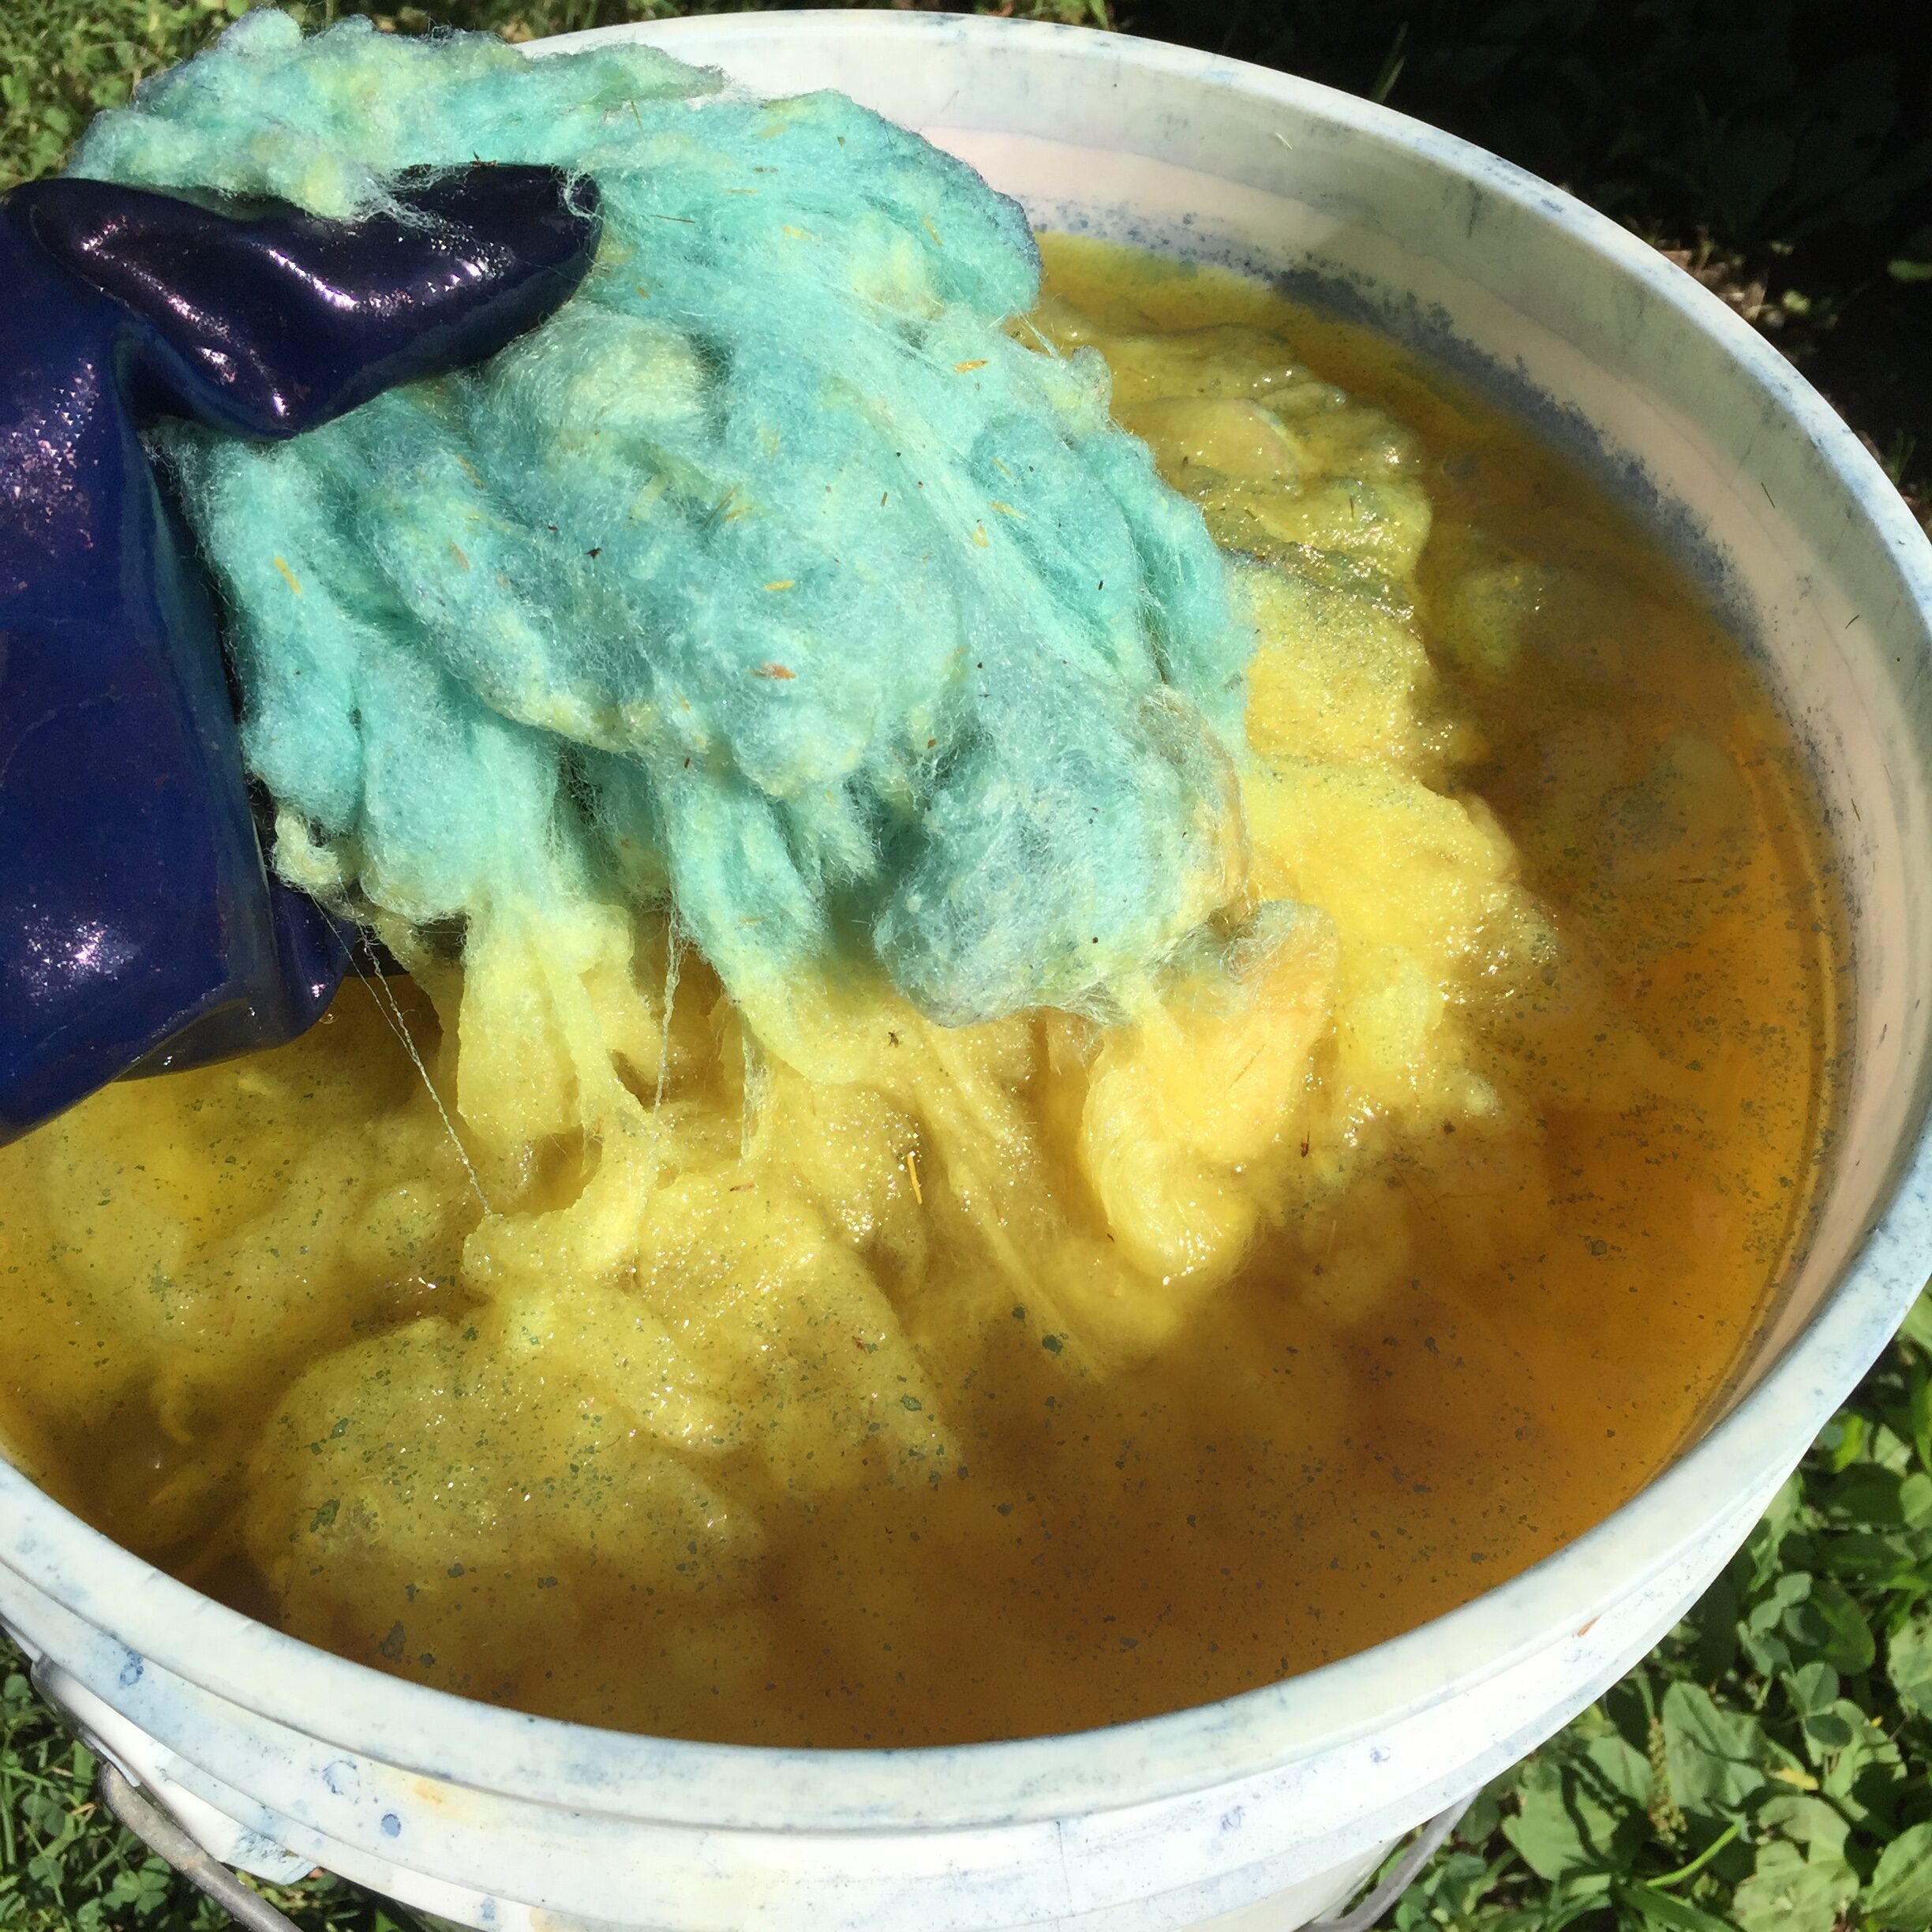
More blue develops as the oxidation process continues:

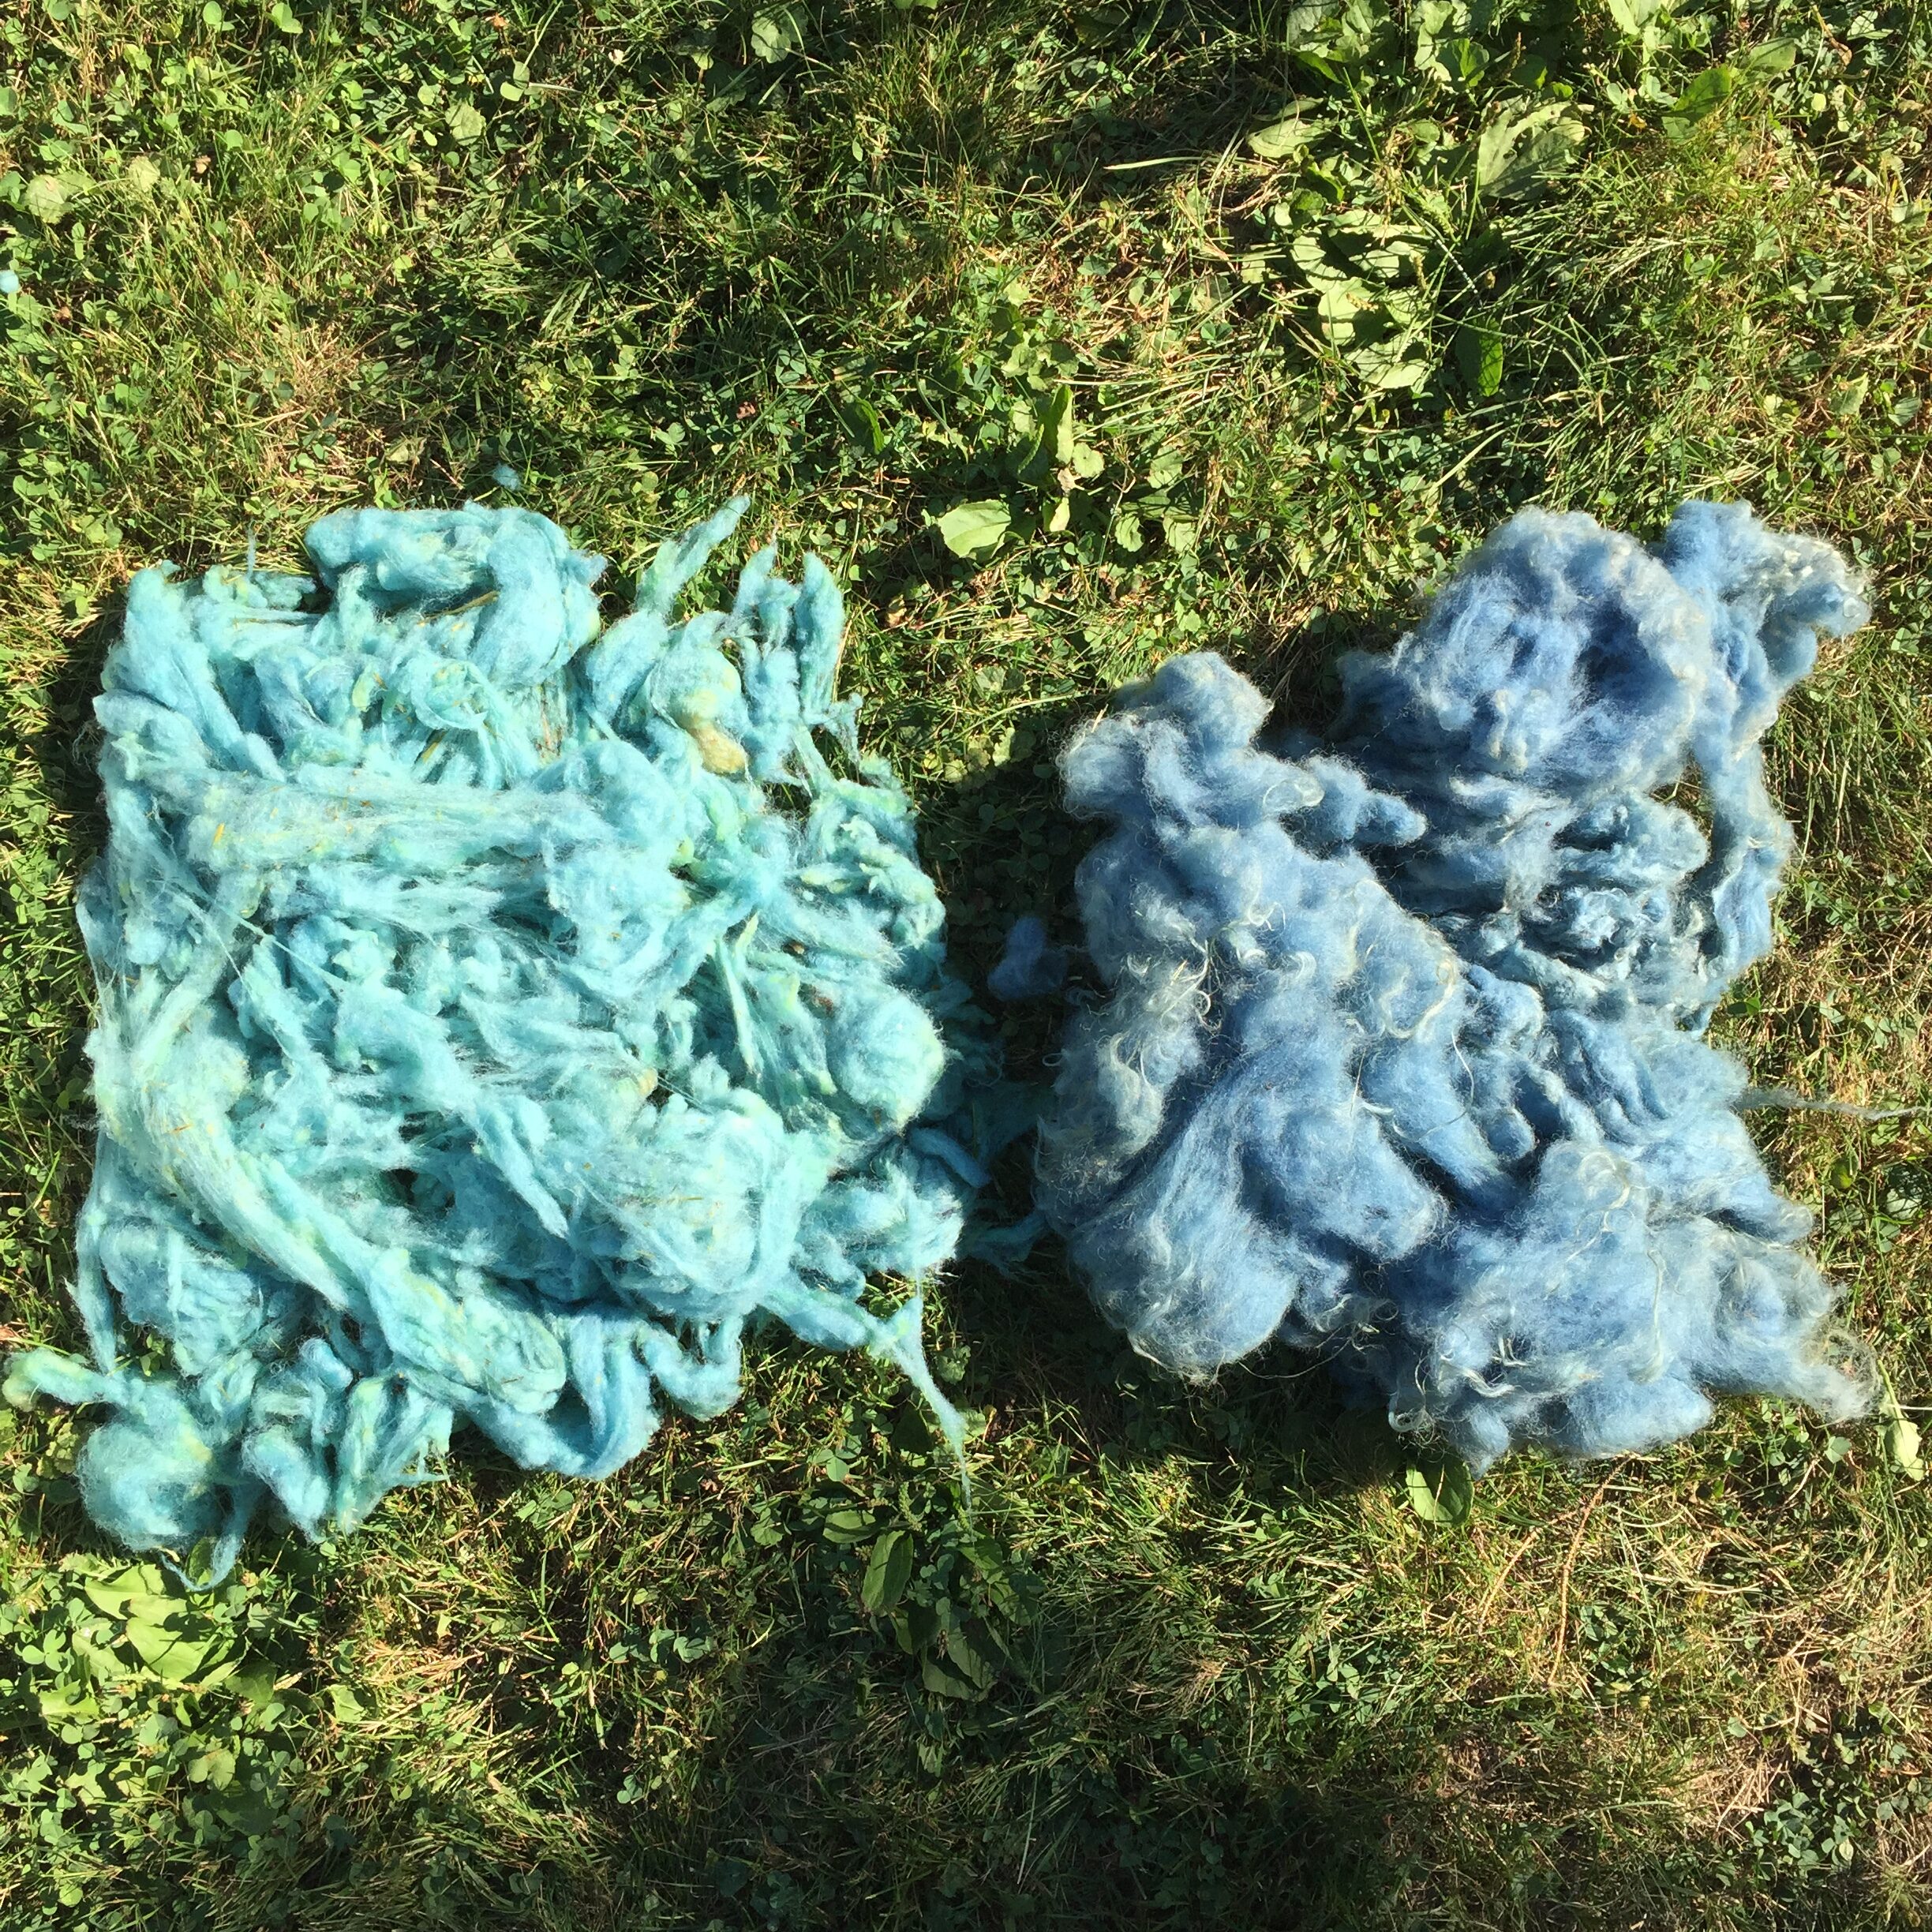
Here you can see the fleece from the day before, which has oxidized for about 8-9 hours*, compared to the fiber that’s just getting started:
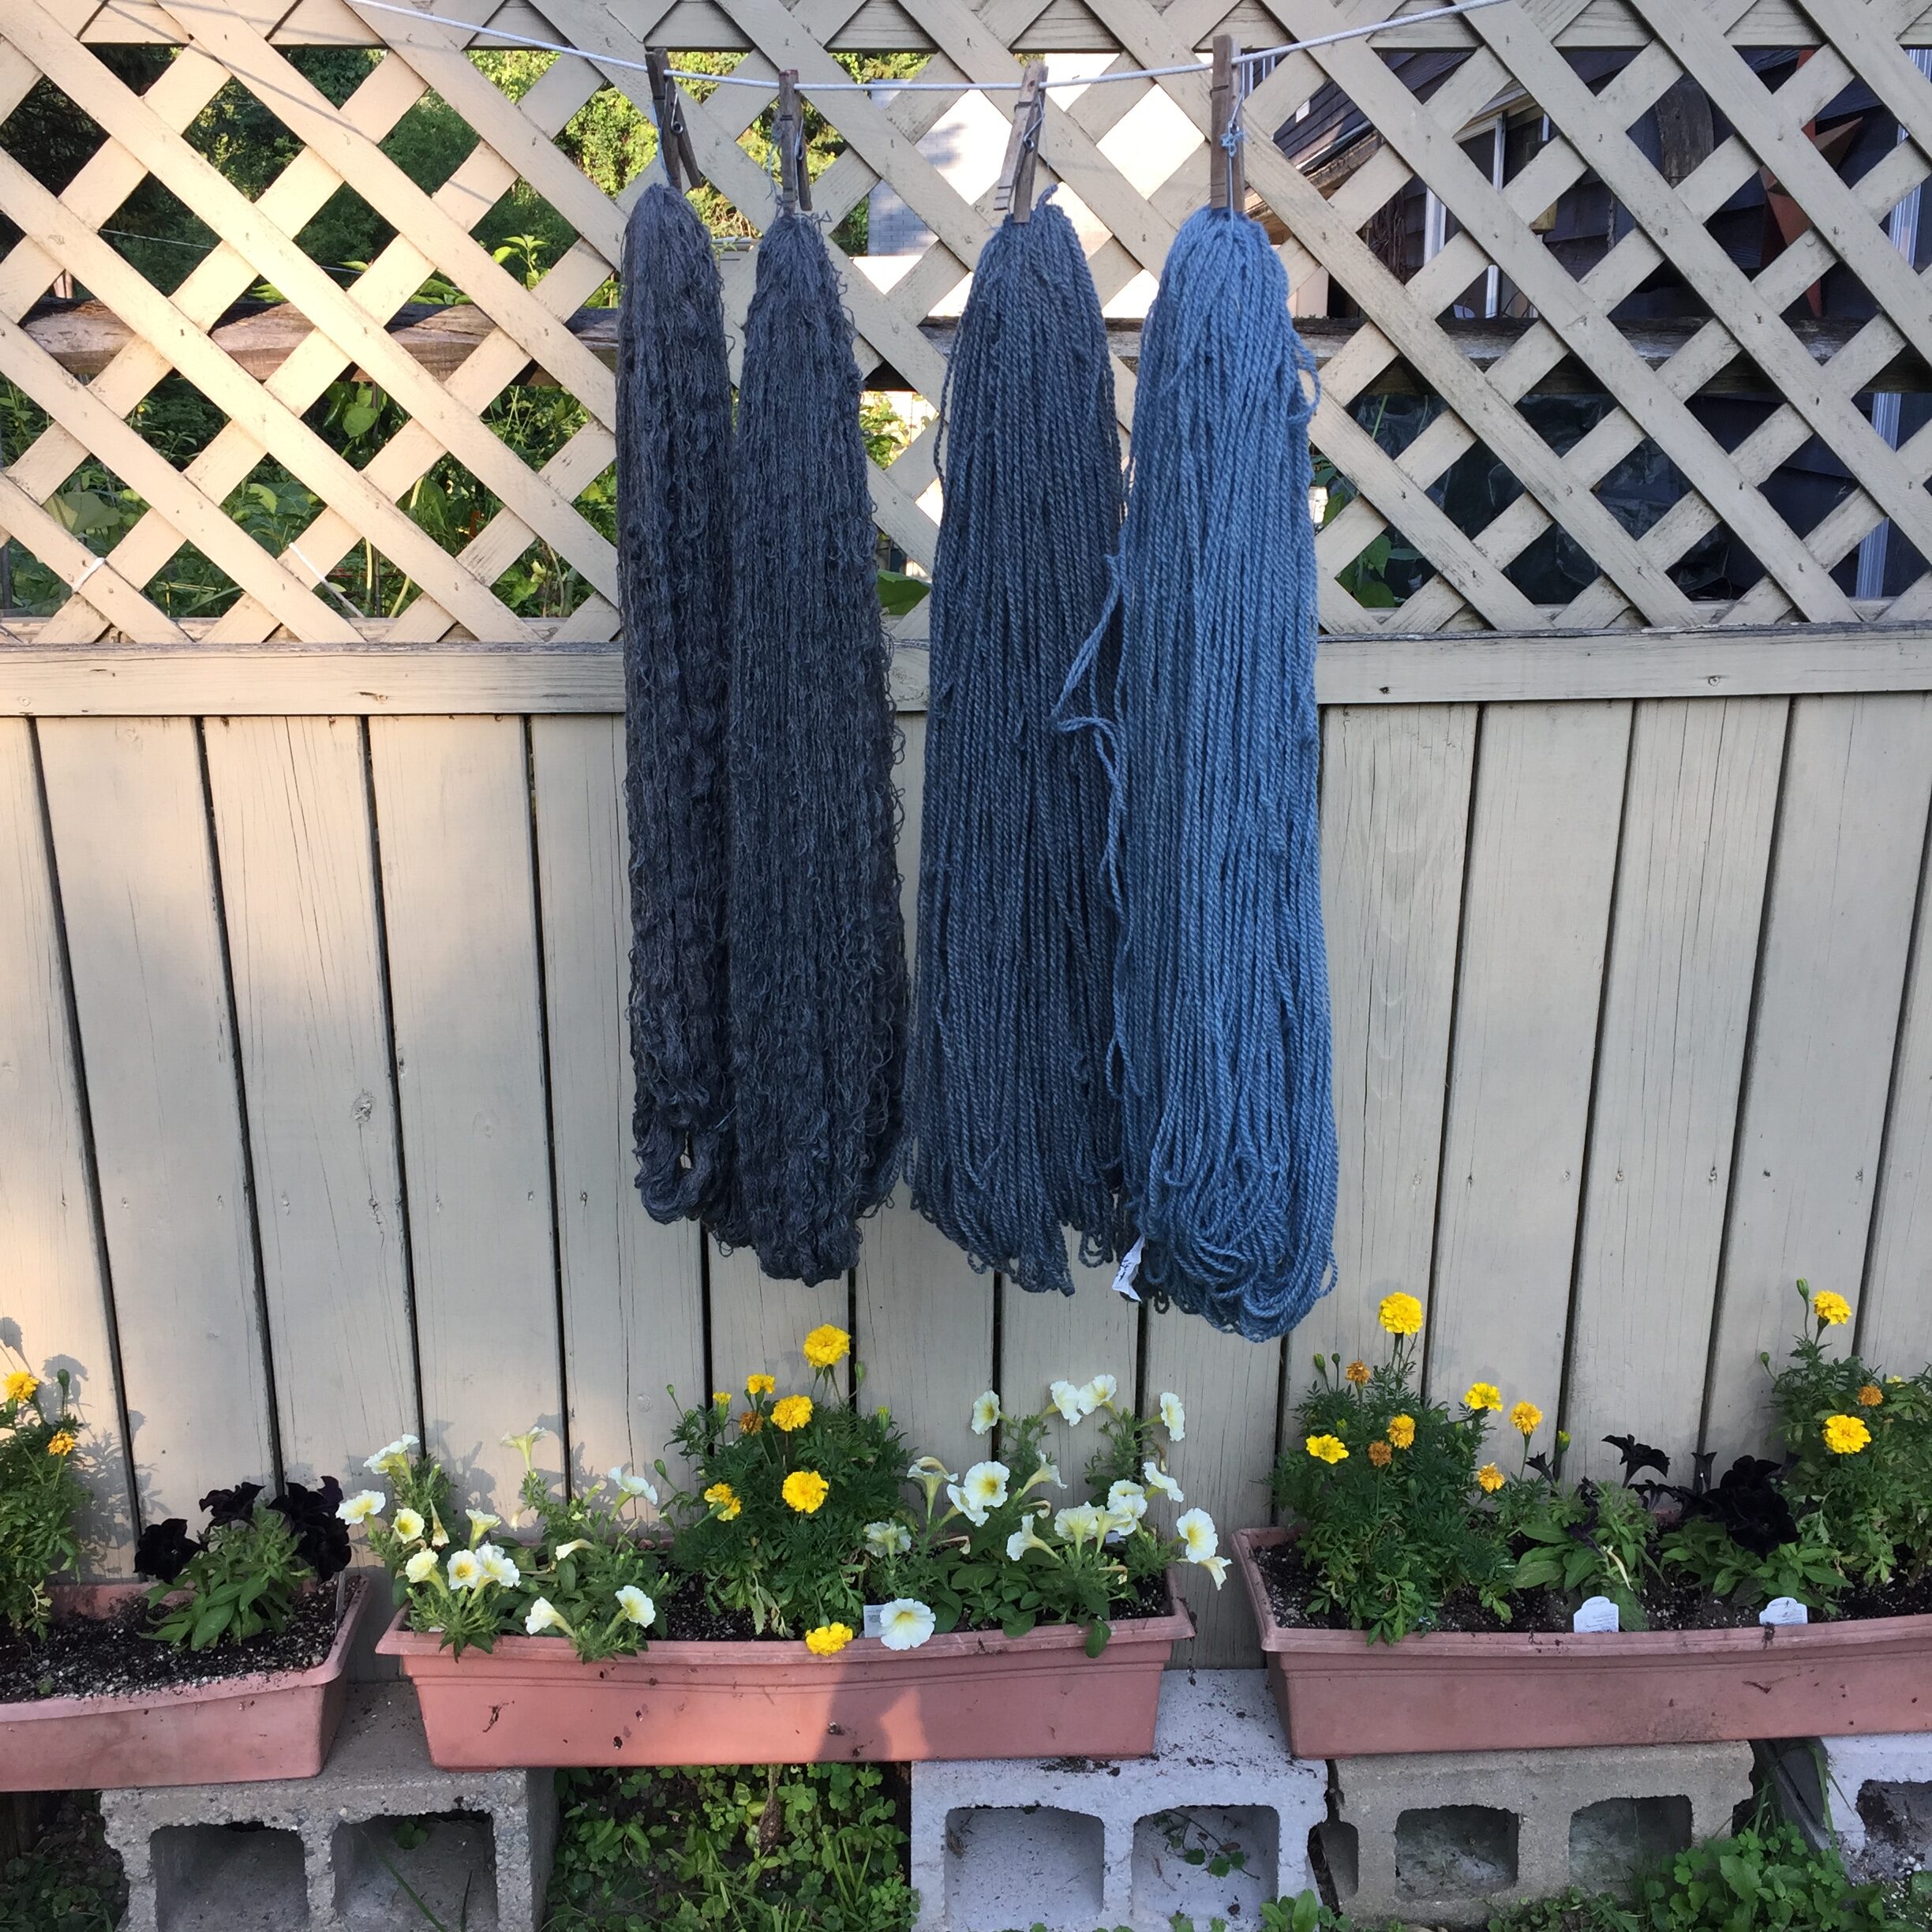
After the fibers had plenty of time to oxidize and were basically dry, I rinsed them in a vinegar solution to neutralize the alkalinity, then did a couple rinses with clear water. Here are the skeins after neutralizing and rinsing:
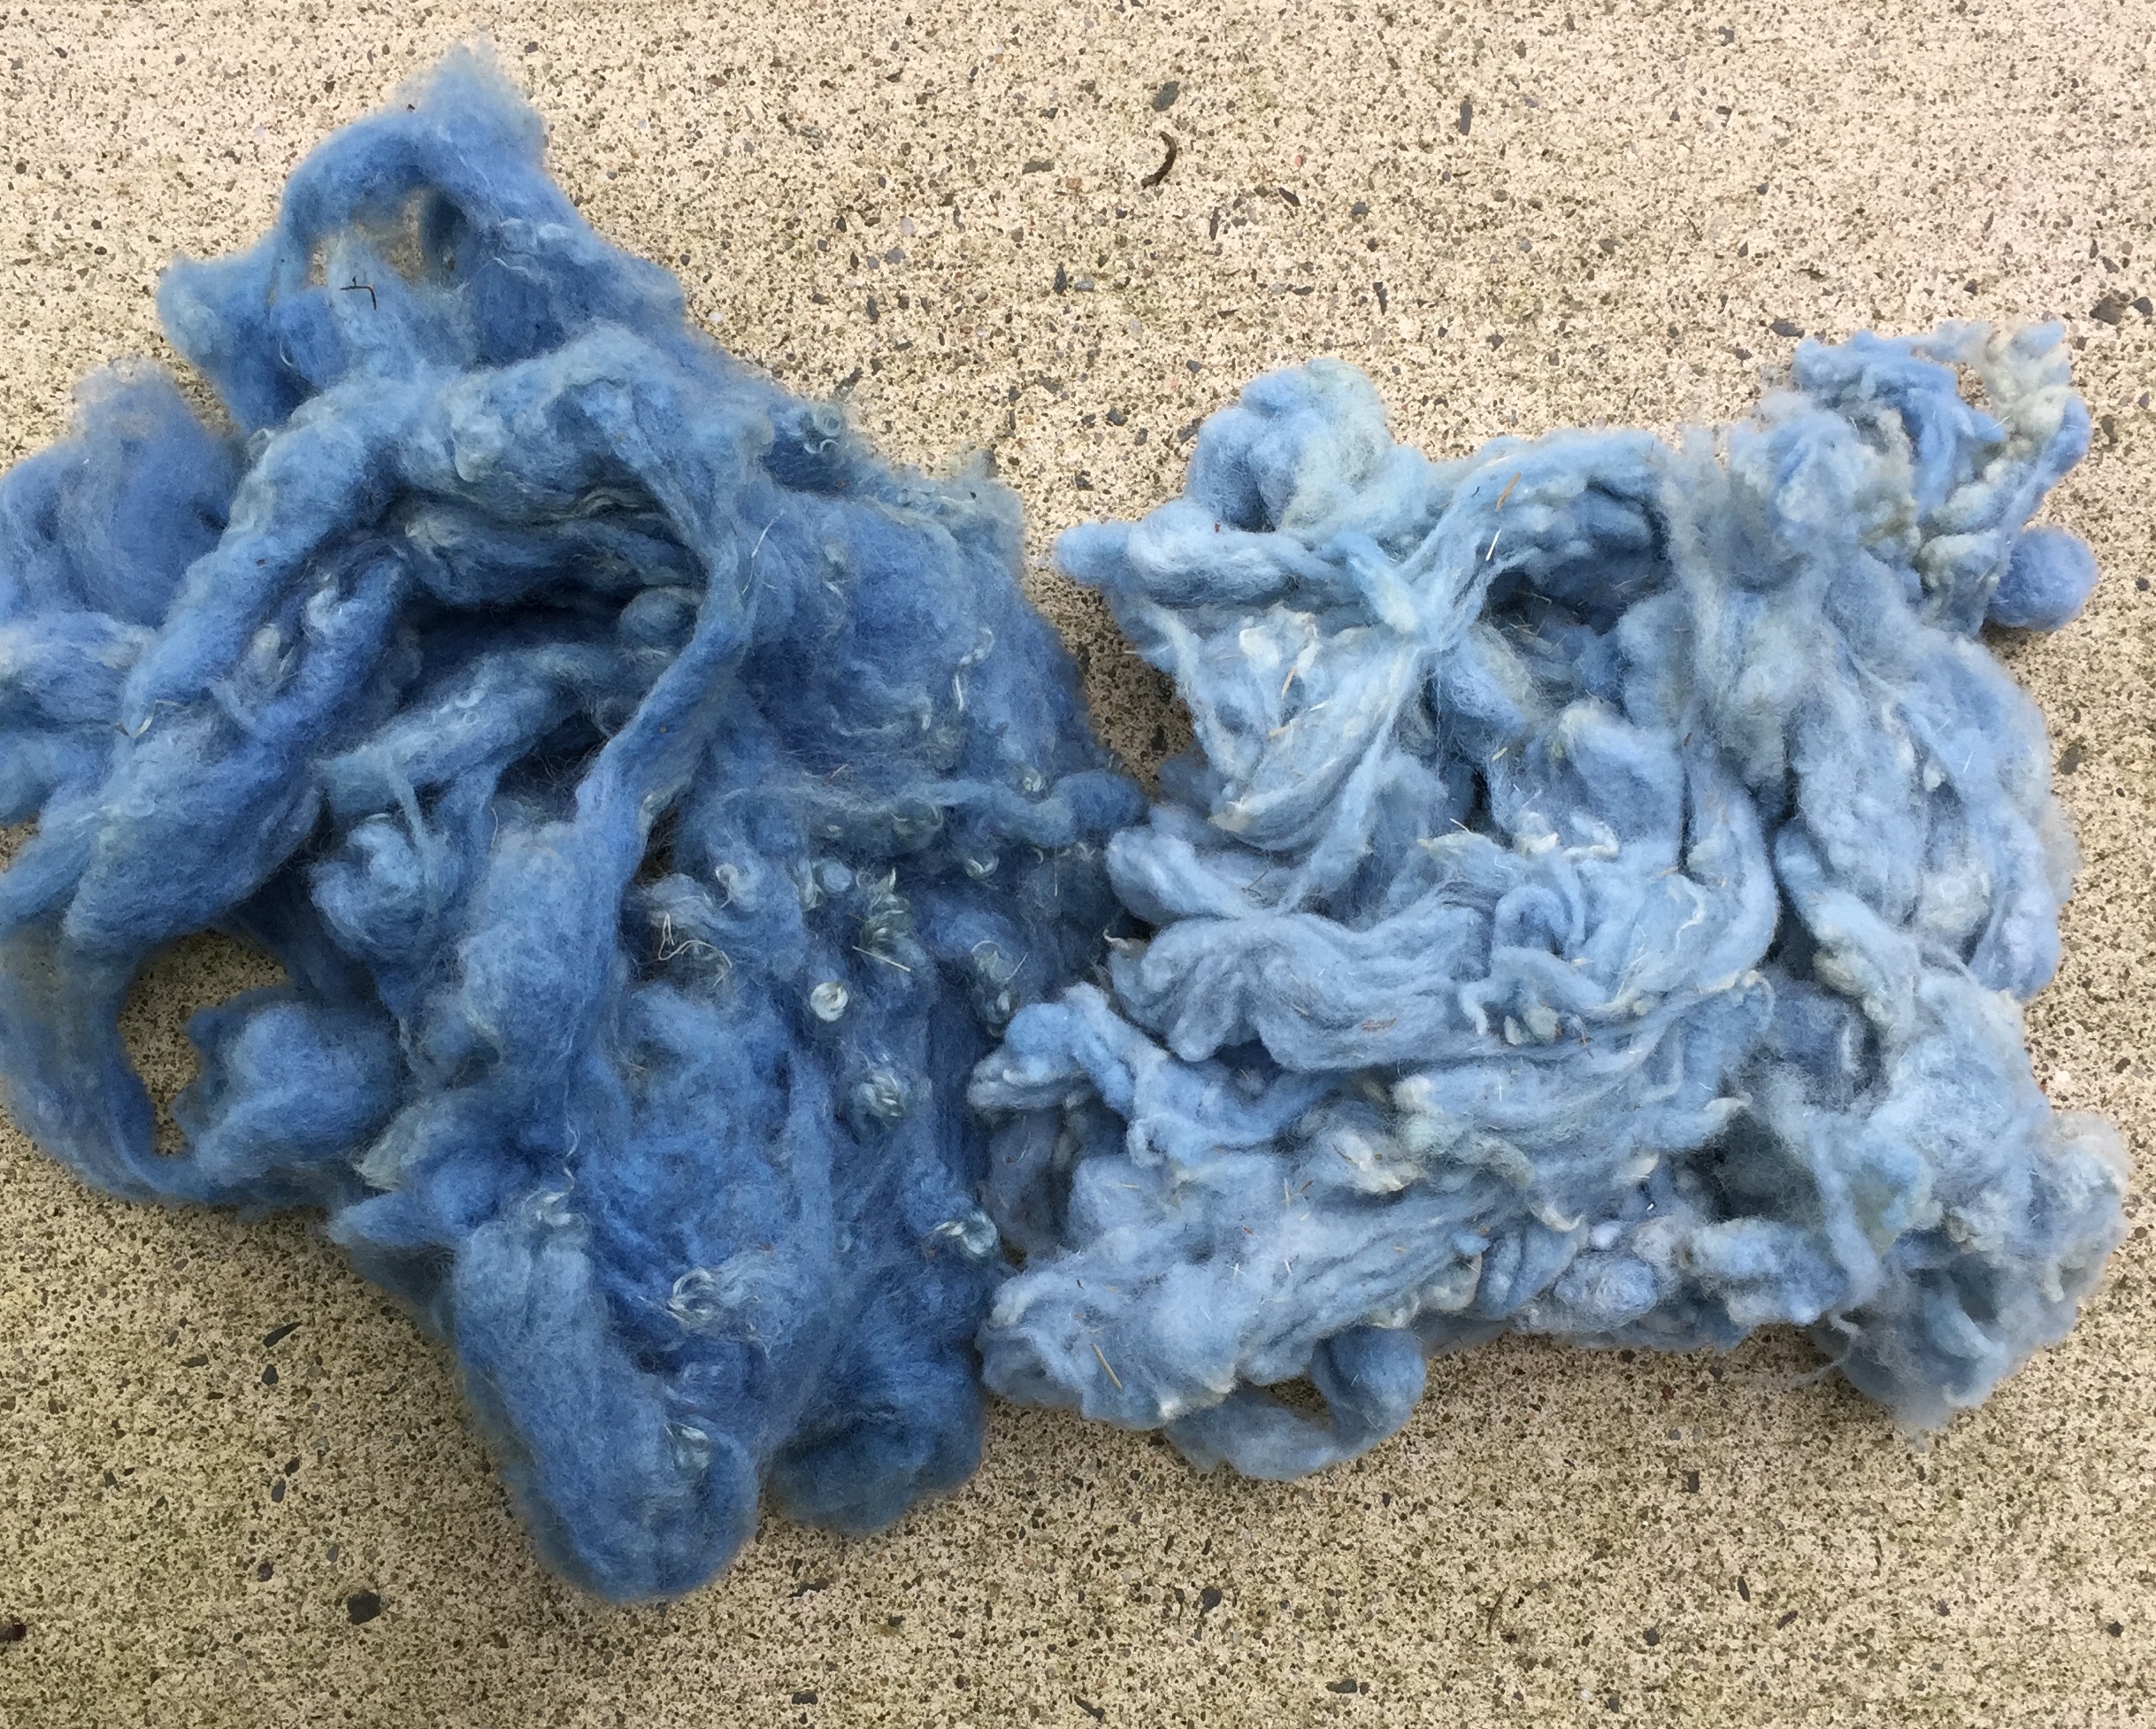
And here are samples of the two batches of fleece:
Four pounds of fresh leaves dyed a pound of yarn (four 4 oz. skeins) plus 14 oz. of fleece. I am pretty happy with that. Now, I realize that in order to truly compare the results of hotter versus cooler liquid, I’d need to run two vats simultaneously with all other factors being the same…. Another day.
*After I published this post I re-read my notes. I should have done that in the first place since I obviously can’t trust my memory! It’s a good thing I take notes. I realized I had made some errors when I originally wrote it. The asterisk indicates something I’ve updated since I first published the post. Sorry for the inaccuracies!