Two adult ladybugs on the stalks of a Japanese indigo plant.

Japanese Indigo Vs. Whitefly

This post is one of the many posts I’ve been meaning to write since 2024. A long time ago. We don’t know how long. Well, OK, in this case we do know how long, thanks to math and calendars and our lived experience.

Why post now? Because 2024 wasn’t the first time I’ve had to deal with a whitefly problem, and I am pretty sure it won’t be the last, so it still seems worth documenting.

Over Memorial Day Weekend of 2024, while I was busy at Massachusetts Sheep and Woolcraft Fair, my Japanese indigo seedlings got exposed to too much sunshine. I was dismayed to find them shriveled and crispy when I got home, but they bounced back quickly thanks to the loving ministrations of my partner Matthew, who watered them and put them in the shade.

Here’s what that recovery looked like: Shriveled leaves of Japanese indigo seedlings along with newly formed green leaves.

The shriveled up leaves just fell off and the new growth emerged from the joints or nodes along the stem. At the time I didn’t notice the suspicious little white blobs. I was just worried about heat stress on the plants, and relieved that they recuperated. But I should have paid closer attention!

About a week later, on June 1st, I noticed suspicious white fuzz. This was also the time of year that thick rings of yellow-green pollen were circling the puddles in the parking lot and cottonwood fluff was blowing everywhere and accumulating like mini snow drifts. There were a lot of gunky, airborne plant-parts settling on things in general, but I finally noticed that this wasn’t cottonwood fluff. Here are a couple photos of the fuzz:

A fibrous white fuzz clings to a spindly Japanese indigo seedling.

Thin filaments of white fuzz are sticking to light green leaves of Japanese indigo seedlings.

Closer inspection revealed whitefly larvae. I had trouble getting my phone to focus on the teensy white blobs, so this not the most in-focus image. But you get the idea:

Also, there was a sticky sheen of honeydew on the leaves. It’s both a visual and a tactile clue. Obviously the tactile quality is missing here, but just imagine the stickiness:

Bright green Japanese indigo seedling leaf with a sheen of sticky honeydew.

Here are the whitefly larvae backlit from the other side of the leaf:

Yellow sunlight shines through a green leaf casting shadows on tiny insect larvae.

So, I read up about dealing with whitefly and decided that physical removal was my best option. I sprayed the leaves with water using a spray bottle, gently smooshed the larvae with my fingertips, and wiped off the leaves with a wet paper towel. This was on June 2nd.

At first I didn’t think that was going to work. The stress of the whitefly attack so soon after the stress of the sunburn put the plants into a physical stance that almost looked like a scream, like the plant equivalent of AHHHHGGG!!!!! The leaf color was yellow tinged with red, and the leaves shifted their angle to point straight up, close to and parallel to the stalk:

Small seedlings convey their stress by orienting their leaves vertically.

I decided that they also needed bigger pots with more soil that wouldn’t dry out so quickly, and more nutrients. With the combination of repotting and wiping off the sucking insects, it didn’t take too much time for them to settle down again and return to a happier, more relaxed state. Here they are, not completely happy, but moving in a good direction.Leaves on small Japanese indigo seedlings are returning to a more relaxed, horizontal position after wiping off the whitefly larvae.

Fast forward to July 28th. Seedlings had been transplanted into beds. Plants were huge. I’d been tending the garden and at the macro level, everything looked good. It was time to harvest leaves and prep samples for a program at work. I posted about that project on Instagram at the time, and may eventually post here, too, even though it was a long time ago. But, when I looked closely, I was dismayed to see that despite the lush plant growth in a whole new growing locale, there were still teensy white blobs!!!!

Granted, these look a little different than the earlier whitefly larvae and I don’t have high resolution closeups to get a definite comparison. It’s possible this was a different white, soft-bodied, juice-sucking insect. Maybe a white aphid, if there is such a thing, though most aphids I’ve met are greenish or yellow. So, it seemed likely that the whitefly had come along to the new location after transplanting.

Fortunately, the plants were clearly not stressed and were clearly thriving. They had plenty of nutrients and water, and they could just shrug those juice-sucking bugs right off! They had plenty of juice to share.

AND, looking closer while I cut the stalks, I noticed one, two, a few, many ladybugs!!!

Here are some of the adult ladybugs on the leaves in the garden:

A red and black spotted ladybug on a green leaf.

An adult ladybug nestled in the crevice of a leaf.

Two adult ladybugs on the stalks of a Japanese indigo plant.

While I was stripping leaves off the stalks, I found a ladybug larvae, which I saved and returned to the bed:

A ladybug larva on the back side of a Japanese indigo leaf.

And this is a very blurry photo of what I believe is a ladybug pupae that I found on one of the leaves:

A blurry image of what is possibly a ladybug pupae.

In conclusion, my observations were that even with a heavy, persistent, recurring whitefly infestation over the course of a growing season, Japanese indigo plants had no trouble fighting it off and thriving. Early on, they managed to bounce back from a double-whammy of heat and sun shock followed by whitefly. I would not be surprised if the first shock made them more vulnerable to the second. It seems likely, actually, that their weakened state made them more vulnerable to insect attack, initially.

With plenty of nutrients and water, the plants were able to thrive, regardless. They were producing plenty of pigment, which you can get a sense of with the dark blue mark on this leaf:

Small white soft bodied insect larvae on a Japanese indigo leaf with an oval shaped blue mark indicating the indigo precursors in the leaves.

I realize in retrospect that I could have done a better job of documenting the nutrients I added. I don’t have records of exactly what I added to the seedling mix or to the beds. I had the garden soil tested at UMass in February of 2024, and added blood meal and lime according to their recommendations. So, I can’t tell you exactly which nutrients or in what quantities you’ll need to keep your persicaria plants happy and resilient enough to fend off pests such as whitefly, should you encounter a similar problem.

But I do feel confident in sharing my experience that plants, pests, and predators can coexist in a balance as long as the plants have plenty of food and water. I did not introduce the ladybugs. The plants were able to call in the help they needed from insect friends in the neighborhood, even when the human helper did not notice that they needed more support. Ladybugs found the food source and created a robust multigenerational community to eat up the whitefly larvae.

Here’s the bed on August 6th looking lush and exuberant:

Lush bed of deep green Japanese indigo plants with a bed of orange cosmos in the background.

Close up of a swamp milkweed seed pod with a few seeds still inside.

Goings On in the Winter Garden

New year, new attempt to revive my beloved but neglected blog with a post about my garden in winter. These photos are from midday Saturday January 3rd, 2026.

Here are two slightly different perspectives. One view says, “Sticks are here, amidst other sticks.” Big sticks and little sticks, above and below, in many shades of copper and silver, laying this way and that.

Dormant plants in the dyeplant garden with snow on the ground.

The other view says, “Hill! Sky! Look to the distance!” There’s a broader, hilltop perspective. Both true and both lovely. I think this second view shows more of the tracks in the snow reflecting all the activity that’s going on, even in the dormancy of winter.

View of the snowy hill top garden with distant hills in the east.

As I approached the far side of the garden, an oval-shaped dark gray furry creature toodled away quickly from the garden towards the woods. I am pretty sure it was a vole judging from the velvety dark gray color, the trundling gait, and the other vole tunnel and channel tracks around the garden. I think this line of tracks was made by that hasty vole. I don’t have a before and after photo to confirm, but it’s in the very same spot. For more about identifying meadow vole tracks, see the lovely descriptions and images in this post by Mary Holland.

Small tracks in the snow left by a vole.

Quite a lot of teensy prints were clustered in the black-eyed Susan bed:

Lots of tiny prints in the snow with small black seeds from black eyed Susan scattered about.

It makes me wonder whether the seeds are a good source of food. I suspect so, though maybe there’s something else about this bed that makes it appealing. It’s on the southeast corner of the plot. Here are a couple images of dense, intensely dark black-eyed Susan seed heads:

Spherical intensely brown seed head of black eyed Susan against a white snowy background.

A singular spiky and spherical black eyed Susan seed head against a snowy white ground.

Despite my worry in the “Whodunit” post that the black-eyed Susans weren’t coming back and that possibly the bronze fennel was to blame, they have spread and thrived and have been happy as can be.

Next up, going around to the south-facing bed, are the marigolds. It was a bumper year for marigolds. In the background behind this dried flower head there are some tracks in the snow, but I didn’t look closely enough to figure out who made them:

Faint tracks in the snow behind a dried marigold seed head.

It’s interesting how the colors fade differently on different flower heads, and the different stages of growth they were in when they froze/dried out. The in-focus one in the photo below is bleached out, glossy, and luminous while the out-of-focus ones are a dull mildewy gray. And the dried head behind them still has petals clinging to it.

One very pale bleached out marigold seed head amidst other darker ones.

Then there are the star-like orange cosmos seed heads, one of my favorites, a little further toward the west on the south-facing bed:

Single orange cosmos seed head.

Next to the cosmos, in the southwest corner of the plot, are the dyers coreopsis. I grew them from seed last year, in various colors and sizes, with seeds I’d saved from a previous year, originally from Grand Prismatic Seed. I saved seed again for this summer, and there are still tons of seed heads left, as you can see:

Flopped over stalks of dyers coreopsis.

Single dyers coreopsis seed head against a snowy background.

Behind the dyers coreopsis towards the north side is the Japanese indigo bed (also grown from seed, also originally from Grand Prismatic). There’s a lot going on here, with blue-green dried leaves, red-brown stems, and some pinkish-tan dried flower clusters. So beautiful! I know that mice like Japanese indigo seeds (ask me how I know), but in this case they don’t seem to be seeking them out.

Tangle of pink and tan colored dried Japanese indigo stalks and some dried seed clusters.

In the center of the garden is the madder bed. It was a very productive year for madder seeds, both this this garden at Bramble Hill and in the second-year raised bed at Historic Deerfield. Hopefully that will be the subject of a future post.

I had a hard time convincing my phone that those hard, round, black blobs were truly the things I wanted to focus on, so the madder seeds aren’t quite as clear as I’d like. But here, hopefully, you can see the abundance, even after I collected a lot in the fall:

A mound of pale colored dried madder tops with dark-colored seeds scattered throughout.

A small cluster of three madder seeds with snow behind.

One sole intensely black madder seed that's not quite in focus.

On the the northeast corner of the garden is the perennial bronze fennel. No wonder it self-seeds everywhere!

Umbel-shaped bronze fennel seed head drooping over.

This next photo is the curled-up leaves of a woad plant. It’s like it got too hot and threw off the covers in the middle of the night! I’ve never read that woad plants generate heat, so something else is probably going on here.

Green, curled up leaves of a woad plant surrounded by white snow.

And last but not least, back on the east side of the garden, the swamp milkweed made a come-back over the past couple years. It has established itself in a couple new spots (another future blog post, hopefully).

Close up of a swamp milkweed seed pod with a few seeds still inside.


Japanese Indigo Update

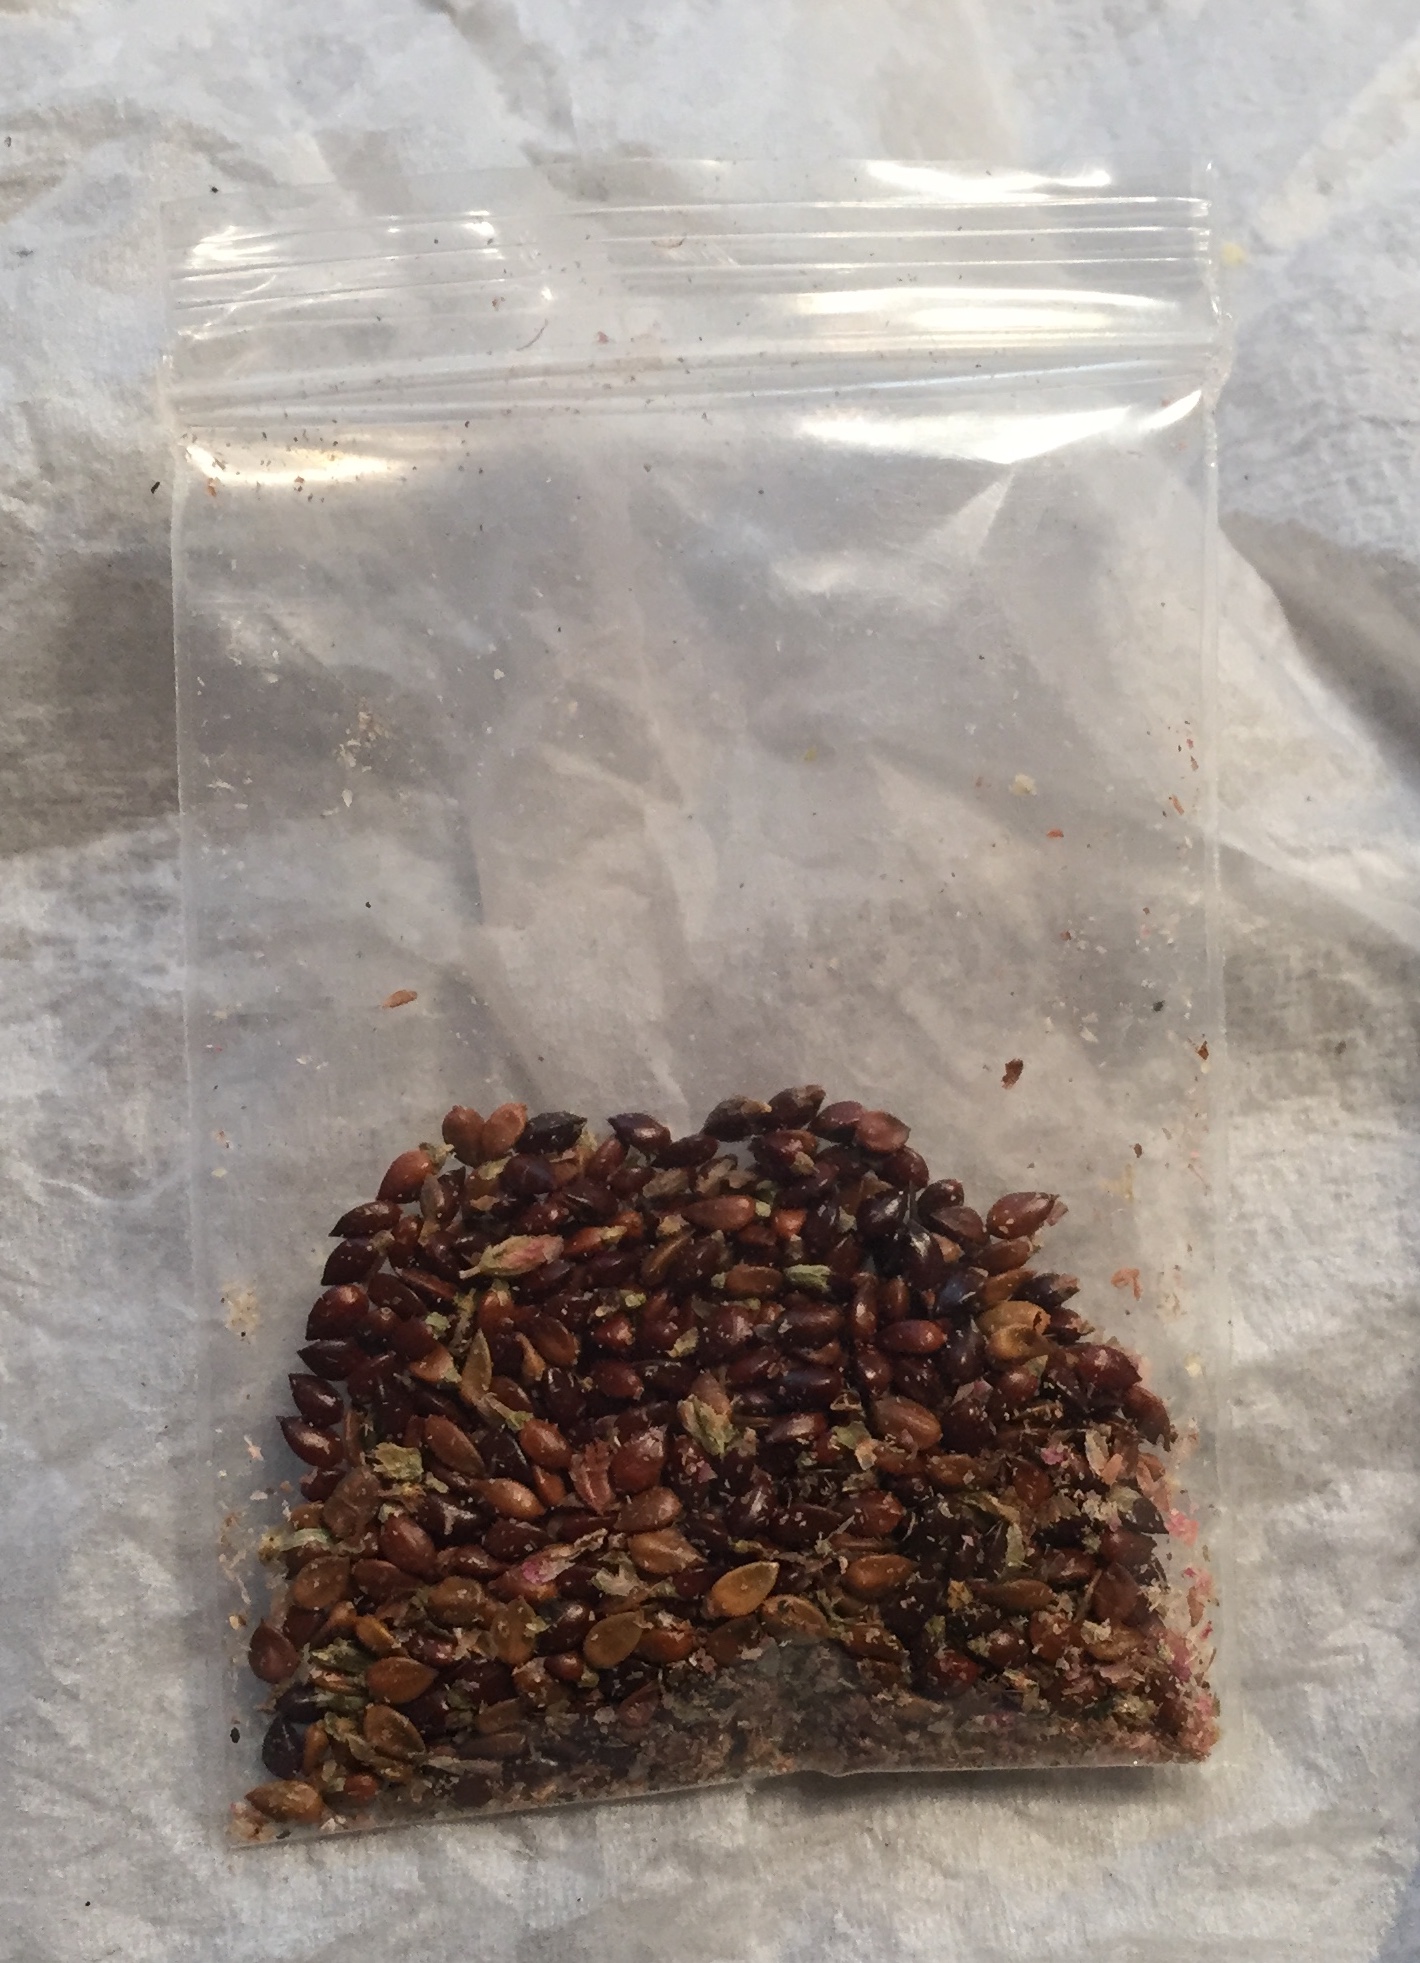
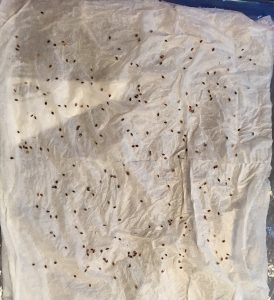
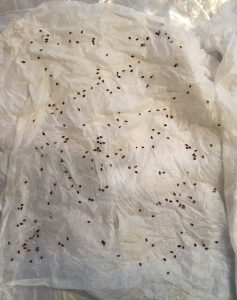
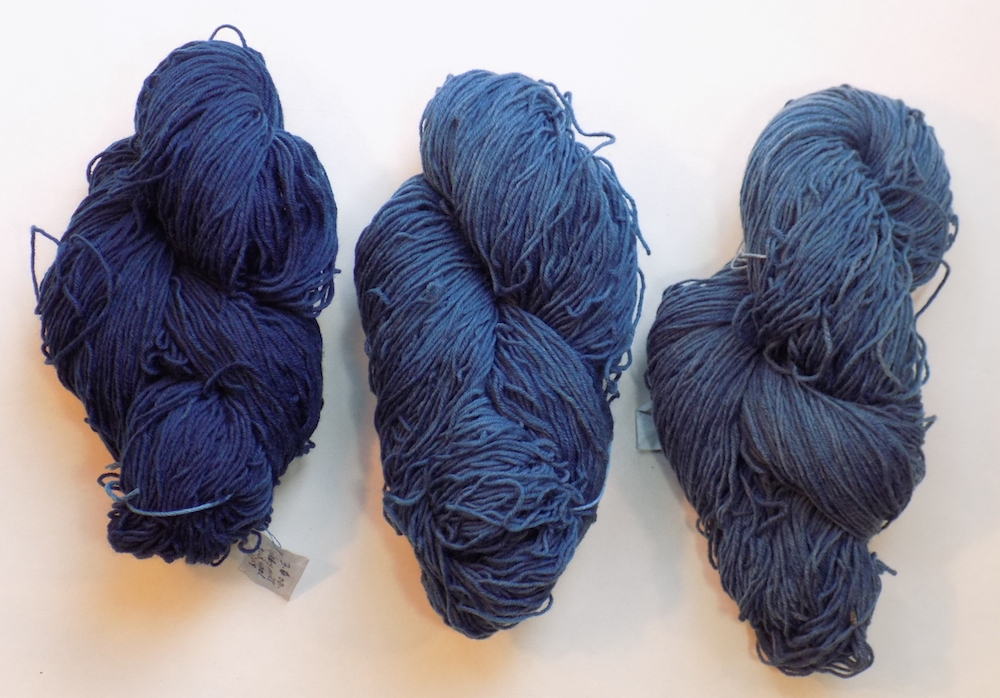
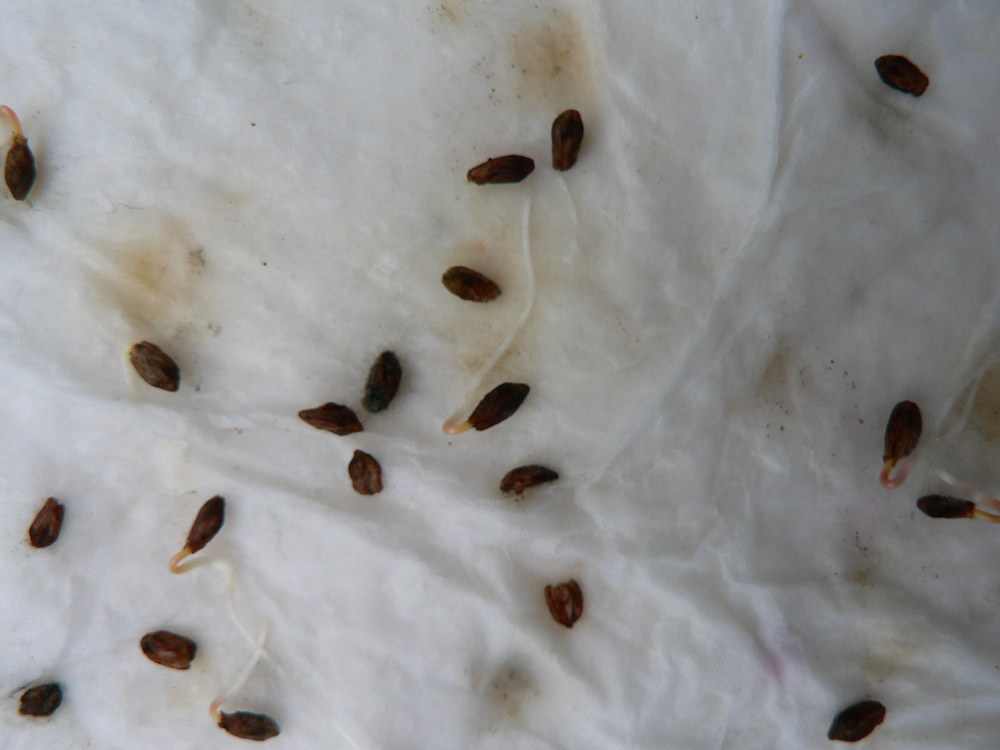
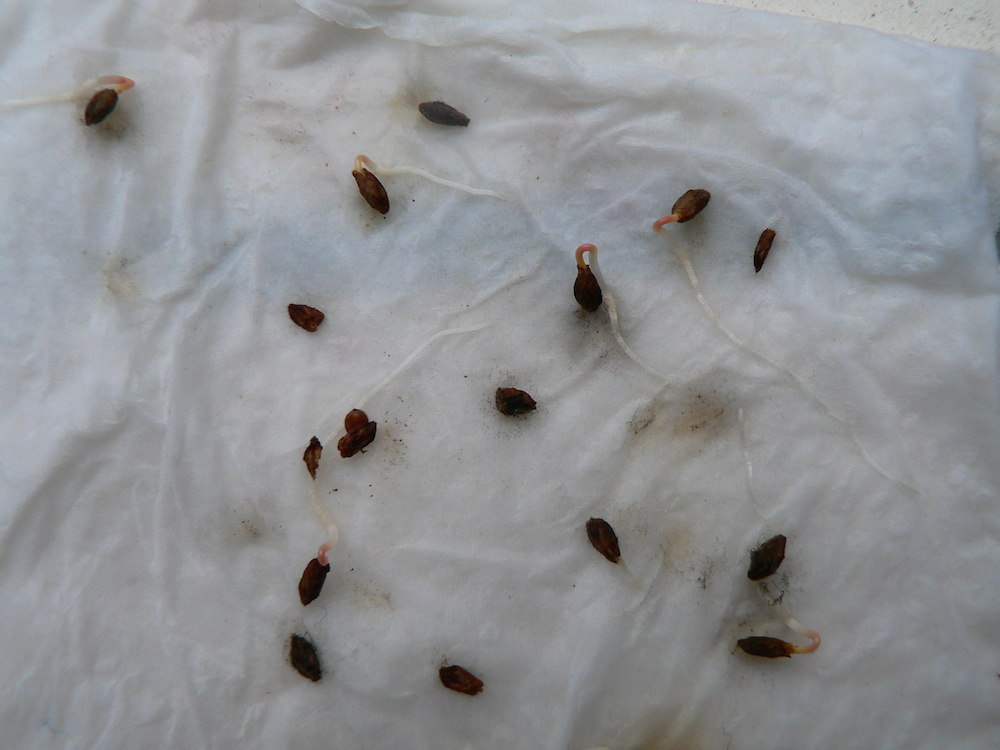
So, my attempts to germinate my own Japanese indigo seeds were futile. I kept scrutinizing the tiny little green things that were growing, but none of them seemed quite right. Not pink or plump enough. Eventually I gave up.

Jeff Silberman and Carolyn Wetzel to the rescue! Jeff has been growing Japanese indigo for several years as part of a sustainability project at FIT. Carolyn was driving down to Pennsylvania to teach a lace-making class. Wearing her New England Flax and Linen Study Group hat, she was also dropping off a custom-made flax brake for Jeff made by her neighbor. Gotta love the incredible skills and social networks of the Western MA hilltowns! On her return trip, Carolyn picked up some seedlings for me and dropped them off at our apartment.

At first I was puzzled and a bit dismayed. Dozens of teensy seedlings were crammed tightly together.

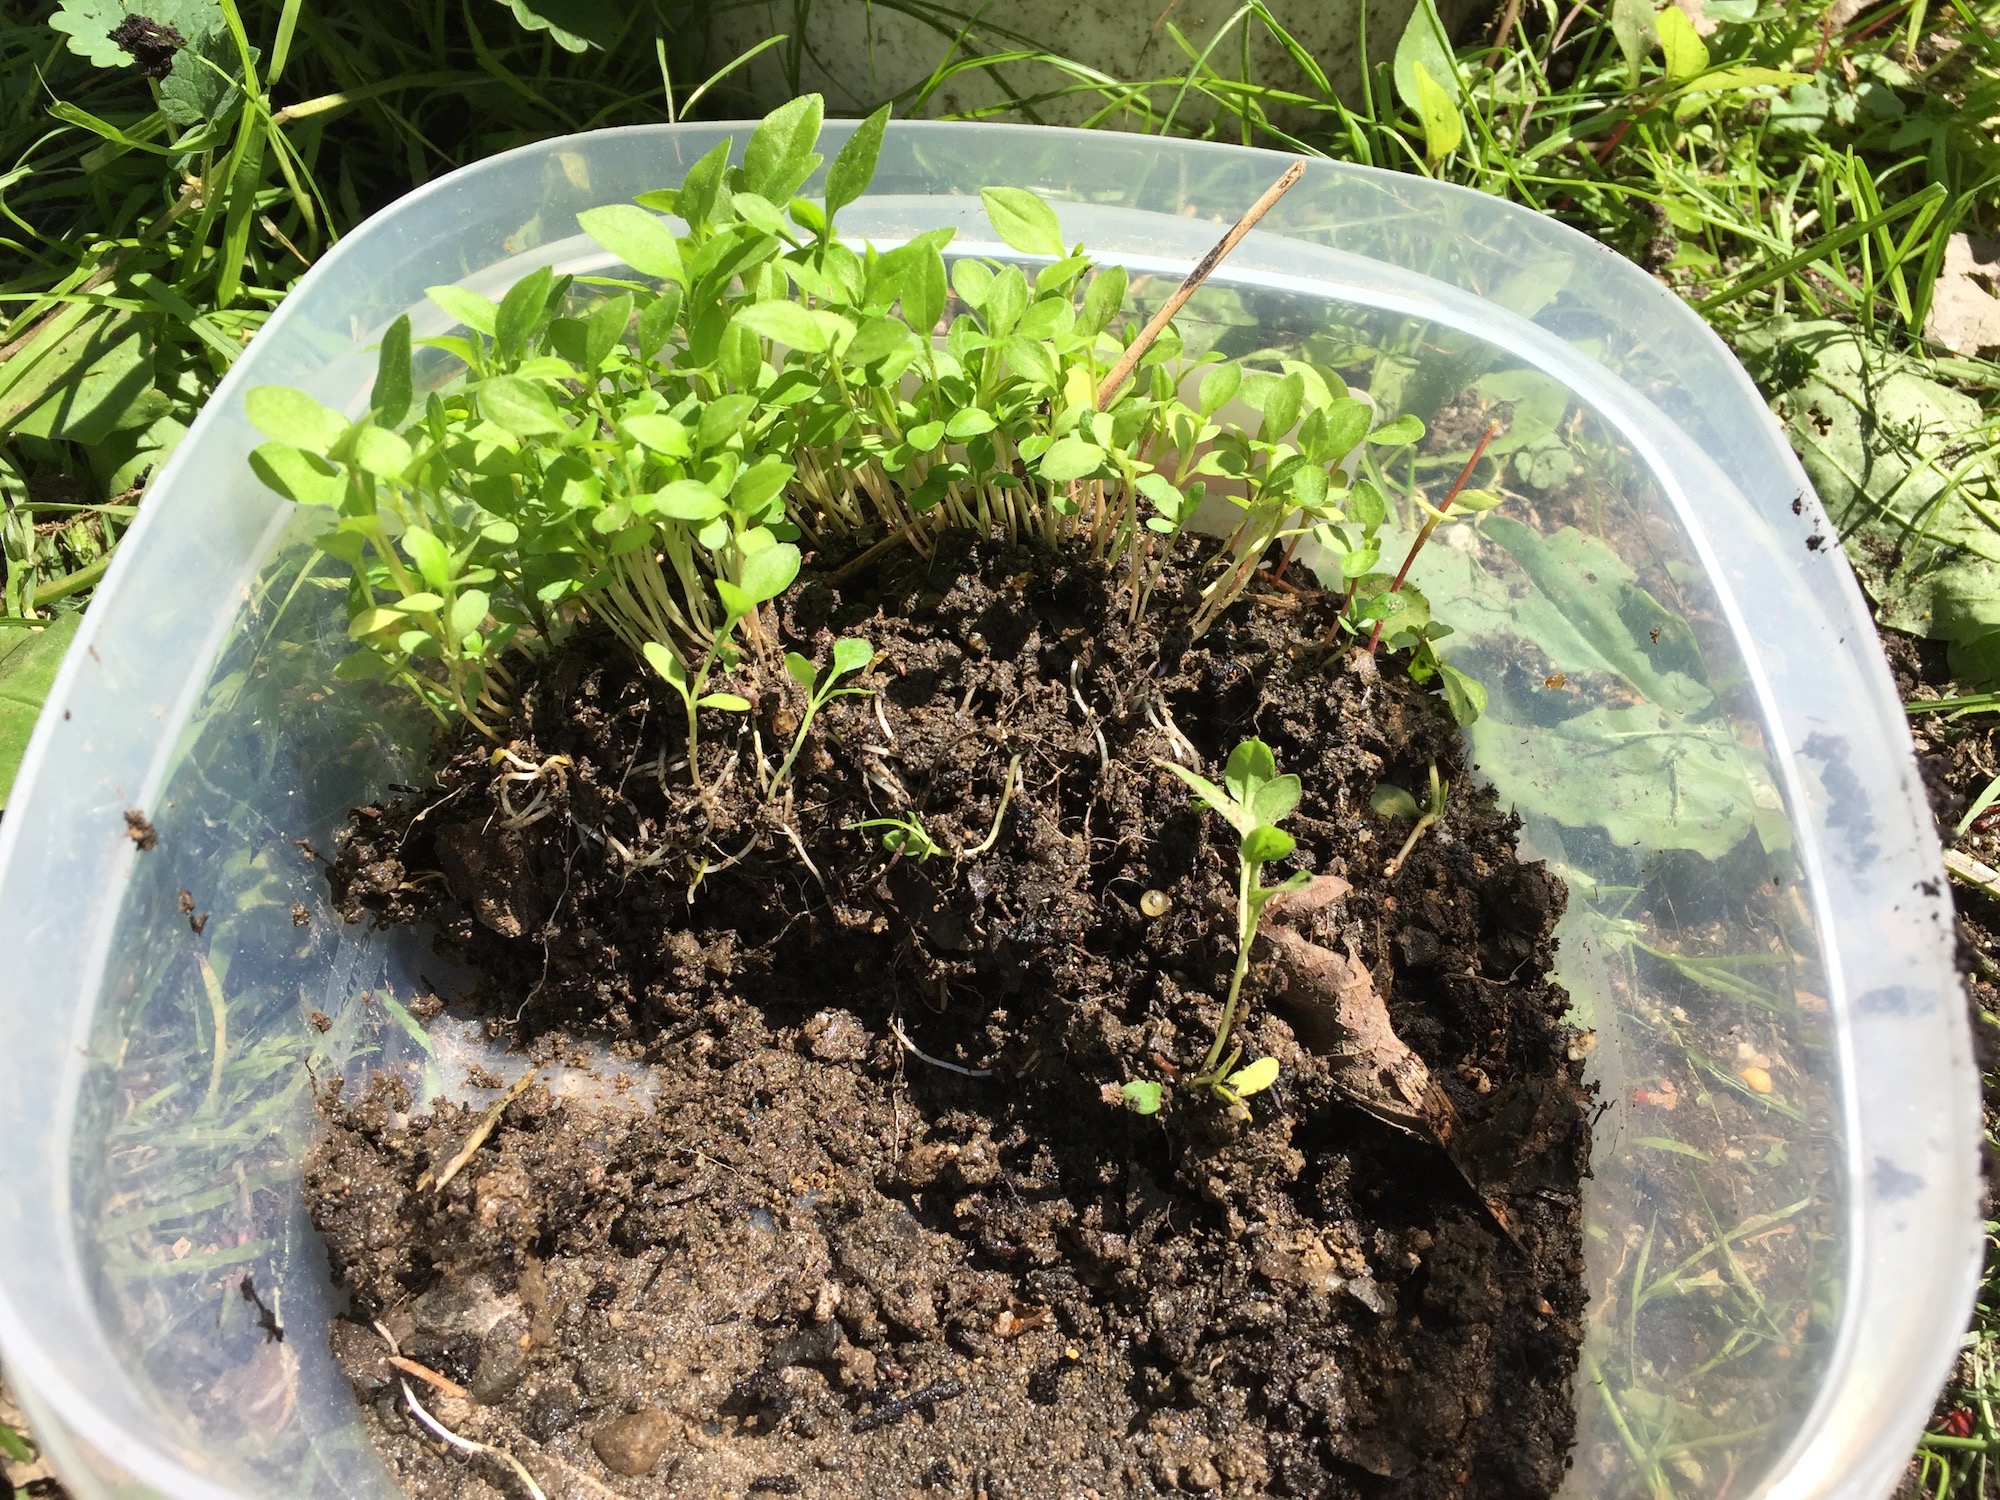
I conferred with Jeff. He said that they were very hardy and resilient, and could stand quite a bit of disruption. I used a plastic knife to separate a few at a time.

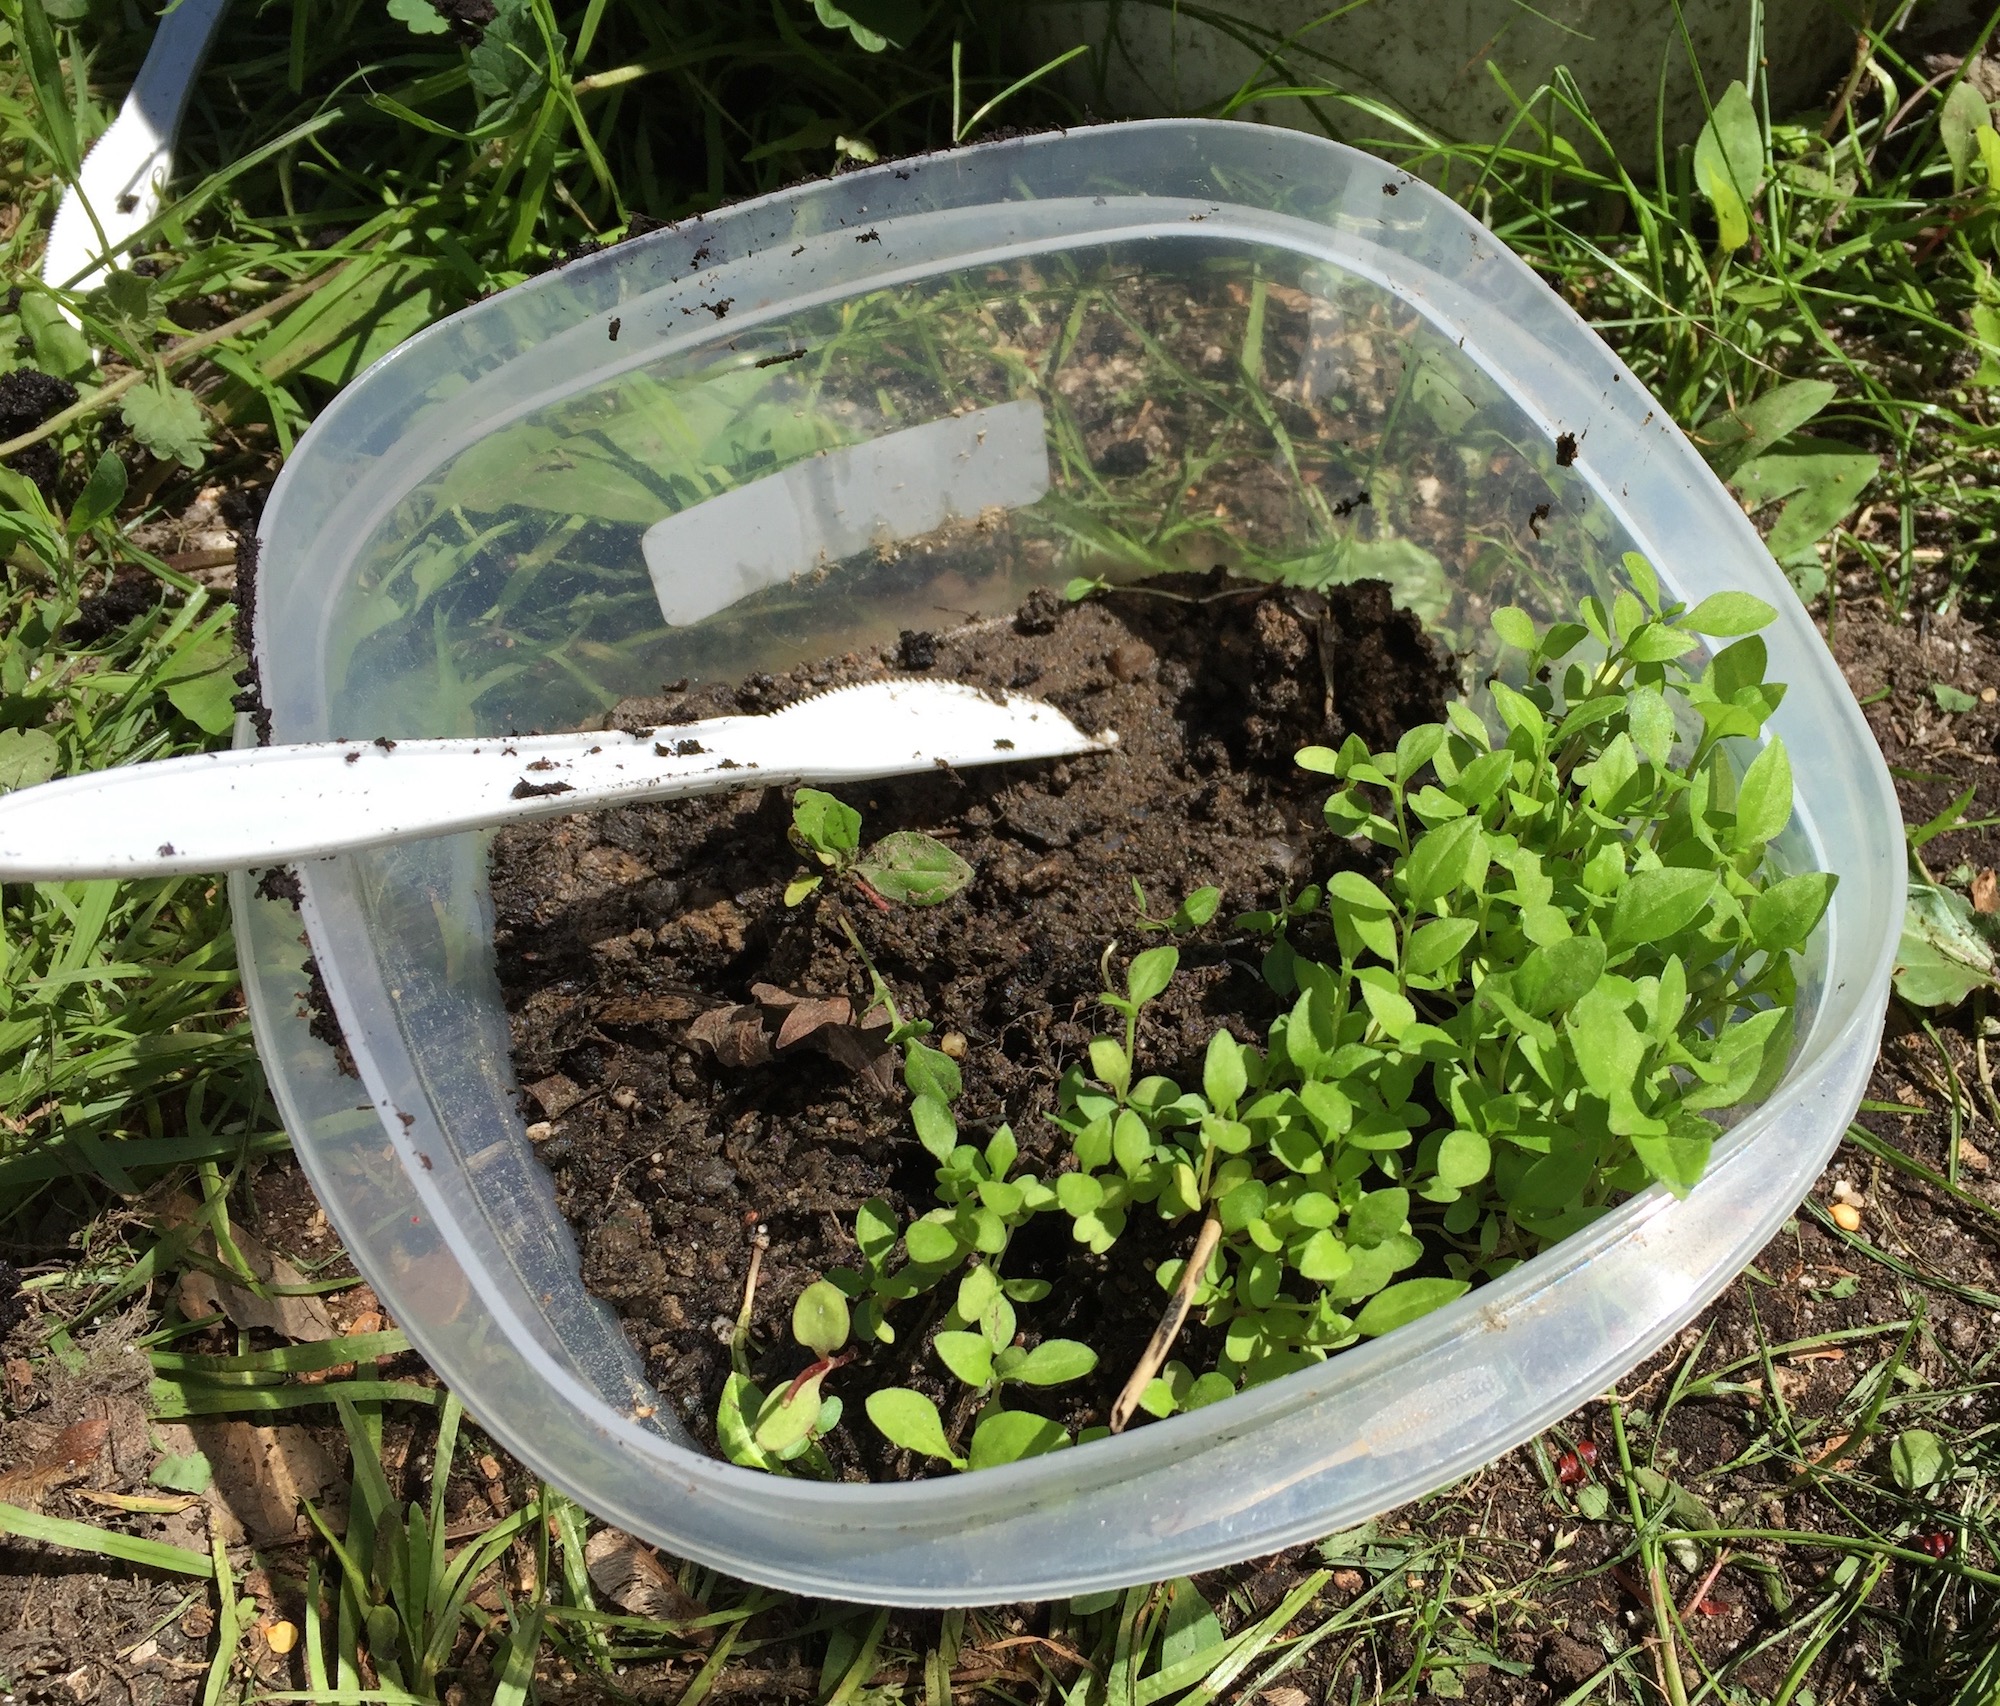
On June 15th I transplanted them into small pots. I regretted the violence done to the roots. I was literally tugging teensy roots apart with my hands. But after my over-crowded flax experience, I figured it was better to give them room to grow.

I was worried that they would all die of shock. The next morning, though, they looked fine. Here they are on June 16th:

Behind our apartment there is quite a bit of squirrel action. They run amok and tend to knock things over and dig things up, including the Japanese indigo seedlings. So, on June 19th I covered the seedlings with plastic covers in an attempt to protect them. Sammycat inspected and approved the set-up.

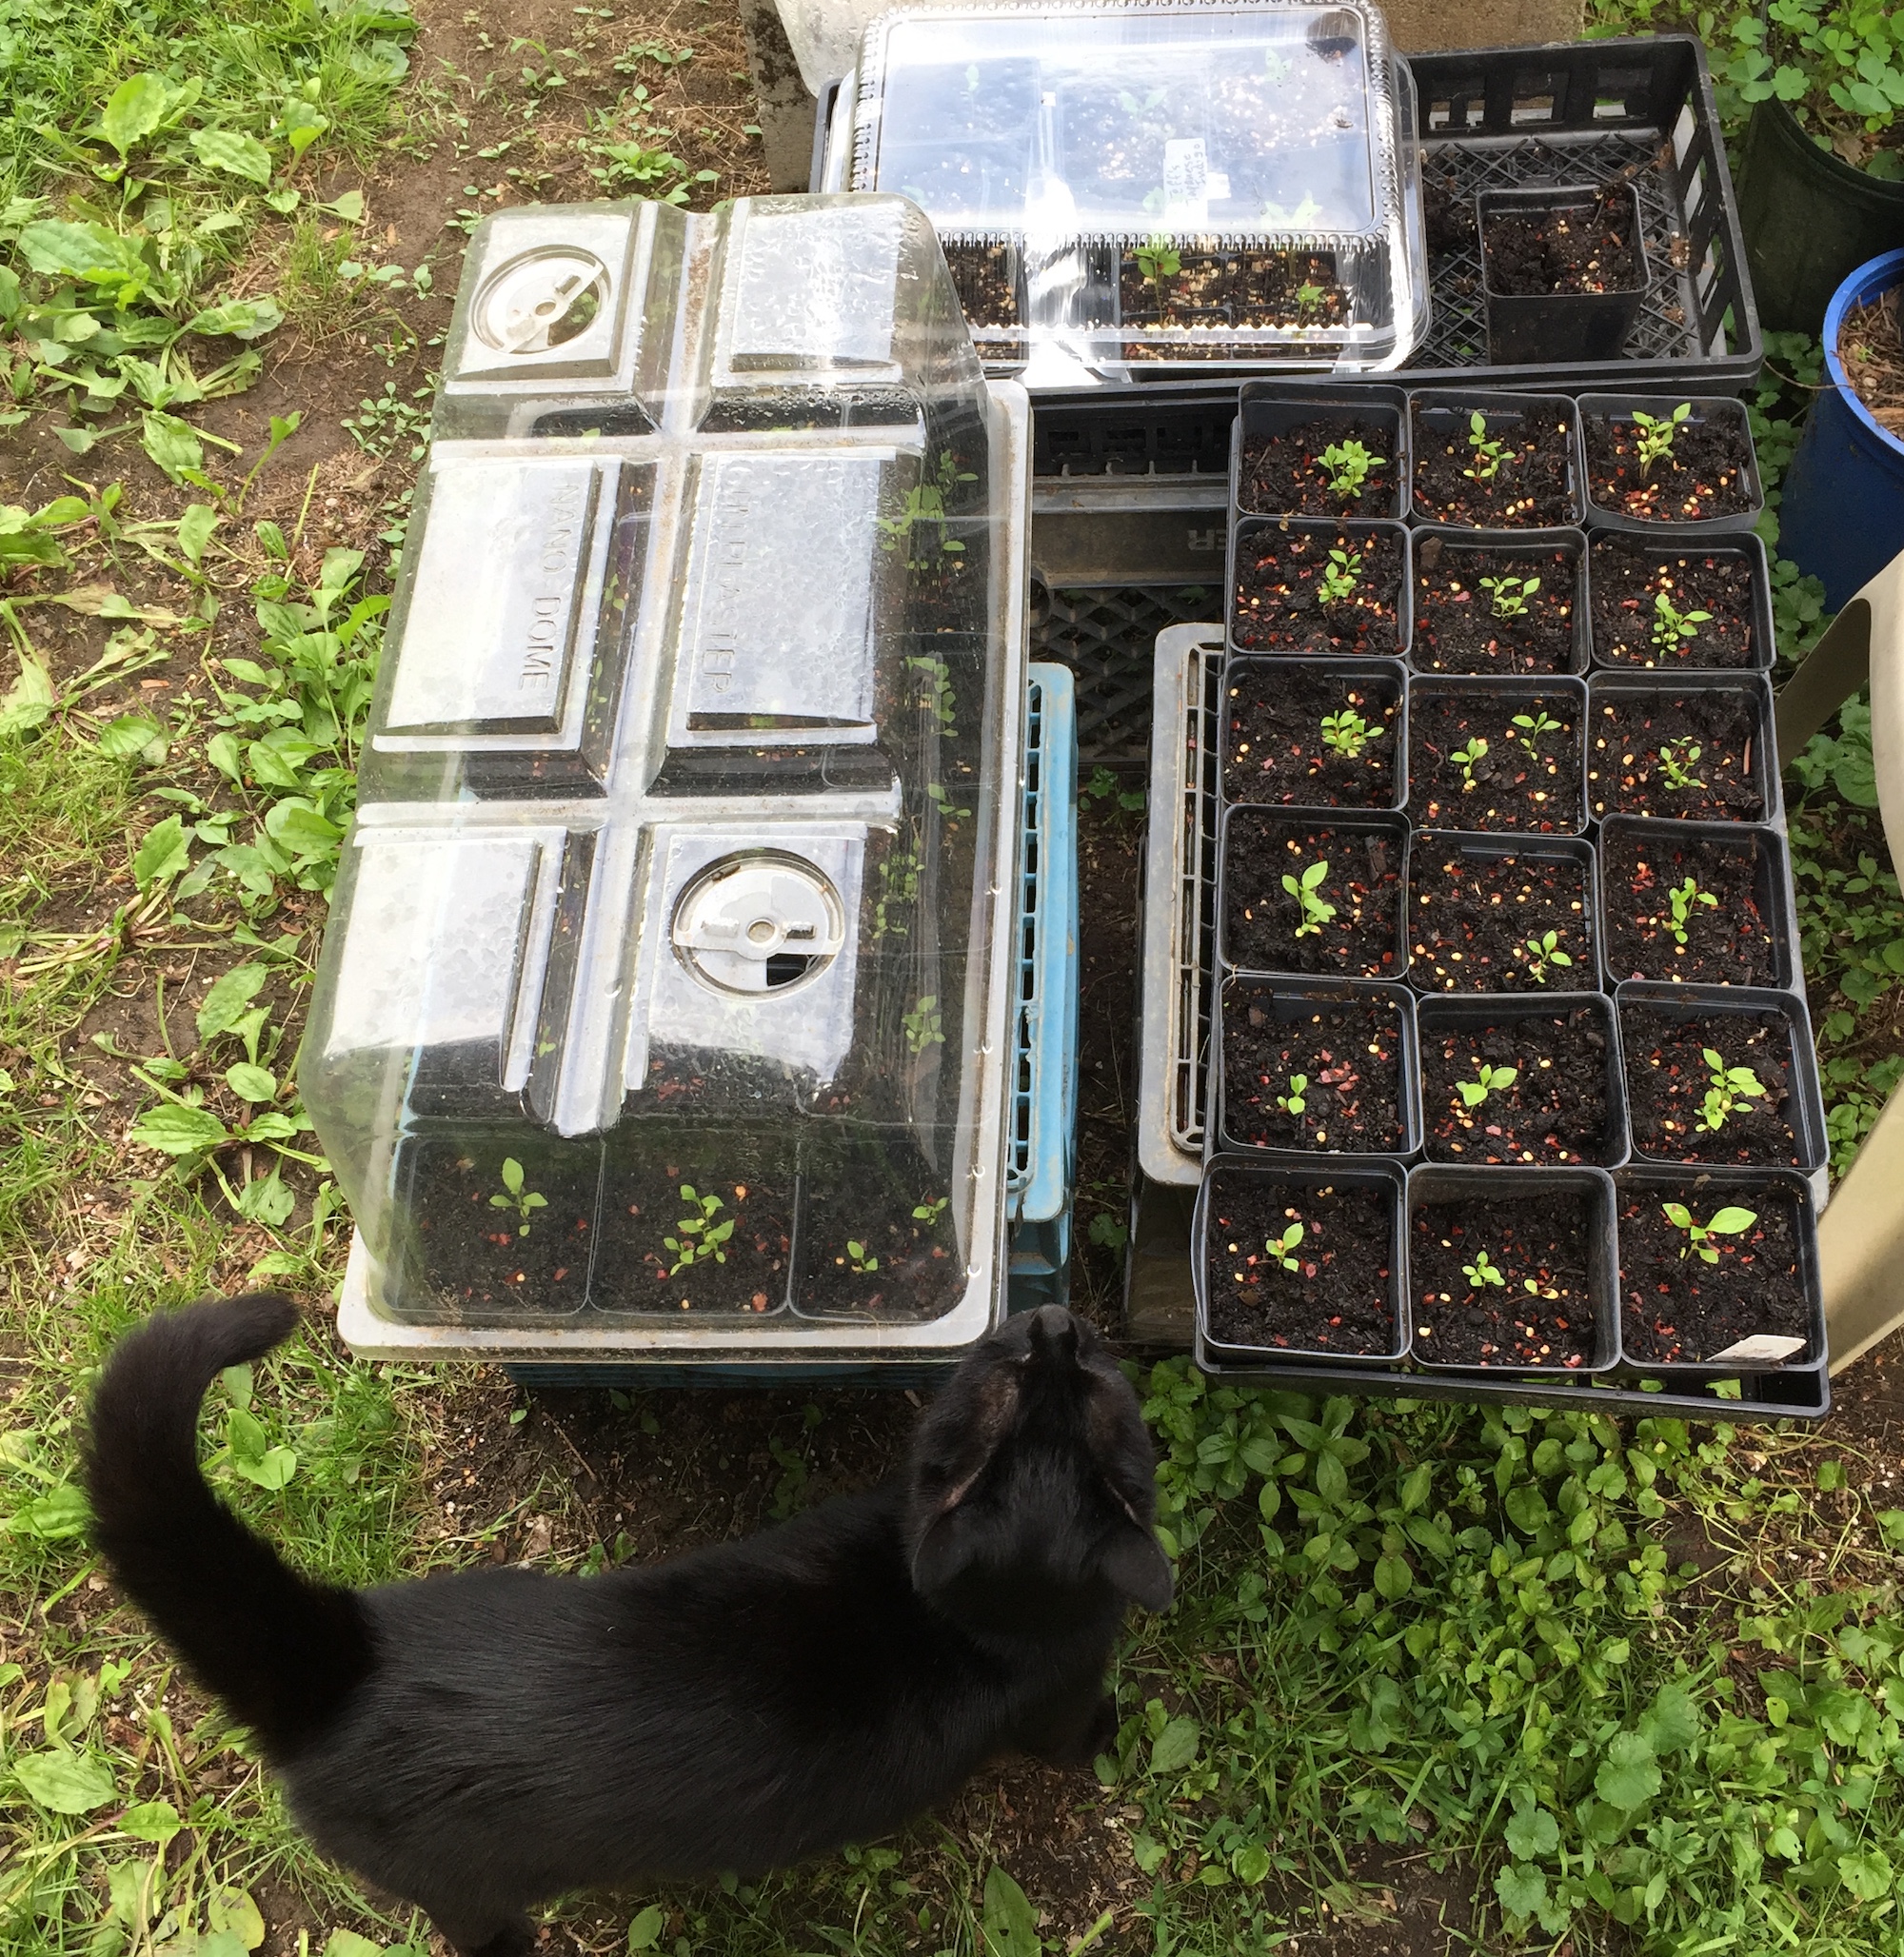
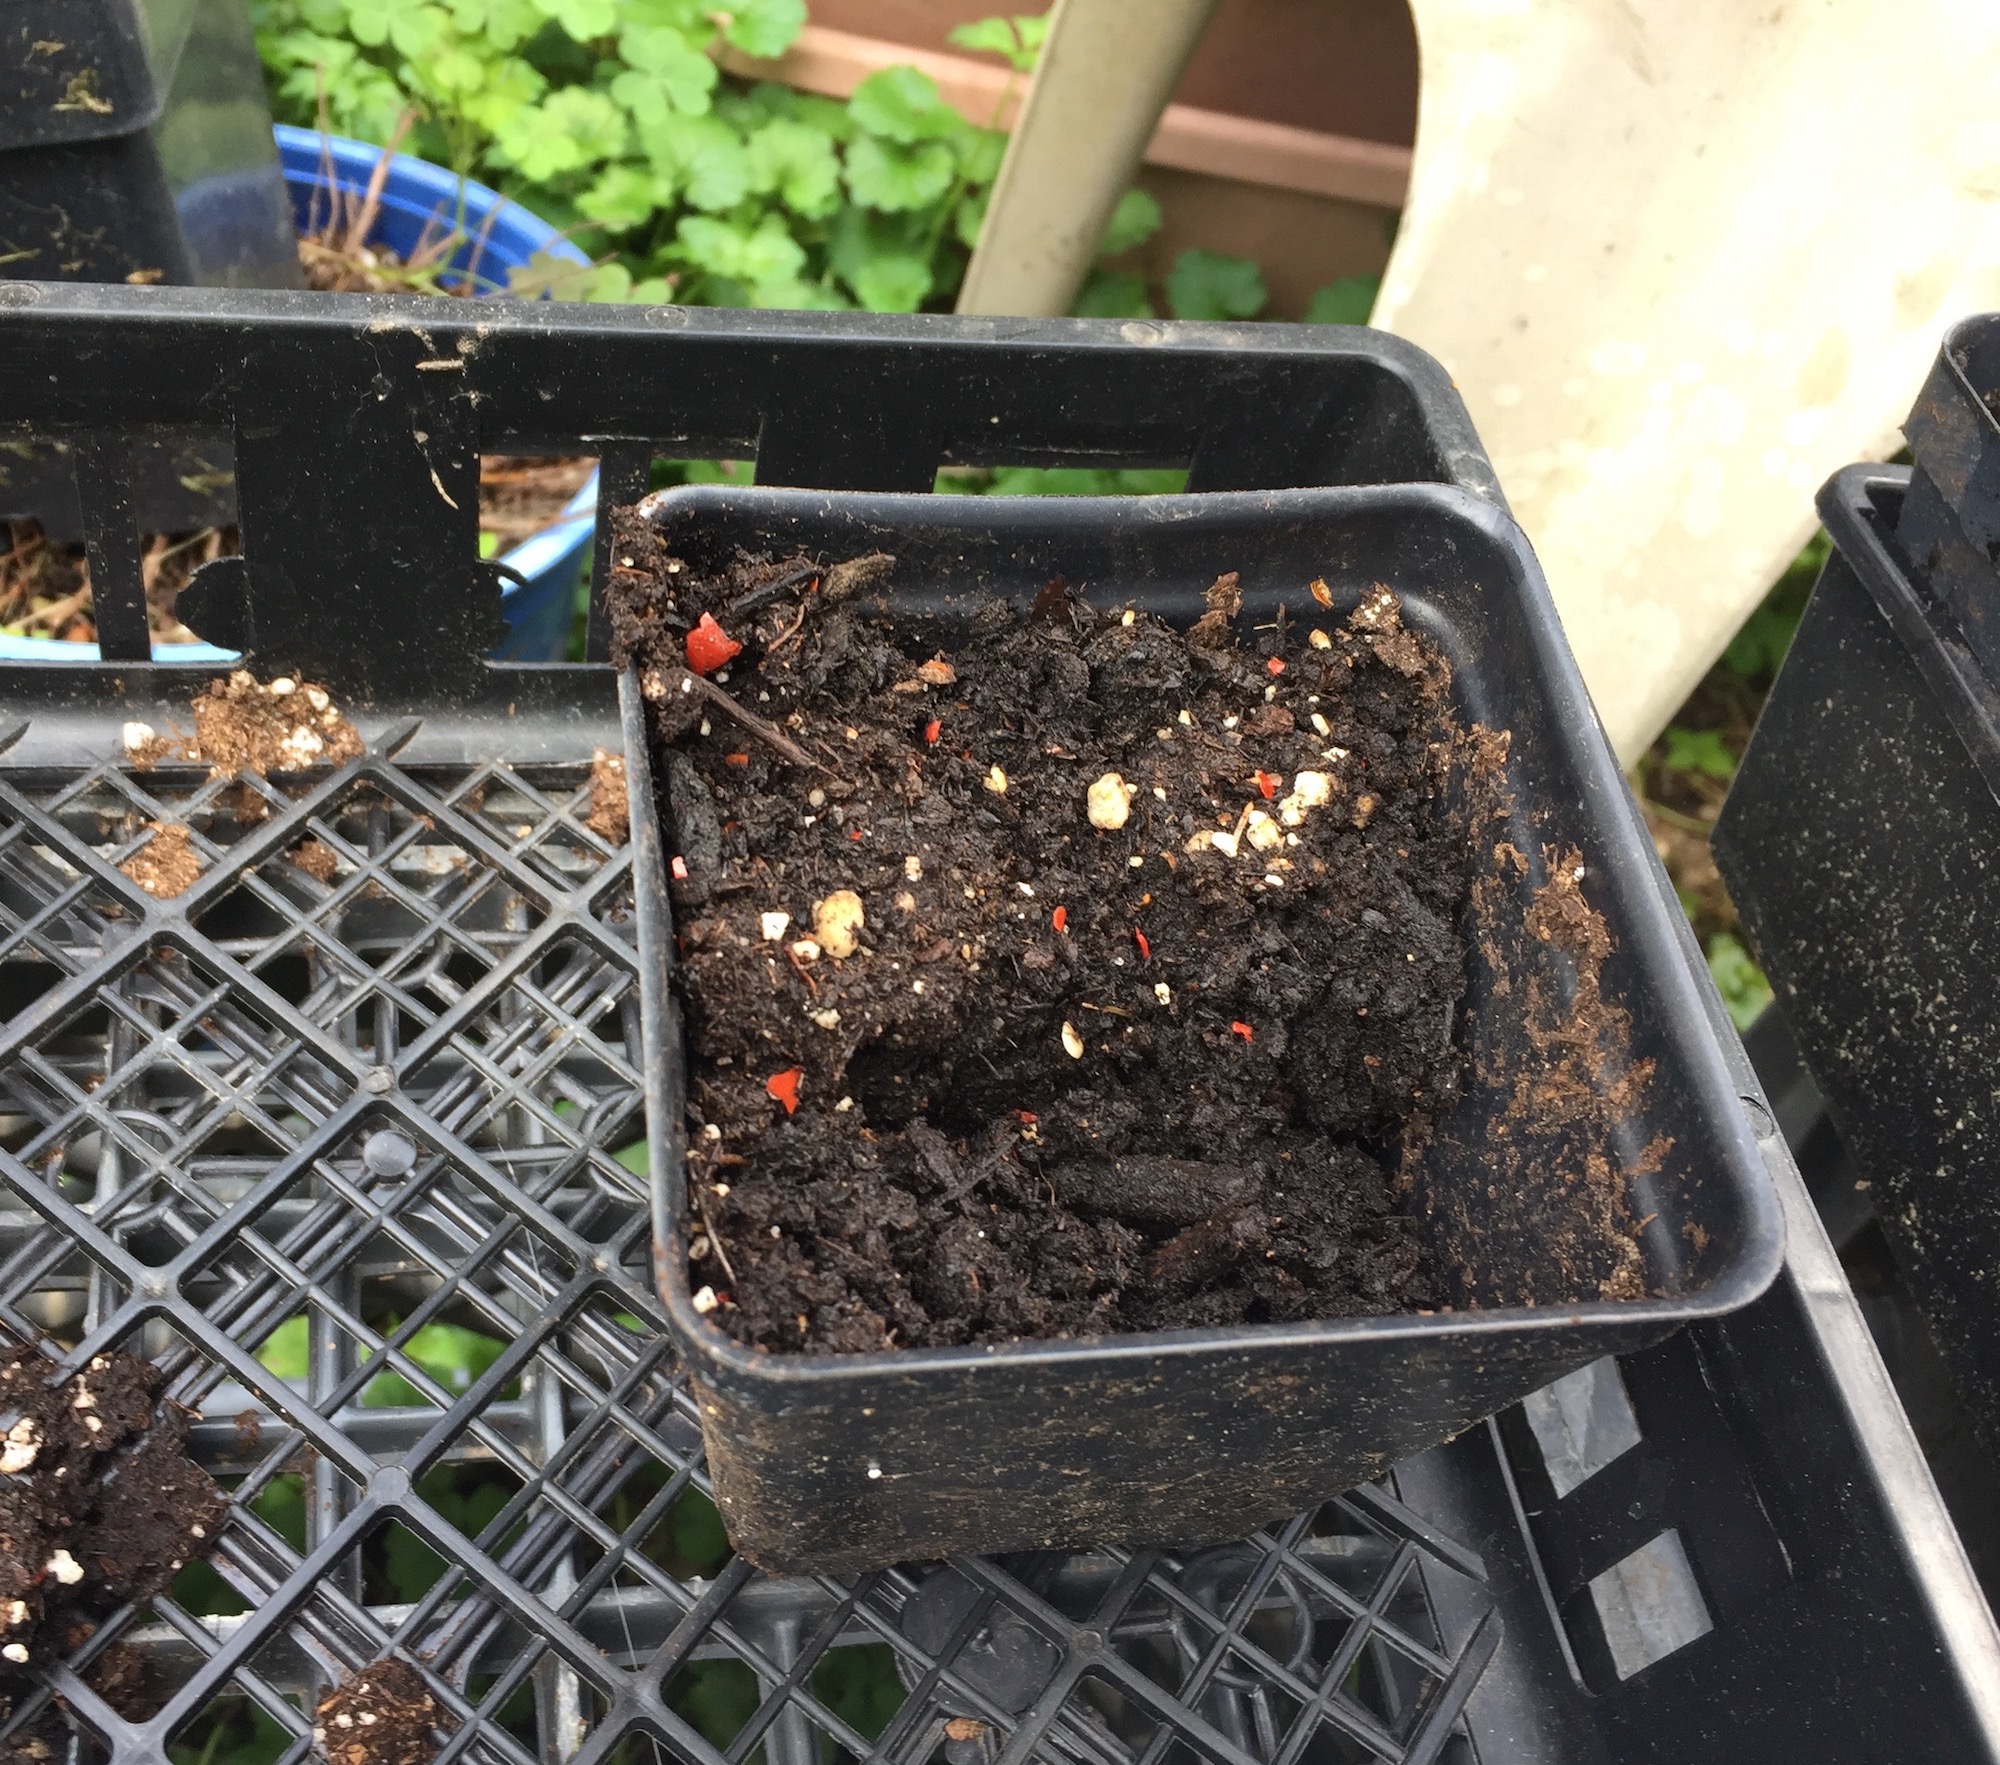
I also sprinkled red pepper flakes around the plants. The squirrels had been digging and we hoped that the capsaicin would dissuade them. All the plants got the same treatment (we also grow tomatillos, chili peppers, and a bunch of other plants). It mostly worked. This plant wasn’t so lucky:

Here’s a closer view of some of the other Japanese indigo plants:

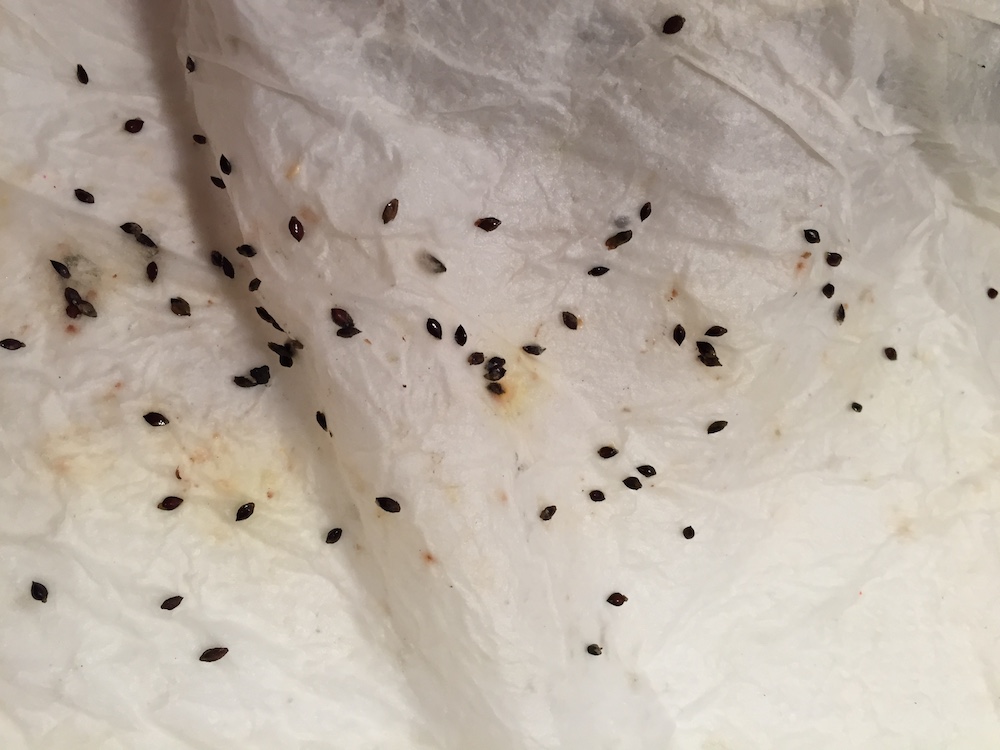
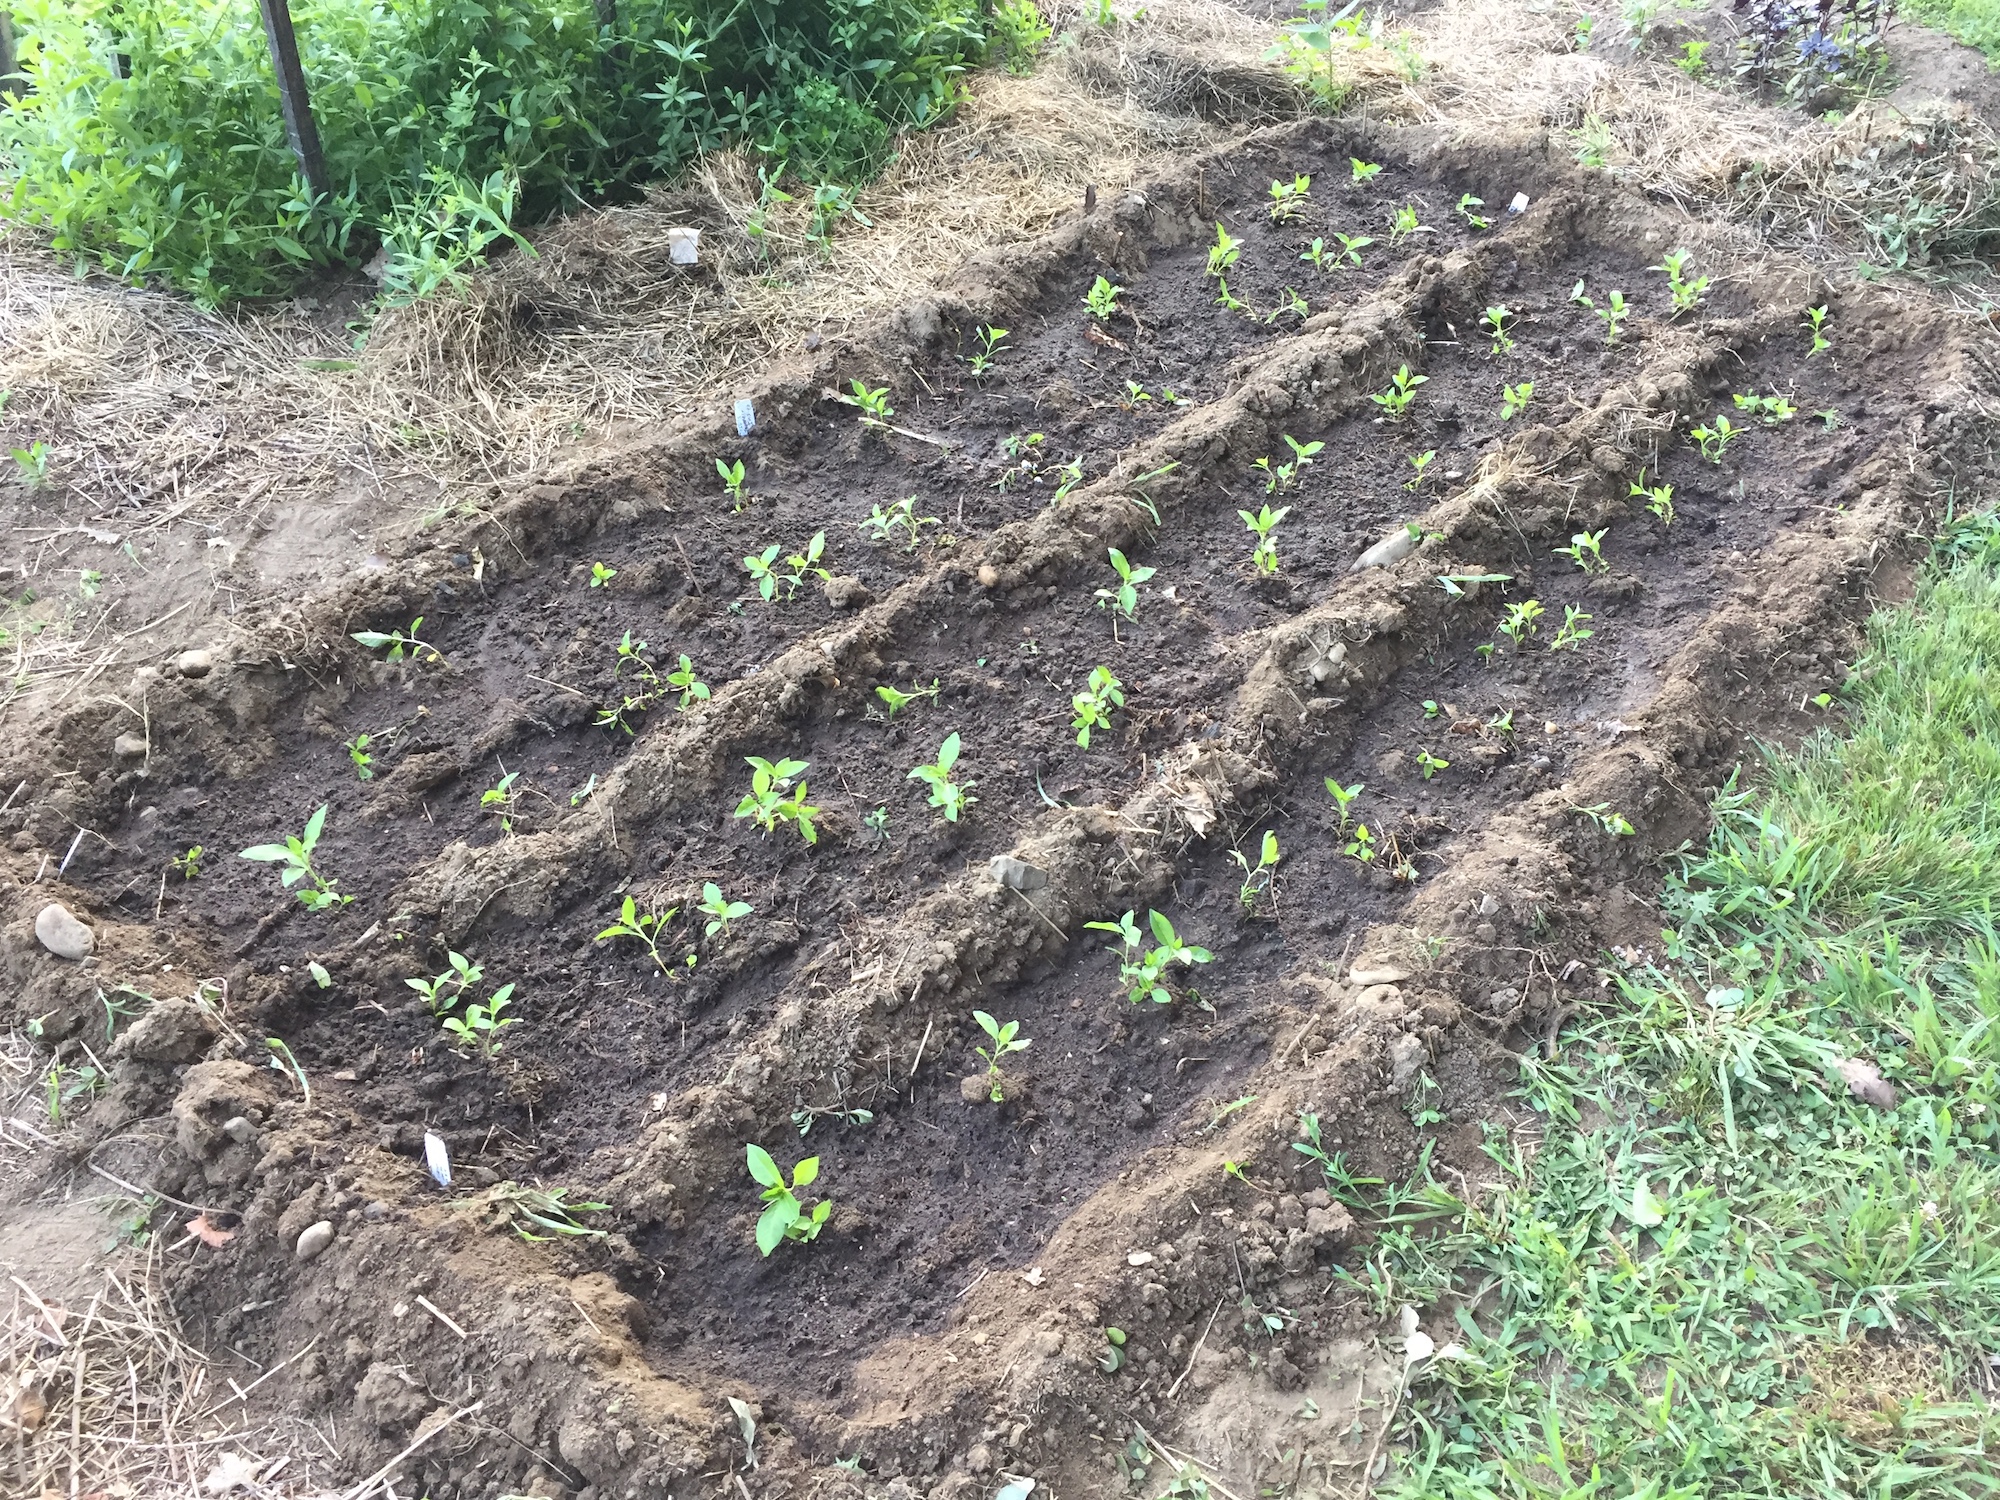
I guess I didn’t do any further photo-documentation until they were ready to transplant into the garden bed. The bed I was planning to use had been occupied all spring by the second year woad plants that were going to seed. On July 4th the woad seeds were ripe. I harvested them and cleared the bed for a new crop.

Here are most of the transplanted Japanese indigo plants on July 7th:

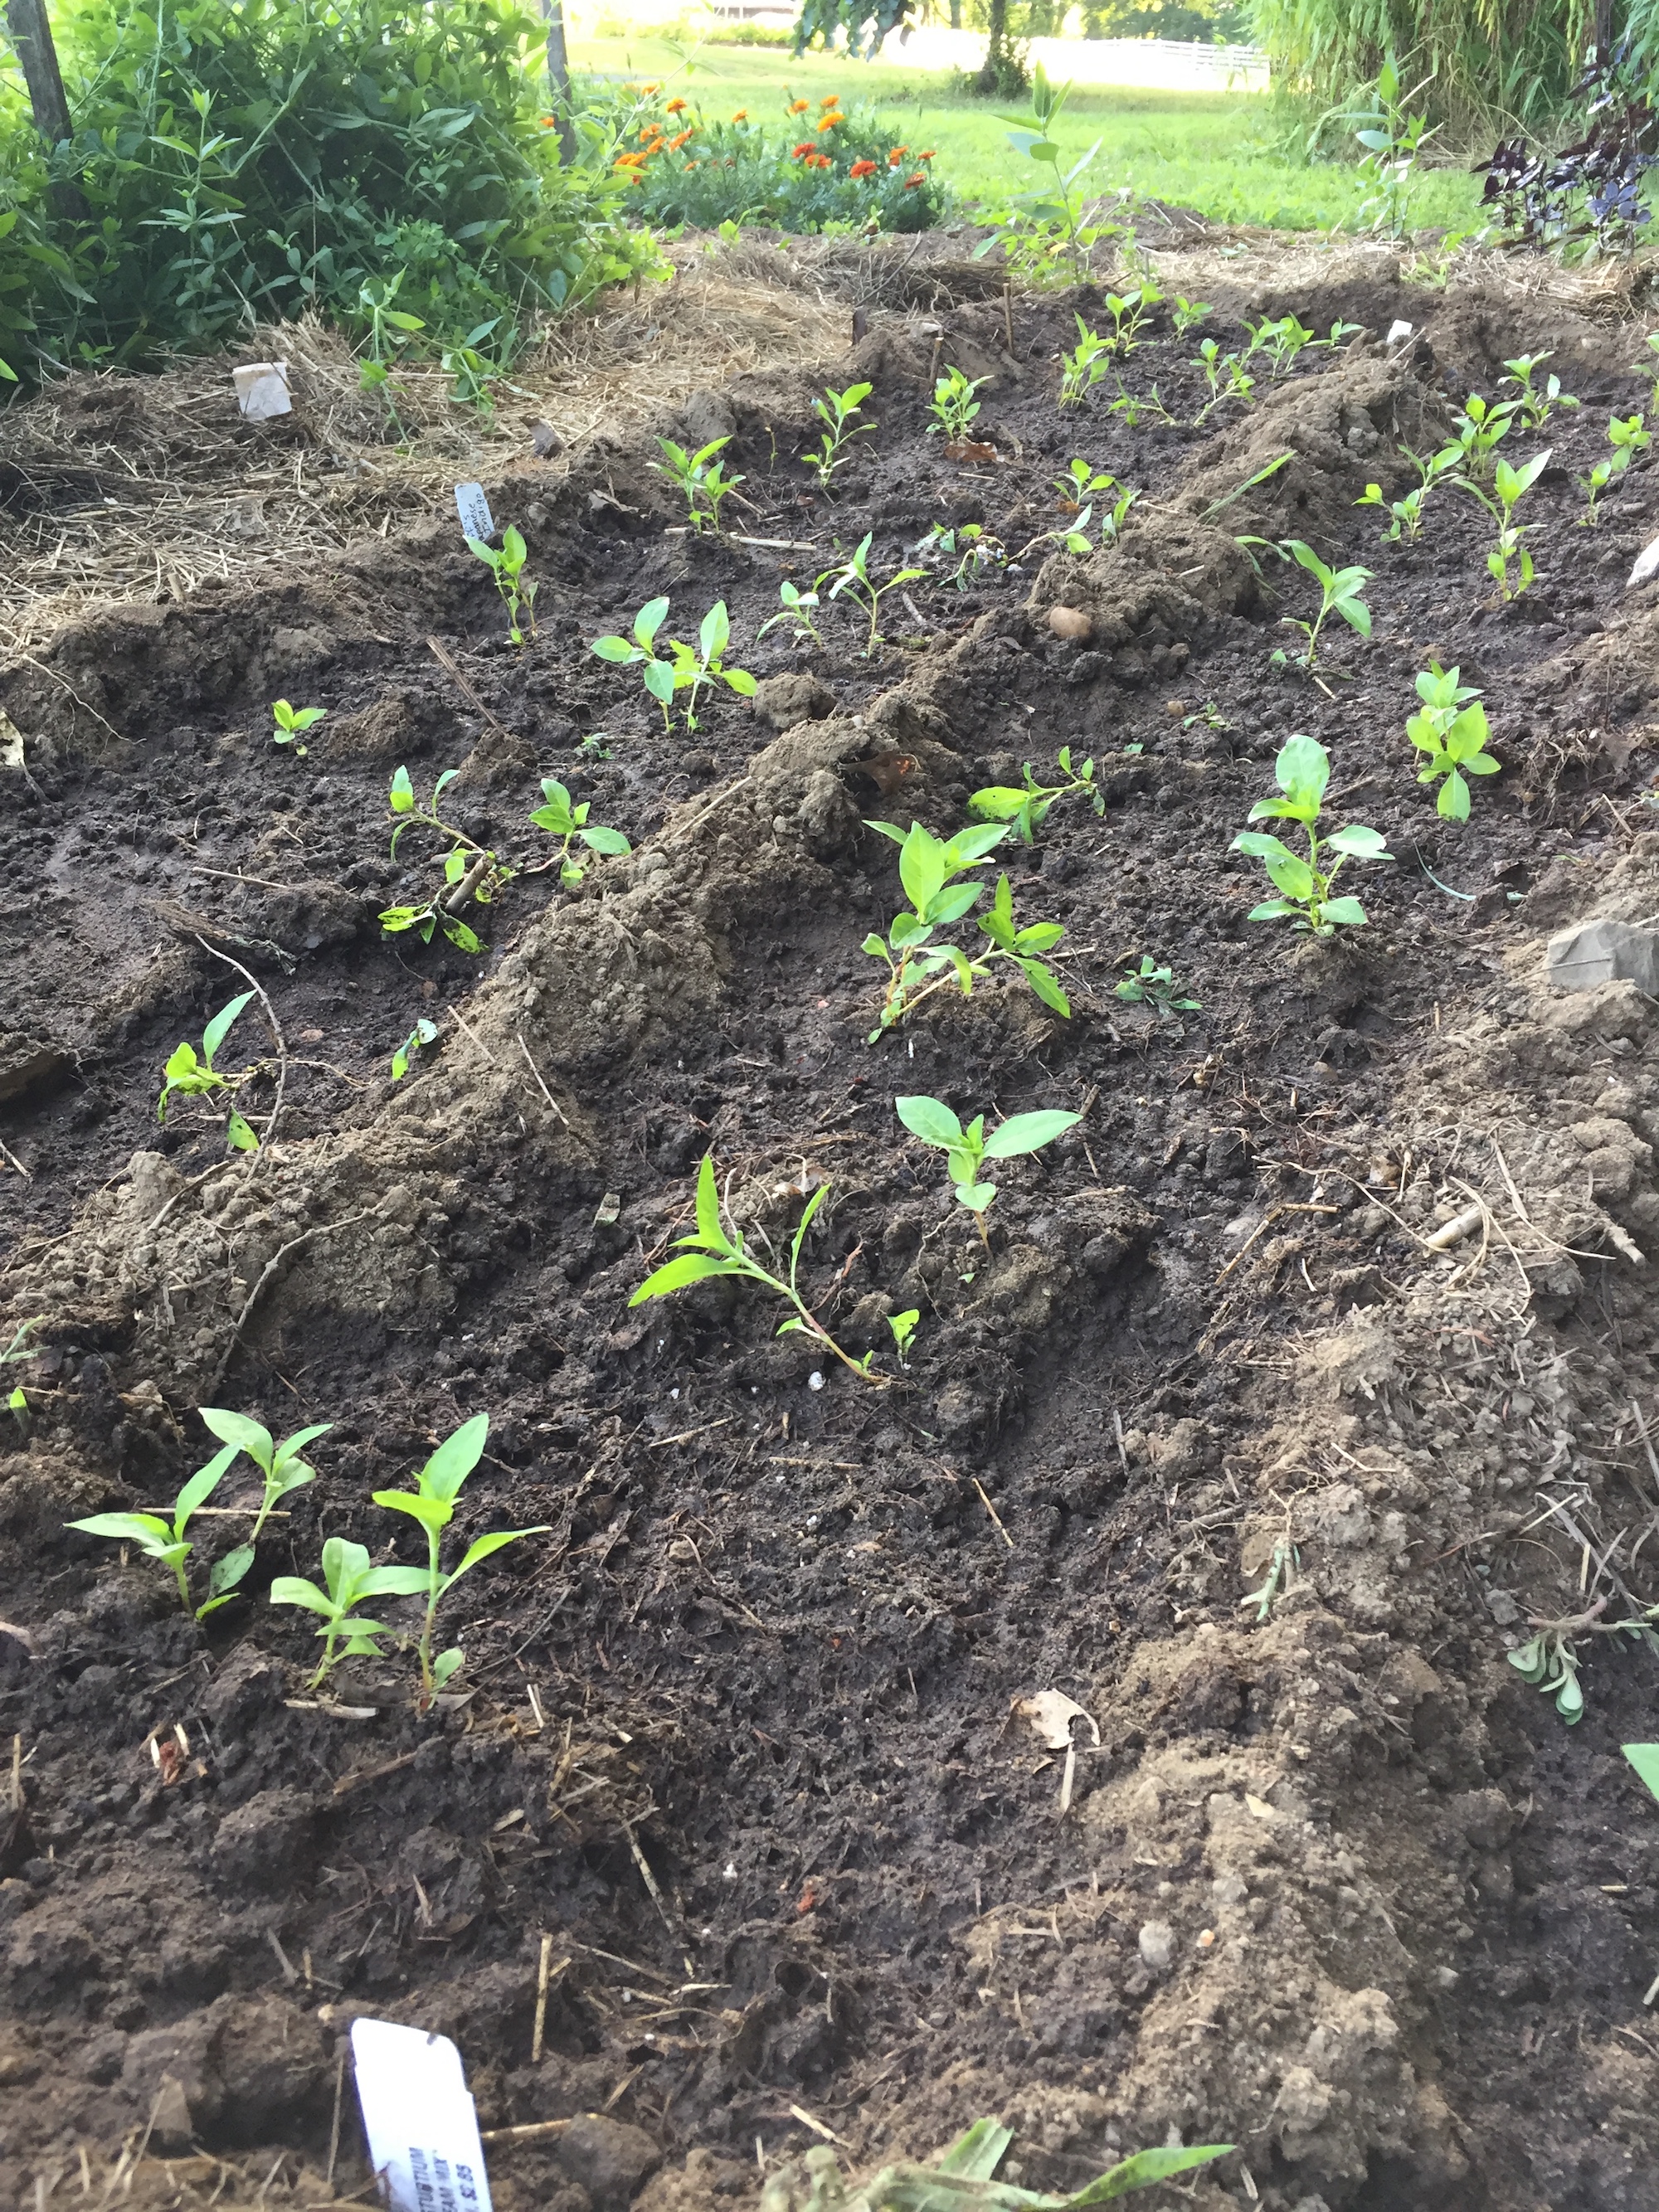
Here’s a ground-level view:

There have been a lot of rabbits this year. This photo is from our school garden, but I’m including it because I didn’t manage to photograph the rabbit at Bramble Hill.

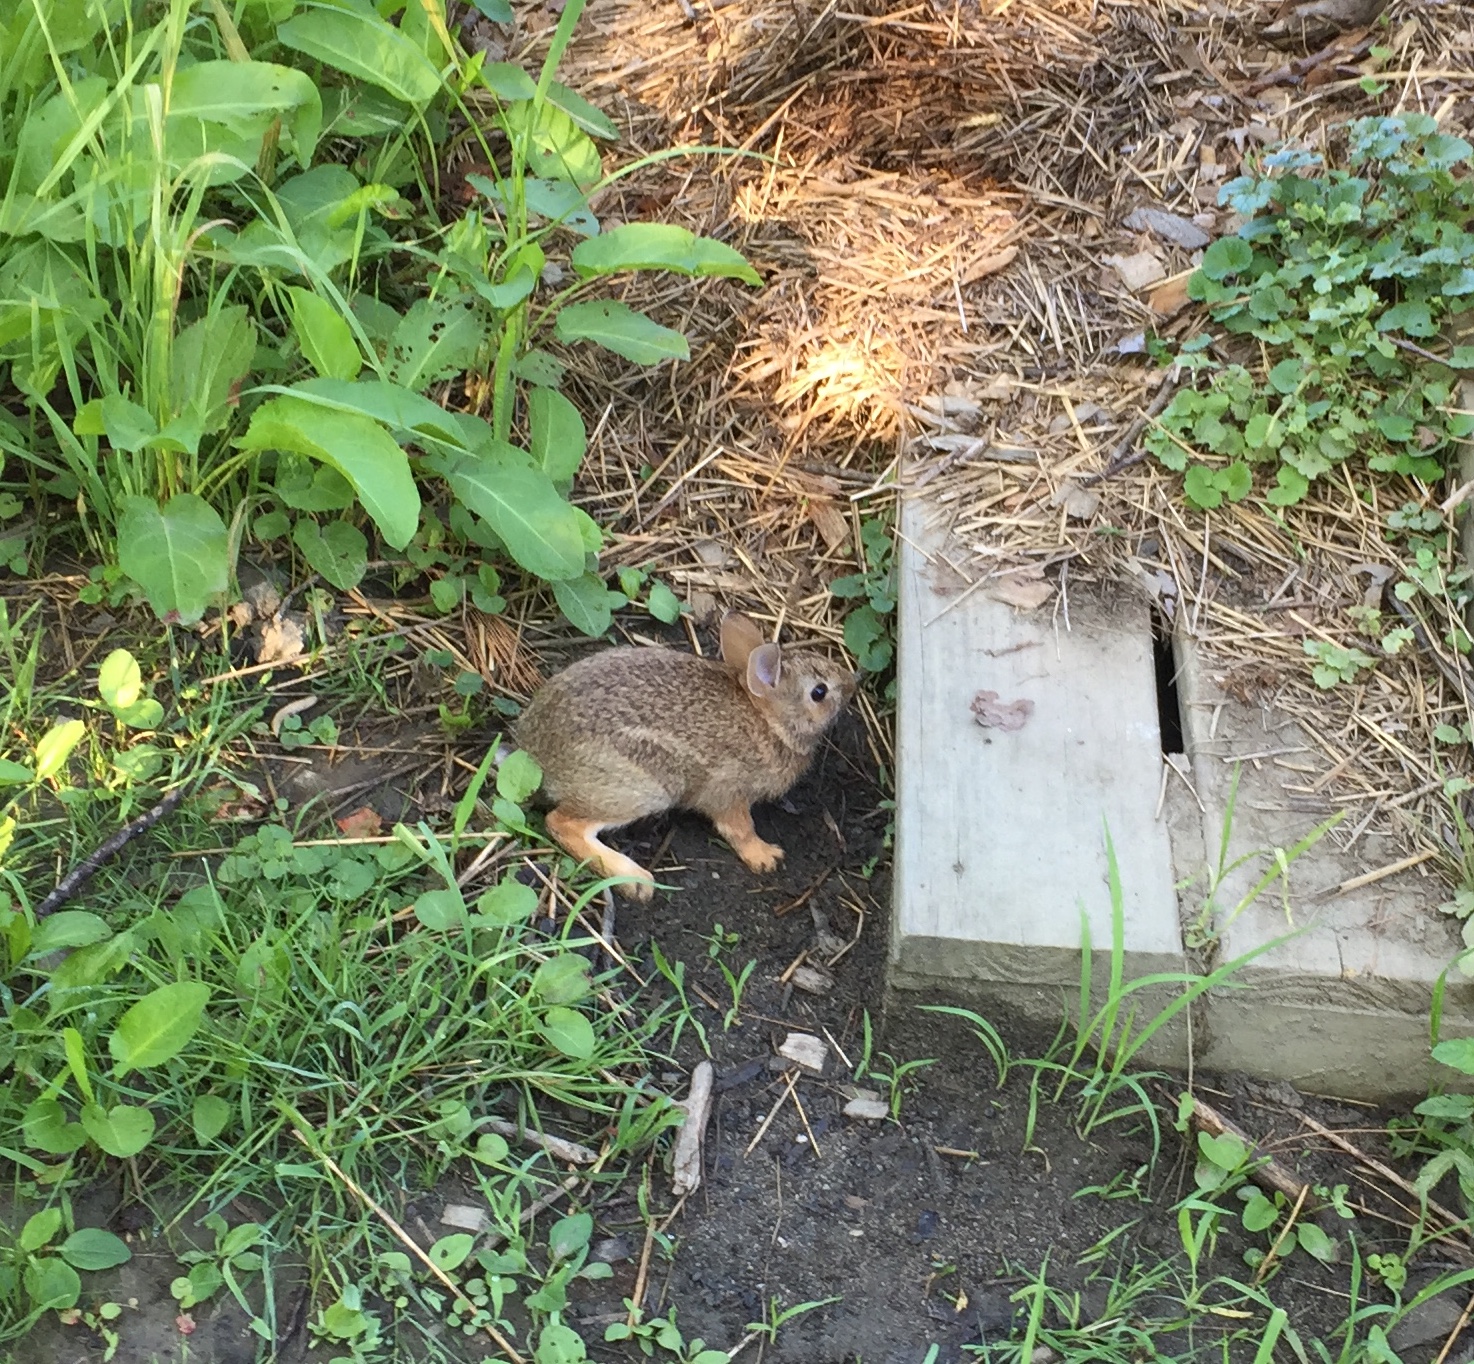
The very day that I transplanted the Japanese indigo seedlings, I arrived at the garden to find a rabbit sitting right in the midst of everything! Now, the bunny at the school garden was rightfully scared and hid under the platform.

Not so the bunny at the Bramble Hill Farm plot. Instead of running away like a small creature might normally do when a human comes along, it just shuffled over and settled down under the amsonia like it lived there or something. Cheeky rabbit.

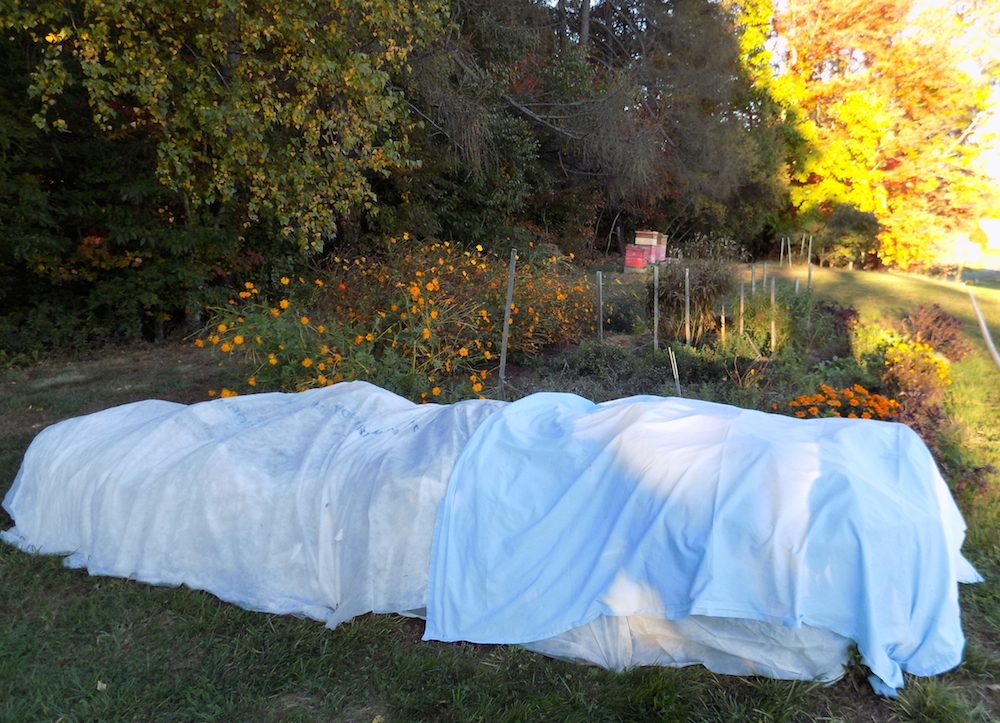
So, I figured I needed to protect the seedlings from chewing. Here was my first effort on July 7th:It was enough to discourage the rabbits, thankfully, but I tightened things up on July 8th:

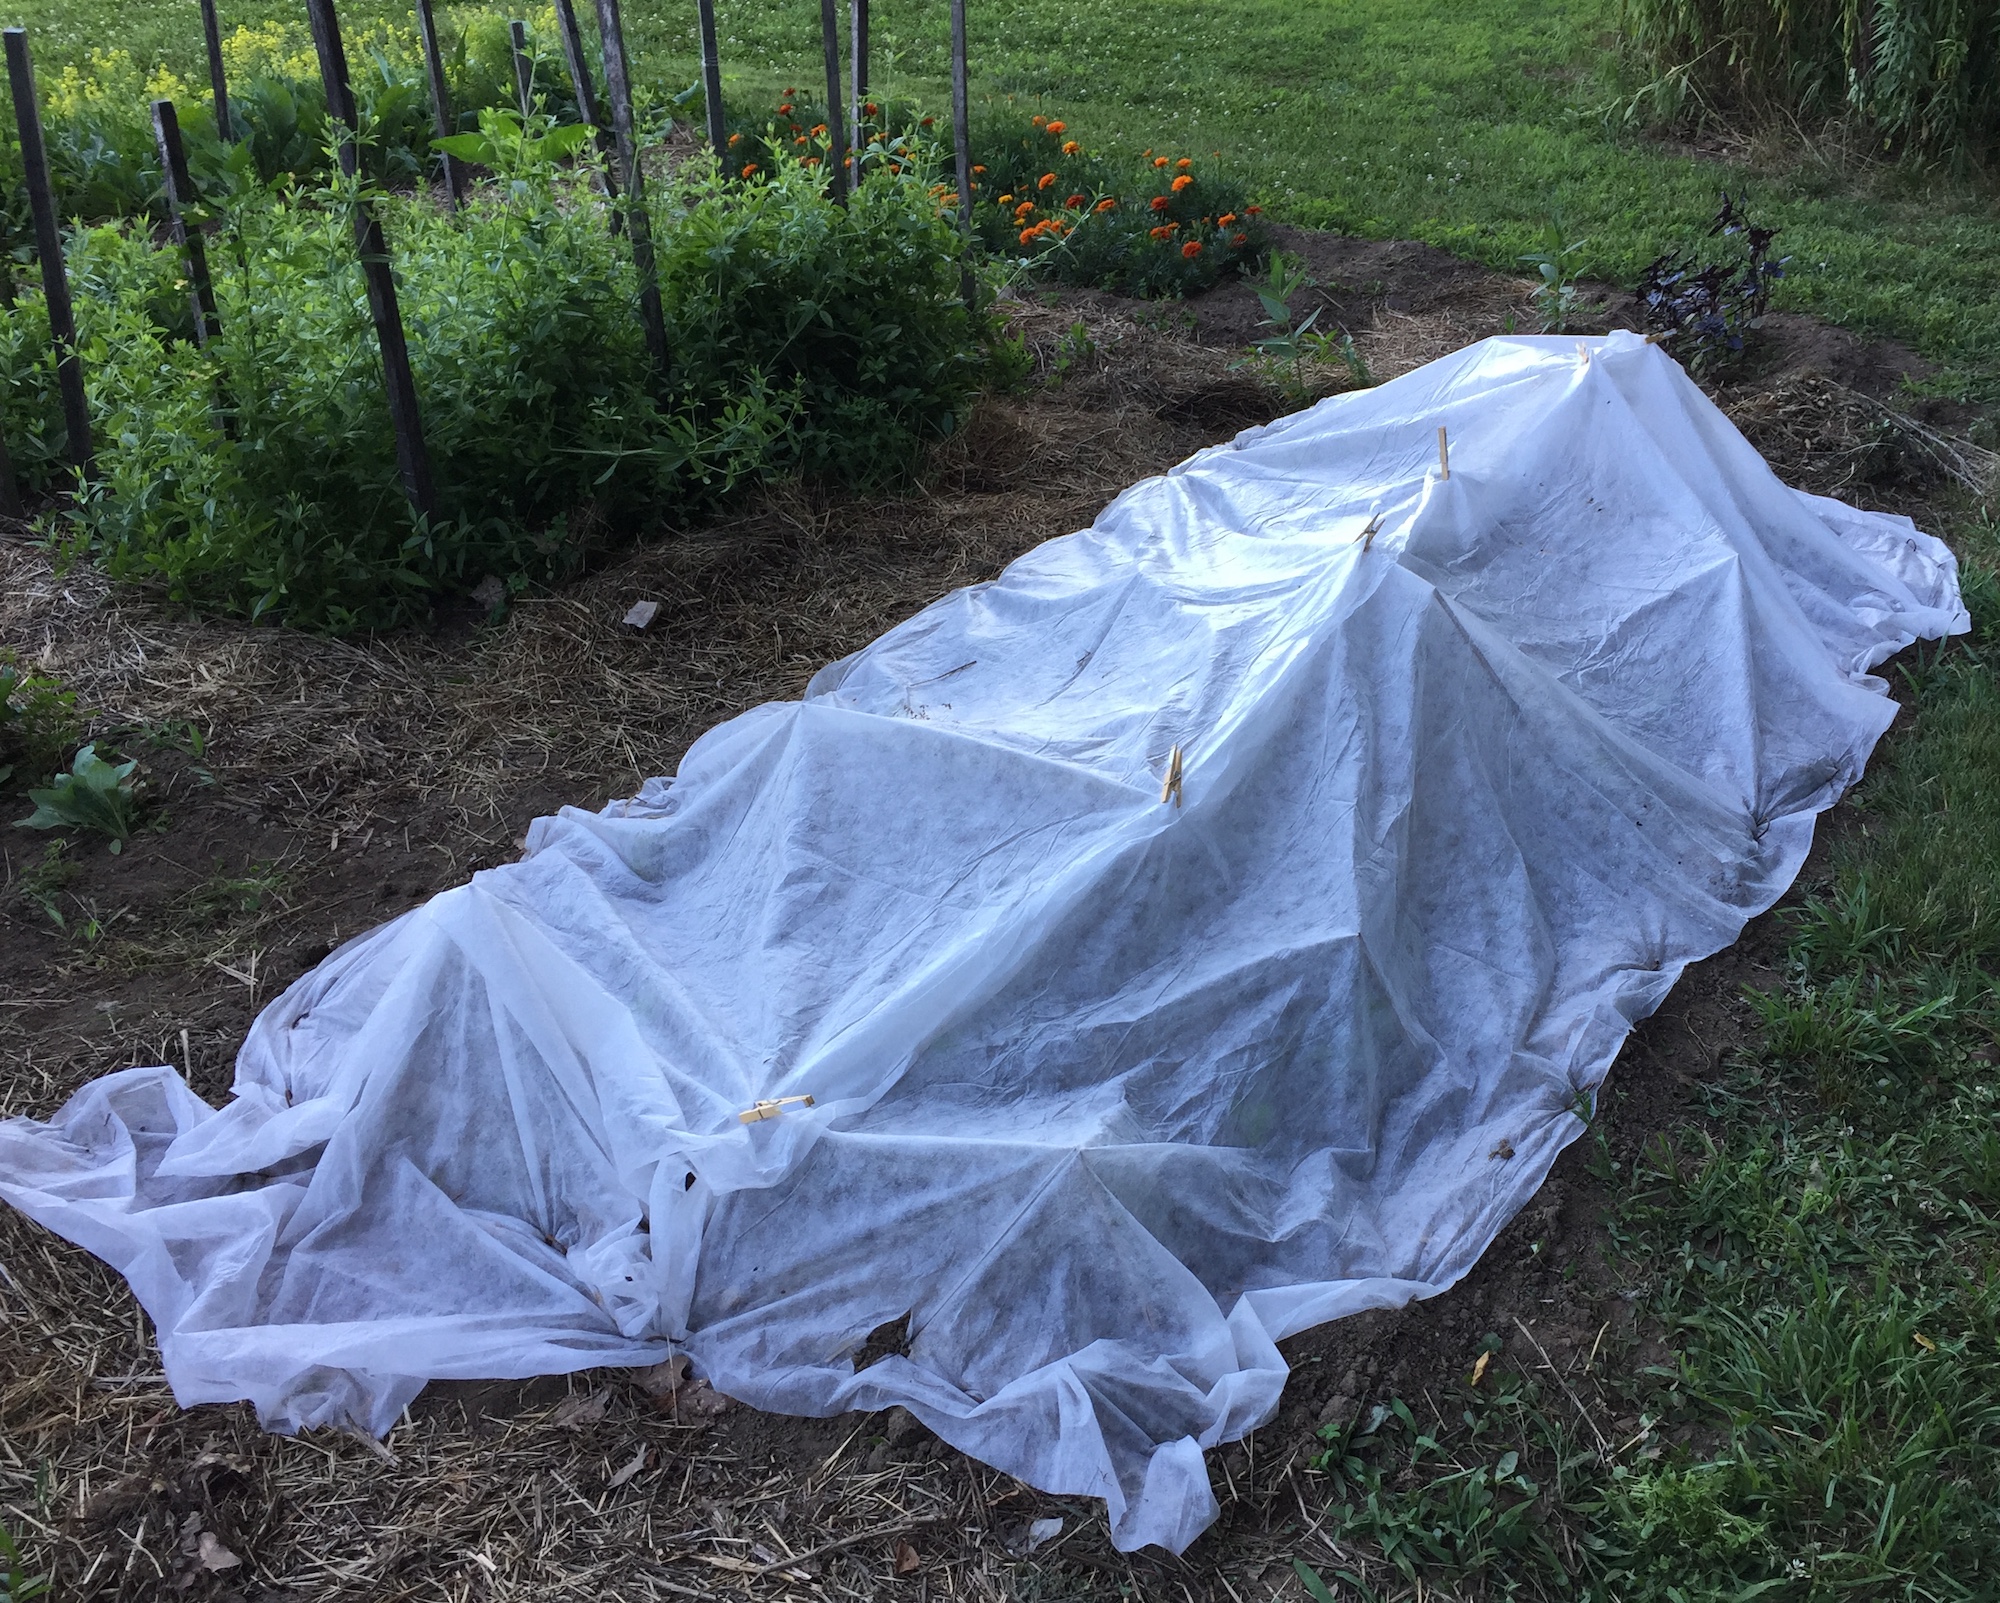
Eventually we had a hot spell, on top of a long dry spell. At first I left on the row covers thinking it would provide a bit of shade. But on July 18th I figured the time had come to uncover the plants and let them take their chances with the rabbits:

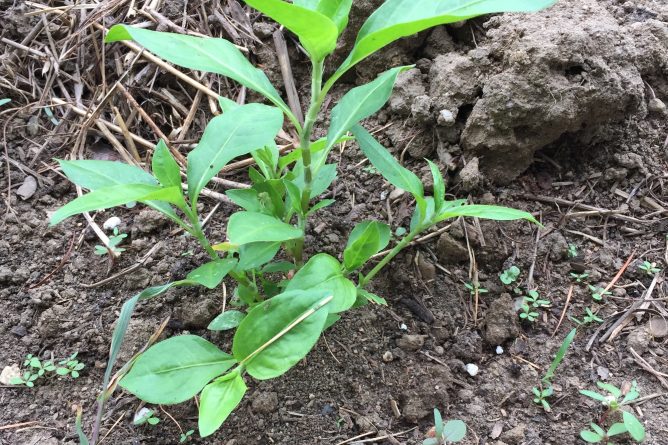
On July 18th the seedlings were looking great:

The rain barrel got low, so I had to deliver water via car, but on July 20th, despite the hot spell, they were thriving. Yesterday, July 22nd, we had heavy rain. The rain barrel is full again. I am optimistic about continued health and growth.

Japanese Indigo Seeds 2019

Back in April I cleaned up some Japanese indigo seeds from plants I grew in 2017.

Here’s the little bag I stored them in as I cleaned them:

On April 7th I put them inside damp paper towels to sprout, as I’ve done before. You can read about earlier Japanese indigo sprouting efforts in my earlier posts here and here.

Here’s what one hundred Japanese indigo seeds looks like:

From what I’ve read and experienced, Japanese indigo seeds do not stay viable for long. You’re supposed to use them in the next growing season. if you try to store them longer than that, expect poor results. Since I do not plant Japanese indigo every year, my germination rate is always pretty low. I set up a sheet with 100 seeds to make the math easy.

This year I bought a seedling mat to keep them warm. I thought it might help with germination. Here’s the type I bought:

Here’s how I set it up:

The mat certainly worked to keep things toasty. In fact, I added a towel on top of the mat to keep the seeds off the direct heat. But as it turned out, I got way too impatient to wait for the seeds to sprout on the paper towels.

Japanese Indigo August 2017

Way back in August I ran a Japanese indigo vat. Here’s what the bed of Japanese indigo plants looked like on August 20th:

I have only dyed with fresh Japanese indigo leaves a few times, so I am still trying to develop skill with the process. An important part of developing skill is repetition. Another important piece is learning and testing new things, and then trying to understand why they do or don’t work. Luckily, this vat afforded me all of those opportunities!

I picked 22 oz. of plant material, which yielded exactly 1 pound (16 oz.) of leaves trimmed off of the stems. Here are the tips of the plant stalks that I harvested:

On the left are the stems, and on the right is the bag with just the leaves in it. It’s a really beautiful plant! It has sweet little hairs, wrapped-around layers, exciting color contrasts, and an interesting juxtaposition of rigid and luscious textures. Continue reading “Japanese Indigo August 2017”

Testing Japanese Indigo Seed

In 2014 I was very excited to acquire my first Japanese indigo seedlings at the Massachusetts Sheep and Woolcraft Fair in Cummington, MA. I bought them from Blue By Ewe in Temple, New Hampshire. That year I saved the whole crop for seed. You can read about my harvest in an earlier blog post here. I intended to expand the amount I grew each year and save my own seed annually.

I did manage to grow my own seedlings in 2015, which I documented in a couple posts that you can link to here and here. I even managed to use the plants for dyeing that year. However, I was not on the ball to save seed in an organized way that fall, and I did not grow any Japanese indigo in 2016. Continue reading “Testing Japanese Indigo Seed”

Wrapping Up A Loose End

I have not done much dyeing lately. My last dye day was on September 6th when I ran my second Japanese indigo vat. Since then, I managed to rinse and dry the skeins, but didn’t get much further than that. They’ve been sitting in a tub waiting for closure. On New Year’s Eve I finally wrapped up that loose end.

As I noted in my original post, I don’t have good photo-documentation about that vat. But at least now I can show you photos of the skeins I dyed. All the yarns are wool. Here are the blue skeins.

over dyed blues with Japanese indigo Continue reading “Wrapping Up A Loose End”

The Hurrier I Go

Life has been very busy. Back in July I kept thinking, “July is the month of everything.” Dye plants blooming, flax needing to be harvested, NEH summer institute, NEWS, family weekend at Queen Lake, hiring a new co-worker at school…. I did a lot, but since I can’t do everything, I had to let a lot of things go. No goldenrod or Queen Anne’s lace dye baths this year, and I missed Peggy Hart‘s talk on the history of NEWS, for example. (12/30/2023 Edited: Here are updated links to the National Endowment for the Humanities Summer Institute and New England Weavers Seminar.)

Then when August came, I thought, “No, August is the month of everything.” Even *more* dye plants blooming, flax *really* needing to be harvested, prepping for school, getting to know my new co-worker….  I did a lot, but ditto July. I had to let a lot of things go. No flax retting experiments. No purple loosestrife or black walnut experiments, despite an absolutely ridiculous abundance of wild dye plants. Very few orange cosmos flowers were collected and frozen. No woad was cut or dyed with. The flax and linen study group website was not updated. Continue reading “The Hurrier I Go”