
Last year at the Massachusetts Sheep and Woolcraft Fair I bought several Japanese indigo plants (Polygonum tinctorum, though I’ve heard that perhaps the name has changed). I was very excited and intended to dye with them, but then next thing you know, summer had raced past and they were blooming. I was worried that they would have lost a lot of their color once they started to bloom. And I was worried that I might have a hard time finding plants or seeds again. I decided I’d save them for seed and not use them for dyeing after all. You can recap a couple posts from last year here. And here.
This spring I successfully grew about 40 seedlings, half of which I put in at Bramble Hill Farm and the other half at our community garden plot. I guess I was in a “don’t put your eggs in one basket” mode this spring. Very wise, as it turned out.
The plants at Bramble Hill thrived, and on August 16th I decided that the time had come to try a vat.
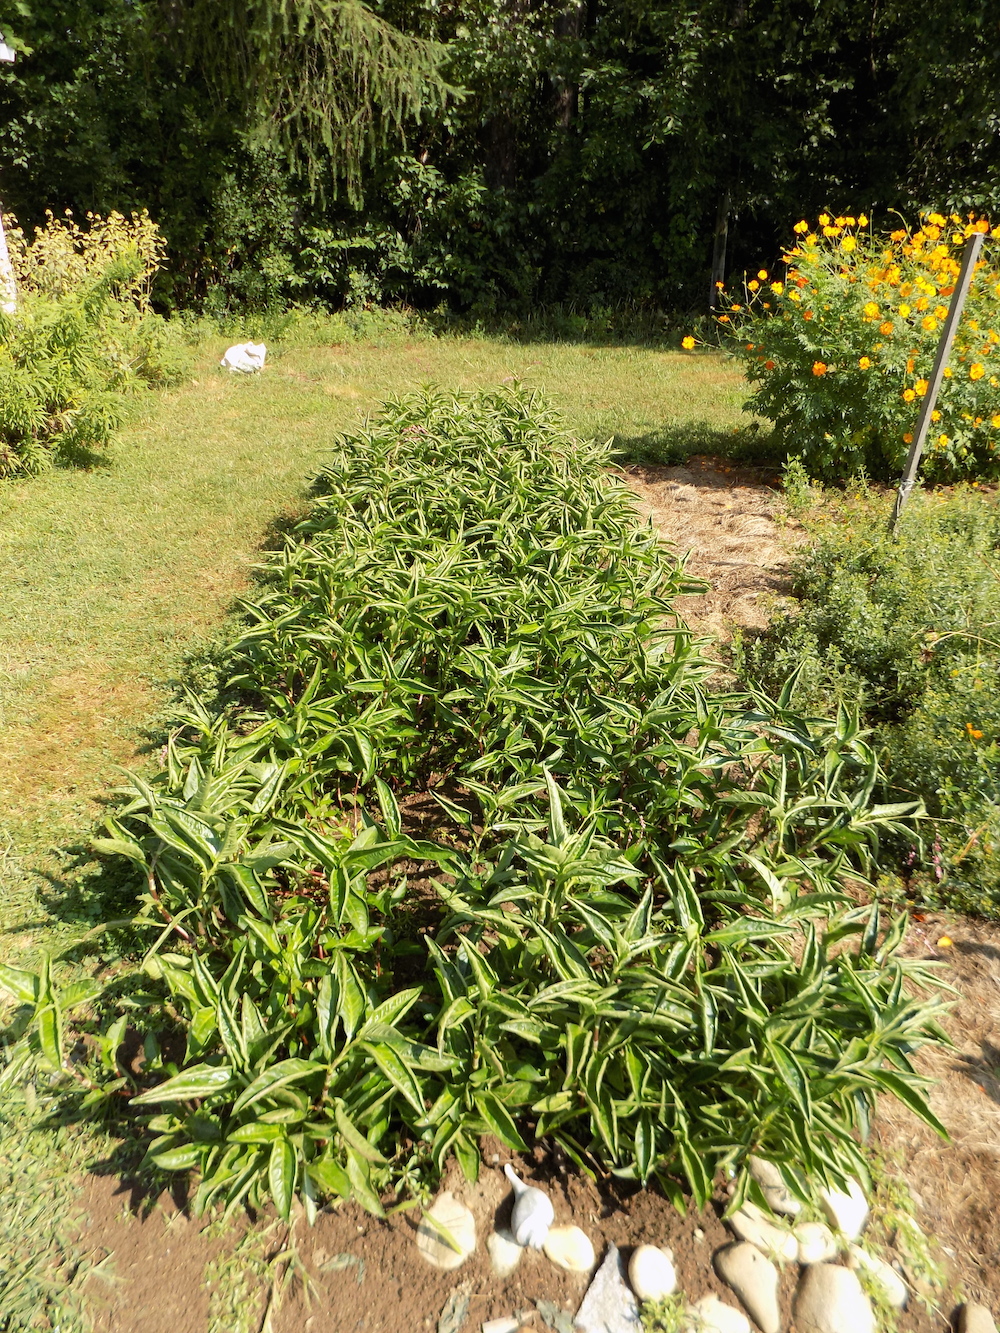
Here’s the gorgeous bed:
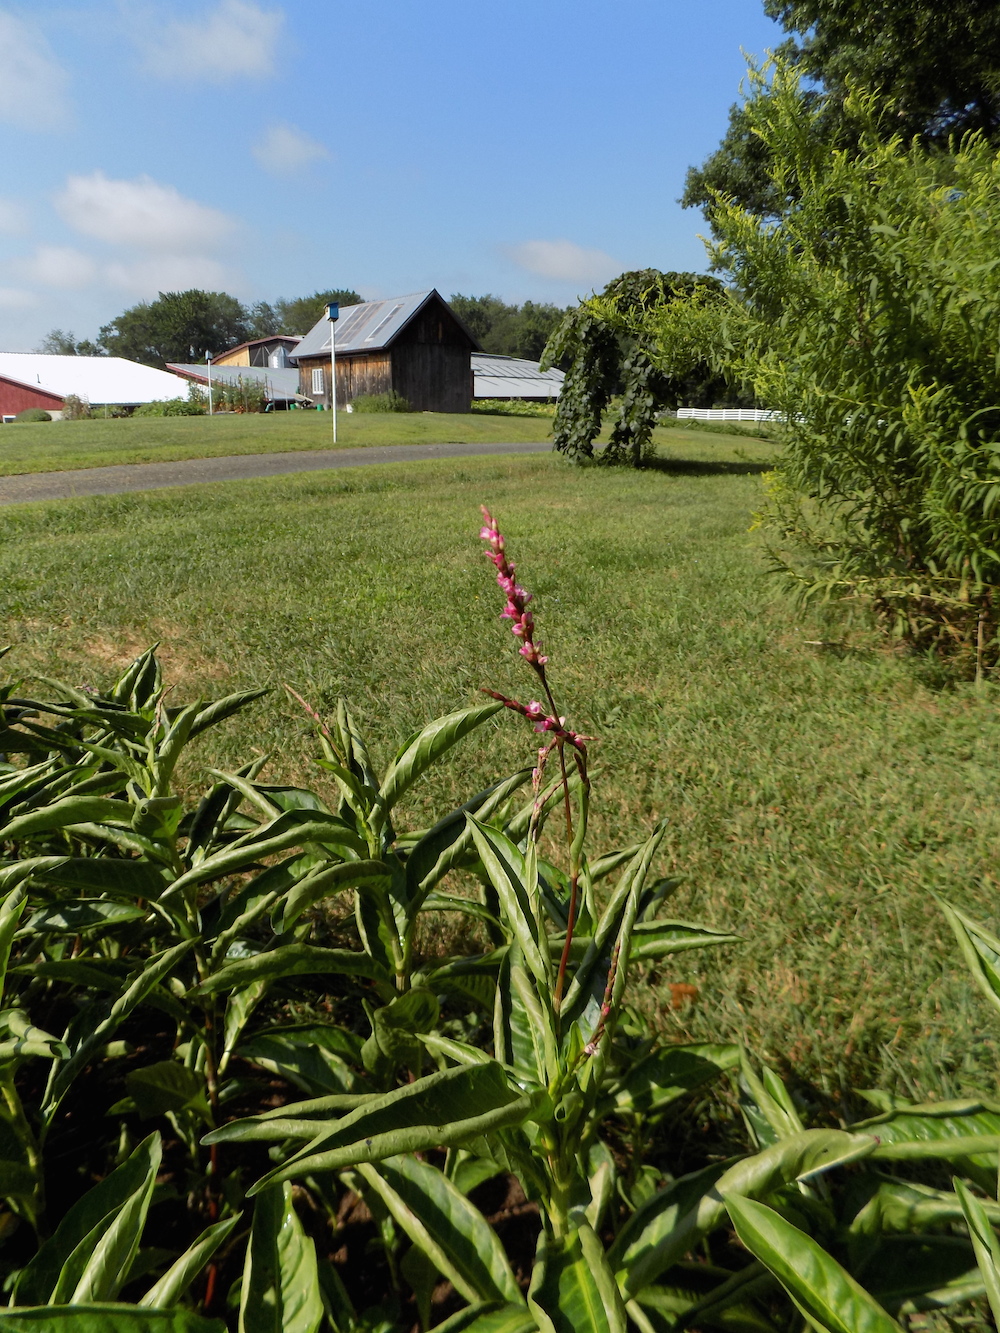
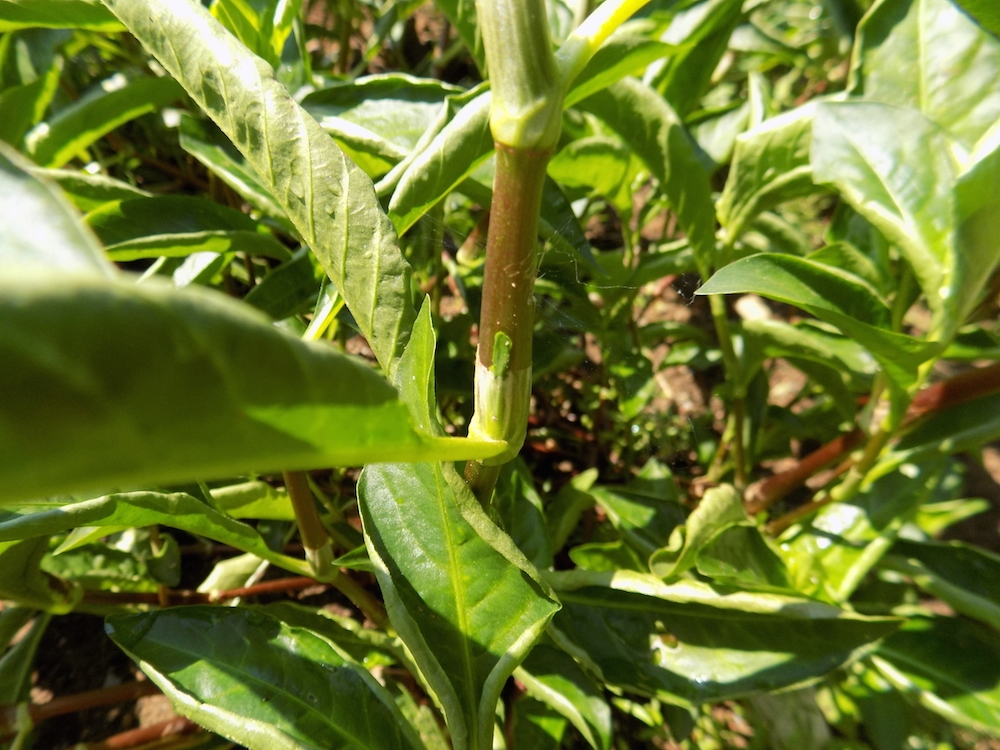
Here is more of a plant’s eye view:
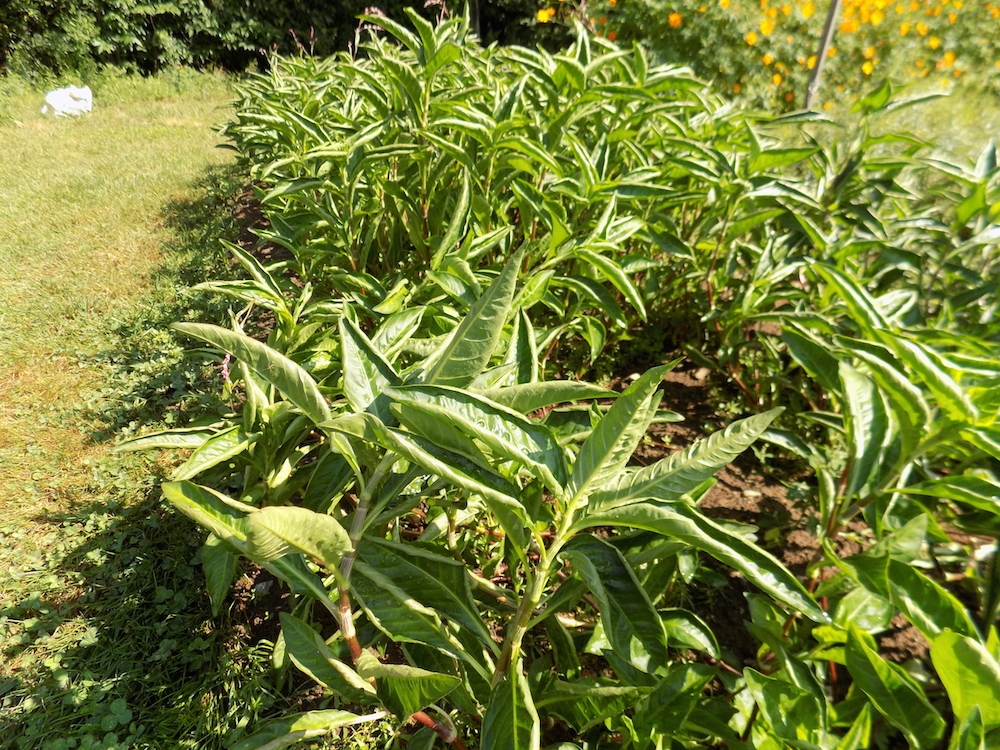
Some had already begun to flower, but I forged ahead anyway.
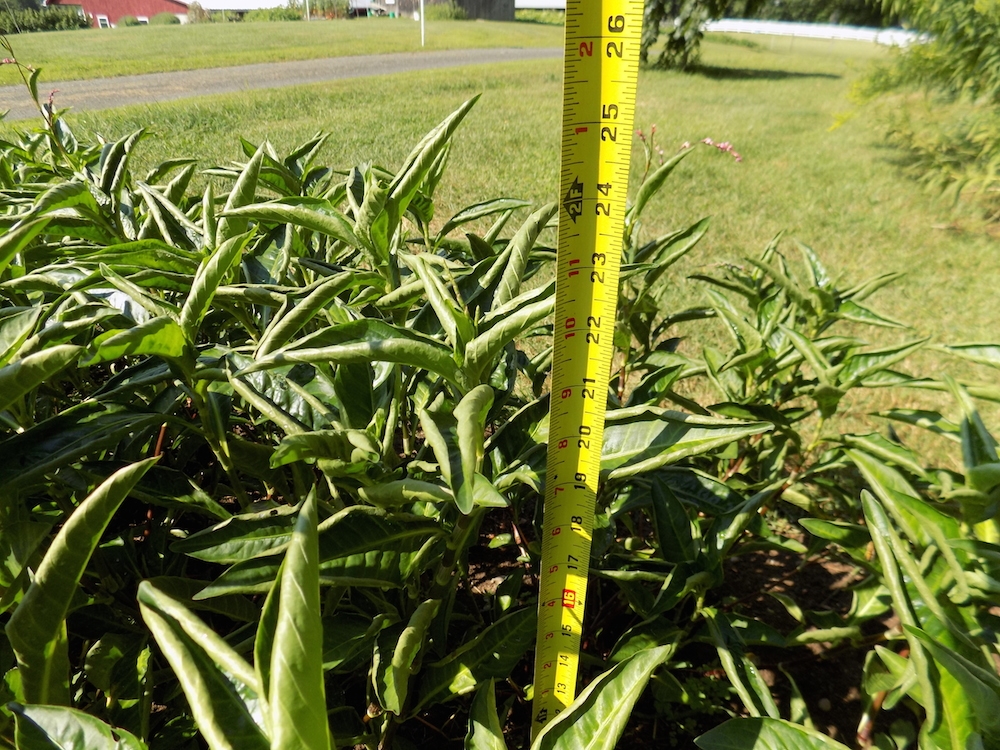
The plants in the bed were about two feet tall:
I re-read all my books on dyeing with fresh Japanese indigo leaves and was dismayed but not surprised that each dyer recommended a different harvesting procedure, weight of goods to fiber, method of extraction, temperature and duration of extraction, type and amount of alkaline and reducing agents, etc., etc.. I had to use their signposts to make my own way, as usual.
Here’s what I decided to do for harvesting. I cut above a leaf joint, as one might do when harvesting basil. New growth clearly emerges from these joints, so I was pretty confident that the plants would just branch at that point after I cut them. Here is a teeny leaf popping out of a joint, and below that is a slightly bigger leaf:

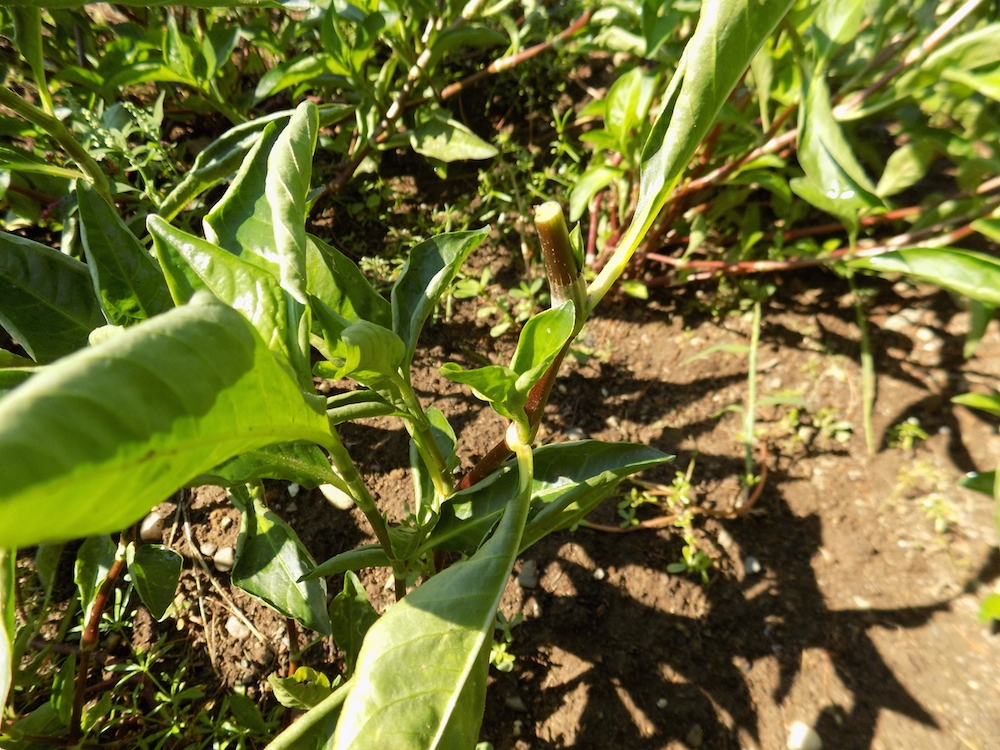
I cut the tops of the stems off right above a joint. Hopefully you can see the flat area on the stem where I made the cut in the photo below:
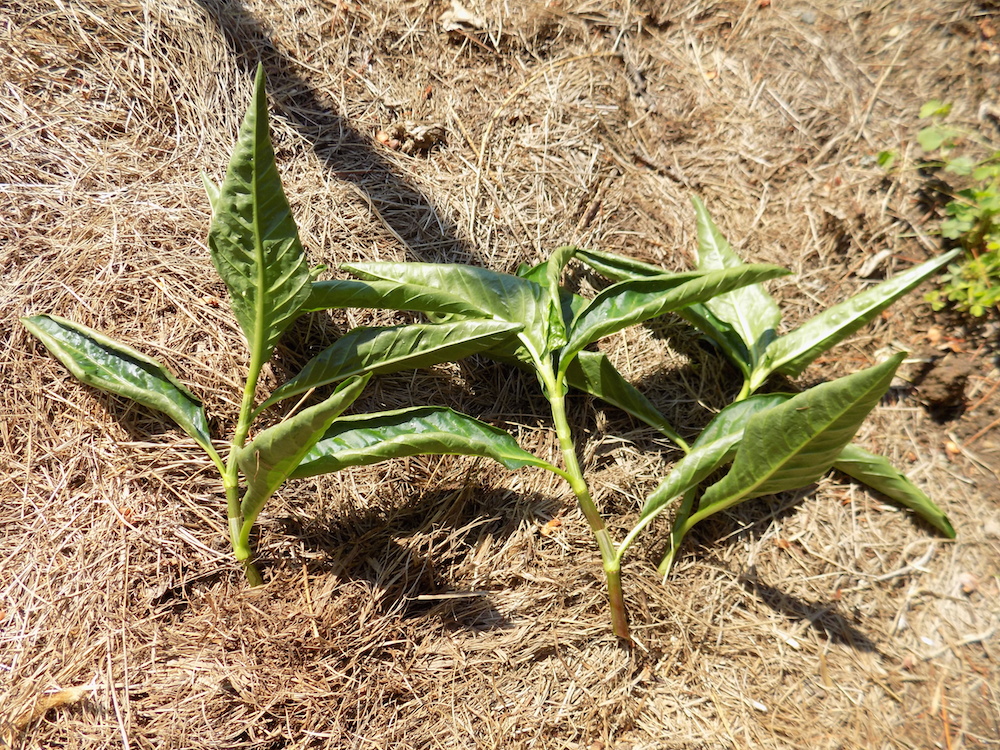
Here are some of the decapitated tops:
And here’s a bag getting full from harvesting:

I couldn’t really weigh the leaves at the garden, but I had already selected the heat-proof glass jars I would use for extraction so I could eye-ball the quantity I would need by volume.
After I snipped the leaves off the stems, they weighed one pound five ounces. I had scoured a pound of woolen yarn (a soft, relatively fine 4 ply mill end from Webs) put up into four ounce skeins, but I wasn’t sure how much I would actually be able to dye. The quantity of Japanese indigo leaves seemed small compared to woad, which is my usual source of blue.
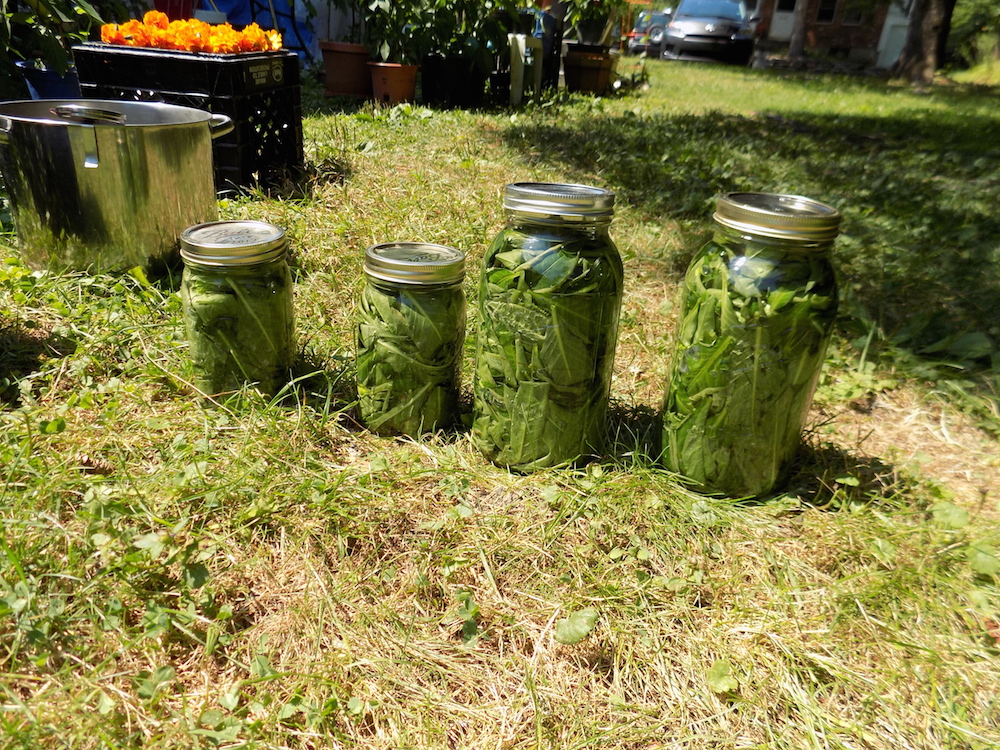
Most dyers recommended extracting the leaves using a modified double-boiler method, though Dorothy Miller seems to skip this when dyeing with fresh leaves. Since I have found that keeping the air out while you extract the leaves is crucial with woad, I decided to use canning jars with the lids on to extract the leaves, and figured the air would just escape as the jar heated up. I crammed as many leaves as I could into each jar, and filled the jars with warm water. Oh, yeah, did I say that different dyers recommend different temperatures of water when covering the leaves, ranging from “cold” to “hot”? I went with “medium” aka warm.
I’m not sure who originally came up with the double-boiler method. I think one purpose of the double-boiler must be to regulate the temperature and to prevent scorching on the bottom. My jars rested directly on the bottom of the dye pot, but I’m not sure how much that helps. Here are my four jars, two 8 cups jars and two four cup jars:
I put them into two dye pots, one taller and one shorter. I filled up the pots with water, but left quite a bit of headroom:
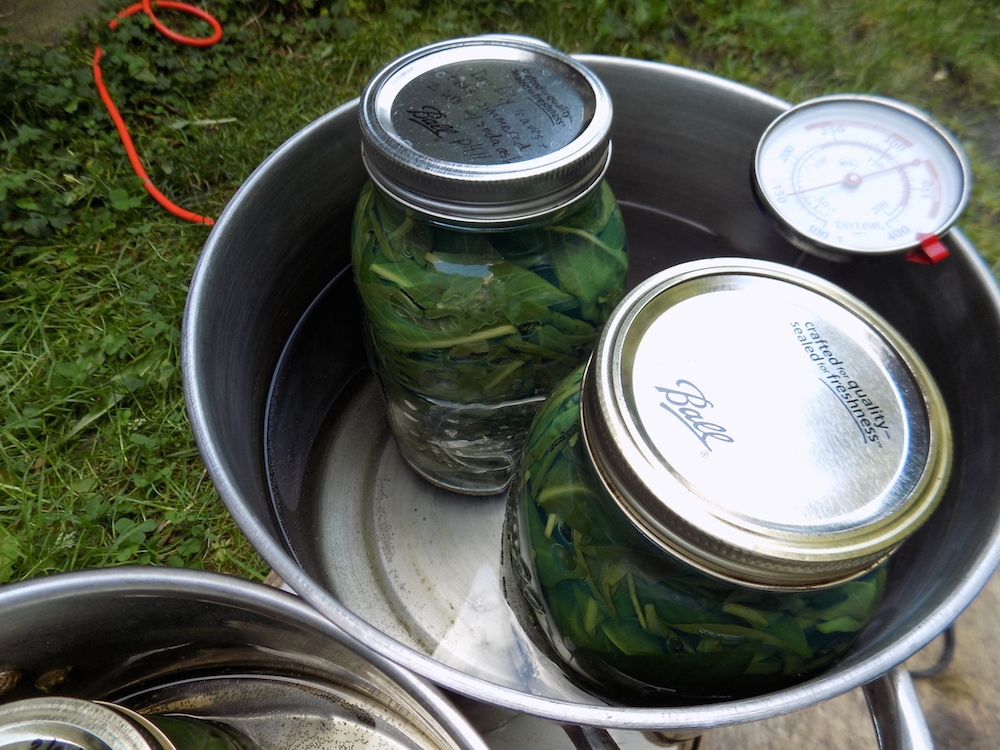
When extracting the leaves, the temperature matters a lot, though no one seems to agree on exactly what the best temperature is. Recommendations included 120, 140, and 160 degrees F. They all agree that one needs to raise the temperature slowly. I figured I’d pick a point in the middle, and never let the thermometer get over 140 degrees F. Of course, it was measuring the water in the pot, not the water inside the jar. I don’t know whether there was a difference.
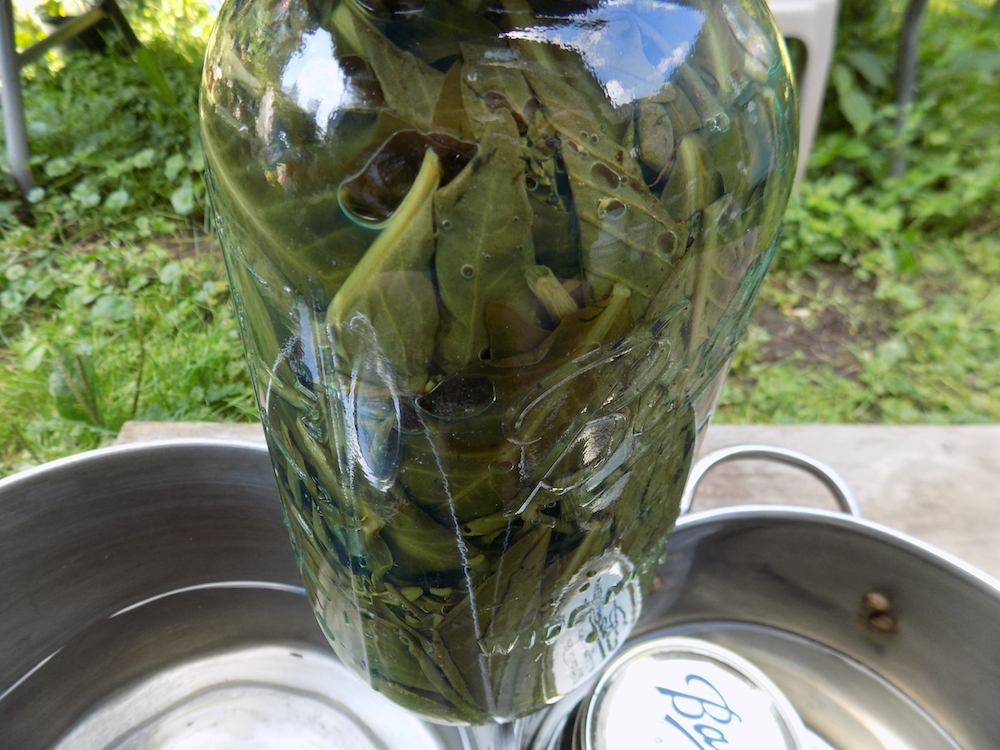
After two hours nothing much seemed to be happening. Depending on who you read, extracting the leaves can take 2 to 8 hours. So I just kept checking. The leaves are supposed to turn a metallic reddish brown when they are ready to strain out. After two and a half hours, this jar was getting blue-green, but the leaves did not look brown or coppery.

I had planned to Skype with Gina from the flax and linen study group at 6pm and it was already almost 4pm. Arg! Running out of time….
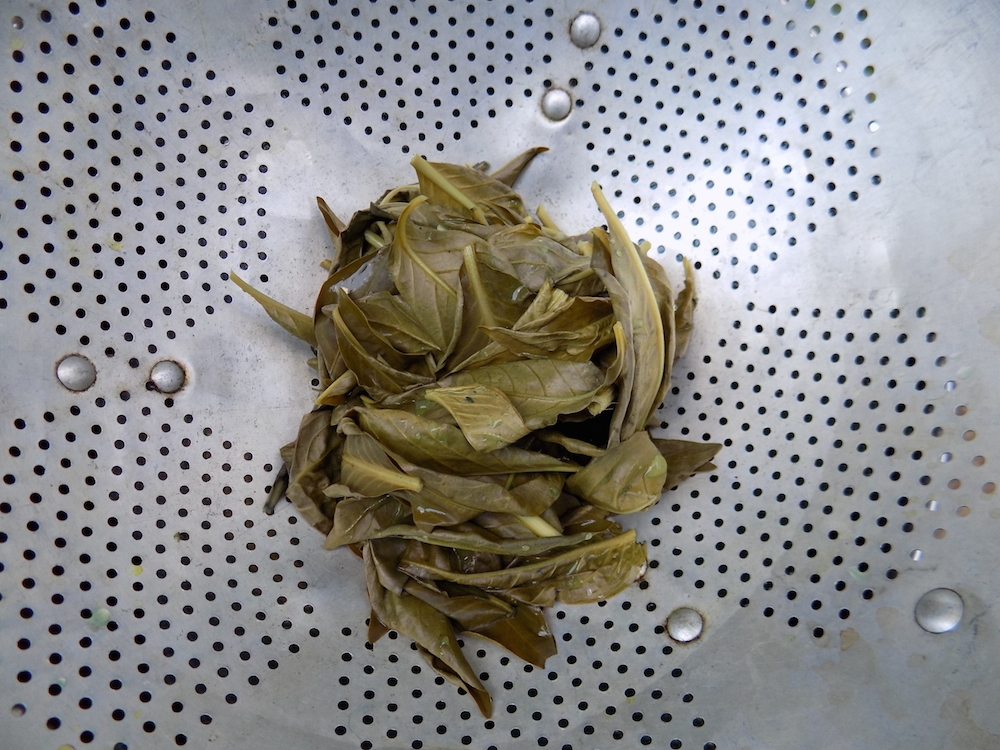
After three hours, I ran out of patience and decided to just strain the leaves. This is what they looked like:
I would not personally describe this as metallic or dark or brown or really anything noteworthy. There were some brown tinges.
When I first strained out the leaves from one of the jars and looked at the liquid, I was appalled.

Woad, when the fresh leaves have been extracted, makes a juicy, dark pinkish-red liquid, and I was expecting something similar from the Japanese indigo. The strained leaves had changed color but I still wouldn’t call it brown or metallic.
However, I could see that in the other jars I cracked open, the exposure to the air was making something fantastic happen:
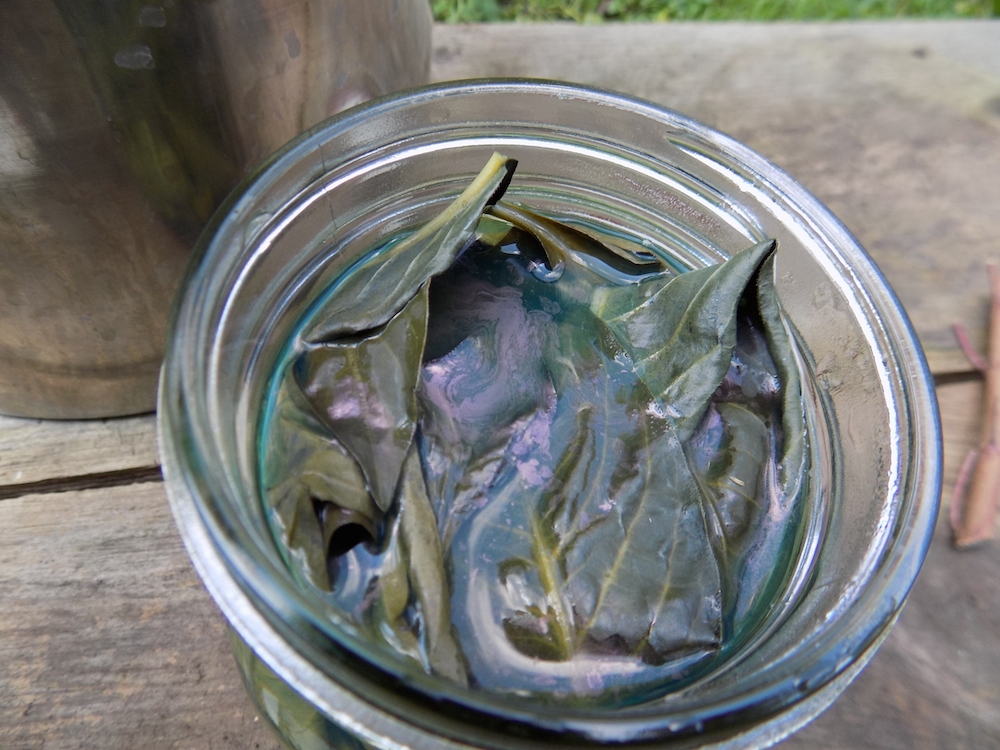
This rainbow of shiny color is the kind of thing I would expect from an indigo-bearing plant, so I continued on with the process. I think the exposure to the air turned the liquid an intense blue-green. It was not at all what I was expecting, but it was a step in the right direction.
Here is some of the extracted liquid before any pH modification:
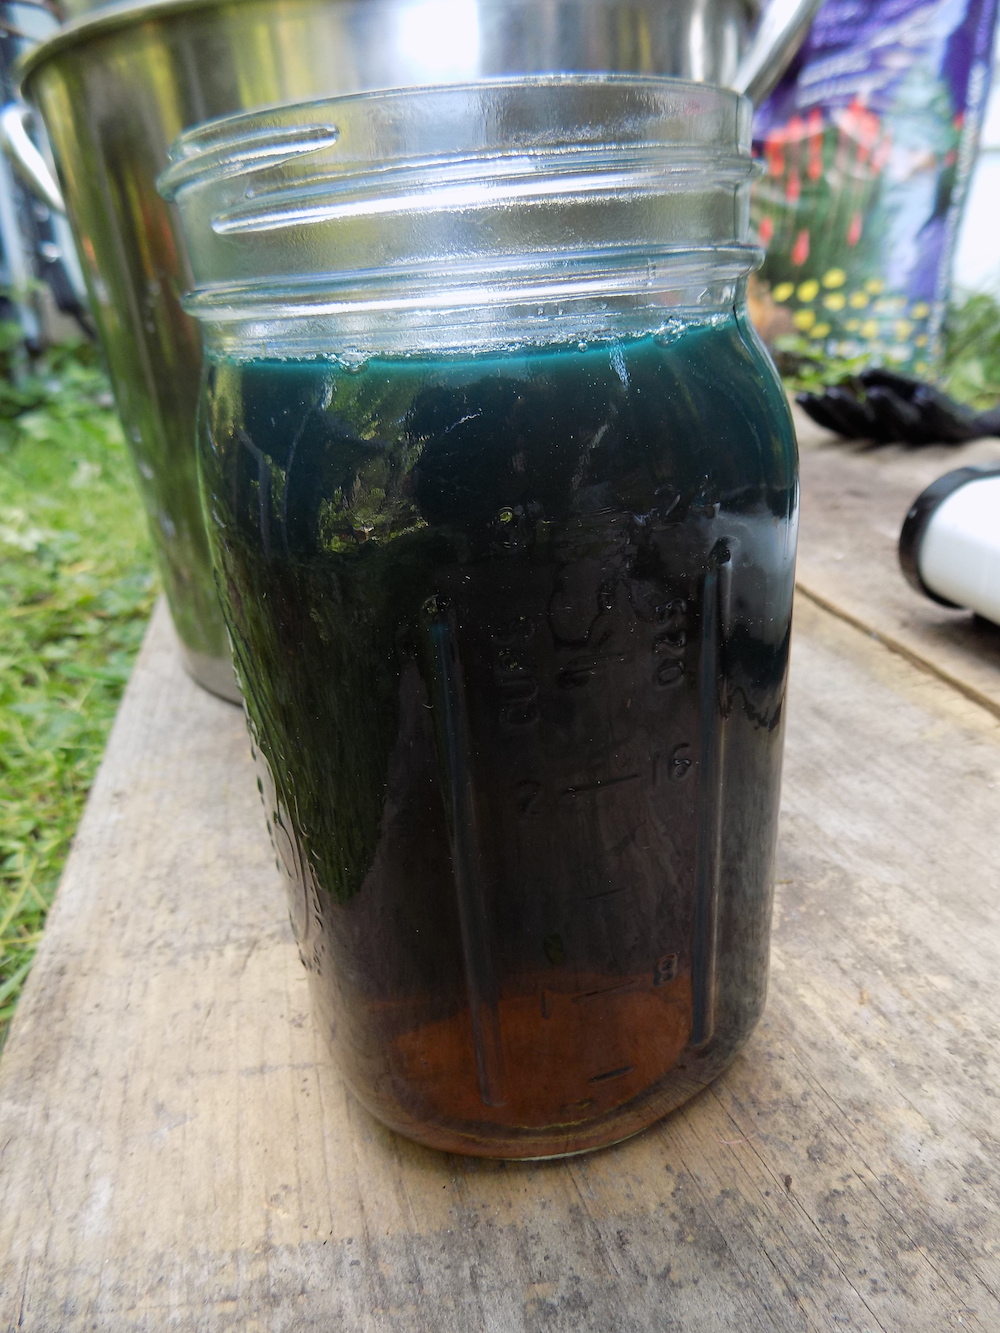
I suspect that the greener color on top is due to air hitting the liquid, and the browner color on the bottom is because it hasn’t been exposed to as much oxygen. I checked the pH and the liquid was pH 7.
Here’s a pot with two jars of extracted liquid in it:
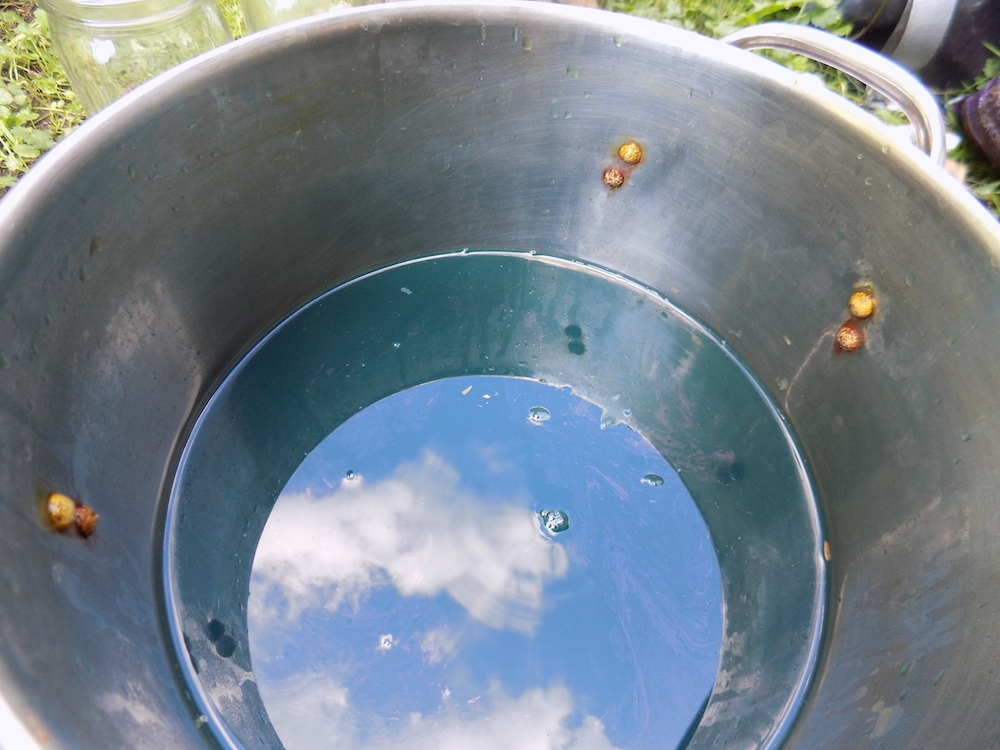
I used my usual ammonia to adjust the pH (I know, it’s pretty harsh) and four tablespoons got it up to pH 9. Then I aerated by pouring the liquid back and forth between two dye pots. Here’s what it looked like after five minutes or so:

The temperature was still good despite all the waiting around. I was aiming for about 110 degrees F. (between 100 and 120 degrees). I couldn’t really tell what the color of the liquid was. Normally with woad at this point it would be dark, murky green-brown. I thought this photo was cool, though:
Another point on which the various dyers did not agree was the quantity or type of reducing agent. Obviously I am not making a natural fermentation vat here. Recipes that include sentences like, “After fourteen days at 83 degrees…” cannot realistically fit into my lifestyle, as much as I would wish them to.
I used my usual RIT Color Remover because I can buy it retail and it accommodates my not-planning-ahead schedule. I started with a teensy quantity (a teaspoon) because I only had one and a half gallons of liquid to reduce. With a reducing agent, you’re trying to get the oxygen out of the water in the vat, and so the more water you have the more reducing agent you need. I dissolved a teaspoon of the powder in some hot water and poured it into the pot.
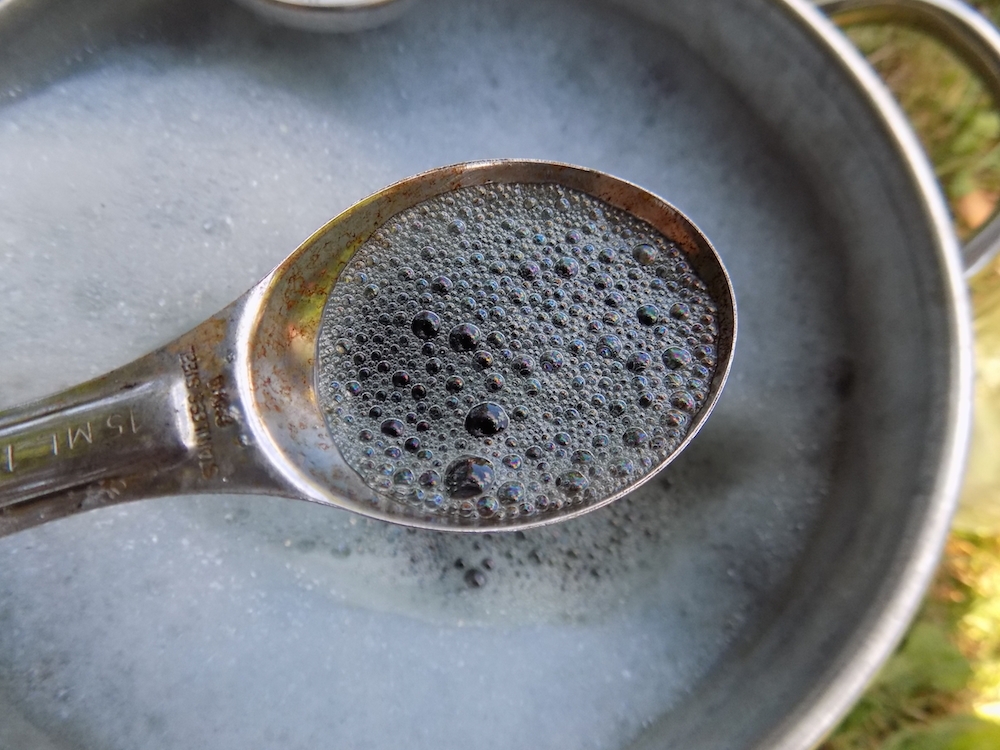
After 45 minutes nothing had happened. A reduced woad vat becomes yellow-green in color and translucent. So I added another teaspoon of reducing agent dissolved in water, and waited 15 more minutes. Nothing. Then I added a tablespoon. After two hours, it was 5:45pm and the vat still looked like this:
The color isn’t what I would expect, but the clarity seemed promising. Anyway, I was supposed to be talking to Gina in 15 minutes. So, reduced or not, I decided to stick some yarn in and see what was going on.
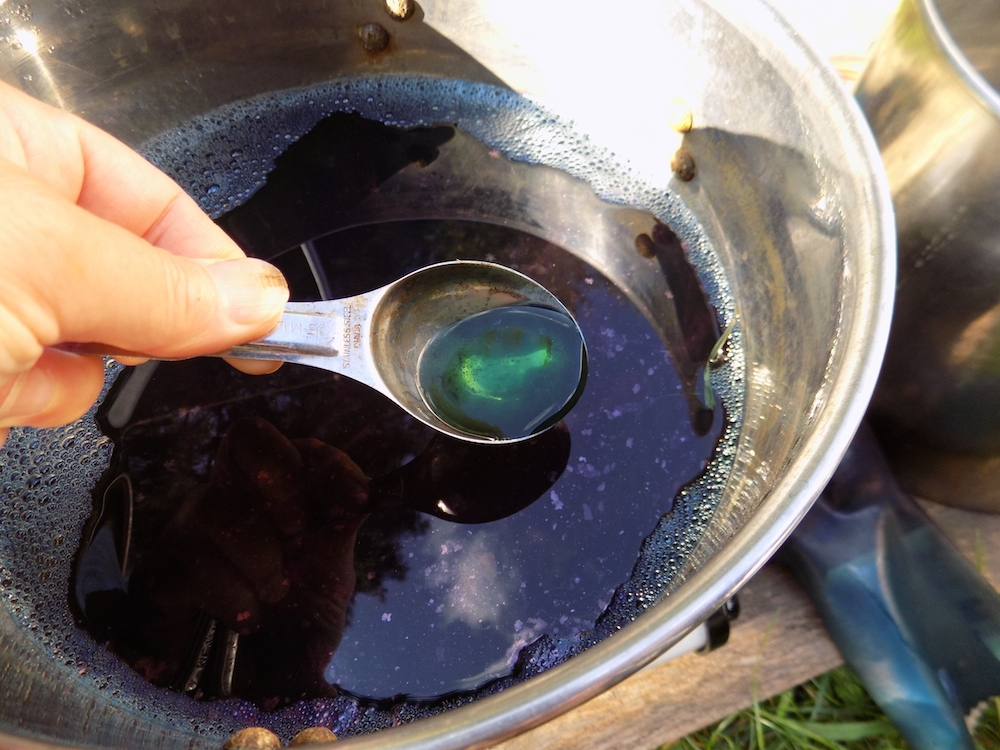
Color was going on!
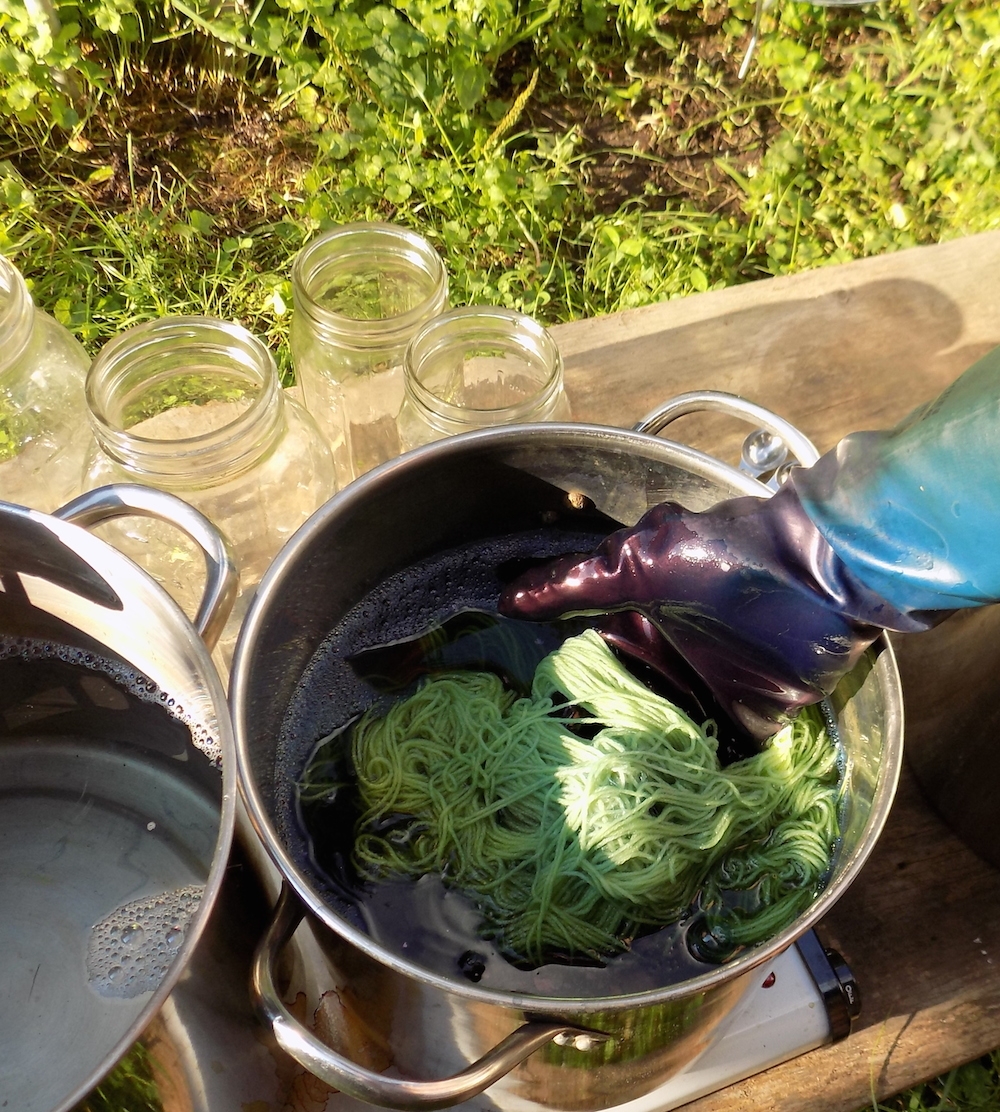
I left this four ounce skein in for an hour or more while we talked, and then pulled it out. The expected oxidation started to happen, which was a big relief and a thrill:
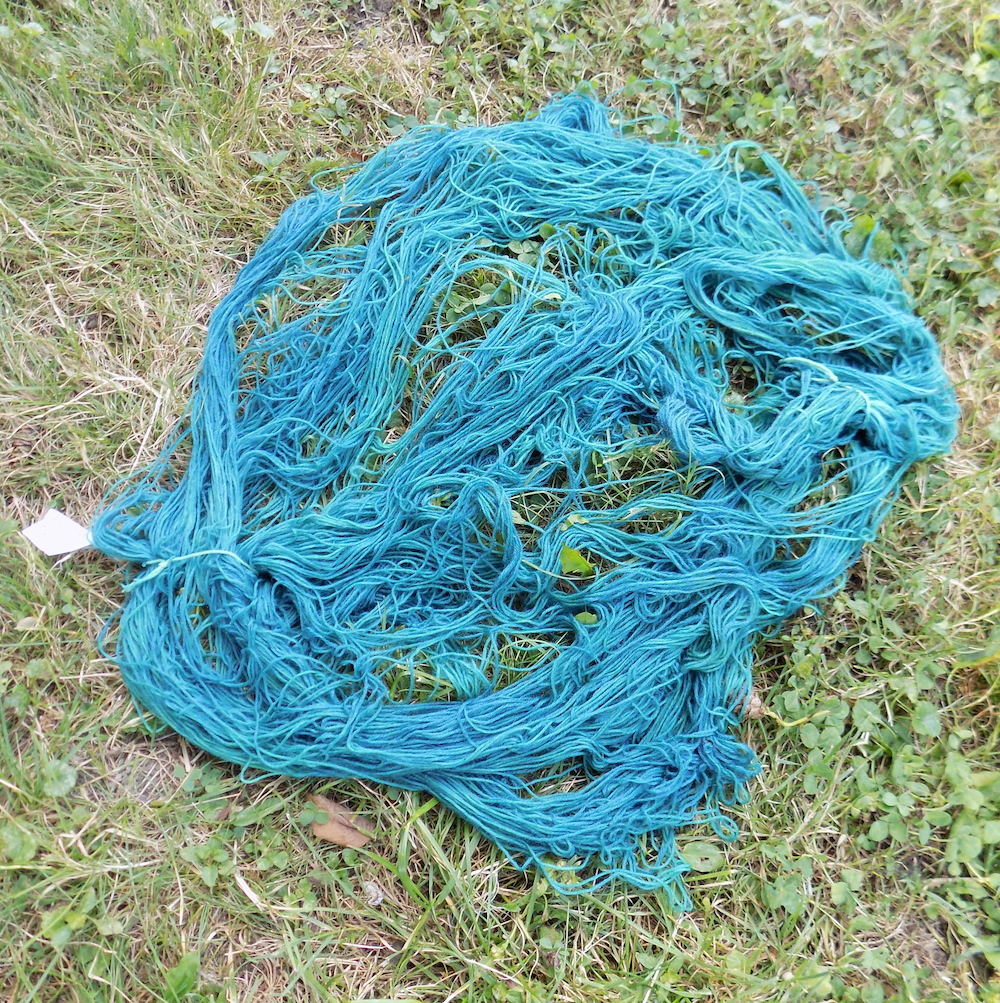
With indigo-bearing plants, the color is usually turquoise while it is first oxidizing, and then it turns a darker blue:
Voila! I proceeded to successively dip the other three skeins of wool over the course of the evening. It’s getting dark earlier these days, so I couldn’t really see what I was doing after a while.
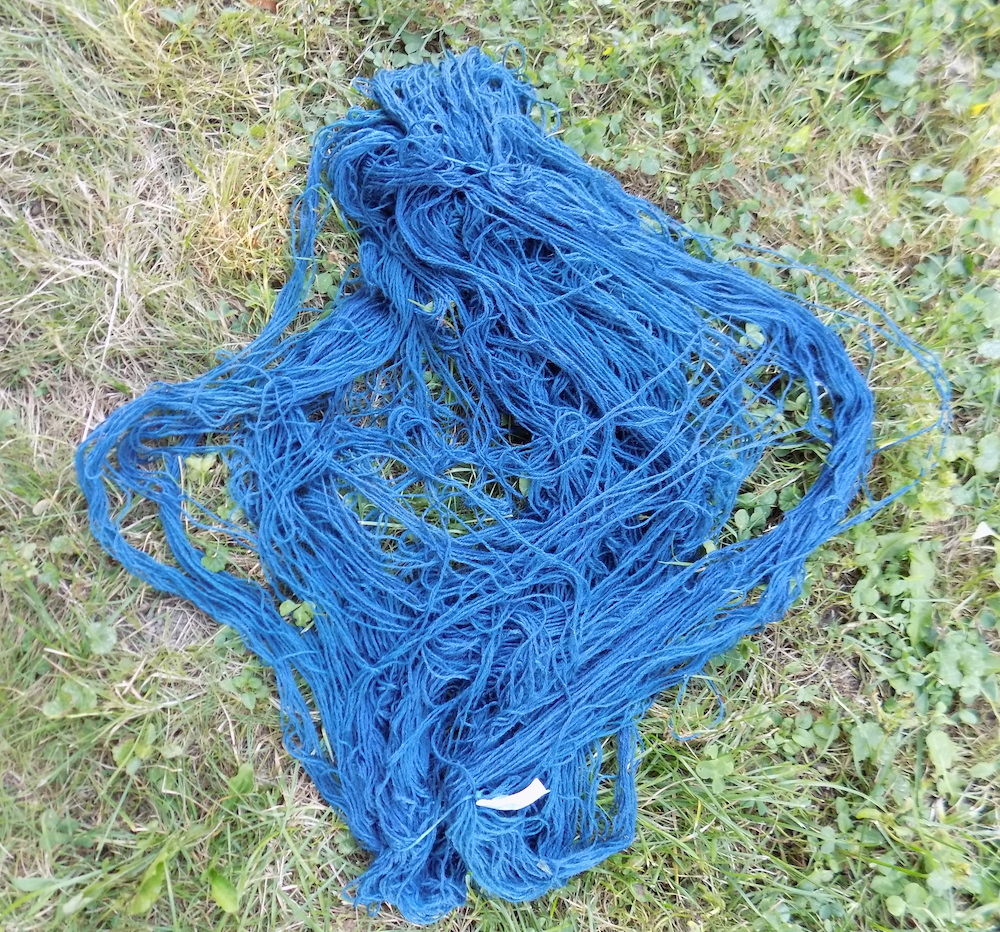
I let the skeins oxidize outside overnight, then rinsed them in alternating baths of cool salt water and a vinegar solution over a couple days, then hung them to dry. Not very much color rinsed out.
Here I am with the four four-ounce skins after it was all said and done:

Not bad for a first try.