
Way back in August I ran a Japanese indigo vat. Here’s what the bed of Japanese indigo plants looked like on August 20th:

I have only dyed with fresh Japanese indigo leaves a few times, so I am still trying to develop skill with the process. An important part of developing skill is repetition. Another important piece is learning and testing new things, and then trying to understand why they do or don’t work. Luckily, this vat afforded me all of those opportunities!
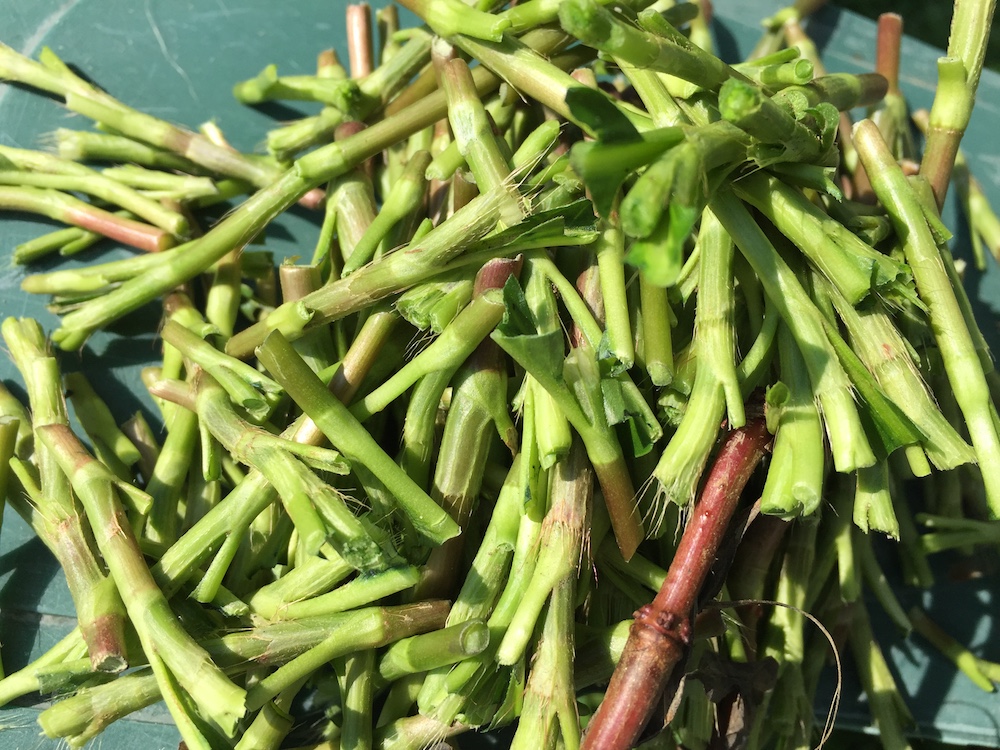
I picked 22 oz. of plant material, which yielded exactly 1 pound (16 oz.) of leaves trimmed off of the stems. Here are the tips of the plant stalks that I harvested:

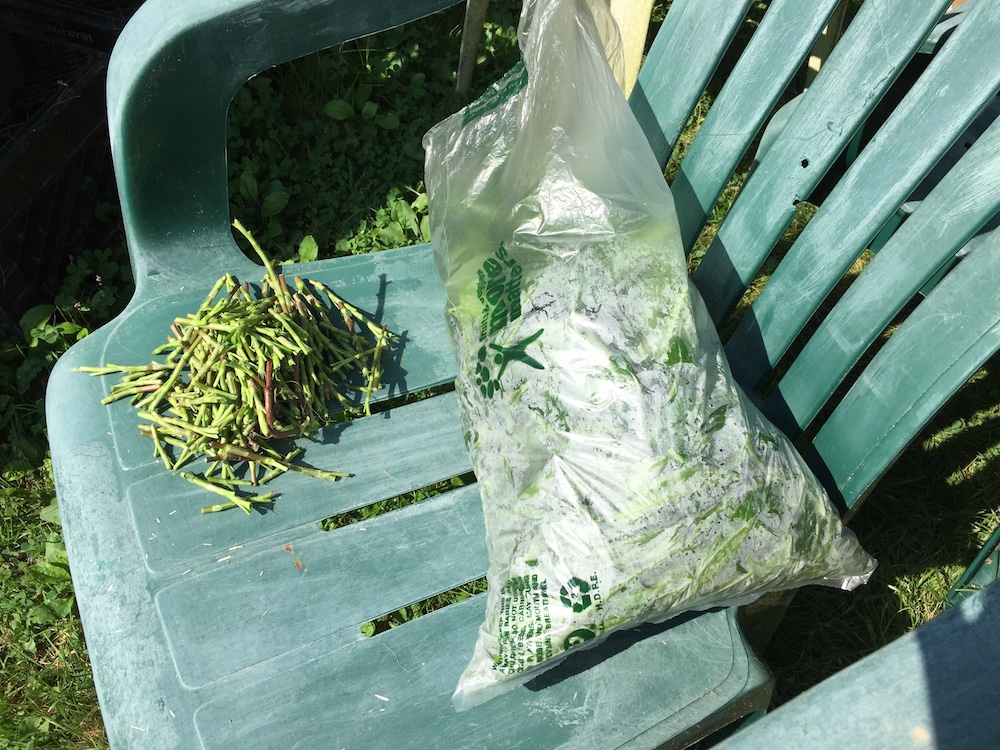
On the left are the stems, and on the right is the bag with just the leaves in it. It’s a really beautiful plant! It has sweet little hairs, wrapped-around layers, exciting color contrasts, and an interesting juxtaposition of rigid and luscious textures.
I wanted to over-dye six small skeins (about two ounces each) of pale blue cotton yarns (commercial 10/2). They had all previously been dyed with woad, and several of them had gone through other processes, too. Two had been dyed in an umbilicate lichen vat, but had only become vaguely pinkish beige in that process. Five had been soaked in a gallotannin solution in an attempt to achieve a teal or blue-green color with woad. One had been in a weld exhaust bath after several dips in a woad vat. All the skeins were still disappointingly pale. I find cotton very difficult to dye!
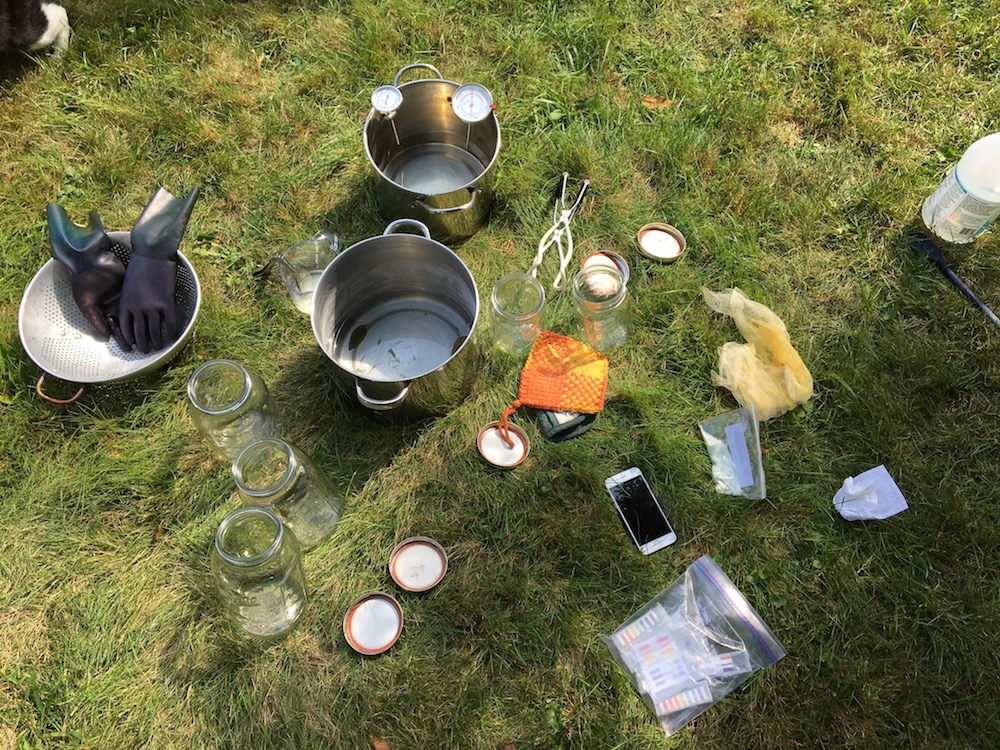
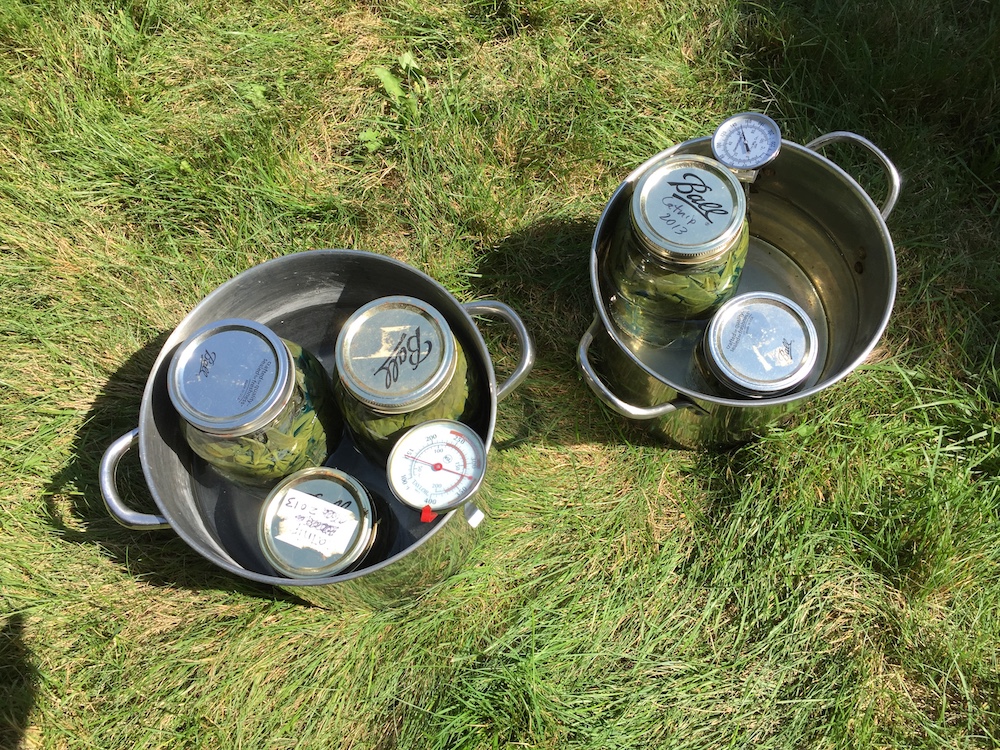
I used the canning jar “double boiler” method again for this vat. I’ve described this process before, but I figured it was worth repeating here.
I crammed the leaves into half gallon and quart jars, filled them to the shoulder with cold tap water, and put the lid on. I set the jars inside a pot with water about three quarters of the way up the height of the jar.
Here’s all the equipment and the way the jars were arranged in the pots:
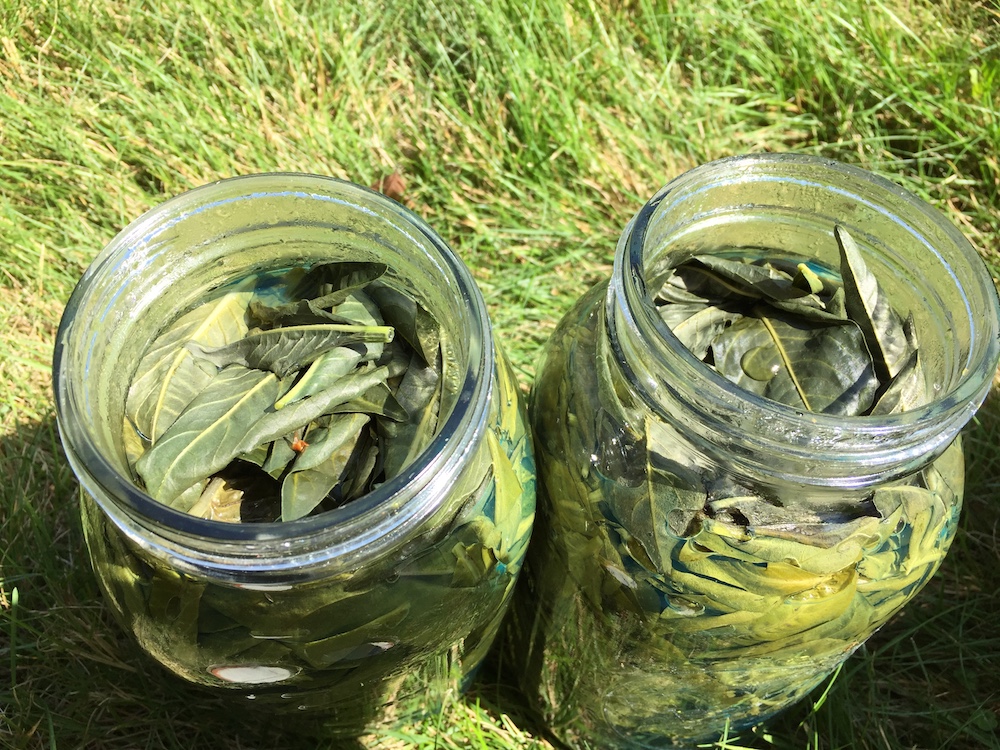
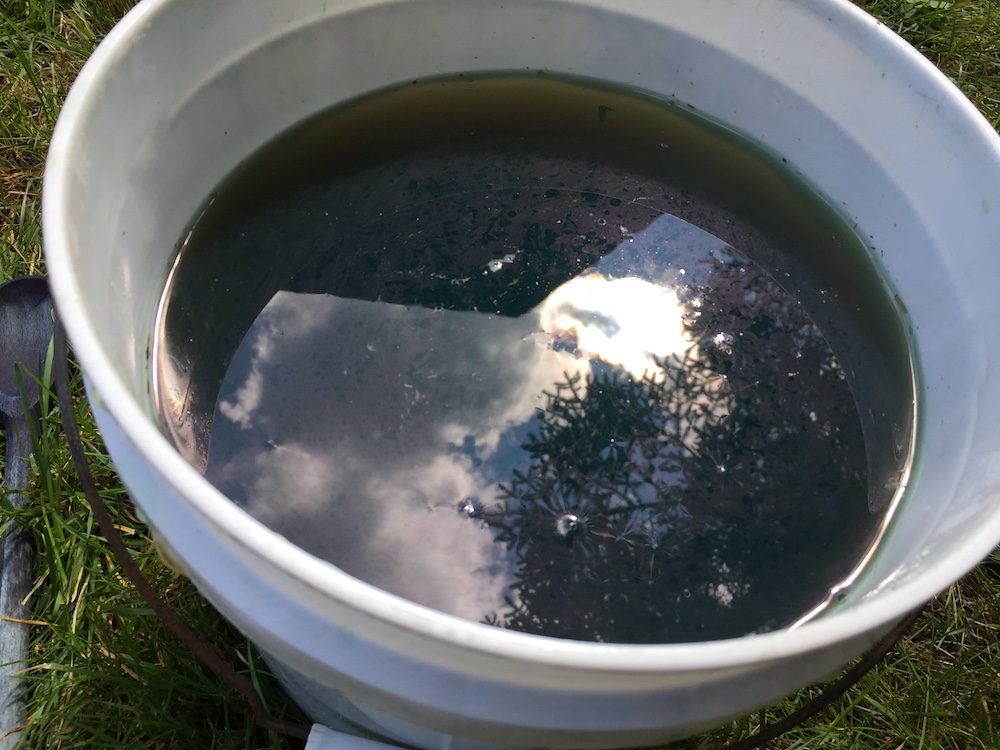
I slowly heated the pots of water over the course of two hours. One of the pots accidentally got up to 180º for the last fifteen minutes, but I was aiming for 160º. Here’s what the liquid in the jar looked like after two hours. On the left is the top of the jar and on the right is the liquid in the bottom of the jar:


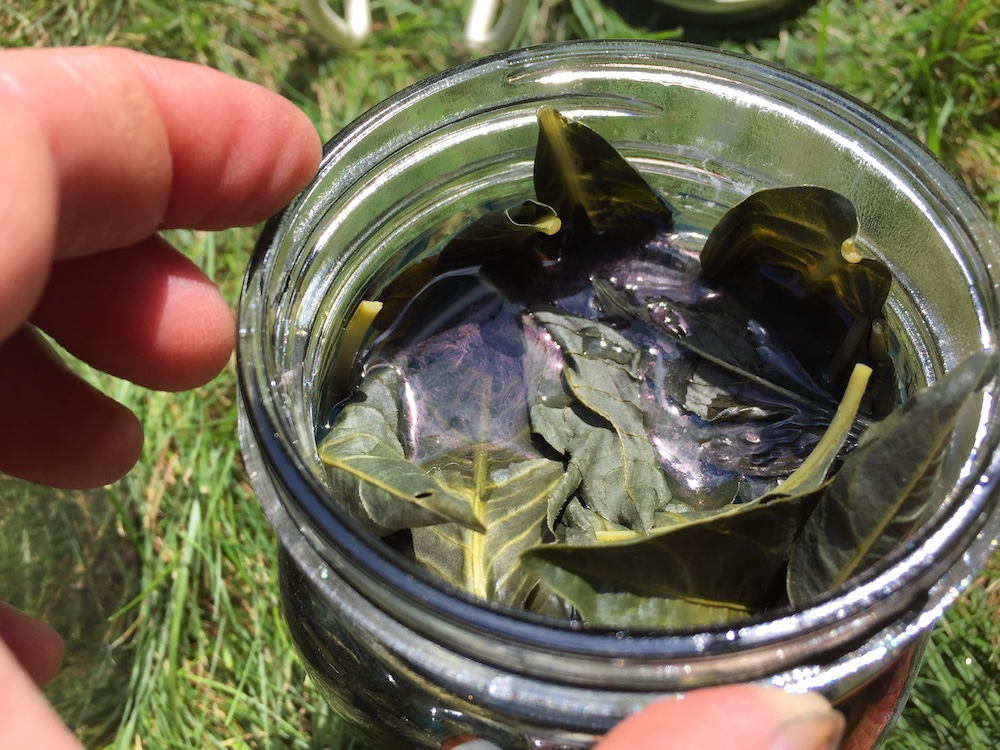
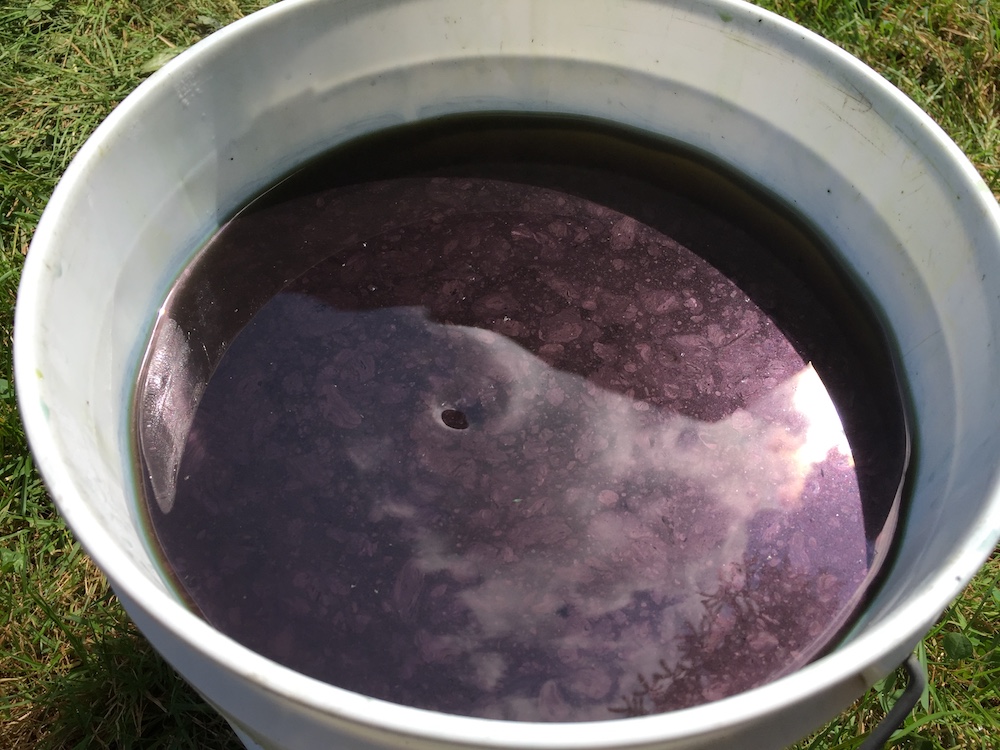
This is what the leaves looked like when I opened the jars. The metallic sheen that you can see on the right is always a good sign!
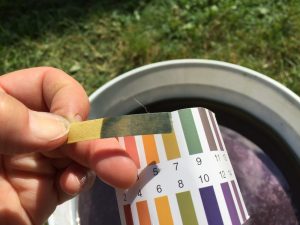
Once I strained out the leaves, I had about two gallons of liquid. I used ammonia to get the pH up to 9:
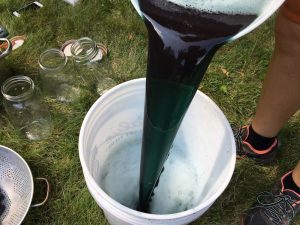
The color changes dramatically with the pH shift. This is true with woad, too. But in my experience, Japanese indigo and woad don’t act or look the same way. On the left below is the greenish color that came out of the jars. Usually, extracted woad is pink or red. On the right is the way it looked after I added a lot of ammonia. The liquid is completely opaque, but now it looks sort of red. Usually with woad, the liquid turns dark green after I add the ammonia.
In this case, the photo on the left is before I added ammonia, and the photo on the right is after:
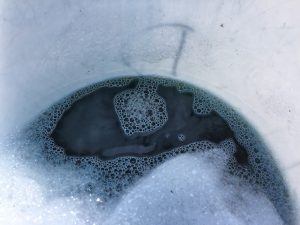
Then I aerated the liquid for about 10 minutes by pouring the liquid back and forth between different buckets. I had set the timer for ten minutes, but my back started hurting.
I decided to use thiourea dioxide for the reducing agent. I usually use Rit Color Remover, which contains sodium hydrosulfite. But, I had some thiox left over from an indigo vat in the spring, and I have heard it has a short shelf-life. I followed the recommendations from Rita Buchanan in A Weaver’s Garden of 1 Tbsp thiox or 2 Tbs. sodium hydrosulfite per gallon of liquid.
After 50 minutes, the vat didn’t really look reduced, but I stuck in a skein anyway. Usually I look for a murky greenish yellow, but I was kind of impatient!
When you dip fiber into a woad or indigo vat that has been chemically reduced, the reducing agent also functions as a color-stripper. So, if there is color on the skein already, you have to be careful not to let it sit in the vat too long. If you leave it in too long, the original color will be stripped off. On the other hand, I have found that the “quick dips” that are recommended for indigo vats using powdered indigo don’t work for me when I’m using a vat with fresh leaves. So, I left the first skein in for ten minutes.
That worked fine. I put the second skein in for ten minutes, then bumped the pH back up (it had gone down to 8) with a little more ammonia. The third and fourth skeins were in for 20 minutes, the 5th skein was in for 30 minutes, and the last skein was in for about an hour and a half.
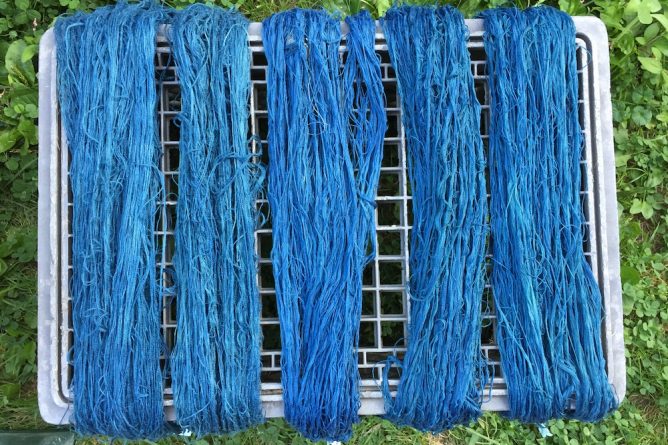
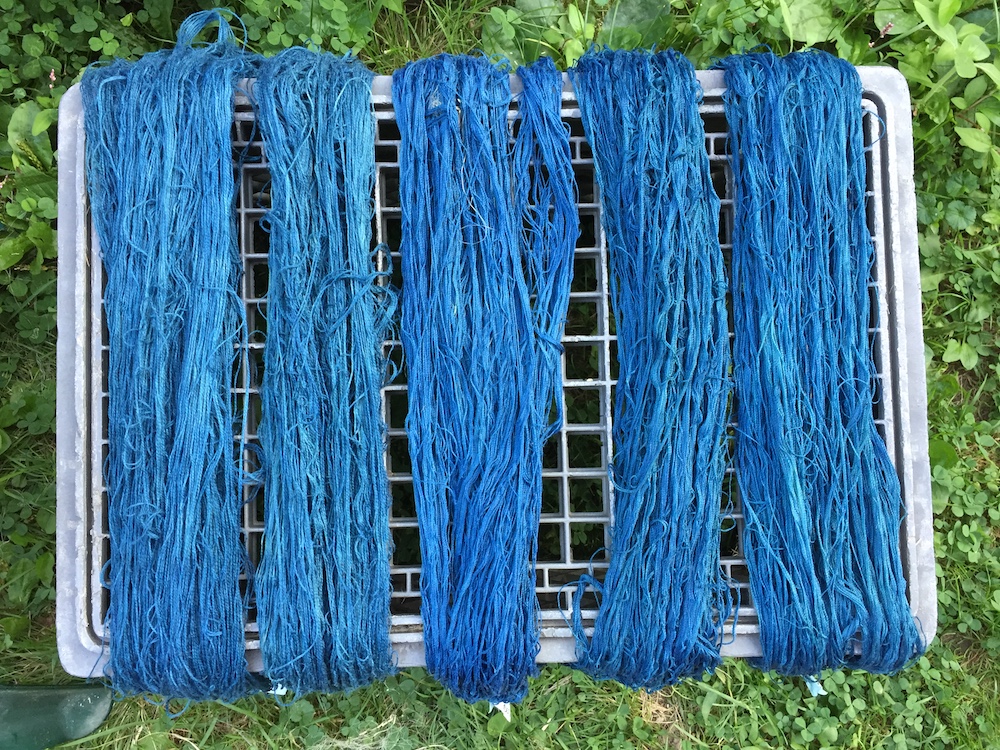
While the skeins were oxidizing but still wet, the color was very promising!
While I was getting ready for this vat, I re-read my notes from a dyeing workshop with Joan Morris at Long Ridge Farm. I noticed that she recommended neutralizing cellulose fiber with tannic acid rather than acetic acid (vinegar) after a vat. Since the pH of a vat is very high, you are supposed to neutralize the fibers by soaking them in a mild acidic solution afterwards. I always do this with wool, since protein fibers are damaged with a high pH. Somehow I had forgotten that this was also important with cellulose fibers. And I had completely missed the tannic acid recommendation. So, I thought I’d better look into it.
A little bit of poking around on line led me to Catharine Ellis’ blog Natural Dye: Experiments and Results. What a fabulous resource! I found this post about over-dying with indigo especially interesting.
I had two kinds of tannins at that moment (not including black tea–my favorite is Barry’s gold blend, which I would rather drink than use for dyeing!). I decided to use Earthhues gallotannin, which is very light.
I always wait until the fiber is completely dry, if I can, before rinsing, so it took a couple days to get to the neutralizing and rinsing stage. I dissolved 1 tsp. of gallotannin in about 2 gallons of water (a dishpan) to soak all the cotton skeins before rinsing. The pH was between 7-8. That seemed weird for something called tannic “acid”. In case you need a refresher on your pH scale, 7 is considered neutral, and anything below that is considered acidic. Anything above 7 is considered alkaline. Adding an acid to water ought to make an acidic solution. Or so I thought.
I tested the pH of the plain, hot tap water. I got a surprising pH 8-9. What? I was shocked. I checked around, and apparently it is not unusual for the pH of tap water to be this high. So much for the notion that water is “neutral”.
Soaking in the not-acidic pH solution with tannic acid didn’t help much. A lot of color rinsed out from the cotton skeins. Perhaps I should have made a stronger solution with tannic acid. I was reluctant to make it too strong, though, because tannins can also shift the color to a duller or browner tone. I didn’t want the blues to get muddy.
I did a second soak and rinse with laundry detergent in hot water, but color was still rinsing off. So, I made a new solution with acetic acid (white vinegar) to make a mildly acidic bath of pH 6, and soaked all the skeins in that. It seemed to do the trick.
I clearly need to do more reading about why tannic acid is better for cellulose fibers. Meanwhile, the dried skeins are a *bit* but not a *lot* darker than before. I am not sure it is worth it to me to continue banging my head against cotton yarns.