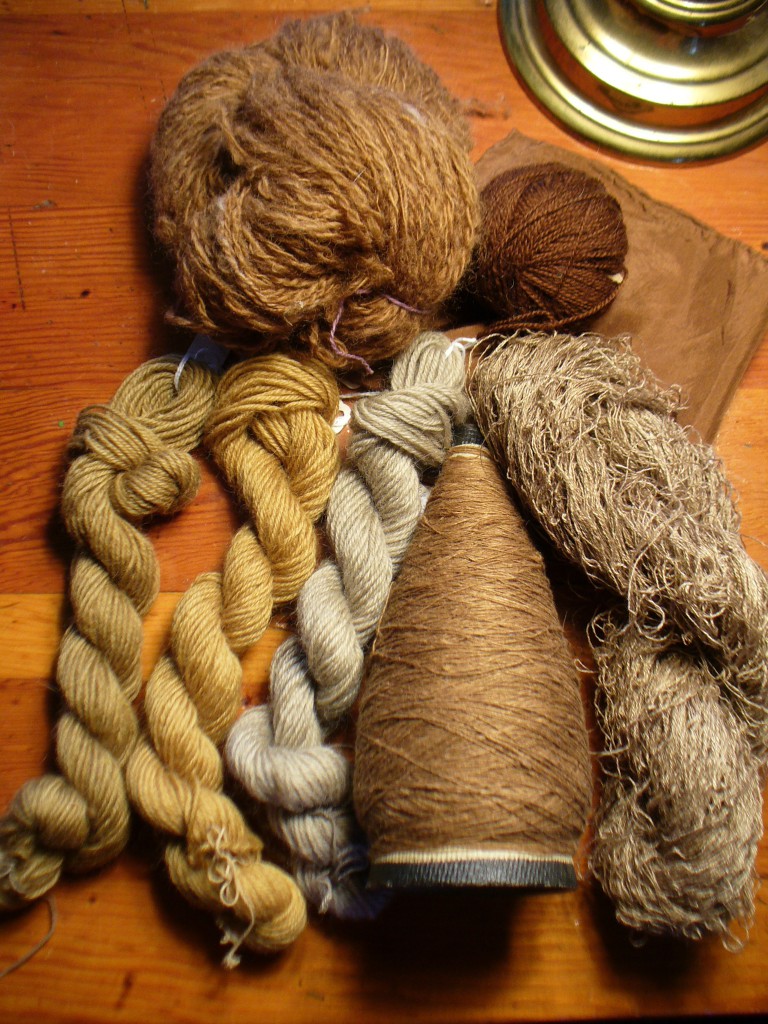
For many years I have been a teacher. In September you go back to school, and you get to tell people about what you did over the summer. I did a lot this summer, so this is the first installment of what will hopefully be several entries about my summer.
The Parable of the Weld Seed
You have probably heard the parable about the mustard seed, that from the tiniest seed the largest shrub grows. I get the point of this story, so I’ve been willing to overlook what I consider its botanical inaccuracy. But, being Literal Girl, I have always wondered why this saying is about mustard. Its seeds are pretty small, but not the smallest. You can’t really call it a shrub, and I don’t think that even very tiny birds could nest in its branches. The plant which deserves a parable about the smallness of its seeds, in my opinion, is weld.
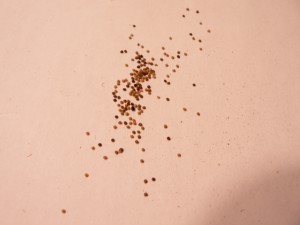
Weld has eensy weensy seeds. In its second year it grows into a 5 or 6 foot giant, and while birds don’t nest in its branches, bees and other pollinators adore its flowers. Weld’s parable could be about persistence rewarded, or it might be a cautionary tale about obsessiveness. I’ll tell you my story and you can be the judge.
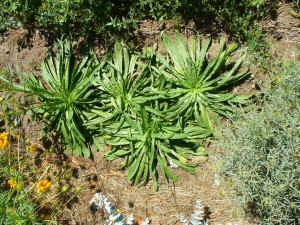
Weld is a biennial. In my experience, it is slow to germinate and doesn’t produce much foliage the first year; it makes a flat rosette, which you can harvest but not in vast quantities.
The second year it bolts, blooms, and sets seeds. In A Dyer’s Garden, Rita Buchanan says you can trick it into flowering the first year if you plant it very early and expose it to frosts in the spring. This has happened in my garden once, but the plants didn’t get very big.
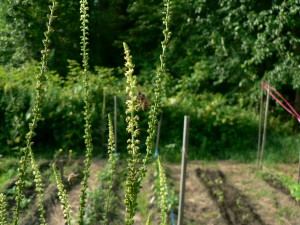
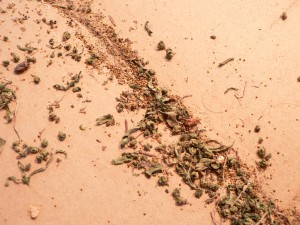
Weld has a habit of continuing to add new buds and flowers to the tip of a flower stalk even after the lower ones have been pollinated and set seed. This makes it tricky to save seed from. But since one weld plant produces a zillion-jillion seeds, I can’t resist trying. Another annoying thing about it is that the seeds are safely encased in a tight little ruffle so they don’t shake loose easily. Well, you can crumble the little ruffle (I will find out the real botanical name for that and tell you later), but then the seeds are all mixed up with powdery ruffle-debris. Also, because some seeds on a stalk are mature and some are not, you get a jumble of black, brown, and yellow seeds plus the powdery debris, and some dried flowers and leaves. Very pretty.
But how to clean the seeds? I was pretty sure that only the black seeds were mature, since they tended to occur at the bottom of a stem and thus must be the oldest. I figured the others weren’t worth saving. When getting ready to plant in the spring of 2010, I diligently selected the darker colored seeds by shaking the seeds and debris onto a paper plate and picking up the darkest colored seeds with a damp finger (I licked it). Since you only need a few seeds to get a lot of plant material, I didn’t knock myself out with this method.
This summer I had the notion that I would save large quantities of dye plant seeds to package and sell. I cut the giant trunks of second year weld, and hung them to dry.
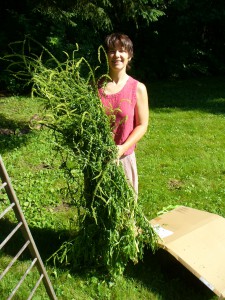
Some seeds will fall out of their little ruffles, and if you’re doing small amounts you can catch them in a paper bag. Because of the quantity I was trying to process, I put a big sheet of corrugated cardboard underneath the drying flower stalks outside to catch any mature seeds that might fall. Because it sometimes rains, the big sheet of cardboard also became the thing to carry the flower stalks inside on to keep them dry. Then the big piece of cardboard became the thing I stored the weld flower stalks and seeds on while I got around to dealing with them. The big piece of cardboard took up space in the apartment or the car for a few weeks until sane people become tired of always having to be careful not to bump the big sheet of cardboard full of powdery-debris-that-mustn’t-be-spilled. The time had come to process the seeds.
So I began with my trusty finger-licking method, and a brush. It was tedious. Matthew (the sane person) pointed out that licking my fingers might not be an approved technique for seed saving, especially if I wanted to sell my seeds (“Want some free germs with that?”). A better method was called for. I did not want to try water flotation because getting all those seeds dry again seemed daunting. You can’t just sift out the seeds because they are the same size as the ruffle-debris. You can’t winnow because the seeds are so light. After much trial and error, we came up with the double-sift: first sift the too-big particles, then the too-small particles.
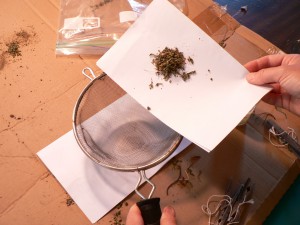
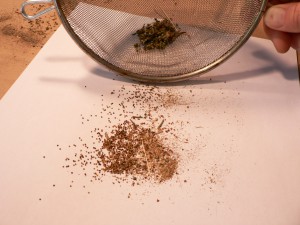
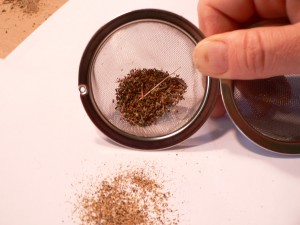
This reduces the quantity of debris and increases the seed-to-debris ratio. At long last, I noticed that the debris could be separated from the seeds by tipping a piece of paper at an angle, and allowing the heavier particles to fall down. The seeds fell down and the dust stayed up.
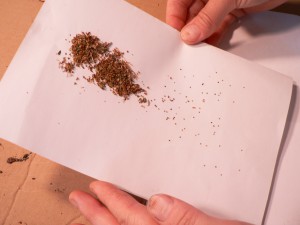
To some extent, the lighter colored seeds could be separated from the dark colored ones because the darker ones were heavier. So, I managed to get a certain amount of brown and black seeds collected. Still, it was slow going. It tried my patience. Then the voice of doubt began to whisper, did it really matter? Why waste my time separating them if I didn’t need to? Were the yellow and light brown seeds really immature? What if they’d germinate just fine? Stay tuned for the next chapter in the parable of the weld seed.
