Breaking Flax

Last week I borrowed a flax break from Kathy Furst Coache, fellow weaver and flax aficionado (check out her shop and classes at http://www.westfieldyarn.com/). It’s a lovely antique, and it was very kind of her to loan it to me.
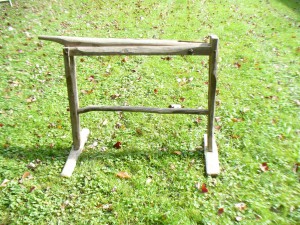
flax break
Kathy’s antique flax break

A flax break (or brake) is one of the tools used to process flax, which is the plant that linen is made from.

To make linen, you want the bast fibers, which are the long, strong fibers that run vertically the length of the stalk, between the skin or bark and the woody core (as I understand it, these fibers are basically the phloem of the plant–N.B. June 2017 update Actually, the fiber bundles in the flax stem are their own structures, distinct from the phloem! Sorry for the misinformation.).

After harvesting, you dry and ret the flax. I will go into my personal retting history in another post. After retting, rinsing, and drying again, you use the break to smash up the woody material.
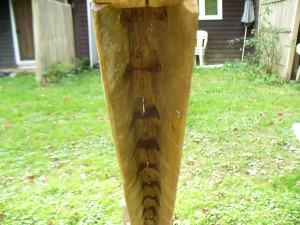
flax break arm
The arm of the break (inside)
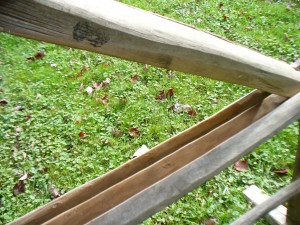
flax break bed
The bed of the break. Insert the flax close to the pivot point between the bed and the arm.

Using the break involves repeatedly slamming the arm of the break down onto a handful of your retted flax, and partially crushing up the woody material.
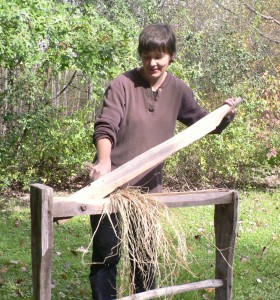
The author breaking flax
Me breaking flax
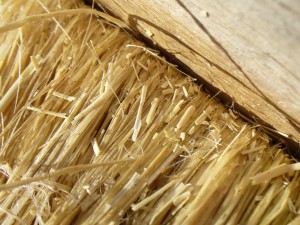
flax shives close up
The shives are the short pieces that have broken off the stems.

If the flax has been retted properly, the woody material, called shives or boon, should pop off and separate from the bast fibers.  Well, it’s not exactly woody. It’s sort of like very stiff straw, but it can give you splinters.

My hoard of retted flax consisted of 3 years of flax harvests from 2007, 2008, and 2010. I’d been storing these in three storage bins (43”x19”x6.5”) and two bundles that didn’t fit into a bin, which had been crammed into our hot water heater closet. One bin had been living under the bed, and two in the closet in the bedroom. This year’s crop is rolled up like a dead body in the back of the car. (I am planning to save the seed, but that’s another post).

I made the most of the glorious sunny weather on Saturday October 22nd, and Monday and Tuesday the 24th and 25th, since rain and snow were in the forecast for later in the week. For those three days I worked for 8 hours each day. Maybe I would get faster with more practice, but it was slow going! It alternated between being really fun and satisfying, and really boring and tedious.
In three days of steady work I managed to break the contents of two out of the three containers, plus the loose bundles. Here are some of my results.
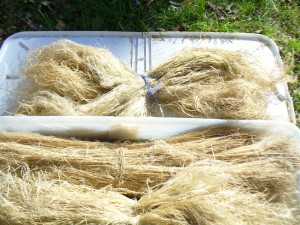
bundels of broken flax
Two bundles of broken flax and one not yet broken.

After breaking, there is scutching or swingling to remove the rest of the shives, then hackling (or heckling or hetcheling) to separate the shorter tow fibers and straighten out the long line fibers. Then, finally, you can spin your yarn and weave your cloth.

Phew! Talk about slow cloth. This project takes the cake–slow, slower, slowest.

Small Ones Farm

Many thanks to Sally and Bob Fitz of Small Ones Farm for inviting me to table at their fruit CSA pick up days on Saturday October 1st and Wednesday October 19th. It was very inspiring to meet their members, and I had many stimulating conversations about CSAs, locally sourced materials, natural dyes, local wool, flax, and vegan cloth.

At my table I displayed a basket of naturally dyed wool yarns that were mostly handspun by me, over the years, using natural dyes. For the madder, I displayed the results of a dye bath using roots from Earth Guild. (I have also bought madder root from Tierra Wools and Aurora Silk.) For all the rest, I used plants I gathered or grew myself in Amherst or the surrounding area. When I first began spinning, the most economical way to acquire a lot of wool was to buy raw fleeces. I bought and have enjoyed working with Corriedale from the former Mad Women’s Farm in Amherst, Dorset/Border Leicester cross from Natural Roots in Conway, Coopworth from Shirkshire Farm in Conway, the mixed breed flock at Hampshire College, and Romney and mohair from a few farmers I met at the Webs fleece markets. After I got tired of washing and carding my own wool, I’ve enjoyed roving from Balkey farm in Northfield and others. I also had a smaller basket of naturally dyed linen (commercial 40/2 from Webs). The yarns (and my bundle of home grown flax) were for show and tell.

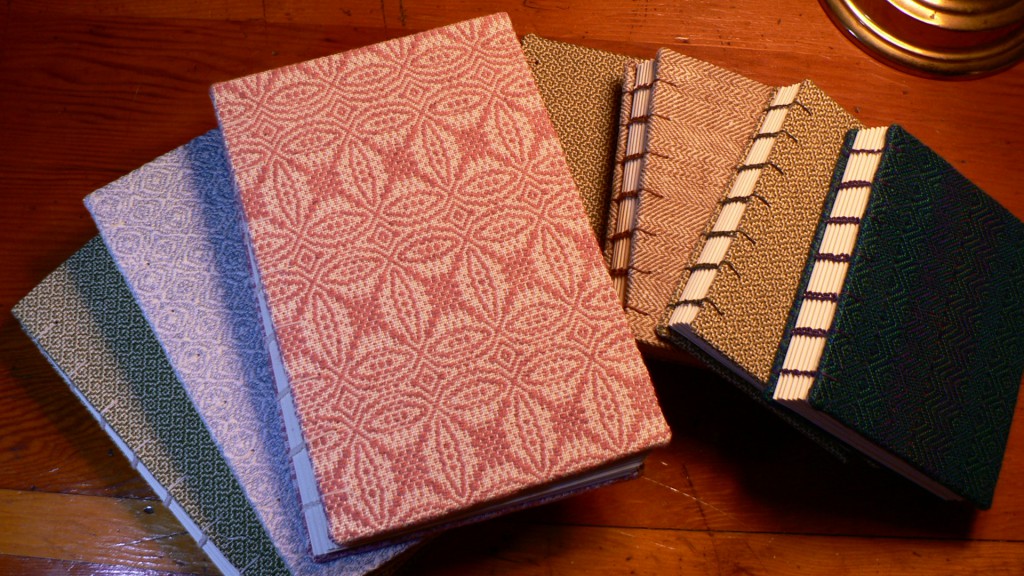
And for sale, I had handbound books with handwoven cloth covers.

hand bound books with hand woven covers
Some of my hand bound books with handwoven covers.

Dyeing with Lady’s Bedstraw

I ended up with 5 lbs. 11oz. of cleaned Lady’s Bedstraw roots. I extracted the roots in two batches because they didn’t all fit in one pot. The first pot held 4 pounds, and the second was 1 pound 11 oz. I extracted each batch of roots twice, and used the baths separately. With the first batch, I put in one and a half Tums for the calcium and I watched the temperature closely (not exceeding 150 degrees F.), but had forgotten about pH with the bedstraws. After straining out the roots, initially the color of the first skein was very drab and I was pretty disappointed. Then I checked the pH and was amazed to see it was pH5 despite the Tums. I took out the skein, added calcium carbonate and washing soda (I ran out of soda ash), and brought the pH up to between 9 and 10. I reintroduced the skein, and woo hoo, pink! A sort of 1980s Giant Foods raspberry sherbert shade.

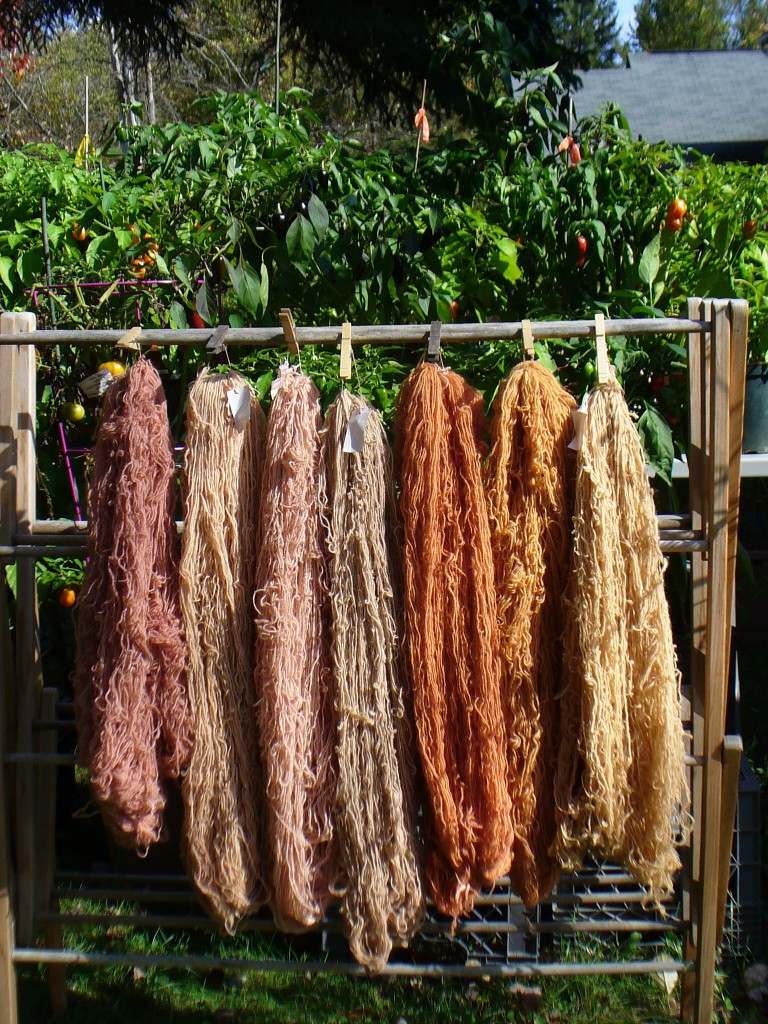
I extracted the second batch of roots with calcium carbonate and washing soda. In part, I think that explains the difference in the color between the two batches. I also think the smaller batch had more of the thicker (presumably older) woody roots relative to the thinner, presumably younger ones. Anyway, the colors are distinctly different. After many days of making and exhausting dyebaths with the roots, I have dyed 2 and a quarter pounds of singles rug wool. Here are some of the results (and in the background are some of our beautiful habañero plants):

yarns dyed with Lady's Bedstraw roots
Part way through the process, here are the yarns dyed with Lady’s Bedstraw roots. The pinker colored yarns on the left are from the first batch of roots, and the orange colored ones on the right are from the second.

I have exhausted a couple more baths since this photo was taken, yielding lighter colors. I also tried one pound of the tops, but got a pretty boring yellowish beige. There were about 4 more pounds of tops but I decided not to bother using them. I am currently soaking the roots for a third extraction. After they had softened up, I cut the woodier chunks into smaller pieces. I managed to break our non-food food processor trying to grind them up (annoying!) so chopped up small will have to do. I expect I can get one or two coral colored skeins before all is done.

Digging Lady’s Bedstraw

This past weekend I had a lovely visit with my mother at her farm in New Hampshire. While I was there, I finally dug up some Lady’s Bedstraw which I had planted about 10 years ago. At the same time that I planted a bed of Lady’s Bedstraw, otherwise known as Yellow Bedstraw or Galium verum, I also put in a bed of madder (Rubia tinctorum, both ordered as seedlings from Richters in Canada). I dug up the madder two years ago when I wanted to establish a new bed, but hadn’t gotten around to the bedstraw.

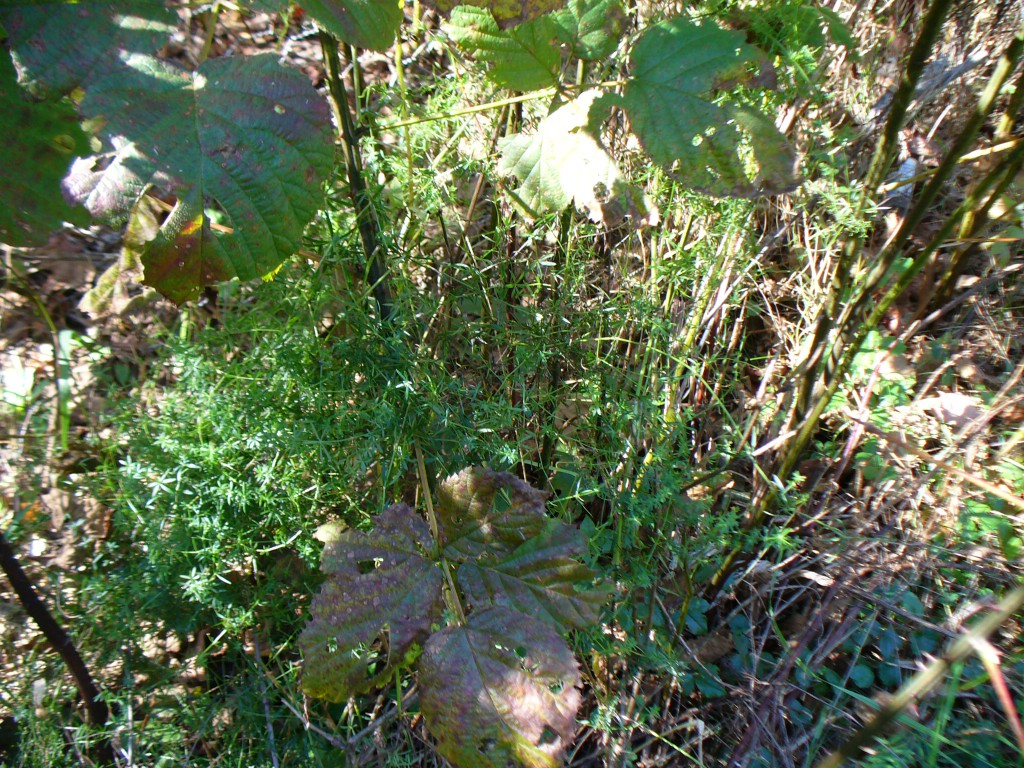
When I first planted it, my mother and I very diligently prepared the raised beds with lime and chicken manure and other amendments, and then they sat and mostly had to fend for themselves. The boards holding up the beds rotted. The blackberries moved in. The bedstraw held its own.

Galium verum with blackberries

People usually say to harvest the roots after 3 years. Better late than never. After so many years in the same location, the bedstraw has decided to expand its territory. We do not want it to spread too far in case it proves difficult to control.

I dug about a fifth of the bed on Sunday October 9th. The roots and tops were hard to separate, so I collected them together in bags.

bags of lady's bedstraw
bags of bedstraw
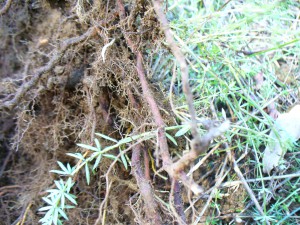
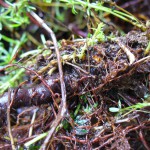
lady's bedstraw roots and plant tops growing
Yellow bedstraw roots freshly turned over
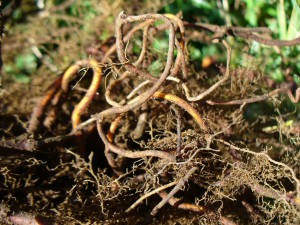
small lady's bedstraw roots
Twisty roots

Like other bedstraws and madder, the plants spread by setting down roots from the nodes on the stems, as well as by seed. A lot of the roots were small. A few were amazingly thick and interlocked. Even though it’s fall and the aerial parts of a plant are supposed to be dying back, there was plenty of fresh greenery.

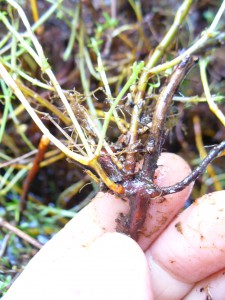
New shoots of lady's bedstraw
Plants are amazing. Tender new growth despite a couple frosts. I love that crazy yellow where the new shoots come out.

The combined weight of the bags was 17 lbs.! A lot of that was soil. Rinsing the soil off, separating the greenery from the roots, and cutting up the roots took me a couple days.

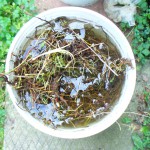
rinsing a bucket of bedstraw roots
Five gallon bucket of roots soaking to rinse off the soil. They didn’t all fit in this bucket.
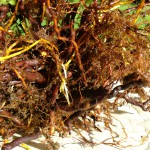
clean wet bedstraw roots
Clean wet Lady’s Bedstraw roots
good bedstraw roots
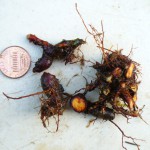
Some good sized roots, but see penny for comparison. There weren’t a lot of roots as thick as these.
dense lady's bedstraw root cluster
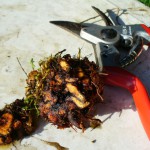
A very dense root cluster. It took me a while to get to the heart of this.
lady's bedstraw woody root core
Woody root core


After washing and trimming, the roots weighed 5 pounds. I plan to use these roots, and perhaps the tops, for the first in a series of rya rugs. My idea is to dye the wool for each rug with locally grown or gathered natural dyes. The palette of each rug will be determined by certain parameters, for example, whatever 5 lbs. of Lady’s Bedstraw can dye.  Stay tuned for the dyeing results.

The Parable of the Weld Seed – Part 2

After sifting through a tiny fraction of the weld seeds I had collected and dried, I began to wonder whether I actually needed to separate them by color. More accurately, I began to hope that I didn’t have to, because even with the double-sift/shake-down method, progress was slow.

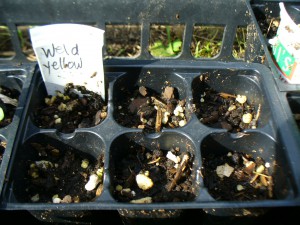
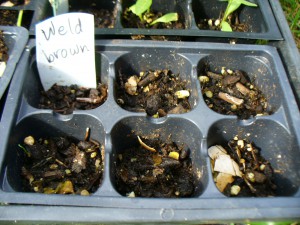
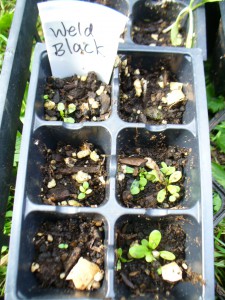
I decided to do a germination test. On July 3rd, I planted some yellow seeds, some brown, and some black. Lo and behold, a month later, none of the yellow or brown seeds had germinated, only the black ones had. These photos are from August 2nd.


yellow weld seeds did not germinate
Yellow Weld Seeds. No seedlings here.
brown weld seeds did not germinate
Brown Weld Seeds. No seedlings here, either.
black weld seeds did germinate
Black Weld Seeds. Ah ha!


Granted, it was a small-scale trial (I only filled 6 cells with each type of seed), but still I felt pretty satisfied that the lightest colored seeds are, in fact, immature, and not worth saving.