On July 18th and 19th I ran a woad vat! This is exciting because last summer I planted woad, but didn’t have time to use it for dyeing. That made me sad, and I vowed to rectify that this summer. This summer I planted two beds about a month apart, so that the leaves will mature at different times. I ran this first vat of the summer with much glee and happiness.
I stuck with my tried and true but not truly “sustainable” chemical vat, using ammonia and RIT Color Remover. One of these years I will learn how to precipitate my own woad powder and master a natural fermentation vat (maybe even the urine vat!). Meanwhile I dyed some fiber blue with my own woad and it made me happy.
Here’s the woad bed on July 18th:

I picked about 5 and a half pounds of leaves. We have had no rain for weeks, and we have had hot temperatures and low humidity. Despite almost daily watering from Amethyst Brook, the plants are not as luscious as some years. In another post I will write about a puzzling woad mystery I am trying to solve, but for now let’s stick with the vat.
Even though the leaves were not very dirty, I rinsed them anyway. Basically I grabbed one handful of leaves at a time and swished it around in a bucket of water.

Then I twisted that handful of leaves to rip them into smaller pieces, and put the pieces in an empty five gallon bucket.

While all this was happening, I boiled three pots of water on the stove indoors. Once all the leaves were shredded and the water was boiling, I carried out the pots of water one at a time, and poured them on top of the woad leaves:

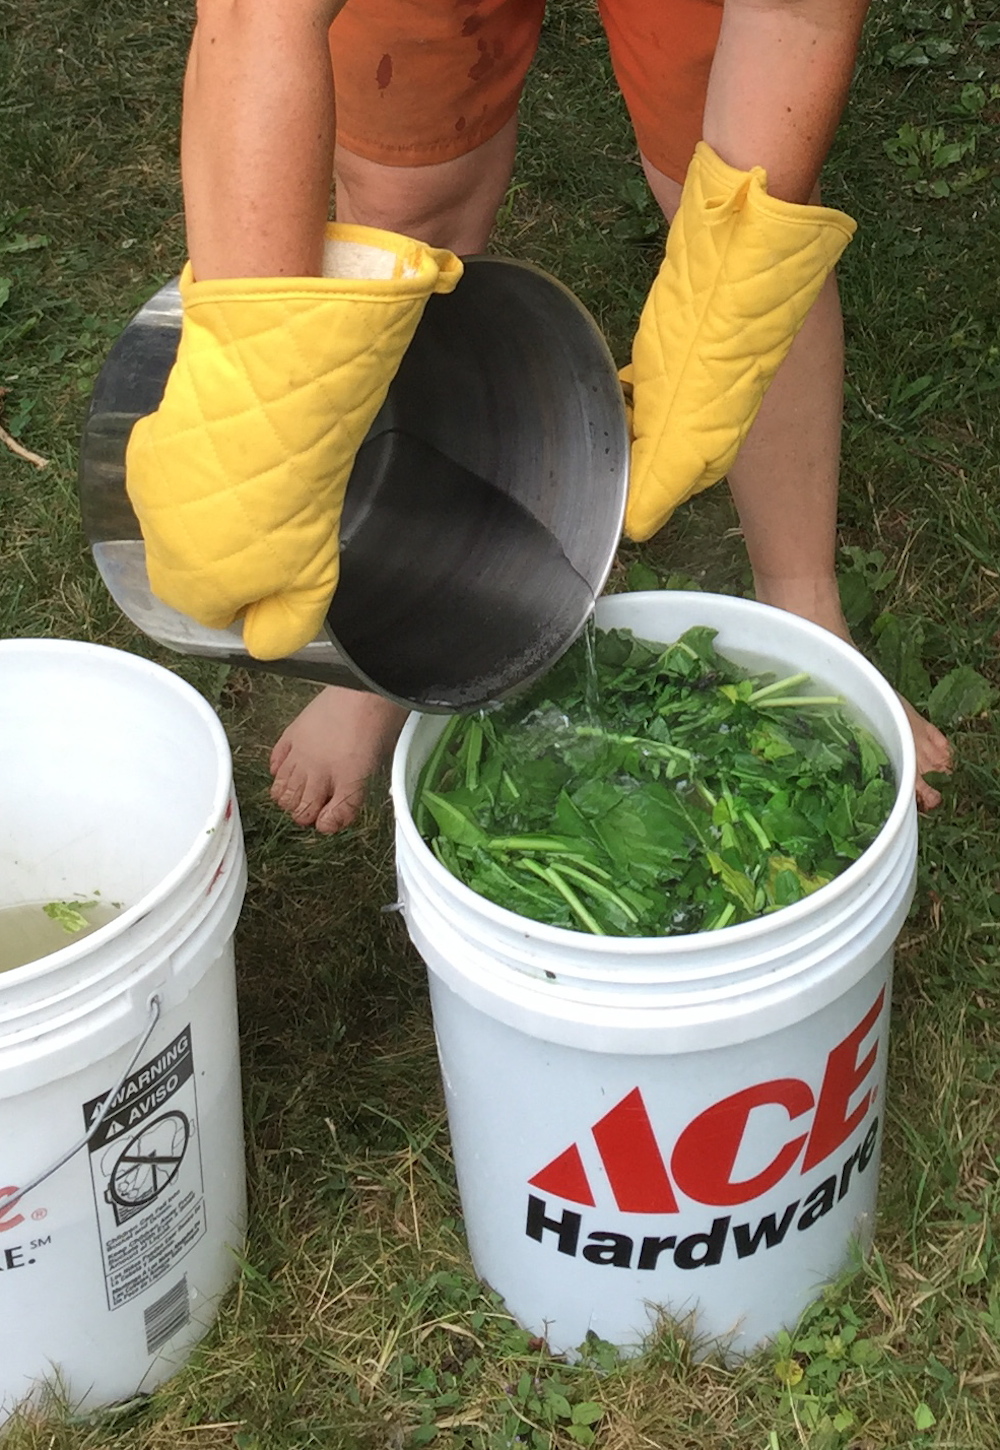
I kept pouring on boiling water until the water level was close to the rim of the bucket. This way, when I pressed the lid on, some of the water squeezed out. The point of this is to exclude as much air as possible while I’m extracting the leaves. I guess I didn’t get a photo of that step this time. You can see what I’m talking about in an earlier post here, plus a non-technical explanation of the chemistry that underlies the process.
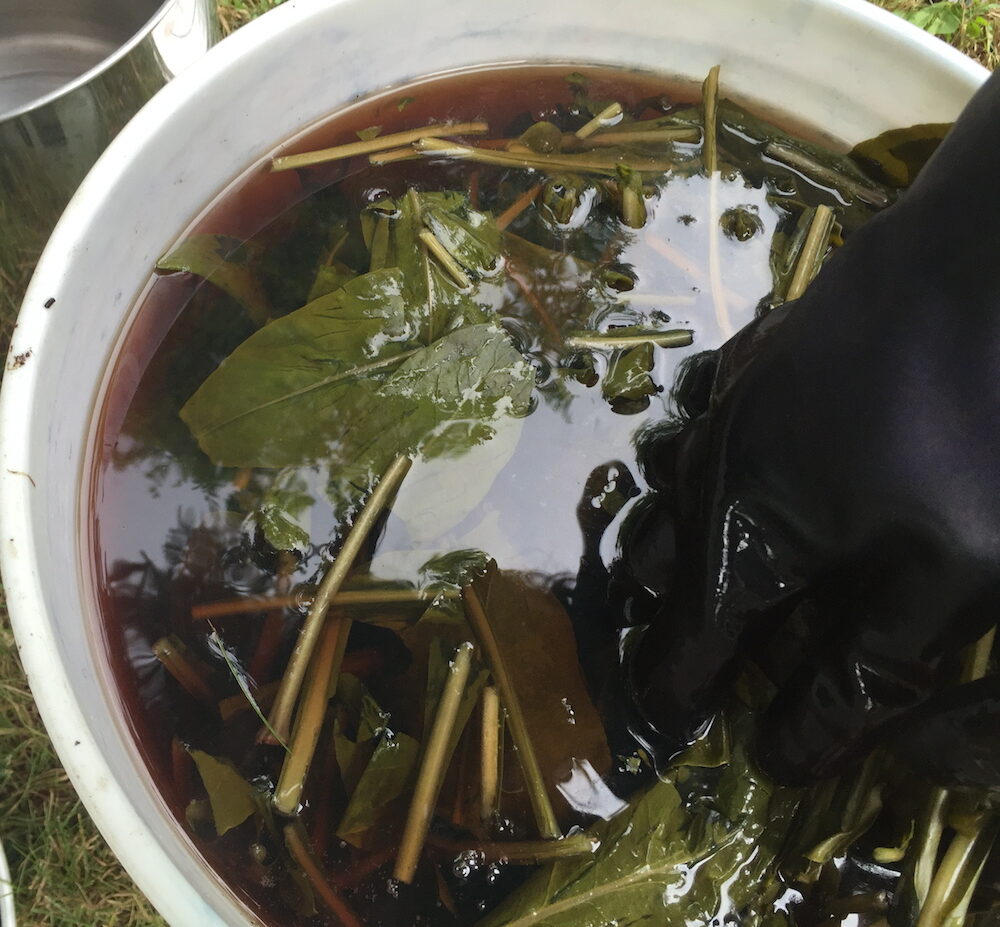
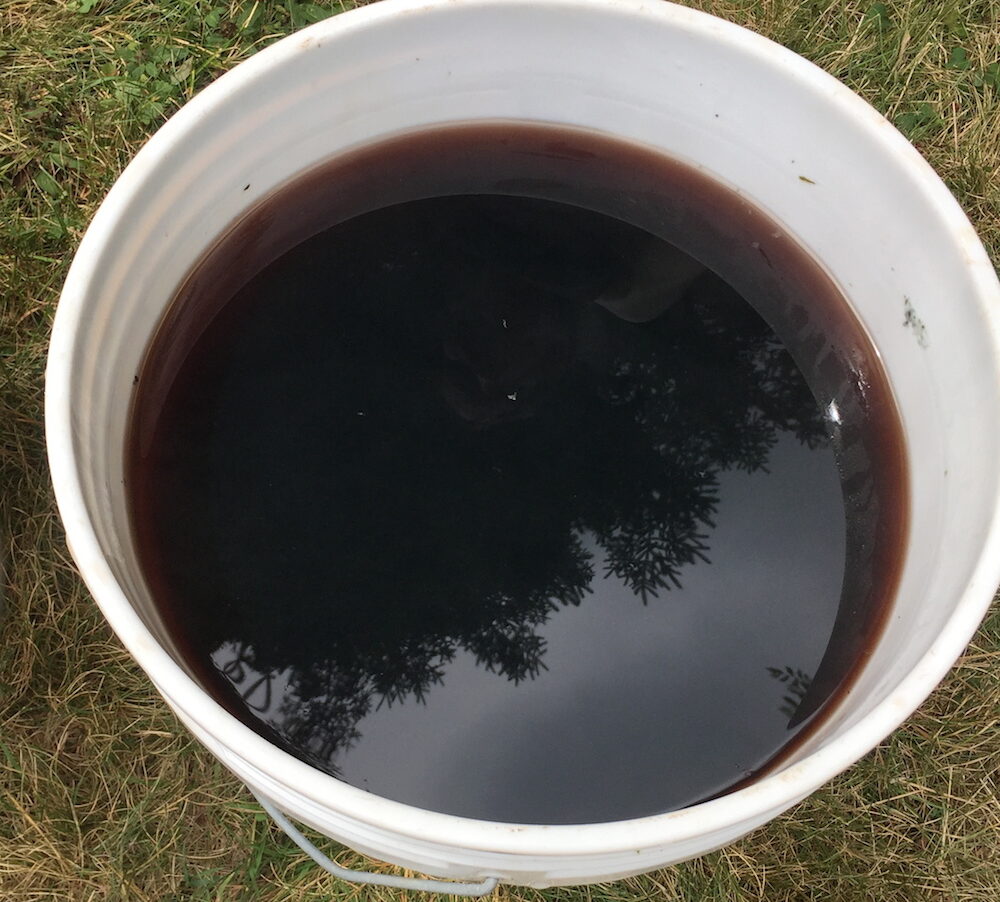
After that, I let the leaves steep in the boiling water for about 45 minutes. The color of the liquid at this point is usually richly reddish or pinkish. On the left below you can see the bucket with the leaves still in it, and in the middle is the strained liquid. On the right are the strained leaves.
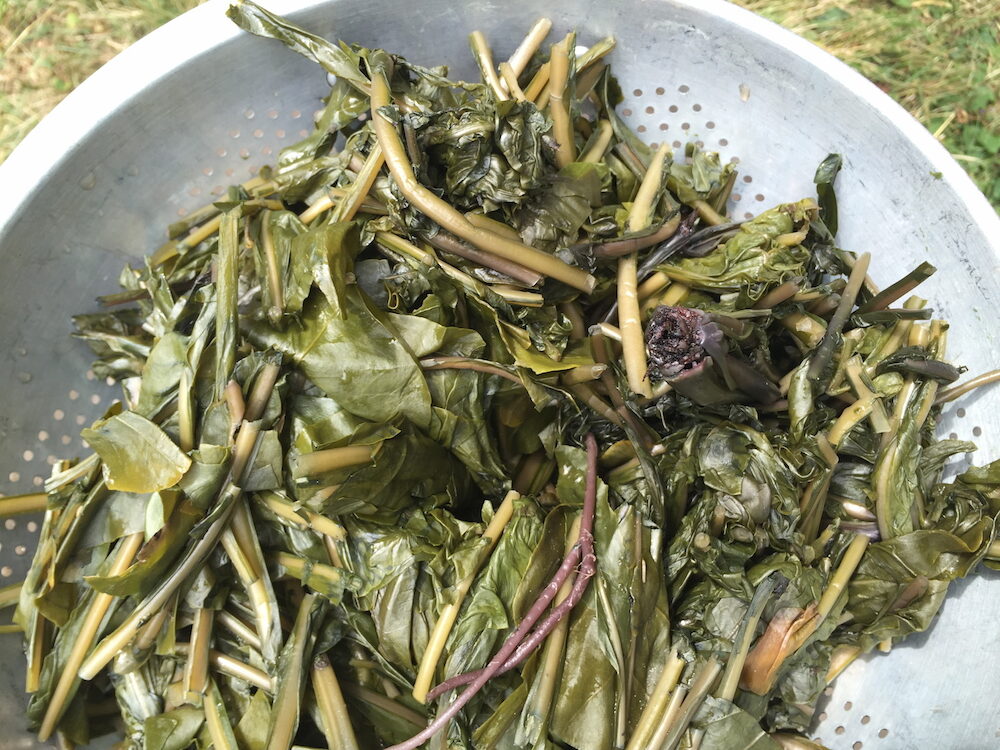
At this point a person may re-use the strained leaves to make a pinkish-beige dye with an alum mordant. I used to do this many years ago, but I’m not enamored of the pinkish-beige color so I don’t bother to do it anymore. That’s what I didn’t do. What I did do was toss the leaves in the compost.
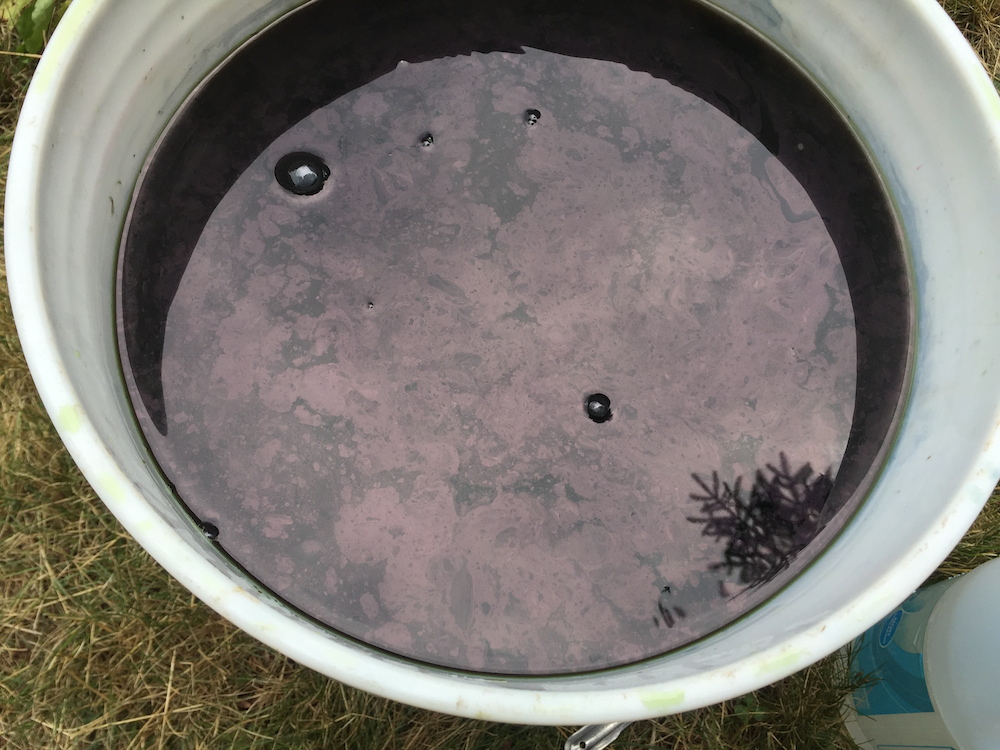
Then, I added ammonia to the strained liquid and used pH strips to test that it was pH 9. The liquid changes color dramatically when the pH changes, so you can tell by looking when it’s ready to roll. Also, it gets a rainbow-like sheen on top.
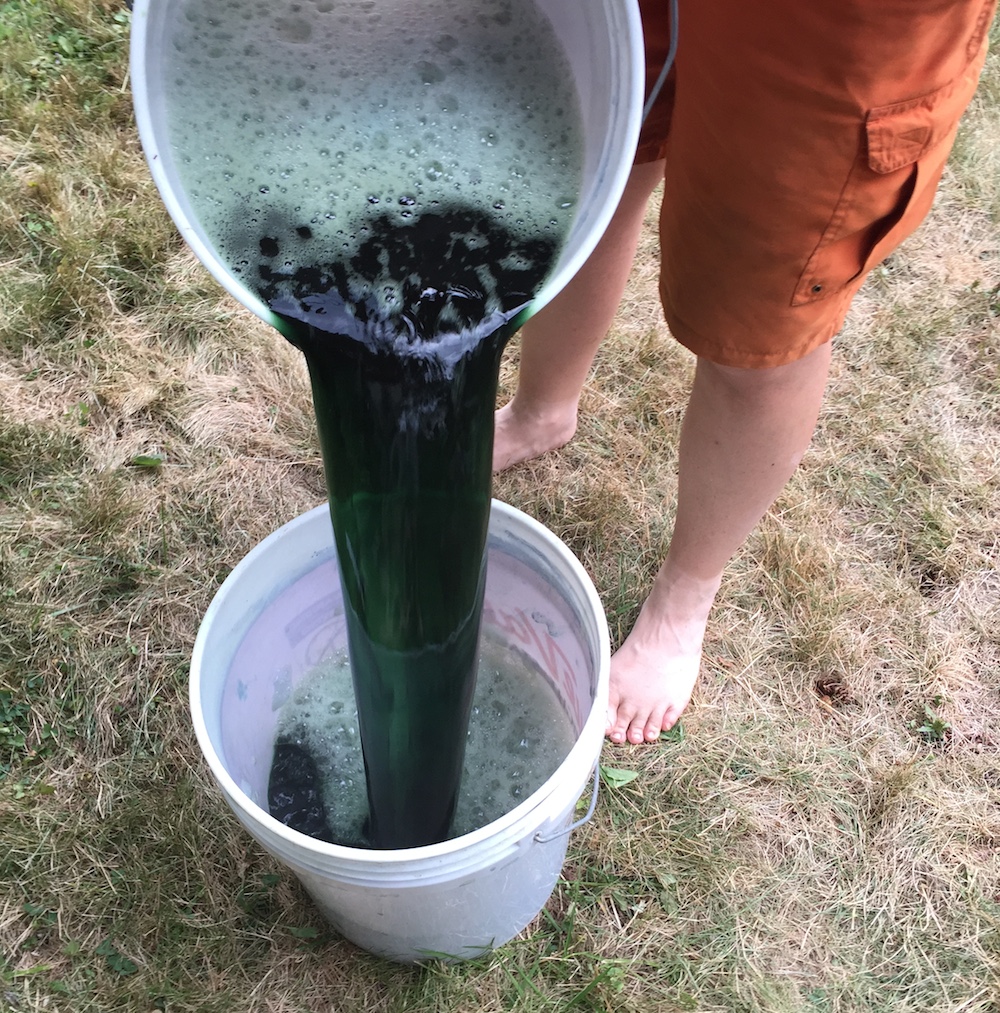
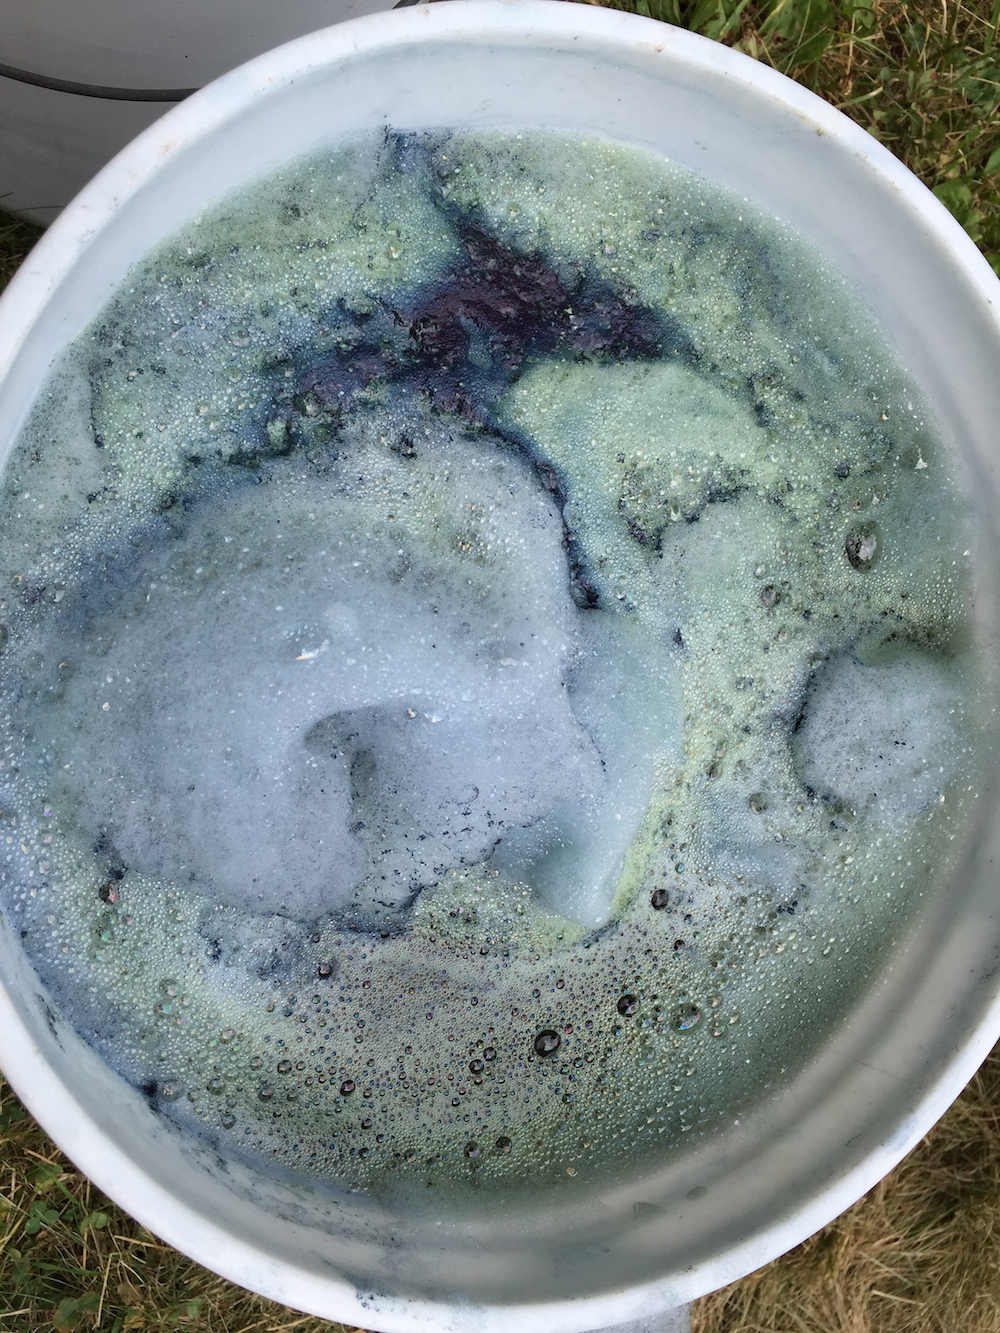
Then comes the aeration. I set the timer for 10 minutes, and poured the liquid back and forth between three buckets until the timer went off, with a little break in the middle to rest. Check out the gorgeous deep green from the high pH:
The ammonia created a lot of foam!
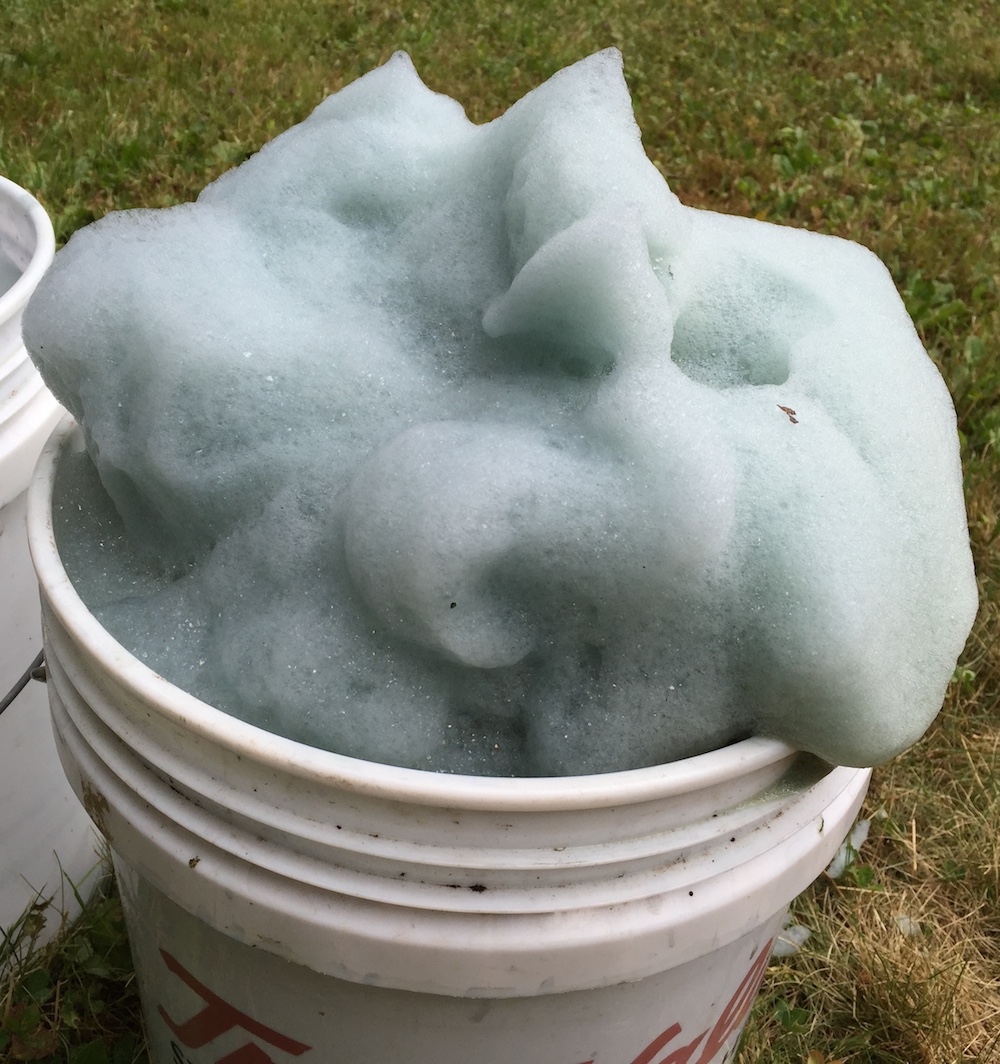
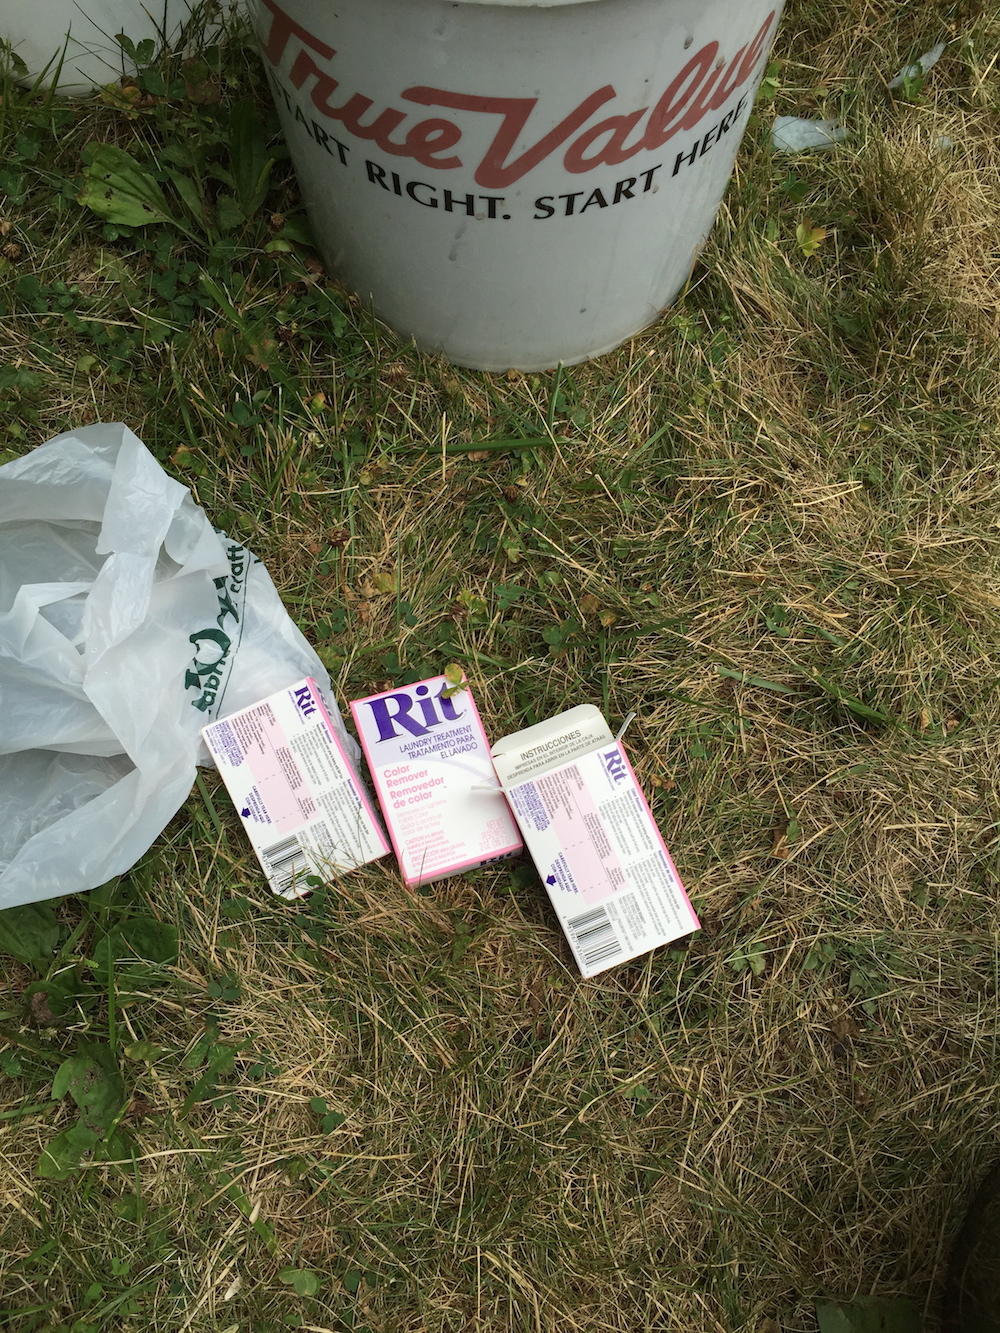
It’s OK, though, because once I sprinkled on one and a half packages of RIT Color Remover (which contains sodium hydrosulfite, the reducing agent) the foam retreated and the whole thing looked a lot less like a crazy science experiment gone awry. Instead it’s a successful crazy science experiment!
Why one and half packages? Well, the amount of reducing agent you need to use depends of the amount of oxygen you need to bind up. I know from experience that five gallons of water takes one and a half packages of RIT Color Remover. That’s about 3 tablespoons, I believe. A tablespoon is three teaspoons, so that’s about 9 teaspoons. If you have a smaller bucket you can figure out the math proportionately. Or you can use a scale if you have one that’s more accurate than mine! There is a lot of science involved in all this, but there is also a lot of winging it.
After that, I put the lid back on and let the vat reduce for 45 minutes. That means it just sits there undisturbed and the reducing agent binds up the oxygen in the water. After reducing a vat this way, the color I normally get is a murky olive green/oil slick combo, with a slight translucency that gives you a glimpse of a bright mustard yellow below the surface. Perfect!

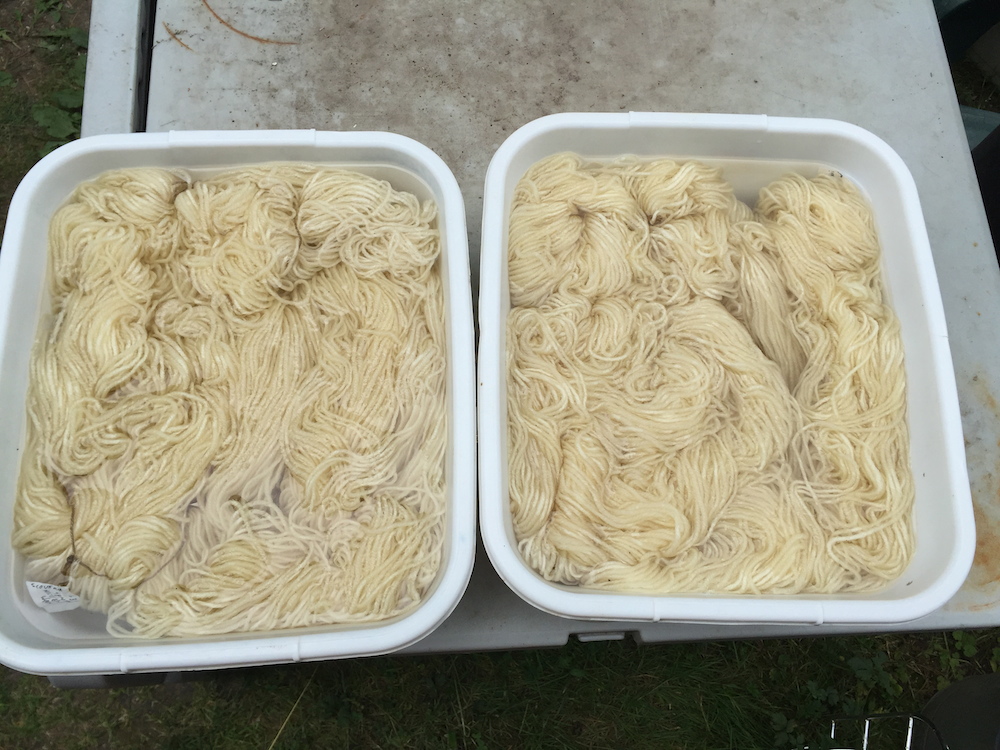
I had pre-soaked six 4-ounce skeins of scoured wool (4-ply mill end yarn from Webs).
At first I dipped two skeins at the same time for 10 minutes, so I’d have 8 ounces of the same color. Then I pulled them out to let them oxidize. I didn’t bother to stand over the bucket and “work” or manipulate the fiber this time.
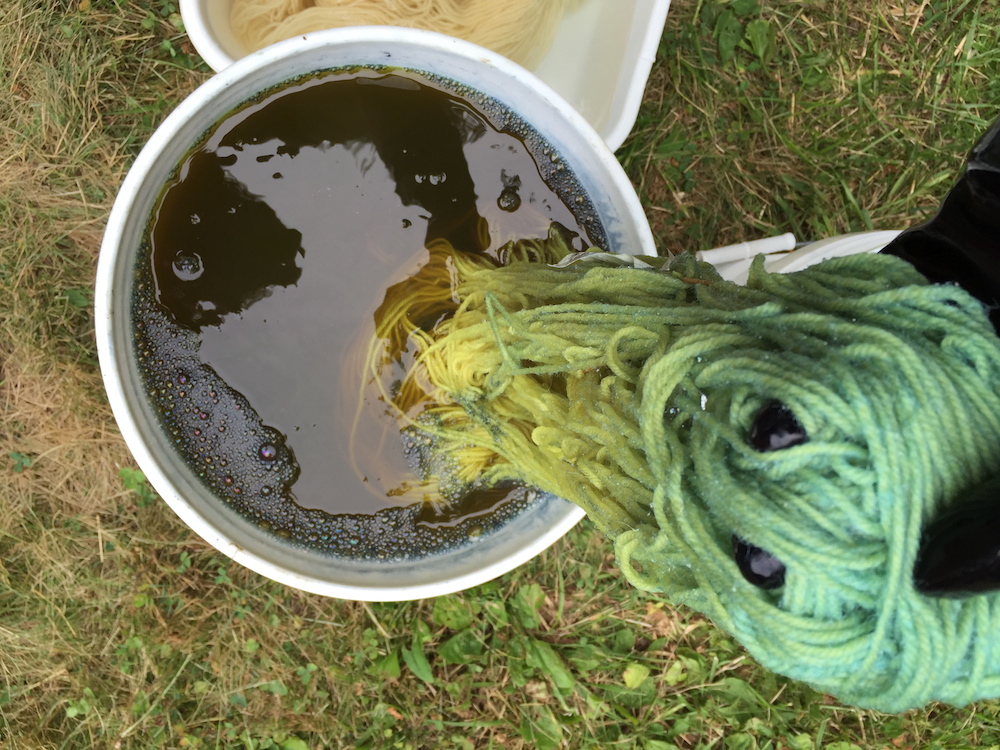
Here’s a skein that I’m pulling out. The turquoise color on the top of the skein tells you that the oxygen has begun to interact with the soluble “white” form of indigo and it’s converting to an insoluble blue form. The yellow color at the bottom tells you the color is still reduced and hasn’t oxidized yet.
A lot of dyers I’ve read recommend oxidizing fiber for the same length of time as the dip, i.e., expose the fiber to air for the same amount of time that it was soaking in the vat. Michele Wipplinger of Earthues explained in a workshop at Long Ridge Farm several years ago that Japanese dyers working with a natural fermentation vat only dip once a day. After 24 hours the oxidation is still going on. Following this thinking, I don’t usually try to re-dip a skein in the same vat anymore. I just let it oxidize and dry out. Then I rinse it and dip it again in a different vat if I want to deepen the color. I am absolutely not suggesting that anyone else’s process is wrong, I am just sharing what I do, based on my particular set-up and experience. Here are the skeins oxidizing on the sad, crispy, dead grass (because of no rain, ever, all summer).
After the first two skeins of wool, I dipped one skein at a time for more like 20-40 minutes. I was doing other things, so I didn’t keep close track. Once all the skeins were dipped there was still a lot of color left in the vat. I put in about 9 ounces of dark brown Romney fleece and that soaked for about an hour. Then I put in about 7 ounces of white mohair (which is the fiber from an angora goat, FYI) and let it sit in the vat overnight. Here is everything laid out the next day. The turquoise color on the mohair on the left tells you it was recently pulled out of the vat.

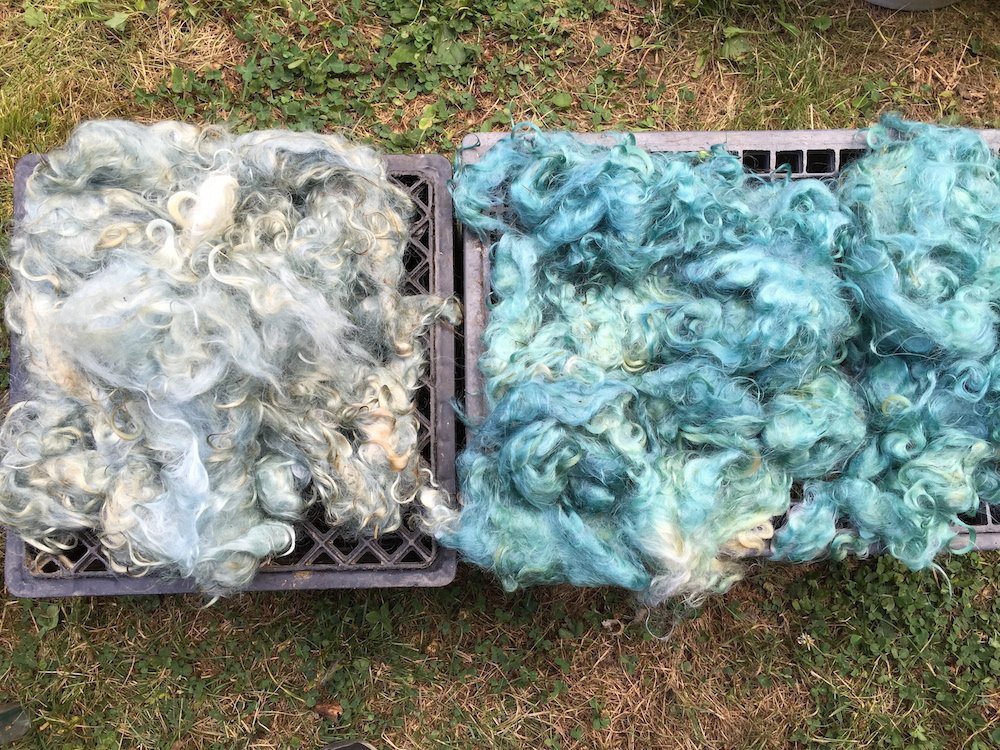
When I pulled out the mohair in the morning there was clearly a lot of color left, so I put in 12 more ounces of mohair and let it sit all day. On the left you can see the color after the first batch of mohair has settled into a regular-old woad blue. On the right is the second batch of mohair still oxidizing.
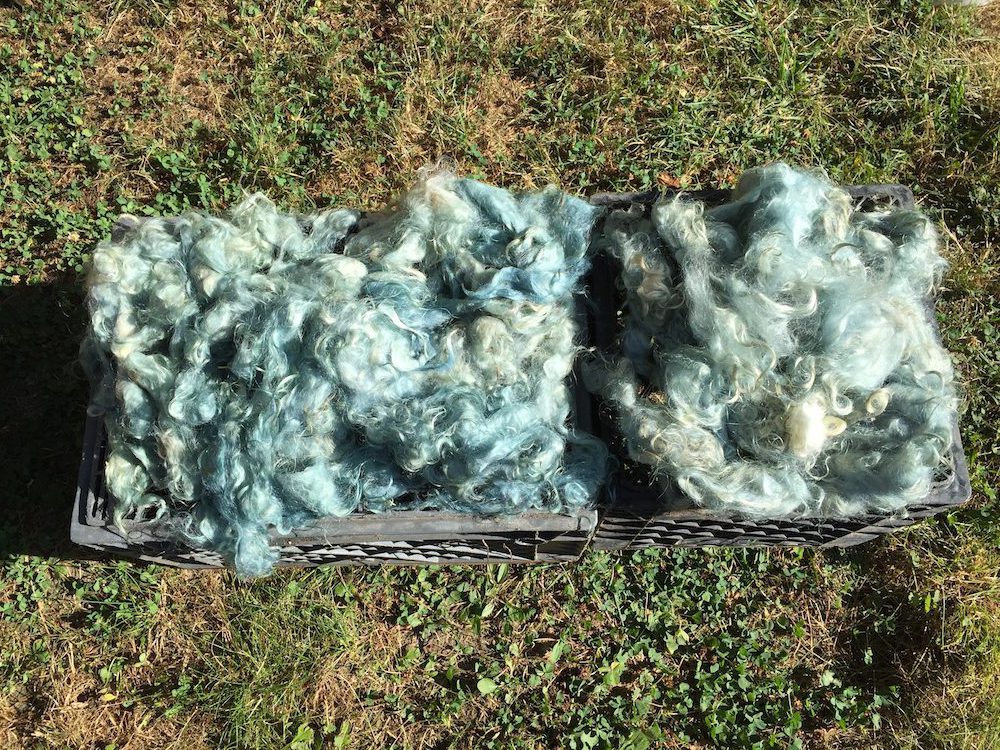
Here’s how they look after drying for a couple days (this time the second batch is on the left). There is not much difference in the color.
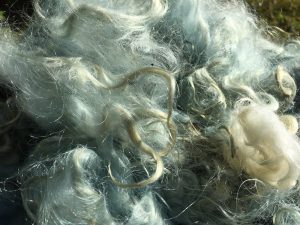
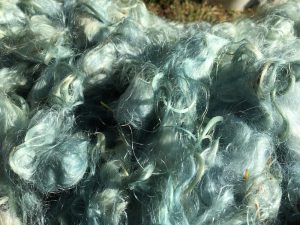
My usual process is to let the fibers dry completely, then soak in a vinegar solution followed by repeated rinses with water. That’s what I did this time, too. The RIT Color Remover has a stinky perfume smell, so I let the fibers air out outdoors until they don’t smell so bad. The total weight of fiber I dyed with this vat was just over three pounds. Here are some close-ups of the mohair just because the texture of the curls is so pretty:
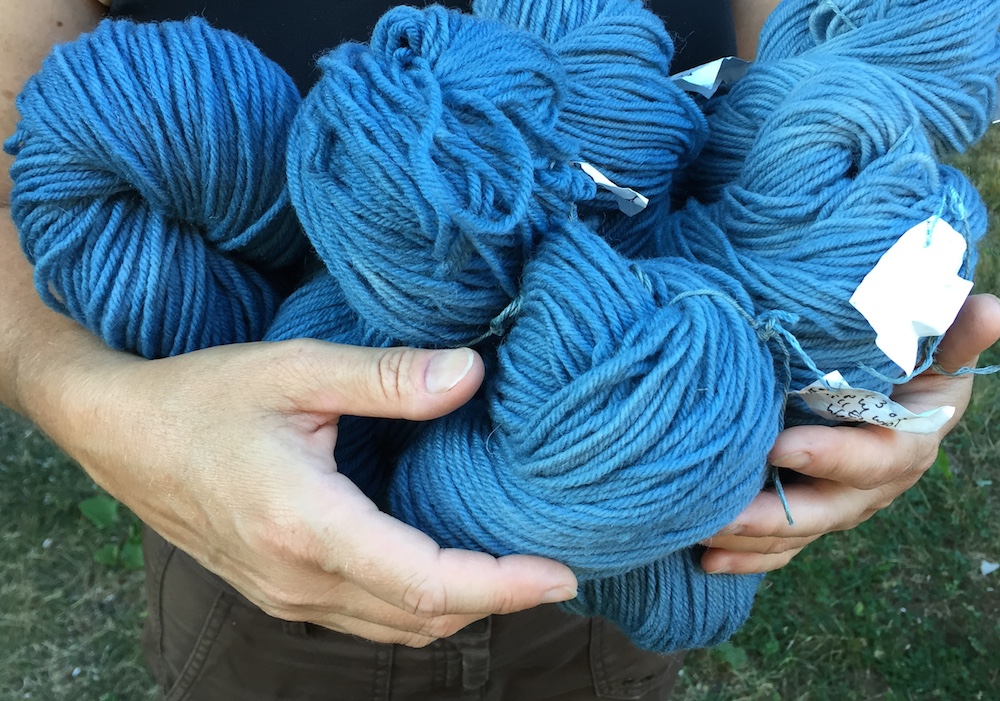
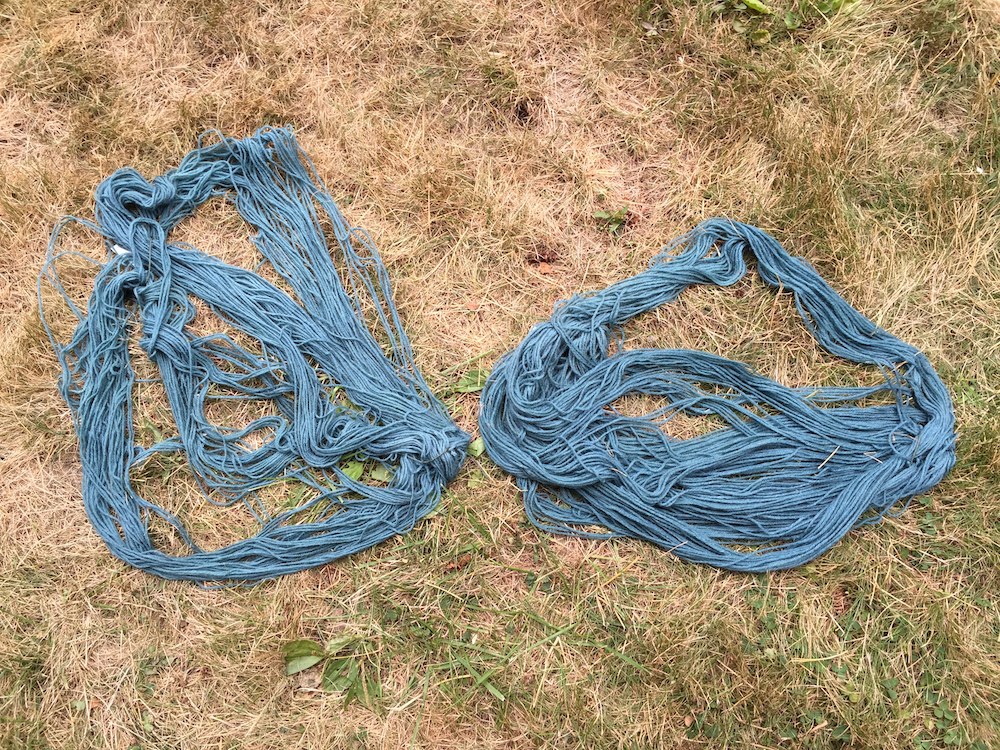
Here are the woolen skeins all rinsed, dried, and ready to store. Gleeful!