Earth Day: Planting, Watering, and Waiting for Emergence

The traditional way to plant flax is by broadcasting, which means you toss it out onto the soil by hand and try to achieve an even distribution. This is what I did. I usually sow about half of the seed as I move down the bed, and then sow the other half walking the other direction from the other side. If there are big piles or bald areas, I spread them out a bit more with my hand. I always grow my flax in beds because I find it impossible to weed anything wider than 4 feet. Usually I rake in the seed then press the soil down by standing on a board. I always assumed that this buried the seeds sufficiently, and I suppose it must have because my flax has always grown just fine. For the first time this year, though, I am growing a golden-seeded variety, which shows up clearly against the darker soil. After raking, I was astonished at how much of the seed was still on the surface. So I spread quite a lot of additional soil on top in order to cover the seeds. Perhaps in the past I just couldn’t see the dark-brown seeds well enough, and assumed they were buried when in fact they weren’t. This year I omitted the step of pressing down with a board.

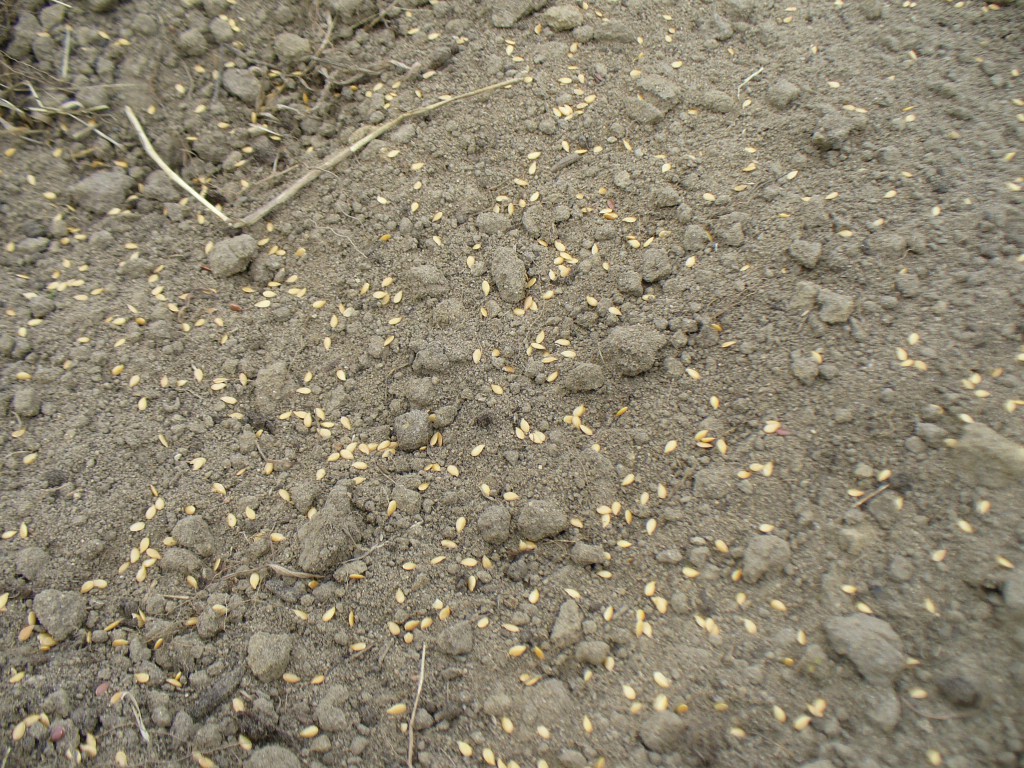
Here is a closeup of Evelin after I broadcast it. I didn’t take a separate photo of the Marilyn because it is the same color and looks the same. Not much contrast between the seed and the soil, right?
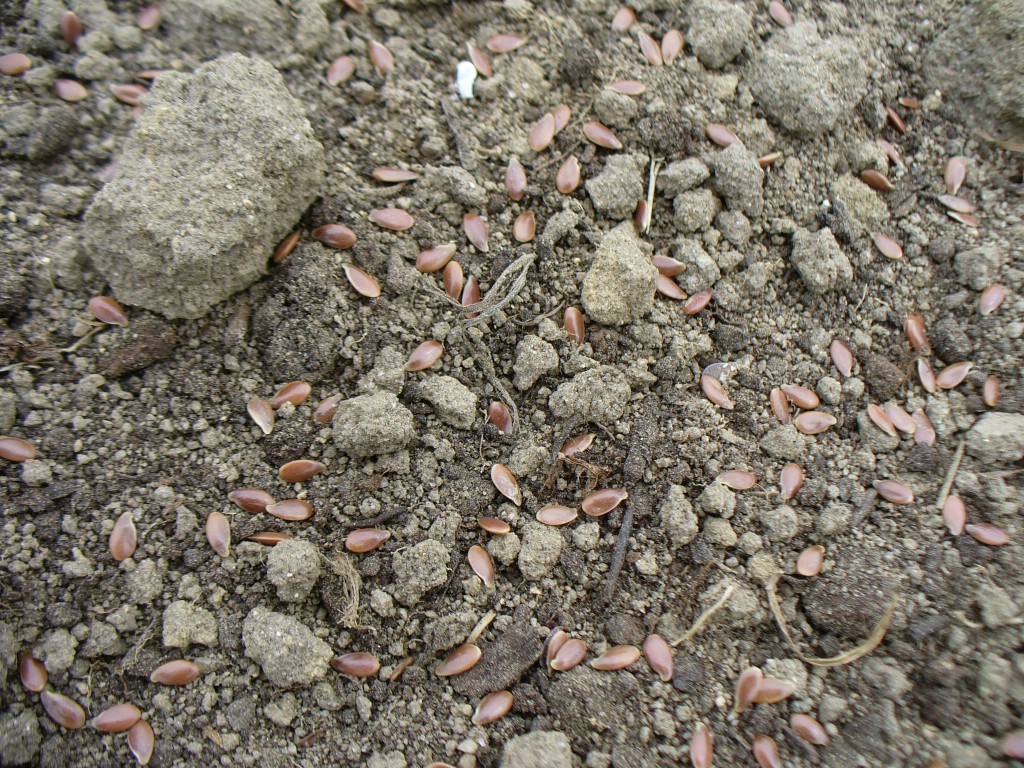
Evelin close up Here’s what the non-specified variety (or v.n.s., variety not specified) looked like.The contrast makes it easy to see.
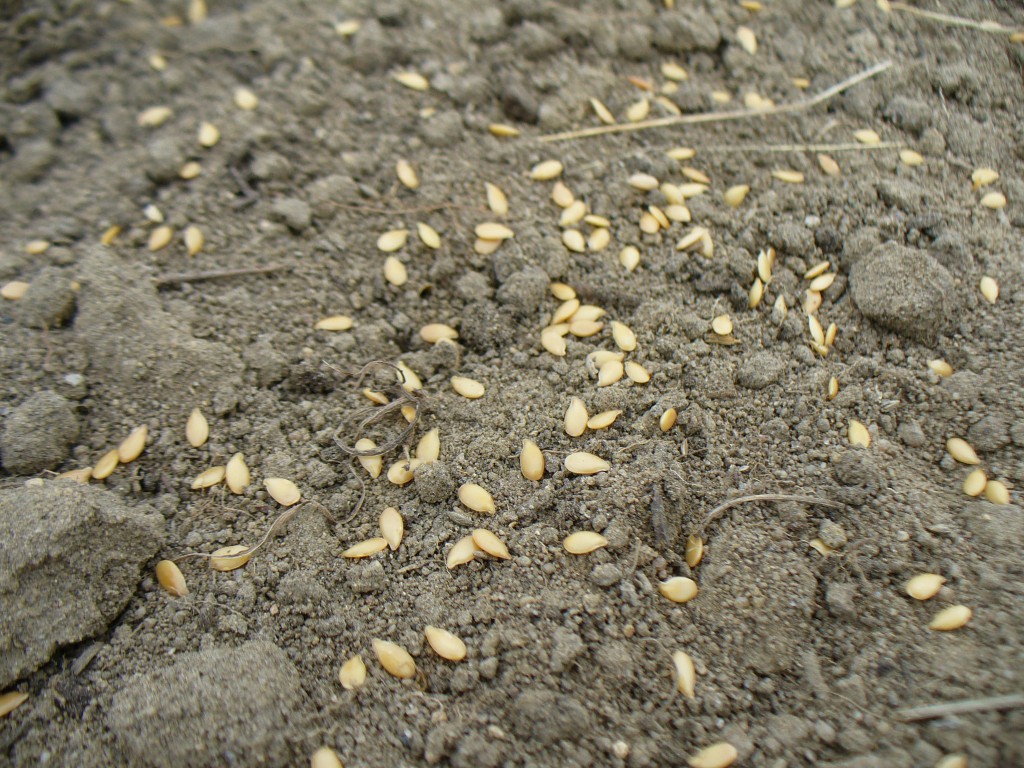
non-specified variety broadcast And here’s a close up:

v.n.s. close upThe idea is to spread the seeds fairly thickly so the plants are crowded together. This prevents them from branching, so that you get the longest possible fibers from the stems.

Because the weather has been so sunny and dry, the soil was very dry when I planted and it continued to be dry all week. So, I had to water, water, and water more. The need for so much water brings into question the sustainability of this crop, I realize, but hopefully future springs will be wetter.

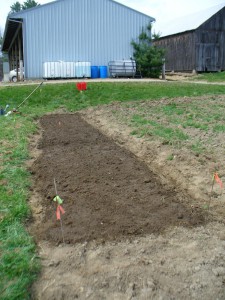
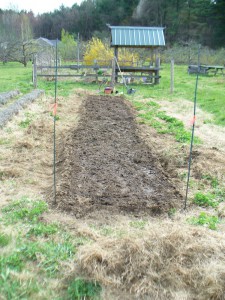
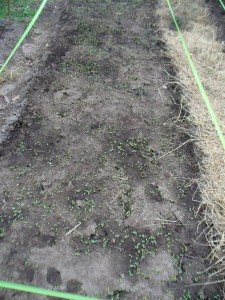
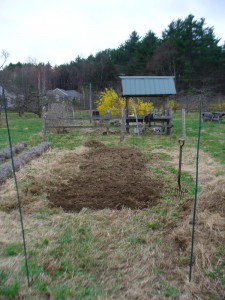
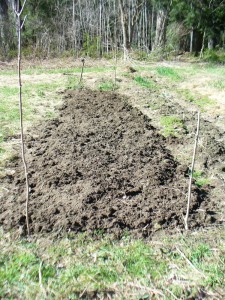
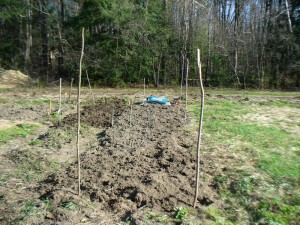
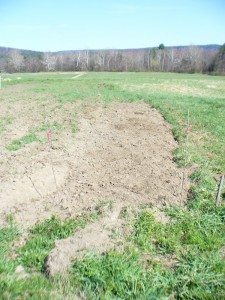
Here’s are all the plots planted and watered–Amethyst Farm (note the clear plastic water containers against the shed), Small Ones Farm, and our community garden (from top to bottom):
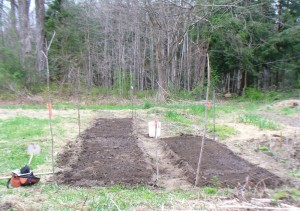
Amethyst Farm planted April 15th

Small Ones Farm planted April 15th

Amethyst Brook planted April 15thIt took most of the day to do all three sites. The next day it was about 90 degrees, I kid you not. Not flax’s favorite. I had to water every day from April 15th to April 21st (yesterday). The water situation is a bit different at each place. At Small Ones there is a standpipe with a hose, on town water.
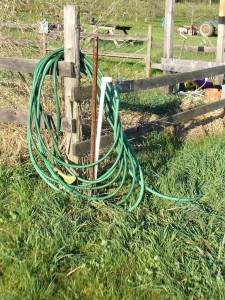
Small Ones waterAt Amethyst Farm, there’s a big container that was filled with town water, also. Eventually they want to rig up a system for collecting rain run-off from the roof of the shed, which has a big surface area as you can see in the earlier photo of the planted bed.
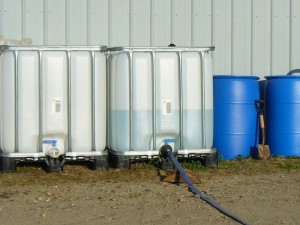
Amethyst Farm waterIf you compare the two photos, you can see how much the water level in the tank went down in just a few days. The clear tank offers a good visual reminder of exactly how much water I’m using.

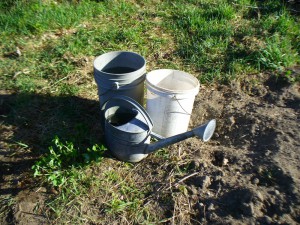
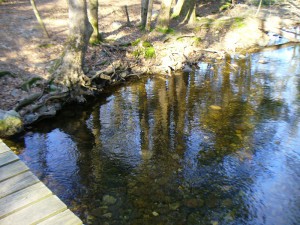
The watering situation at our community garden plot is not as convenient as the set-up which my kind hosts at Small Ones Farm and Amethyst Farm have provided (thanks again!). We haul water from the stream nearby, Amethyst Brook, in 5-gallon buckets. Here are the buckets and watering can, the stream, and the path from the stream to the gardens.
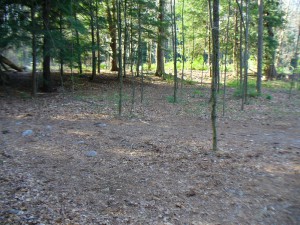
buckets and watering can

Amethyst Brook

path of carrying waterThe bright green sunny spot that you see through the woods is the edge of the gardens. It is a bit of a distance, but hauling water makes a person strong, and makes me appreciate the fact that I don’t have to fetch all my water this way. The stream is right behind me in this photo. This time of year it is usually full and rushing, but due to the lack of snow and rain, it is pretty low at the moment.

I eagerly awaited the emergence of the flax. Is this flax? Not sure, probably too early.
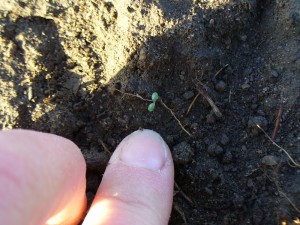
is it flax?This is not flax. It looks like grass (boo).
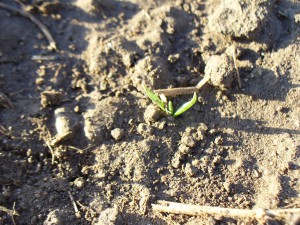
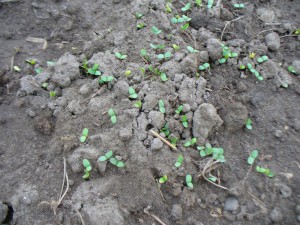
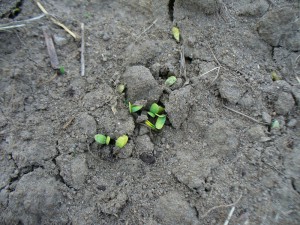
not flaxAt last, on Friday the 20th while watering at Amethyst Farm, we noticed that both the Evelin and the v.n.s. were up! Whee! Evelin on the left, v.n.s. on the right (no noticeable difference in my opinion).

April 20 Evelin Amethyst FarmApril 20 vns Amethyst Farm


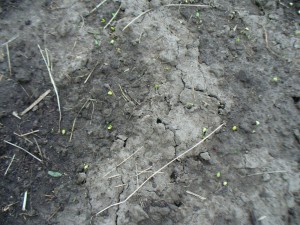
That same day, Friday the 20th, while watering at our community garden, I noticed that the Marilyn was just barely up!
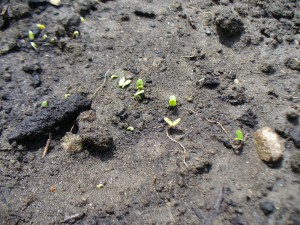
April 20 Marilyn at Amethyst BrookNothing was up yet at Small Ones on Friday. On Saturday the 21st, both the Evelin (left) and v.n.s. (right) were up at the community garden.

April 21 Evelin Amethyst BrookApril 21 vns Amethyst Brook


And also on the 21st, both the Evelin and v.n.s. were up at Small Ones Farm but I neglected to bring my camera, alas.

Yesterday I rejoiced in the emergence of tiny green plants. Today is Earth Day and it is raining at last. I am very grateful.

Flax Day, Not Tax Day!

Last Sunday, April 15th, I planted my flax at last! Usually, mid-April is the right time to plant here in the lower-lying lands of the Connecticut River valley, and I wouldn’t feel like I was getting it in late. Some years, the snow has barely melted by mid-April. However, this has not been a usual April any more than this winter was a usual winter. We have had no spring snow, not much rain, and with the very warm, very dry weather, I probably could have put in the flax a month ago. Nevertheless, April 15th was planting day, and a glorious day it was.
Planning out this flax project has been a multi-step process. In fact, the reason for my delay in posting about it (yes, sorry, it’s been a month since my last post) is that I kept waiting until certain steps had been completed, and of course then there’s the next step, and the next… And a month goes by.

I should probably start by explaining why I am growing flax and what my goals are. I have a vision of locally made cloth using locally grown fiber, naturally dyed with locally grown or gathered plant materials, and hand-woven. There is plenty of wool, alpaca, mohair, and other animal fiber around, but currently we have no locally grown plant fiber. I don’t mean there are no local plant sources of fiber; several plants around here are great for fiber, including milkweed, nettles, and even oriental bittersweet. But no one is growing or processing them in quantity. Flax is a beautiful, versatile fiber with 30,000 years of human use. It grows in my climate, unlike cotton, and is legal to grow, unlike hemp. So, it is my goal to contribute to the cause of local cloth by becoming very good at growing and processing flax, and ultimately to grow it in large quantities. Some day I even fantasize about being the “Flax Mother” of Massachusetts (minus the prison labor).

While I’m writing in the first person singular, I am not alone in this endeavor and rely on many people for help and support. I’ve been growing and learning how to process flax for several years, with a lot of trial and error. Initially I planted some at my mother’s place up in New Hampshire. Lacking advice and experience, I over-retted it and it was all gone. Next came advice, information, and comradeship from folks in the flax and linen study group at the Hill Institute in Florence, where I was working on my Master Weaver certificate. Since completing that program in 2010, I have been eager to increase my skills and knowledge at a quicker pace, to gain a certain level of expertise or mastery. Over the winter I was lucky enough to meet two wonderful women who are also interested in all aspects of growing, processing, spinning, and weaving flax and linen, both in terms of understanding how the crop was processed in the past, and how we might accomplish it today. Our meetings over the past few months have been incredibly helpful and inspiring. I have also appreciated email advice about flax seed and bee-pollination from Upinngil Farm in Gill.

The first step was figuring out where to plant. I wanted to plant in a variety of places so that I could compare the performance of each variety in more than one location. Many thanks to the generous farmers at Small Ones Farm in South Amherst and Amethyst Farm in East Amherst for letting me use a plot for this experiment and helping me with a water set-up! I also planted at our community garden at Amethyst Brook.

The second step was sourcing seeds, and deciding which varieties to plant. My plan is to gather some data to compare different varieties: How tall do they grow? How prolific are they? Do they tend to branch or lodge (fall over)? Do they grow and mature at different rates? Is one variety better suited to conditions around here? Does one produce finer fiber or fiber in more quantity?

In the past I have grown Marilyn from Landis Valley in Pennsylvania, and have been happy with it. However, it comes treated with a fungicide, and I wanted to try some other, preferably untreated types and other sources. From Richters in Canada I ordered a non-specified fiber variety with golden seeds, and Evelin, which has brown seeds. We also ordered Marilyn from the Brothers Zinzendorf at the Hermitage in PA, which was also treated, as it turns out. (I’m speculating that both Landis Valley and the Hermitage import their seed from the same place in Holland, but I’m not positive, so don’t quote me on this.) I was only able to acquire a small quantity of Regina from Sand Mountain Herbs so I decided to hold off on that one for now.

I decided to plant Evelin and the non-specified variety at Small Ones Farm and Amethyst Farm, and those two plus Marilyn from the Brothers Z. at the community garden. Not quite the multitude of varieties I had initially hoped to compare, but it’s a good start.

The next decision was how much to plant, which would determine the size of the beds I needed to dig. I decided to plant the same quantity (4 ounces) at each place, in beds of the same dimensions (4 by 14 feet). In theory, this will make it easier to compare the productivity and yield of the different varieties. Different sources recommend planting at different rates. I have typically planted at a rate of one pound of seed per 225 square feet, and have been pretty satisfied. But recommendations range from one pound per 100 square feet to one pound per 400 square feet. I planted at approximately one pound per 224 square feet this year.

Next was turning over the beds and pulling out grass roots, which took a while. I started back in March. You may wonder why flax needs to be planted so early in the spring. The primary reason is that the best quality fiber is produced in cool, moist conditions, and that the heat of summer causes the fibers to become coarse. Two other reasons are that if the soil is still wet from the winter (and if the spring is a normal, rainy spring) you don’t have to water much, and also it gives the flax an advantage against weeds, many of which are not up yet that early in the spring.

I have found that grass is the main competitor to flax in terms of weeds (these guys have the same problem). Last year at our community garden plot we had it rototilled instead of turning it all over by hand as I’ve done in the past. The advantage of digging it over with a pitchfork is that you can pull out a lot of the long grass roots. Rototilling just chops them up and spreads them evenly around. You may as well plant grass. Despite repeated weeding, the grass was so difficult to pull out (pulling it up also pulled out a lot of the flax plants) that it over-ran the beds, and I ended up not harvesting all of the crop.

Many thanks to Farmer Bob for pointing out to me that early planting only gives flax an advantage over weeds that germinate from seed. If the roots are already in the soil, even densely crowded flax seedlings can’t do much to stop the grass from growing. I had experienced this grassy problem for myself, but hadn’t put two and two together about how plants propagate themselves and what that means in terms of weed control strategies. So, despite the fact that it was time-consuming, I dug over the beds with a pitchfork and pulled out as many grass roots as possible. Here’s the bed I dug on March 25th at Small Ones Farm:

March 25 at Small Ones FarmHere is the first bed at our community garden dug April 6th:

Amethyst Brook April 6Here is the whole thing at the community garden, completed April 13th, and below that, the completed bed at Amethyst Farm from the same day:

April 13 Amethyst BrookApril 13 Amethyst FarmThen I wanted to get the soil tested, which involved collecting samples, drying them, and dropping off the labeled bags at the UMass soil testing lab. I patiently waited for results, was excited when they came, then was a bit confused by them, and then had a series of queries back and forth to get help interpreting them. In subsequent years I will do this part of the process differently. Ideally I would like to know three different pieces of information: first, what the soil might need for additional nutrients; second, whether the amendments have addressed these deficiencies; third, after the flax is harvested, which nutrients were depleted by the flax (that is, which nutrients in particular flax uses up). In order to get all this info, however, I would have had to start earlier in the season. Live and learn.

So, I added some compost and manure to the soils that seemed to need it the most, and at last I was ready to plant! See the next post for more about planting, watering, and the exciting germination of my seeds!


Breaking Flax

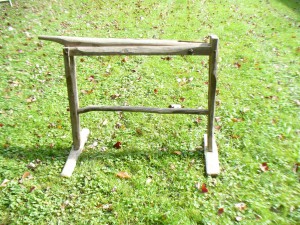
Last week I borrowed a flax break from Kathy Furst Coache, fellow weaver and flax aficionado (check out her shop and classes at http://www.westfieldyarn.com/). It’s a lovely antique, and it was very kind of her to loan it to me.

flax break
Kathy’s antique flax break

A flax break (or brake) is one of the tools used to process flax, which is the plant that linen is made from.

To make linen, you want the bast fibers, which are the long, strong fibers that run vertically the length of the stalk, between the skin or bark and the woody core (as I understand it, these fibers are basically the phloem of the plant–N.B. June 2017 update Actually, the fiber bundles in the flax stem are their own structures, distinct from the phloem! Sorry for the misinformation.).

After harvesting, you dry and ret the flax. I will go into my personal retting history in another post. After retting, rinsing, and drying again, you use the break to smash up the woody material.

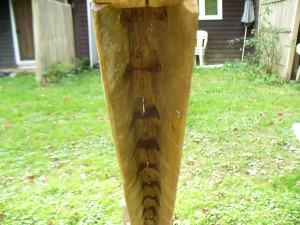
flax break arm
The arm of the break (inside)
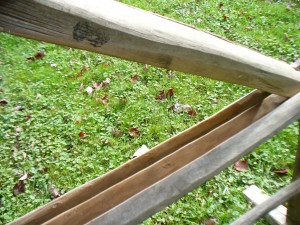
flax break bed
The bed of the break. Insert the flax close to the pivot point between the bed and the arm.

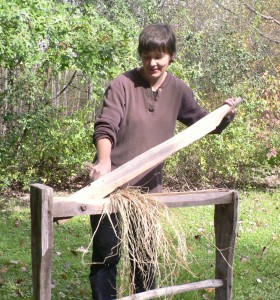
Using the break involves repeatedly slamming the arm of the break down onto a handful of your retted flax, and partially crushing up the woody material.

The author breaking flax
Me breaking flax
flax shives close up
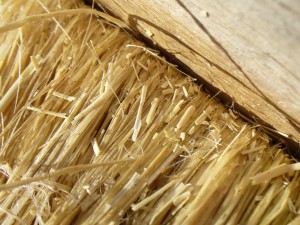
The shives are the short pieces that have broken off the stems.

If the flax has been retted properly, the woody material, called shives or boon, should pop off and separate from the bast fibers.  Well, it’s not exactly woody. It’s sort of like very stiff straw, but it can give you splinters.

My hoard of retted flax consisted of 3 years of flax harvests from 2007, 2008, and 2010. I’d been storing these in three storage bins (43”x19”x6.5”) and two bundles that didn’t fit into a bin, which had been crammed into our hot water heater closet. One bin had been living under the bed, and two in the closet in the bedroom. This year’s crop is rolled up like a dead body in the back of the car. (I am planning to save the seed, but that’s another post).

I made the most of the glorious sunny weather on Saturday October 22nd, and Monday and Tuesday the 24th and 25th, since rain and snow were in the forecast for later in the week. For those three days I worked for 8 hours each day. Maybe I would get faster with more practice, but it was slow going! It alternated between being really fun and satisfying, and really boring and tedious.
In three days of steady work I managed to break the contents of two out of the three containers, plus the loose bundles. Here are some of my results.

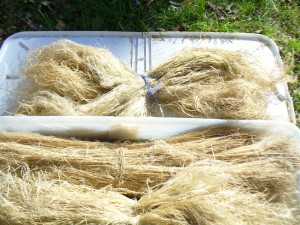
bundels of broken flax
Two bundles of broken flax and one not yet broken.

After breaking, there is scutching or swingling to remove the rest of the shives, then hackling (or heckling or hetcheling) to separate the shorter tow fibers and straighten out the long line fibers. Then, finally, you can spin your yarn and weave your cloth.

Phew! Talk about slow cloth. This project takes the cake–slow, slower, slowest.

Dyeing with Lady’s Bedstraw

I ended up with 5 lbs. 11oz. of cleaned Lady’s Bedstraw roots. I extracted the roots in two batches because they didn’t all fit in one pot. The first pot held 4 pounds, and the second was 1 pound 11 oz. I extracted each batch of roots twice, and used the baths separately. With the first batch, I put in one and a half Tums for the calcium and I watched the temperature closely (not exceeding 150 degrees F.), but had forgotten about pH with the bedstraws. After straining out the roots, initially the color of the first skein was very drab and I was pretty disappointed. Then I checked the pH and was amazed to see it was pH5 despite the Tums. I took out the skein, added calcium carbonate and washing soda (I ran out of soda ash), and brought the pH up to between 9 and 10. I reintroduced the skein, and woo hoo, pink! A sort of 1980s Giant Foods raspberry sherbert shade.

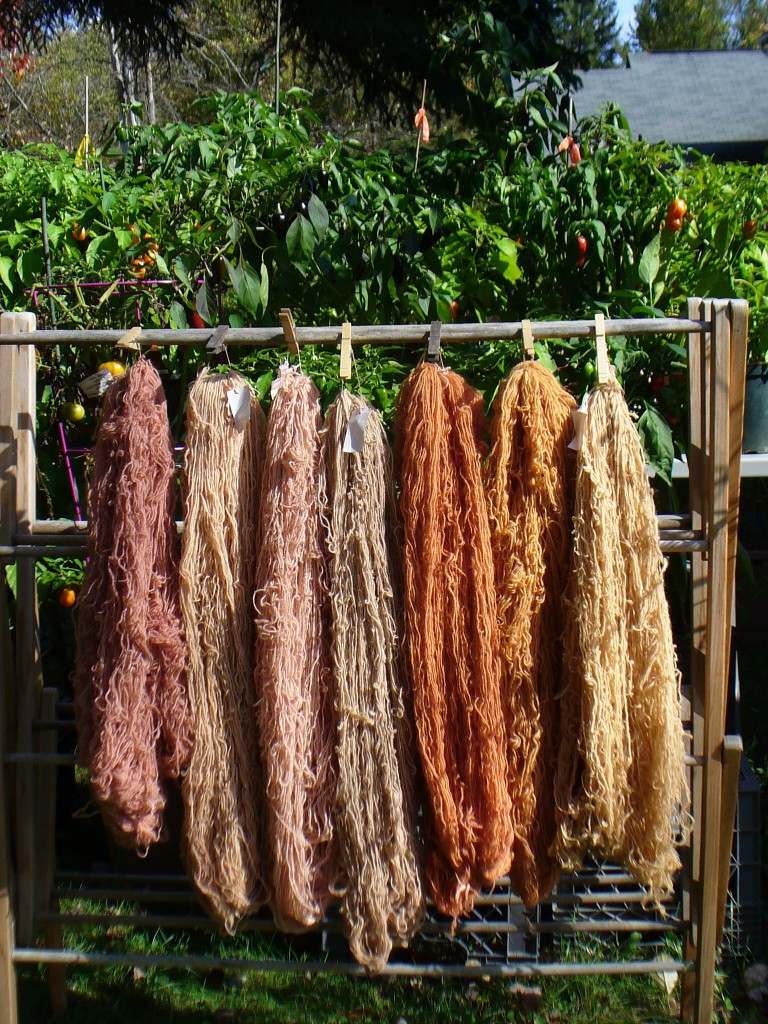
I extracted the second batch of roots with calcium carbonate and washing soda. In part, I think that explains the difference in the color between the two batches. I also think the smaller batch had more of the thicker (presumably older) woody roots relative to the thinner, presumably younger ones. Anyway, the colors are distinctly different. After many days of making and exhausting dyebaths with the roots, I have dyed 2 and a quarter pounds of singles rug wool. Here are some of the results (and in the background are some of our beautiful habañero plants):

yarns dyed with Lady's Bedstraw roots
Part way through the process, here are the yarns dyed with Lady’s Bedstraw roots. The pinker colored yarns on the left are from the first batch of roots, and the orange colored ones on the right are from the second.

I have exhausted a couple more baths since this photo was taken, yielding lighter colors. I also tried one pound of the tops, but got a pretty boring yellowish beige. There were about 4 more pounds of tops but I decided not to bother using them. I am currently soaking the roots for a third extraction. After they had softened up, I cut the woodier chunks into smaller pieces. I managed to break our non-food food processor trying to grind them up (annoying!) so chopped up small will have to do. I expect I can get one or two coral colored skeins before all is done.

Digging Lady’s Bedstraw

This past weekend I had a lovely visit with my mother at her farm in New Hampshire. While I was there, I finally dug up some Lady’s Bedstraw which I had planted about 10 years ago. At the same time that I planted a bed of Lady’s Bedstraw, otherwise known as Yellow Bedstraw or Galium verum, I also put in a bed of madder (Rubia tinctorum, both ordered as seedlings from Richters in Canada). I dug up the madder two years ago when I wanted to establish a new bed, but hadn’t gotten around to the bedstraw.

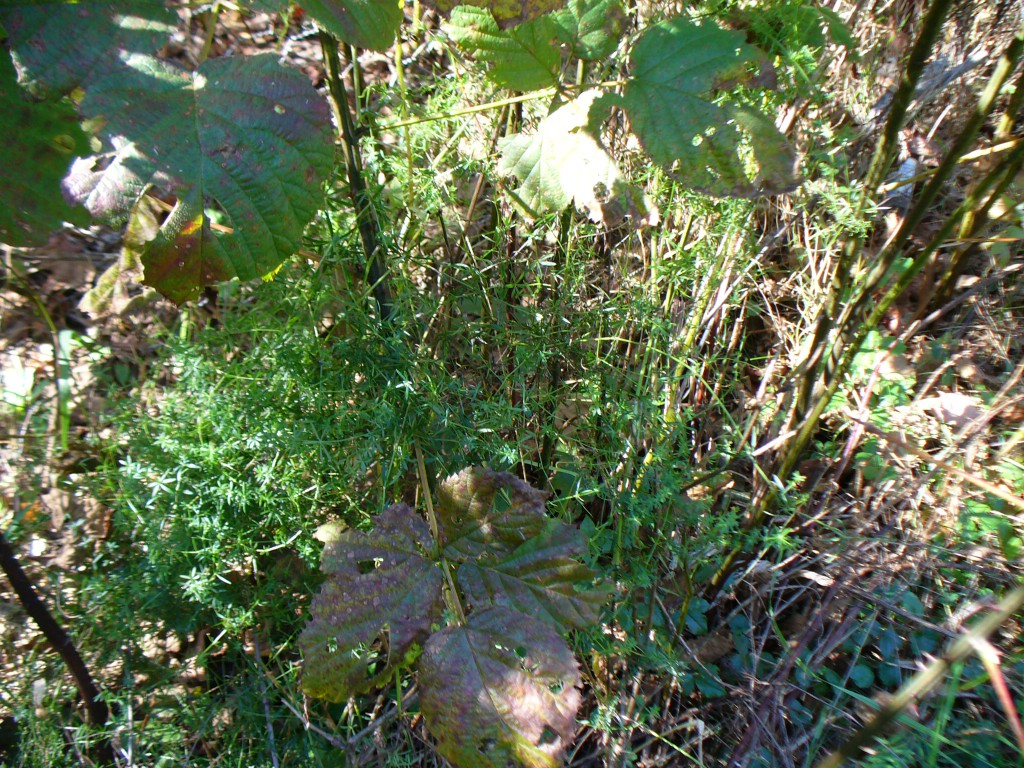
When I first planted it, my mother and I very diligently prepared the raised beds with lime and chicken manure and other amendments, and then they sat and mostly had to fend for themselves. The boards holding up the beds rotted. The blackberries moved in. The bedstraw held its own.

Galium verum with blackberries

People usually say to harvest the roots after 3 years. Better late than never. After so many years in the same location, the bedstraw has decided to expand its territory. We do not want it to spread too far in case it proves difficult to control.

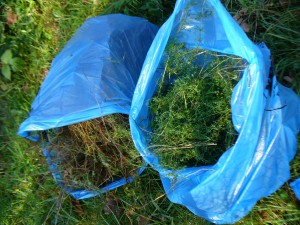
I dug about a fifth of the bed on Sunday October 9th. The roots and tops were hard to separate, so I collected them together in bags.

bags of lady's bedstraw
bags of bedstraw
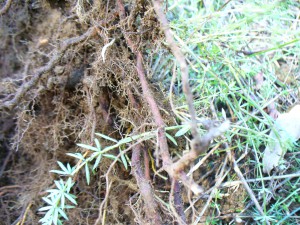
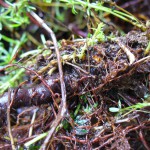
lady's bedstraw roots and plant tops growing
Yellow bedstraw roots freshly turned over
small lady's bedstraw roots
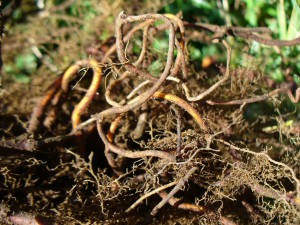
Twisty roots

Like other bedstraws and madder, the plants spread by setting down roots from the nodes on the stems, as well as by seed. A lot of the roots were small. A few were amazingly thick and interlocked. Even though it’s fall and the aerial parts of a plant are supposed to be dying back, there was plenty of fresh greenery.

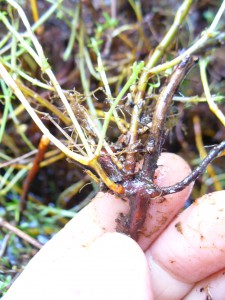
New shoots of lady's bedstraw
Plants are amazing. Tender new growth despite a couple frosts. I love that crazy yellow where the new shoots come out.

The combined weight of the bags was 17 lbs.! A lot of that was soil. Rinsing the soil off, separating the greenery from the roots, and cutting up the roots took me a couple days.

rinsing a bucket of bedstraw roots
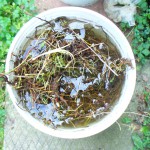
Five gallon bucket of roots soaking to rinse off the soil. They didn’t all fit in this bucket.
clean wet bedstraw roots
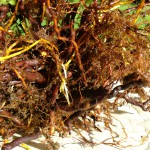
Clean wet Lady’s Bedstraw roots
good bedstraw roots
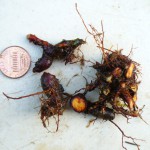
Some good sized roots, but see penny for comparison. There weren’t a lot of roots as thick as these.
dense lady's bedstraw root cluster
A very dense root cluster. It took me a while to get to the heart of this.
lady's bedstraw woody root core
Woody root core


After washing and trimming, the roots weighed 5 pounds. I plan to use these roots, and perhaps the tops, for the first in a series of rya rugs. My idea is to dye the wool for each rug with locally grown or gathered natural dyes. The palette of each rug will be determined by certain parameters, for example, whatever 5 lbs. of Lady’s Bedstraw can dye.  Stay tuned for the dyeing results.

The Parable of the Weld Seed – Part 2

After sifting through a tiny fraction of the weld seeds I had collected and dried, I began to wonder whether I actually needed to separate them by color. More accurately, I began to hope that I didn’t have to, because even with the double-sift/shake-down method, progress was slow.

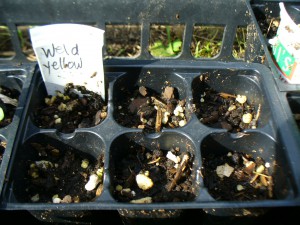
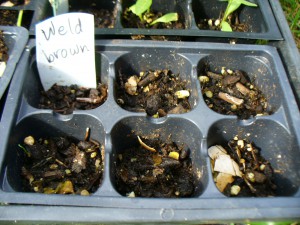
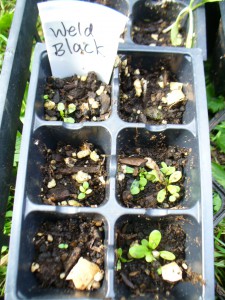
I decided to do a germination test. On July 3rd, I planted some yellow seeds, some brown, and some black. Lo and behold, a month later, none of the yellow or brown seeds had germinated, only the black ones had. These photos are from August 2nd.


yellow weld seeds did not germinate
Yellow Weld Seeds. No seedlings here.
brown weld seeds did not germinate
Brown Weld Seeds. No seedlings here, either.
black weld seeds did germinate
Black Weld Seeds. Ah ha!


Granted, it was a small-scale trial (I only filled 6 cells with each type of seed), but still I felt pretty satisfied that the lightest colored seeds are, in fact, immature, and not worth saving.

What I Did on My Summer Vacation

For many years I have been a teacher. In September you go back to school, and you get to tell people about what you did over the summer. I did a lot this summer, so this is the first installment of what will hopefully be several entries about my summer.

The Parable of the Weld Seed

You have probably heard the parable about the mustard seed, that from the tiniest seed the largest shrub grows. I get the point of this story, so I’ve been willing to overlook what I consider its botanical inaccuracy. But, being Literal Girl, I have always wondered why this saying is about mustard. Its seeds are pretty small, but not the smallest. You can’t really call it a shrub, and I don’t think that even very tiny birds could nest in its branches. The plant which deserves a parable about the smallness of its seeds, in my opinion, is weld.

Weld has eensy weensy seeds. In its second year it grows into a 5 or 6 foot giant, and while birds don’t nest in its branches, bees and other pollinators adore its flowers. Weld’s parable could be about persistence rewarded, or it might be a cautionary tale about obsessiveness. I’ll tell you my story and you can be the judge.

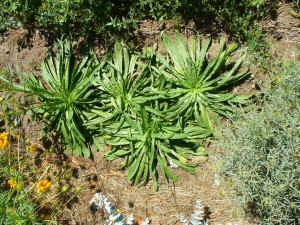
first year weld rosettes in September
First year weld rosettes in September

Weld is a biennial. In my experience, it is slow to germinate and doesn’t produce much foliage the first year; it makes a flat rosette, which you can harvest but not in vast quantities.

The second year it bolts, blooms, and sets seeds. In A Dyer’s Garden, Rita Buchanan says you can trick it into flowering the first year if you plant it very early and expose it to frosts in the spring. This has happened in my garden once, but the plants didn’t get very big.

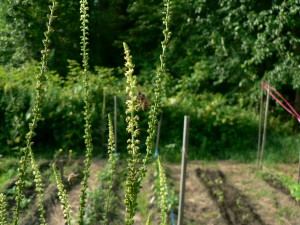
weld in bloom
Weld in bloom. Flowers up top and seeds below. Note the happy bee.

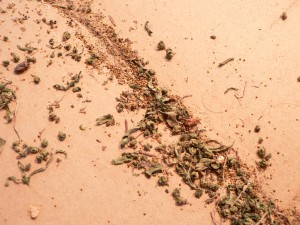
Weld has a habit of continuing to add new buds and flowers to the tip of a flower stalk even after the lower ones have been pollinated and set seed. This makes it tricky to save seed from. But since one weld plant produces a zillion-jillion seeds, I can’t resist trying. Another annoying thing about it is that the seeds are safely encased in a tight little ruffle so they don’t shake loose easily. Well, you can crumble the little ruffle (I will find out the real botanical name for that and tell you later), but then the seeds are all mixed up with powdery ruffle-debris. Also, because some seeds on a stalk are mature and some are not, you get a jumble of black, brown, and yellow seeds plus the powdery debris, and some dried flowers and leaves. Very pretty.

weld seeds before cleaning

But how to clean the seeds? I was pretty sure that only the black seeds were mature, since they tended to occur at the bottom of a stem and thus must be the oldest. I figured the others weren’t worth saving. When getting ready to plant in the spring of 2010, I diligently selected the darker colored seeds by shaking the seeds and debris onto a paper plate and picking up the darkest colored seeds with a damp finger (I licked it). Since you only need a few seeds to get a lot of plant material, I didn’t knock myself out with this method.

This summer I had the notion that I would save large quantities of dye plant seeds to package and sell. I cut the giant trunks of second year weld, and hung them to dry.

the author with weld plants in bloom
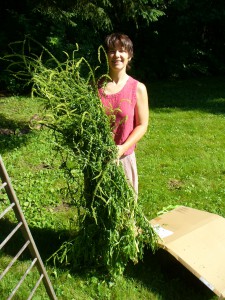
Me with an armful of weld. This is about a quarter of the harvest from four plants. Note cardboard.

Some seeds will fall out of their little ruffles, and if you’re doing small amounts you can catch them in a paper bag. Because of the quantity I was trying to process, I put a big sheet of corrugated cardboard underneath the drying flower stalks outside to catch any mature seeds that might fall. Because it sometimes rains, the big sheet of cardboard also became the thing to carry the flower stalks inside on to keep them dry. Then the big piece of cardboard became the thing I stored the weld flower stalks and seeds on while I got around to dealing with them. The big piece of cardboard took up space in the apartment or the car for a few weeks until sane people become tired of always having to be careful not to bump the big sheet of cardboard full of powdery-debris-that-mustn’t-be-spilled. The time had come to process the seeds.

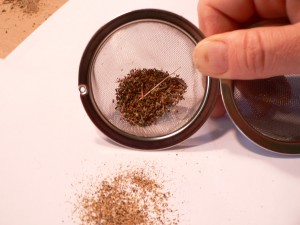
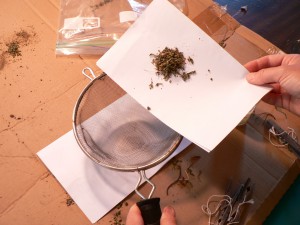
So I began with my trusty finger-licking method, and a brush. It was tedious. Matthew (the sane person) pointed out that licking my fingers might not be an approved technique for seed saving, especially if I wanted to sell my seeds (“Want some free germs with that?”). A better method was called for. I did not want to try water flotation because getting all those seeds dry again seemed daunting. You can’t just sift out the seeds because they are the same size as the ruffle-debris. You can’t winnow because the seeds are so light. After much trial and error, we came up with the double-sift: first sift the too-big particles, then the too-small particles.

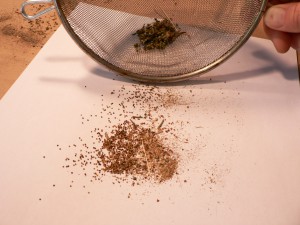
Getting ready to sift weld seeds
Getting ready for the first sift
results of first sift of weld seeds
First sift results. Got rid of the leaves.
results of second sift of weld seeds
Second sift with results in the tea strainer. Dried flowers removed.

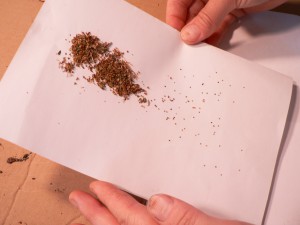
This reduces the quantity of debris and increases the seed-to-debris ratio. At long last, I noticed that the debris could be separated from the seeds by tipping a piece of paper at an angle, and allowing the heavier particles to fall down. The seeds fell down and the dust stayed up.

shaking weld seeds down an inclined plane
Shake down method. Note seeds falling and debris staying at the top. Go gravity!

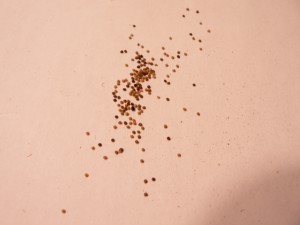
To some extent, the lighter colored seeds could be separated from the dark colored ones because the darker ones were heavier. So, I managed to get a certain amount of brown and black seeds collected. Still, it was slow going. It tried my patience. Then the voice of doubt began to whisper, did it really matter? Why waste my time separating them if I didn’t need to? Were the yellow and light brown seeds really immature? What if they’d germinate just fine? Stay tuned for the next chapter in the parable of the weld seed.

mixed mature and immature weld seeds
Mixed weld seeds after the double sift and shake down. Not a lot of black ones, alas.