Dishtowels for Pioneer Valley Weavers’ Guild

I am a member of two local weaving guilds, Pioneer Valley Weavers’ Guild and Weavers of Western Massachusetts. The Pioneer Valley Weavers did a community service project this year where members wove dishtowels to donate to the Big Brothers Big Sisters fundraising auctions this summer and fall.

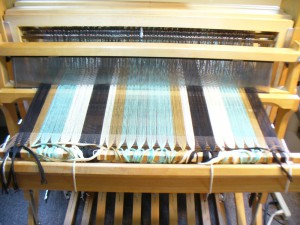
I decided to use Ms and Os for my weave structure, to get some nice bumpy texture. Here are my dishtowels in process. Here is the warp threaded, sleyed, tied on, and ready to go:

Ms and Os dishtowel warp

It is a mixture of different sizes of cotton yarns, as I was trying to use old yarns from my stash. So, the black is 6/2, the light green and gold are 10/2, and the cream is 8/2. I think they are all mercerized, but they are still soft enough to be absorbent. The width is 22.3 inches in the reed, and it’s 536 ends sett at 24 epi, sleyed 2 per dent in a 12 dent reed. I wound a 4 yard warp, which I thought would be enough for three full sized towels. As it turned out, I only had enough for two towels and one smaller napkin or bread-basket sized cloth.

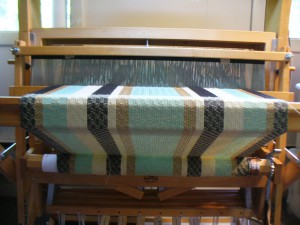
One towel has a pale yellow 22/2 cottolin weft:

pale yellow cottolin weft

I like this one because the values and proportions in the stripes work the way I imagined, and I like the lacy feeling.

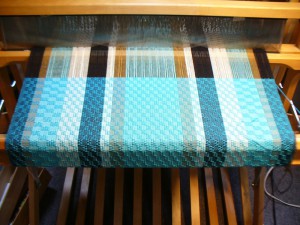
I wove the other towel with a bright turquoise blue 6/2 cotton weft:

turquoise blue weft

The intensity/saturation of the turquoise interferes with the stripes. As Matthew put it, everything feels like it’s underwater. In future, to use this color weft again, I would redesign the stripes in a smaller scale and with different colors. I think that a more intense bright yellow would work better than the gold, for example. On the other hand, several people to whom I showed the finished towels said they preferred the turquoise one.

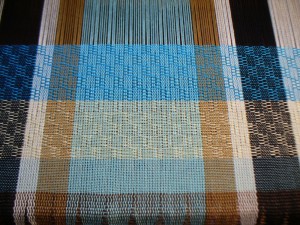
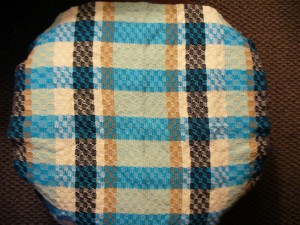
For the smaller napkin-sized piece, I alternated the turquoise and pale yellow, and I like the plaid effect a lot (the pale green stripe at the bottom is plain weave, which I sewed into the hem).

turquoise and pale yellow stripes

striped napkin

Above, the napkin-sized cloth looks round because it’s draped over a round foot stool, but I think you can see the plaid effect pretty well.


Woad Seed Germination Experiments

In my last post I referred to the germination experiments I did last summer and I went back through old posts so that I could link to the one about woad seeds. However, it turns out that I never wrote about the woad seeds. I spent a long time writing about weld seeds, in the category of “what I did this summer,” then moved on to writing about fall projects.

Here is the belated summary of my woad seed experiments from summer 2011.

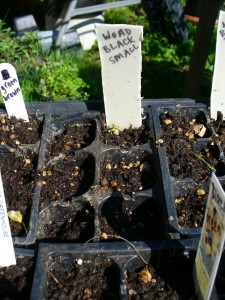
I sorted the seeds by color and size. Categories included “black big,” “black small,” “green brown,” “black and gray big,” and “black and green big.” I planted them into little cells with labels.

Here’s a photo of the set up.

overview of woad seed trial

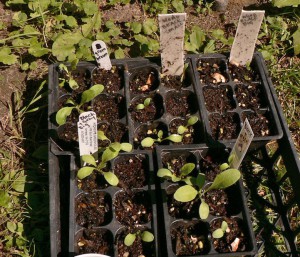
And, in short, they all grew. Oddly, the “black big” took longer to grow.

all woad seeds grew

My conclusion from this experiment was that I didn’t need to sort woad seeds and save only the biggest or darkest in color. Also, you need to plant at least twice as many seeds as the number of plants you want, since in each color-and-size category the germination rate was low. I don’t know whether the appearance of the seed has any relationship to the amount of color a plant produces. I doubt it, but it would be hard to prove.

Planting Woad At Last

I have been meaning to plant woad since April, and have had the beds dug for weeks. Not sure what the hold-up has been, but I finally planted one bed last Wednesday morning May 23rd before my shift at Shelburne Arts Co-op.

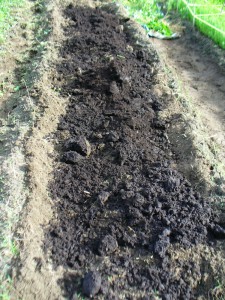
The soil at our garden is sandy and not rich in organic matter, and woad is a heavy feeder. In the past couple years I have been happy and impressed with my woad plants at Bramble Hill Farm at my little fiber and dye plant garden, and unhappy with my plants at our community garden. In an attempt to get burlier plants at the community garden, I put 6 bags of compost and cow manure into the two beds I dug, and plan to side dress with organic fertilizer during the season.

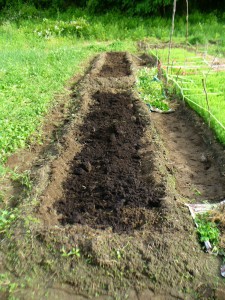
Here is a shot of the nice dark manure/compost combo:

woad bed with compost and manure

By the way, I bought the bagged compost and cow manure from Annie’s (12/19/23 Edited to add that Annie’s is sadly no longer in business. I removed the link.). As I was waiting to pay for it, I was in line behind a woman who spent about $100 on lovely gifts that she was getting wrapped up. The process was taking a little while, and I was standing there waiting with nothing in my hands. So the cashier politely asked me if I was being helped. I said it was OK, I was just waiting to pay for manure. Both of the women looked at me for a moment, and the cashier said, “Manure?” I realized the extreme contrast between my purchase and that of the customer in front of me, and replied, “Well, you have it all here.” That is, Annie’s has beautiful things as well as practical ones. And they do.

Which reminds me of another anecdote. The paternal side of my family traditionally plays a card game called Beacon Hill Rummy when we have family get-togethers at our cabin on Queen Lake. It is customary to comment on one’s hand and luck during the game (it’s not poker, in fact it is like the anti-poker) and once a family member described his or her hand as a “sack o’ poo,” meaning it was terrible. Matthew and I commented that we regularly pay good money for sacks of poo for our garden, and in fact it’s probably our biggest expense in gardening. In manure as in cards, one person’s trash is another person’s treasure. This past holiday season, imagine my delight when I saw these (12/19/23 Edited to add that the bags of guano and other fancy poop are no longer for sale. I removed the link) listed in the Pinetree Seeds catalogue. Not a sack of coal, but a sack o’ poo for every boy and girl. Exotic poo.

OK, back to the woad. I plan to plant two large beds. The beds are almost as long as the flax beds (14 feet) but I left a path in between for weeding and watering. So they’re about 13 feet long and 3 feet wide.

two woad beds

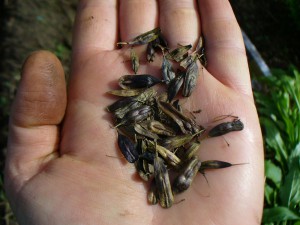
Here is a handful of woad seeds.They vary in color from green to purple, but all except the lightest, thinnest yellow ones will grow (I know this from some germination experiments I did last summer).

woad seeds

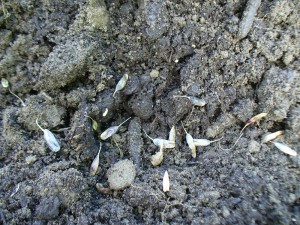
I have a lifetime supply so I plant wantonly.

seeds in the ground

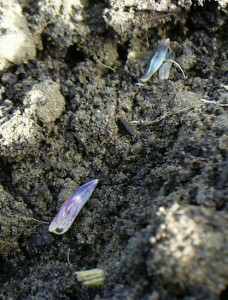
Here’s a close-up. I think woad seeds are beautiful. Actually, I think woad might be my favorite dye plant.

seeds close up

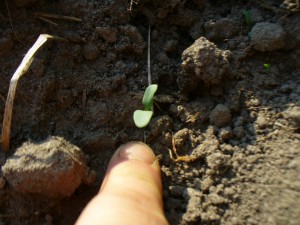
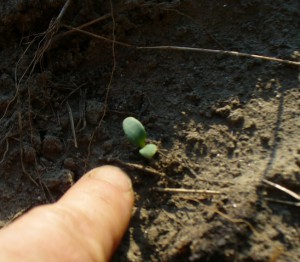
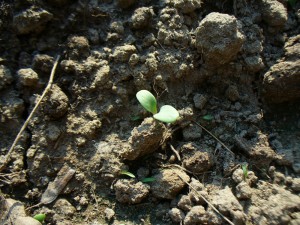
As of Monday May 28th the woad is up! Here are some photos of the cute little seedlings.

a woad seedling

another woad seedling

one more woad seedling


Flax Likes Rain

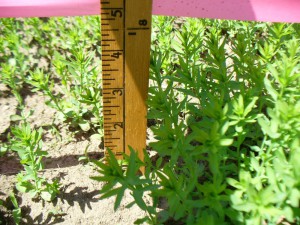
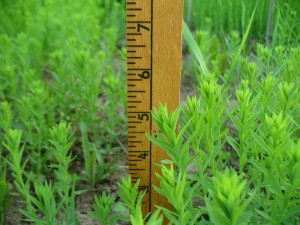
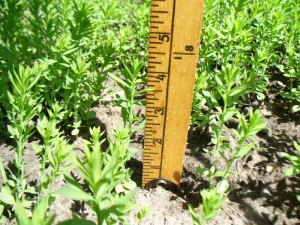
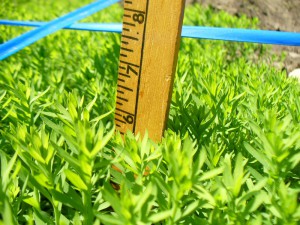
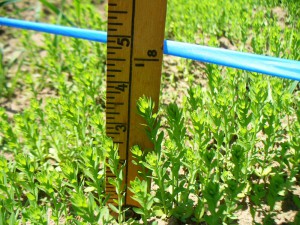
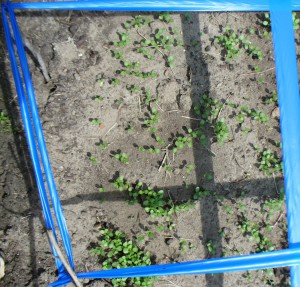
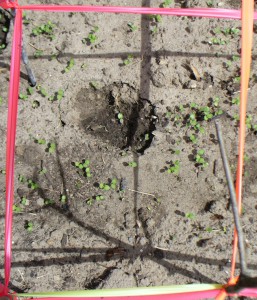
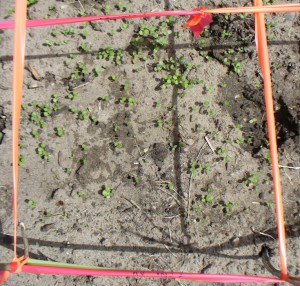
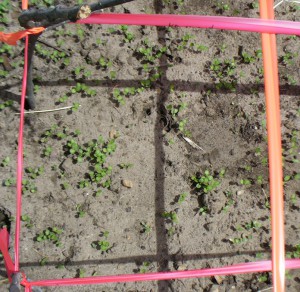
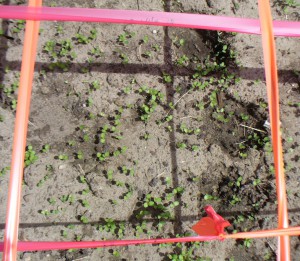
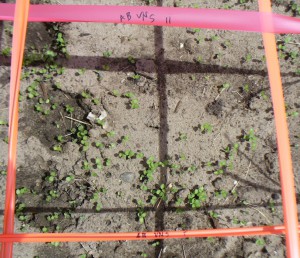
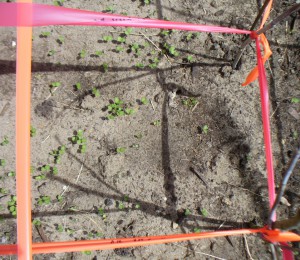
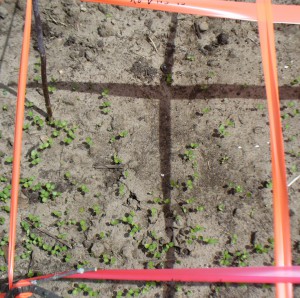
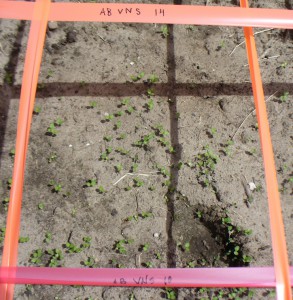
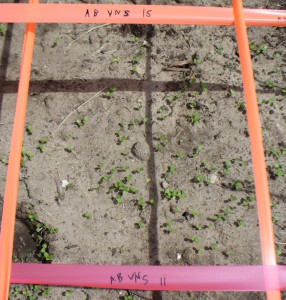
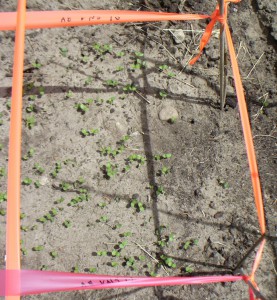
We have had a good amount of rain over the past couple weeks, interspersed with some stunningly gorgeous sunshine. This is flax’s favorite weather (unlike the 90 degrees, dry as a bone weather we had mid-April, which is not). Here’s how it was looking as of May 18th and 19th, last Friday and Saturday.

vns at Small Ones Farm May 18

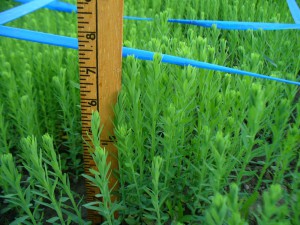
Above is the v.n.s. at Small Ones Farm May 18, about four inches high.

vns at Amethyst Farm May 19

Above is the v.n.s. at Amethyst Farm May 19, about 5 inches high.

vns at Amethyst Brook May 18

Above is the v.n.s. at Amethyst Brook May 18, about 4 and a half inches high.

Marylin at Amethyst Brook May 18

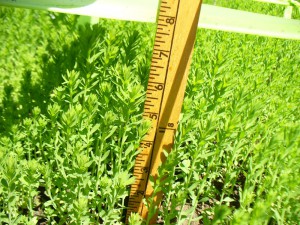
Above is Marylin at Amethyst Brook May 18, about six inches high.

Evelin at Small Ones Farm May 18

Above is Evelin at Small Ones Farm May 18, three and three quarters of an inch high.

Evelin at Amethyst Farm May 19

Above is Evelin at Amethyst Farm May 19, between 6 and 7 inches.

Evelin at Amethyst Brook May 18

Above is Evelin at Amethyst Brook May 18, between 5 and 6 inches.

Mystery Cordage

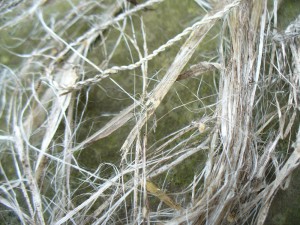
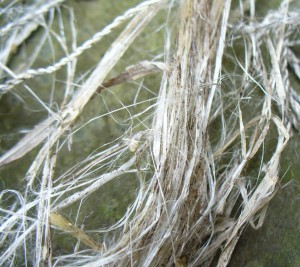
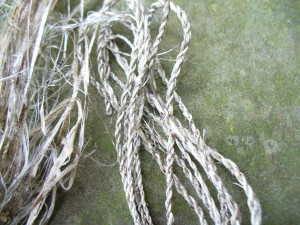
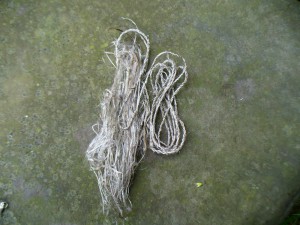
Last week I was down in Maryland visiting my sisters and seeing lots of family at a wedding. One morning, my mom and I went to consult with one of my sisters about various plants that had been planted by the previous tenants outside her apartment. In one spot we found some very intriguing dead and naturally weather-retted bast fiber from the previous year’s growth. Unfortunately I did not bring my camera so I don’t have a photo of it in situ. We don’t know what the plant is, but my sister will keep an eye on it as it develops so we can identify it. Here are some photos of the fiber and cordage.

mystery bast fiber 1

mystery bast fiber 2

mystery cordage

mystery fiber and cordage in process

My method was this: I twisted a bundle of fibers enough to get a kink at the center, then bent the bundle in half. I used my teeth to hold the middle, and twisted both sides at the same time, between my thumbs and index fingers, rolling to the left. (That is, I twisted the left strand with my left hand, and the right strand with my right). Then I wrapped the two strands around each other twisting to the right. To add a new piece, I repeated the starting procedure, but inserted the new bent middle section into the “v” where the two strands separate. I tried to keep the two sides slightly uneven so that the splices would be staggered. I think it has a very pretty silvery quality. I would be happy to use this plant again, once I find out what it is.

Flax Grids: Evelin at Amethyst Brook

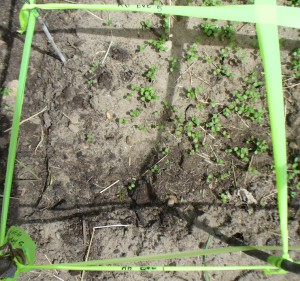
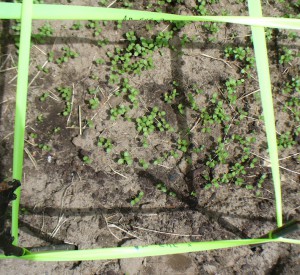
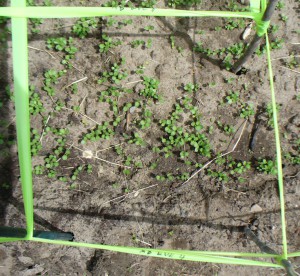
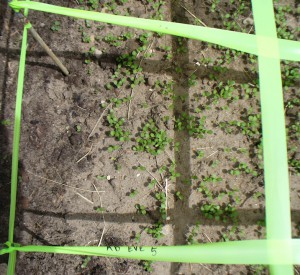
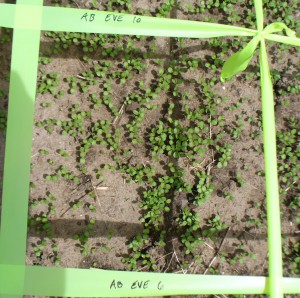
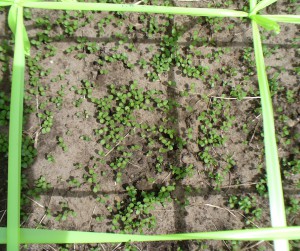
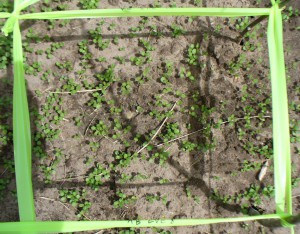
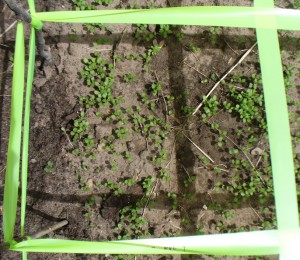
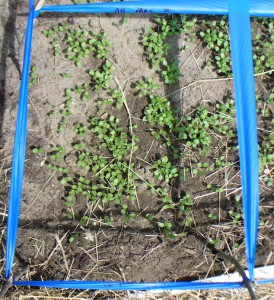
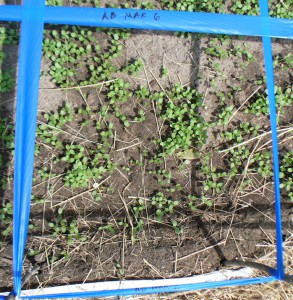
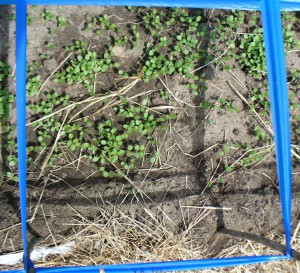
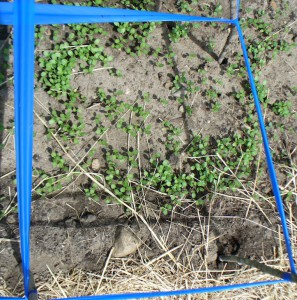
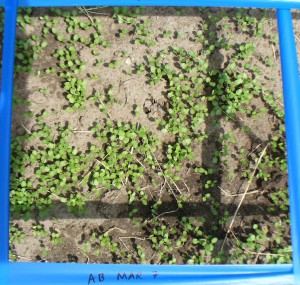
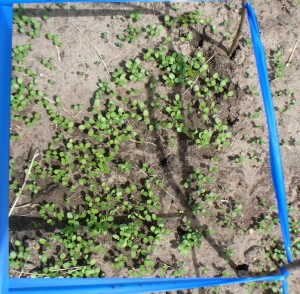
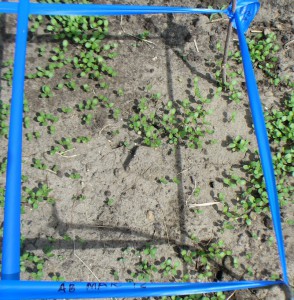
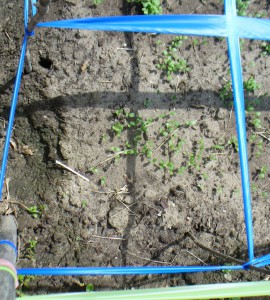
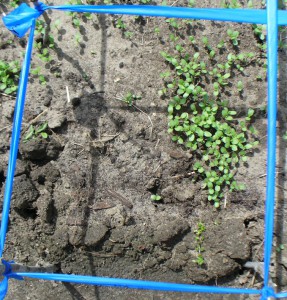
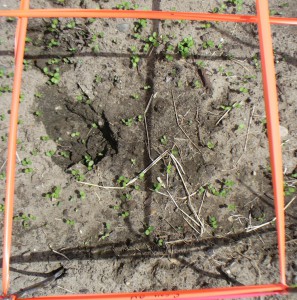
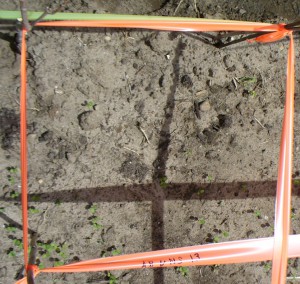
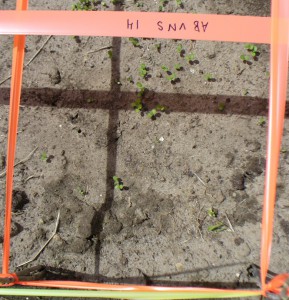
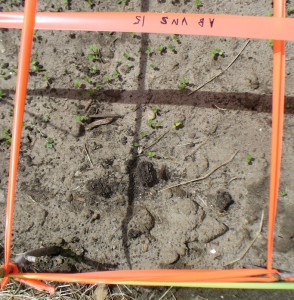
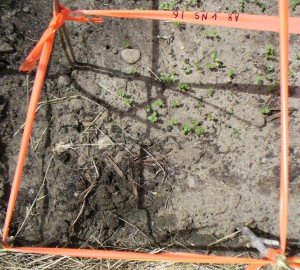
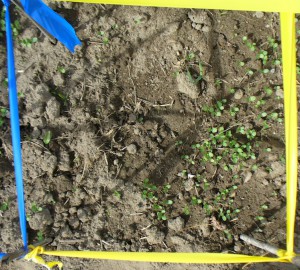
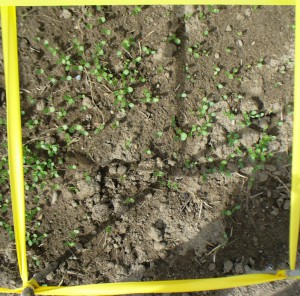
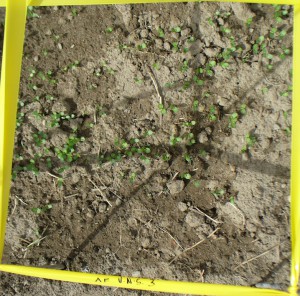
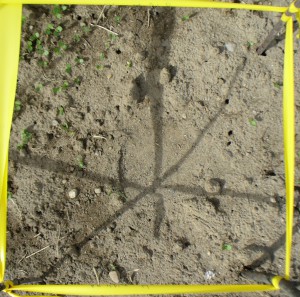
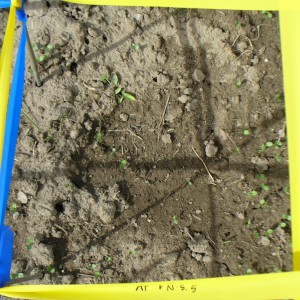
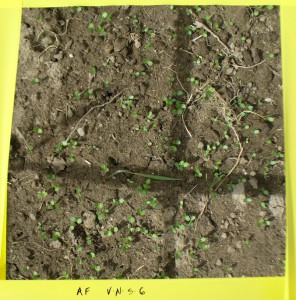
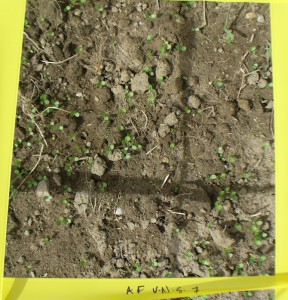
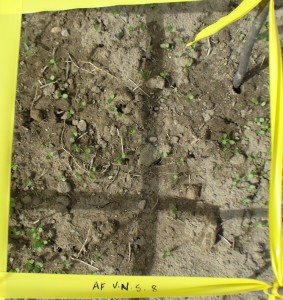
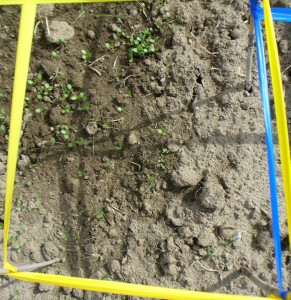
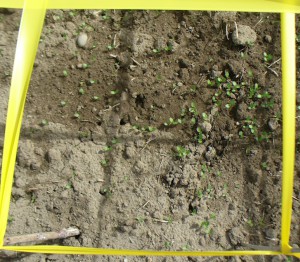
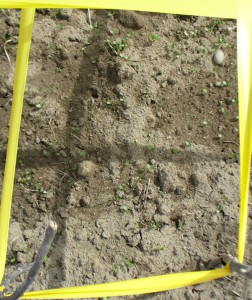
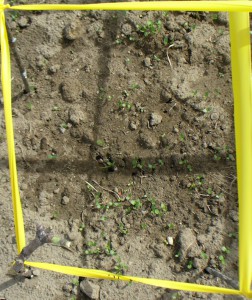
Finally, we reach the end of the flax grid photos. Phew. In future I think a 3’x3′ grid will be enough, or maybe just three one-foot sample squares out of each bed. 4’x4′ was overkill. Anyway, it’s done now. In the time since these photos were taken (April 29th and 30th) the plants have shot up. They are now feathery and about 5 or 6 inches high, and lovely. But here was how the Evelin looked at our community garden, back on April 30th.

Evelin at Amethyst Brook 1

Evelin at Amethyst Brook 2

Evelin at Amethyst Brook 3

Evelin at Amethyst Brook 4

Evelin at Amethyst Brook 5

Evelin at Amethyst Brook 6

Evelin at Amethyst Brook 7

Evelin at Amethyst Brook 8

Evelin at Amethyst Brook 9

Evelin at Amethyst Brook 10

Evelin at Amethyst Brook 11

Evelin at Amethyst Brook 12

Evelin at Amethyst Brook 13

Evelin at Amethyst Brook 14

Evelin at Amethyst Brook 15

Evelin at Amethyst Brook 16

Flax Grids: Marylin at Amethyst Brook

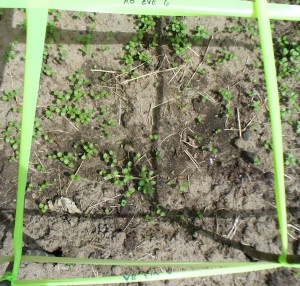
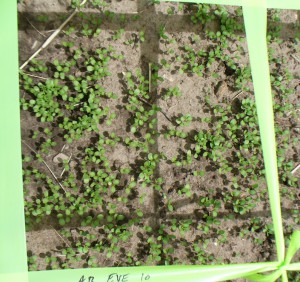
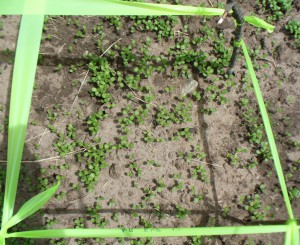
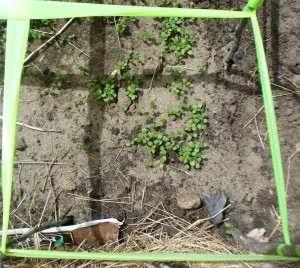
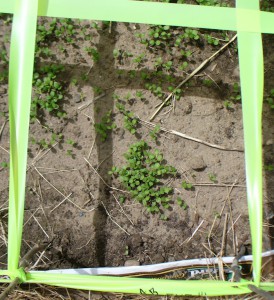
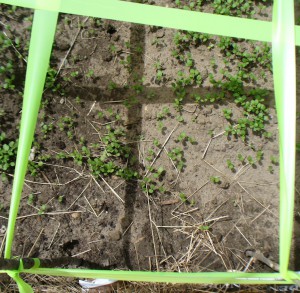
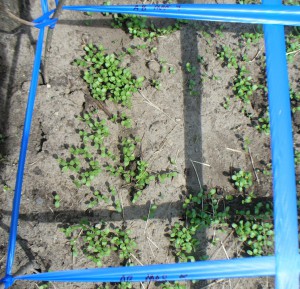
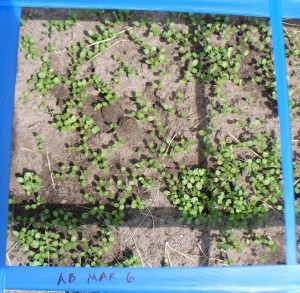
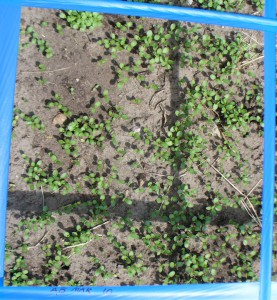
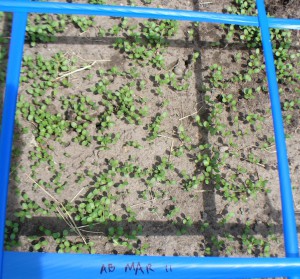
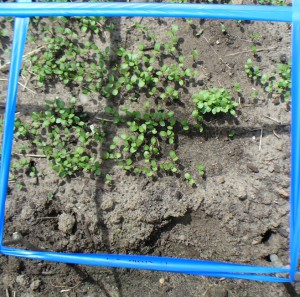
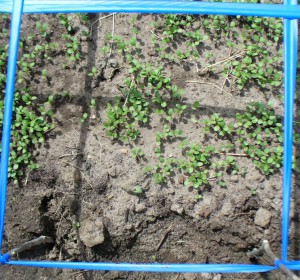
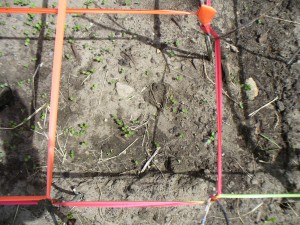
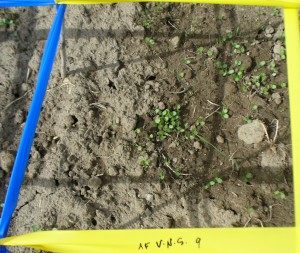
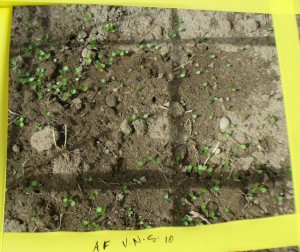
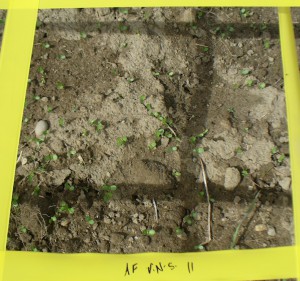
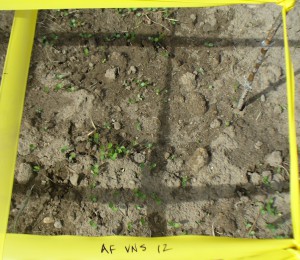
Here are the photos of Marylin at Amethyst Brook where we have our community garden plot. They were taken on April 30th. The Marylin growth is the most lush of all the plots, which means it had the best germination rate. It is also the only treated seed variety I grew. I think the treatment is an antifungal agent to prevent rotting the damp soils of early spring. We did not have damp soils this spring. We had dry soils. It was 90 degrees the day after I planted in mid-April. So, I am not sure why the treatment would have given these seeds an advantage, and maybe that’s not really what’s going on. Anyway, here they are:

Marylin at Amethyst Brook 1

Marylin at Amethyst Brook 2

Marylin at Amethyst Brook 3

Marylin at Amethyst Brook 4

Marylin at Amethyst Brook 5

Marylin at Amethyst Brook 6

Marylin at Amethyst Brook 7

Marylin at Amethyst Brook 8

Marylin at Amethyst Brook 9

Marylin at Amethyst Brook 10

Marylin at Amethyst Brook 11

Marylin at Amethyst Brook 12

Marylin at Amethyst Brook 13

Marylin at Amethyst Brook 14

Marylin at Amethyst Brook 15

Marylin at Amethyst Brook 16

Microscope Images of Flax Fibers

On Thursday, May 17th, our flax and linen study group met at the lab of one of our members to look at flax fibers under a microscope (and cotton and wool, for comparison). It was so incredibly fun!

Here are the tools and equipment we used to make slides.
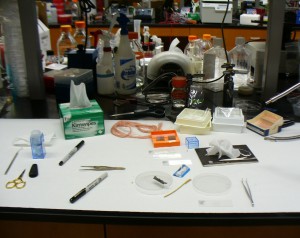
making slides (permanent mount)

We used tweezers to position our samples and to pull them apart a little to separate the fibers so the light could pass through. We put our samples on a slide (in the square boxes on the right), and added a drop of the mounting adhesive on top (from the little bottle in the blue box). Then we dropped on a small glass cover and used tweezers to press out the air bubbles and get the adhesive to spread evenly between the slide and the cover (small glass covers are in the orange box).  Sharpies are for labeling slides. The pink yarn in back is madder-dyed 40/2 linen. Scissors and razor blades are for cutting. Because the samples were dry, we could make permanent mounts.

Folks brought in a range of flax in various stages of processing: dried but un-retted, retted but unbroken, and retted and broken but not scutched or hetcheled, and fully processed strick, both old and recent. We looked at flax in several different stages including some of my naturally dyed yarn.

Here is the microscope.
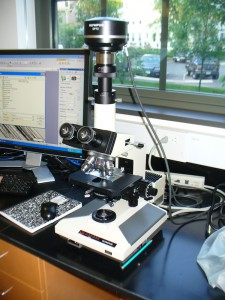
microscope

Here’s the big monitor, which was awesome because we could all see the slides without having to take turns looking through the microscope.
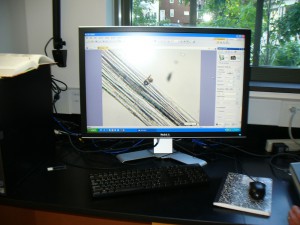
monitor

The program let us do things like adjust the color and take photographs.

We took a lot of very beautiful photos. Here are a few highlights. This image shows the tips of two flax cells overlapping. You can see it in the upper-most edge of the large central bundle, just to the right of the less-in-focus strand that’s crossing diagonally in the left hand corner. Those two greyish-colored pointy tips are the ends of two fiber cells.
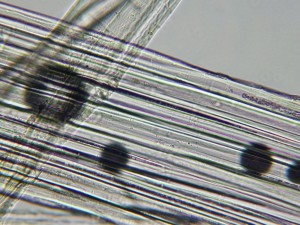
retted and broken flax cell ends overlap

The granular purplish area just to the right of the overlapping cell ends shows that part of the structure of the fiber there is hollow. The black circles are air bubbles. Beautiful but irrelevant.

This image shows cotton fibers for comparison. Cotton fibers are flat and ribbon-like in structure, and they twist, whereas flax fibers are rounded or tubular.
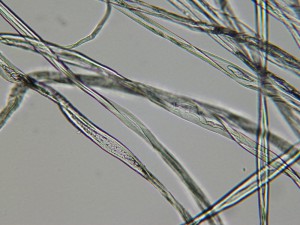
cotton 2

There is some twist in the structure of flax fibers, also. The image below shows this twisting (in a greenish color in the thin strand in the center). One important thing I learned on Thursday is that the flax fibers we use for spinning and weaving are not the fibers from the circulatory system of the plant (xylem and phloem), which I had previously believed. In fact, they are the structures that give the plant strength and rigidity. They are associated with the vascular cells but are different.
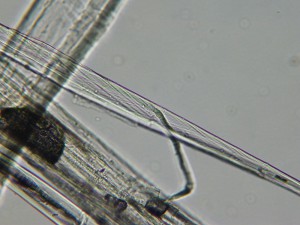
retted and broken flax twist

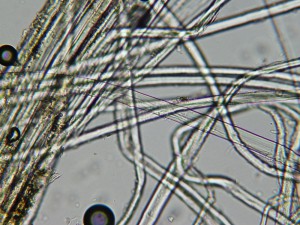
The two images below show strick fibers (fully processed and ready to spin) from the Zinzendorf brothers in Pennsylvania. The flax was grown and processed on their farm. In the top photo, the center-most green, translucent strand shows the horizontal bars that are typical of flax fibers. In the upper left hand corner you can also see some brown decayed plant matter that is still sticking to the fibers. Click on the images to see a larger view.
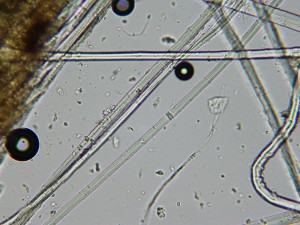
brother johannes strick

brother johannes strick 2

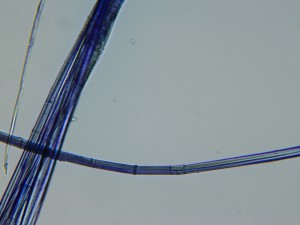
On the slide below we used a stain that shows lignin (the woody material that makes the fibers strong and rigid) in blue and pectin (the starchy glue that holds cells together) in pink. This is a piece of water-retted flax fiber. In the process of water retting, bacteria consume the pectins and allow the fibers inside the plant stalk to separate from the woody core and the outside “skin” of the stalk. If you let the retting continue until all the pectins are eaten, then the individual cells separate also, and you don’t get long fibers to spin. You just get a hairy mess. So, since these fibers are still holding together, there is still pectin present. We think the blue made the pink hard to see. You can see the tubular structure of the flax fibers and the horizontal bars very clearly.
stained retted flax

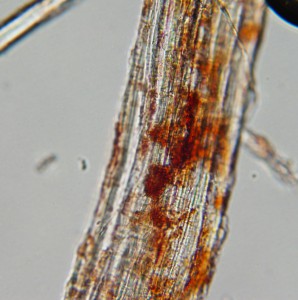
The photos below show pale pink madder-dyed 40/2 linen. I used alum acetate for the mordant. I was amazed at how the color sticks to the fibers in clumps. I wonder if yarns with a darker color would show the color adhering more evenly.
madder dyed linen yarn1

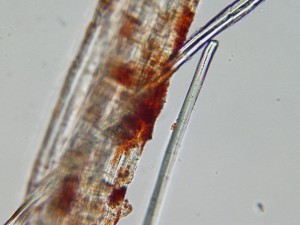
This photo shows some strands of undyed fiber next to the dyed fibers. I wonder if these were on the inside of the yarn and came free when I teased apart the snippet of yarn to put on the slide.
undyed strand

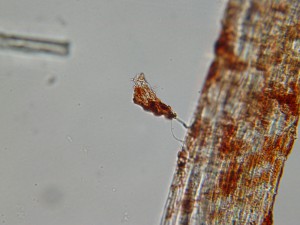
Who knows what is going on here, but whatever it is, it doesn’t look good. That little nugget of color is about to get away.
madder clump

Hopefully we will have a chance in future to look at cross sections of the plant stalks at different points in their growth, to see how the fiber bundles develop. Science is fun!