Smith College Botanic Garden Show!

The show is up at Smith and it is gorgeous! Actually, the show opened way back in September. It will be up until May, so you still have time to go see it. Here’s the sign that greets you as you walk in. It makes me feel famous!

The whole concept of the exhibit was the vision of Sarah Loomis, Manager of Education at the Botanic Garden. I am so grateful to have been a part of creating it. It’s incredibly satisfying to stand in the gallery and see how it all came together.

The first sequence of panels that you see as you enter the gallery space is the primary color sequence of blue, red, and yellow. The blues are from woad, the reds are from madder, and the yellows are from marigolds.

For each color I dyed three different fibers: linen, silk, and wool. In the photo above, the linen is on the left, silk is in the middle, and wool is on the right. Each panel is 9 feet long (or tall) and 16 inches wide. The wool gauze was very sheer, so those panels are doubled. I really love the color saturation of the two layers of cloth.

Depending on the lighting and the angle, the colors look different. Looking at it from the other direction (below) the wool is on the left, silk in the middle, and linen on the right.

It’s really fun to see how people are interacting with the cloth and the space. A sign at the entrance invites visitors to touch the cloth. And people do!

The long panels create a delightfully immersive experience.

There is space to move between the panels so you can be surrounded by color.

The interpretive panels are beautiful and informative, explaining further about the historical uses of each plant:

The interactive components are engaging and fun. My favorite are the clear boxes full of dried dye plant materials that you can open up and smell. Stinky weld, sea-weedy woad, fruity madder, mmm! You can see the boxes on the stools in the photo above.

There’s also an interactive screen with a slideshow about the steps in dyeing with woad. It’s a thrill to see that people take the time to look through it!

On the other end of the gallery are the orange and green panels. Honestly, they are more pink and peach than orange, but I still think they look lovely. The “orange” shades are from weld and madder together in the same dyebath. The greens are from woad overdyed with weld.

Again, depending on the angle and the lighting, the colors look different.

Not only does each fiber take up the dye differently, they each have a different texture, too. It’s just so rich and luscious!

Upcoming Events!

I will be teaching four craft, weaving, and fiber arts camps for kids this summer at the Common School. Registration is open now for Summerfun 2019.  You can see the descriptions on the Common School website. (12/31/2023 Edited: You can check out their summer programs, but my listings are long gone!)

Sew Plush
Ages 8-11
June 24 – June 28

Weaving Whirlwind
Ages 9-13
July 1 – July 5 (no camp on July 4)

Fiber Arts
Ages 9-13
July 15 – July 19

The Art of Nature
Ages 8-11
July 22 – July 26

Here’s a photo of the yarns we dyed with my fiber arts camp last summer, using madder roots, weld, tansy, marigolds, and indigo. We did not grow the indigo, but everything else came from the Common School’s dye and fiber plant garden:

For teachers of young children, I will be doing a workshop on growing and using dye plants on June 8th, 2019 at Antioch University’s In Bloom conference here in Amherst, MA. I’m excited to be able to offer this workshop on location at the Common School, where we can walk over to the farm to see the dyeplant garden while the dyepots are steeping at school. More information is available on the Antioch University website.

Here are some images of yarns we dyed with my class at the Common School this winter, using dried marigolds, frozen orange cosmos flowers, and dried bronze fennel. We made them as part of our “Senses” study. Students helped to collect the flowers earlier in the fall, and sprouted some bronze fennel seedlings of their own to take home. This project engaged our sense of smell as well as our sense of sight.

If you are neither a child nor a teacher of children, never fear. There will be more Local Color Dyes events to come in 2019. I will keep you posted!

Paper Making

In my retrospective of the past 9 months, I somehow skipped over January. Oops! Here it is:

In January I had the pleasure of spending an afternoon learning how to make paper with May Babcock of Paperslurry. If you are interested in hand-made paper, especially paper from your own local plant material, then check out her website. She has lots of excellent, clear tutorials and links to fabulous resources and inspiring projects.

High quality linen paper is nothing new, though in the past it would have been made from linen rags. I don’t have a lot of old linen rags kicking around the apartment, but I do have a lot of tow! Continue reading “Paper Making”

FIBERuary in Western Massachusetts

In case you haven’t heard, it’s FIBERuary here in Western Massachusetts! Carole Adams, of Whispering Pines Fiber and Herb Farm in Colrain, came up with the idea as a way to promote local fiber farmers. She was inspired by an initiative in the UK called Wovember which encouraged people to think more deeply about where wool comes from, to celebrate the incredible diversity of British wool, to wear 100% woolen garments, and to knit with British wool. (12/30/2023 Edited: It is with great sadness that I must share that Carole Adams died in 2022. She was my first spinning teacher in 1999, and a continual inspiration in my fiber world.) Continue reading “FIBERuary in Western Massachusetts”

Black Walnut Ink

Over the past few weeks in my class at school, we have been making black walnut ink. It is one of the craft and science projects we’re doing as part of our study of Colonial New England. We plan to use the ink to write with quill pens in pamphlet-stitch-bound “copy books” to scribe historical aphorisms such as “Mind your book,” “Strive to learn,” “Call no ill names,” and “Cheat not in your play”. Yes, OK, these are pretty moralistic, but speaking as a primary school teacher, I actually think they are still pertinent to a 21st century classroom in a progressive independent school.

To make the ink we are using the highly composted/aged/fermented contents of a 5 gallon bucket of black walnut hulls in water, which dates back not just one but TWO Autumns ago (i.e., Autumn 2012). Fresh walnut hulls are fragrant, even perfume-like. Mine, as it turned out, had become manure-like. Continue reading “Black Walnut Ink”

Hemming and Hanging

Over the past week or two I tied half-damascus knots to secure the warp ends on my ryas and hemmed them all. It took a long time, and even though I was very careful, they’re more on the “organic” side of a straight line than the “geometric” side. But they are still awesome.

Our cat Smitten, also known as Pippi or The Pippi, has been very unwell lately and not at all up to her usual high jinks. So, it was a pleasant surprise when she jumped up on the desk to “help” me hem this rya. Pippi likes to help, even when she’s feeling poorly. Here she is looking comfy and not wanting to be moved. Continue reading “Hemming and Hanging”

Animal, Vegetable, Mineral

The time is drawing near! Animal, Vegetable, Mineral: Work by Michelle Parrish and Amanda Quinby will go up on Tuesday at the Shelburne Arts Co-op, and will be open to the public from Wednesday October 2nd until Monday October 28th. Fall hours at the co-op are Sunday, Monday and Wednesday 11-5; Thursday, Friday and Saturday 11-8. The co-op is closed on Tuesdays. Here is a sneak peek of the ryas that will compose my portion of the show. The other portion of the show will be Amanda’s enchanting gilded panels, which have been on display at KW Home in Easthampton this month. Continue reading “Animal, Vegetable, Mineral”

When to Weave and When Not

I know that I ended my last two posts by saying that my “next” post would be about goddesses, carts, and plowing and/or Plough Day. Instead I continued to write about spinning prohibitions and the goddesses/folklore figures who imposed them. Well, this post isn’t about Plough Day, either. Sorry about that. I will get to it eventually. Very soon. I promise.

Meanwhile, I have been doing more reading and thinking on the topic of why and when people may have engaged in or avoided certain tasks (spinning, weaving, plowing), and the festivals or traditions that demarcate the appropriate times for these labors. I’m still just talking about Europe, here.

Just as there were prohibitions against performing certain textile-related tasks on certain days, there were also days on which it was considered advantageous to begin or perform certain tasks. In the Carmina Gadelica I came across a footnote that mentions that “setting” the warp was done on a Thursday in Scotland. Continue reading “When to Weave and When Not”

Ahh, Wood Thrushes are Back

Yesterday morning, Thursday May 3rd, I went for a walk around 7:15, as I often do, but little did I know that it would turn out to be an exceptionally inspiring walk (despite the drizzle).

First, as I came out of the little boggy wooded area behind our apartment complex into the parking lot of the JCA, I heard and saw two crows cawing away vigorously. At first I thought, two crows having a debate, or maybe just exchanging insults. Then I heard a third crow, which made me think that something a bit more interesting was going on. What are all those crows yelling about? And then, I saw something slip into the brambles and small trees by the little sunken wetland area in the center of the parking lot. I walked closer slowly, and looked carefully, and it was a fox! A gray fox, I think: very small, delicate, mostly beige, with a black back and not-very-fluffy tail. The instant that I stopped walking, turned my body, and fixed my attention on the fox, the crows stopped cawing. It was an intense moment, since I realized they had probably been shouting about the fox, and had stopped now that I had noticed it, too. I wished I knew what they were thinking. “Fox! Fox! Fox! Fox! Oh, look, a monkey. Let’s be quiet and see what the monkey does.” I watched the fox as it picked its way around the edge of the wetland area, through the bleached masses of dead cattails, and short new green growth. Maybe it was looking for frogs or other little creatures to eat, but it didn’t seem to find anything and kept on going. Then it climbed out the other side of the wetland area, trotted toward the edge of the building, and went around the corner out of sight. We see quite a lot of wildlife around here, but it was still a special treat to get to watch a fox for several minutes. I continued on my walk, and there was more excitement to come.

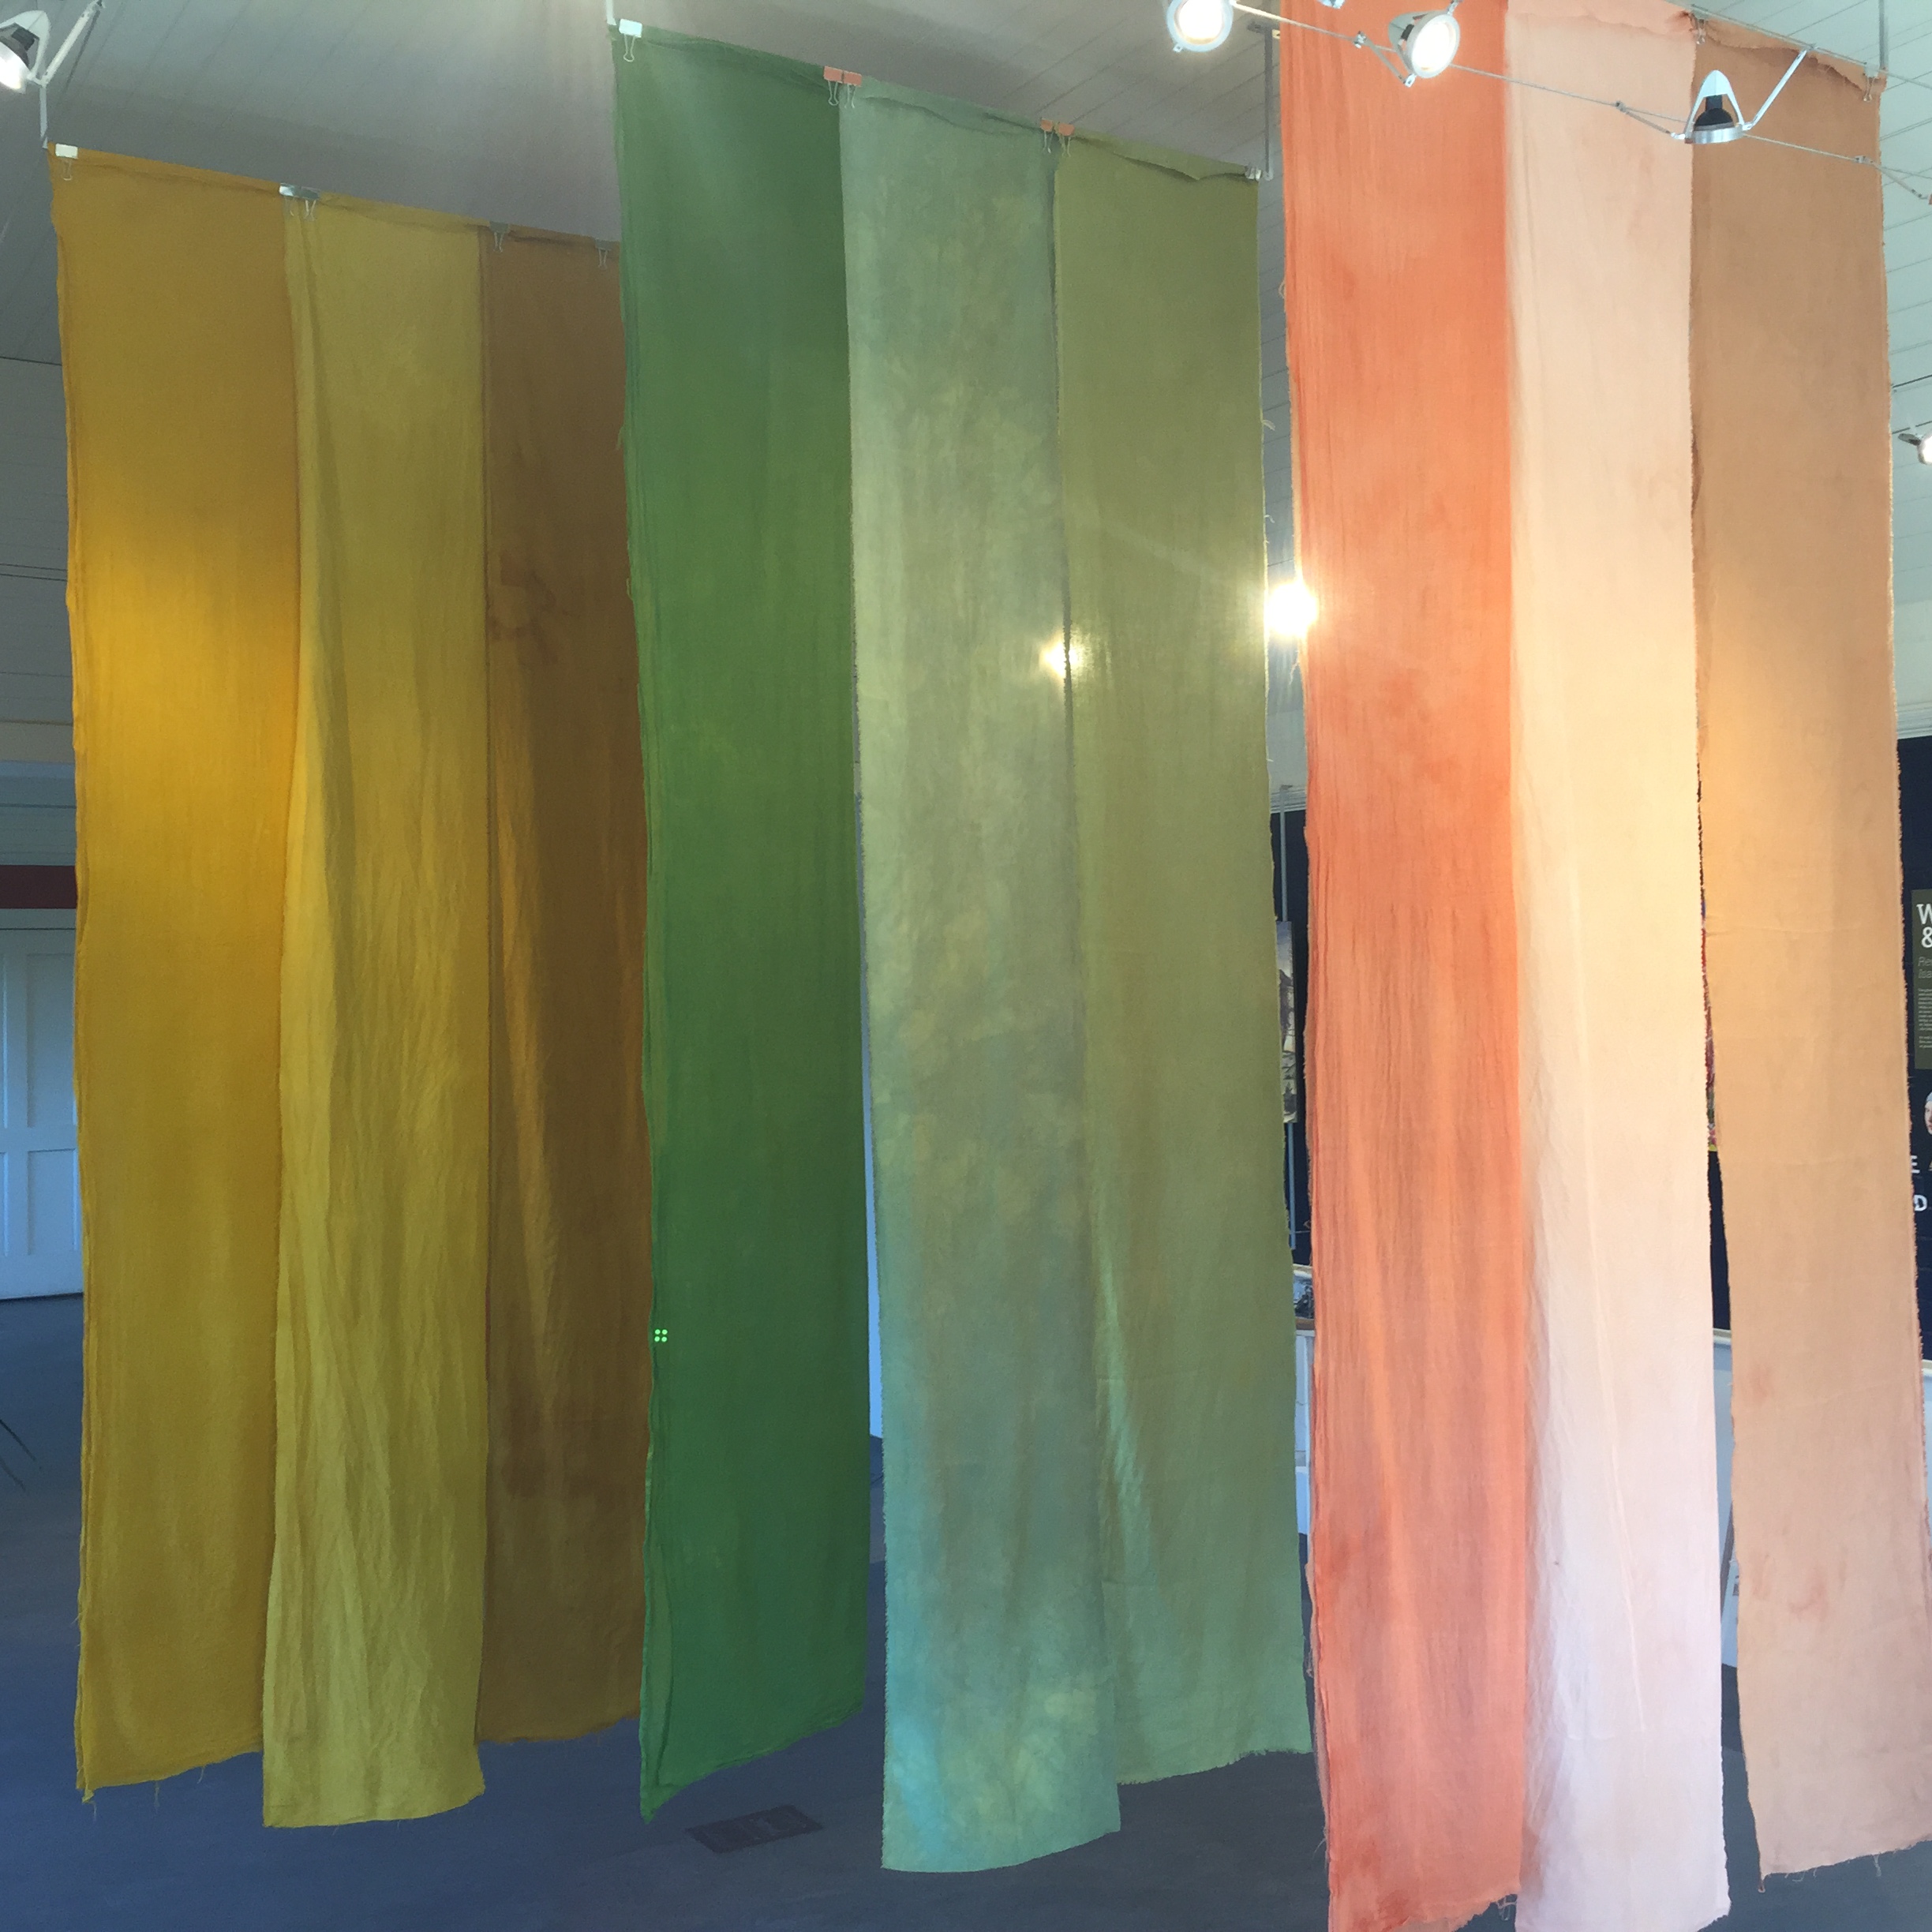
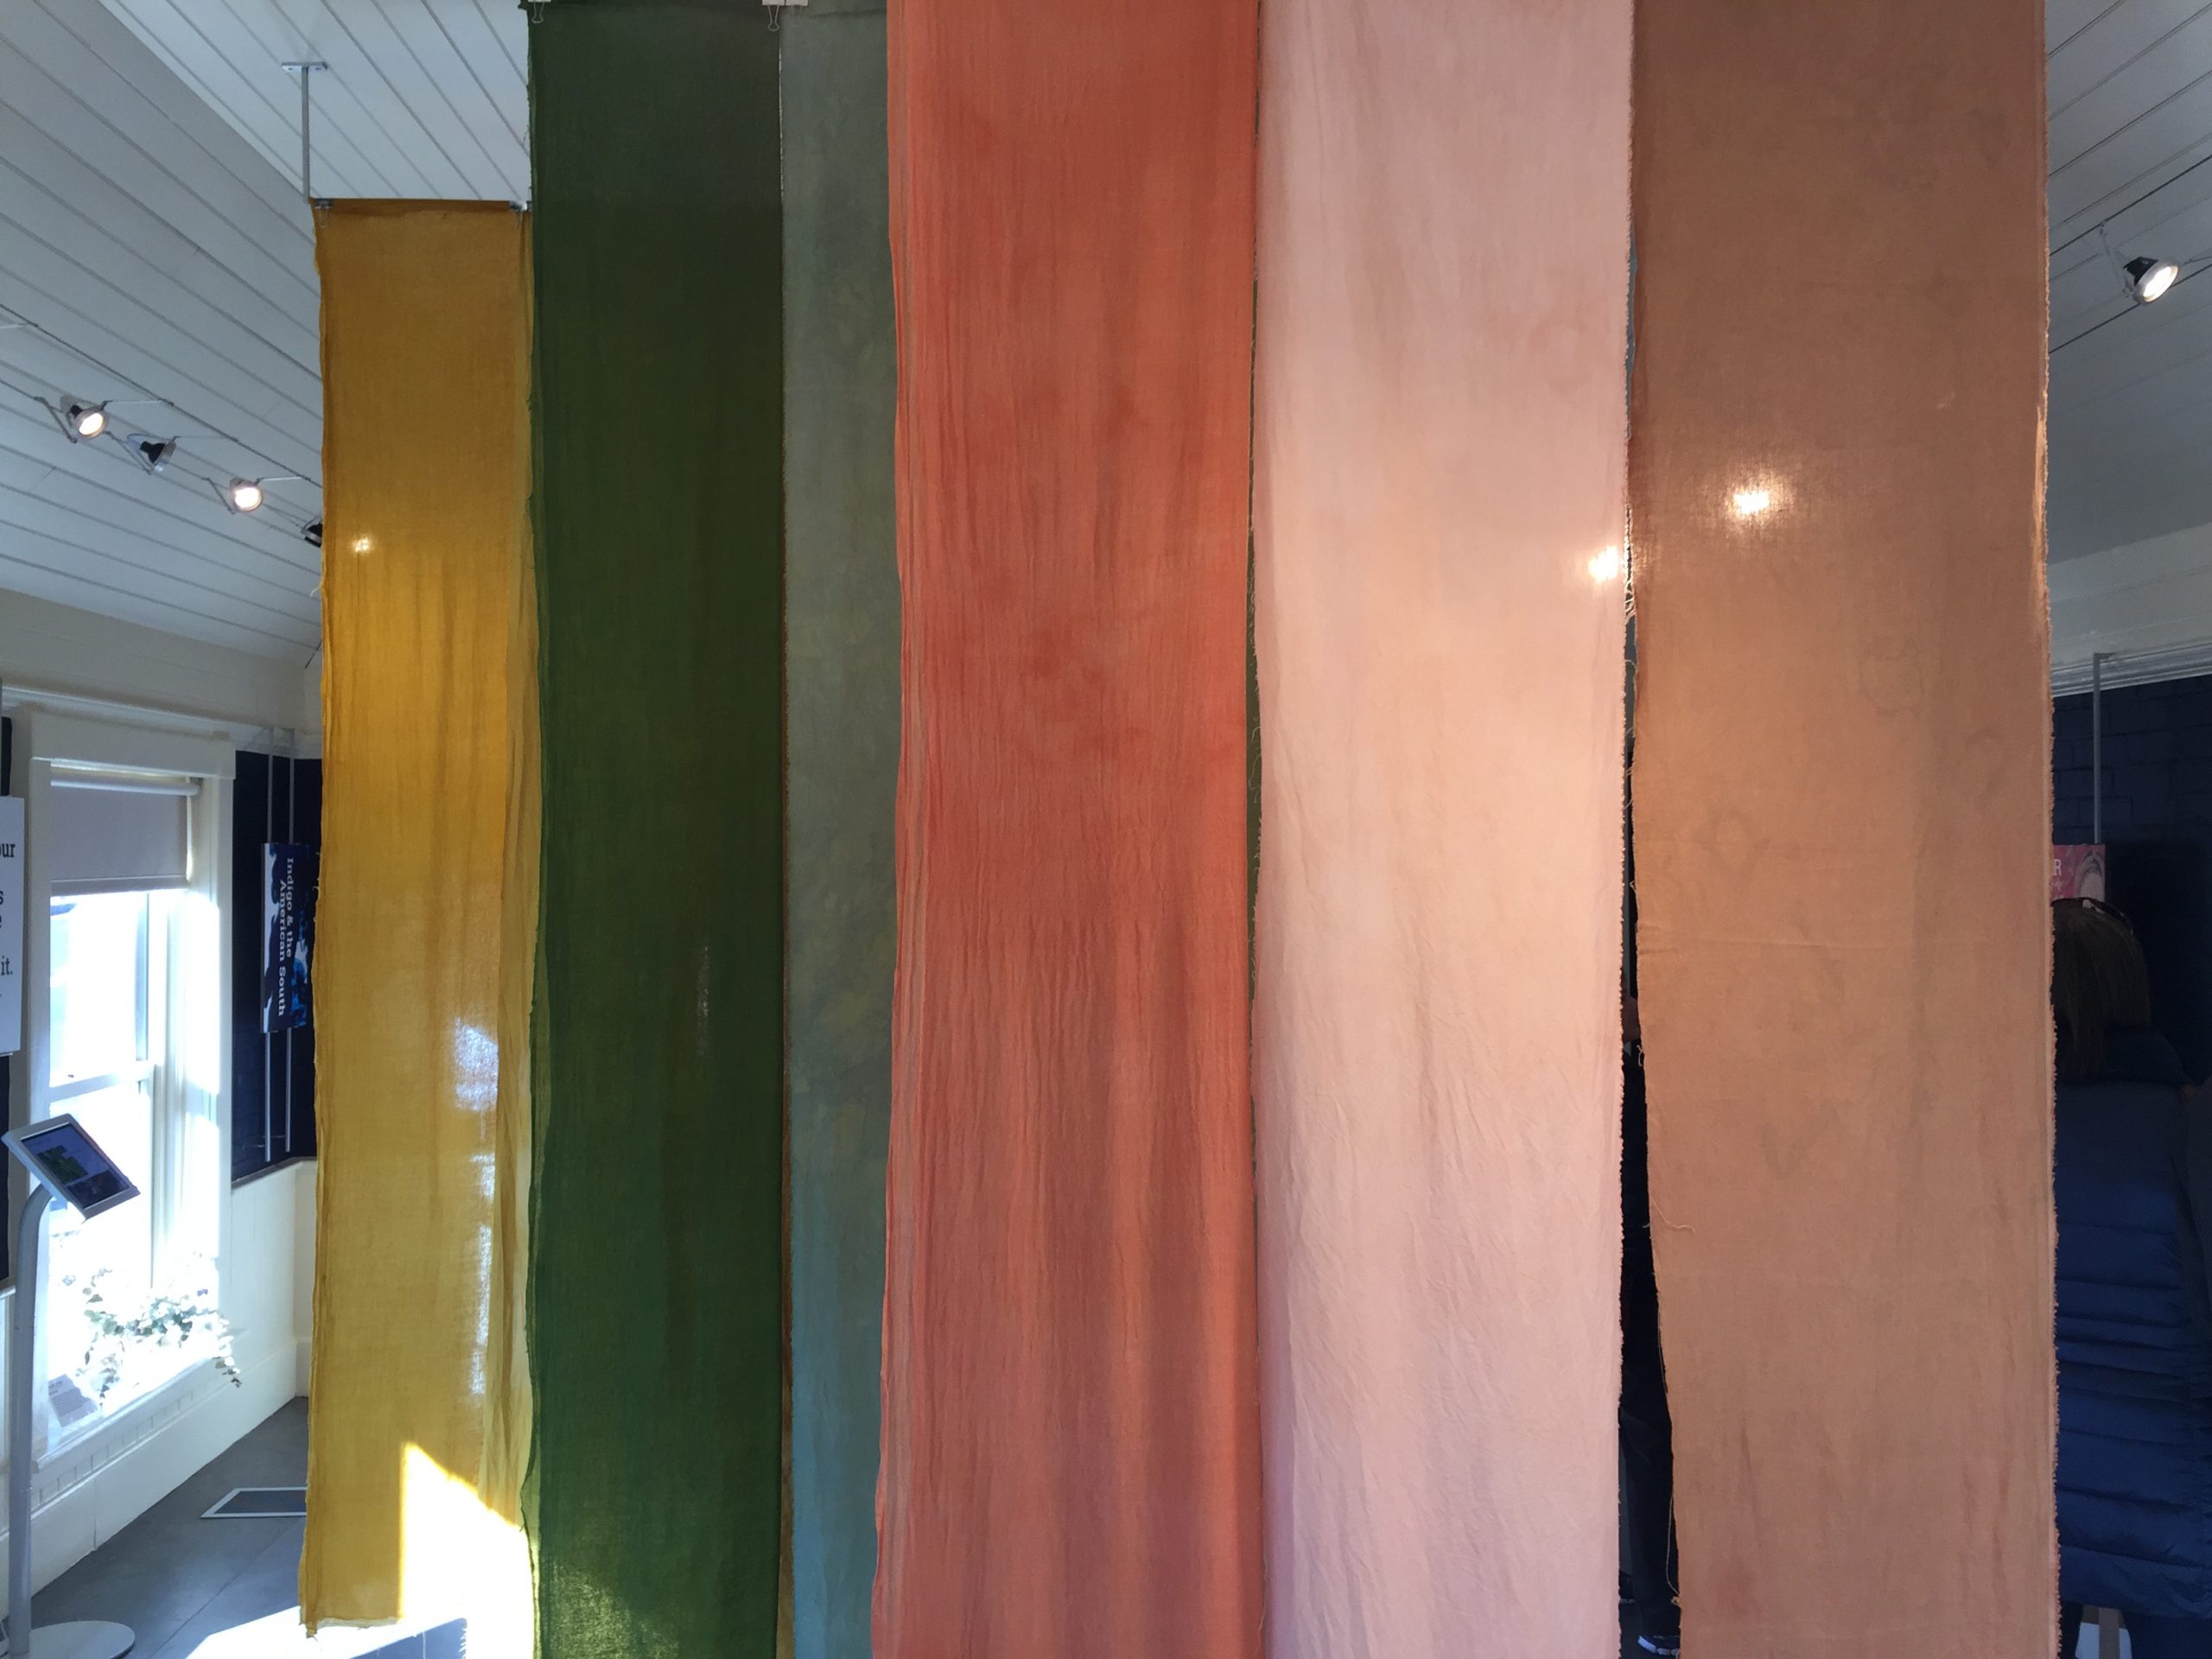
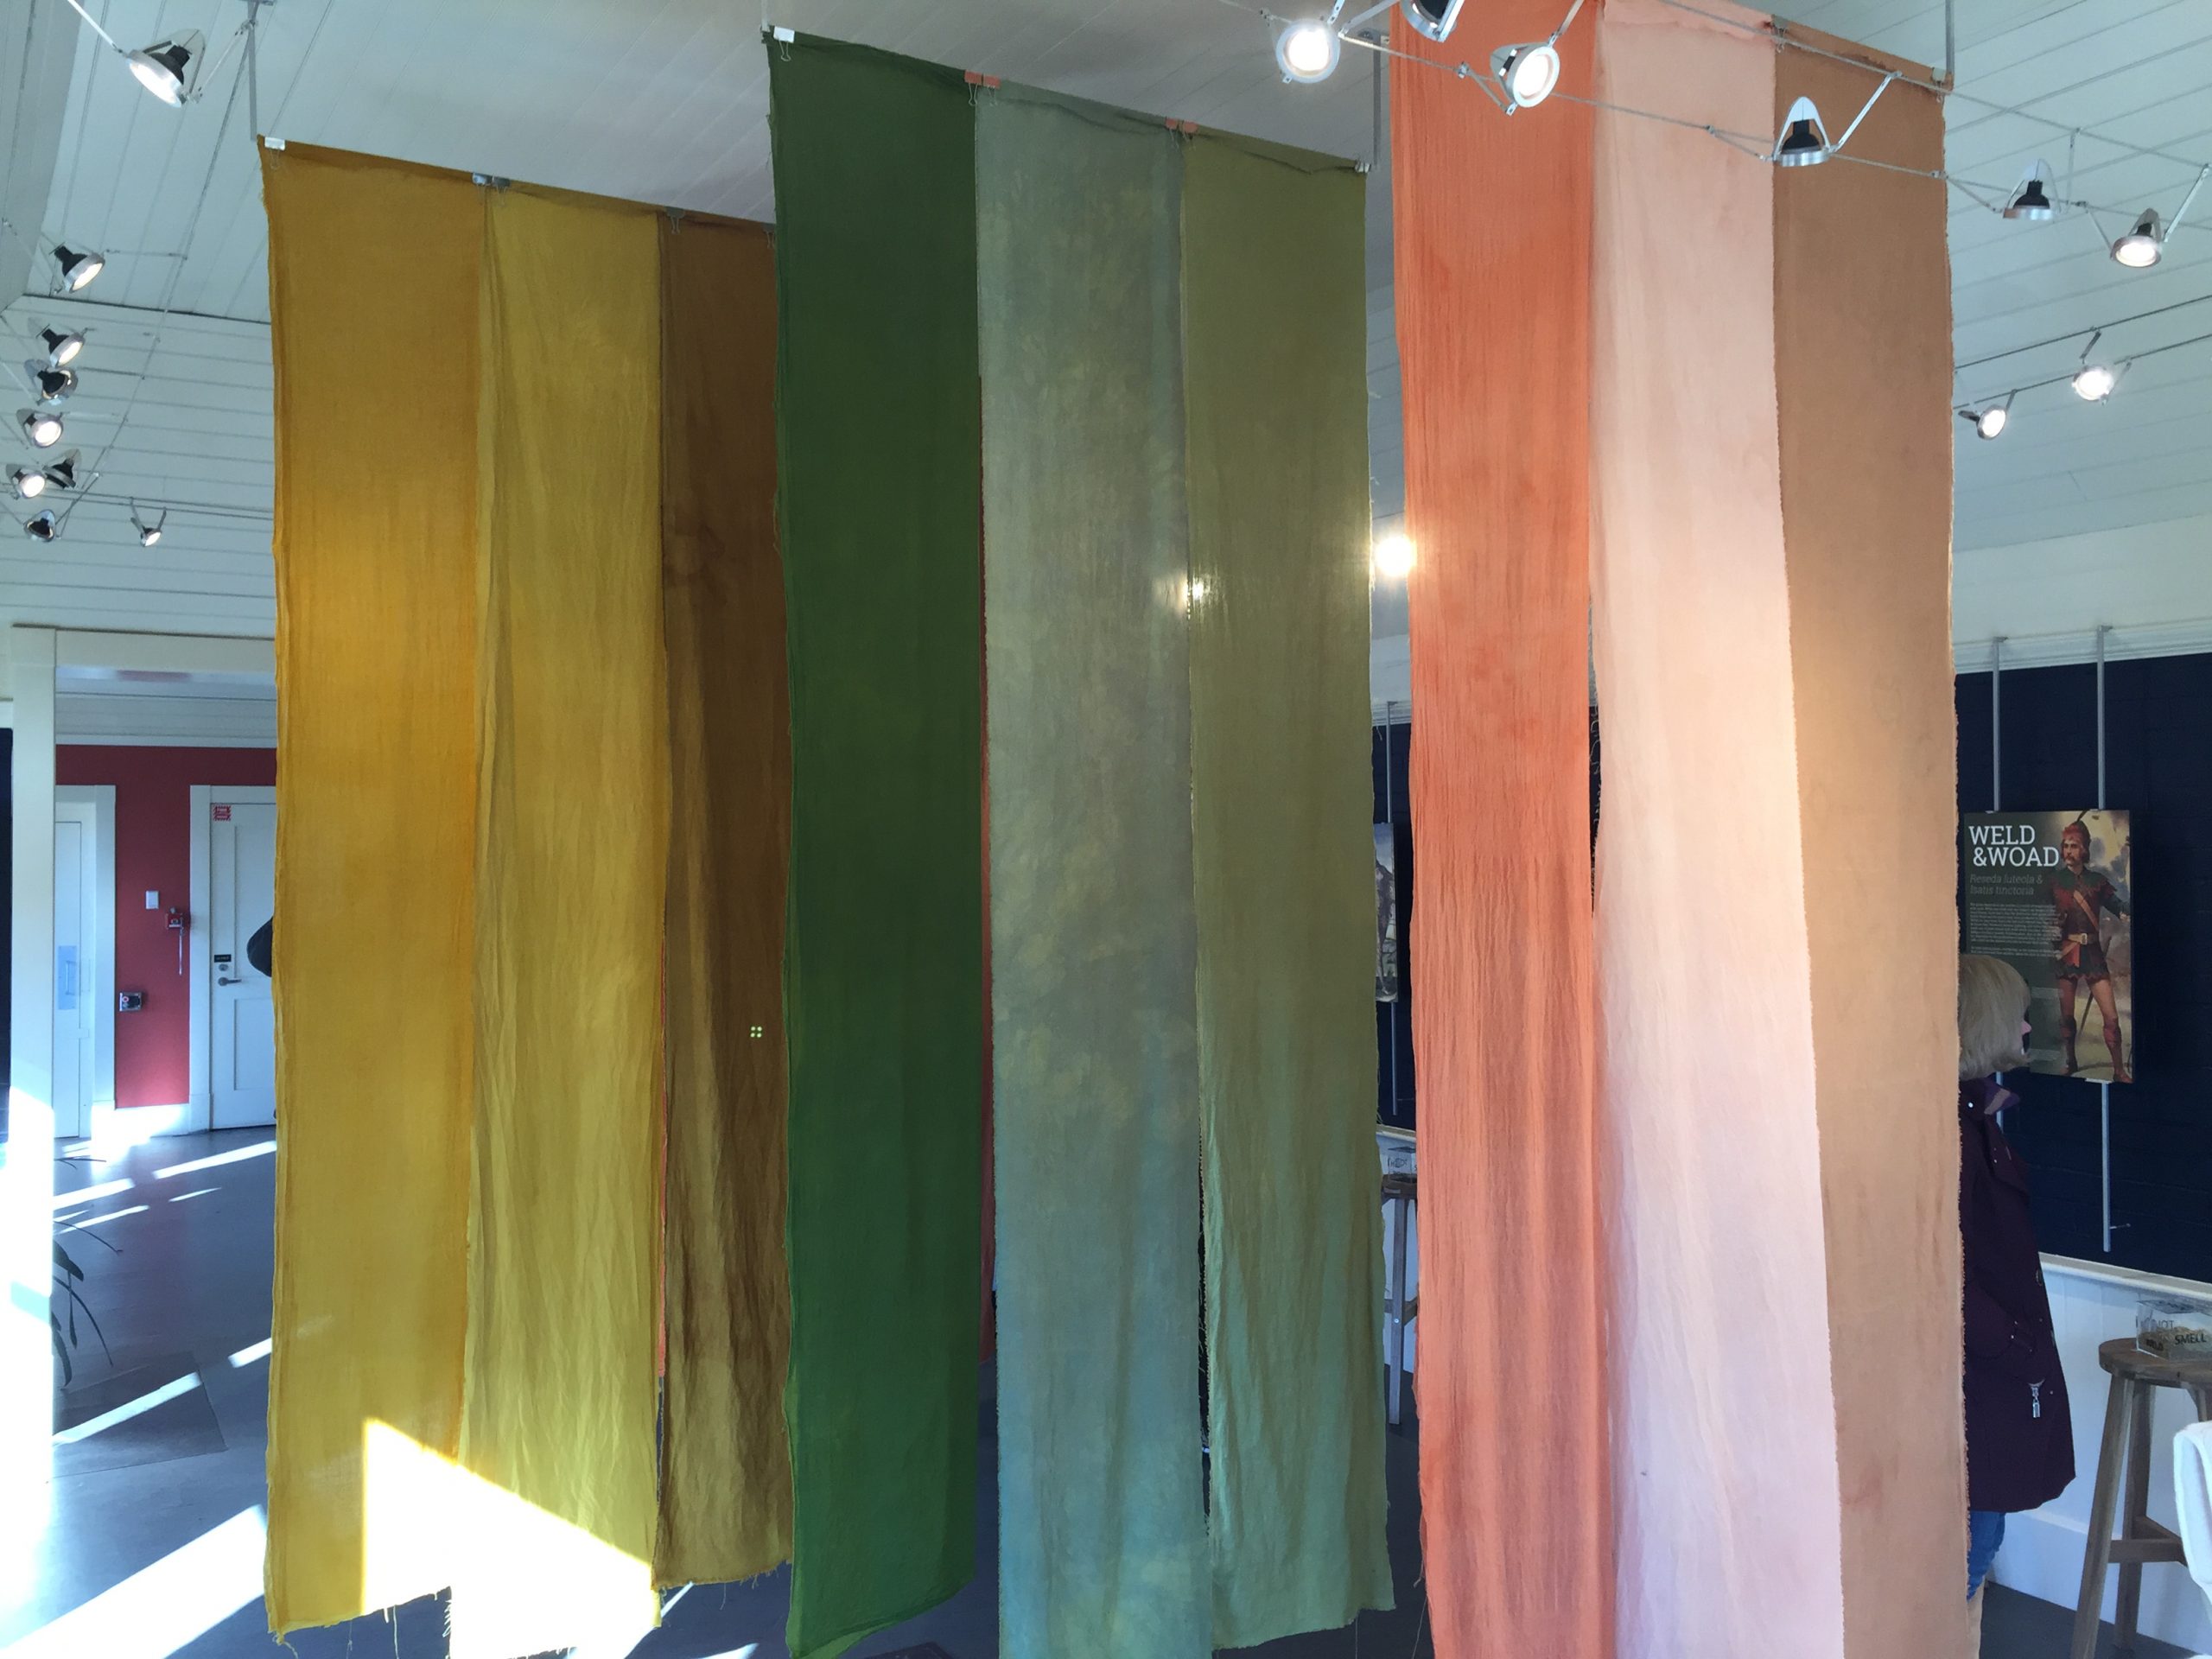
When I got into the woods at Amherst College, there were lots of interesting maple seeds and fallen tree-flowers on the path, so I picked up a few especially striking ones to photograph when I got home. At the moment I am very interested in the combination of bright yellow-greens and various shades of pink and maroon that are happening all over the place in small emerging leaves, flowering trees, and maple seeds. How do such bright colors blend so harmoniously? Are there optimal ratios? Which combinations do I like the best? Could I weave something with the same colors and achieve anything like the same effect? Here are some photos. The ones in bright sun I took the other day. The yellow inflorescences are from some kind of oak.

maple seeds close up

maple seeds with a greater proportion of yellow

oak inflorescenceoak inflorescence with tiny leaf

pink and lime green maple seeds

magenta maple seeds

maple seeds with yellow-green edgesyet more maple seedsAt one point I was noisily engaged in my own thoughts, making up a silly song that went like this: Don’t plant your flax in a hayfield/’cuz a hayfield is full of grass/no matter what you do/there are roots through and through/so don’t plant your flax in a hayfield. My songs are notoriously dumb, but I was mightily entertained by myself, and not paying much attention to the woods around me. But then I saw another maple seed bundle with a greater ratio of yellow to pink, and stopped to pick it up. At that moment, the noise in my head stopped, too, and my focus shifted back to the woods. And suddenly I heard a wood thrush! You can listen to lots of different recordings of wood thrush songs at the Macaulay Library archives.

The wood thrush has the most beautiful voice I have ever heard. It evokes intense longing and utter contentment at the same time. Bliss. I love wood thrush season, and am always happy when they come back and sad when they leave.

My wood thrush backstory goes like this. Several years ago I started hearing this beautiful flute-like bird at the garden in the evenings. I began to listen for it while I was there, and look forward to hearing it. It felt affirming, reassuring, companionable…. but I could never see the bird that was singing because the song always came from deep in the woods. There are good resources for birdsong identification on line, but you have to know what a bird looks like to narrow down your search. So, the identity of my bird remained a mystery for several years. I began hearing it other places, too, including right by our apartment complex, especially early in the morning and around sunset.

One spring day maybe three years ago, I was sitting outside at the school where I worked, supervising kids playing outdoors. Amazingly, I heard my bird! So I peered over at the edge of the playground, next to the woods at the Larch Hill conservation area. And lo and behold, there was my bird singing away on a branch right at the edge of the woods. I moved closer and got a good look at it. It was a rich reddish-brown, about the size of a robin, with a white-and-black spotted breast and big feet. I found photos, descriptions, and recordings of its song on the Cornell University ornithology website, and at last identified my mystery bird.

A few months ago, as I was trying to think of a name for my new little weaving business, I decided to name it after the wood thrush.

There are a few reasons that wood thrushes appeal to me as a personal symbol of the ethics and aesthetics of fiber. I am very invested in locally grown and harvested fibers and dyes. I work hard to learn as much as possible about growing and using locally available fiber and dye plants, and to incorporate them into my work. I aspire to expand the range of fibers and dyes that are available to folks around here. But only certain materials can be obtained or produced in Massachusetts. One very useful fiber in particular, cotton, needs a much hotter, longer growing season than we can offer. But there are good, sustainable cotton projects going on further south, including an organic cotton industry in Texas, and naturally colored cottons in Peru. These projects need to be supported. The evils of conventionally raised cotton would take a whole other post to enumerate, but a good place to start, if you want to read about it, is Stephen Yafa’s Big Cotton and Cotton.

Despite my fibershed ideal, I decided I would need to include far-away fibers in my fiber-diet. Here’s where the wood thrush comes in. Wood thrushes migrate to Central America in the winter, and only come up to New England in the summertime. So, that span of distance, from Massachusetts to Panama at least (if not as far as Peru), is linked together by my bird. Wood thrushes go where the good stuff is, while it’s in season, and that’s one way to think about fibers, too.

Here are some other wood thrush lessons I have learned. Their song is very beautiful, but it’s pretty quiet and they stick to the woods. To hear it, you have to spend time outdoors and be attentive to the world around you. Understanding where fiber raw materials come from, and how inseparable their growth and processing are from every other element of our environment, requires similar attention and observation. The wood thrush is not a flashy bird. In fact it’s sort of subtle and even conservative, like much of my weaving tends to be. Wood thrush populations are in decline due to a variety of factors including habitat loss and acid rain. Sustainable land management and reducing pollution are crucial to their survival, and to the survival of us all.

So, I was ecstatic to hear that the wood thrushes are back.


More About My Books

Well, the Cottage Street Studios open house was very interesting. Here’s a photo of my books and some of Amanda’s gilded acorns, wishbones, and gourds around a festive winter-time tree. handbound books with handwoven covers and gilden acornsShe also makes stunning gilded panels, frames, and other treasures. I met lots of great people and had inspiring conversations. My books have now moved to Food For Thought Books in Amherst where they are available for sale. Here they are on display at the bookstore:handmade books by Michelle Parrish at Food for ThoughtMaking these books is a multi-step process. I haven’t photographed every step, but I thought I should give an overview. Understanding the process helps people to understand the labor and expense involved in creating a handmade object.

First I wove the cloth, using a variation of the traditional overshot pattern called Young Lovers’ Knot. This involved calculations about the sizes of the books and shrinkage of the cloth, as well as all the steps involved in dressing a loom. I put on a warp long enough to make 12 books. Even though I really loved the pattern and enjoyed playing around with different color combinations, I was happy to get to the end of the warp when I finally finished it; it took a long time to weave. The pattern requires two shuttles, one with a thin thread (20/2, same size as the warp) and one with a thicker thread that makes the pattern. So, it went slowly. Here’s the end of the warp.

woad-dyed blue cottolin Young Lovers Knot warp

Then I washed, dried, and ironed the cloth, and cut it into sections.

handwoven cloth for book covers

Then, for each book I decided whether to show the front or back of the cloth, because the two sides look very different. For example, in the photo of the black and white cloth, the piece on the left, with the white squares (tables) in the center of the round motif, shows the “right” side of the cloth. With this color combination, I preferred the back side.

front and back sides of overshot cloth

I used a paper template to center the pattern on the cover. I am a symmetry fan, so I was going for symmetry even if I didn’t always attain it. Cloth has a mind of its own. Once I framed the portion of the pattern that I liked, I cut the cloth to size, and glued the cloth onto book board (8.5 inches by 5.5 inches) with PVA glue.

I managed to waste very little cloth in this process, which on the one hand I was pleased about because the cloth took so long to weave that I didn’t want to waste it. On the other hand, I might give myself more of an allowance next time (i.e., weave a couple more pattern repeats in width and length) to give me more design flexibility. Here are my scraps:

more scraps

Then I trimmed the corners, and glued down the edges of the cloth on the inside of the cover. Then I pressed the covers. When they were dry, I cut and glued down nice papers on the inside of the covers. Matching paper colors and cloth colors is also a whole decision-making process. Here’s me gluing down the papers.The author making book coversThen I pressed the covers again until the glue was dry. Meanwhile, I folded the signatures, and put them under weights for a while. When the covers were dry, I punched holes in the signatures and holes in the covers with an awl, and sewed the whole thing together with 4 ply waxed linen thread. Ta-da, a book. Six are done, and six more are in the works.