
Well, the Cottage Street Studios open house was very interesting. Here’s a photo of my books and some of Amanda’s gilded acorns, wishbones, and gourds around a festive winter-time tree.  She also makes stunning gilded panels, frames, and other treasures. I met lots of great people and had inspiring conversations. My books have now moved to Food For Thought Books in Amherst where they are available for sale. Here they are on display at the bookstore:
 Making these books is a multi-step process. I haven’t photographed every step, but I thought I should give an overview. Understanding the process helps people to understand the labor and expense involved in creating a handmade object.
First I wove the cloth, using a variation of the traditional overshot pattern called Young Lovers’ Knot. This involved calculations about the sizes of the books and shrinkage of the cloth, as well as all the steps involved in dressing a loom. I put on a warp long enough to make 12 books. Even though I really loved the pattern and enjoyed playing around with different color combinations, I was happy to get to the end of the warp when I finally finished it; it took a long time to weave. The pattern requires two shuttles, one with a thin thread (20/2, same size as the warp) and one with a thicker thread that makes the pattern. So, it went slowly. Here’s the end of the warp.

Then I washed, dried, and ironed the cloth, and cut it into sections.

Then, for each book I decided whether to show the front or back of the cloth, because the two sides look very different. For example, in the photo of the black and white cloth, the piece on the left, with the white squares (tables) in the center of the round motif, shows the “right” side of the cloth. With this color combination, I preferred the back side.

I used a paper template to center the pattern on the cover. I am a symmetry fan, so I was going for symmetry even if I didn’t always attain it. Cloth has a mind of its own. Once I framed the portion of the pattern that I liked, I cut the cloth to size, and glued the cloth onto book board (8.5 inches by 5.5 inches) with PVA glue.
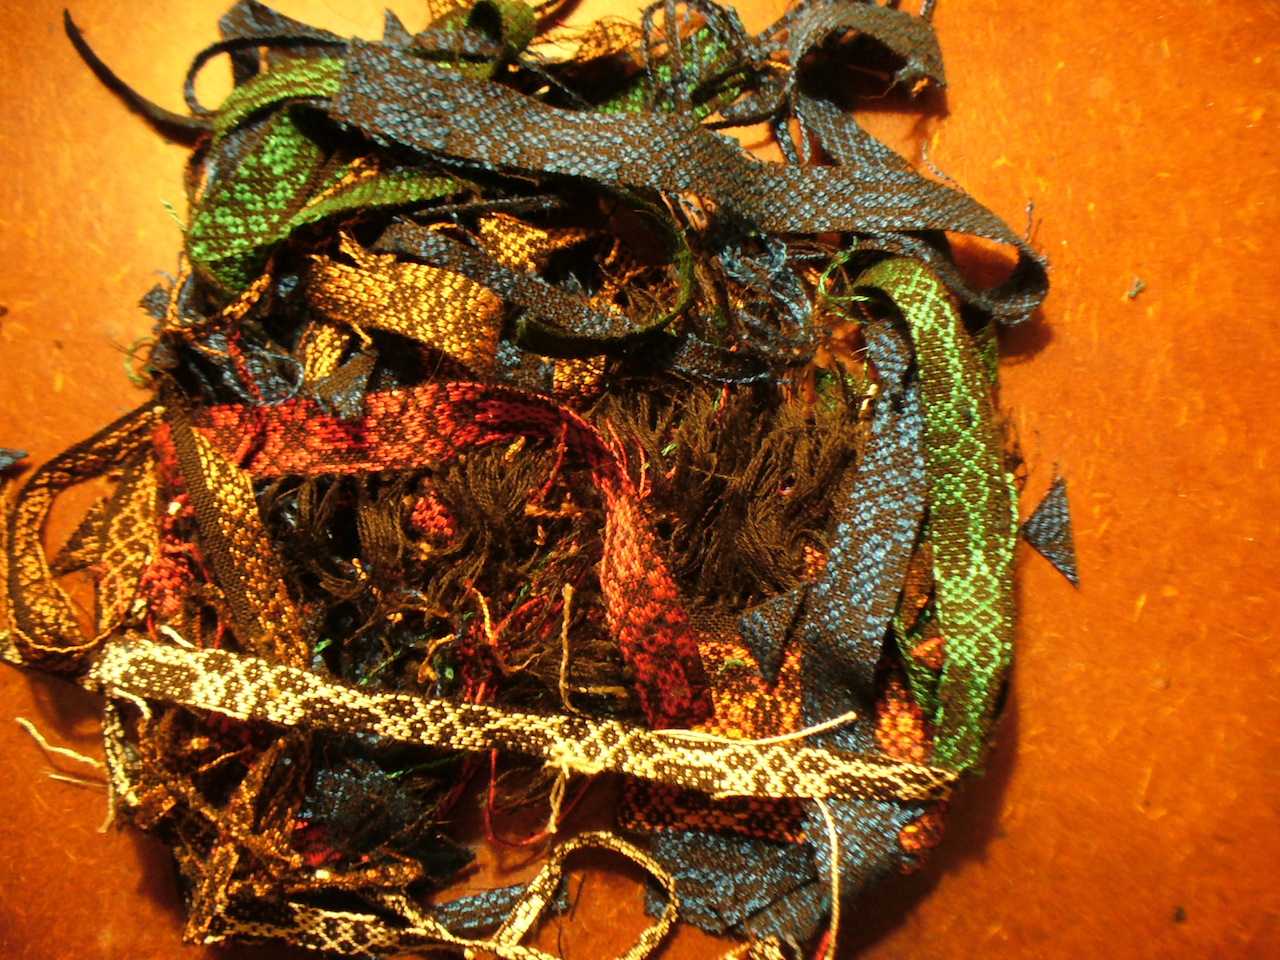
I managed to waste very little cloth in this process, which on the one hand I was pleased about because the cloth took so long to weave that I didn’t want to waste it. On the other hand, I might give myself more of an allowance next time (i.e., weave a couple more pattern repeats in width and length) to give me more design flexibility. Here are my scraps:
Then I trimmed the corners, and glued down the edges of the cloth on the inside of the cover. Then I pressed the covers. When they were dry, I cut and glued down nice papers on the inside of the covers. Matching paper colors and cloth colors is also a whole decision-making process. Here’s me gluing down the papers. Then I pressed the covers again until the glue was dry. Meanwhile, I folded the signatures, and put them under weights for a while. When the covers were dry, I punched holes in the signatures and holes in the covers with an awl, and sewed the whole thing together with 4 ply waxed linen thread. Ta-da, a book. Six are done, and six more are in the works.