After deciding that I would use a physical barrier to keep the flax varieties isolated, the next step was to design and build the isolation tents. I wanted to use supplies that could be re-used for other purposes in the future, which ruled out building cages with hammer and nails. Instead I bought 108 4-foot wooden stakes from Amherst Farmers Supply (four stakes for every little bed). To me this is a lot of stakes, and I thought I might have to place a special order, but no! They have literally thousands in stock, so I was able to pick them up the very same day I went in.
For a while I was stuck on what material to use for the screening. Then, as I mentioned, I was very fortunate that Ryan at Many Hands Farm Corps was willing to let me use most of a roll of Agribon at no charge, which was very generous indeed. (12/28/2023 Edited: Many Hands is no longer in operation, but I will always appreciate that Ryan was a huge supporter of my flax efforts!)
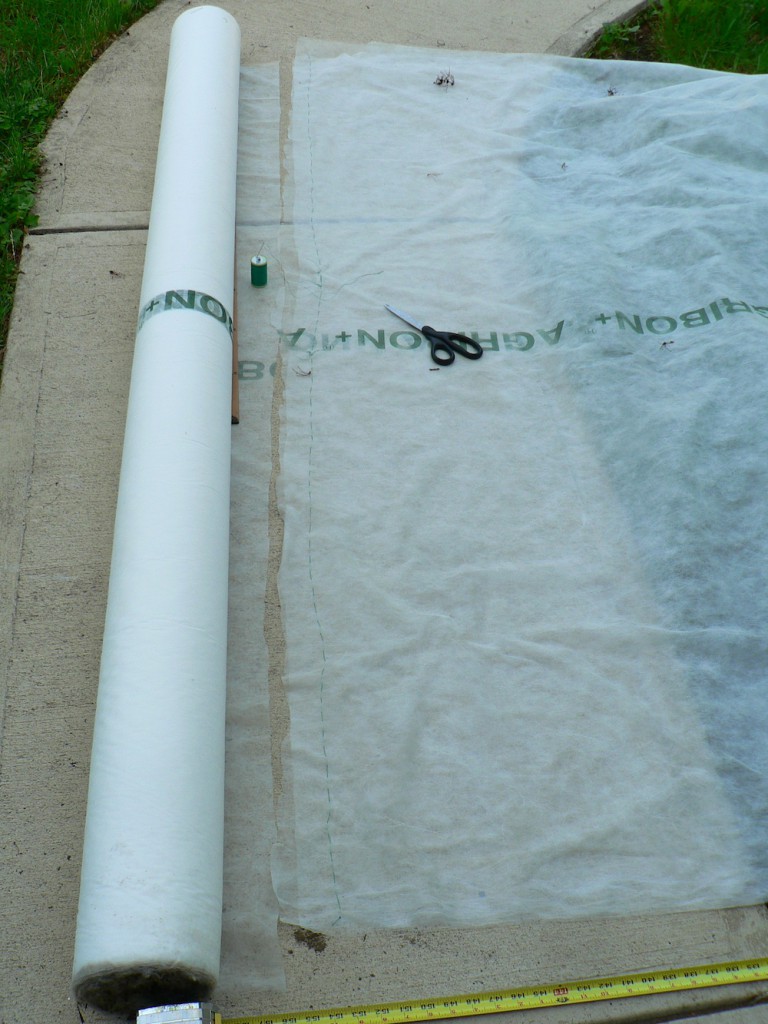
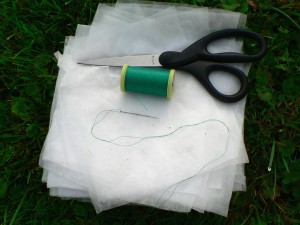
Here’s the roll in front of our apartment. In the foreground is a glimpse of the measuring tape. The little green thing is a spool of thread, and the scissors were for cutting.
My attempts to determine the necessary dimensions of the row-cover tents led me to some calculations about the surface area of hypothetical rectangular prisms. This was fun because I really haven’t had an occasion to use the formula for surface area in recent years. Most of my math is weaving math, so this project was a fun foray into geometry. However, since I wasn’t planning to actually construct a box, in the end I just had to ball-park the measurements. I determined that 13 feet in length was sufficient to sew a tube that could go around the stakes. The width of the roll was sufficient to gather up at the top and secure it at the base.
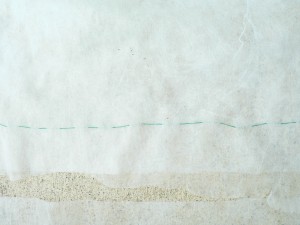
So, I cut 13 foot lengths, folded them in half, and sewed the two short ends with a running stitch to form a tube.
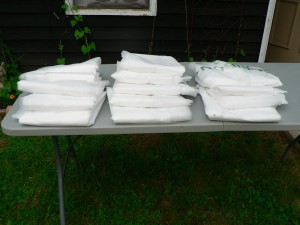
Here’s the stack of tents I made for the plots at the community garden (fifteen of them):
As each variety began to flower, I covered them up. This meant checking every day for a week or two until they were all in bloom. The flowers only bloom in the morning, and by mid-day the petals drop off.
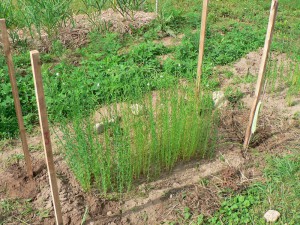
Here is variety 448 at Amethyst Farm on June 19th with the stakes in place:
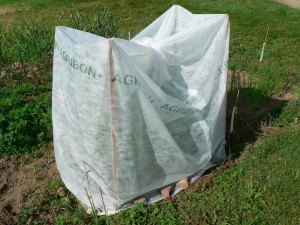
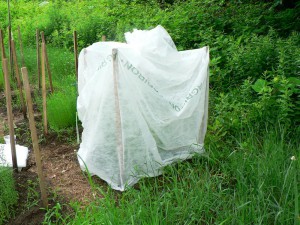
And here it is with the tent on it:
To construct the tents, I slid the tube of cloth down over the stakes, and then I cinched up the top and tied it tightly with twine. The bottom edges were secured with a combination of garden staples and rocks.
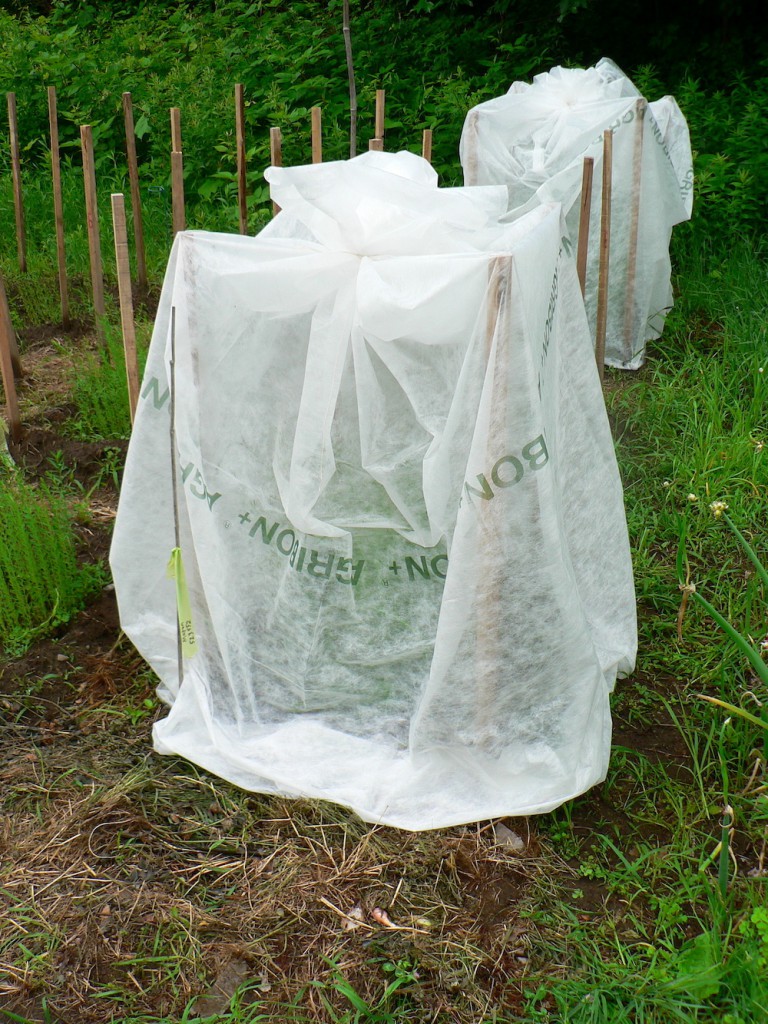
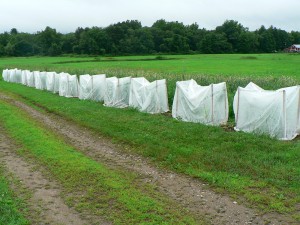
Here are some of the test plots with the tents on them at the community garden:
They remind me of ghosts. They seem animate and have character.
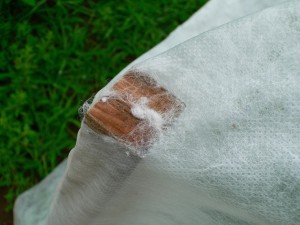
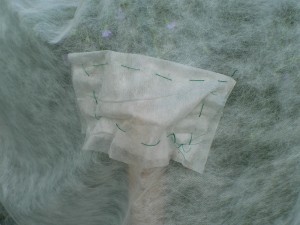
After a few weeks I noticed that the corners were wearing thin, and the stakes had poked through some of them:
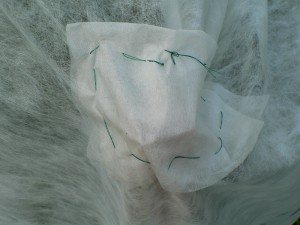
I cut squares of row cover, folded them in half, and sewed on little patches at the corners:
did not have a problem with holes at the corners at the community garden, thankfully. The plots there are square, whereas the plots at Amethyst Farm are rectangular. I think the rectangular shape put more tension on the corners. Also, the site at Amethyst Farm is a lot more exposed, and so there was probably more abrasion from wind. When the wind blows the tents billow and flop, which adds to the animate effect.
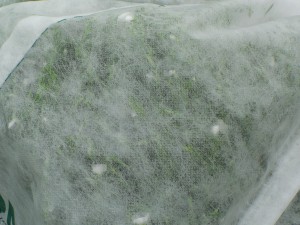
The row cover is very sheer, so it lets plenty of light and rain through. Here’s a graceful stalk:
Below you can see the color of the flowers. All the types I’m growing have either blue or white flowers. I gather these are the most common colors of fiber flax flowers, though I’ve read about other colors, too.
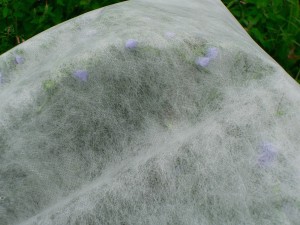
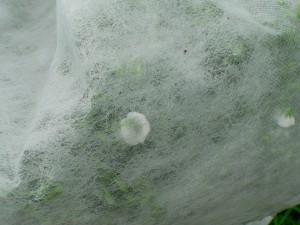
It’s a shame to cover the plants up because flax flowers are so beautiful and the plants in bloom are incredibly elegant. But, I’m pretty sure it has worked to keep the insects off. And the gauzy row cover has an aesthetic of its own. Maybe this one could be called “Behind a Veil”:
I could call this one “Wrapped Flax-Scape” because it’s sort of Christo-like:

