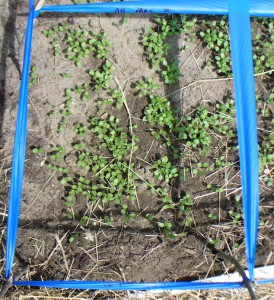
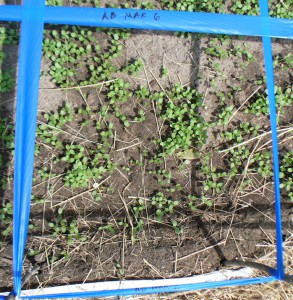
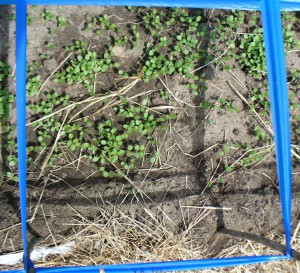
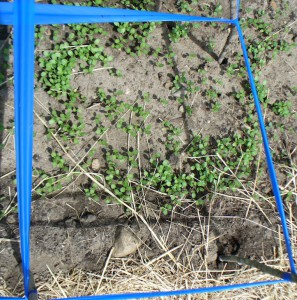
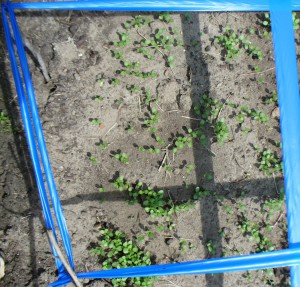
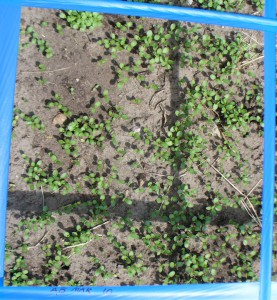
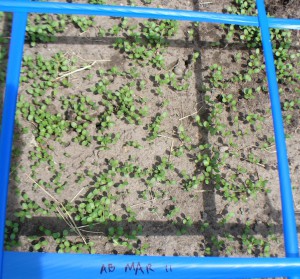
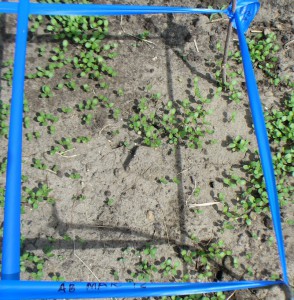
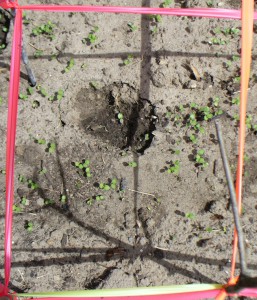
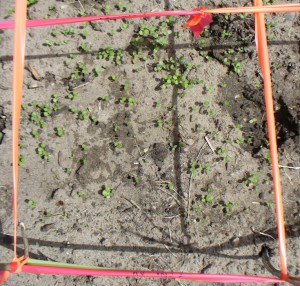
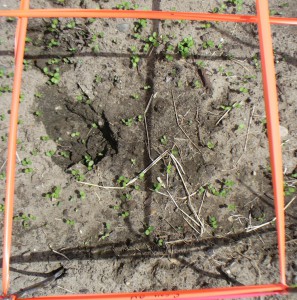
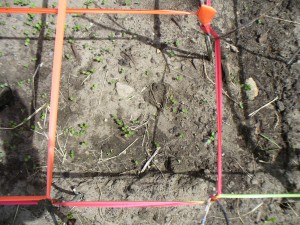
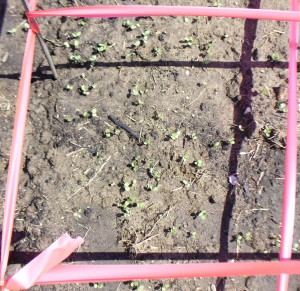
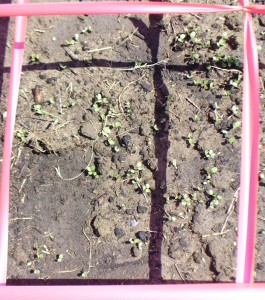
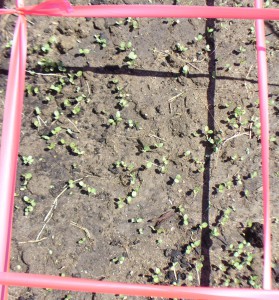
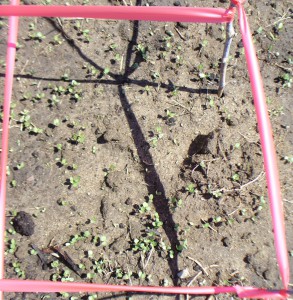
Flax Likes Rain

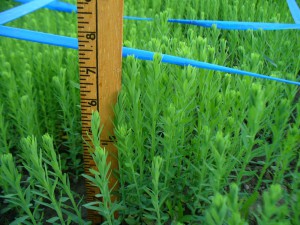
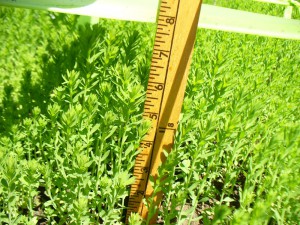
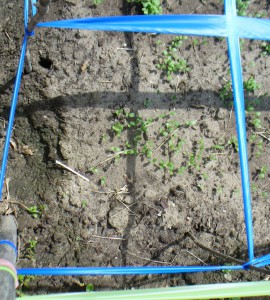
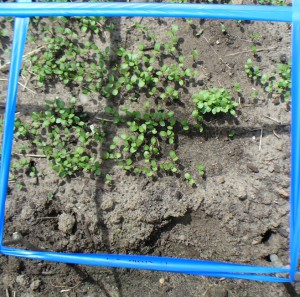
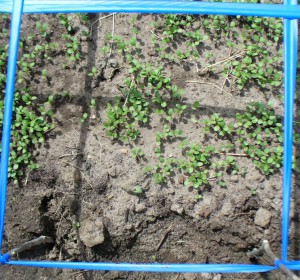
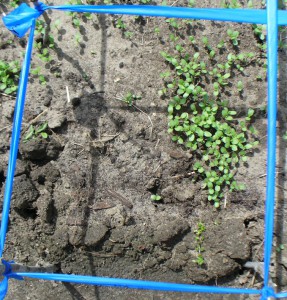
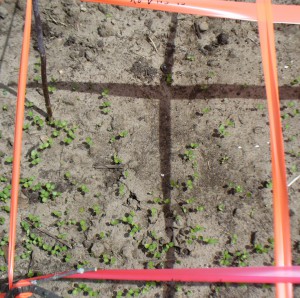
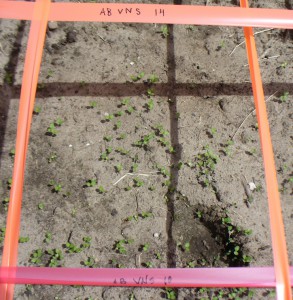
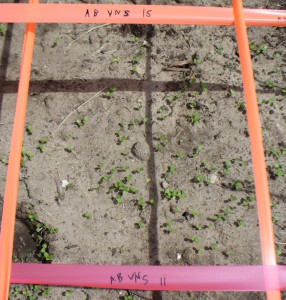
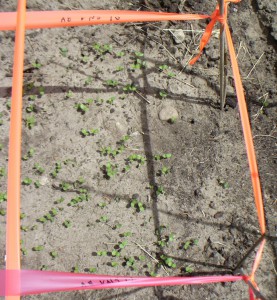
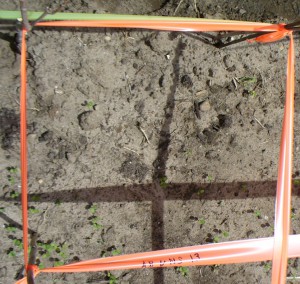
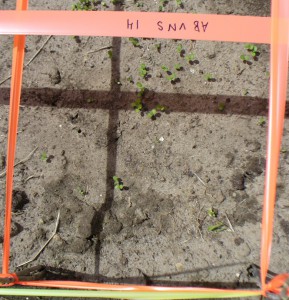
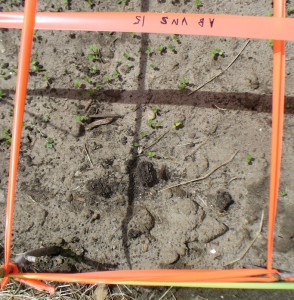
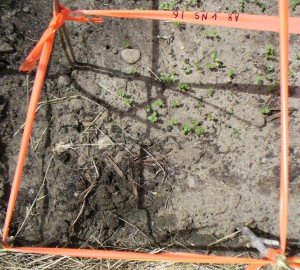
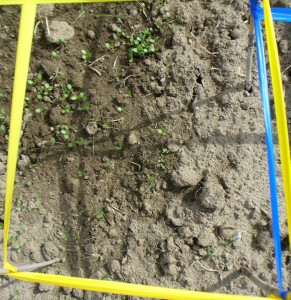
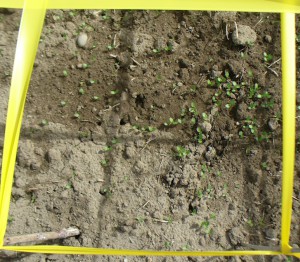
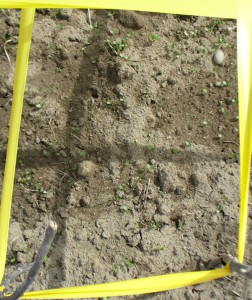
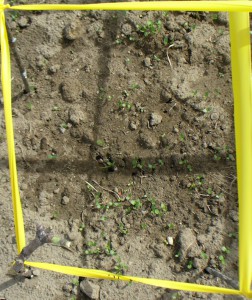
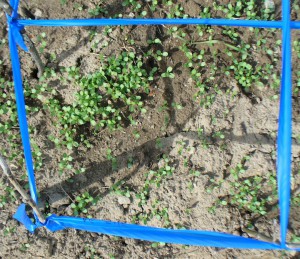
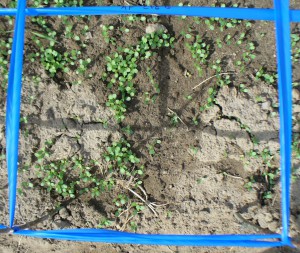
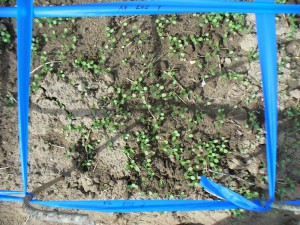
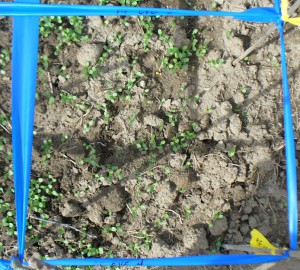
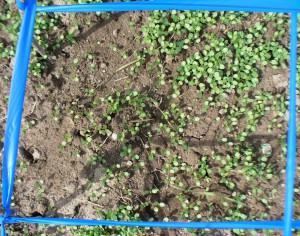
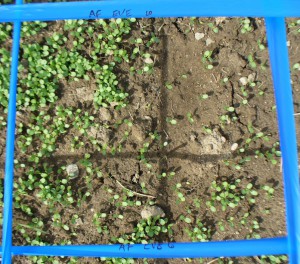
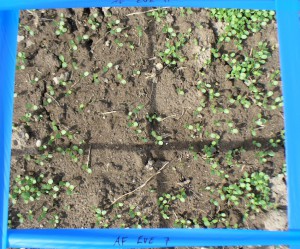
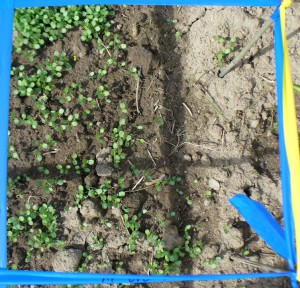
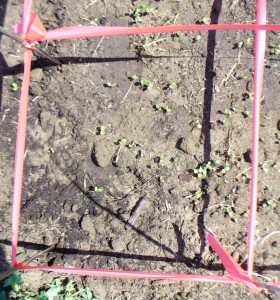
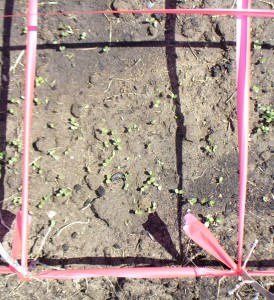
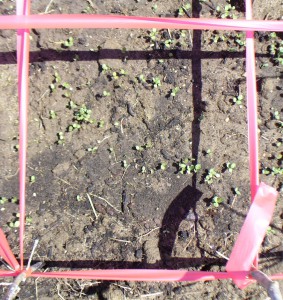
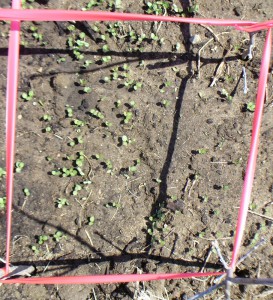
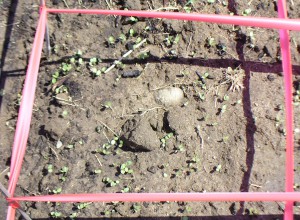
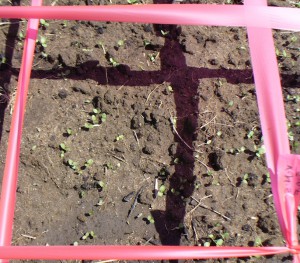
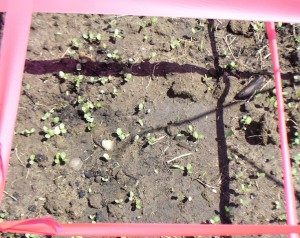
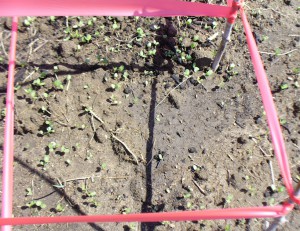
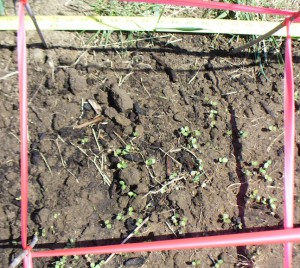
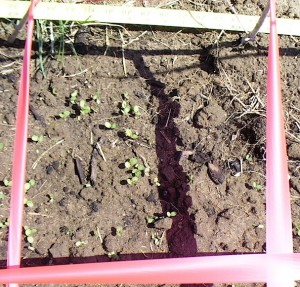
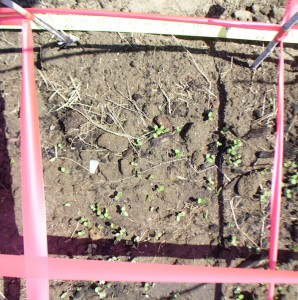
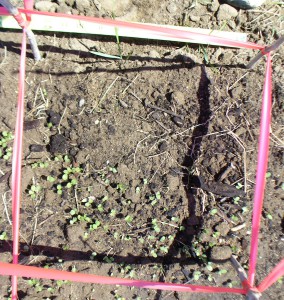
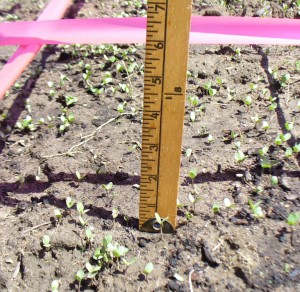
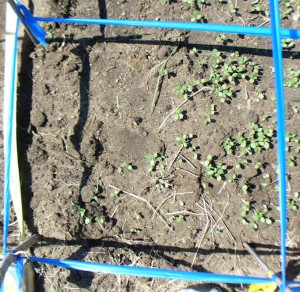
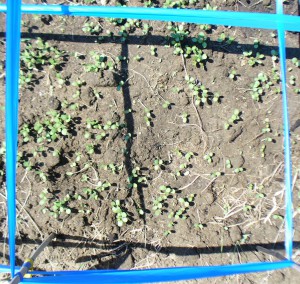
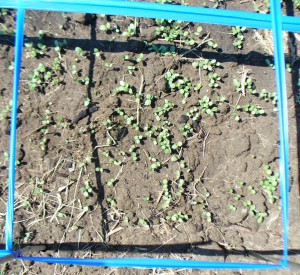
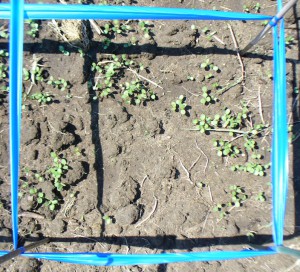
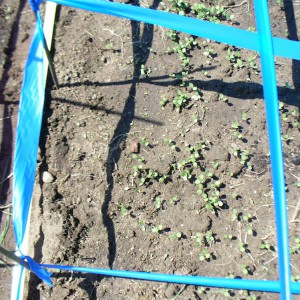
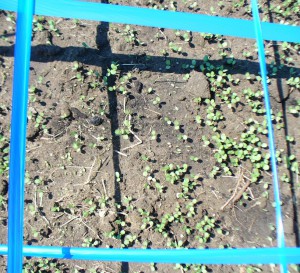
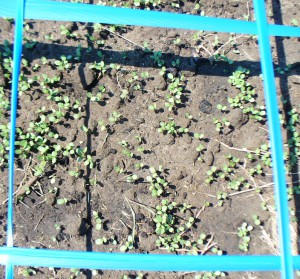
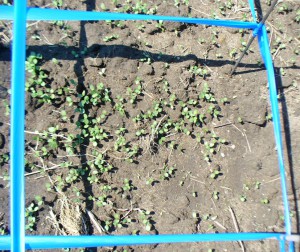
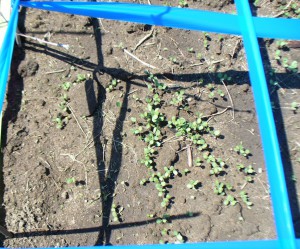
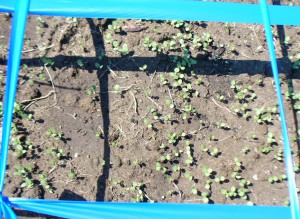
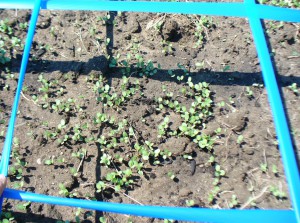
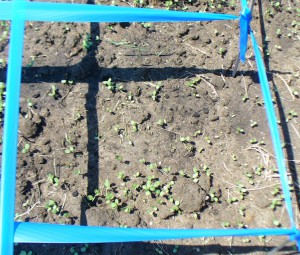
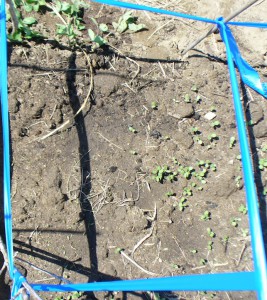
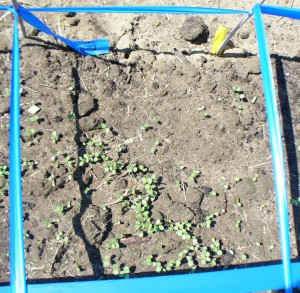
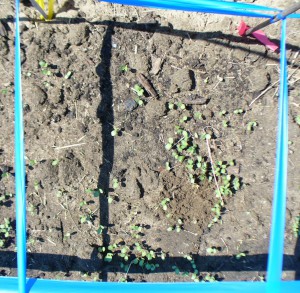
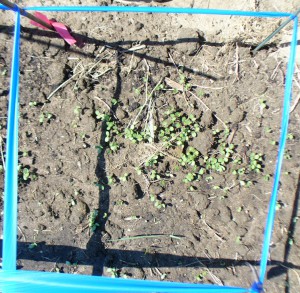
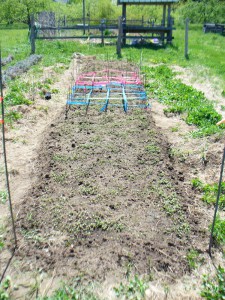
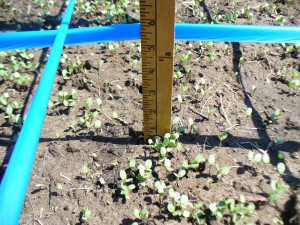
We have had a good amount of rain over the past couple weeks, interspersed with some stunningly gorgeous sunshine. This is flax’s favorite weather (unlike the 90 degrees, dry as a bone weather we had mid-April, which is not). Here’s how it was looking as of May 18th and 19th, last Friday and Saturday.

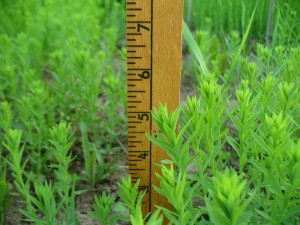
vns at Small Ones Farm May 18

Above is the v.n.s. at Small Ones Farm May 18, about four inches high.

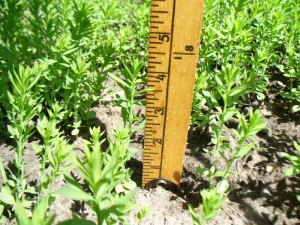
vns at Amethyst Farm May 19

Above is the v.n.s. at Amethyst Farm May 19, about 5 inches high.

vns at Amethyst Brook May 18

Above is the v.n.s. at Amethyst Brook May 18, about 4 and a half inches high.

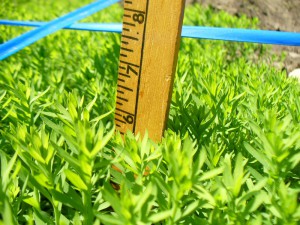
Marylin at Amethyst Brook May 18

Above is Marylin at Amethyst Brook May 18, about six inches high.

Evelin at Small Ones Farm May 18

Above is Evelin at Small Ones Farm May 18, three and three quarters of an inch high.

Evelin at Amethyst Farm May 19

Above is Evelin at Amethyst Farm May 19, between 6 and 7 inches.

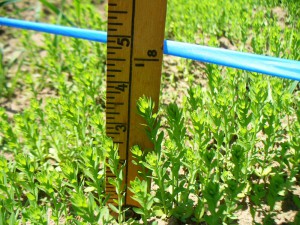
Evelin at Amethyst Brook May 18

Above is Evelin at Amethyst Brook May 18, between 5 and 6 inches.

Mystery Cordage

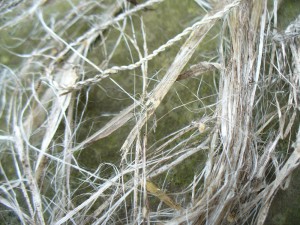
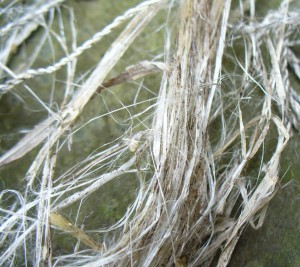
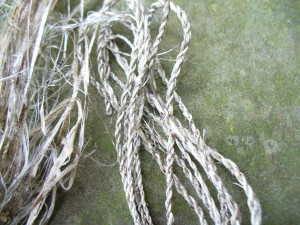
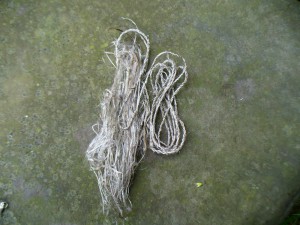
Last week I was down in Maryland visiting my sisters and seeing lots of family at a wedding. One morning, my mom and I went to consult with one of my sisters about various plants that had been planted by the previous tenants outside her apartment. In one spot we found some very intriguing dead and naturally weather-retted bast fiber from the previous year’s growth. Unfortunately I did not bring my camera so I don’t have a photo of it in situ. We don’t know what the plant is, but my sister will keep an eye on it as it develops so we can identify it. Here are some photos of the fiber and cordage.

mystery bast fiber 1

mystery bast fiber 2

mystery cordage

mystery fiber and cordage in process

My method was this: I twisted a bundle of fibers enough to get a kink at the center, then bent the bundle in half. I used my teeth to hold the middle, and twisted both sides at the same time, between my thumbs and index fingers, rolling to the left. (That is, I twisted the left strand with my left hand, and the right strand with my right). Then I wrapped the two strands around each other twisting to the right. To add a new piece, I repeated the starting procedure, but inserted the new bent middle section into the “v” where the two strands separate. I tried to keep the two sides slightly uneven so that the splices would be staggered. I think it has a very pretty silvery quality. I would be happy to use this plant again, once I find out what it is.

Flax Grids: Evelin at Amethyst Brook

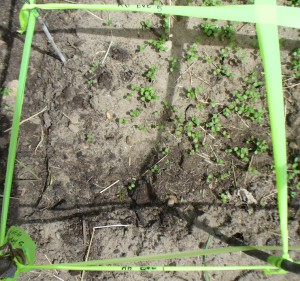
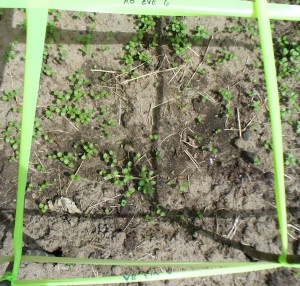
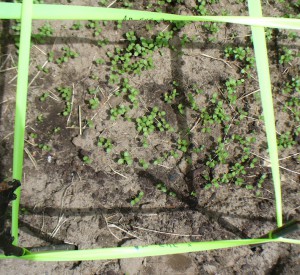
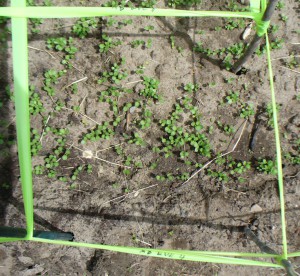
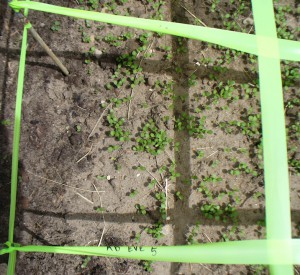
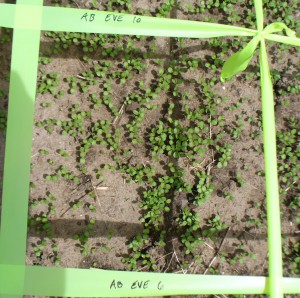
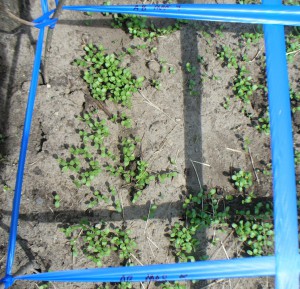
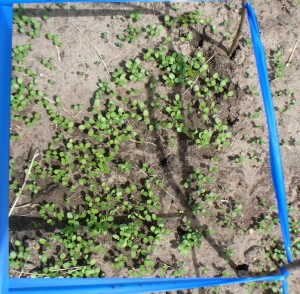
Finally, we reach the end of the flax grid photos. Phew. In future I think a 3’x3′ grid will be enough, or maybe just three one-foot sample squares out of each bed. 4’x4′ was overkill. Anyway, it’s done now. In the time since these photos were taken (April 29th and 30th) the plants have shot up. They are now feathery and about 5 or 6 inches high, and lovely. But here was how the Evelin looked at our community garden, back on April 30th.

Evelin at Amethyst Brook 1

Evelin at Amethyst Brook 2

Evelin at Amethyst Brook 3

Evelin at Amethyst Brook 4

Evelin at Amethyst Brook 5

Evelin at Amethyst Brook 6

Evelin at Amethyst Brook 7

Evelin at Amethyst Brook 8

Evelin at Amethyst Brook 9

Evelin at Amethyst Brook 10

Evelin at Amethyst Brook 11

Evelin at Amethyst Brook 12

Evelin at Amethyst Brook 13

Evelin at Amethyst Brook 14

Evelin at Amethyst Brook 15

Evelin at Amethyst Brook 16

Flax Grids: Marylin at Amethyst Brook

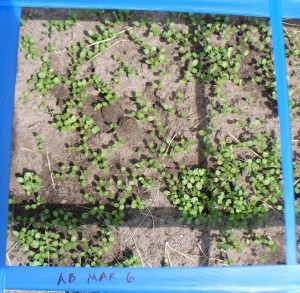
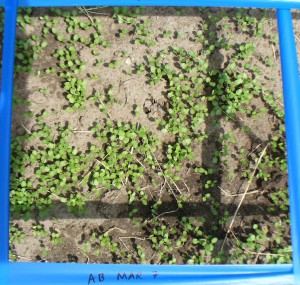
Here are the photos of Marylin at Amethyst Brook where we have our community garden plot. They were taken on April 30th. The Marylin growth is the most lush of all the plots, which means it had the best germination rate. It is also the only treated seed variety I grew. I think the treatment is an antifungal agent to prevent rotting the damp soils of early spring. We did not have damp soils this spring. We had dry soils. It was 90 degrees the day after I planted in mid-April. So, I am not sure why the treatment would have given these seeds an advantage, and maybe that’s not really what’s going on. Anyway, here they are:

Marylin at Amethyst Brook 1

Marylin at Amethyst Brook 2

Marylin at Amethyst Brook 3

Marylin at Amethyst Brook 4

Marylin at Amethyst Brook 5

Marylin at Amethyst Brook 6

Marylin at Amethyst Brook 7

Marylin at Amethyst Brook 8

Marylin at Amethyst Brook 9

Marylin at Amethyst Brook 10

Marylin at Amethyst Brook 11

Marylin at Amethyst Brook 12

Marylin at Amethyst Brook 13

Marylin at Amethyst Brook 14

Marylin at Amethyst Brook 15

Marylin at Amethyst Brook 16

Microscope Images of Flax Fibers

On Thursday, May 17th, our flax and linen study group met at the lab of one of our members to look at flax fibers under a microscope (and cotton and wool, for comparison). It was so incredibly fun!

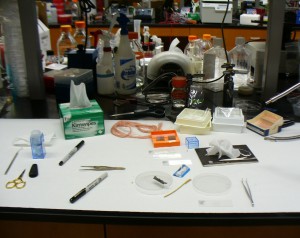
Here are the tools and equipment we used to make slides.
making slides (permanent mount)

We used tweezers to position our samples and to pull them apart a little to separate the fibers so the light could pass through. We put our samples on a slide (in the square boxes on the right), and added a drop of the mounting adhesive on top (from the little bottle in the blue box). Then we dropped on a small glass cover and used tweezers to press out the air bubbles and get the adhesive to spread evenly between the slide and the cover (small glass covers are in the orange box).  Sharpies are for labeling slides. The pink yarn in back is madder-dyed 40/2 linen. Scissors and razor blades are for cutting. Because the samples were dry, we could make permanent mounts.

Folks brought in a range of flax in various stages of processing: dried but un-retted, retted but unbroken, and retted and broken but not scutched or hetcheled, and fully processed strick, both old and recent. We looked at flax in several different stages including some of my naturally dyed yarn.

Here is the microscope.
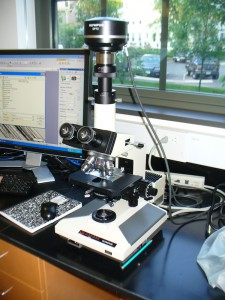
microscope

Here’s the big monitor, which was awesome because we could all see the slides without having to take turns looking through the microscope.
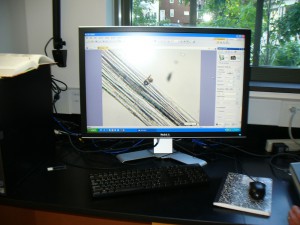
monitor

The program let us do things like adjust the color and take photographs.

We took a lot of very beautiful photos. Here are a few highlights. This image shows the tips of two flax cells overlapping. You can see it in the upper-most edge of the large central bundle, just to the right of the less-in-focus strand that’s crossing diagonally in the left hand corner. Those two greyish-colored pointy tips are the ends of two fiber cells.
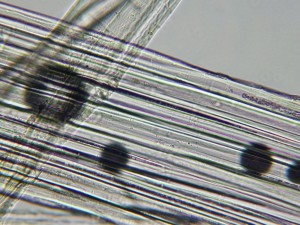
retted and broken flax cell ends overlap

The granular purplish area just to the right of the overlapping cell ends shows that part of the structure of the fiber there is hollow. The black circles are air bubbles. Beautiful but irrelevant.

This image shows cotton fibers for comparison. Cotton fibers are flat and ribbon-like in structure, and they twist, whereas flax fibers are rounded or tubular.
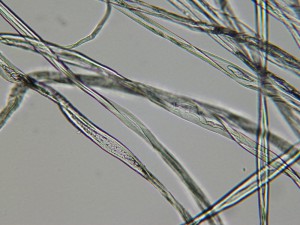
cotton 2

There is some twist in the structure of flax fibers, also. The image below shows this twisting (in a greenish color in the thin strand in the center). One important thing I learned on Thursday is that the flax fibers we use for spinning and weaving are not the fibers from the circulatory system of the plant (xylem and phloem), which I had previously believed. In fact, they are the structures that give the plant strength and rigidity. They are associated with the vascular cells but are different.
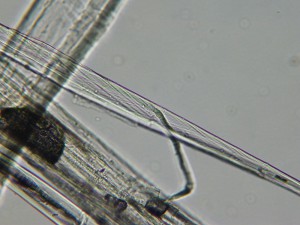
retted and broken flax twist

The two images below show strick fibers (fully processed and ready to spin) from the Zinzendorf brothers in Pennsylvania. The flax was grown and processed on their farm. In the top photo, the center-most green, translucent strand shows the horizontal bars that are typical of flax fibers. In the upper left hand corner you can also see some brown decayed plant matter that is still sticking to the fibers. Click on the images to see a larger view.
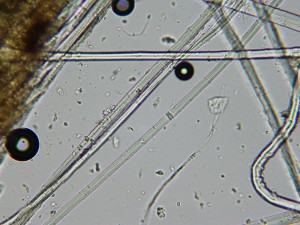
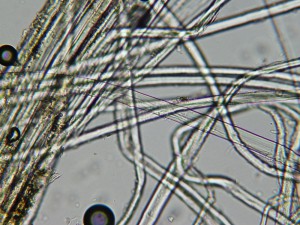
brother johannes strick

brother johannes strick 2

On the slide below we used a stain that shows lignin (the woody material that makes the fibers strong and rigid) in blue and pectin (the starchy glue that holds cells together) in pink. This is a piece of water-retted flax fiber. In the process of water retting, bacteria consume the pectins and allow the fibers inside the plant stalk to separate from the woody core and the outside “skin” of the stalk. If you let the retting continue until all the pectins are eaten, then the individual cells separate also, and you don’t get long fibers to spin. You just get a hairy mess. So, since these fibers are still holding together, there is still pectin present. We think the blue made the pink hard to see. You can see the tubular structure of the flax fibers and the horizontal bars very clearly.
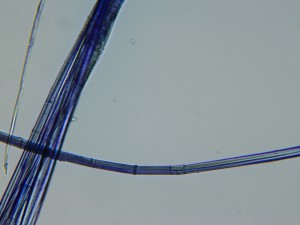
stained retted flax

The photos below show pale pink madder-dyed 40/2 linen. I used alum acetate for the mordant. I was amazed at how the color sticks to the fibers in clumps. I wonder if yarns with a darker color would show the color adhering more evenly.
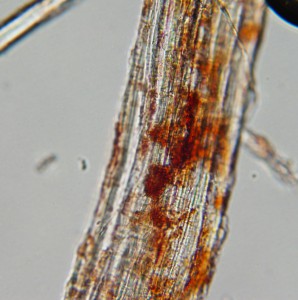
madder dyed linen yarn1

This photo shows some strands of undyed fiber next to the dyed fibers. I wonder if these were on the inside of the yarn and came free when I teased apart the snippet of yarn to put on the slide.
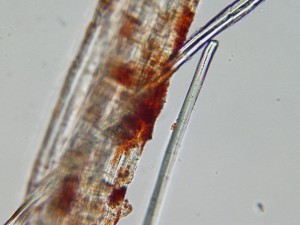
undyed strand

Who knows what is going on here, but whatever it is, it doesn’t look good. That little nugget of color is about to get away.
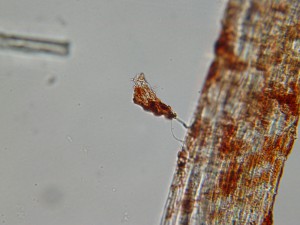
madder clump

Hopefully we will have a chance in future to look at cross sections of the plant stalks at different points in their growth, to see how the fiber bundles develop. Science is fun!

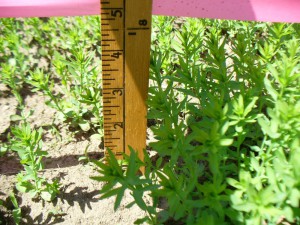


Flax Grids: Evelin at Amethyst Farm

Earlier today I was searching the web for interesting tid-bits about Evelin to share, to spice up all these admittedly monotonous photos. I came across Bast and Other Plant Fibers by Robert R. Franck (CRC Press, 2005). Franck lists Evelin as one of 31 fiber flax cultivars approved for use in Europe as of 2002. I didn’t get far enough to figure out why these 31 were approved in particular, or what the differences were between them. A research task for another day. Among other things, I learned that I’ve been spelling the variety “Marilyn” incorrectly. It is actually spelled Marylin, even though I thought I had read that it’s named after Marilyn Monroe. While it merits being on the list, for whatever reason, Evelin was not among the most popular varieties grown in western Europe in 2002. That honor went to four other varieties: Agatha, Hermes, Marylin, and Diane.

I had to laugh at one comment the author made. In outlining the reasons for low productivity in certain countries, he cites one reason as being “the innate conservatism of peasant agriculture.” I think I must fall into that category.

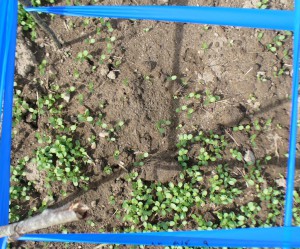
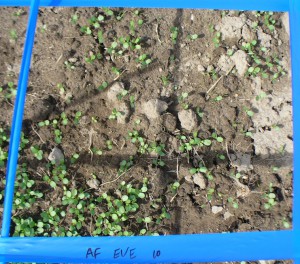
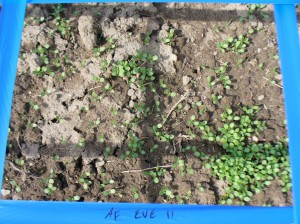
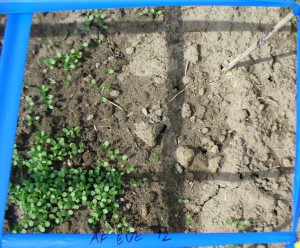
Here are the photos of Evelin growing at Amethyst Farm in Amherst, MA. As before, each square is a foot square, and the full grid is 4 feet square. The images appear in order, numbered from 1 to 16 across the grid from bottom left corner to top right. See my original post for more info on this set-up.

Evelin at Amethyst Farm 1

Evelin at Amethyst Farm 2

Evelin at Amethyst Farm 3

Evelin at Amethyst Farm 4

Evelin at Amethyst Farm 5

Evelin at Amethyst Farm 6

Evelin at Aethyst Farm 7

Evelin at Amethyst Farm 8

Evelin at Amethyst Farm 9

Evelin at Amethyst Farm 10

Evelin at Amethyst Farm 11

Evelin at Amethyst Farm 12

Evelin at Amethyst Farm 13

Evelin at Amethyst Farm 14

Evelin at Amethyst Farm 15

Evelin at Amethyst Farm 16

Flax Grids: “Variety Not Specified” at Small Ones Farm

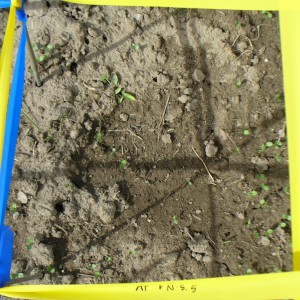
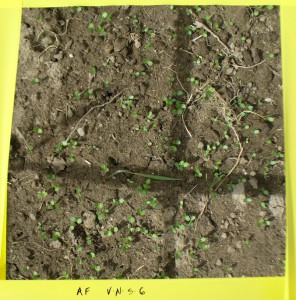
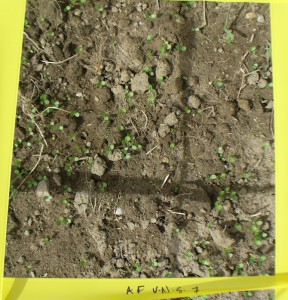
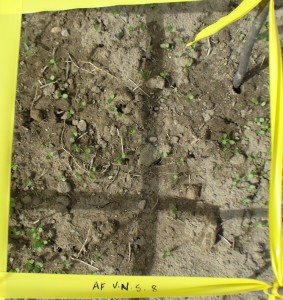
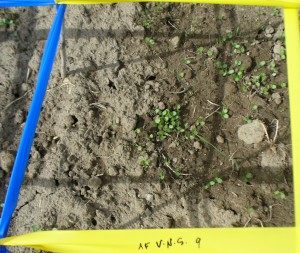
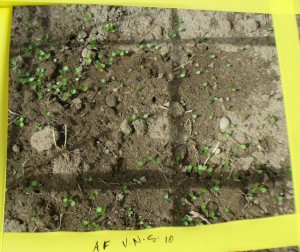
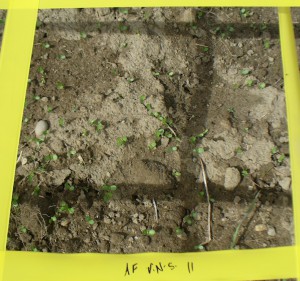
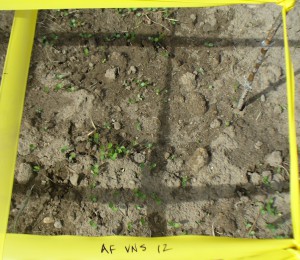
Here are the photos of the “variety not specified” (v.n.s.) flax at Small Ones Farm in South Amherst on April 29th. They are posted in order from square 1 to square 16 in the grid. For an explanation of the grid numbering system, and what these flax grids are all about, see my last post, “Belated Photos of Flax Grids: Evelin at Small Ones Farm.”

vns at Small Ones 1

vns at Small Ones 2

vns at Small Ones 3

vns at Small Ones 4

vns at Small Ones 5

vns at Small Ones 6

vns at Small Ones 7

vns at Small Ones 8

vns at Small Ones 9

vns at Small Ones 10

vns at Small Ones 11

vns at Small Ones 12

vns at Small Ones 13

vns at Small Ones 14

vns at Small Ones 15

vns at Small Ones 16

vns at Small Ones height April 29

Above is a photo showing the height of the vns seedlings on April 29th at Small Ones Farm.


Belated Photos of Flax Grids: Evelin at Small Ones Farm

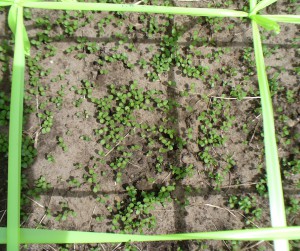
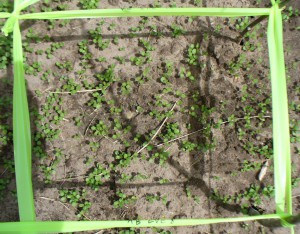
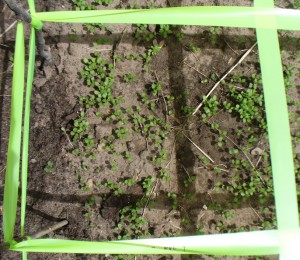
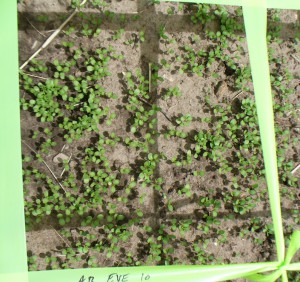
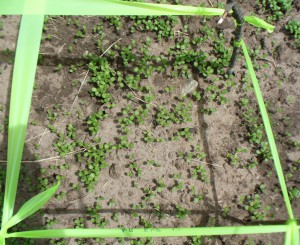
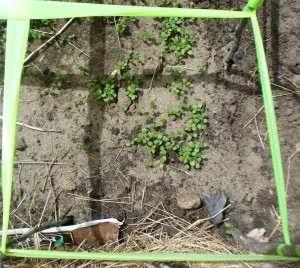
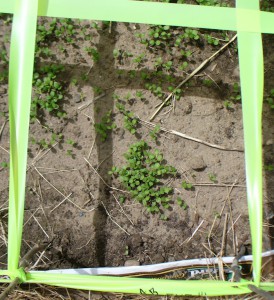
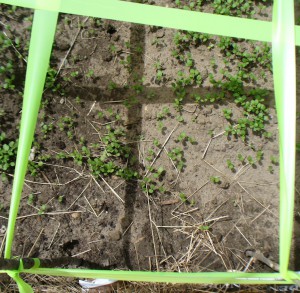
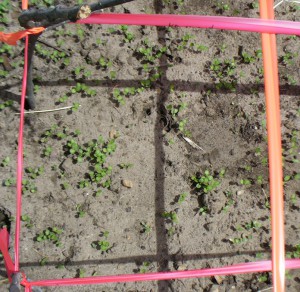
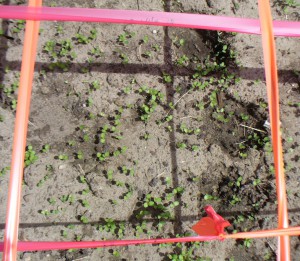
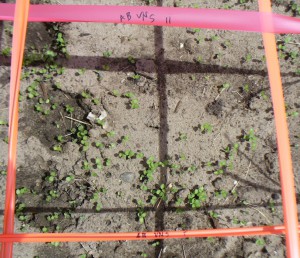
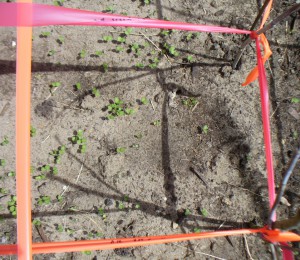
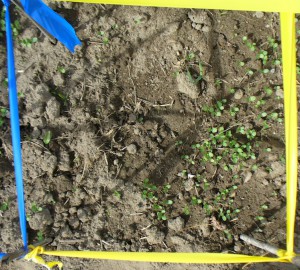
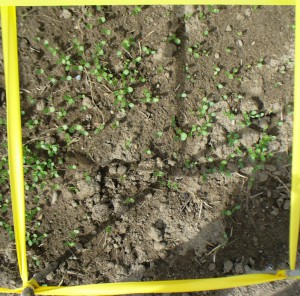
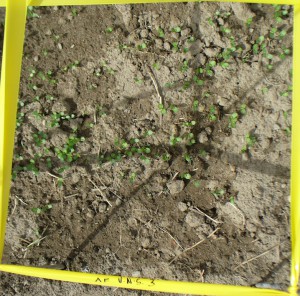
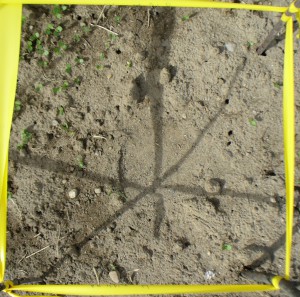
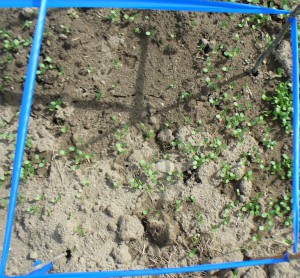
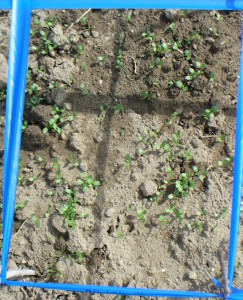
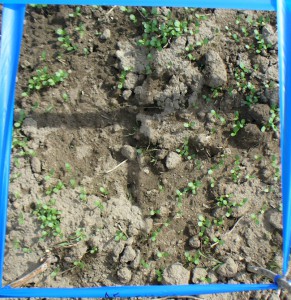
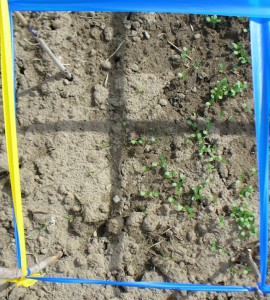
Back on Sunday April 29th and Monday April 30th I set up one-foot-square grids in my flax beds. I used sticks to stake out the one-foot increments, and flagging tape to outline the edges. They are not perfectly square, but it’ll do. At each plot (Small Ones Farm, Amethyst Farm, and the community garden at Amethyst Brook) I used a different color flagging tape for each variety, but didn’t plan ahead enough to use the same color for each variety at each place. That would have been handy, but too late now. As you might suspect, it is hard to tell from a photo of little green plants just exactly which variety of seed or section of a plot I am looking at. So, I thought the color coding would help differentiate photos back at home when I’ve downloaded them onto the computer and am figuring out which is which. I also wrote labels on the flagging tape, but it twists around sometimes so they aren’t clear in every photo. Each grid is four feet square (the width of the bed, and four feet in length), divided into 16 sections. I took a photo of each section. I have a total of 7 beds, which multiplied by 16 is a lot of photos of little green plants. One hundred and twelve, to be exact. That is too many for one post. It actually has crossed my mind that perhaps not everyone will be interested in looking at 112 photos of flax. But in the interests of documenting this project, I’ve decided to post them all, divided between several posts.

I set up the grids because I wanted a more quantifiable way to measure the germination rates of the different seed varieties, and to count how many plants were growing in each square foot. Mostly what this exercise taught me is that my sowing technique is terrible. I have clumps and bare patches in an extremely uneven pattern. Sigh. Raking did not help at all, so I will omit that step in future. In fact I think many of the ridges where there is a density of plants were created by the edge of the rake. So, there is a lot more to learn about that step of the process. Honestly, I think this season was my worst broadcasting job ever, but then again I have never scrutinized every step of the process so closely.

This post features the variety Evelin (an untreated variety from Richters in Canada) planted at Small Ones Farm in South Amherst. The photos were taken April 29th, and are labeled with the variety, the location, and a number 1 to 16. The squares in the grid are numbered from left to right, starting in the row on the near side of the bed and moving to the back. That is,1 is in the bottom left hand corner, and 16 is in the top right corner. They are posted in order from 1 to 16.

Evelin at Small Ones 1

Evelin at Small Ones 2

Evelin at Small Ones 3

Evelin at Small Ones 4

Evelin at Small Ones 5

Evelin at Small Ones 6

Evelin at Small Ones 7

Evelin at Small Ones 8

Evelin at Small Ones 9

Evelin at Small Ones 10

Evelin at Small Ones 11

Evelin at Small Ones 12

Evelin at Small Ones 13

Evelin at Small Ones 14

Evelin at Small Ones 15

Evelin at Small Ones 16

Evelin bed at Small OnesAbove is an overview of the bed of Evelin, and below is a photo showing the height of the plants on April 29th (14 days after planting).

Evelin at Small Ones height