More Madder on Cotton

If you read my post about the tannin-iron-madder experiment, you may have noticed that I divided the original dyebath in half. I didn’t explain why at the time. My rationale was this: I  worried that the iron would affect the subsequent colors I got from the exhausted dyebath.

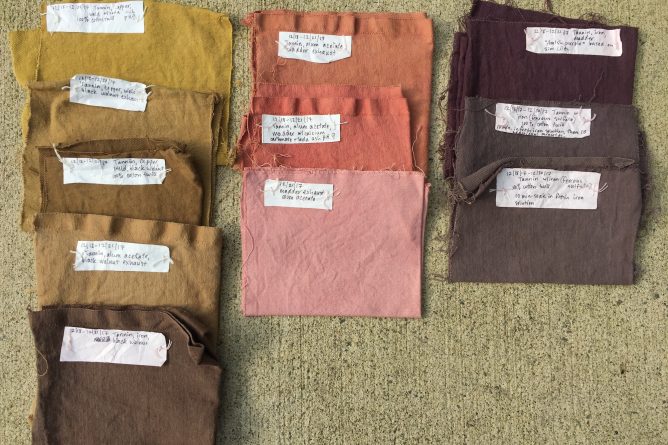
For the rest of the experiment, I prepared small pieces of cotton cloth with three different treatments, which I’ll describe below.

You can read my original post here for a description of how I made the madder dyebath and prepared the fiber.

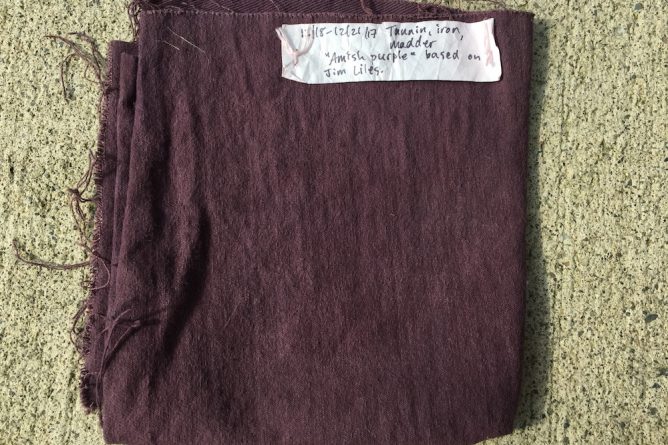
Usually when I’m extracting madder roots, I use calcium carbonate and soda ash to make the water mineral-rich and alkaline. The soda ash is inspired by a comment by Rita Buchanan in A Weaver’s Garden that “the pigment alizarin dissolves better in alkaline solutions.” In Jim Liles’  recipe for “Amish Madder Purple” he directs you to use calcium or chalk in the dyebath (though he specifies calcium acetate). He doesn’t mention pH, so for that sample I didn’t mess with the pH (which was 7). Continue reading “More Madder on Cotton”

Tannin and Black Walnut on Cotton

I have often joked that using black walnut hulls on white wool is perhaps not the best use of my time. Black walnut hulls make various lovely shades of brown, but there are plenty of brown sheep.

Dyeing cotton brown, on the other hand, makes sense. There are naturally brown cottons, but they are not commonplace. Sally Fox has spent many years breeding naturally colored cottons in a range of beautiful colors, which you can see for sale here. However, most of the cotton that’s available at the moment is white.

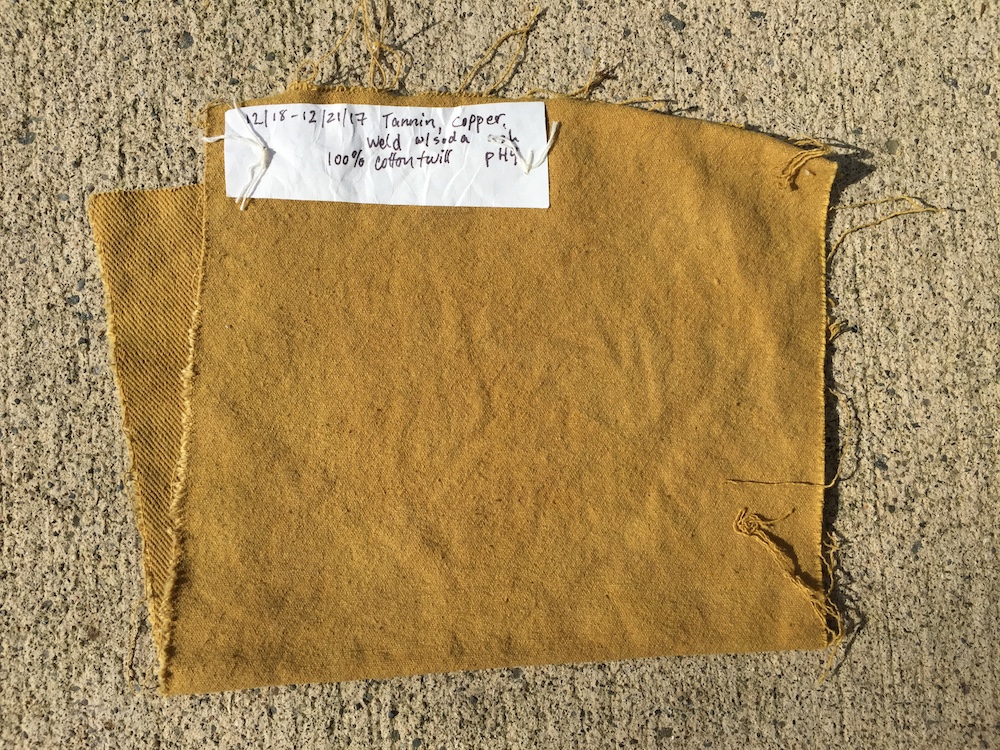
Using the same heavy cotton twill samples that I used for the tannin-iron-madder and tannin-copper-weld experiment, I ran some samples with black walnut hulls. I should note that black walnut itself is a source of tannin, so the tannin step at the beginning was probably redundant. However, for this series of experiments, I treated the whole piece of cloth with tannin originally before I cut it up for samples. Continue reading “Tannin and Black Walnut on Cotton”

Tannin, Iron and Madder on Cotton

Way back in December, around the time of the winter solstice, I ran some dyeing experiments with heavy cotton twill cloth. I have had some frustrations with cotton over the years, some of which I’ve documented here on this blog. On cotton yarns and cloth, I often get colors that are much lighter than I want, or a different shade than I was expecting.

Nevertheless, there are some colors and techniques that have always intrigued me. So in December I tried a recipe for “Amish Madder Purple” from Jim Liles’ book The Art and Craft of Natural Dyeing.

Cotton, like other plant-derived fibers, is primarily composed of cellulose. Cellulose is harder to dye with natural dyes than protein fibers. Protein fibers come from animals, for example: wool from sheep, mohair from Angora goats, alpaca from alpacas, llama from llamas, and angora from rabbits. Plant fibers can come from a wide range of sources, such as cotton, linen (from flax), hemp, and ramie (from a type of nettle). Continue reading “Tannin, Iron and Madder on Cotton”

Japanese Indigo August 2017

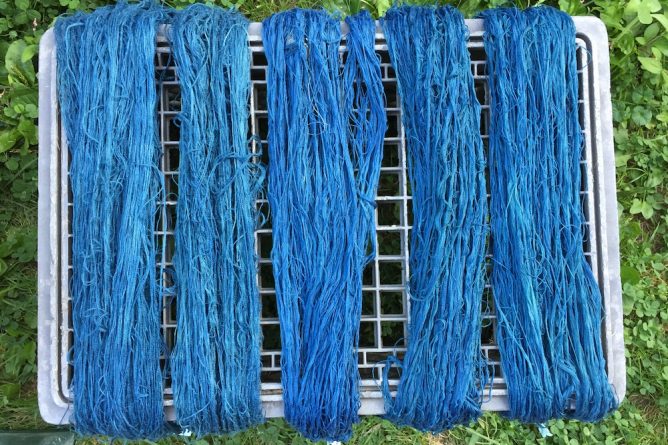
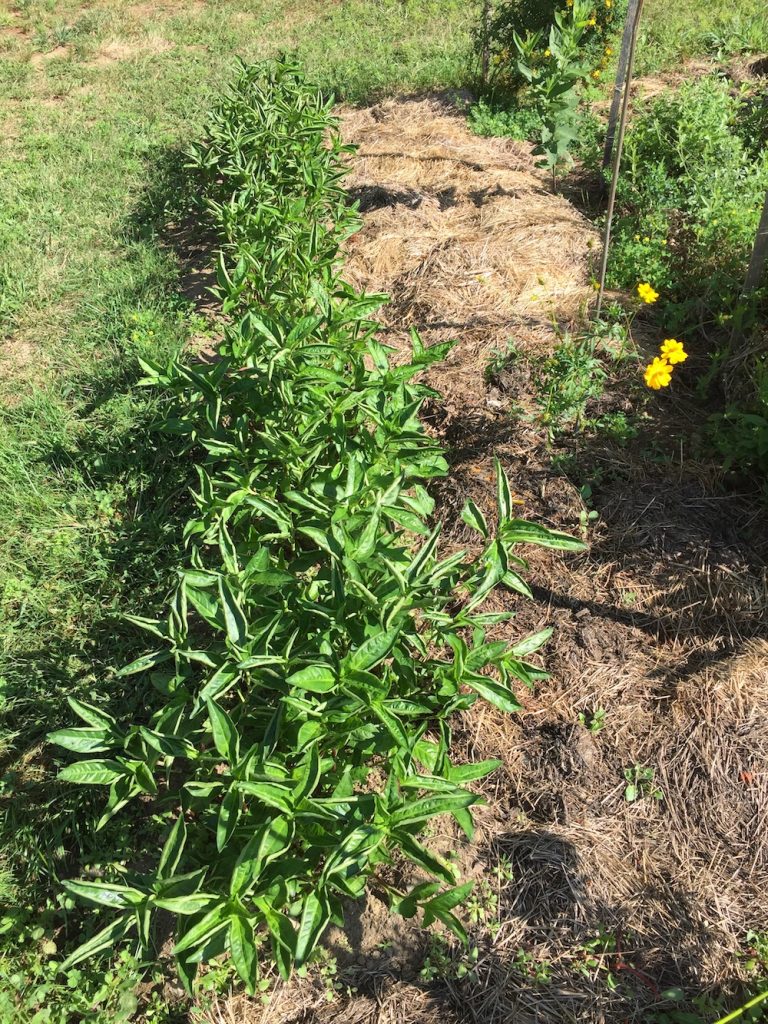
Way back in August I ran a Japanese indigo vat. Here’s what the bed of Japanese indigo plants looked like on August 20th:

I have only dyed with fresh Japanese indigo leaves a few times, so I am still trying to develop skill with the process. An important part of developing skill is repetition. Another important piece is learning and testing new things, and then trying to understand why they do or don’t work. Luckily, this vat afforded me all of those opportunities!

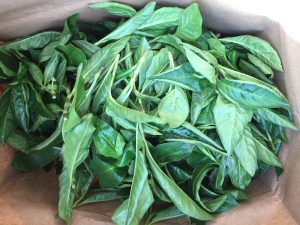
I picked 22 oz. of plant material, which yielded exactly 1 pound (16 oz.) of leaves trimmed off of the stems. Here are the tips of the plant stalks that I harvested:

On the left are the stems, and on the right is the bag with just the leaves in it. It’s a really beautiful plant! It has sweet little hairs, wrapped-around layers, exciting color contrasts, and an interesting juxtaposition of rigid and luscious textures. Continue reading “Japanese Indigo August 2017”

Hopvine

My new book cloth is a variation of a miniature overshot motif called Hopvine. To create my threading I worked from two other drafts. One was “Modified Hopvine” from a sampler from the Hill Institute. The other was “Modified Hop Vine” from Marguerite Davison’s classic A Handweaver’s Pattern Book. The threading from Hill had too many ends in each pattern repeat to suit the scale of my book covers (5.5 inches by 8 inches) so I wanted to make the motif smaller. The Davison draft had fewer ends in a repeat but looked weirdly jittery in the drawdown in my weaving software.

So, I tinkered until I found a satisfying balance in the pattern, and am still tinkering with the treadling. The design consists of two different diamonds, one a longer and more pointed and the other a little more squat and rounded. I am not sure if these are supposed to evoke different elements of a hop vine, for example the leaves and the inflorescences. Or maybe the name of the pattern has a different origin. There are some nice images of hops plants here.

For those of you who recall my emboldening tabby travails of a year ago, you might be surprised to hear that I ran into the same problem of keeping a consistent tabby this time, also. Sigh. Continue reading “Hopvine”

Recent Books

Back in September, I finished a custom order of 8 books, which was very satisfying. I used only naturally-dyed pattern weft, in linen, cottolin, and cotton (the warp and tabby wefts were commercial). I had a variety of weld-dyed yellow, madder-dyed pink and terra-cotta, and woad-dyed blue yarns to work with. They were all woven in an overshot pattern called Young Lovers Knot, which I have been using for my book cloth for about a year now.

You may recall my frustration earlier in the spring when I was weaving the cloth, and I was bored of weaving the same pattern over and over again. I complained about it at the time, and then got re-inspired when I bought some new tabby weft colors. I also switched from weaving the design star fashion, which creates boxes and distinct diagonal lines as you weave, to weaving rose fashion, which makes the motifs rounded and gives a sense of concentric circles rippling outward. Continue reading “Recent Books”

Another Woad Vat

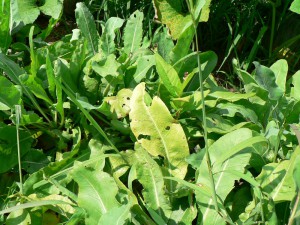
Yesterday I picked 8 and a half pounds of woad leaves. This is a lot, probably the largest quantity I’ve harvested at one time. Many of the leaves are droopy and yellow at this point in the summer. It has been hot and dry, but there is a lot of color in them, so no worries.

woad in August

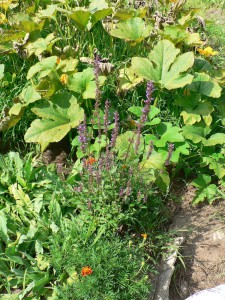
I had written earlier in the summer about woad’s enemies. To fend off the cabbage whites, I planted two hyssop plants, which are supposed to help. I could only find anise hyssop, which may or may not be the right type. It definitely attracts the adult butterflies, as a food source I suspect. But I’m not sure it keeps them from laying eggs on the woad, and it’s the caterpillars that eat the woad leaves, not the butterflies.

anise hyssop

I think at this point in the summer that slugs are the main predator on the woad, but I did find quite a few cabbage white eggs. The hyssop is very pretty, though, and it smells great, and the woad is doing OK, so even if the cabbage whites are still laying eggs on it, I guess it’s all fine. Continue reading “Another Woad Vat”

Dishtowels for Pioneer Valley Weavers’ Guild

I am a member of two local weaving guilds, Pioneer Valley Weavers’ Guild and Weavers of Western Massachusetts. The Pioneer Valley Weavers did a community service project this year where members wove dishtowels to donate to the Big Brothers Big Sisters fundraising auctions this summer and fall.

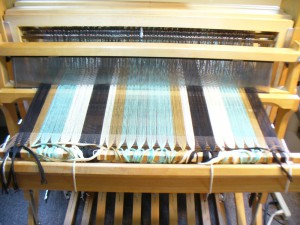
I decided to use Ms and Os for my weave structure, to get some nice bumpy texture. Here are my dishtowels in process. Here is the warp threaded, sleyed, tied on, and ready to go:

Ms and Os dishtowel warp

It is a mixture of different sizes of cotton yarns, as I was trying to use old yarns from my stash. So, the black is 6/2, the light green and gold are 10/2, and the cream is 8/2. I think they are all mercerized, but they are still soft enough to be absorbent. The width is 22.3 inches in the reed, and it’s 536 ends sett at 24 epi, sleyed 2 per dent in a 12 dent reed. I wound a 4 yard warp, which I thought would be enough for three full sized towels. As it turned out, I only had enough for two towels and one smaller napkin or bread-basket sized cloth.

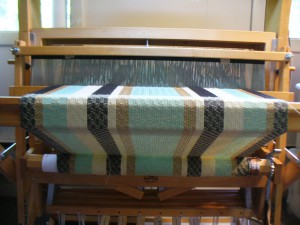
One towel has a pale yellow 22/2 cottolin weft:

pale yellow cottolin weft

I like this one because the values and proportions in the stripes work the way I imagined, and I like the lacy feeling.

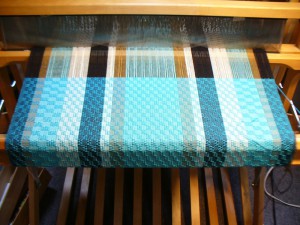
I wove the other towel with a bright turquoise blue 6/2 cotton weft:

turquoise blue weft

The intensity/saturation of the turquoise interferes with the stripes. As Matthew put it, everything feels like it’s underwater. In future, to use this color weft again, I would redesign the stripes in a smaller scale and with different colors. I think that a more intense bright yellow would work better than the gold, for example. On the other hand, several people to whom I showed the finished towels said they preferred the turquoise one.

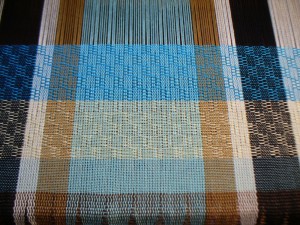
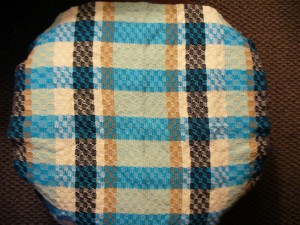
For the smaller napkin-sized piece, I alternated the turquoise and pale yellow, and I like the plaid effect a lot (the pale green stripe at the bottom is plain weave, which I sewed into the hem).

turquoise and pale yellow stripes

striped napkin

Above, the napkin-sized cloth looks round because it’s draped over a round foot stool, but I think you can see the plaid effect pretty well.


Microscope Images of Flax Fibers

On Thursday, May 17th, our flax and linen study group met at the lab of one of our members to look at flax fibers under a microscope (and cotton and wool, for comparison). It was so incredibly fun!

Here are the tools and equipment we used to make slides.
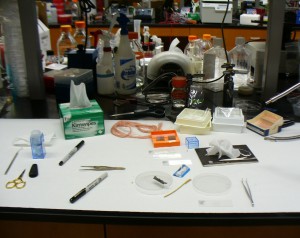
making slides (permanent mount)

We used tweezers to position our samples and to pull them apart a little to separate the fibers so the light could pass through. We put our samples on a slide (in the square boxes on the right), and added a drop of the mounting adhesive on top (from the little bottle in the blue box). Then we dropped on a small glass cover and used tweezers to press out the air bubbles and get the adhesive to spread evenly between the slide and the cover (small glass covers are in the orange box).  Sharpies are for labeling slides. The pink yarn in back is madder-dyed 40/2 linen. Scissors and razor blades are for cutting. Because the samples were dry, we could make permanent mounts.

Folks brought in a range of flax in various stages of processing: dried but un-retted, retted but unbroken, and retted and broken but not scutched or hetcheled, and fully processed strick, both old and recent. We looked at flax in several different stages including some of my naturally dyed yarn.

Here is the microscope.
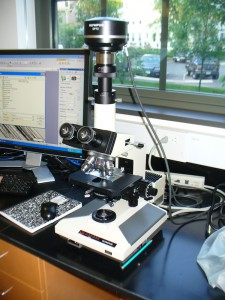
microscope

Here’s the big monitor, which was awesome because we could all see the slides without having to take turns looking through the microscope.
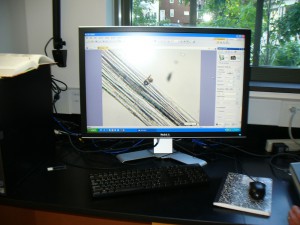
monitor

The program let us do things like adjust the color and take photographs.

We took a lot of very beautiful photos. Here are a few highlights. This image shows the tips of two flax cells overlapping. You can see it in the upper-most edge of the large central bundle, just to the right of the less-in-focus strand that’s crossing diagonally in the left hand corner. Those two greyish-colored pointy tips are the ends of two fiber cells.
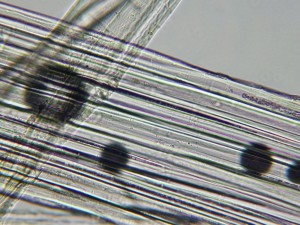
retted and broken flax cell ends overlap

The granular purplish area just to the right of the overlapping cell ends shows that part of the structure of the fiber there is hollow. The black circles are air bubbles. Beautiful but irrelevant.

This image shows cotton fibers for comparison. Cotton fibers are flat and ribbon-like in structure, and they twist, whereas flax fibers are rounded or tubular.
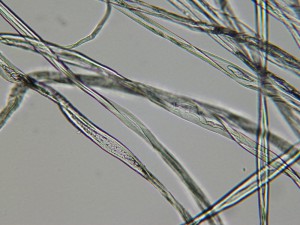
cotton 2

There is some twist in the structure of flax fibers, also. The image below shows this twisting (in a greenish color in the thin strand in the center). One important thing I learned on Thursday is that the flax fibers we use for spinning and weaving are not the fibers from the circulatory system of the plant (xylem and phloem), which I had previously believed. In fact, they are the structures that give the plant strength and rigidity. They are associated with the vascular cells but are different.
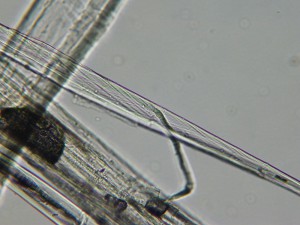
retted and broken flax twist

The two images below show strick fibers (fully processed and ready to spin) from the Zinzendorf brothers in Pennsylvania. The flax was grown and processed on their farm. In the top photo, the center-most green, translucent strand shows the horizontal bars that are typical of flax fibers. In the upper left hand corner you can also see some brown decayed plant matter that is still sticking to the fibers. Click on the images to see a larger view.
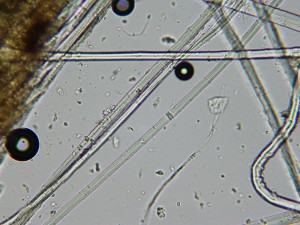
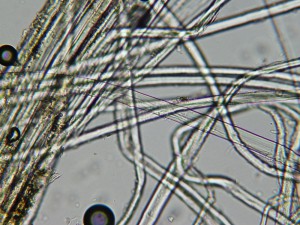
brother johannes strick

brother johannes strick 2

On the slide below we used a stain that shows lignin (the woody material that makes the fibers strong and rigid) in blue and pectin (the starchy glue that holds cells together) in pink. This is a piece of water-retted flax fiber. In the process of water retting, bacteria consume the pectins and allow the fibers inside the plant stalk to separate from the woody core and the outside “skin” of the stalk. If you let the retting continue until all the pectins are eaten, then the individual cells separate also, and you don’t get long fibers to spin. You just get a hairy mess. So, since these fibers are still holding together, there is still pectin present. We think the blue made the pink hard to see. You can see the tubular structure of the flax fibers and the horizontal bars very clearly.
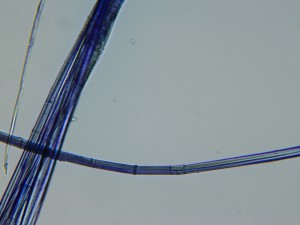
stained retted flax

The photos below show pale pink madder-dyed 40/2 linen. I used alum acetate for the mordant. I was amazed at how the color sticks to the fibers in clumps. I wonder if yarns with a darker color would show the color adhering more evenly.
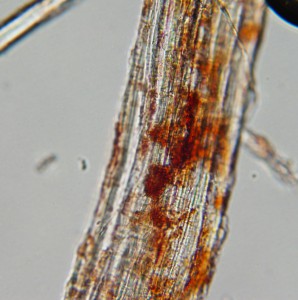
madder dyed linen yarn1

This photo shows some strands of undyed fiber next to the dyed fibers. I wonder if these were on the inside of the yarn and came free when I teased apart the snippet of yarn to put on the slide.
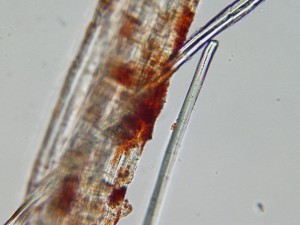
undyed strand

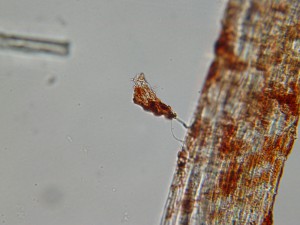
Who knows what is going on here, but whatever it is, it doesn’t look good. That little nugget of color is about to get away.
madder clump

Hopefully we will have a chance in future to look at cross sections of the plant stalks at different points in their growth, to see how the fiber bundles develop. Science is fun!