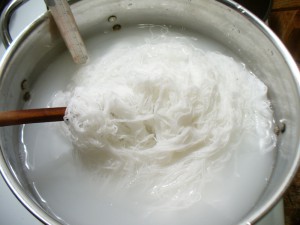
On Thursday, May 17th, our flax and linen study group met at the lab of one of our members to look at flax fibers under a microscope (and cotton and wool, for comparison). It was so incredibly fun!
Here are the tools and equipment we used to make slides.
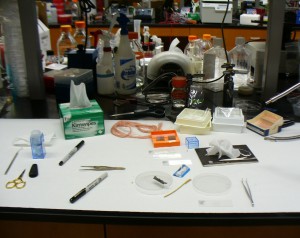
We used tweezers to position our samples and to pull them apart a little to separate the fibers so the light could pass through. We put our samples on a slide (in the square boxes on the right), and added a drop of the mounting adhesive on top (from the little bottle in the blue box). Then we dropped on a small glass cover and used tweezers to press out the air bubbles and get the adhesive to spread evenly between the slide and the cover (small glass covers are in the orange box). Sharpies are for labeling slides. The pink yarn in back is madder-dyed 40/2 linen. Scissors and razor blades are for cutting. Because the samples were dry, we could make permanent mounts.
Folks brought in a range of flax in various stages of processing: dried but un-retted, retted but unbroken, and retted and broken but not scutched or hetcheled, and fully processed strick, both old and recent. We looked at flax in several different stages including some of my naturally dyed yarn.
Here is the microscope.
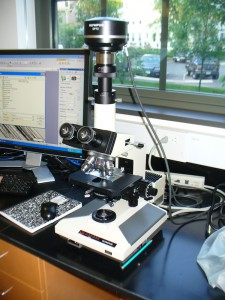
Here’s the big monitor, which was awesome because we could all see the slides without having to take turns looking through the microscope.
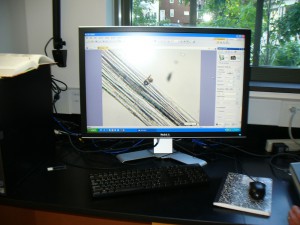
The program let us do things like adjust the color and take photographs.
We took a lot of very beautiful photos. Here are a few highlights. This image shows the tips of two flax cells overlapping. You can see it in the upper-most edge of the large central bundle, just to the right of the less-in-focus strand that’s crossing diagonally in the left hand corner. Those two greyish-colored pointy tips are the ends of two fiber cells.
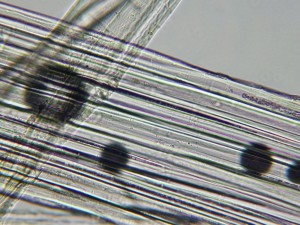
The granular purplish area just to the right of the overlapping cell ends shows that part of the structure of the fiber there is hollow. The black circles are air bubbles. Beautiful but irrelevant.
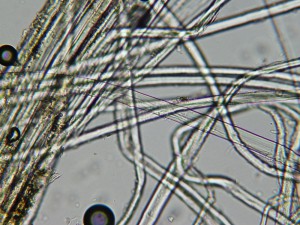
This image shows cotton fibers for comparison. Cotton fibers are flat and ribbon-like in structure, and they twist, whereas flax fibers are rounded or tubular.
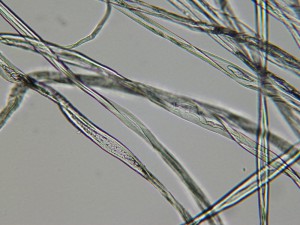
There is some twist in the structure of flax fibers, also. The image below shows this twisting (in a greenish color in the thin strand in the center). One important thing I learned on Thursday is that the flax fibers we use for spinning and weaving are not the fibers from the circulatory system of the plant (xylem and phloem), which I had previously believed. In fact, they are the structures that give the plant strength and rigidity. They are associated with the vascular cells but are different.
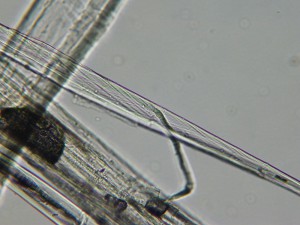
The two images below show strick fibers (fully processed and ready to spin) from the Zinzendorf brothers in Pennsylvania. The flax was grown and processed on their farm. In the top photo, the center-most green, translucent strand shows the horizontal bars that are typical of flax fibers. In the upper left hand corner you can also see some brown decayed plant matter that is still sticking to the fibers. Click on the images to see a larger view.
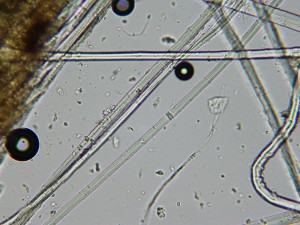
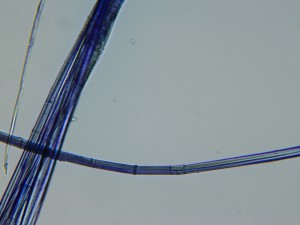
On the slide below we used a stain that shows lignin (the woody material that makes the fibers strong and rigid) in blue and pectin (the starchy glue that holds cells together) in pink. This is a piece of water-retted flax fiber. In the process of water retting, bacteria consume the pectins and allow the fibers inside the plant stalk to separate from the woody core and the outside “skin” of the stalk. If you let the retting continue until all the pectins are eaten, then the individual cells separate also, and you don’t get long fibers to spin. You just get a hairy mess. So, since these fibers are still holding together, there is still pectin present. We think the blue made the pink hard to see. You can see the tubular structure of the flax fibers and the horizontal bars very clearly.
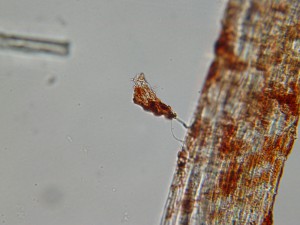
The photos below show pale pink madder-dyed 40/2 linen. I used alum acetate for the mordant. I was amazed at how the color sticks to the fibers in clumps. I wonder if yarns with a darker color would show the color adhering more evenly.
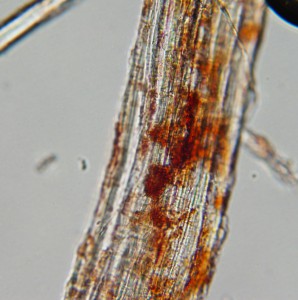
This photo shows some strands of undyed fiber next to the dyed fibers. I wonder if these were on the inside of the yarn and came free when I teased apart the snippet of yarn to put on the slide.
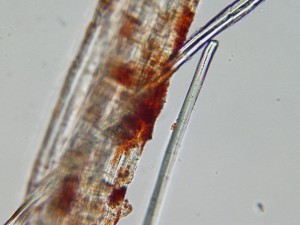
Who knows what is going on here, but whatever it is, it doesn’t look good. That little nugget of color is about to get away.
Hopefully we will have a chance in future to look at cross sections of the plant stalks at different points in their growth, to see how the fiber bundles develop. Science is fun!

