After about two years of planning a series of naturally dyed rya wall-hangings in my mind, I am finally weaving one! I am very excited about it. There are many steps involved. First, I dyed pounds and pounds of woolen yarn. You can read about the process in earlier posts: black walnut, Lady’s bedstraw, Queen Anne’s Lace and woad, and orange cosmos. This project features Queen Anne’s Lace and woad.
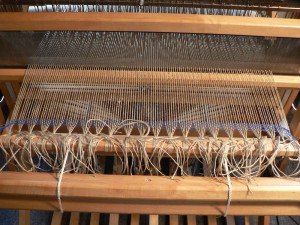
Then, I set up the warp. It is 8/4 natural linen from Webs,124 ends, a little shy of 21 inches wide in the reed, set at 6 ends per inch in a 12 dent reed, sleyed 1-0-1-0-1- etc.. When it’s done I expect it will be about 14 inches high.
Here’s the warp tied on and ready to go:
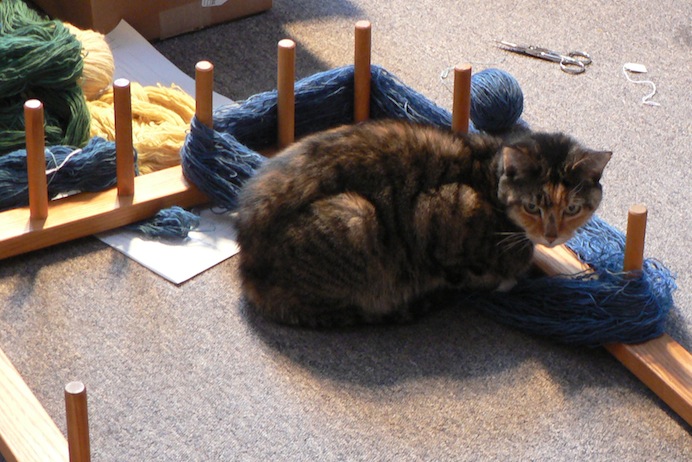
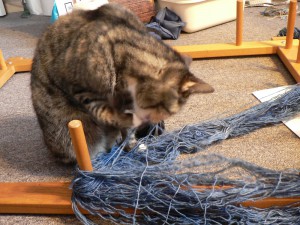
Next, I wound the dyed skeins into balls. I don’t have a swift so I use my warping board to keep the skeins from tangling. I do have a ball winder but it’s not much help in this task. It’s a tedious job…. When I came back upstairs after making a cup of tea, the cat had decided that the yarn made a cozy place to sit. She wasn’t pleased that I had obvious intentions of disturbing her.
I nudged her off and continued winding balls. She got very interested.
Then a pat and a swipe.
Then a lot of licking. The Pippi likes to help.
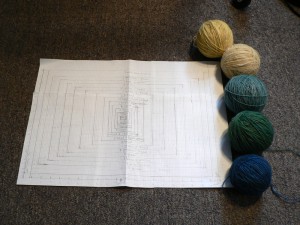
Here are the yarn balls next to my design. From the top to the bottom, they are dyed with Queen Anne’s Lace (bright yellow), Queen Anne’s Lace exhaust (pale yellow), woad over exhausted Queen Anne’s Lace (teal), woad over original Queen Anne’s Lace (green), then just woad (blue). The wool is a commercial singles. I’m not sure of the yarns per pound. I got it from Chris White of Magpie Design and New England Felting Supply in exchange for some madder seedlings (12/24/2023 Neither of those businesses are in business anymore, but Chris wrote a fabulous book that you might want to check out if you’re a feltmaker).
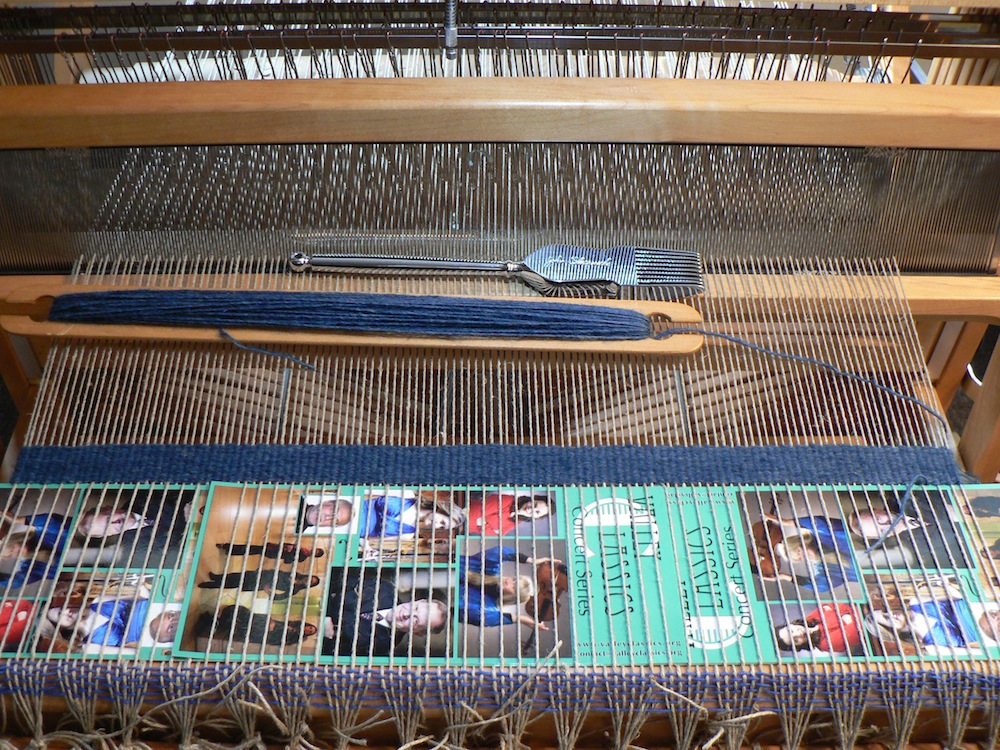
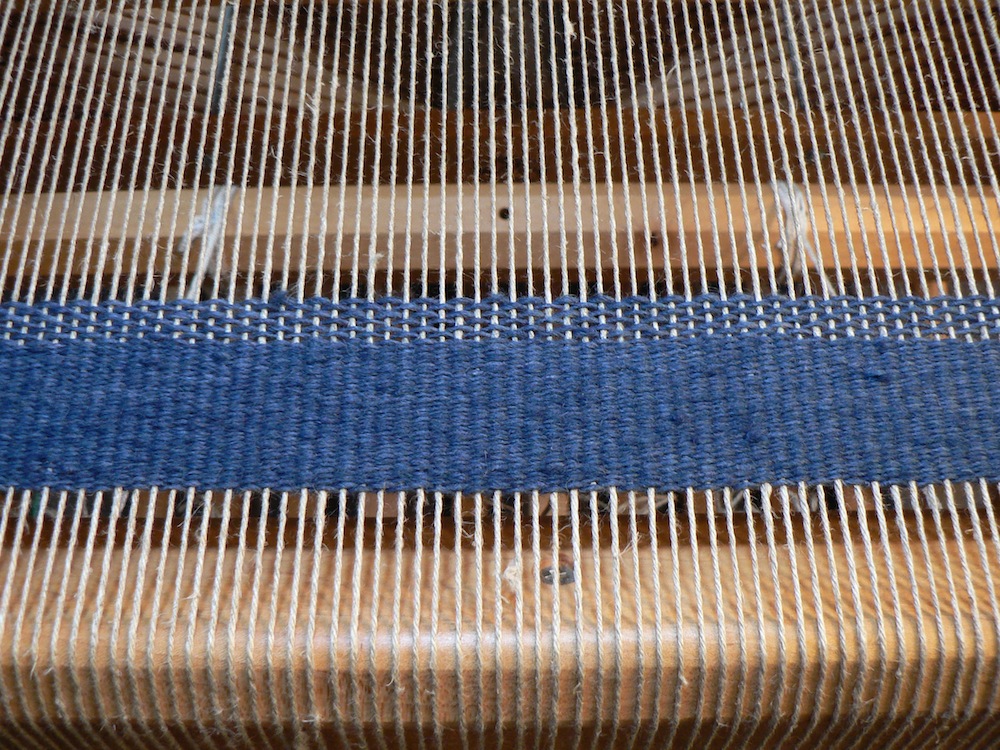
The next step was weaving the weft-faced plain-weave hem and border. Weft-faced means that the yarns going across the warp cover the warp completely, like so:
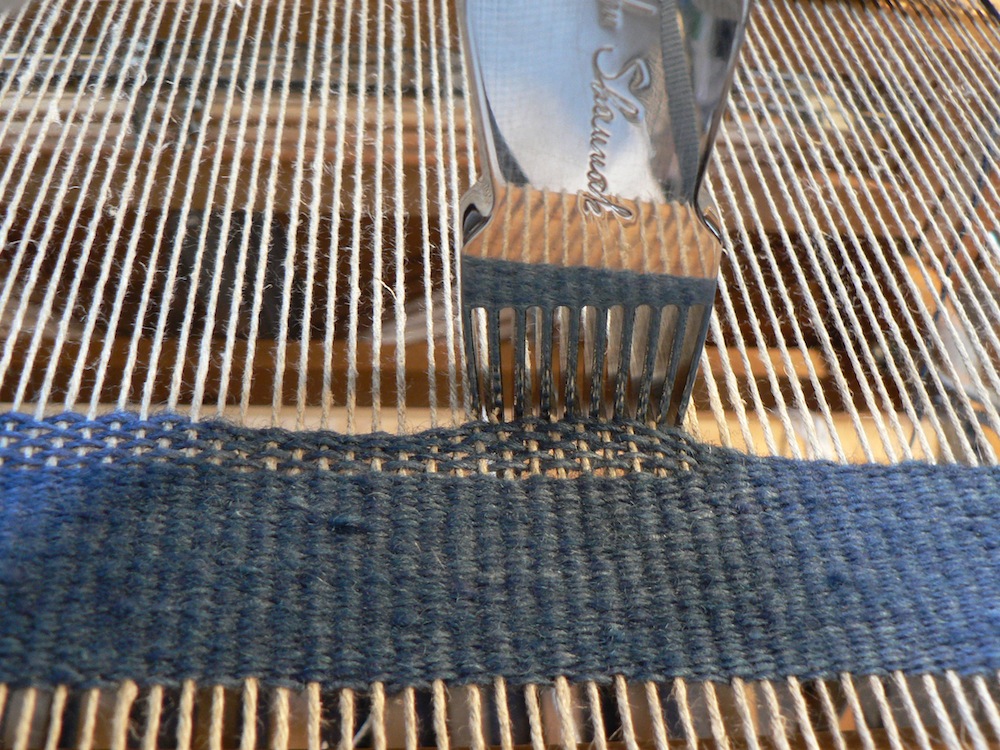
The pictures of classical musicians are spacers to reserve some warp for tying knots later. The yarn is too bulky for a boat shuttle so I wind it onto a stick shuttle. The tapestry beater (silver fork) is key. Even though I l-o-v-e my loom, I can’t beat in the weft all the way on this project. So, here’s my technique.
I beat in 4 or 6 picks of weft with the loom’s beater.
Then I whack them down with the tapestry beater. It’s really heavy and presses the weft in firmly.
My design is based on a color gradation: dark blue, green, teal, light yellow, vivid yellow. Each knot has three strands of yarn. After all the balls were wound, I made butterflies of the color combinations I need. A butterfly is a handy way of keeping yarn organized. It’s like making a mini-cross with your weft and securing it snugly. Then you can pull it out in an orderly fashion.
The first butterfly had three blue strands. The second butterfly, two blue strands and one green. Third, one blue and two green. Fourth, three green. Fifth, two green and one teal. And so on. Here is how I make a butterfly.
I combine three strands (three blue at left). I alternate between my thumb and pinkie until the butterfly is the maximum bulk that can fit between two warp ends (about thirty wraps in this case). Then, cut the single strands and wrap the ends a few times around the pinkie-side of the bundle. The loose yarn pulls out from the interior thumb-end.
Next up, weaving the argatch, i.e., the plain weave border at the selvedges, and wrapping the knots around a rod.

