In 2014 I was very excited to acquire my first Japanese indigo seedlings at the Massachusetts Sheep and Woolcraft Fair in Cummington, MA. I bought them from Blue By Ewe in Temple, New Hampshire. That year I saved the whole crop for seed. You can read about my harvest in an earlier blog post here. I intended to expand the amount I grew each year and save my own seed annually.
I did manage to grow my own seedlings in 2015, which I documented in a couple posts that you can link to here and here. I even managed to use the plants for dyeing that year. However, I was not on the ball to save seed in an organized way that fall, and I did not grow any Japanese indigo in 2016.
This week I am on vacation from school, and the weather yesterday was fantastically warm and sunny. So, I decided the day had come to clean up some seed and try to get some started. I have read that Japanese indigo seeds do not stay viable for very long, so I am not sure that any will grow.
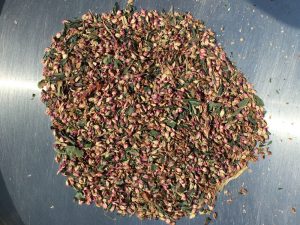
At some point in the past I had separated some seeds and dried flower stalks in an 8-oz canning jar, so I started with this pile of colorful debris:
I originally thought that the pink dried flowers were just dried flowers. I assumed I would be able to winnow this pile like I have done with flax seeds. My method for that is to blow around the edge of a wide pan (really, the lid of a big pot) and let the lighter chaff blow away.
This method did not work. Everything blew away. Plus, I couldn’t see many seeds at all. What was going on?
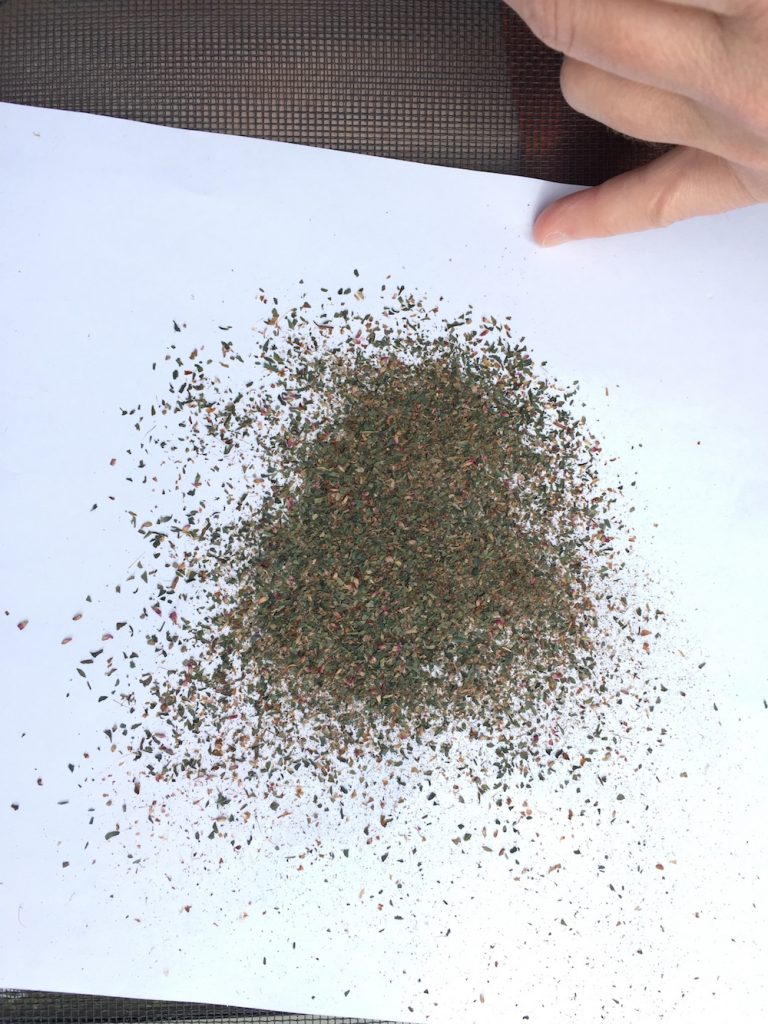
I decided to separate the debris using a screen. I haven’t invested in actual seed-cleaning screens, but we picked up some small window screens last summer, and I used those. It worked really well to separate the smallest particles, which included a lot of dried soil:
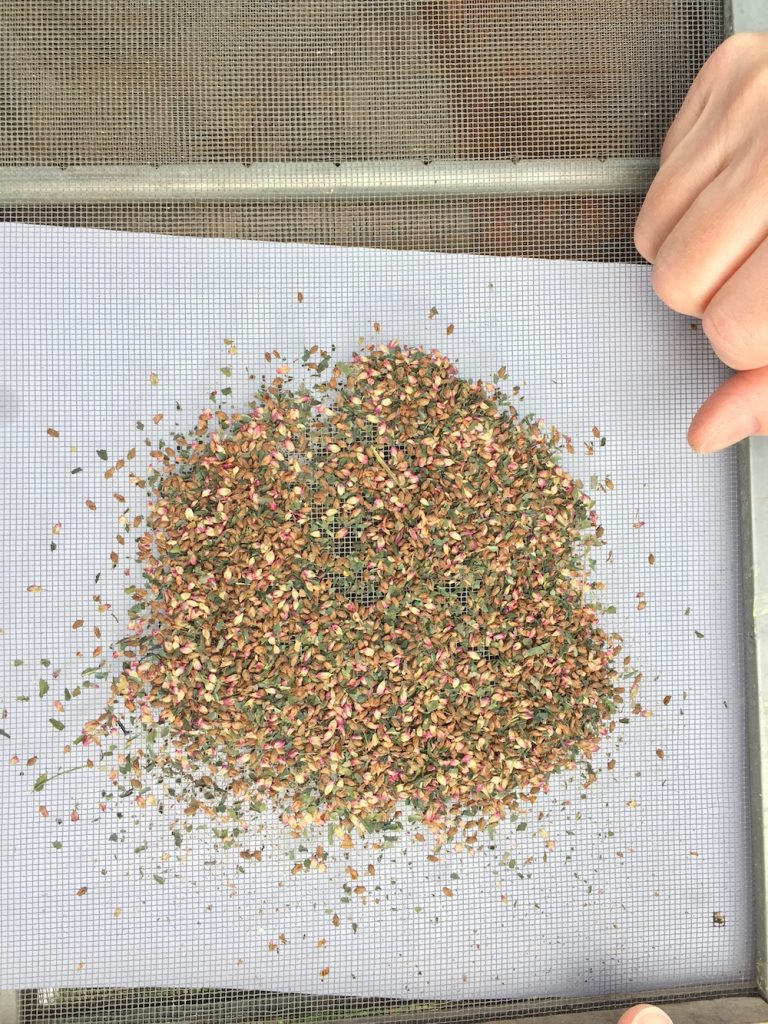
On top of the screen were the larger particles, including the seeds and flowers, etc.:
As I rubbed the debris against the screen, I realized that the seeds were inside a dry papery cover. Even the little pink things that I had assumed were just dried flowers actually had seeds inside.
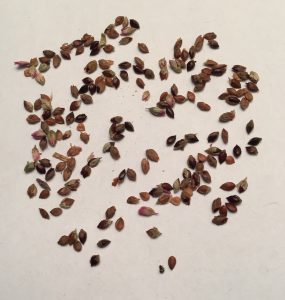
In the photo below, the shinier seeds are the ones from which the covering has been rubbed off. The duller ones with a slighter rougher texture still have the covering on:
To be honest, I am not sure if rubbing off the covering is helpful or harmful. Maybe too much rough handling will damage the seed coat, and/or maybe they would have germinated just fine with the outer layer still attached. We will see!
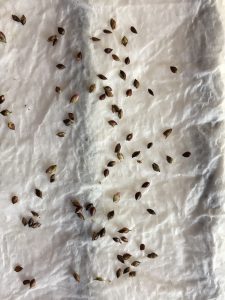
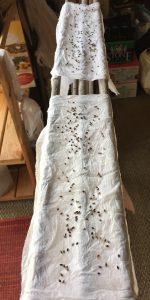
On the left hand side, below, is a close up of a damp paper towel with seeds sprinkled on, so I can see how many will germinate (if any) before I plant them. On the right are both of the paper towels I set up:
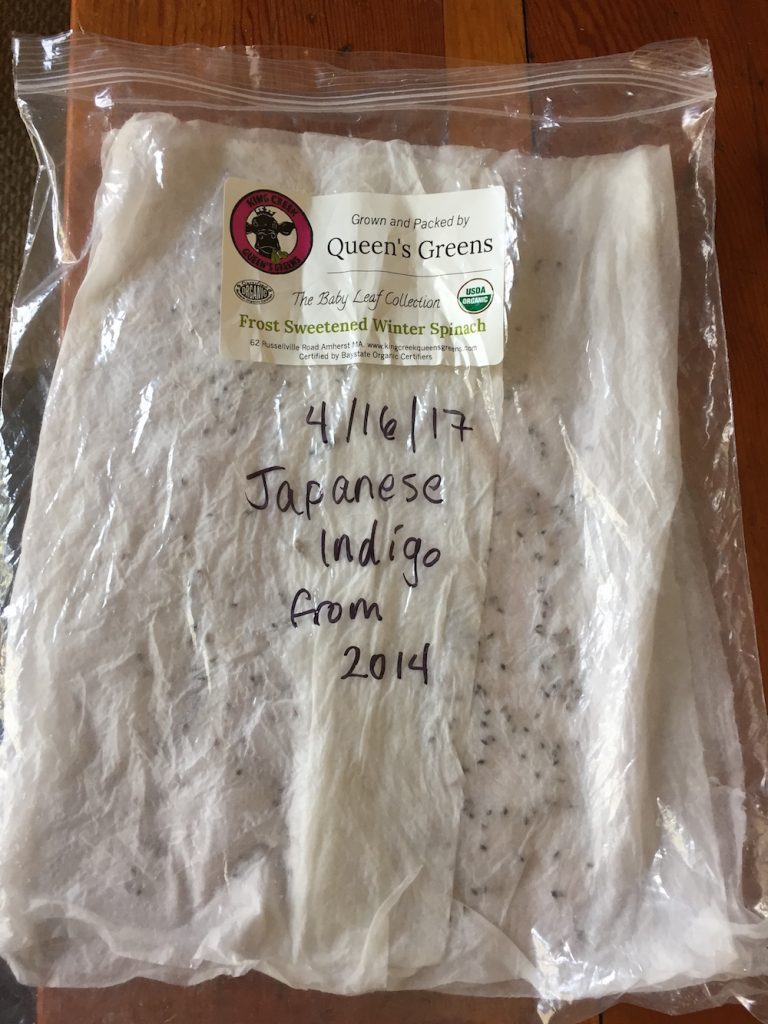
Here is the germination experiment bagged up (to retain moisture) and labeled:
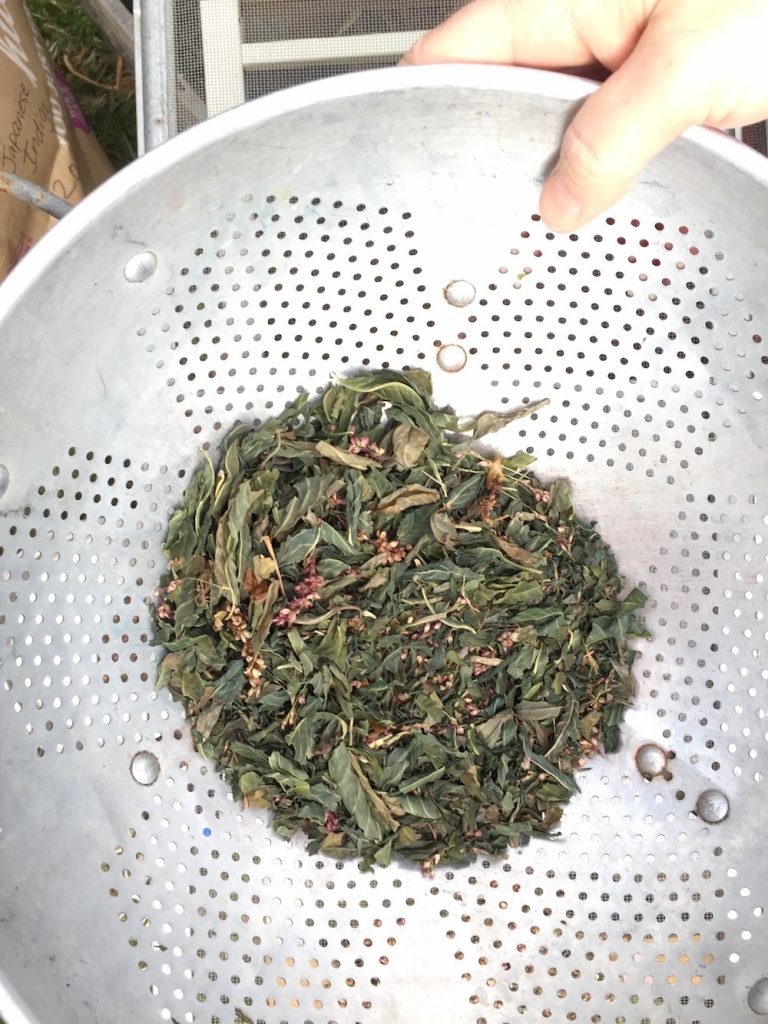
Now that I had a pretty good method figured out for cleaning up the seed, I decided to separate all the flowering seed stalks from the dried leaves. I have never read anywhere, nor heard from anyone, that dried leaves are useful for dyeing. Alas. I kind of want to try them anyway because the color is incredible. So, I put the leaves into a separate bag, and wound up with a large paper grocery bag of leaves and stalks, and a smaller one with flower stalks. At the bottom of the original bag was a jumble of broken-off leaves, flowers, and seeds. For the final sifting job, I used a regular colander to separate the larger leaves from the rest:

