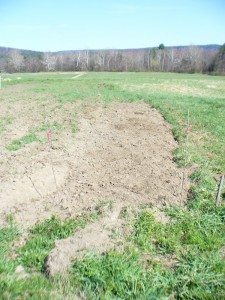
Microscope Images of Flax Fibers

On Thursday, May 17th, our flax and linen study group met at the lab of one of our members to look at flax fibers under a microscope (and cotton and wool, for comparison). It was so incredibly fun!

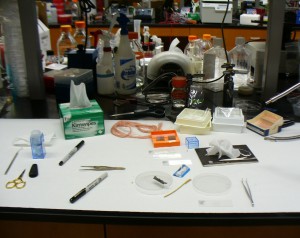
Here are the tools and equipment we used to make slides.

making slides (permanent mount)

We used tweezers to position our samples and to pull them apart a little to separate the fibers so the light could pass through. We put our samples on a slide (in the square boxes on the right), and added a drop of the mounting adhesive on top (from the little bottle in the blue box). Then we dropped on a small glass cover and used tweezers to press out the air bubbles and get the adhesive to spread evenly between the slide and the cover (small glass covers are in the orange box).  Sharpies are for labeling slides. The pink yarn in back is madder-dyed 40/2 linen. Scissors and razor blades are for cutting. Because the samples were dry, we could make permanent mounts.

Folks brought in a range of flax in various stages of processing: dried but un-retted, retted but unbroken, and retted and broken but not scutched or hetcheled, and fully processed strick, both old and recent. We looked at flax in several different stages including some of my naturally dyed yarn.

Here is the microscope.

microscope

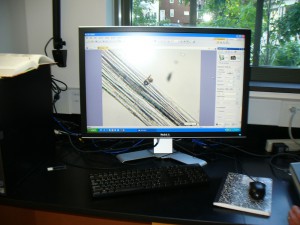
Here’s the big monitor, which was awesome because we could all see the slides without having to take turns looking through the microscope.

monitor

The program let us do things like adjust the color and take photographs.

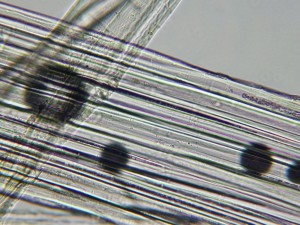
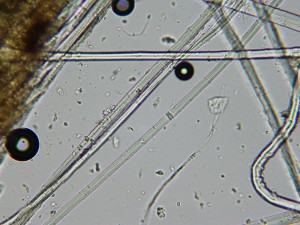
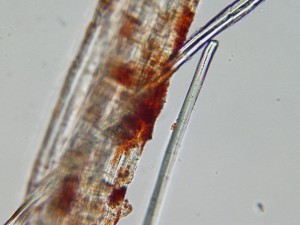
We took a lot of very beautiful photos. Here are a few highlights. This image shows the tips of two flax cells overlapping. You can see it in the upper-most edge of the large central bundle, just to the right of the less-in-focus strand that’s crossing diagonally in the left hand corner. Those two greyish-colored pointy tips are the ends of two fiber cells.

retted and broken flax cell ends overlap

The granular purplish area just to the right of the overlapping cell ends shows that part of the structure of the fiber there is hollow. The black circles are air bubbles. Beautiful but irrelevant.

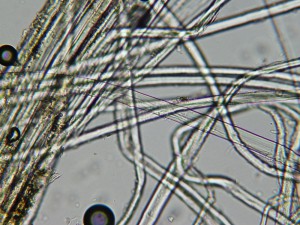
This image shows cotton fibers for comparison. Cotton fibers are flat and ribbon-like in structure, and they twist, whereas flax fibers are rounded or tubular.

cotton 2

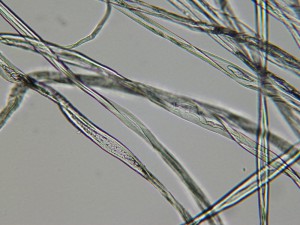
There is some twist in the structure of flax fibers, also. The image below shows this twisting (in a greenish color in the thin strand in the center). One important thing I learned on Thursday is that the flax fibers we use for spinning and weaving are not the fibers from the circulatory system of the plant (xylem and phloem), which I had previously believed. In fact, they are the structures that give the plant strength and rigidity. They are associated with the vascular cells but are different.

retted and broken flax twist

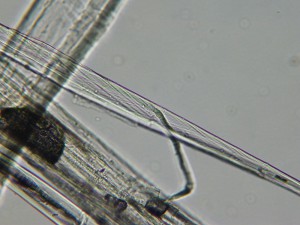
The two images below show strick fibers (fully processed and ready to spin) from the Zinzendorf brothers in Pennsylvania. The flax was grown and processed on their farm. In the top photo, the center-most green, translucent strand shows the horizontal bars that are typical of flax fibers. In the upper left hand corner you can also see some brown decayed plant matter that is still sticking to the fibers. Click on the images to see a larger view.

brother johannes strick

brother johannes strick 2

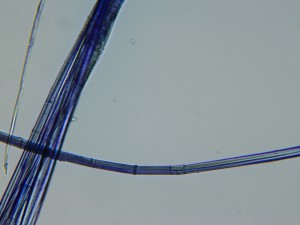
On the slide below we used a stain that shows lignin (the woody material that makes the fibers strong and rigid) in blue and pectin (the starchy glue that holds cells together) in pink. This is a piece of water-retted flax fiber. In the process of water retting, bacteria consume the pectins and allow the fibers inside the plant stalk to separate from the woody core and the outside “skin” of the stalk. If you let the retting continue until all the pectins are eaten, then the individual cells separate also, and you don’t get long fibers to spin. You just get a hairy mess. So, since these fibers are still holding together, there is still pectin present. We think the blue made the pink hard to see. You can see the tubular structure of the flax fibers and the horizontal bars very clearly.

stained retted flax

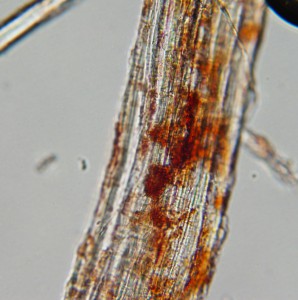
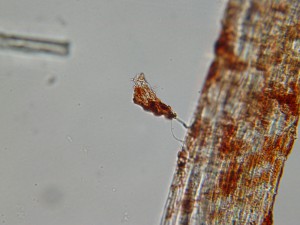
The photos below show pale pink madder-dyed 40/2 linen. I used alum acetate for the mordant. I was amazed at how the color sticks to the fibers in clumps. I wonder if yarns with a darker color would show the color adhering more evenly.

madder dyed linen yarn1

This photo shows some strands of undyed fiber next to the dyed fibers. I wonder if these were on the inside of the yarn and came free when I teased apart the snippet of yarn to put on the slide.

undyed strand

Who knows what is going on here, but whatever it is, it doesn’t look good. That little nugget of color is about to get away.

madder clump

Hopefully we will have a chance in future to look at cross sections of the plant stalks at different points in their growth, to see how the fiber bundles develop. Science is fun!



Flax Grids: Evelin at Amethyst Farm

Earlier today I was searching the web for interesting tid-bits about Evelin to share, to spice up all these admittedly monotonous photos. I came across Bast and Other Plant Fibers by Robert R. Franck (CRC Press, 2005). Franck lists Evelin as one of 31 fiber flax cultivars approved for use in Europe as of 2002. I didn’t get far enough to figure out why these 31 were approved in particular, or what the differences were between them. A research task for another day. Among other things, I learned that I’ve been spelling the variety “Marilyn” incorrectly. It is actually spelled Marylin, even though I thought I had read that it’s named after Marilyn Monroe. While it merits being on the list, for whatever reason, Evelin was not among the most popular varieties grown in western Europe in 2002. That honor went to four other varieties: Agatha, Hermes, Marylin, and Diane.

I had to laugh at one comment the author made. In outlining the reasons for low productivity in certain countries, he cites one reason as being “the innate conservatism of peasant agriculture.” I think I must fall into that category.

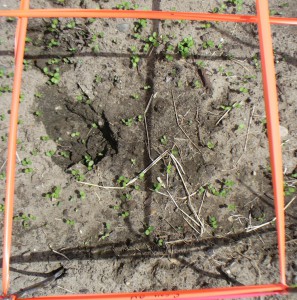
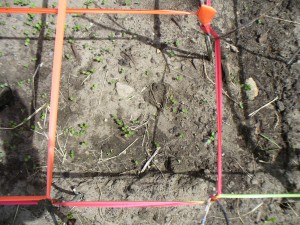
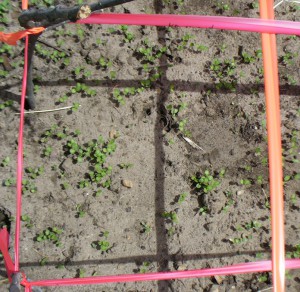
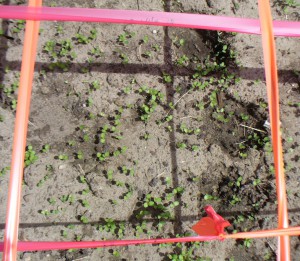
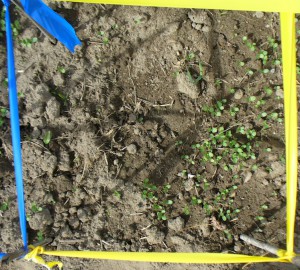
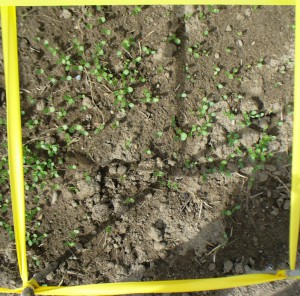
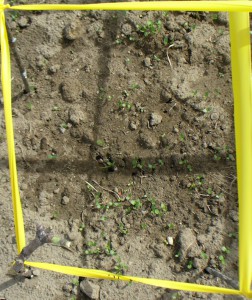
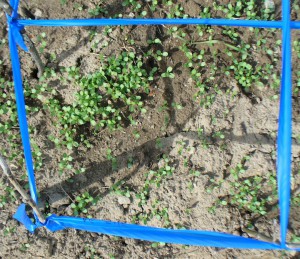
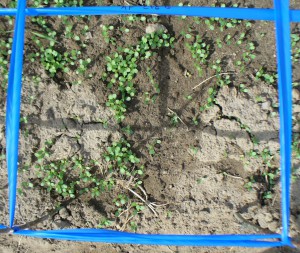
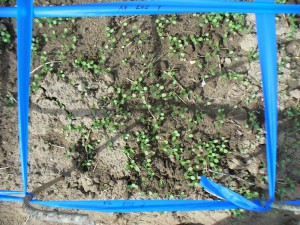
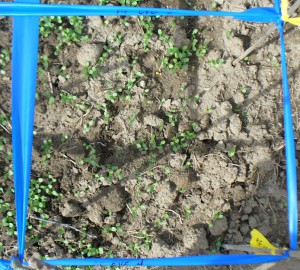
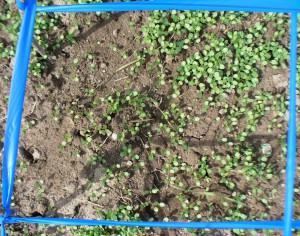
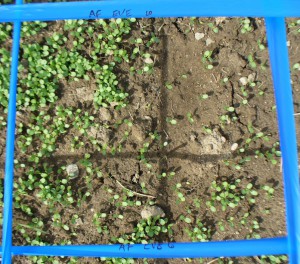
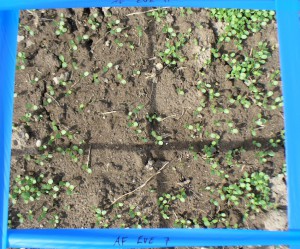
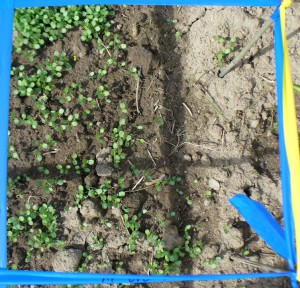
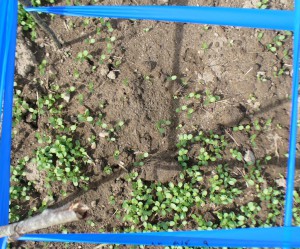
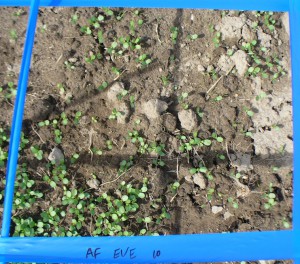
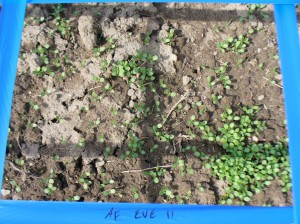
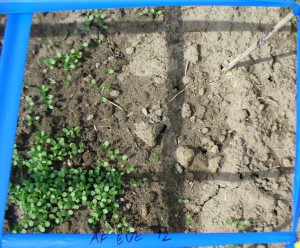
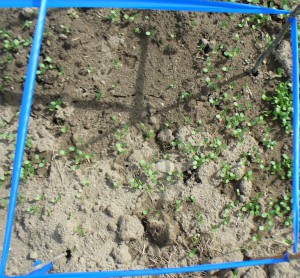
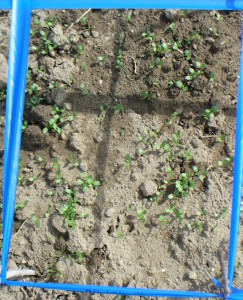
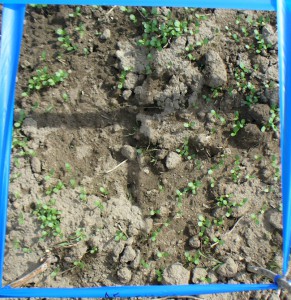
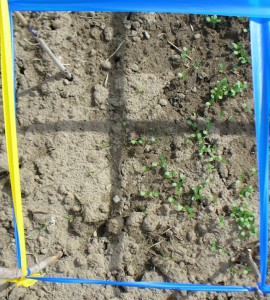
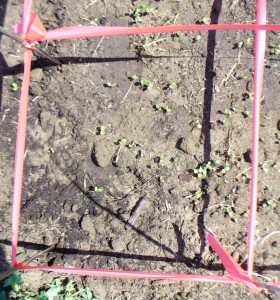
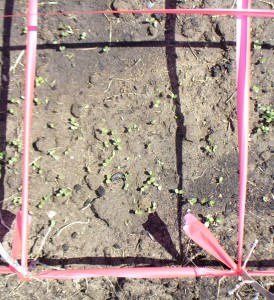
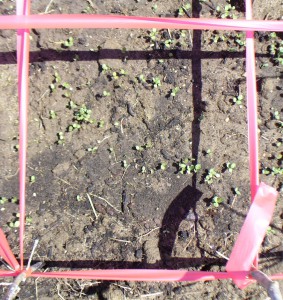
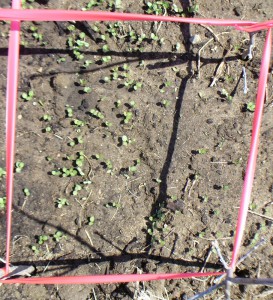
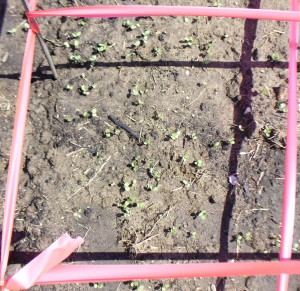
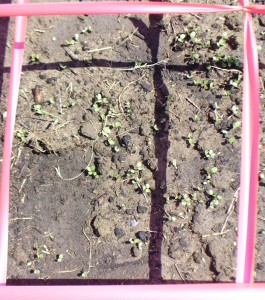
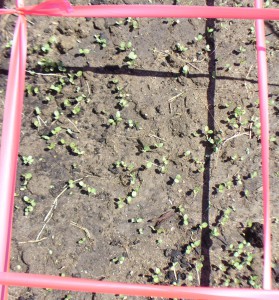
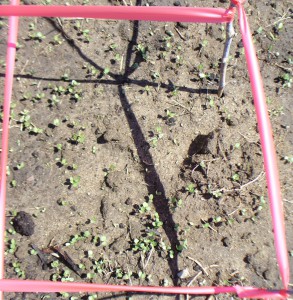
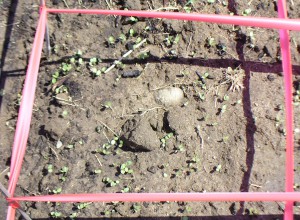
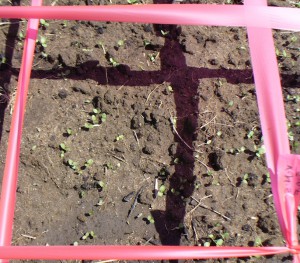
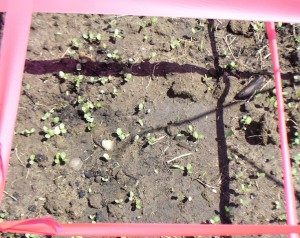
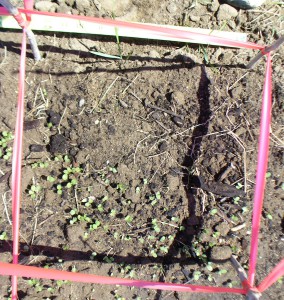
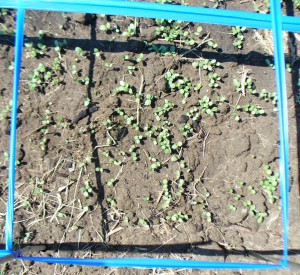
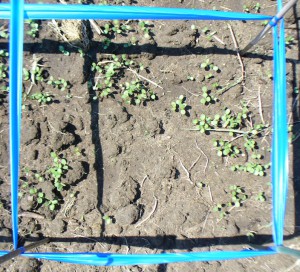
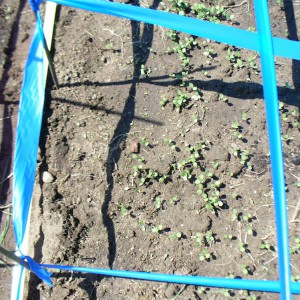
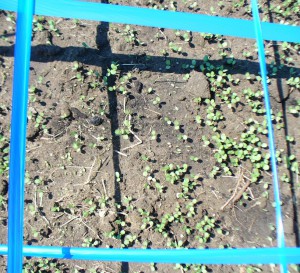
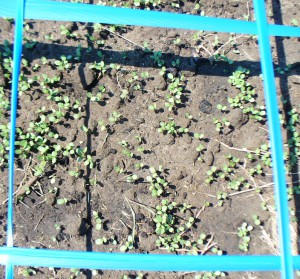
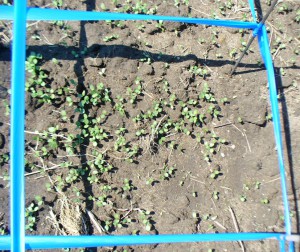
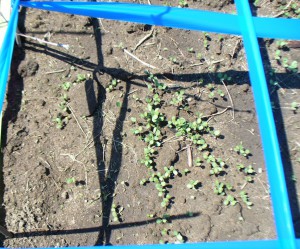
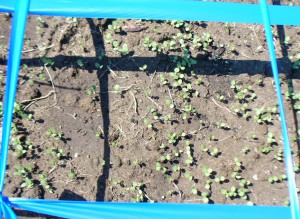
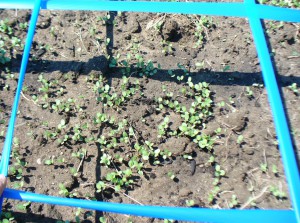
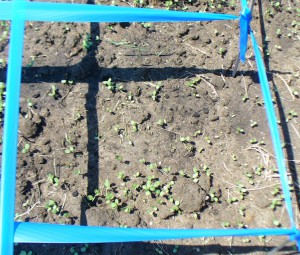
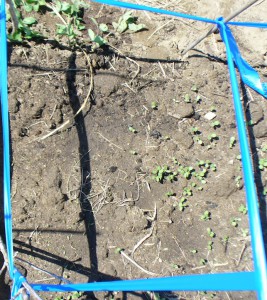
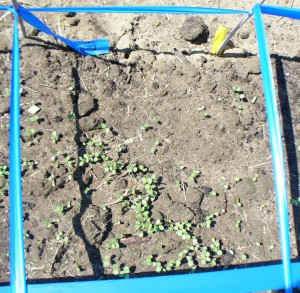
Here are the photos of Evelin growing at Amethyst Farm in Amherst, MA. As before, each square is a foot square, and the full grid is 4 feet square. The images appear in order, numbered from 1 to 16 across the grid from bottom left corner to top right. See my original post for more info on this set-up.

Evelin at Amethyst Farm 1

Evelin at Amethyst Farm 2

Evelin at Amethyst Farm 3

Evelin at Amethyst Farm 4

Evelin at Amethyst Farm 5

Evelin at Amethyst Farm 6

Evelin at Aethyst Farm 7

Evelin at Amethyst Farm 8

Evelin at Amethyst Farm 9

Evelin at Amethyst Farm 10

Evelin at Amethyst Farm 11

Evelin at Amethyst Farm 12

Evelin at Amethyst Farm 13

Evelin at Amethyst Farm 14

Evelin at Amethyst Farm 15

Evelin at Amethyst Farm 16

Flax Grids: “Variety Not Specified” at Small Ones Farm

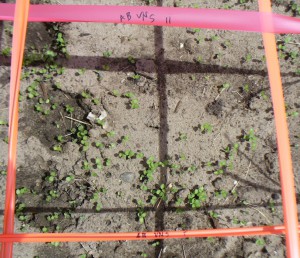
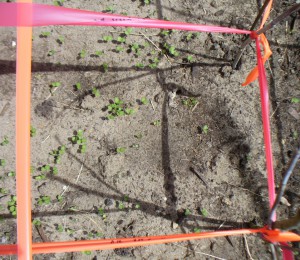
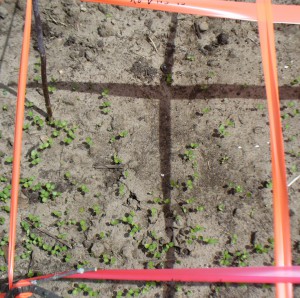
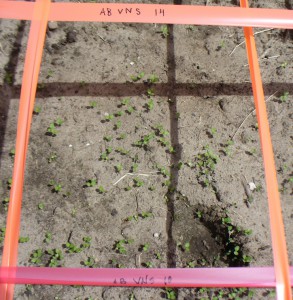
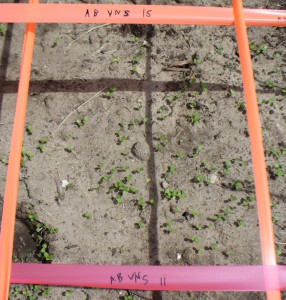
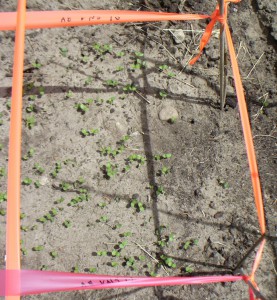
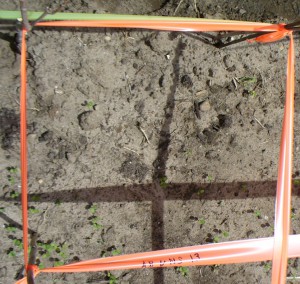
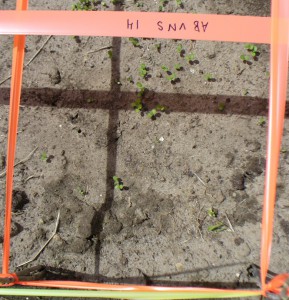
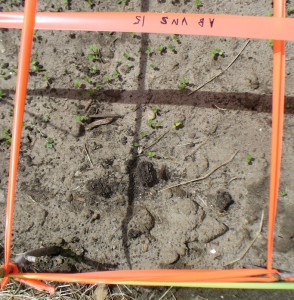
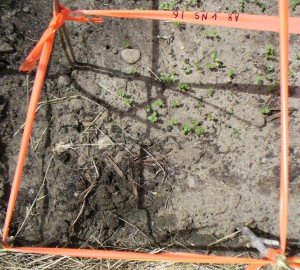
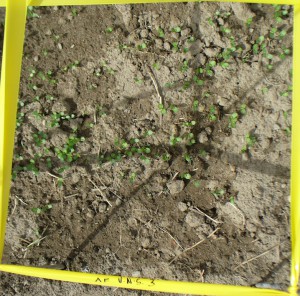
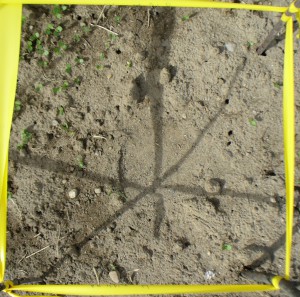
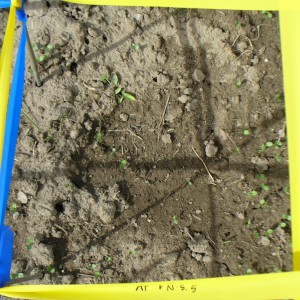
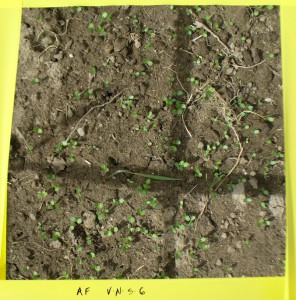
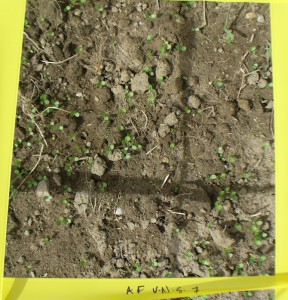
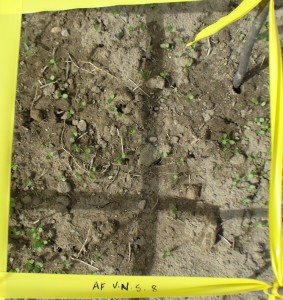
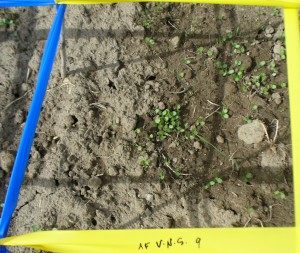
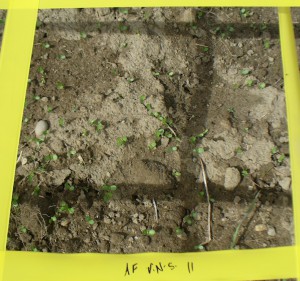
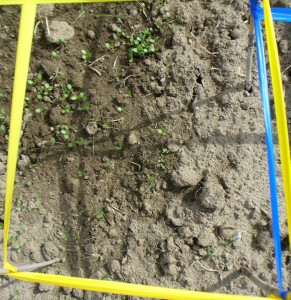
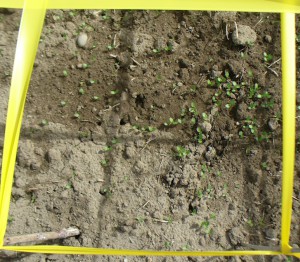
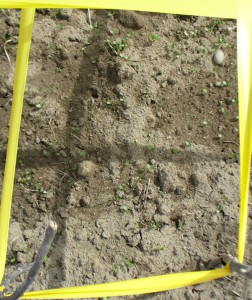
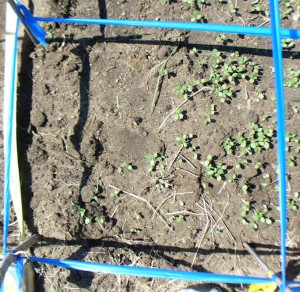
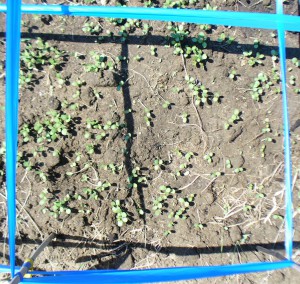
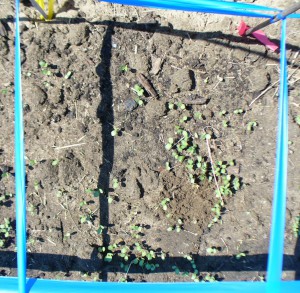
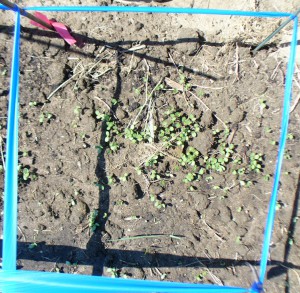
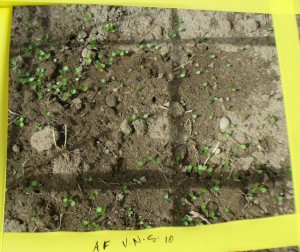
Here are the photos of the “variety not specified” (v.n.s.) flax at Small Ones Farm in South Amherst on April 29th. They are posted in order from square 1 to square 16 in the grid. For an explanation of the grid numbering system, and what these flax grids are all about, see my last post, “Belated Photos of Flax Grids: Evelin at Small Ones Farm.”

vns at Small Ones 1

vns at Small Ones 2

vns at Small Ones 3

vns at Small Ones 4

vns at Small Ones 5

vns at Small Ones 6

vns at Small Ones 7

vns at Small Ones 8

vns at Small Ones 9

vns at Small Ones 10

vns at Small Ones 11

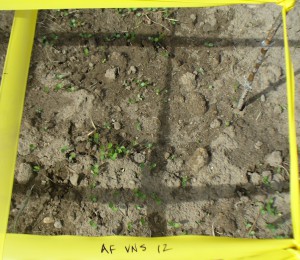
vns at Small Ones 12

vns at Small Ones 13

vns at Small Ones 14

vns at Small Ones 15

vns at Small Ones 16

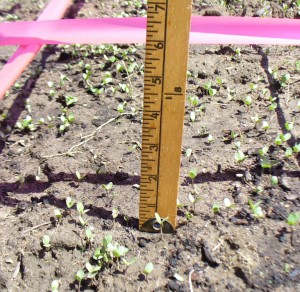
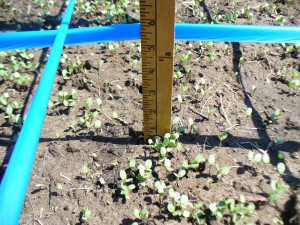
vns at Small Ones height April 29

Above is a photo showing the height of the vns seedlings on April 29th at Small Ones Farm.


Belated Photos of Flax Grids: Evelin at Small Ones Farm

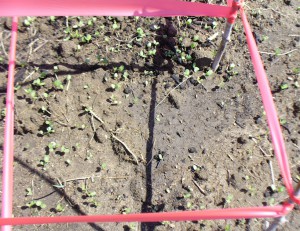
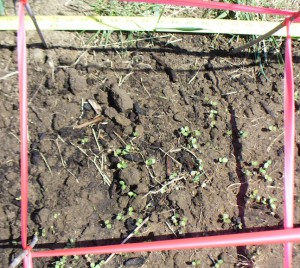
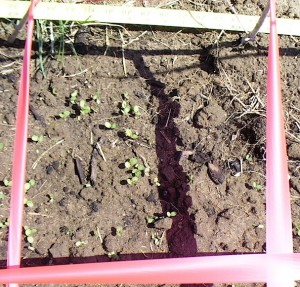
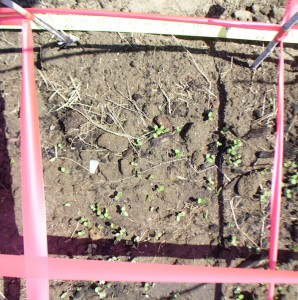
Back on Sunday April 29th and Monday April 30th I set up one-foot-square grids in my flax beds. I used sticks to stake out the one-foot increments, and flagging tape to outline the edges. They are not perfectly square, but it’ll do. At each plot (Small Ones Farm, Amethyst Farm, and the community garden at Amethyst Brook) I used a different color flagging tape for each variety, but didn’t plan ahead enough to use the same color for each variety at each place. That would have been handy, but too late now. As you might suspect, it is hard to tell from a photo of little green plants just exactly which variety of seed or section of a plot I am looking at. So, I thought the color coding would help differentiate photos back at home when I’ve downloaded them onto the computer and am figuring out which is which. I also wrote labels on the flagging tape, but it twists around sometimes so they aren’t clear in every photo. Each grid is four feet square (the width of the bed, and four feet in length), divided into 16 sections. I took a photo of each section. I have a total of 7 beds, which multiplied by 16 is a lot of photos of little green plants. One hundred and twelve, to be exact. That is too many for one post. It actually has crossed my mind that perhaps not everyone will be interested in looking at 112 photos of flax. But in the interests of documenting this project, I’ve decided to post them all, divided between several posts.

I set up the grids because I wanted a more quantifiable way to measure the germination rates of the different seed varieties, and to count how many plants were growing in each square foot. Mostly what this exercise taught me is that my sowing technique is terrible. I have clumps and bare patches in an extremely uneven pattern. Sigh. Raking did not help at all, so I will omit that step in future. In fact I think many of the ridges where there is a density of plants were created by the edge of the rake. So, there is a lot more to learn about that step of the process. Honestly, I think this season was my worst broadcasting job ever, but then again I have never scrutinized every step of the process so closely.

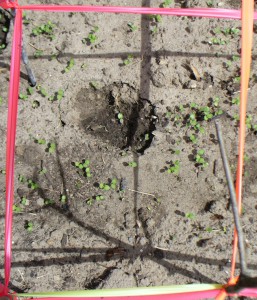
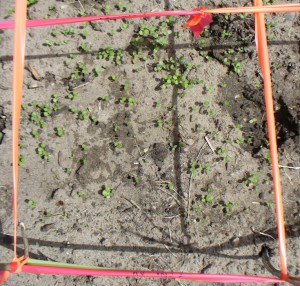
This post features the variety Evelin (an untreated variety from Richters in Canada) planted at Small Ones Farm in South Amherst. The photos were taken April 29th, and are labeled with the variety, the location, and a number 1 to 16. The squares in the grid are numbered from left to right, starting in the row on the near side of the bed and moving to the back. That is,1 is in the bottom left hand corner, and 16 is in the top right corner. They are posted in order from 1 to 16.

Evelin at Small Ones 1

Evelin at Small Ones 2

Evelin at Small Ones 3

Evelin at Small Ones 4

Evelin at Small Ones 5

Evelin at Small Ones 6

Evelin at Small Ones 7

Evelin at Small Ones 8

Evelin at Small Ones 9

Evelin at Small Ones 10

Evelin at Small Ones 11

Evelin at Small Ones 12

Evelin at Small Ones 13

Evelin at Small Ones 14

Evelin at Small Ones 15

Evelin at Small Ones 16

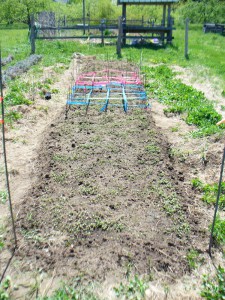
Evelin bed at Small OnesAbove is an overview of the bed of Evelin, and below is a photo showing the height of the plants on April 29th (14 days after planting).

Evelin at Small Ones height


Cat in the Flax

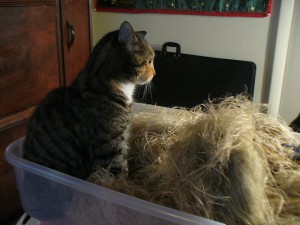
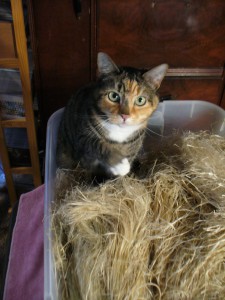
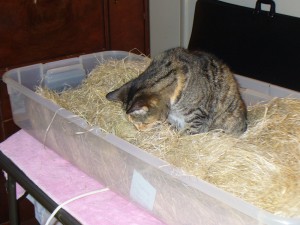
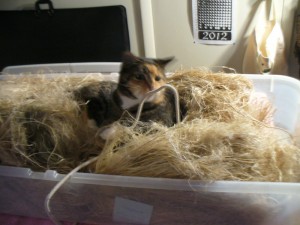
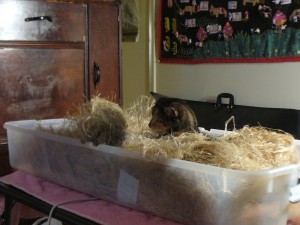
Last week I did a fiber and spinning lesson in my old classroom, as part of their study of Colonial New England. I brought along a wide variety of natural fibers in different stages of processing, including flax. Afterwards, when I went to put away the bundles of retted and broken flax, the cat immediately jumped into the container. She likes to jump into all kinds of baskets and boxes, especially newly opened ones or ones which aren’t usually there, which prompts the phrase, “Pippi in a basket!” Our cat is officially named Smitten, but a long time ago she got the nickname Pippi, which is what we usually call her, or sometimes the Pippi. Even though she’s the only one, Pippi is also a general category, as in “Pippies like meat pie.” We are the monkeys. Our household consists of Pippies and monkeys.

First the Pippi sat in the corner, surveying the scene.

Pippi in a basketNext she pawed the flax.

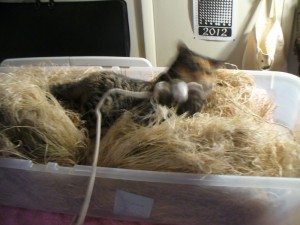
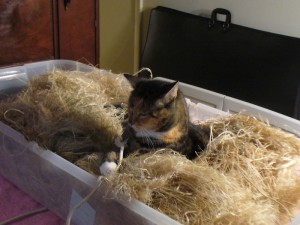
Pippi paws flaxThen she noticed the suspicious rope that I use to hold the box closed, which must be attacked.

Pippi prepares to attack

Pippi eyes the rope

Matthew obliged by animating the rope.

Pippi fights rope

rope battle

There was a battle. The Pippi won.

Pippi wins

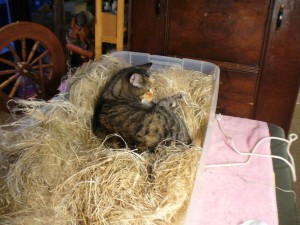
She licked and chewed a few strands of flax, then settled in to rest after her victory.

Pippi settles in

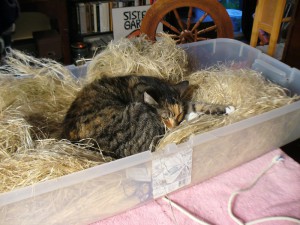
She was annoyed by monkeys trying to sneak up on her with a camera to get a photo of her while she was asleep.

Pippi is annoyed

Just doing my part to spread photos of cats via the internet.

Flax Is Up!
Well, apparently I have to include a lot of exclamation points in this flax growing experiment. I will cut that out. But it’s so exciting!
The flax began emerging on Friday April 20th. The first two to emerge were the Evelin at Amethyst Farm and the Marilyn at our community garden. That’s five days to germinate. By the next day, Saturday April 21st, everything was up everywhere. That’s six days. Not bad.

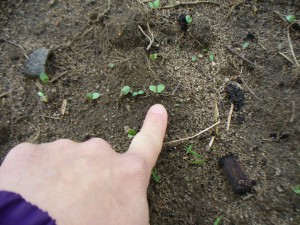
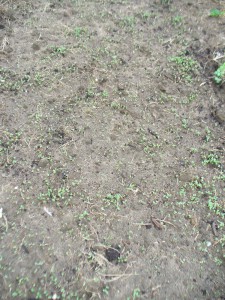
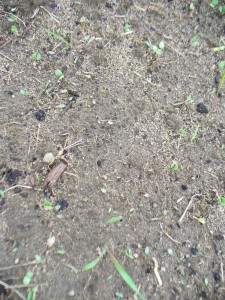
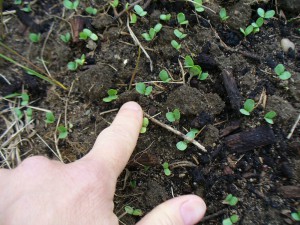
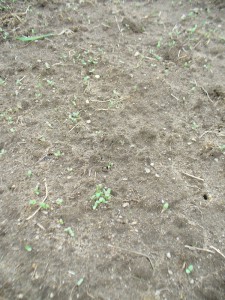
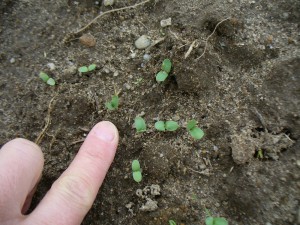
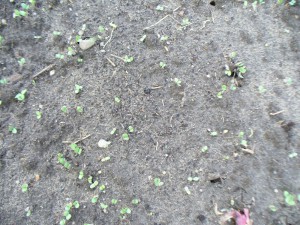
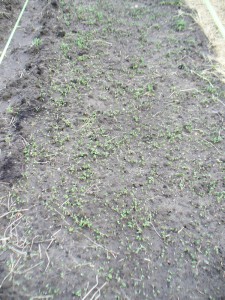
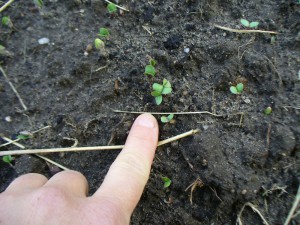
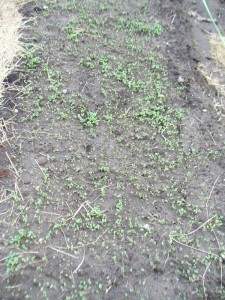
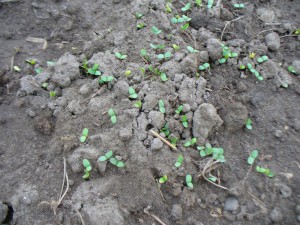
Here’s the progress as of yesterday, Tuesday April 24th (the 9th day since planting). My sense is that the generic variety did not have a very good germination rate. I will try to figure out an accurate way to estimate or calculate that, but the growth of the v.n.s. seedlings looks much more sparse than the other two. Another possibility is that the golden v.n.s. seeds on average weighed more than the brown seeded varieties, so that I actually planted fewer golden seeds even though the amount weighed the same. Maybe I should have done it by volume rather than weight. I will try to figure this out, also.

Here is an overview of part of the v.n.s. bed at Small Ones Farm, and below that, a close-up of a bald spot. To some extent, of course, bald spots are my fault for not sowing evenly.Small Ones vns overview

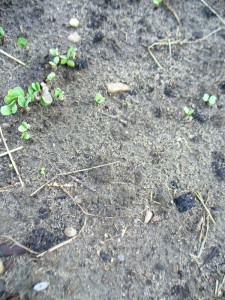
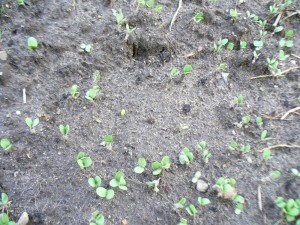
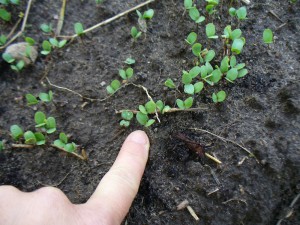
Small Ones vns bald spotsHowever, I think it is also because a lot of seeds just didn’t germinate. Here’s a closeup of v.n.s. seedlings at Small Ones Farm.

Small Ones vns close upBelow is an over-view of part of the Evelin bed at Small Ones Farm. Below that, you can see there were also bald spots in the Evelin, but I don’t think they were as big.

Small Ones Evelin overview

Small Ones Evelin not so baldAnd here’s a close-up of the Evelin at Small Ones Farm.

Small Ones Evelin close-upMoving on to Amethyst Farm, here is the v.n.s. at a distance, closer (yeah, not much there), and very close:

Amethyst Farm vns overview

Amethyst Farm vns bald spot

Amethyst Farm vns close-upHere’s the Evelin at Amethyst Farm, overview, then closer, then a close-up:

Amethyst Farm Evelin over-view

Amethyst Farm Evelin medium bald

Amethyst Farm Evelin close-up

And at our community garden, the v.n.s. (the holes are dog prints):

Amethyst Brook vns over-view

Amethyst Brook vns sparse but fewer big bald spots

Amethyst Brook vns close-upHere’s the Evelin at the community garden:

Amethyst Brook Evelin over-view

Amethyst Brook Evelin small bald bit

Amethyst Brook Evelin close-upAnd here is the Marilyn (the only treated seed I planted) at the community garden:

Amethyst Brook Marilyn over-view

Amethyst Brook Marilyn not bald

Amethyst Brook Marilyn close-upAnd that is the flax update. Stay tuned for future flax-growing excitement featuring visual aids such as rulers and a string grid (maybe 6 by 6 square inches) to count plant density. Woo hoo!


Earth Day: Planting, Watering, and Waiting for Emergence

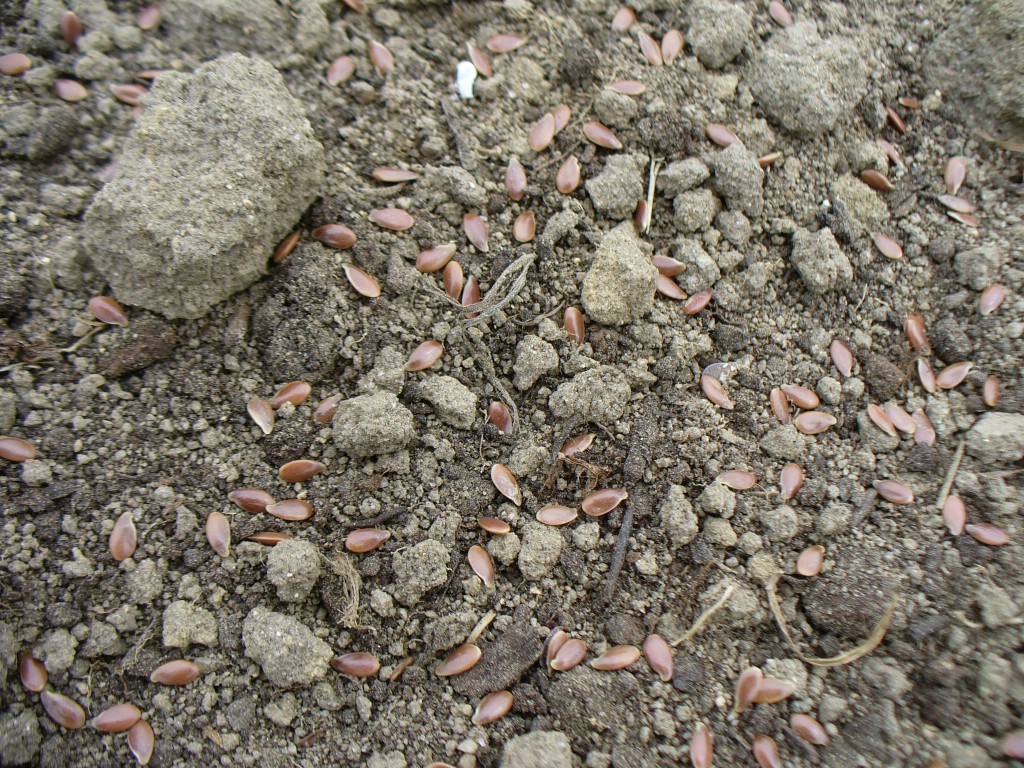
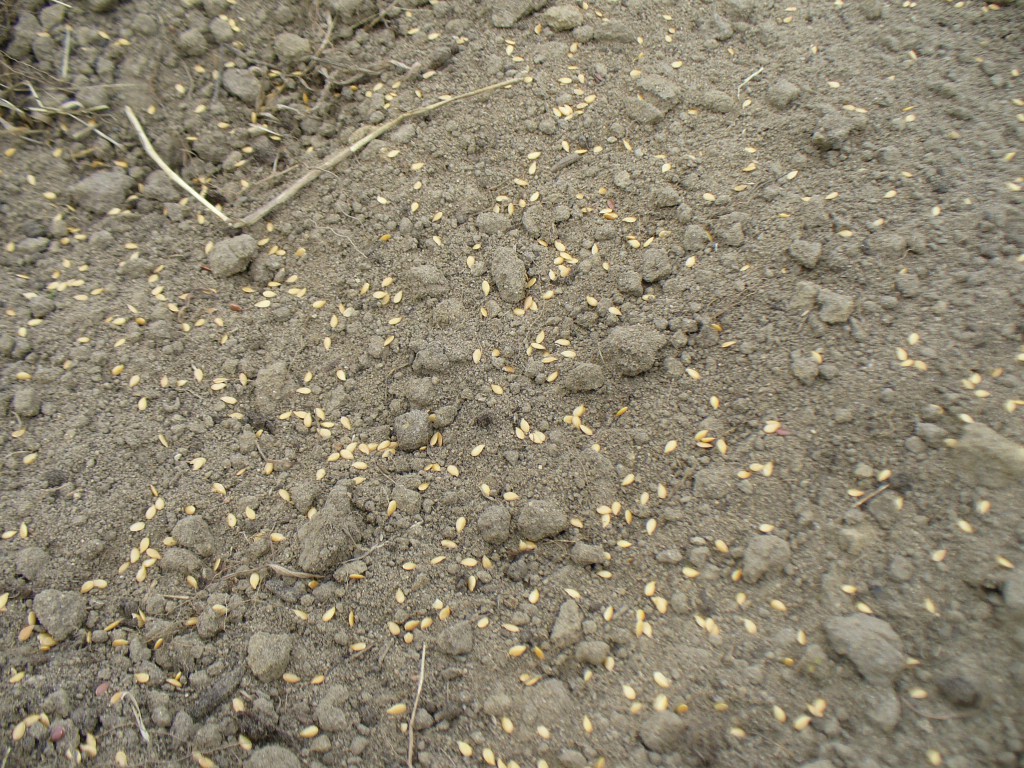
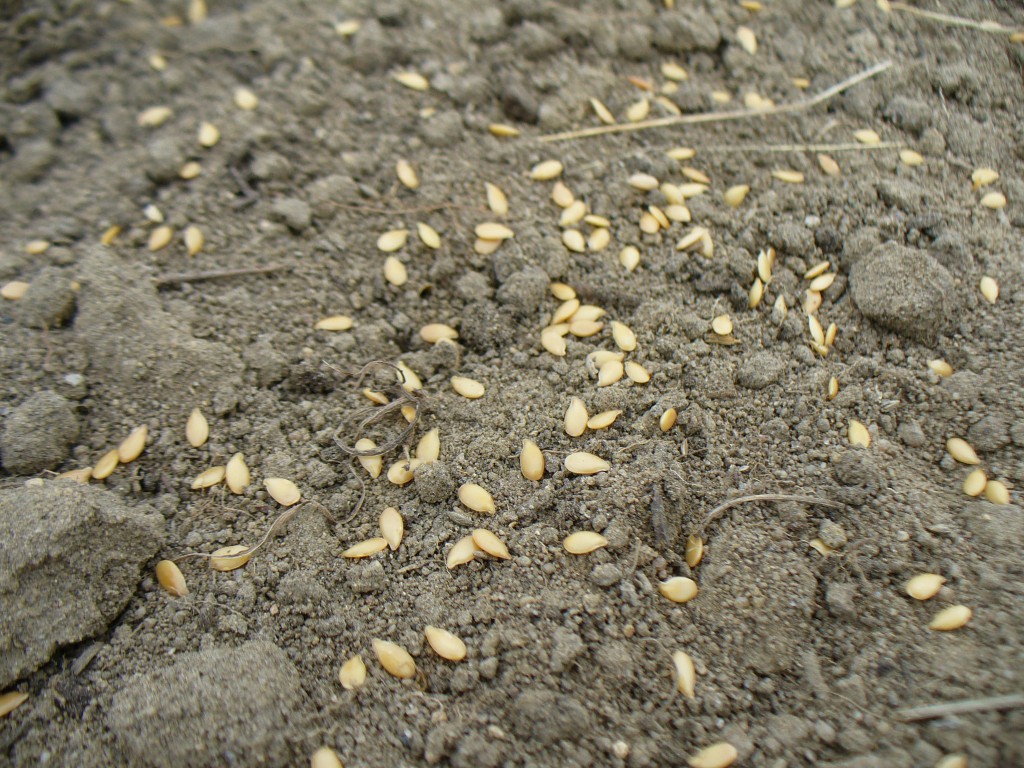
The traditional way to plant flax is by broadcasting, which means you toss it out onto the soil by hand and try to achieve an even distribution. This is what I did. I usually sow about half of the seed as I move down the bed, and then sow the other half walking the other direction from the other side. If there are big piles or bald areas, I spread them out a bit more with my hand. I always grow my flax in beds because I find it impossible to weed anything wider than 4 feet. Usually I rake in the seed then press the soil down by standing on a board. I always assumed that this buried the seeds sufficiently, and I suppose it must have because my flax has always grown just fine. For the first time this year, though, I am growing a golden-seeded variety, which shows up clearly against the darker soil. After raking, I was astonished at how much of the seed was still on the surface. So I spread quite a lot of additional soil on top in order to cover the seeds. Perhaps in the past I just couldn’t see the dark-brown seeds well enough, and assumed they were buried when in fact they weren’t. This year I omitted the step of pressing down with a board.

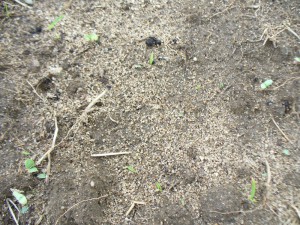
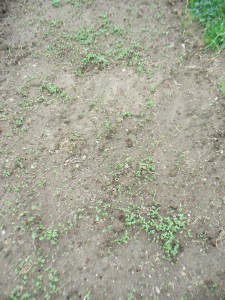
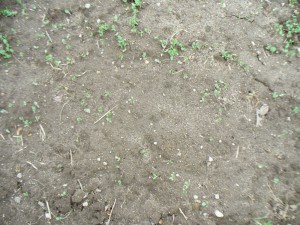
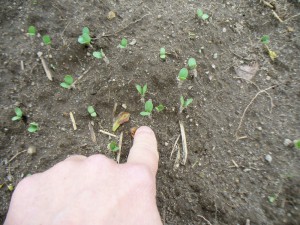
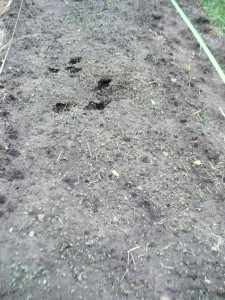
Here is a closeup of Evelin after I broadcast it. I didn’t take a separate photo of the Marilyn because it is the same color and looks the same. Not much contrast between the seed and the soil, right?

Evelin close up Here’s what the non-specified variety (or v.n.s., variety not specified) looked like.The contrast makes it easy to see.

non-specified variety broadcast And here’s a close up:

v.n.s. close upThe idea is to spread the seeds fairly thickly so the plants are crowded together. This prevents them from branching, so that you get the longest possible fibers from the stems.

Because the weather has been so sunny and dry, the soil was very dry when I planted and it continued to be dry all week. So, I had to water, water, and water more. The need for so much water brings into question the sustainability of this crop, I realize, but hopefully future springs will be wetter.

Here’s are all the plots planted and watered–Amethyst Farm (note the clear plastic water containers against the shed), Small Ones Farm, and our community garden (from top to bottom):

Amethyst Farm planted April 15th

Small Ones Farm planted April 15th

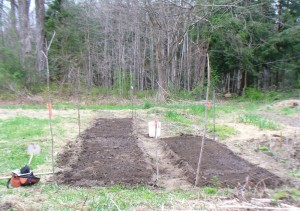
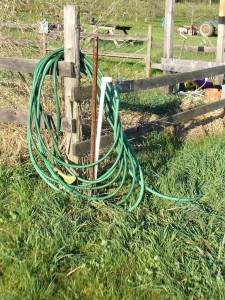
Amethyst Brook planted April 15thIt took most of the day to do all three sites. The next day it was about 90 degrees, I kid you not. Not flax’s favorite. I had to water every day from April 15th to April 21st (yesterday). The water situation is a bit different at each place. At Small Ones there is a standpipe with a hose, on town water.

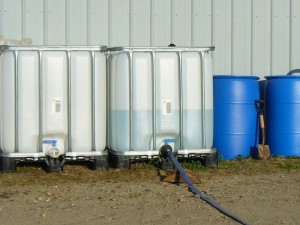
Small Ones waterAt Amethyst Farm, there’s a big container that was filled with town water, also. Eventually they want to rig up a system for collecting rain run-off from the roof of the shed, which has a big surface area as you can see in the earlier photo of the planted bed.

Amethyst Farm waterIf you compare the two photos, you can see how much the water level in the tank went down in just a few days. The clear tank offers a good visual reminder of exactly how much water I’m using.

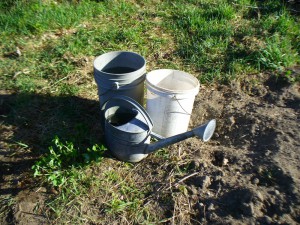
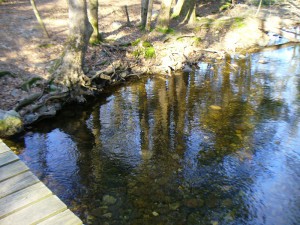
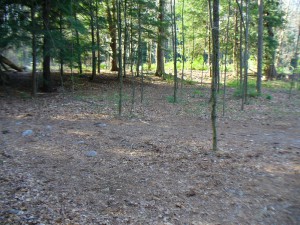
The watering situation at our community garden plot is not as convenient as the set-up which my kind hosts at Small Ones Farm and Amethyst Farm have provided (thanks again!). We haul water from the stream nearby, Amethyst Brook, in 5-gallon buckets. Here are the buckets and watering can, the stream, and the path from the stream to the gardens.

buckets and watering can

Amethyst Brook

path of carrying waterThe bright green sunny spot that you see through the woods is the edge of the gardens. It is a bit of a distance, but hauling water makes a person strong, and makes me appreciate the fact that I don’t have to fetch all my water this way. The stream is right behind me in this photo. This time of year it is usually full and rushing, but due to the lack of snow and rain, it is pretty low at the moment.

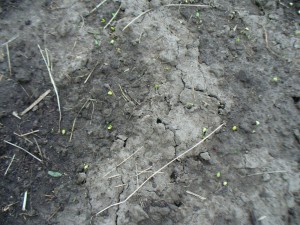
I eagerly awaited the emergence of the flax. Is this flax? Not sure, probably too early.

is it flax?This is not flax. It looks like grass (boo).

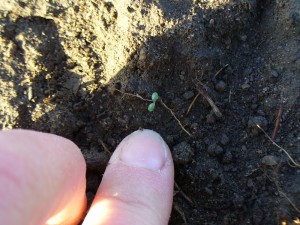
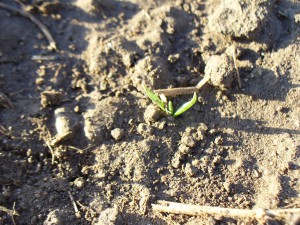
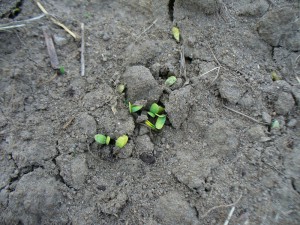
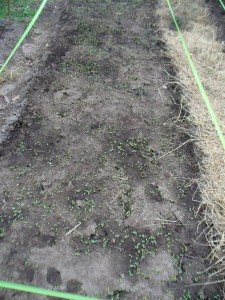
not flaxAt last, on Friday the 20th while watering at Amethyst Farm, we noticed that both the Evelin and the v.n.s. were up! Whee! Evelin on the left, v.n.s. on the right (no noticeable difference in my opinion).

April 20 Evelin Amethyst FarmApril 20 vns Amethyst Farm


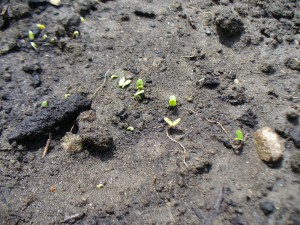
That same day, Friday the 20th, while watering at our community garden, I noticed that the Marilyn was just barely up!

April 20 Marilyn at Amethyst BrookNothing was up yet at Small Ones on Friday. On Saturday the 21st, both the Evelin (left) and v.n.s. (right) were up at the community garden.

April 21 Evelin Amethyst BrookApril 21 vns Amethyst Brook


And also on the 21st, both the Evelin and v.n.s. were up at Small Ones Farm but I neglected to bring my camera, alas.

Yesterday I rejoiced in the emergence of tiny green plants. Today is Earth Day and it is raining at last. I am very grateful.

Flax Day, Not Tax Day!

Last Sunday, April 15th, I planted my flax at last! Usually, mid-April is the right time to plant here in the lower-lying lands of the Connecticut River valley, and I wouldn’t feel like I was getting it in late. Some years, the snow has barely melted by mid-April. However, this has not been a usual April any more than this winter was a usual winter. We have had no spring snow, not much rain, and with the very warm, very dry weather, I probably could have put in the flax a month ago. Nevertheless, April 15th was planting day, and a glorious day it was.

Planning out this flax project has been a multi-step process. In fact, the reason for my delay in posting about it (yes, sorry, it’s been a month since my last post) is that I kept waiting until certain steps had been completed, and of course then there’s the next step, and the next… And a month goes by.

I should probably start by explaining why I am growing flax and what my goals are. I have a vision of locally made cloth using locally grown fiber, naturally dyed with locally grown or gathered plant materials, and hand-woven. There is plenty of wool, alpaca, mohair, and other animal fiber around, but currently we have no locally grown plant fiber. I don’t mean there are no local plant sources of fiber; several plants around here are great for fiber, including milkweed, nettles, and even oriental bittersweet. But no one is growing or processing them in quantity. Flax is a beautiful, versatile fiber with 30,000 years of human use. It grows in my climate, unlike cotton, and is legal to grow, unlike hemp. So, it is my goal to contribute to the cause of local cloth by becoming very good at growing and processing flax, and ultimately to grow it in large quantities. Some day I even fantasize about being the “Flax Mother” of Massachusetts (minus the prison labor).

While I’m writing in the first person singular, I am not alone in this endeavor and rely on many people for help and support. I’ve been growing and learning how to process flax for several years, with a lot of trial and error. Initially I planted some at my mother’s place up in New Hampshire. Lacking advice and experience, I over-retted it and it was all gone. Next came advice, information, and comradeship from folks in the flax and linen study group at the Hill Institute in Florence, where I was working on my Master Weaver certificate. Since completing that program in 2010, I have been eager to increase my skills and knowledge at a quicker pace, to gain a certain level of expertise or mastery. Over the winter I was lucky enough to meet two wonderful women who are also interested in all aspects of growing, processing, spinning, and weaving flax and linen, both in terms of understanding how the crop was processed in the past, and how we might accomplish it today. Our meetings over the past few months have been incredibly helpful and inspiring. I have also appreciated email advice about flax seed and bee-pollination from Upinngil Farm in Gill.

The first step was figuring out where to plant. I wanted to plant in a variety of places so that I could compare the performance of each variety in more than one location. Many thanks to the generous farmers at Small Ones Farm in South Amherst and Amethyst Farm in East Amherst for letting me use a plot for this experiment and helping me with a water set-up! I also planted at our community garden at Amethyst Brook.

The second step was sourcing seeds, and deciding which varieties to plant. My plan is to gather some data to compare different varieties: How tall do they grow? How prolific are they? Do they tend to branch or lodge (fall over)? Do they grow and mature at different rates? Is one variety better suited to conditions around here? Does one produce finer fiber or fiber in more quantity?

In the past I have grown Marilyn from Landis Valley in Pennsylvania, and have been happy with it. However, it comes treated with a fungicide, and I wanted to try some other, preferably untreated types and other sources. From Richters in Canada I ordered a non-specified fiber variety with golden seeds, and Evelin, which has brown seeds. We also ordered Marilyn from the Brothers Zinzendorf at the Hermitage in PA, which was also treated, as it turns out. (I’m speculating that both Landis Valley and the Hermitage import their seed from the same place in Holland, but I’m not positive, so don’t quote me on this.) I was only able to acquire a small quantity of Regina from Sand Mountain Herbs so I decided to hold off on that one for now.

I decided to plant Evelin and the non-specified variety at Small Ones Farm and Amethyst Farm, and those two plus Marilyn from the Brothers Z. at the community garden. Not quite the multitude of varieties I had initially hoped to compare, but it’s a good start.

The next decision was how much to plant, which would determine the size of the beds I needed to dig. I decided to plant the same quantity (4 ounces) at each place, in beds of the same dimensions (4 by 14 feet). In theory, this will make it easier to compare the productivity and yield of the different varieties. Different sources recommend planting at different rates. I have typically planted at a rate of one pound of seed per 225 square feet, and have been pretty satisfied. But recommendations range from one pound per 100 square feet to one pound per 400 square feet. I planted at approximately one pound per 224 square feet this year.

Next was turning over the beds and pulling out grass roots, which took a while. I started back in March. You may wonder why flax needs to be planted so early in the spring. The primary reason is that the best quality fiber is produced in cool, moist conditions, and that the heat of summer causes the fibers to become coarse. Two other reasons are that if the soil is still wet from the winter (and if the spring is a normal, rainy spring) you don’t have to water much, and also it gives the flax an advantage against weeds, many of which are not up yet that early in the spring.

I have found that grass is the main competitor to flax in terms of weeds (these guys have the same problem). Last year at our community garden plot we had it rototilled instead of turning it all over by hand as I’ve done in the past. The advantage of digging it over with a pitchfork is that you can pull out a lot of the long grass roots. Rototilling just chops them up and spreads them evenly around. You may as well plant grass. Despite repeated weeding, the grass was so difficult to pull out (pulling it up also pulled out a lot of the flax plants) that it over-ran the beds, and I ended up not harvesting all of the crop.

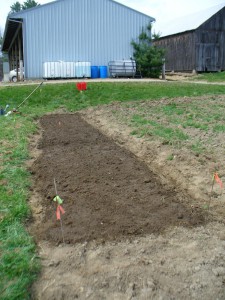
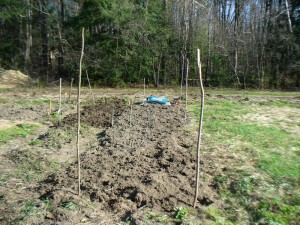
Many thanks to Farmer Bob for pointing out to me that early planting only gives flax an advantage over weeds that germinate from seed. If the roots are already in the soil, even densely crowded flax seedlings can’t do much to stop the grass from growing. I had experienced this grassy problem for myself, but hadn’t put two and two together about how plants propagate themselves and what that means in terms of weed control strategies. So, despite the fact that it was time-consuming, I dug over the beds with a pitchfork and pulled out as many grass roots as possible. Here’s the bed I dug on March 25th at Small Ones Farm:

March 25 at Small Ones FarmHere is the first bed at our community garden dug April 6th:

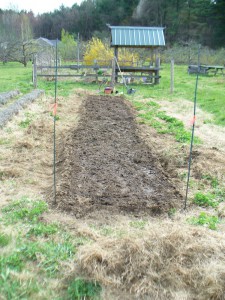
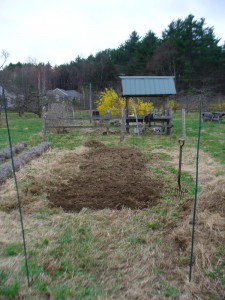
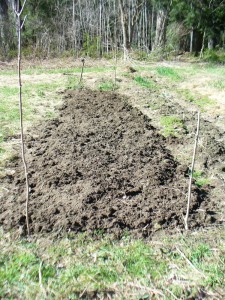
Amethyst Brook April 6Here is the whole thing at the community garden, completed April 13th, and below that, the completed bed at Amethyst Farm from the same day:

April 13 Amethyst BrookApril 13 Amethyst FarmThen I wanted to get the soil tested, which involved collecting samples, drying them, and dropping off the labeled bags at the UMass soil testing lab. I patiently waited for results, was excited when they came, then was a bit confused by them, and then had a series of queries back and forth to get help interpreting them. In subsequent years I will do this part of the process differently. Ideally I would like to know three different pieces of information: first, what the soil might need for additional nutrients; second, whether the amendments have addressed these deficiencies; third, after the flax is harvested, which nutrients were depleted by the flax (that is, which nutrients in particular flax uses up). In order to get all this info, however, I would have had to start earlier in the season. Live and learn.

So, I added some compost and manure to the soils that seemed to need it the most, and at last I was ready to plant! See the next post for more about planting, watering, and the exciting germination of my seeds!