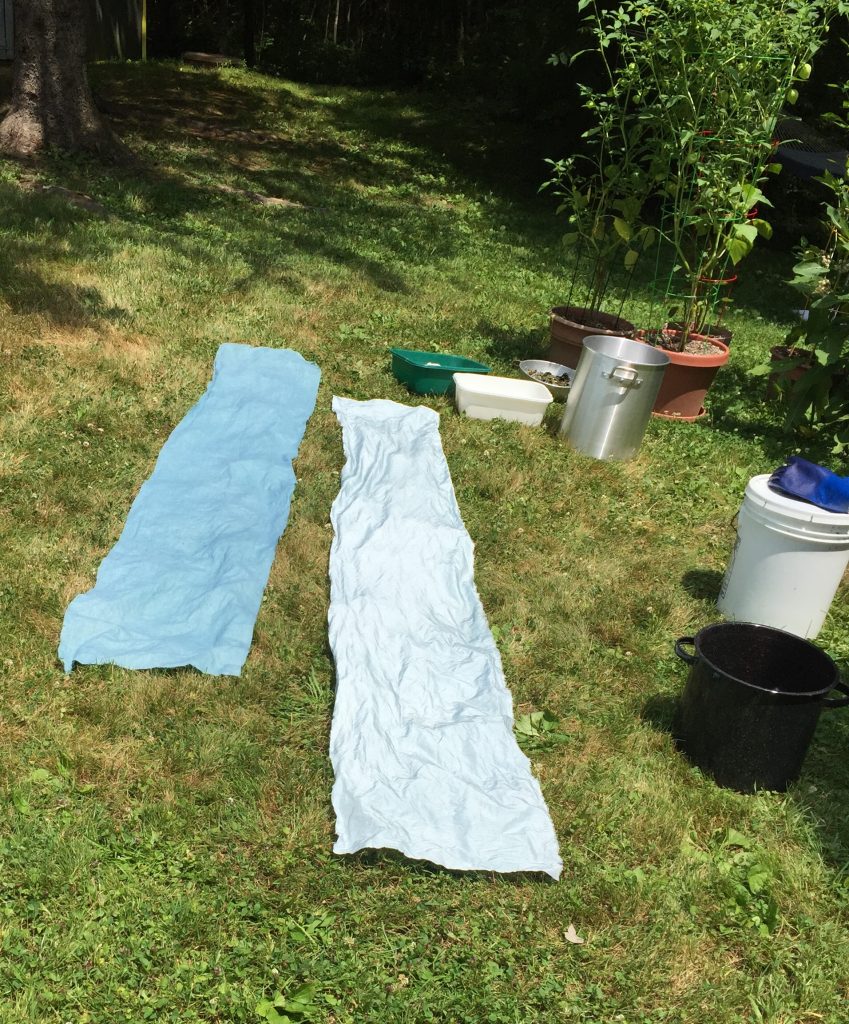
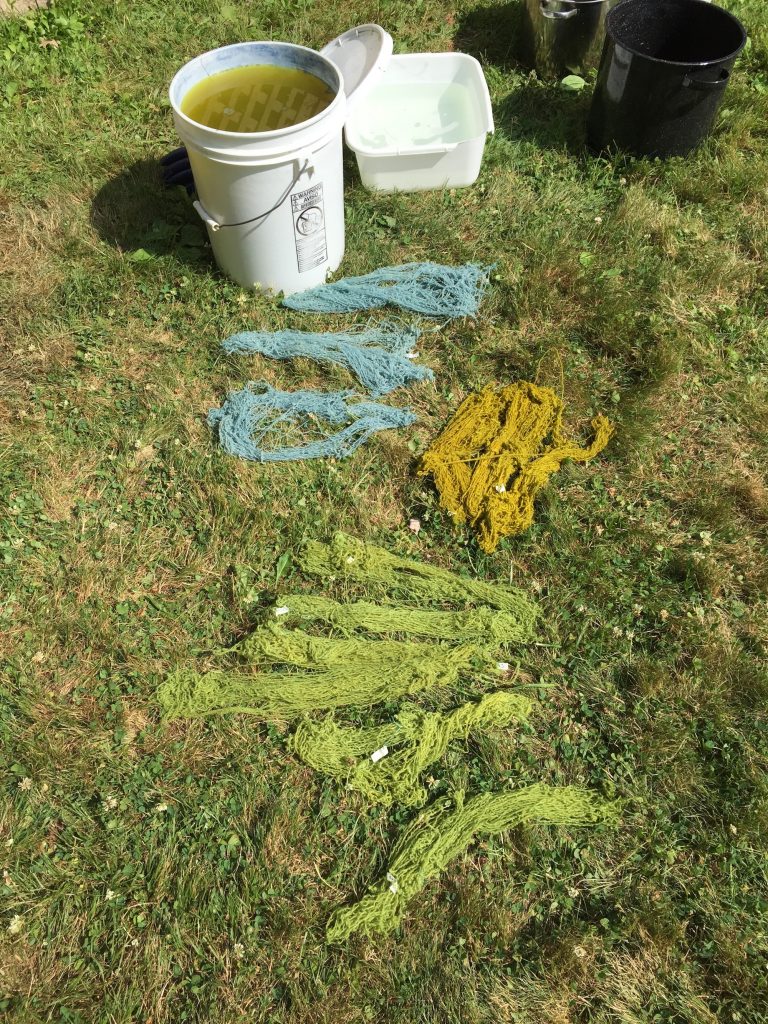
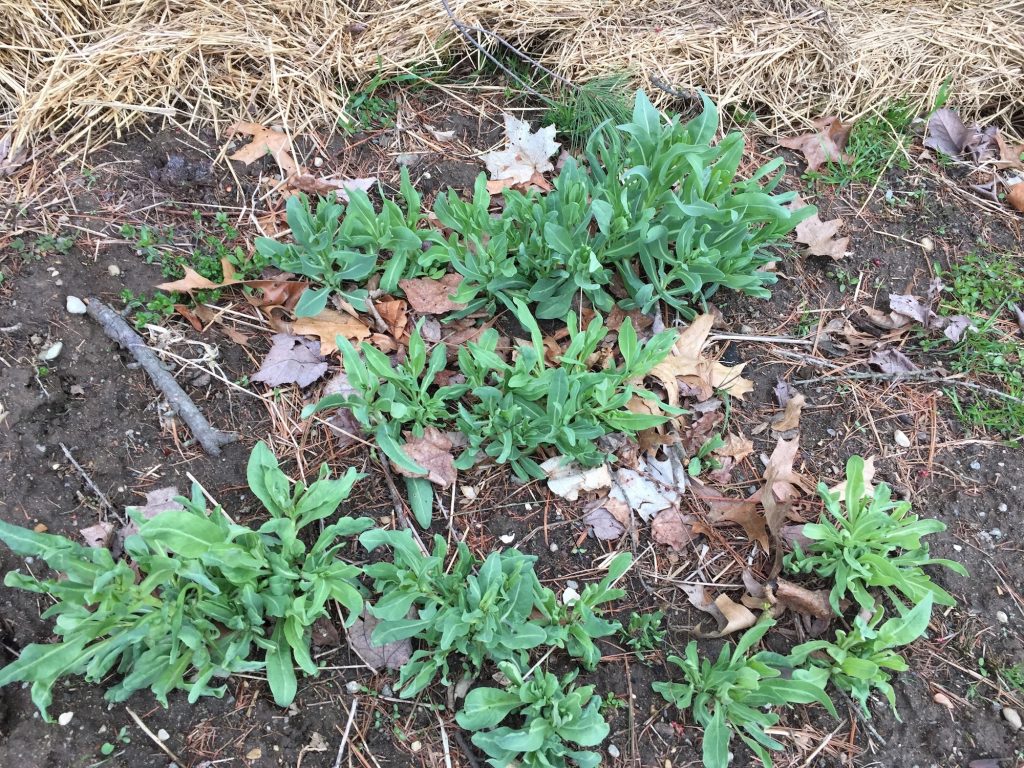
Blue and Black Yarn

Way back in 2020 I got some lovely, lustrous Romney fleece from the Richardsons in Phillipston, MA. Yes, that 2020.

I dyed a lot of it blue with woad.

When I post photos of my dyeing results, sometimes people ask me, “What are you going to do with it?” I’m tempted to say, “Do? What do you mean? It’s done!” Making color is fun and satisfying all by itself. But, yes, I do aspire to spin yarn and ultimately weave cloth with it. This blog post is about some yarn that I have spun!

Over the years I have posted many images of woad vats on this blog. So I will skip the dyeing process in this post, and stick to the yarn production process. Here’s how it happened:

In 2021 I got a picture in my mind of a yarn that combined various shades of woad blue and black alpaca. I was inspired by some lovely silvery gray yarn from New York Textile Lab which is 50% Romney 50% alpaca. It’s a luxurious yarn that embodies the best of both fibers. I, too, was hoping to combine the sheen and lustre of Romney with the softness and silkiness of alpaca.

The black alpaca roving is from Snowfield Alpacas in New Hampshire, purchased at the Fiber Festival of New England. When?  A long time ago. We don’t know how long.

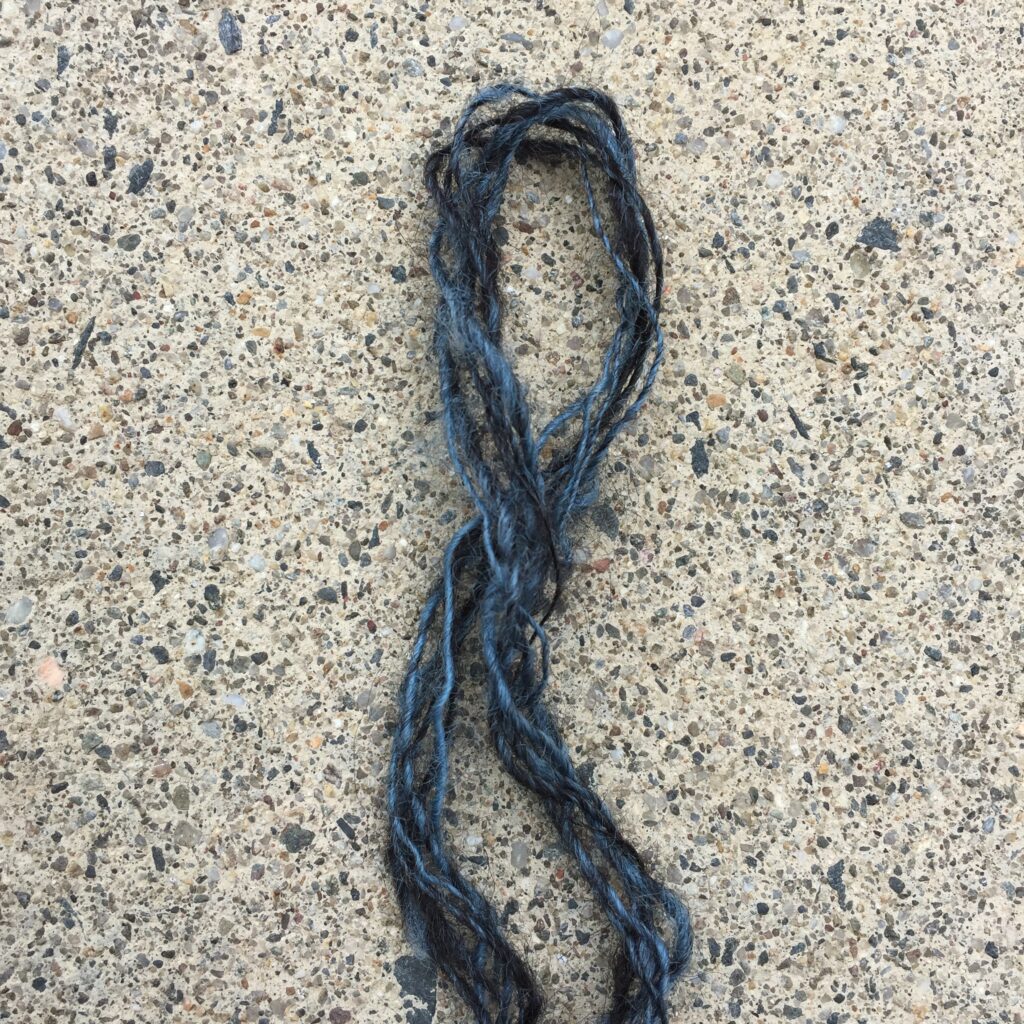
I spun a teensy sample with a drop spindle to see what it might look like, and I loved it:

I wanted to make a significant amount of yarn so I could weave enough yardage to sew into “something.” That’s as far as I’ve gotten with my vision of the finished product. I know a lot of people spin with a specific project in mind, but welcome to my process.

I weighed out one pound of woad-blue locks, thinking at first that my blend would be 50/50 and I would end up with 2lbs. prepared fiber.

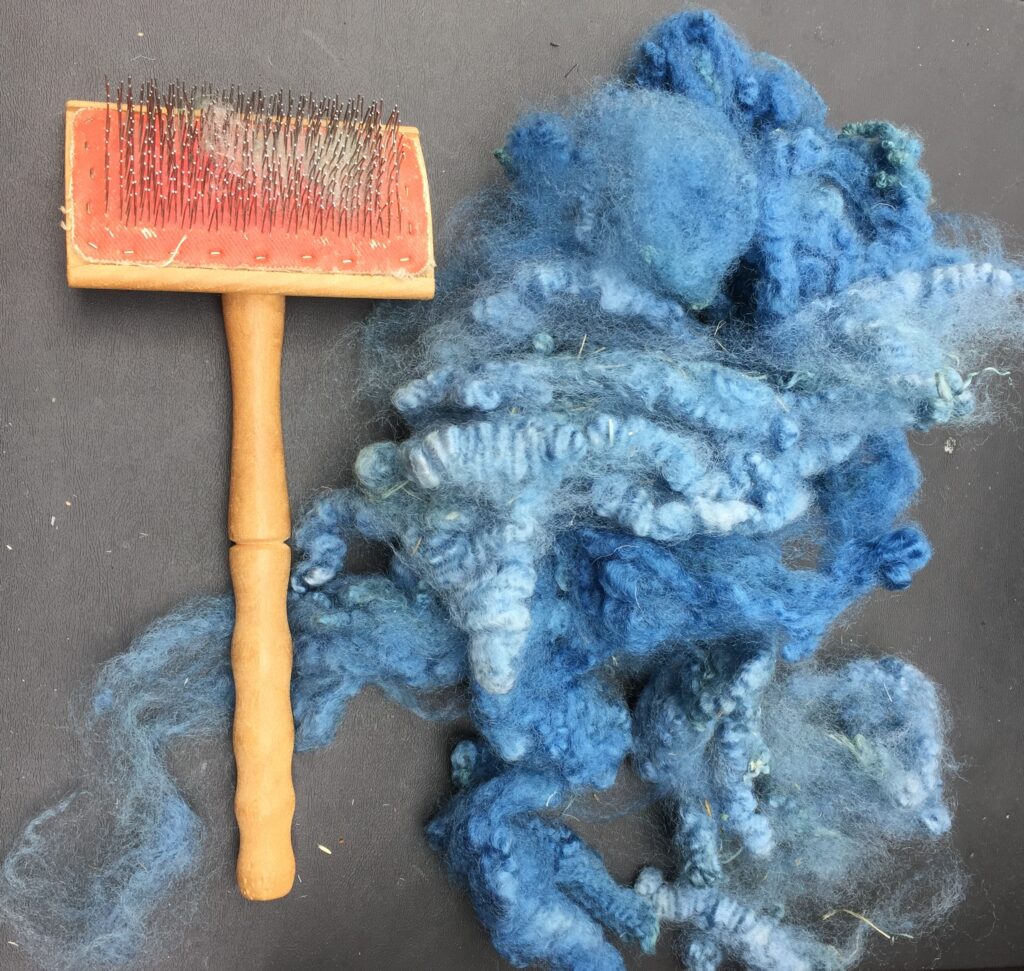
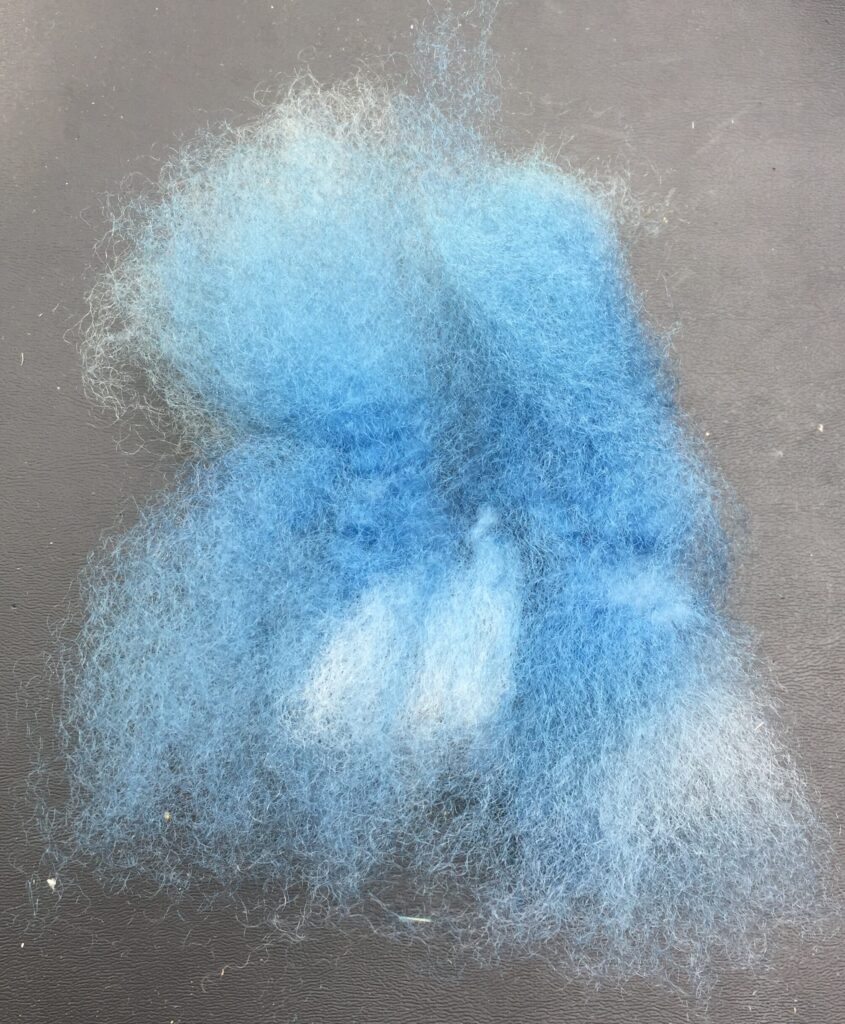
I flick carded the locks to remove any remaining vegetable matter (though the fleeces were really clean to begin with) and to combine various shades of blue. Here are a few locks lined up and ready to flick:

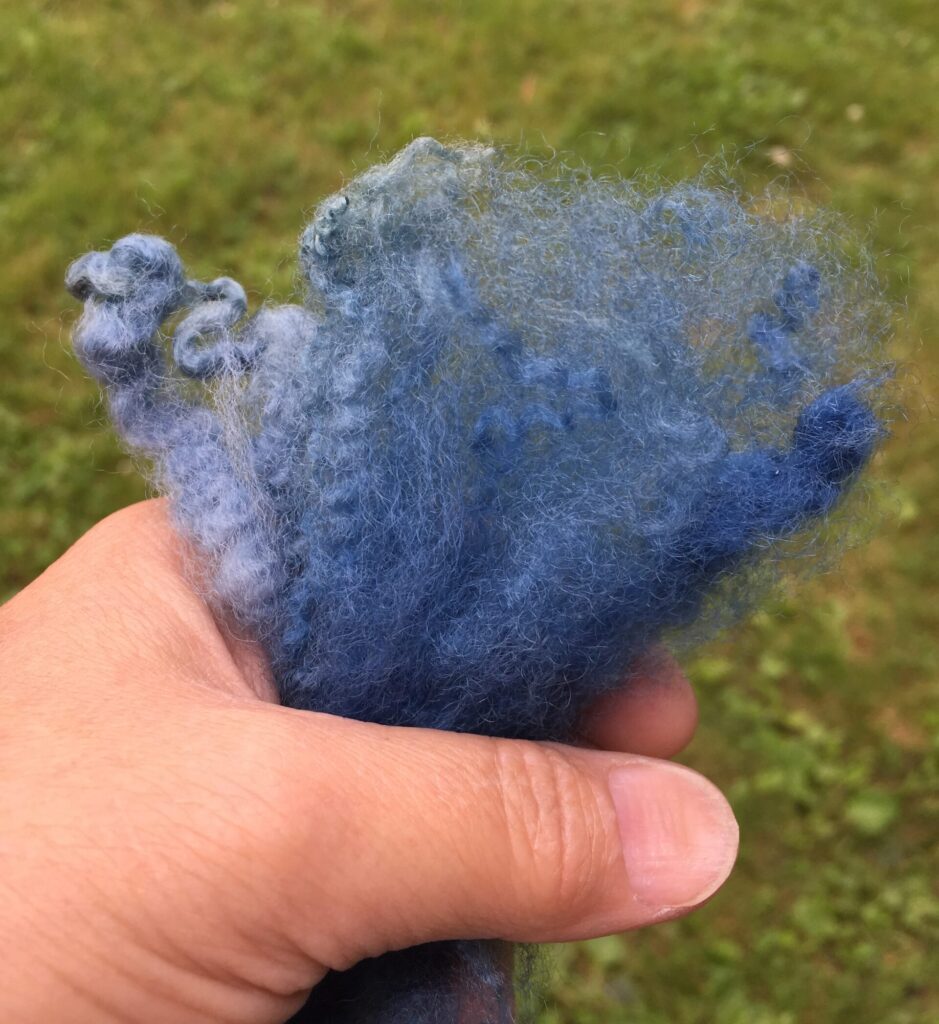
Here’s the little bundle all fluffed up:

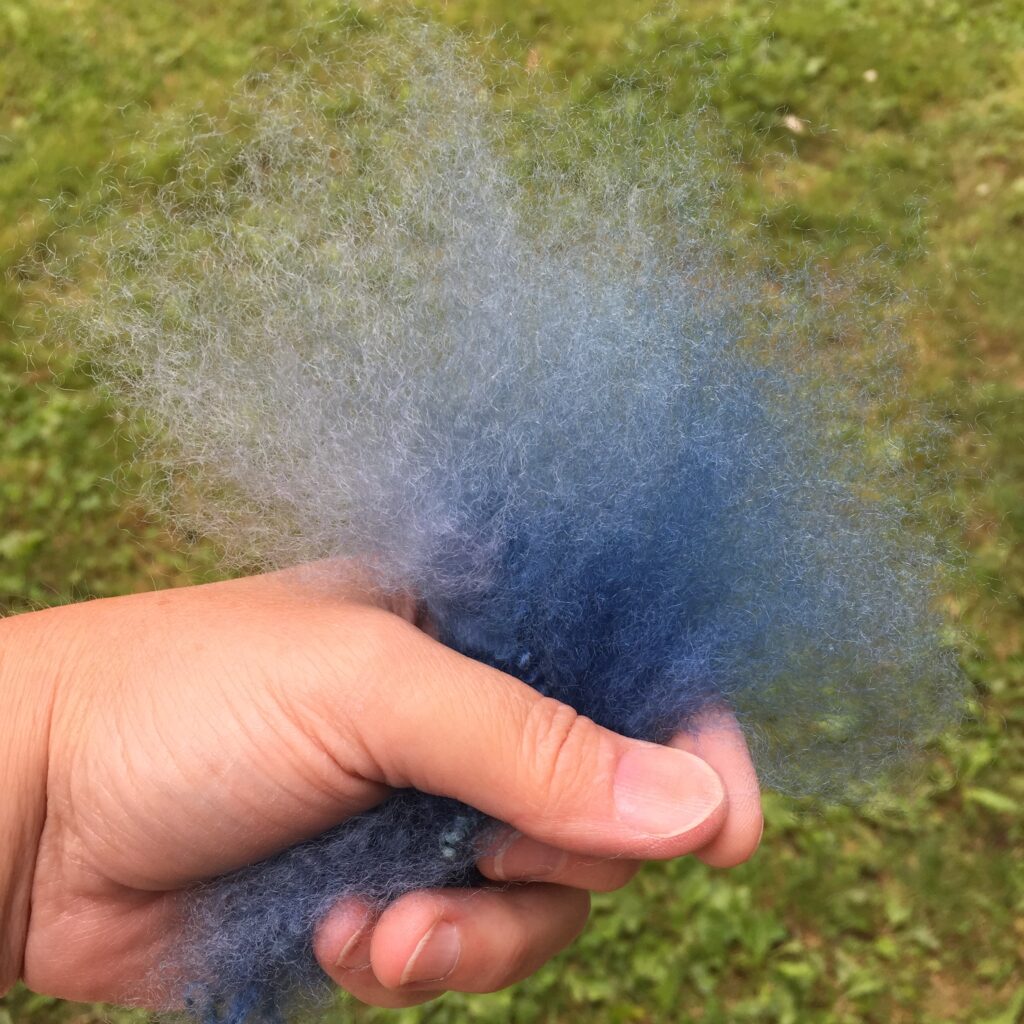
And here’s one with lighter shades of blue:

What are those white areas? When I dye locks in a woad vat, sometimes the dye doesn’t penetrate all the way through the lock. This is especially true near the cut-end of the locks where it’s denser. It’s even more true when I’m exhausting the vat and the locks are slurping up the last bits of color.

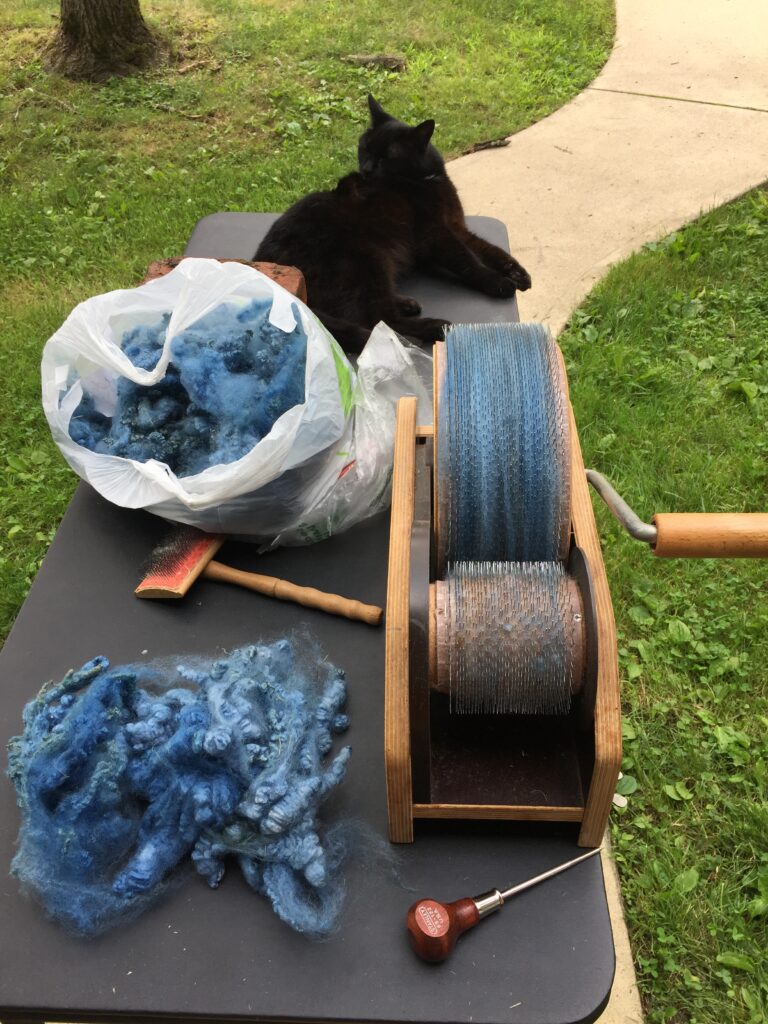
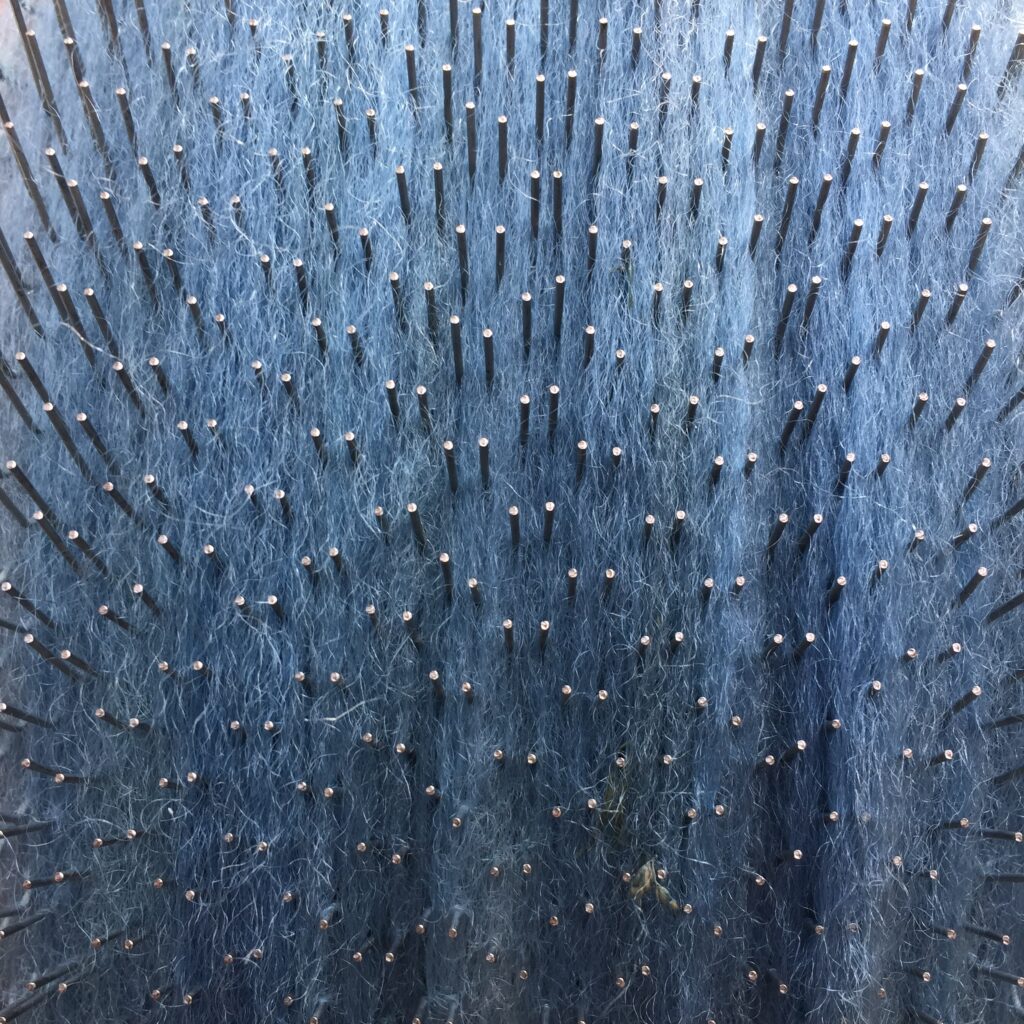
Then I ran the locks through a drum carder to further blend the different shades of blue. Here’s the set up one fine day in July of 2021. Our cat Sammy has inspected everything. Having detected no danger, she’s relaxing and grooming.

I gradually carded all the fleece into little batts.

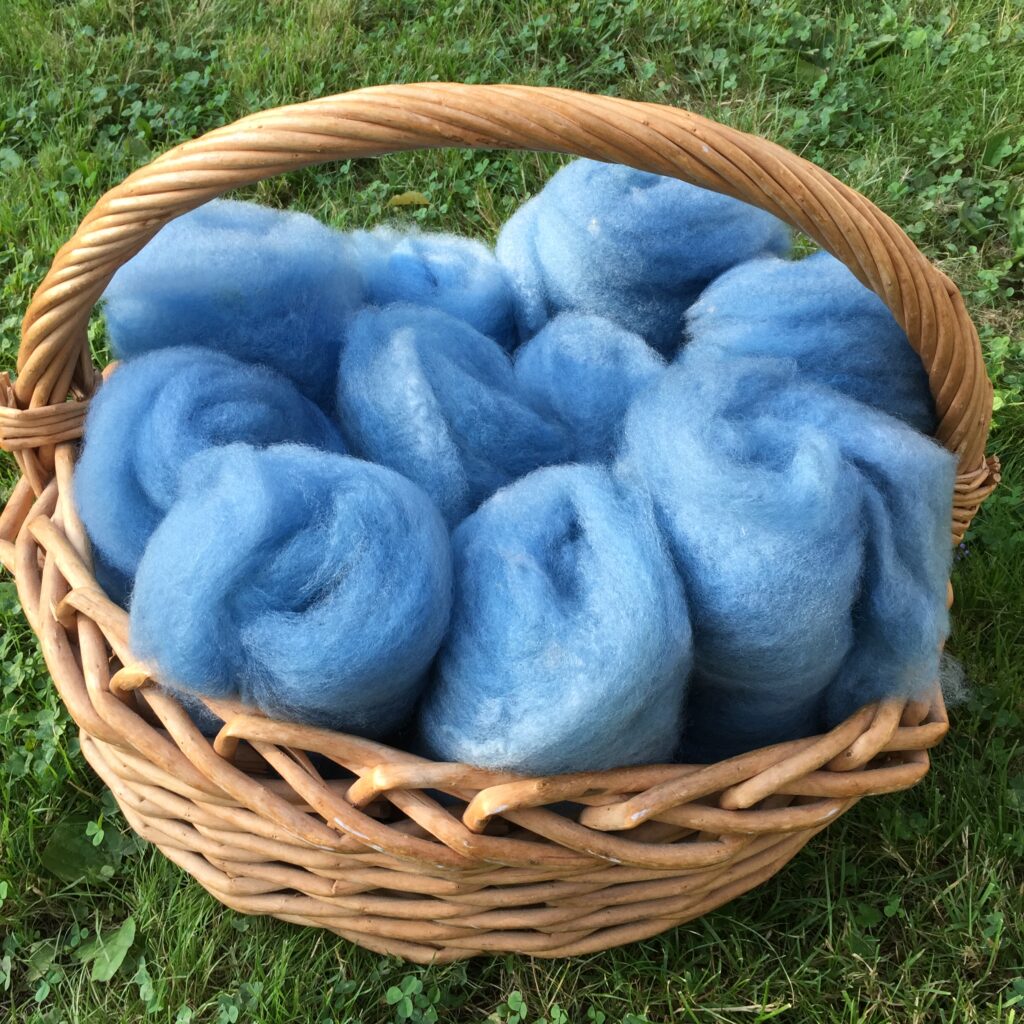
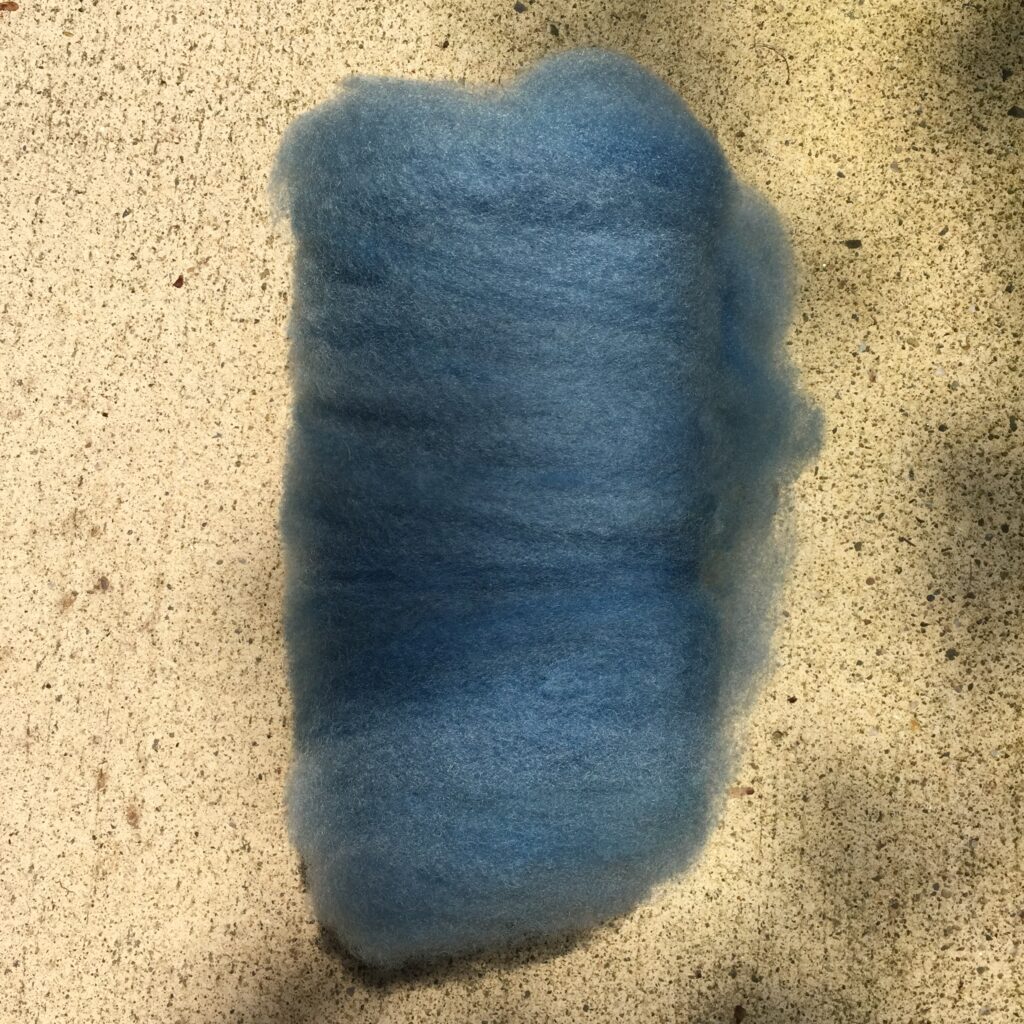
Here’s a basketful of batts. The blue in this image is a little more Smurfy than real life, but you get the idea:

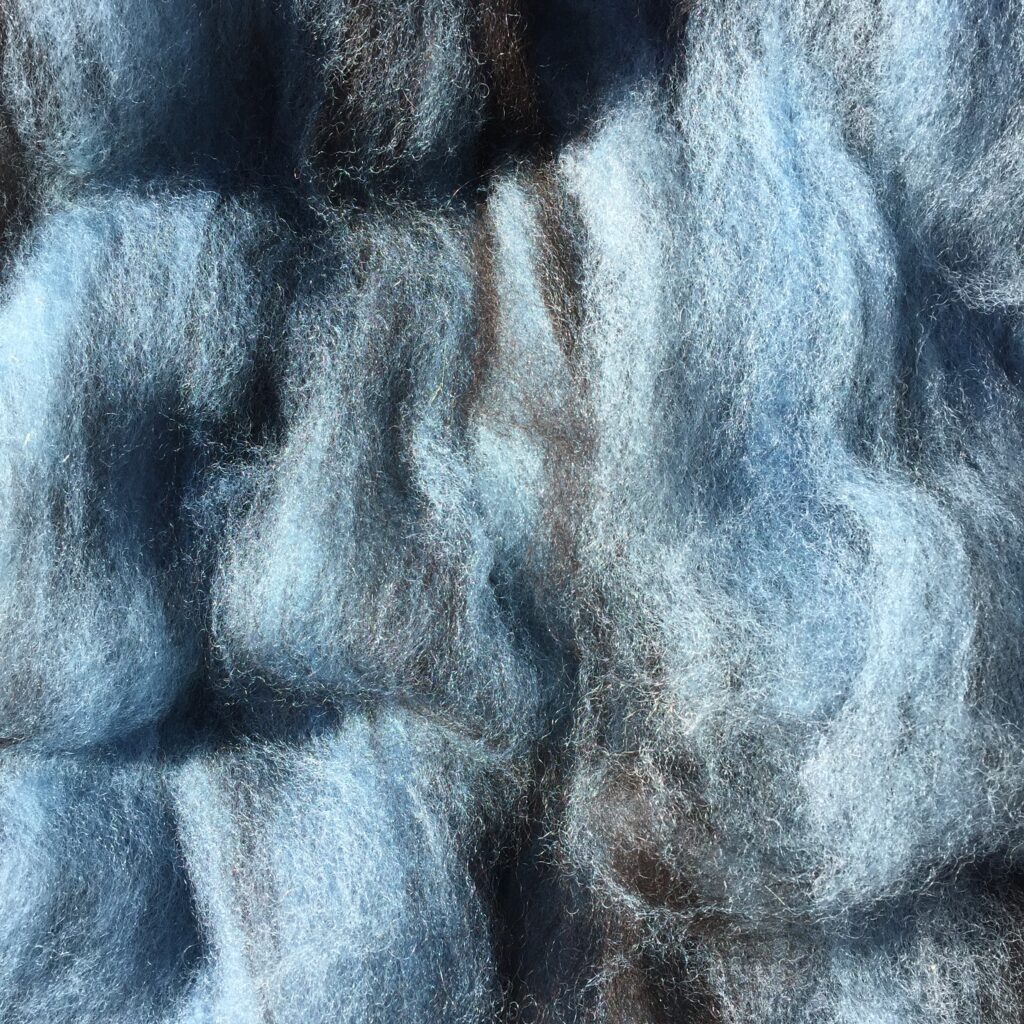
This image shows the sheen much better. You can also see that there’s a lot of color variation still, despite all the blending:

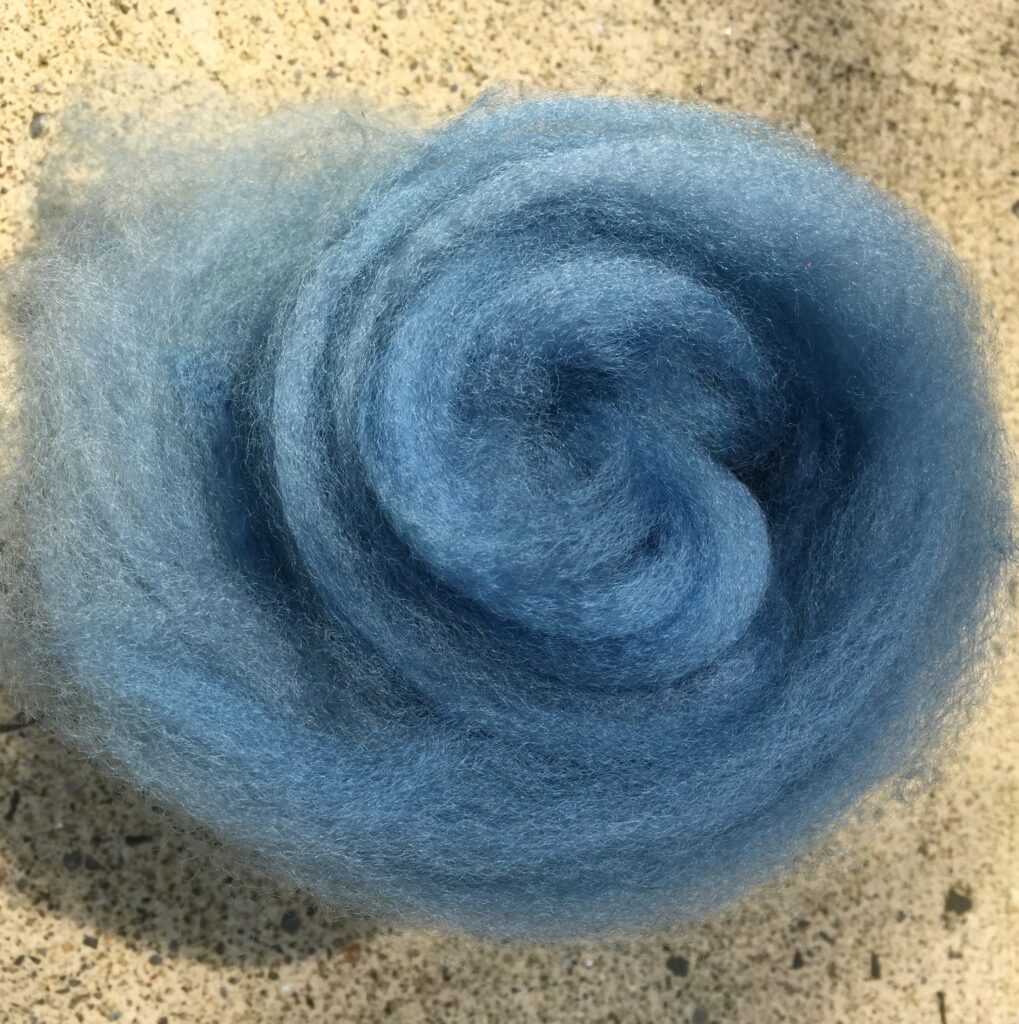
And here’s a view from the cute, curly end of a rolled up mini-batt:

I split the wool batts and carded them again with the black alpaca roving. I have a mini-carder, and each blended batt was about one ounce.

The first 50/50 blue-and-black batt was deep, dark, and dramatic, but I wanted more sparkle from the blue. So, I sampled some more and settled on a ratio of 70% wool and 30% alpaca. Which meant that I needed to card more wool get 2lbs blended fiber. Here’s the 70/30 blend:

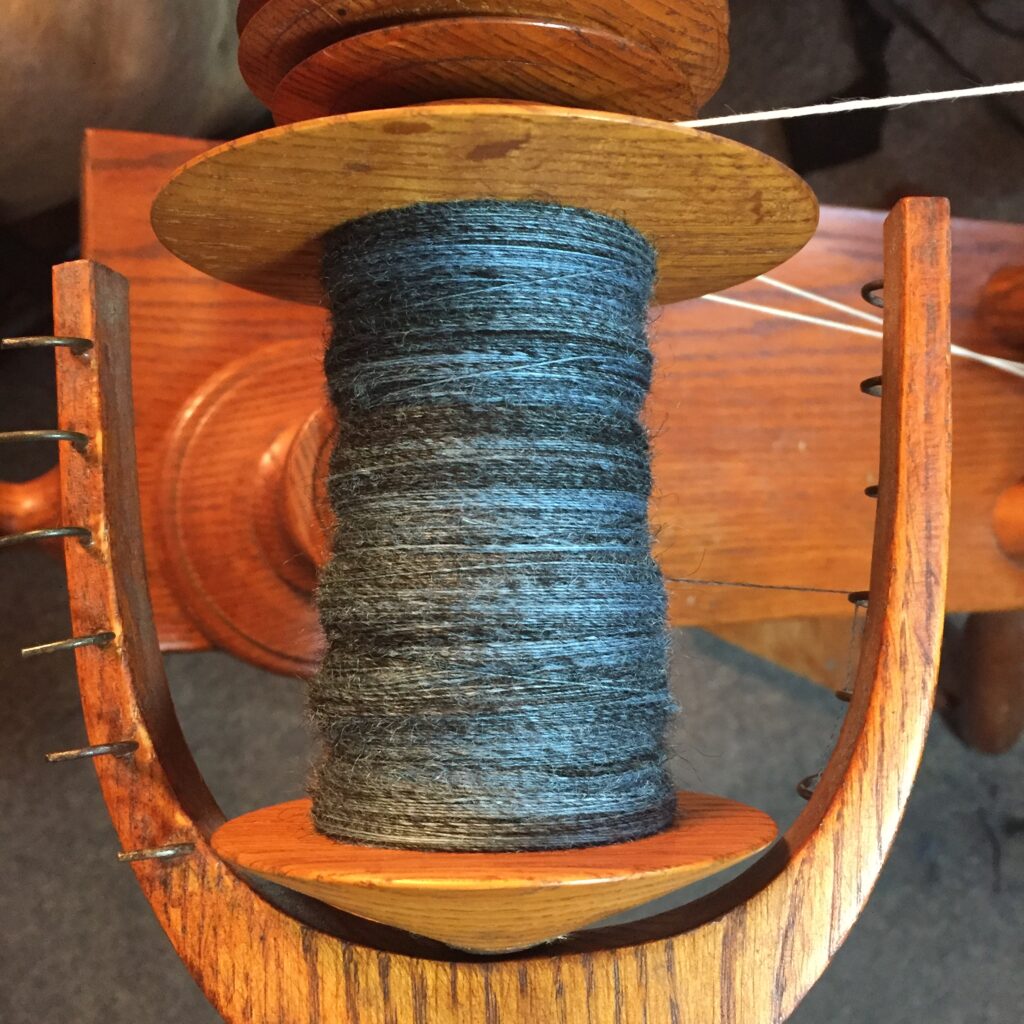
I really love the contrast of the black and bright blue in the spun yarn, as well as the more uniformly blended dark-blue areas:

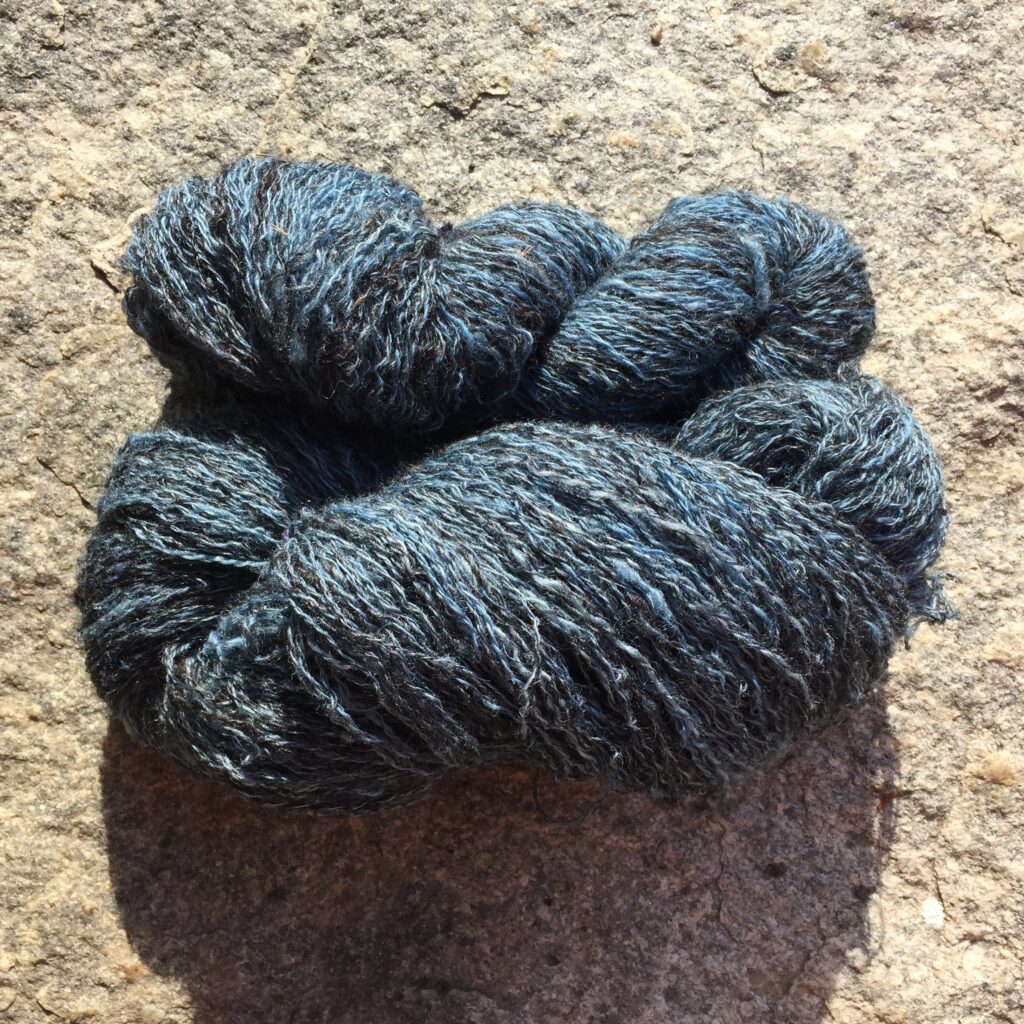
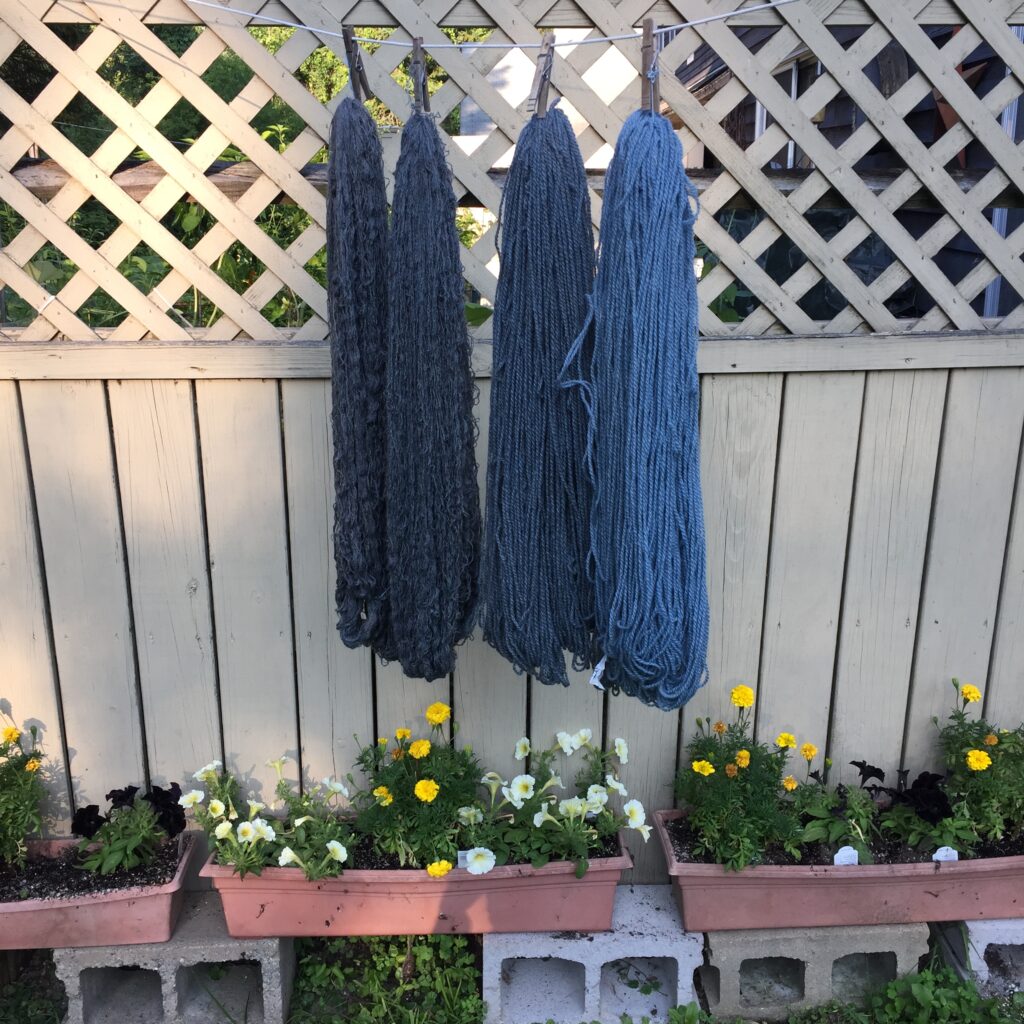
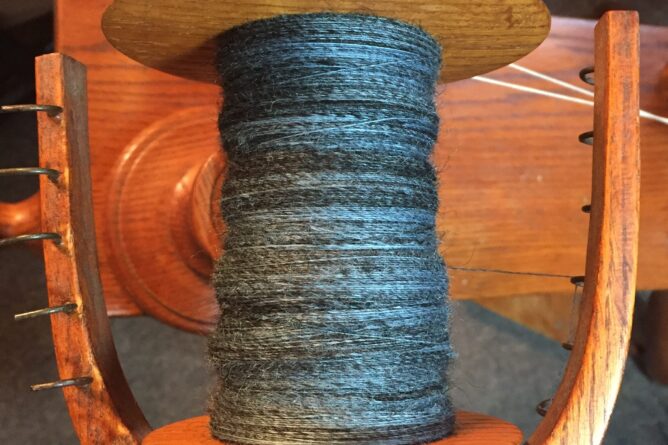
Because the alpaca and the wool are not consistently blended, I got worried about leaving the yarn as singles for weaving. The areas that are all-alpaca are fluffier and the staple length is much shorter. I worried about how the different textures would behave. So I plied it. My future self may or may not thank me, but what’s done is done. Here are the two skeins I’ve spun and plied thus far:

My present-day self is very happy. I absolutely love how it looks and feels. These two skeins together weigh about 8 oz. so I am about halfway through the fiber I prepared. Which is totally fine because it’s really fun to spin!

The Woad That Was

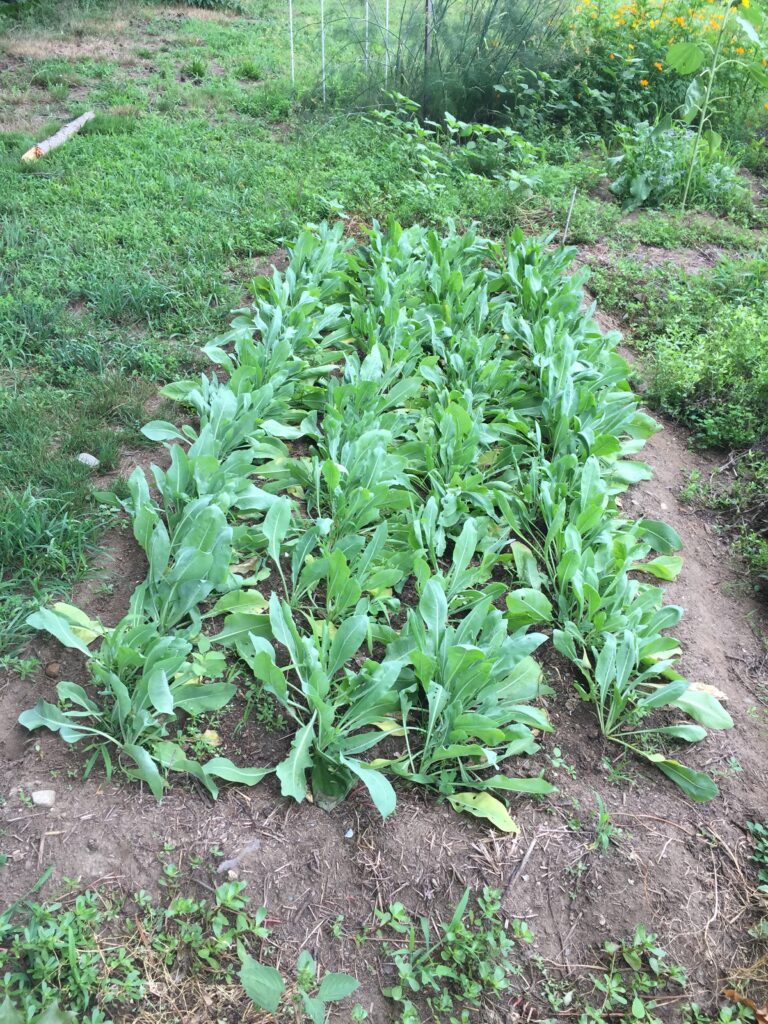
Before the woad that (almost) wasn’t, there was the woad that was. I planted a bed at the end of May, and it grew just fine.

Here it is, a teensy bit past its prime but still happy as can be, on August 7th. I harvested 4 lbs. of leaves.

I know I have posted many times about woad vats, but I never get bored of woad. After all these years, there is always something new to learn. Lately I have been trying to be more aware of the temperature at different points in the process.

I have often noticed that the woad vats I run at the end of the season, once the weather is cool (or even freezing), give more color. I had always assumed that it was because older plants gave darker blues. But now I wonder whether the cold air temperatures that bring down the temperature of the vat liquid very quickly are responsible for the enhanced color.

Recently it’s come to my attention that high temperatures reduce the amount of color you can get from woad. If this is so, then hot weather in July and August might be the reason for lighter vats earlier in the summer. To test this temperature hypothesis out in the hot summer weather, I was trying to follow the guidelines from Teresinha Roberts on her site woad.org.

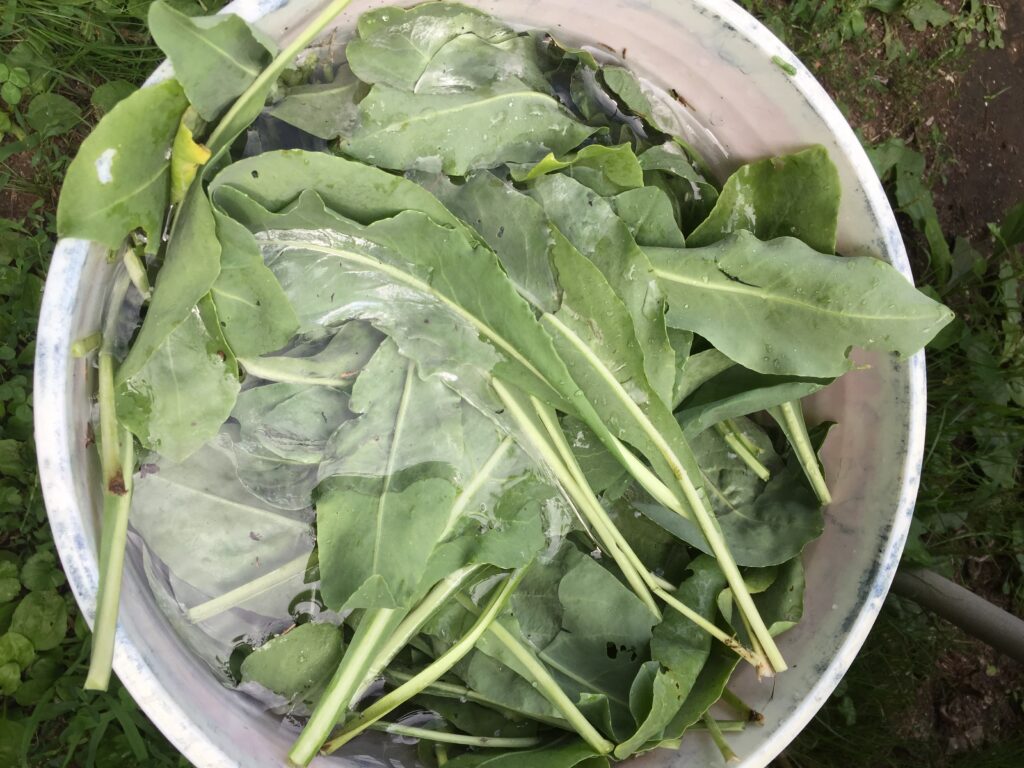
I rinsed the leaves.

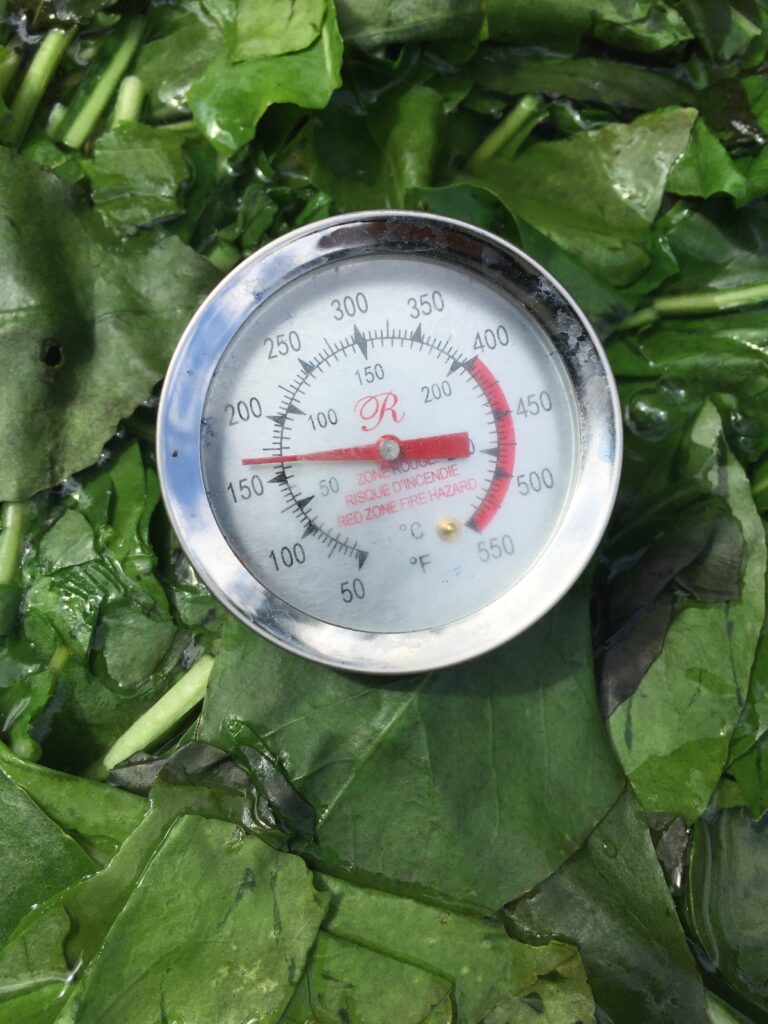
I coarsely shredded them, put them in another 5-gallon bucket, and poured on the steaming hot water. In the past I have always just boiled the water, and poured it straight over the clean leaves. It’s always (or almost always) worked fine. But I was trying to learn more about the temperature factor this time, so I let the water cool to about 180 degrees F. before pouring it over the leaves.

I like to fill up the bucket all the way with water so I can expel some air when I put on the lid. I topped up this bucket before putting on the lid. Once the bucket was full, the temperature came down to 160F.

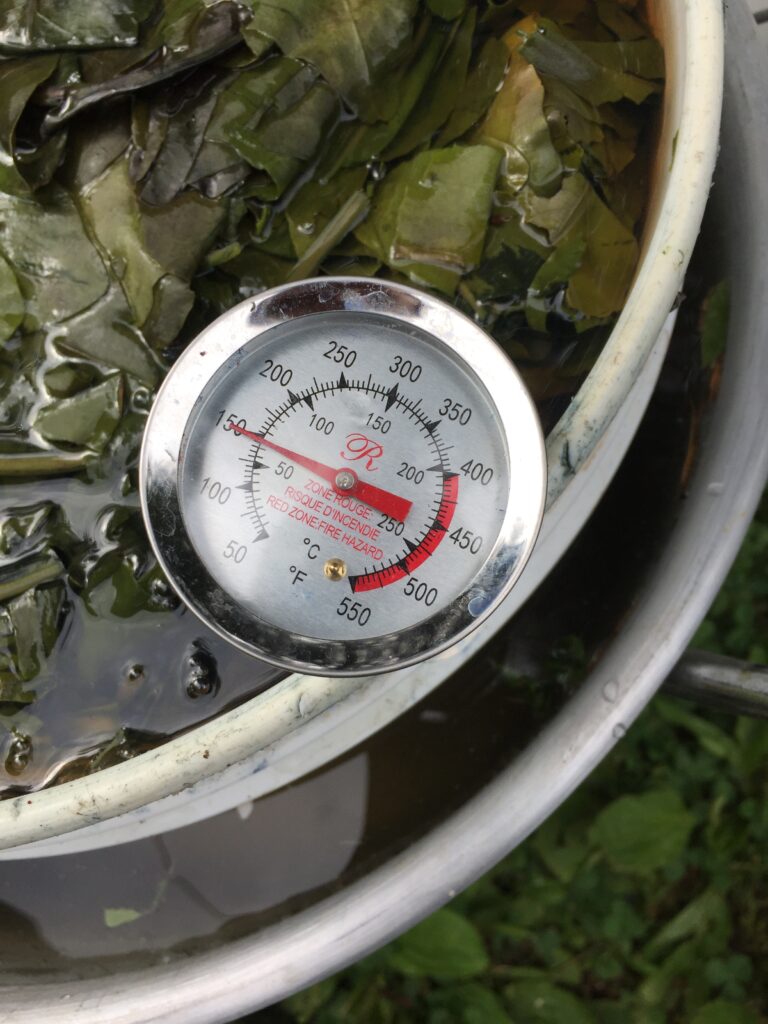
Then the leaves steeped for 45 minutes. After 45 minutes, the temperature was about 150F.

I wanted to get the liquid down to about 130-135F before adding the ammonia. I had a long way to go.

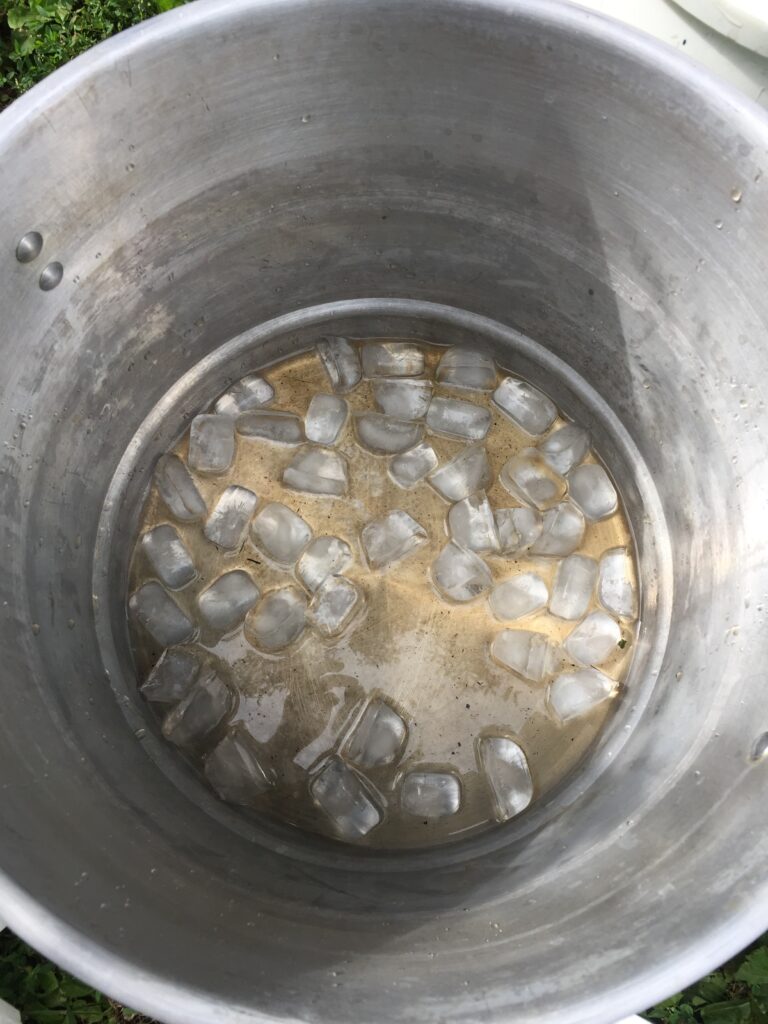
At this point I realized I should have bought a big bag of ice. The few icecube trays in the freezer were woefully inadequate to cool five gallons of hot liquid on a hot summer’s day.

Here’s my puny amount of ice cubes:

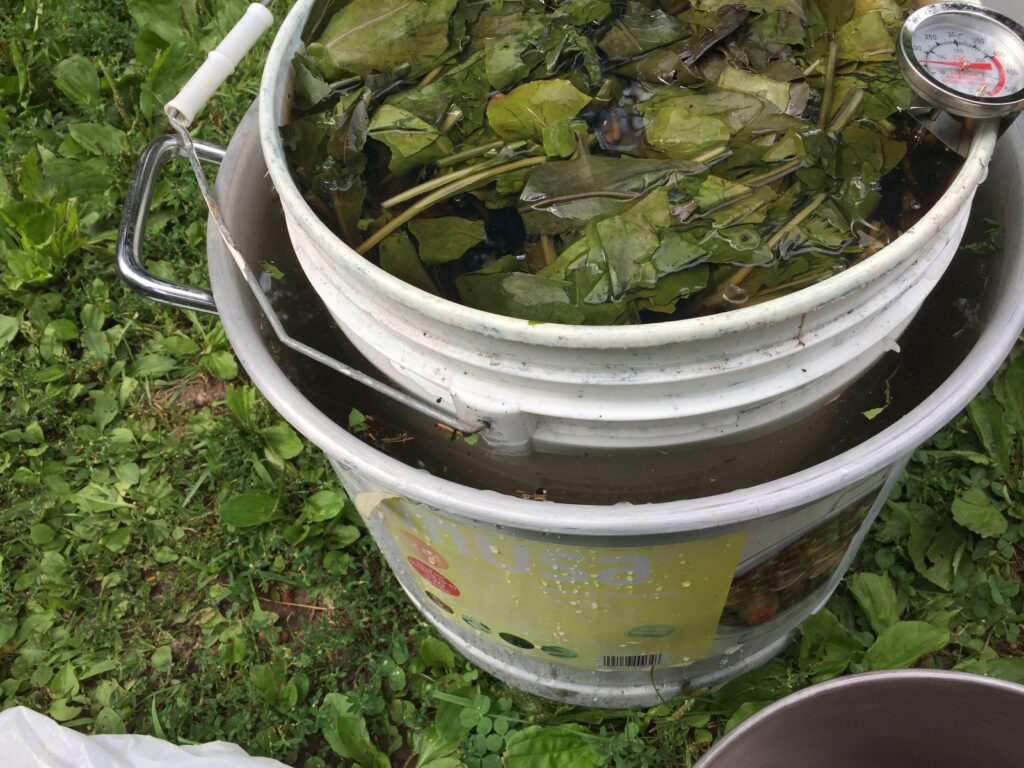
I put the five-gallon bucket into the larger pot, and added cold water.

It didn’t do a whole lot to bring down the temperature. Not one jot, in fact.

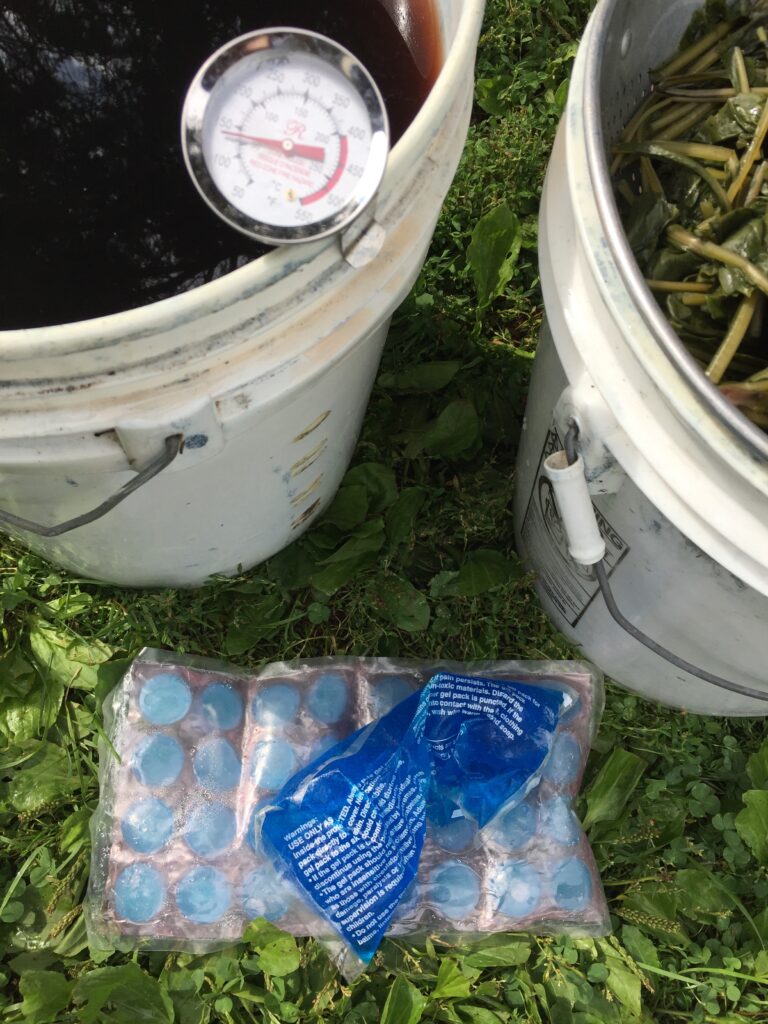
As I understand Teresinha’s directions, I should have brought down the temperature while the leaves were still in the liquid. But, I felt that the thermal mass of all those leaves would just retain the heat forever. So, I strained out the leaves and put the bucket of liquid back into the ice water. I also tried to press icepacks around the outside of the bucket. It was very inefficient.

This cooling process is supposed to occur very quickly. I was not very quick, alas. But I did get the temperature down to about 140F, eventually.

I added the ammonia to pH 9. Ammonia is my preferred alkali for this because it is already liquid and I can buy it at the grocery store without advanced notice when I have failed to plan ahead. It’s purely a matter of practicality.

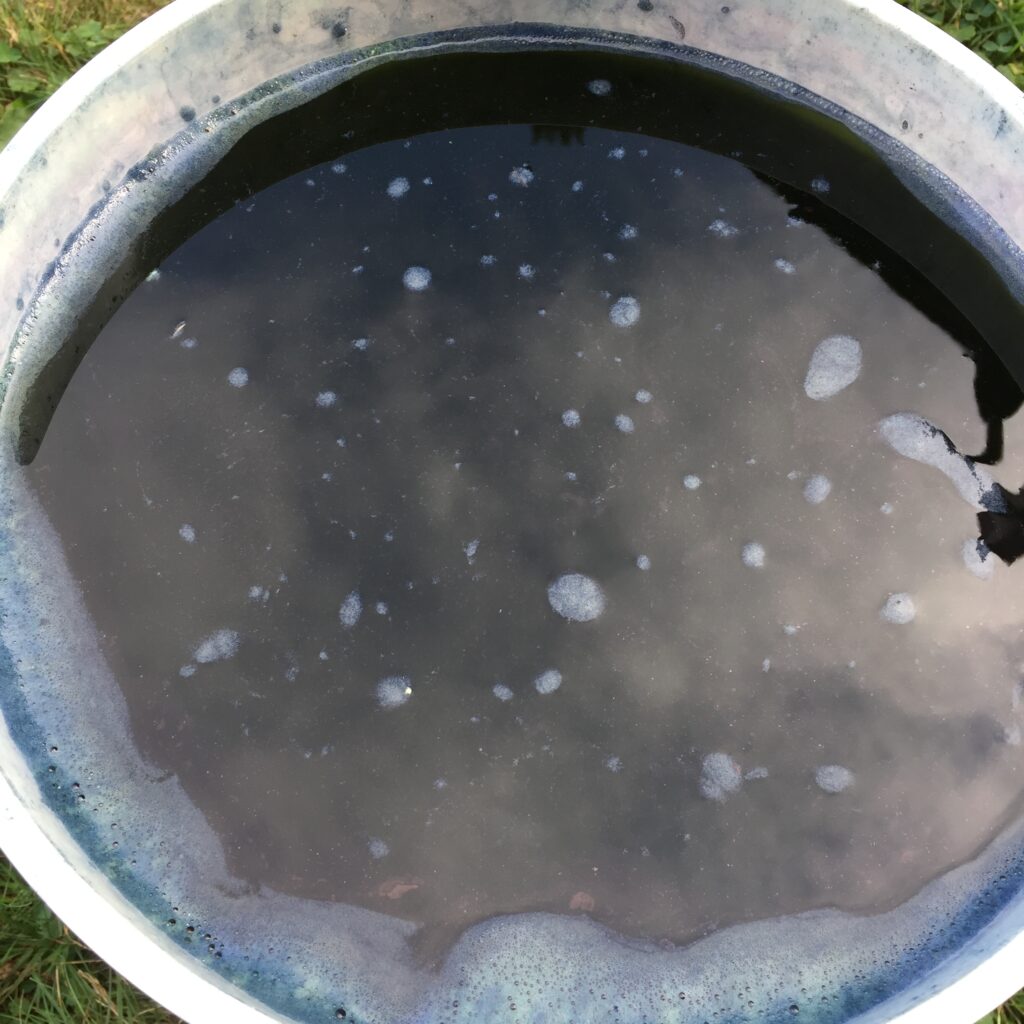
I aerated for 10 minutes with my back-and-forth-bucket-pouring method. It seemed very blue but not as foamy as usual.

After all that pouring back and forth, the liquid was about 135F. Not ideal, but close. Sprinkle on some RIT Color Remover (sodium hydrosulfite) and wait another 45 minutes. Ta da! Reduced. Maybe a tad over-reduced. It’s fine, don’t sweat the technique. This video is NSFW but the song is so very funky and fabulous! I felt like I had already fretted more than I ought about my failures with the temperature, and just needed to get in the groove and move along with the process.

For this vat I was using two skeins of two-ply woolen yarn from our most recent Western Massachusetts Fibershed project, spun at Green Mountain Spinnery. The white is a blend of Montadale and Merino crosses. The gray includes some Romney and Romney cross fleeces. I also used two skeins of dark gray wool-alpaca blend from New York Textile Lab. And, some kinda scrappy fleece that was either too long, too short, or too much vm to send to the mill. Hand carding is slow, but I hate to waste anything.

The white wool skein was in first for 20 minutes*, then the gray wool skein for 25 minutes*, and then I put the NY Textile Lab skeins in together a couple hours*. I left the first batch of fleece in the vat overnight*. Here are the skeins and the first batch of fleece (about 8 oz.) oxidizing in the dappled shade of a spruce tree out back the next day.

There was a lot of color left in the vat, so the next morning I put in the second batch of fleece (about 6 oz.), and left it in all day. I pulled it out in the afternoon.*

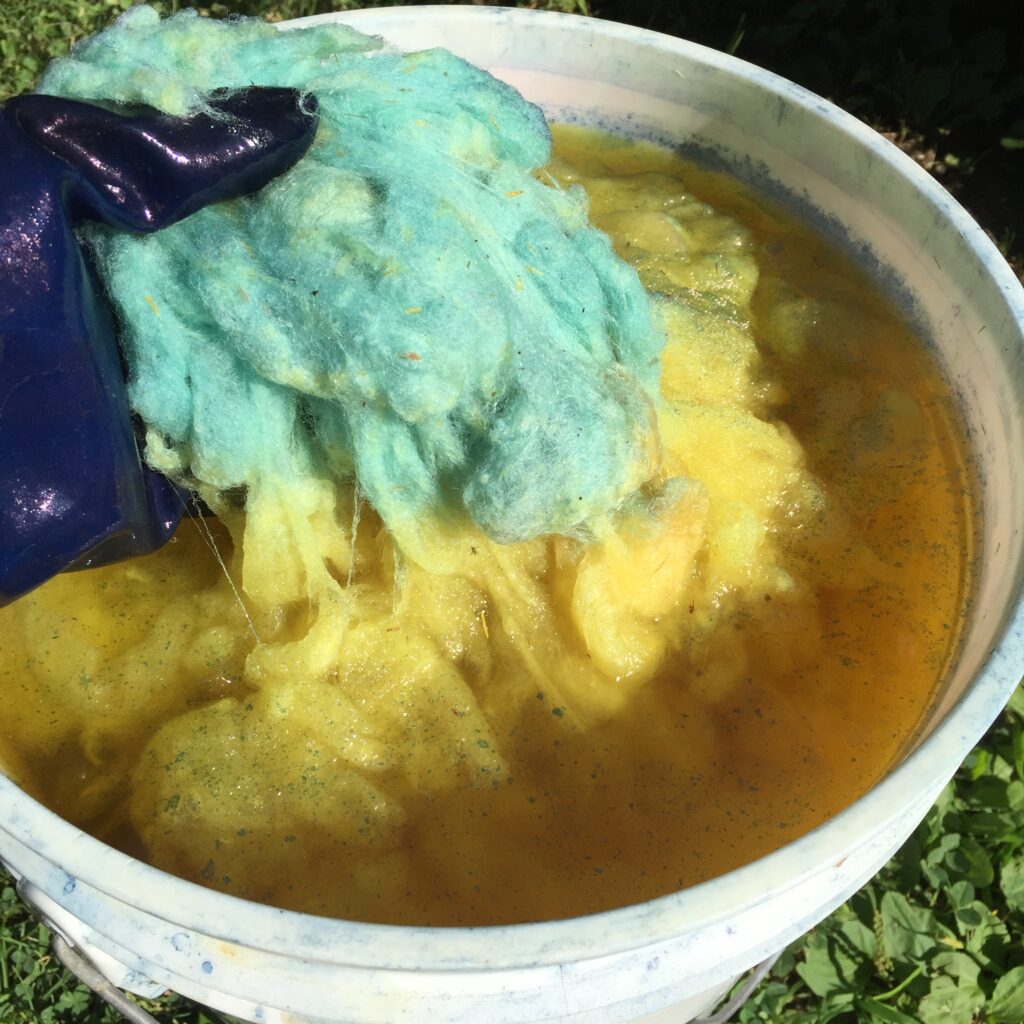
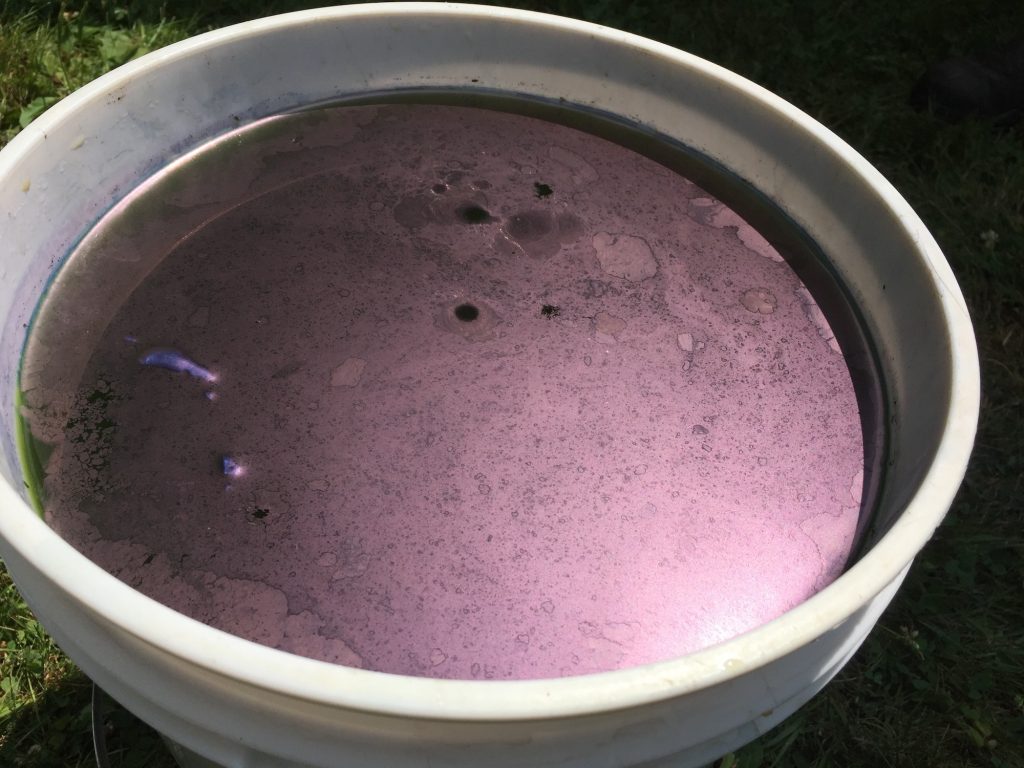
Here it is in the afternoon of Aug. 8th.* If you’ve done any indigo dyeing then you’ve seen this transformation from yellow to blue before, but it’s always exciting! Fleece still submerged in the reduced vat:

Oxygen starts to hit the fibers and the blue starts to develop:

More blue develops as the oxidation process continues:

Here you can see the fleece from the day before, which has oxidized for about 8-9 hours*, compared to the fiber that’s just getting started:

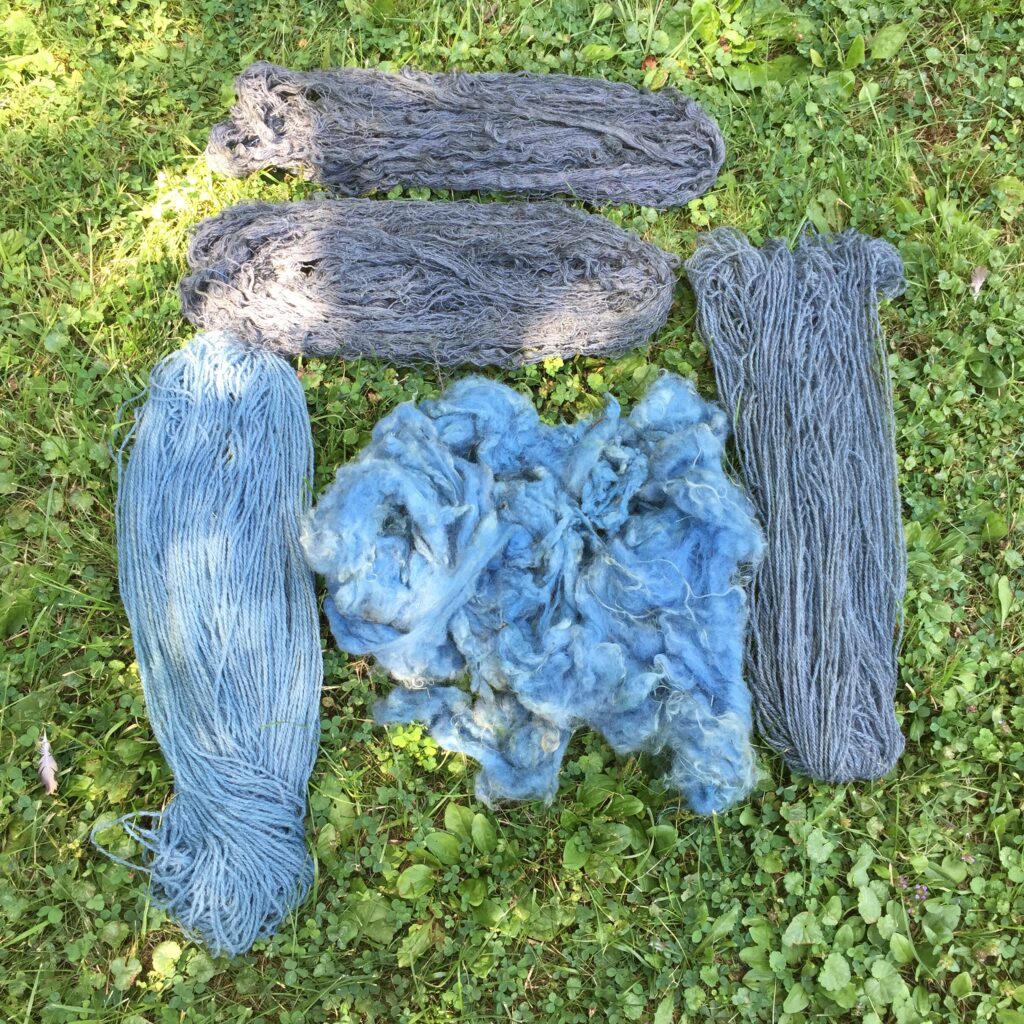
After the fibers had plenty of time to oxidize and were basically dry, I rinsed them in a vinegar solution to neutralize the alkalinity, then did a couple rinses with clear water. Here are the skeins after neutralizing and rinsing:

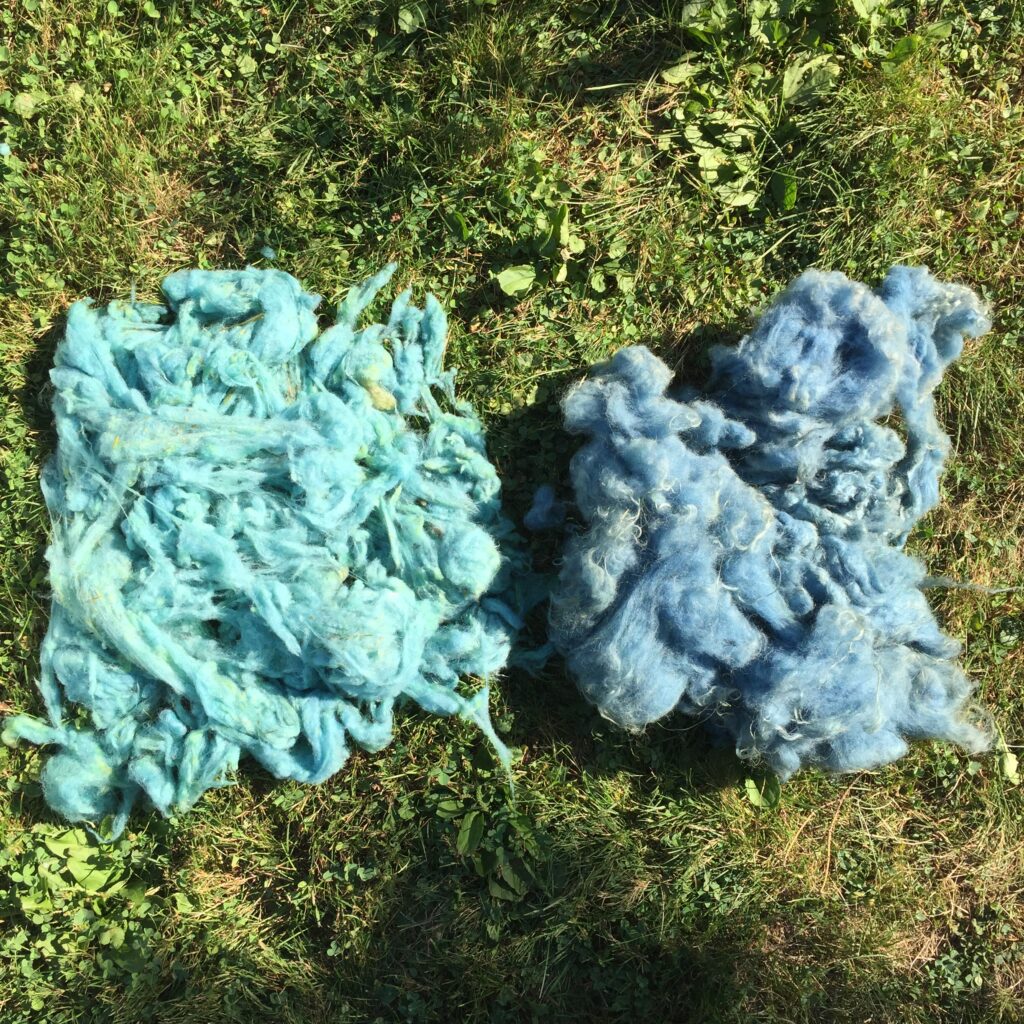
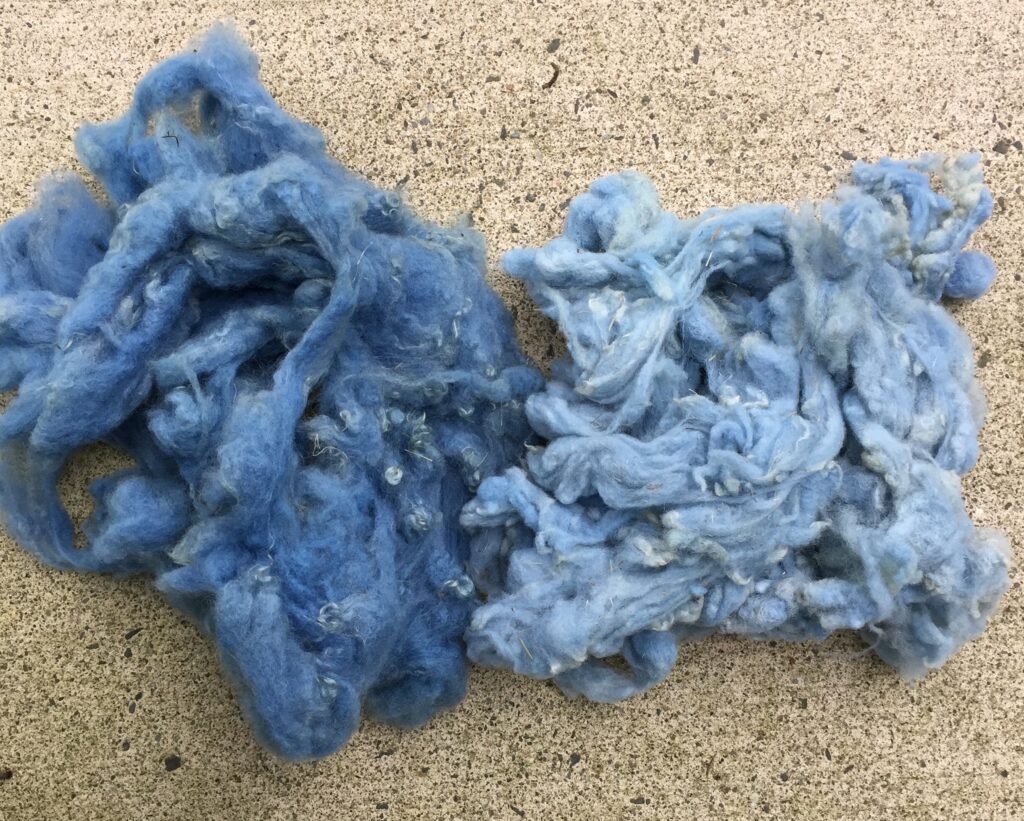
And here are samples of the two batches of fleece:

Four pounds of fresh leaves dyed a pound of yarn (four 4 oz. skeins) plus 14 oz. of fleece. I am pretty happy with that. Now, I realize that in order to truly compare the results of hotter versus cooler liquid, I’d need to run two vats simultaneously with all other factors being the same…. Another day.

*After I published this post I re-read my notes. I should have done that in the first place since I obviously can’t trust my memory! It’s a good thing I take notes. I realized I had made some errors when I originally wrote it. The asterisk indicates something I’ve updated since I first published the post. Sorry for the inaccuracies!

The Woad That (Almost) Wasn’t

Let me just start this post by acknowledging that I might be jinxing myself by writing it. But here goes anyway.

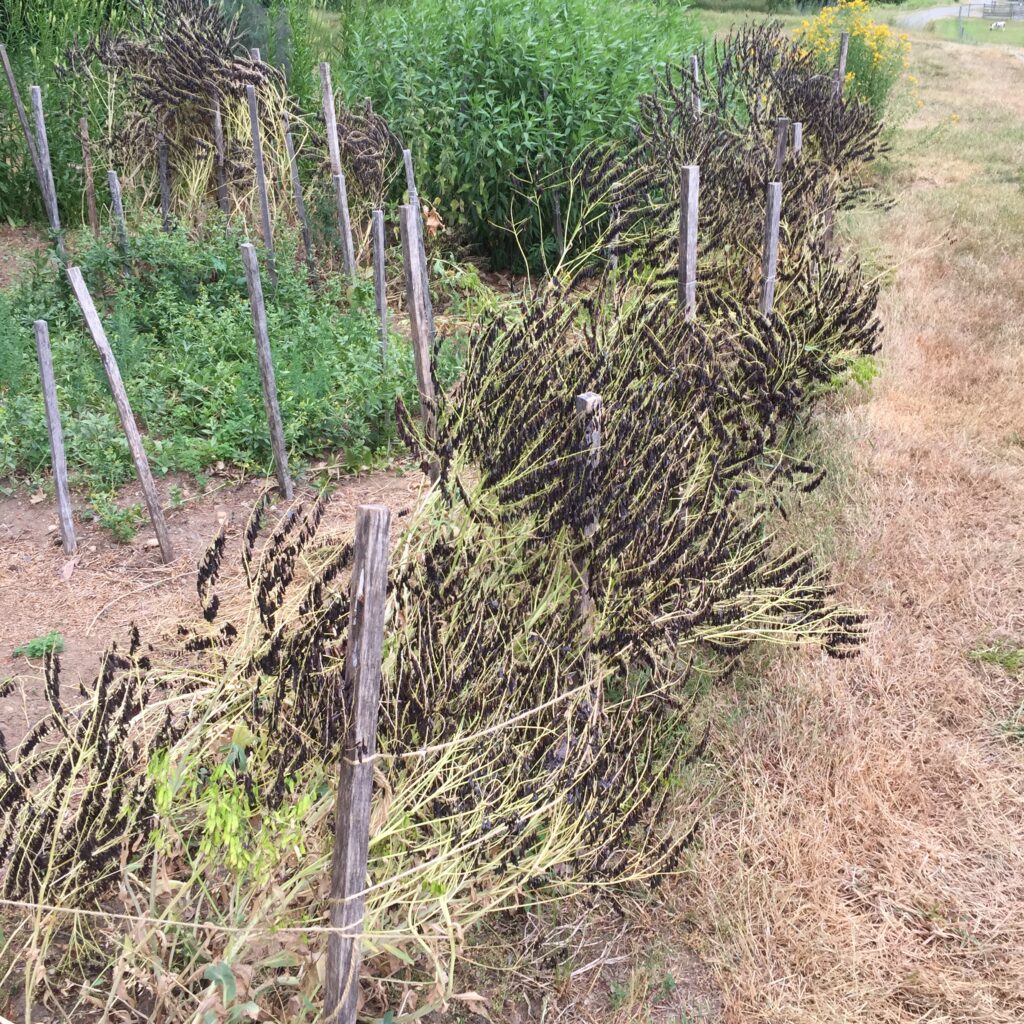
At the end of June I harvested woad seeds. I already have way more woad seeds than any sensible person needs. They are so beautiful I just like to watch them mature, so now I have even more.

A couple days after that, I dug over the bed, added compost, and planted more woad. In the same bed. Yes, I do know better than that, but I did it anyway. I hadn’t done a good job of planning out the location and rotation of the various beds this year, and all the other beds were full of other things. Even in a small garden, rotating beds is important. Crop rotation helps to keep the soil nutrients from getting depleted (because different plants have different nutrient demands) and helps to interrupt disease and pest cycles.

So, my first mistake was to plant woad, a nitrogen guzzling brassica with a host of possible diseases and pests, in the same bed two years in a row. I thought the compost would help with the nutrient issue, and hoped for the best.

The best did not occur. I got excellent germination, then the seedlings just disappeared overnight. Poof! Alien abduction! Or fairies. I replanted several times. Same problem. Having made my “bed” so to speak, I now had to figure out how to make the best of a bad situation.
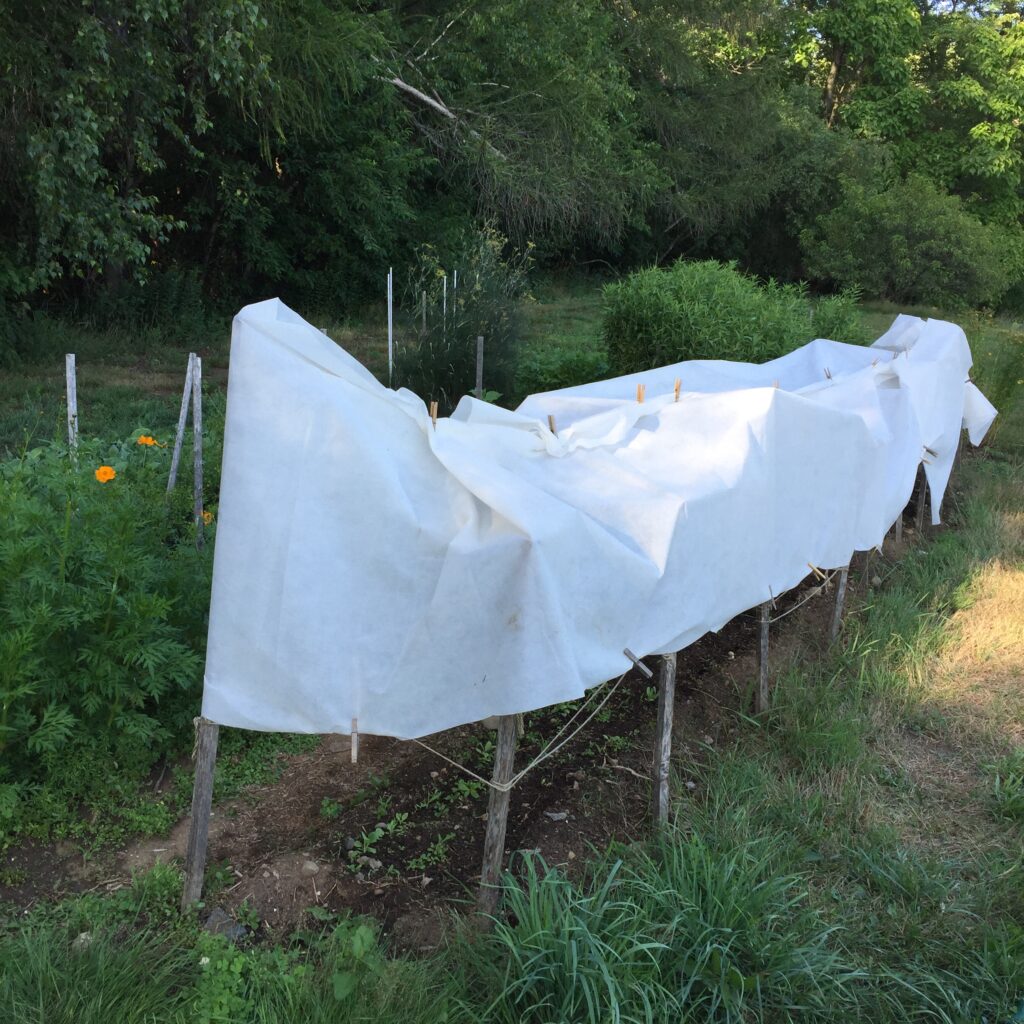
We had an extended dry spell in the spring and early summer, then in July we had some very hot weather. I thought the seedlings were drying out in between waterings. So, on July 18th I rigged up a little shade canopy with heavy-weight row cover.

I left the bottom open for air circulation and easy watering access. I increased my watering schedule from once a day to twice a day, morning and evening.

This did not solve the problem. Someone on my Instagram account commented that critters might be eating the seedlings. There are many, many rabbits this year, and they certainly might like a little nibble of tasty woad. OK, I do not actually know if it’s tasty, I have never tried it. But it’s a brassica, so it’s probably yummy to a bunny. Woad microgreens, even. A delicacy.

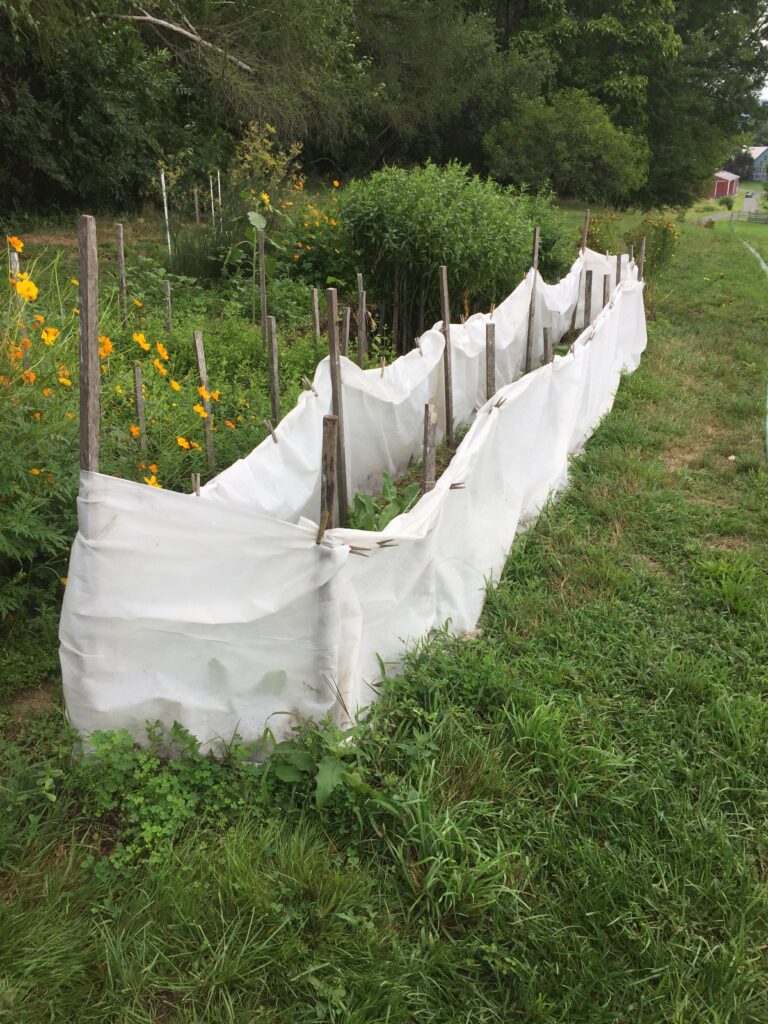
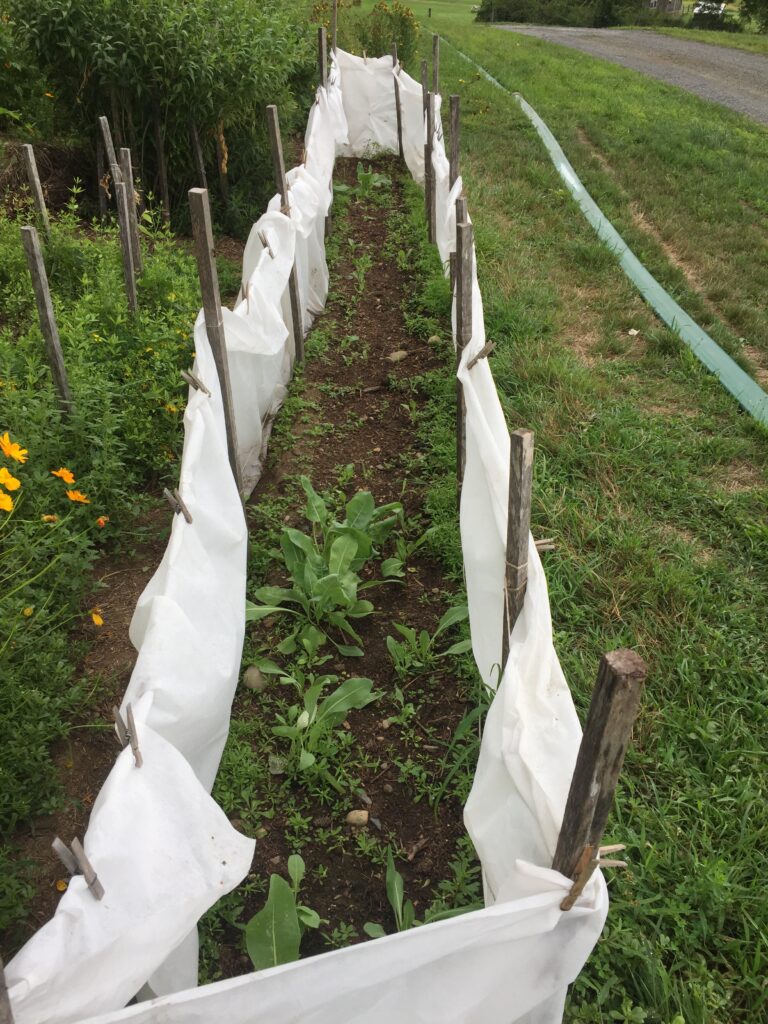
I moved the thicker row cover down to make a “fence” around the bed, and used clothes pegs to cover the top with lighter-weight row cover for shade. I continued with the twice-daily watering.

You’ll just have to imagine the row cover on top because for some reason I never took a photo of it.

This strategy did not help either. Successive re-plantings were still dying off.

At least now I could rule out rabbit-nibbling. And I could rule out drying-out. There is no way the bed was drying out between waterings. In fact, it was very moist in there.

One disease I have encountered before with woad is club root, so I pulled up a few plants to see what the roots looked like.

Nothing too weird-looking there. So, probably not club root.

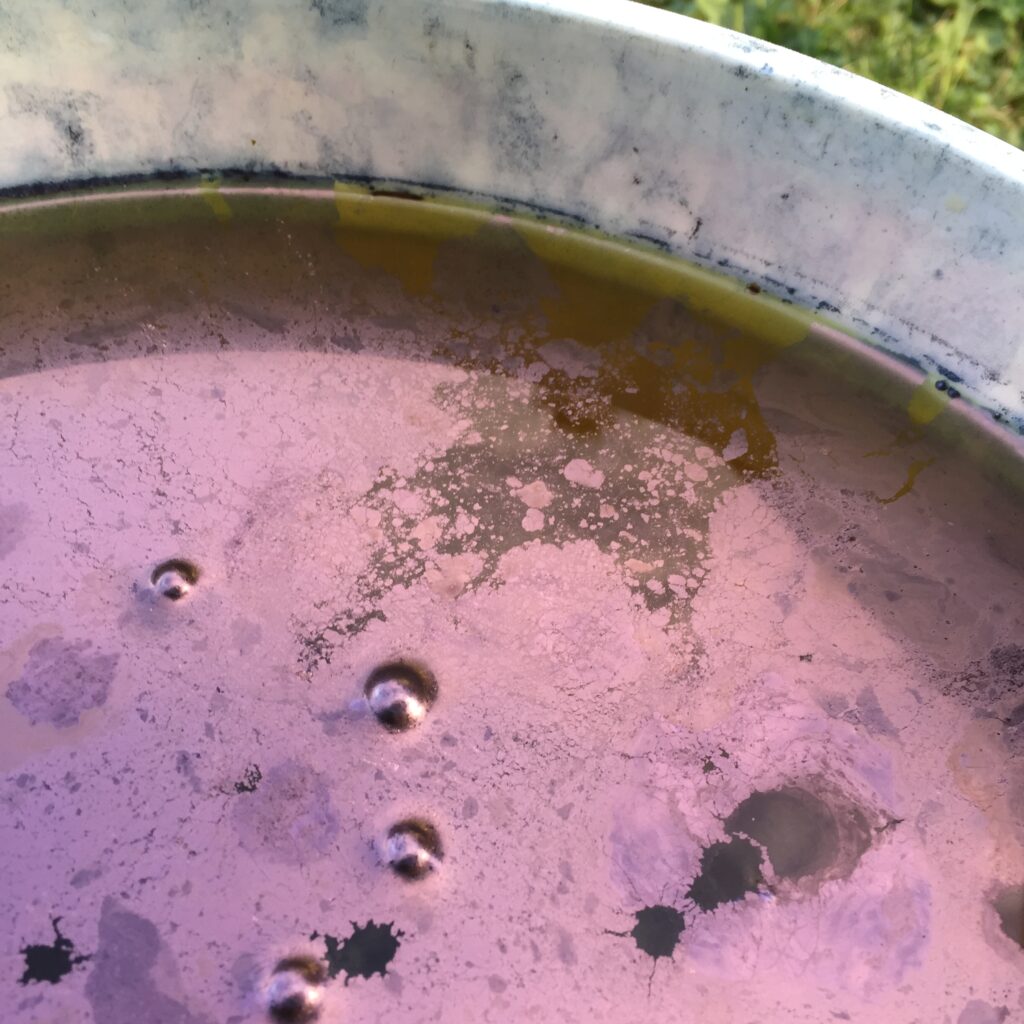
On August 3rd I was able to see the dying seedlings in the process of their demise. Here are some images of their sorry state:

Finally, I consulted the farmer who manages Bramble Hill Farm, Hans Leo. He suggested damping off, which is caused by a variety of molds and fungi in the soil.

Well, damping off made a lot of sense. I had inadvertently worsened the situation by making a hot, humid tent in which there was no air circulation. Recommendations for avoiding damping-off include allowing the soil to dry off between waterings, and having plenty of airflow.

Hans recommended spraying with chamomile tea to help the plants fight off the pathogen while they were small. Once plants get bigger, they are more resilient.

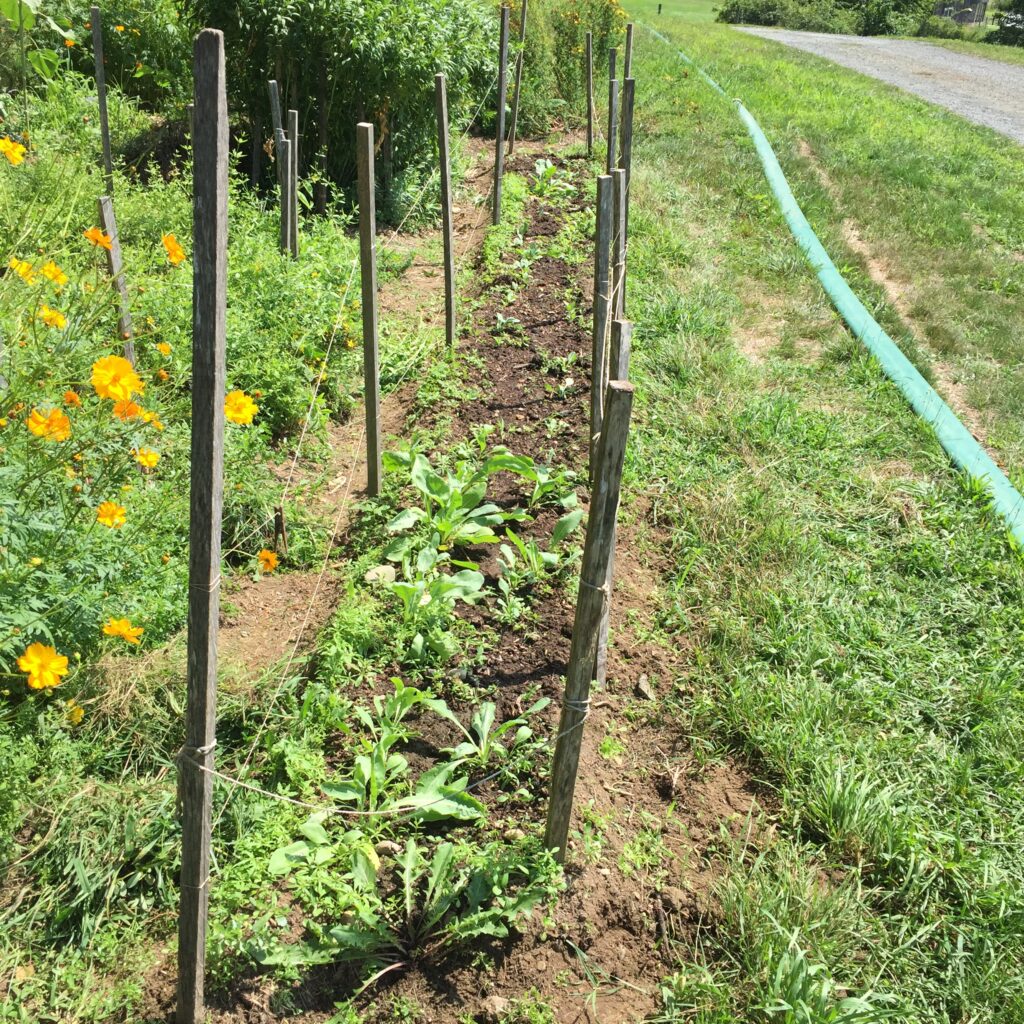
In fact, the few plants that had survived the seedling stage were doing great. You can see some big, healthy woad plants in the otherwise empty bed:

So, I brewed up some chamomile tea. Several years ago I was gifted a box of fancy dried chamomile, but hadn’t made much of a dent in it. Clearly this was its intended purpose!
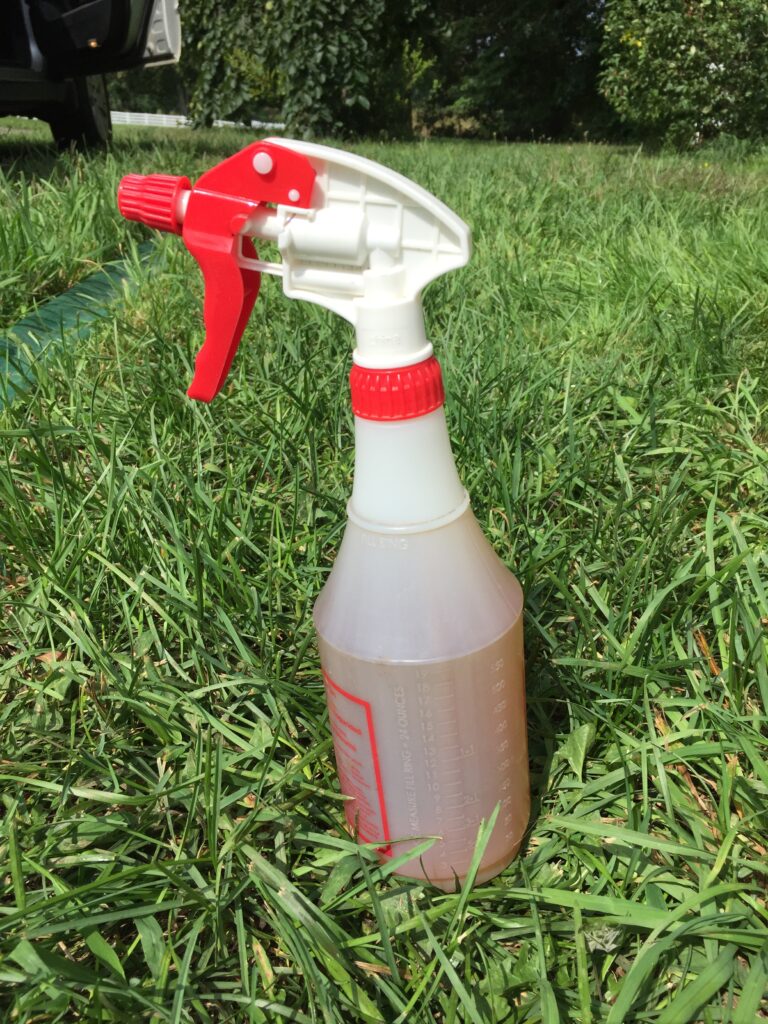
I got a spray bottle.

I took off all the row cover. Here’s the newly unwrapped bed on August 9th:

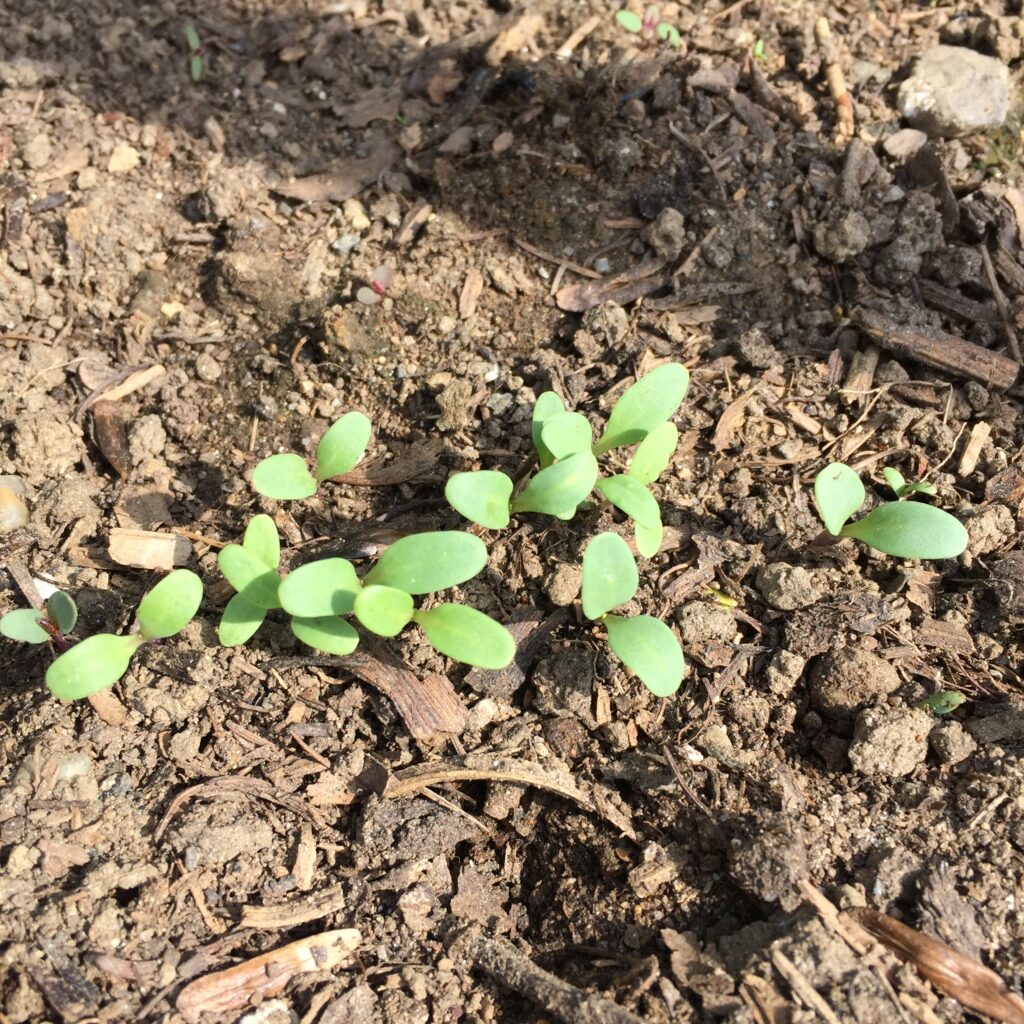
I started spraying the seedlings every morning after I watered, and reduced the watering to once a day. I replanted once again. Here are some seedlings emerging on August 12th:

And here they are, not dead yet, on August 14th!
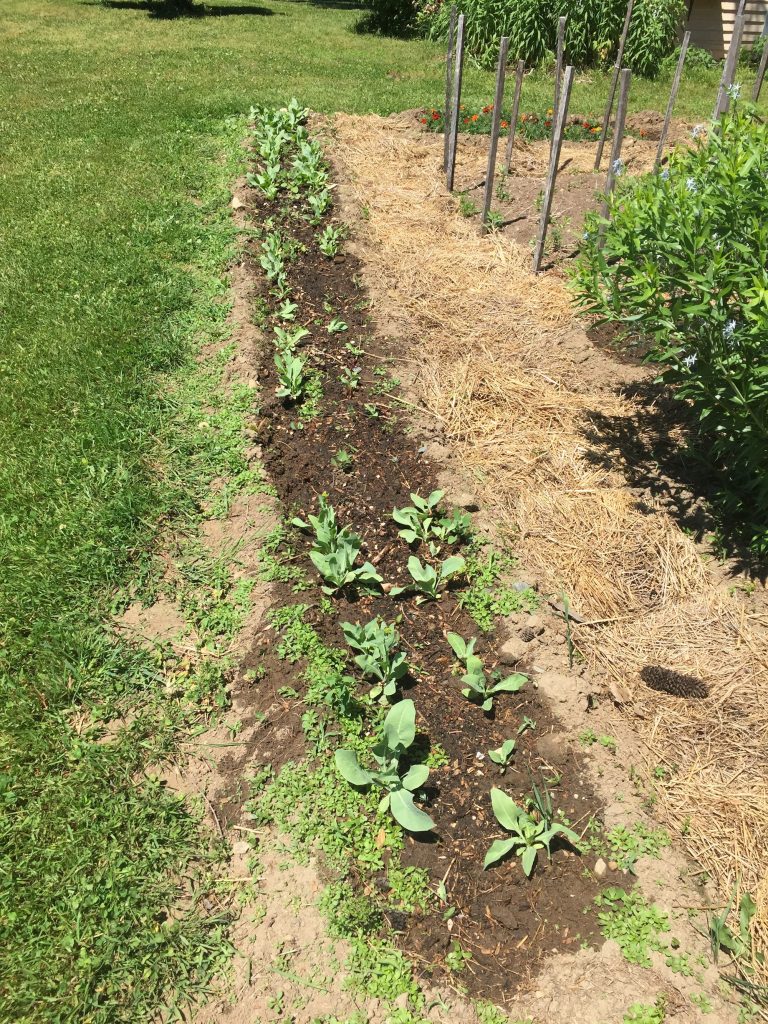
I am cautiously optimistic that the woad will actually grow to maturity!

Smith College Botanic Garden Show!

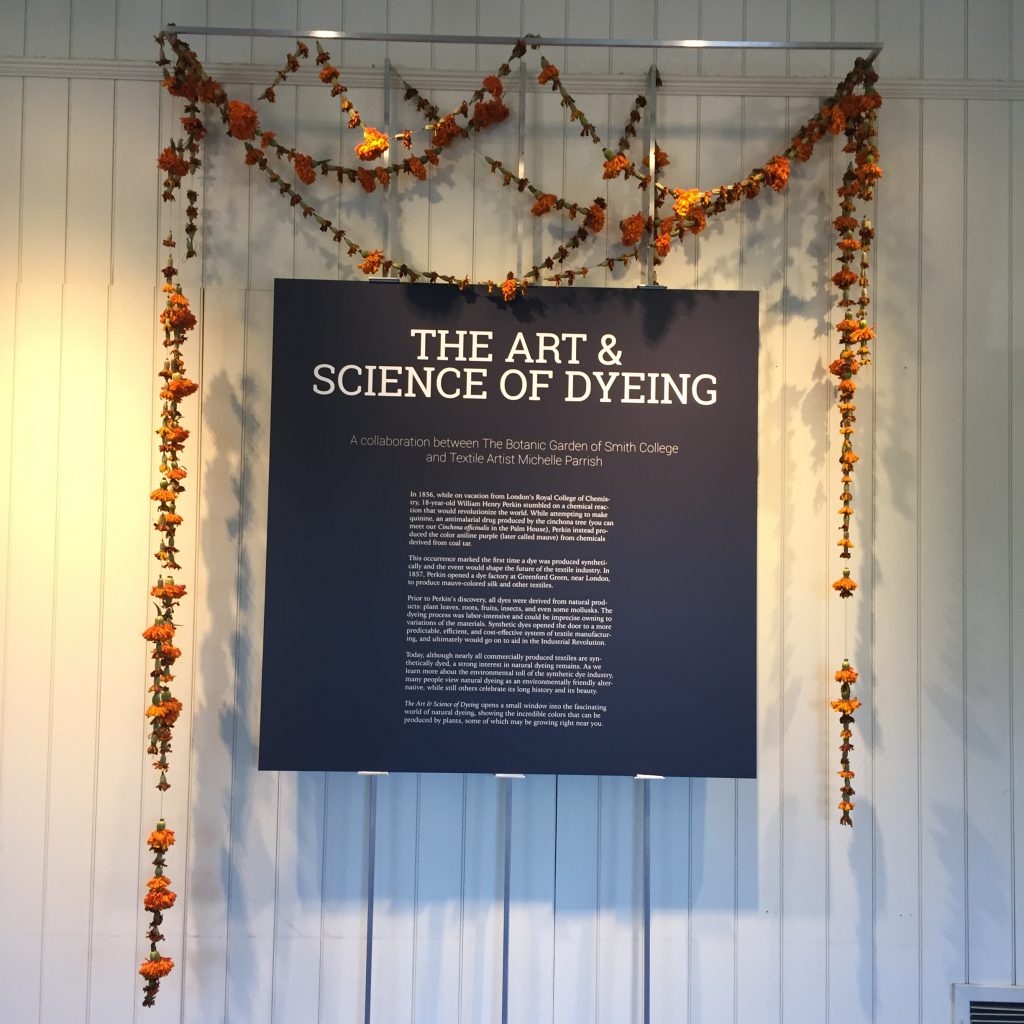
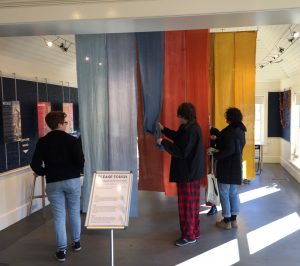
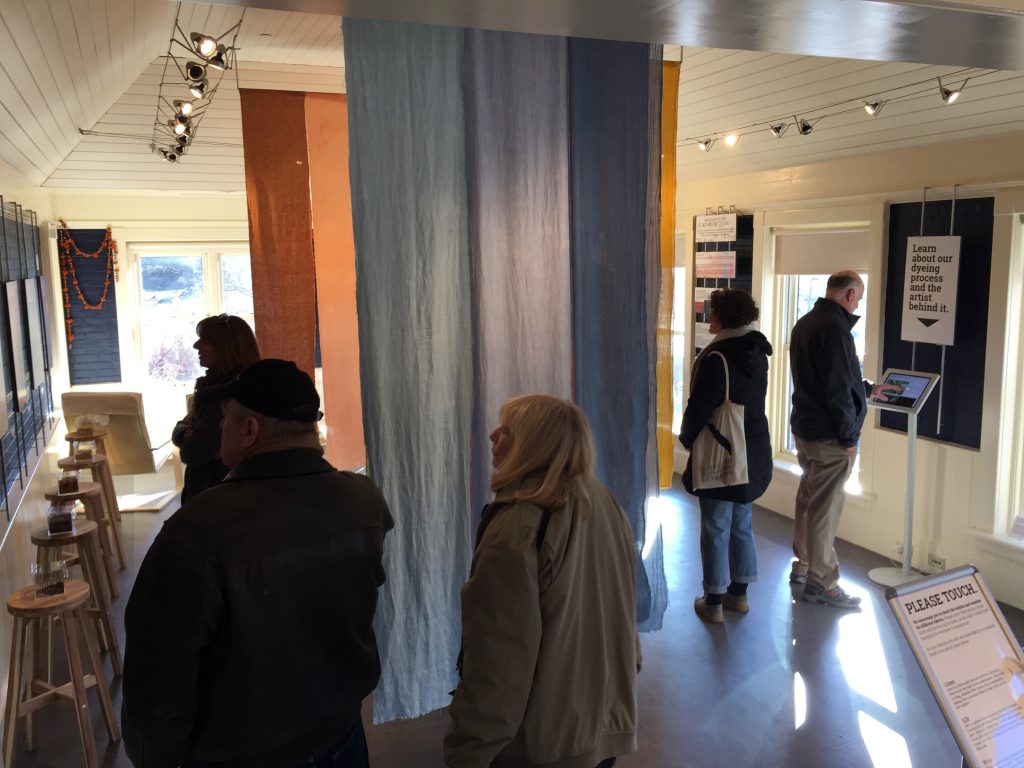
The show is up at Smith and it is gorgeous! Actually, the show opened way back in September. It will be up until May, so you still have time to go see it. Here’s the sign that greets you as you walk in. It makes me feel famous!

The whole concept of the exhibit was the vision of Sarah Loomis, Manager of Education at the Botanic Garden. I am so grateful to have been a part of creating it. It’s incredibly satisfying to stand in the gallery and see how it all came together.

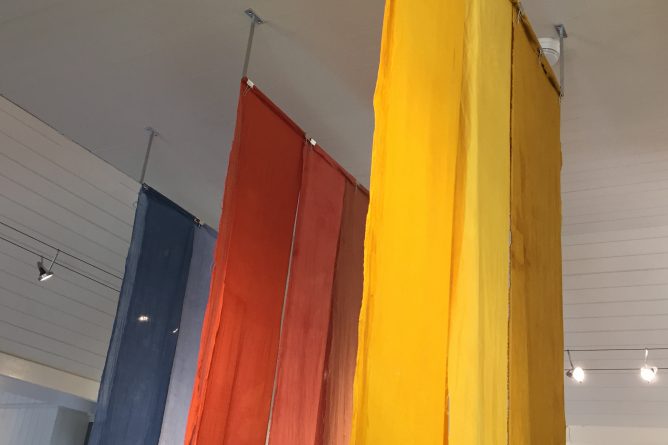
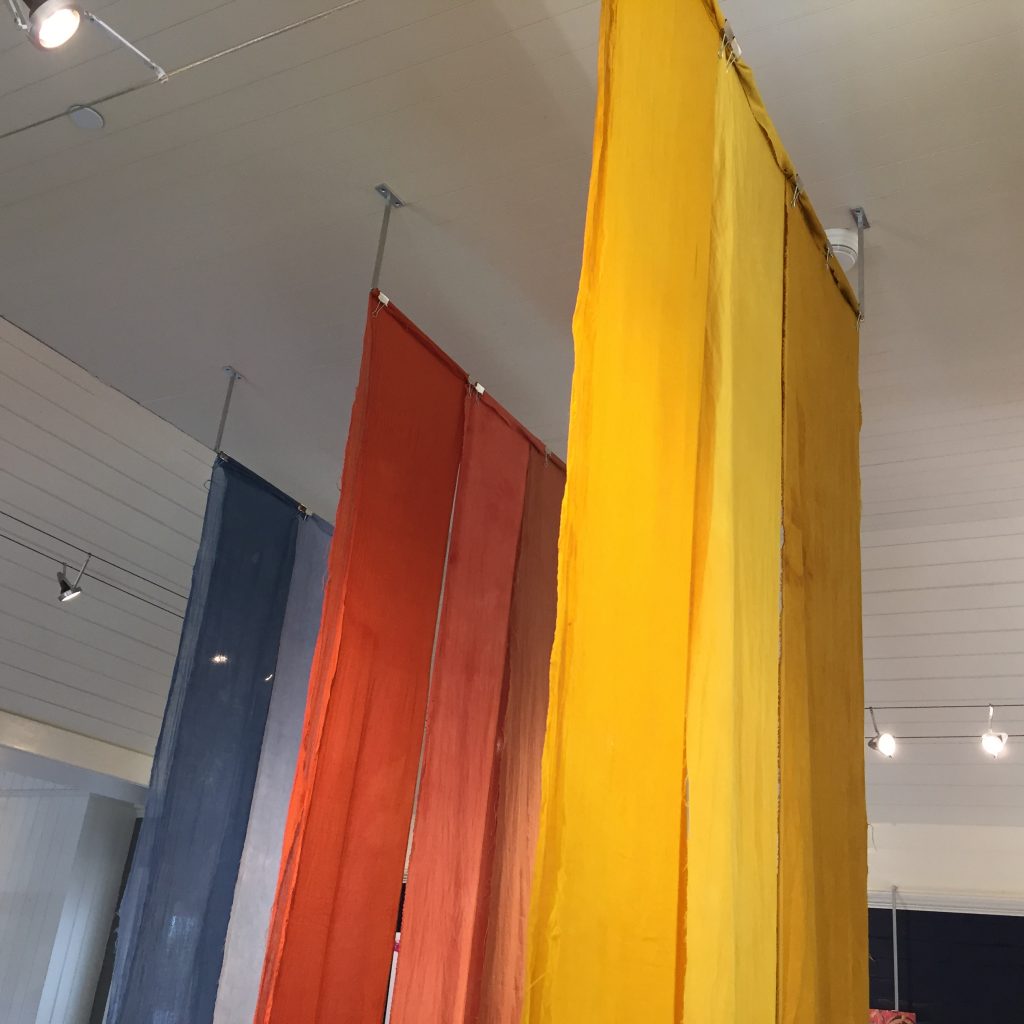
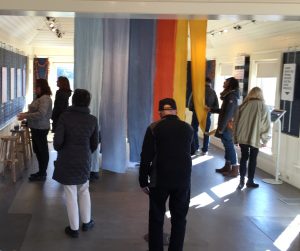
The first sequence of panels that you see as you enter the gallery space is the primary color sequence of blue, red, and yellow. The blues are from woad, the reds are from madder, and the yellows are from marigolds.

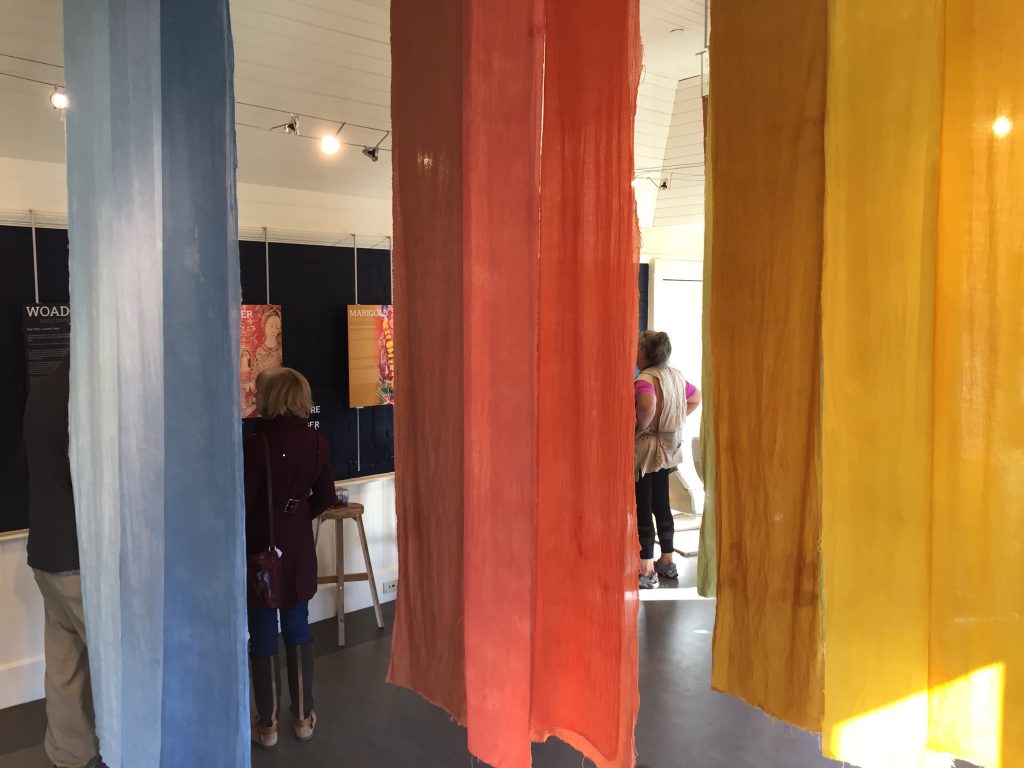
For each color I dyed three different fibers: linen, silk, and wool. In the photo above, the linen is on the left, silk is in the middle, and wool is on the right. Each panel is 9 feet long (or tall) and 16 inches wide. The wool gauze was very sheer, so those panels are doubled. I really love the color saturation of the two layers of cloth.

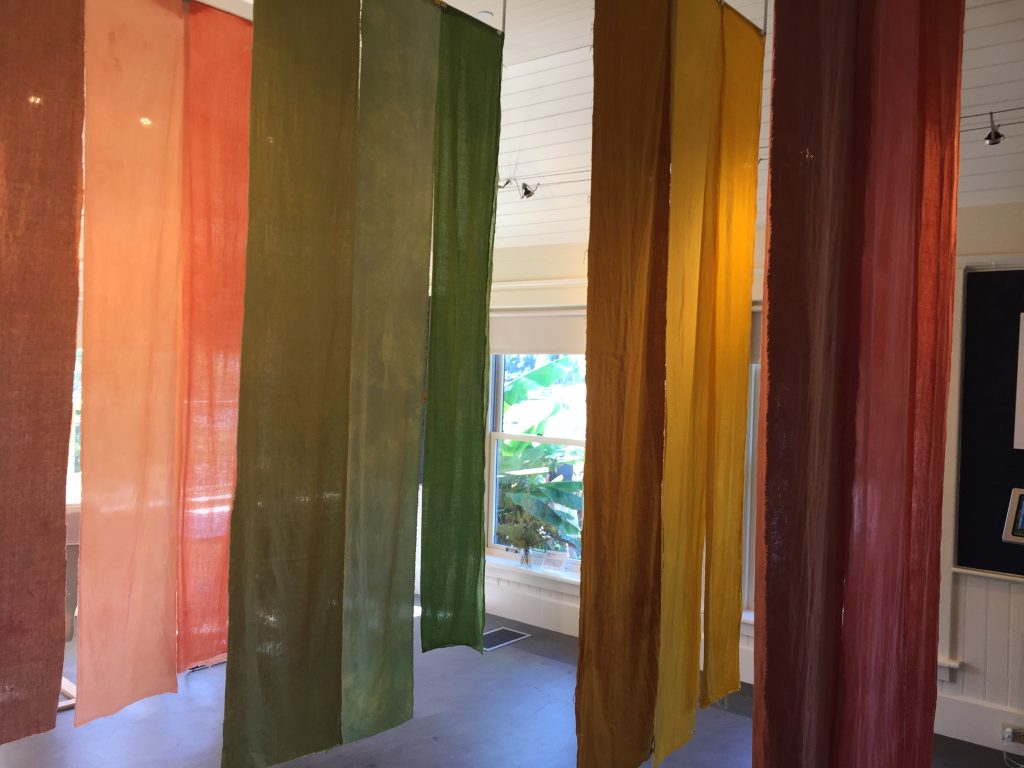
Depending on the lighting and the angle, the colors look different. Looking at it from the other direction (below) the wool is on the left, silk in the middle, and linen on the right.

It’s really fun to see how people are interacting with the cloth and the space. A sign at the entrance invites visitors to touch the cloth. And people do!

The long panels create a delightfully immersive experience.

There is space to move between the panels so you can be surrounded by color.

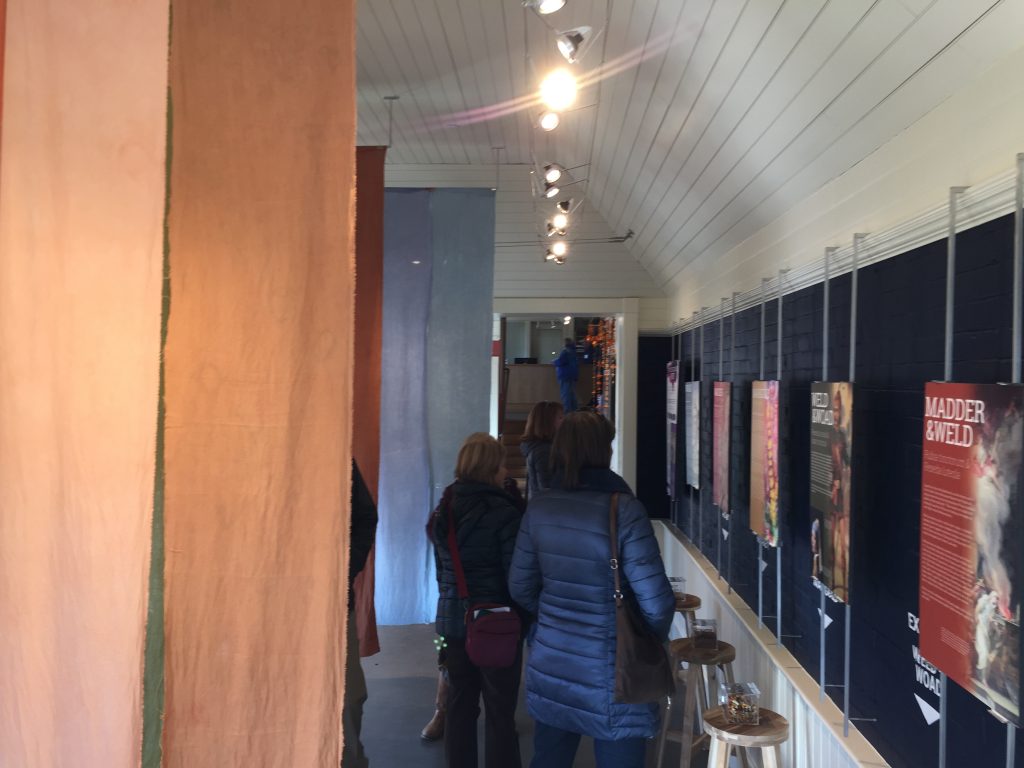
The interpretive panels are beautiful and informative, explaining further about the historical uses of each plant:

The interactive components are engaging and fun. My favorite are the clear boxes full of dried dye plant materials that you can open up and smell. Stinky weld, sea-weedy woad, fruity madder, mmm! You can see the boxes on the stools in the photo above.

There’s also an interactive screen with a slideshow about the steps in dyeing with woad. It’s a thrill to see that people take the time to look through it!

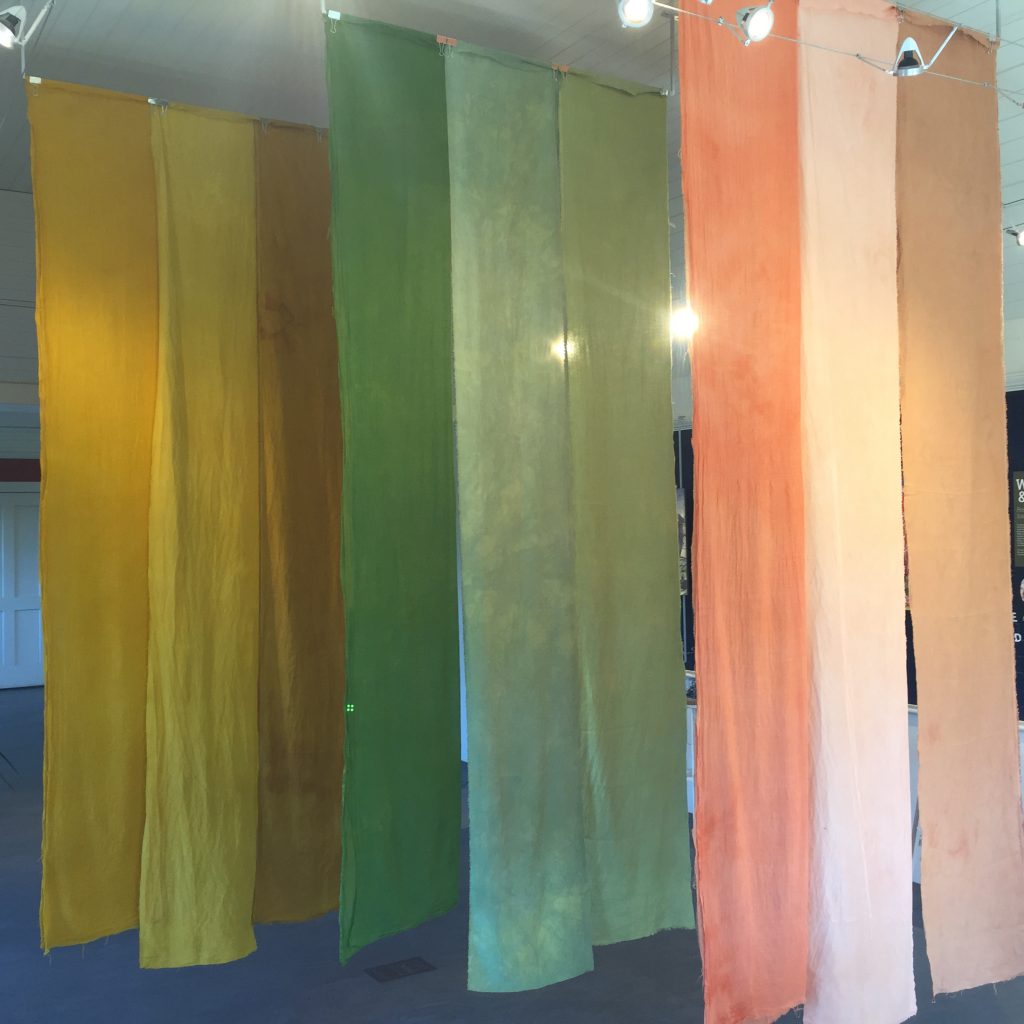
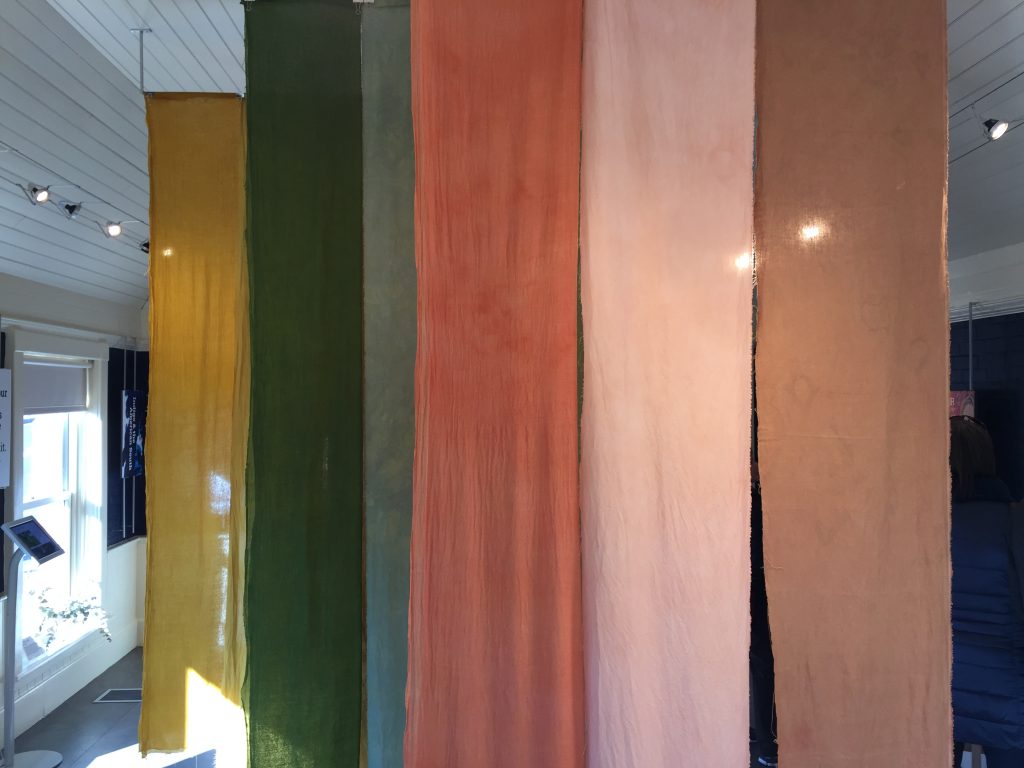
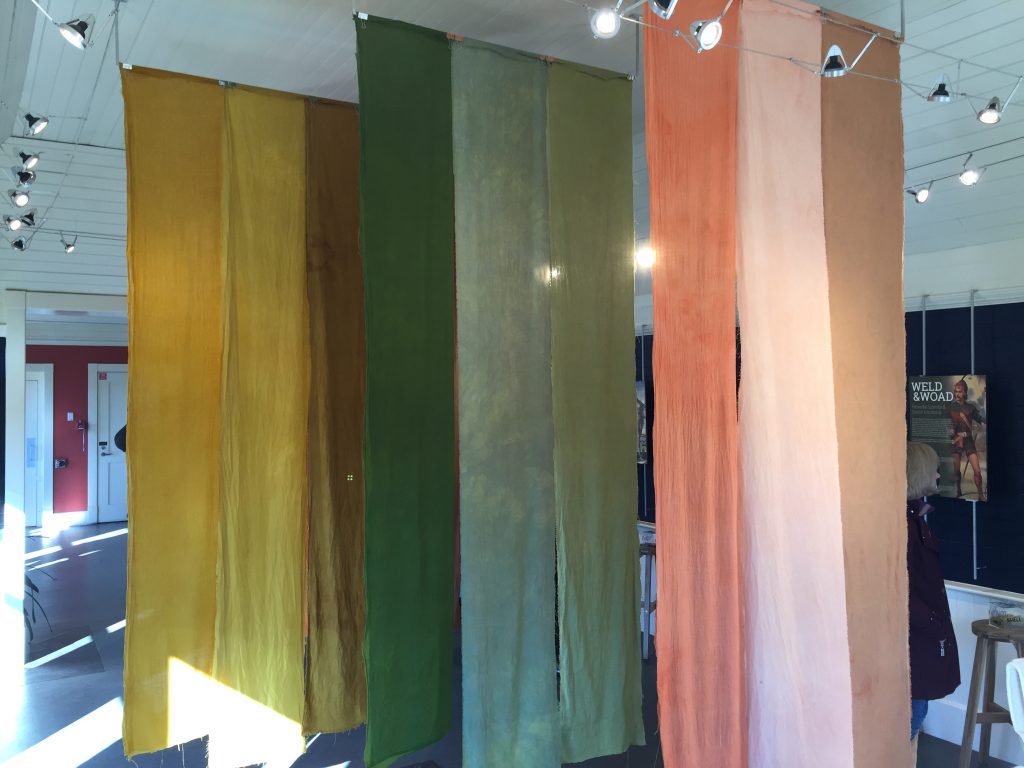
On the other end of the gallery are the orange and green panels. Honestly, they are more pink and peach than orange, but I still think they look lovely. The “orange” shades are from weld and madder together in the same dyebath. The greens are from woad overdyed with weld.

Again, depending on the angle and the lighting, the colors look different.

Not only does each fiber take up the dye differently, they each have a different texture, too. It’s just so rich and luscious!

250th Post!

This is my 250th blog post. It feels momentous. As I anticipated this post, I tried to decide whether I should write something just about the momentousness of the occasion, or write a post that will help me catch up on the backlog of topics that I’ve been meaning to write about. I read back through some of my earliest posts to ponder the best course.

My very first blog post was about black walnuts, but it’s too early to be using those just yet. My second post was about weld. I recently used weld for my Smith College Botanic Garden project, so that gave me a “full circle” sort of feeling to mark the occasion. Weld it is. Me and weld, we go way back.

Ironically, for the Smith project I did not use my own weld. I have been growing it for years, and saving my own seed for years. However, for this project I didn’t want to blow my whole stash on one project. So, we ordered weld from Aurora Silk because they had a volume discount on 5 lbs., which is what we bought (and used).

I had to laugh at the description on their website: “Weld smells delicious, like honey, and bees love the flowers.” It is absolutely true that while the plant is blooming, bees love the flowers, and that the flowers smell amazing. Dried, it is another matter entirely. And this was the stinkiest weld I have ever smelled!

As with the madder that I wrote about in my last post, we set the weld to soak in a 5 gallon bucket on July 10th. We soaked 51 ounces of finely chopped weld. That’s just over 3lb. We didn’t have the wool gauze in hand yet, so I wasn’t using all the weld that week. Still, it was a lot by my standards. Here’s the bucket:

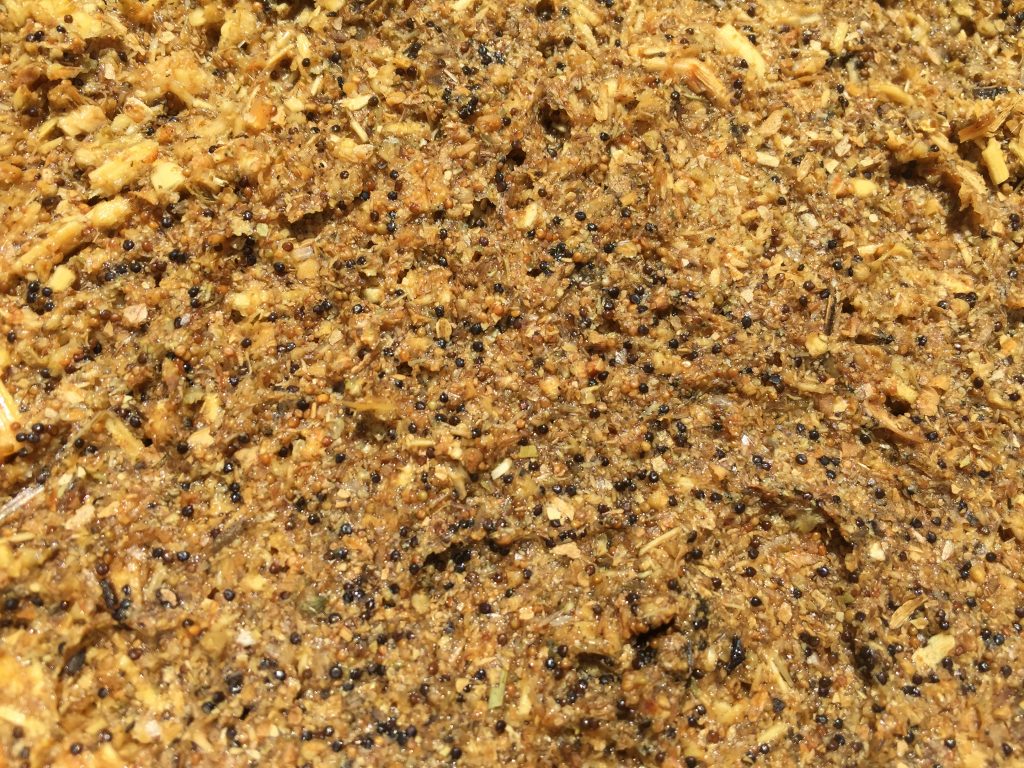
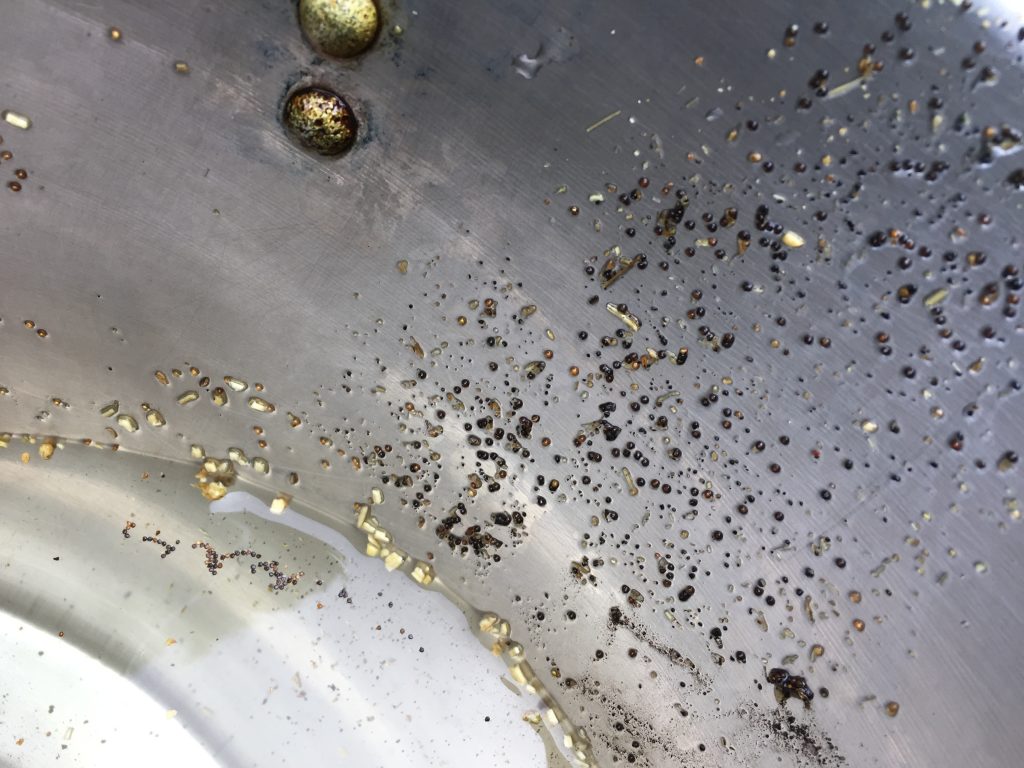
I took a closeup photo of the surface. I couldn’t believe how many seeds there were. Well, OK, I could believe it. Weld makes zillions of seeds. The seeds are the glistening black, tan, and yellow spherical dots on the surface, because they float:

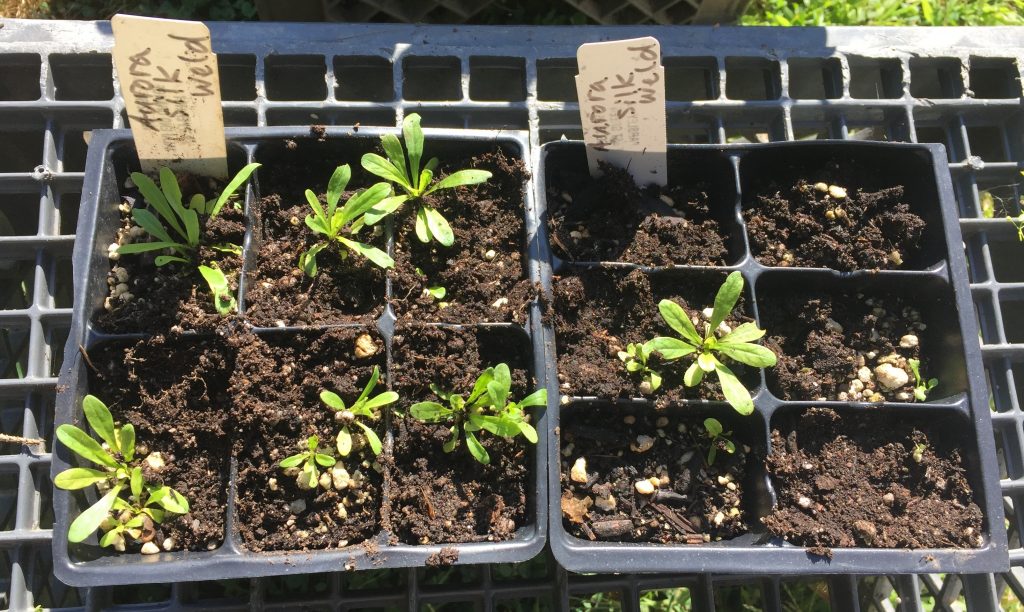
Because I am who I am, I had to try germinating some of these seeds. They were easy to separate from the rest of the plant material:

Yes, some of them grew.

I now have Anatolian weld plants to add to my dye plant collection. I do not know whereabouts in the world my original plants came from, alas. It’s actually getting a little late in the season to put these in the ground, so we’ll see what happens.

The weld soaked overnight. As with the madder, I extracted it twice on Thursday. Again, I divided the plant material into two or three pots. Here’s the first extraction heating up on Thursday morning July 11th:

Here’s Sarah on Friday morning helping me to strain out the plant material from the second extraction:

I typically add chalk and soda ash to weld for maximum oomph, so that’s what I did. Even though weld makes fantastic yellows in its own right, this time I was using it to make two secondary colors, green and orange. For the orange, I combined half of the weld bath with half of the madder bath. I guess I took a photo of the linen on Friday afternoon, but not the silk for some reason:

FYI, I prepped the linen and the silk for the orange bath just the same way that I prepped them for madder, which I wrote about in my last post. The linen was scoured, treated with chestnut tannin, then mordanted with aluminum acetate. The silk was just washed and mordanted with aluminum sulfate.

For making green, I had decided to dye the linen and silk blue first in the woad vat that we ran on Wednesday July 10th. For many years I have had good success dyeing woolen yarns blue first, then mordanting and dyeing them with yellow to make green. I have had much less success with linen or cotton using this method. Catharine Ellis’ research convinced me that the best way to make deep greens on cellulose fibers and silk was to do the woad dyeing first. All of her blog posts are incredibly informative, but this is the one that shifted my thinking about making green.

So, I dyed the linen and silk pieces in the woad vat on Wednesday July 10th. To prepare the linen for the weld bath, I decided to use gallotannin from Earthues (bought from Long Ridge Farm) since it is a lighter tannin.

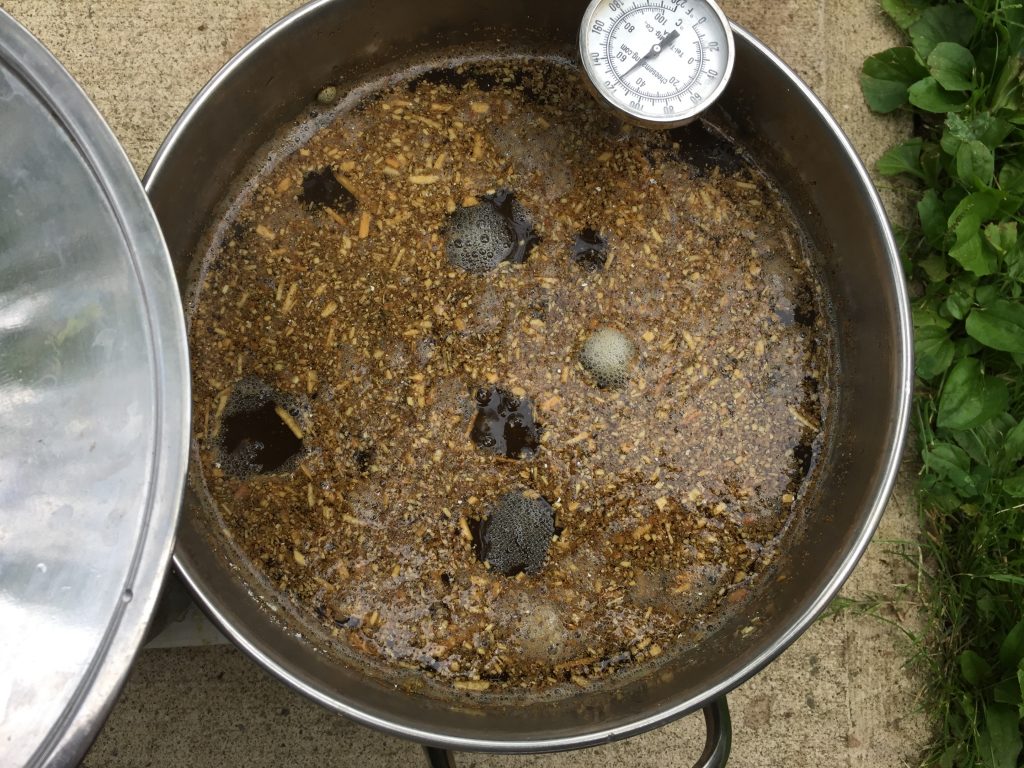
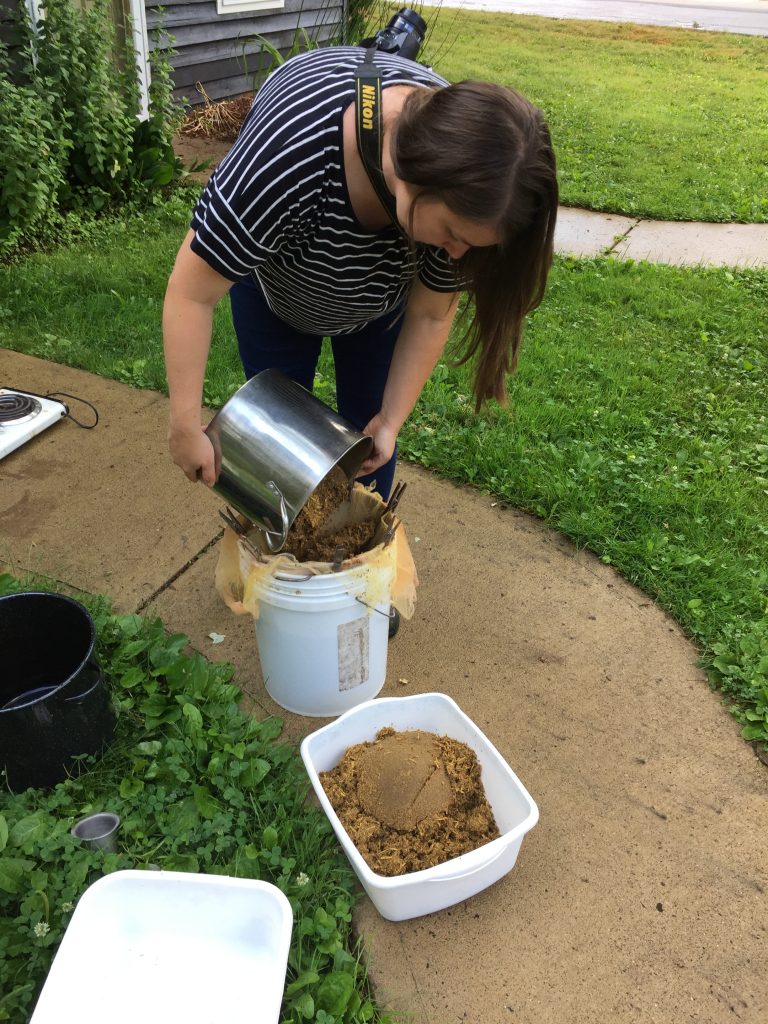
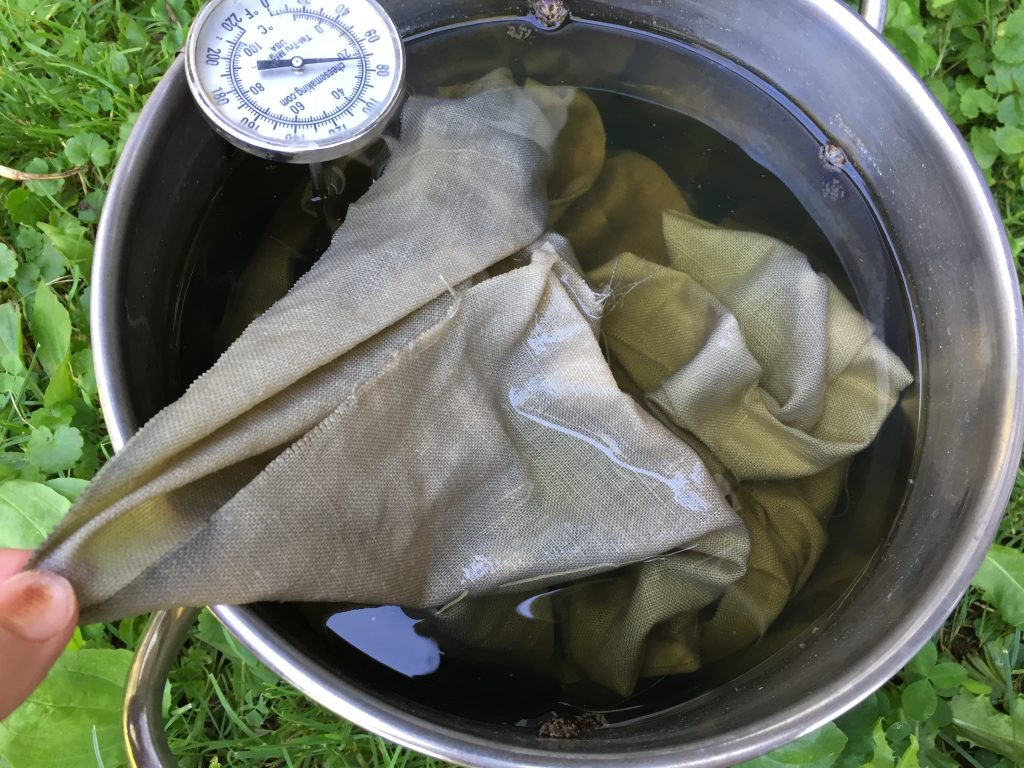
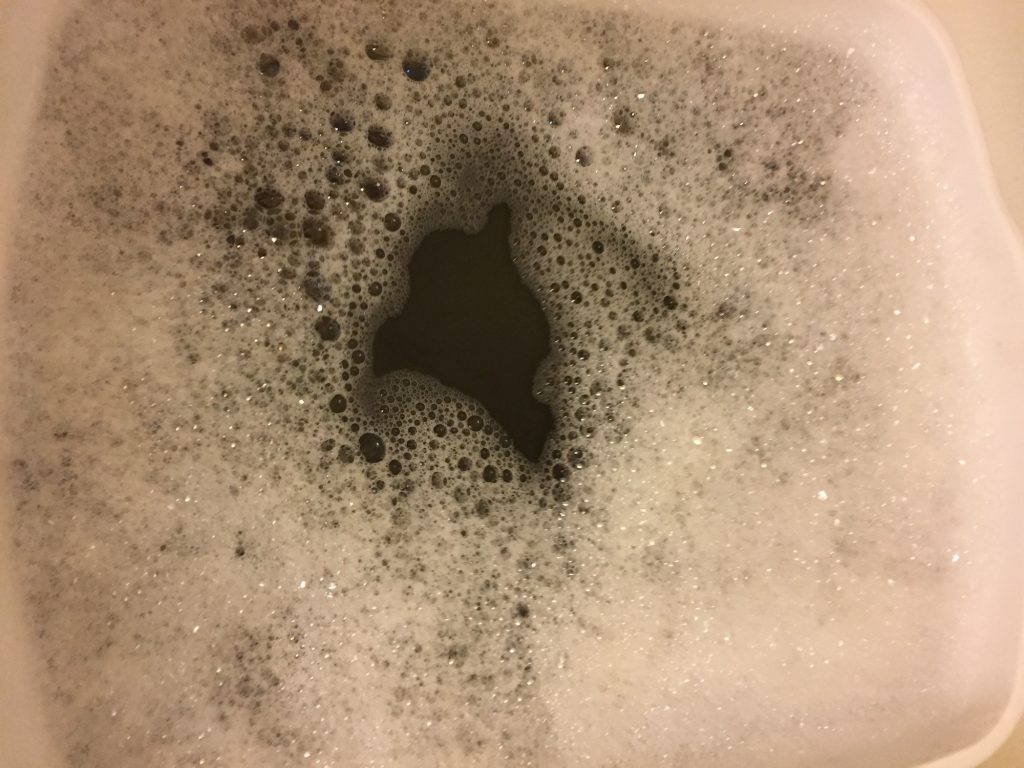
There must have been some metal contamination as the cloth sat overnight, because by the morning the liquid was dark and so was the cloth. On some of my dye pots, the handles are attached with rivets.  I’m thinking that the rivets leaked iron or other metal into the tannin bath. At first I was dismayed.

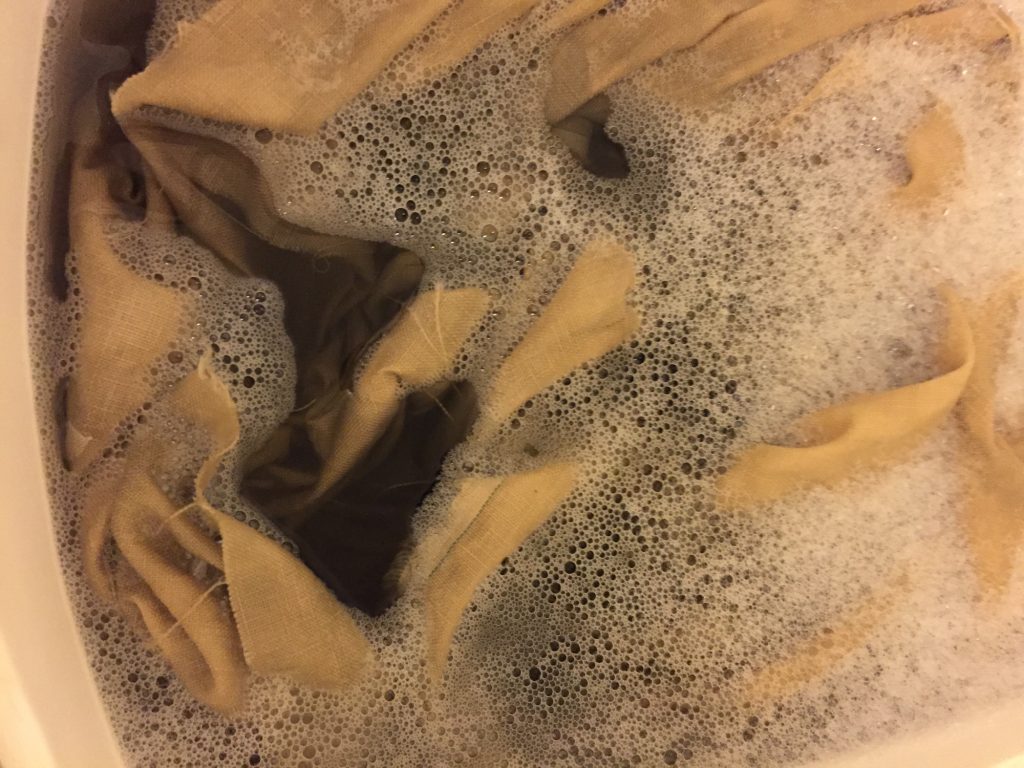
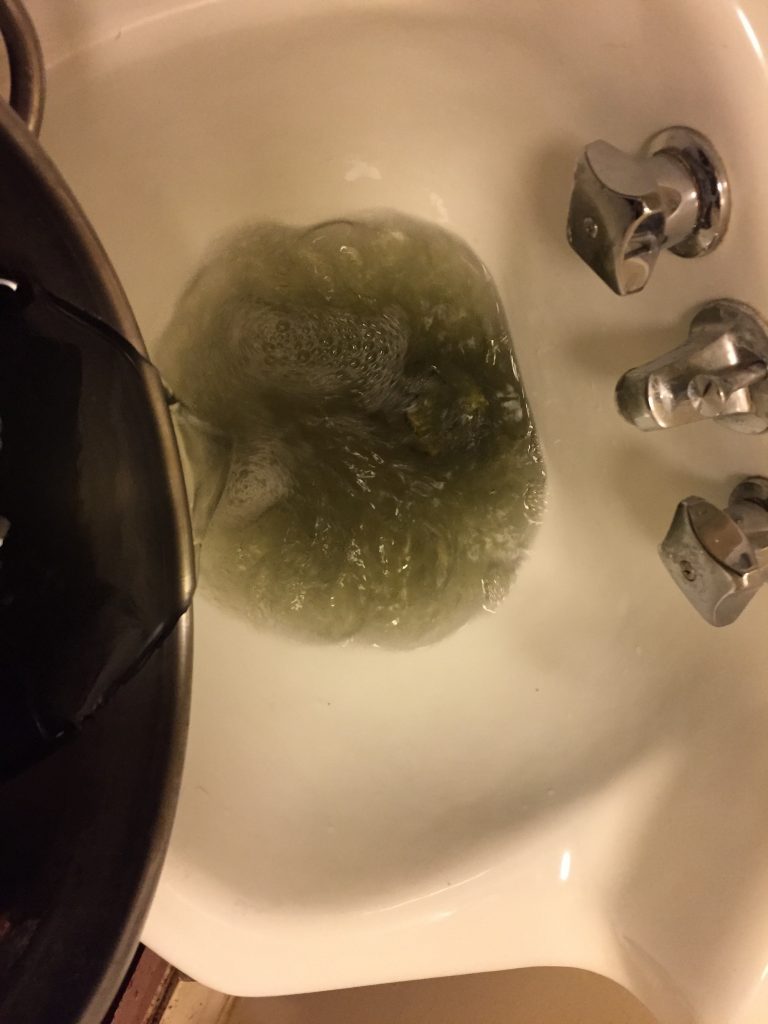
Normally I just rinse cloth with water between each step of the preparation, but I used detergent to see if the gray color would come out of the cloth. This is the color of the liquid when I washed the fiber:

Fortunately, the cloth did lighten up:

I did not save the tannin baths to re-use them as I normally would:

After the tannin preparation, I used aluminum acetate to mordant the linen. I mordanted the silk with aluminum sulfate.

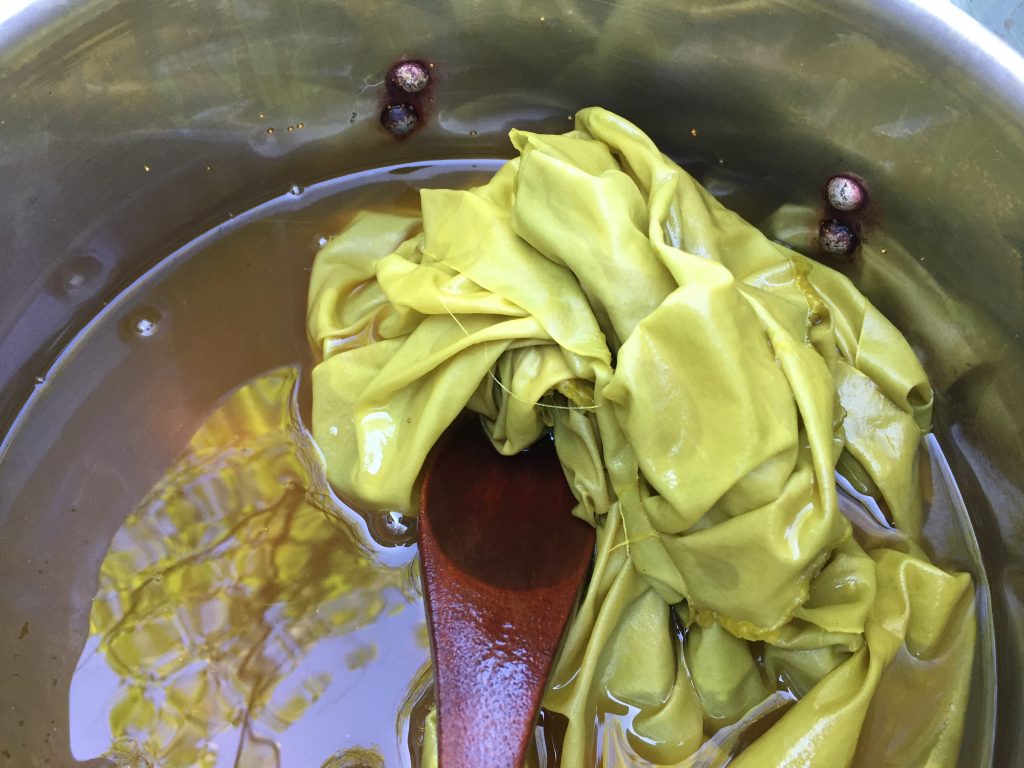
Here’s the weld bath with woad-dyed linen and silk on Friday afternoon. The bath heated up to 180 degrees, maintained for one hour, then steeped the rest of the day and overnight. The pH was 9:

Yes, the silk is yellow and annoying. The linen is lovely. Here they are on Saturday morning. This is the linen:

This is the silk:

Here they are drying on the line on Saturday morning:

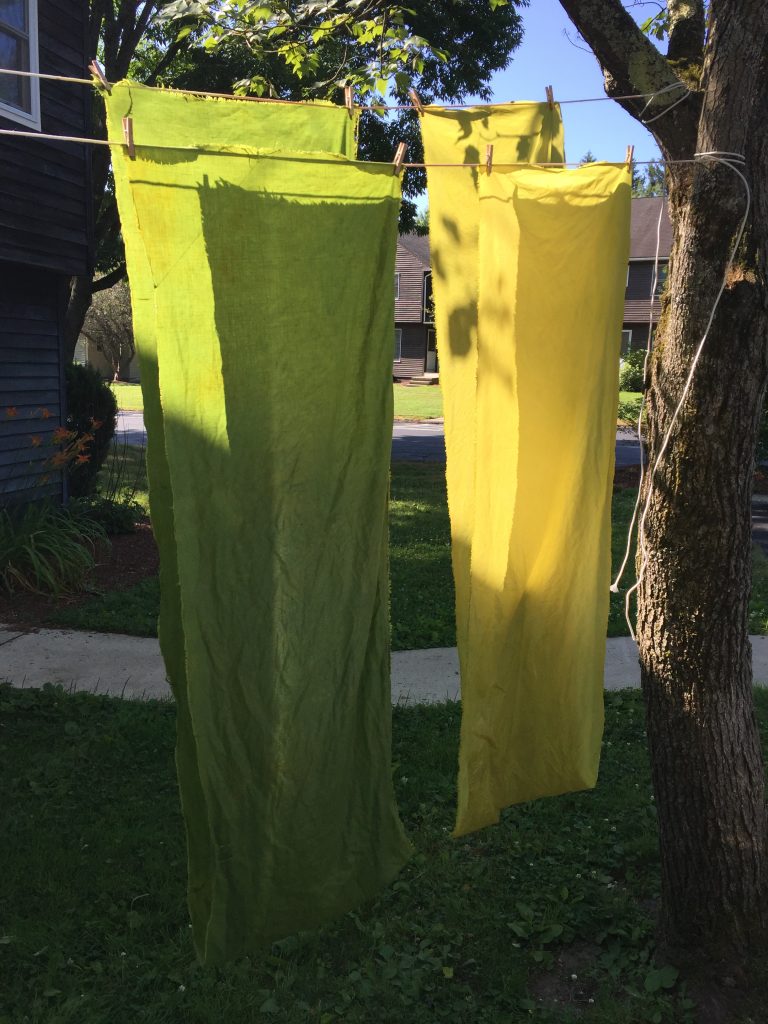
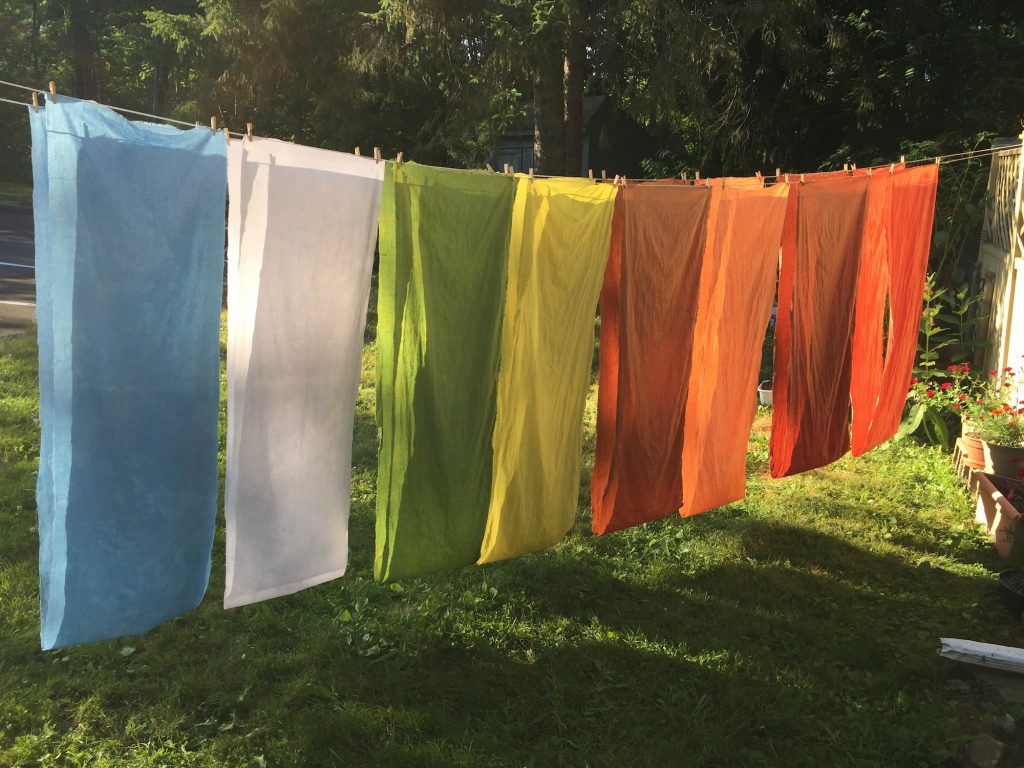
Here are the 9-foot pieces from that week hanging on the line on Saturday afternoon once they were all rinsed. I ended up overdyeing the silk pieces in a later woad vat:

Unfortunately, even though that weld bath was rich and luscious, it was so stinky that I couldn’t keep it for long. I ran a couple exhaust baths on woolen yarns with my Summerfun campers the following week at the Common School, but then they voted to throw it out due to its foul smell. It was great while it lasted!

Dyeing with Bolted Woad

This summer I am working on a very exciting project in conjunction with the Botanic Garden of Smith College. They are putting together an exhibition about dye plants called The Art and Science of Dyeing, and I am dyeing the cloth that will be featured in the exhibit! It is an incredible honor and I am thrilled to be part of it. Woad is one of the plants we are featuring, and so my investment in my woad plants is especially high this year. (12/31/2023 Thanks to the Internet Archive’s Wayback Machine for the link to the old Botanic Garden website!)

Last month I described the odd behavior of my woad, which bolted (sent up a flower stalk) and went to seed in its first year. Normally, woad is a biennial. The first year plant grows a basal rosette, which is a clump of leaves that radiate from the center and stay pretty low to the ground.

By July, the plants were getting big, despite their flowers. Small green seeds were beginning to form. I figured it was now or never to use them. Usually when woad goes to seed, the leaves are small and clasp closely to the stalks. In contrast, these leaves were still large and wavy, and seemed plump, lush, and happy. So, I felt optimistic.

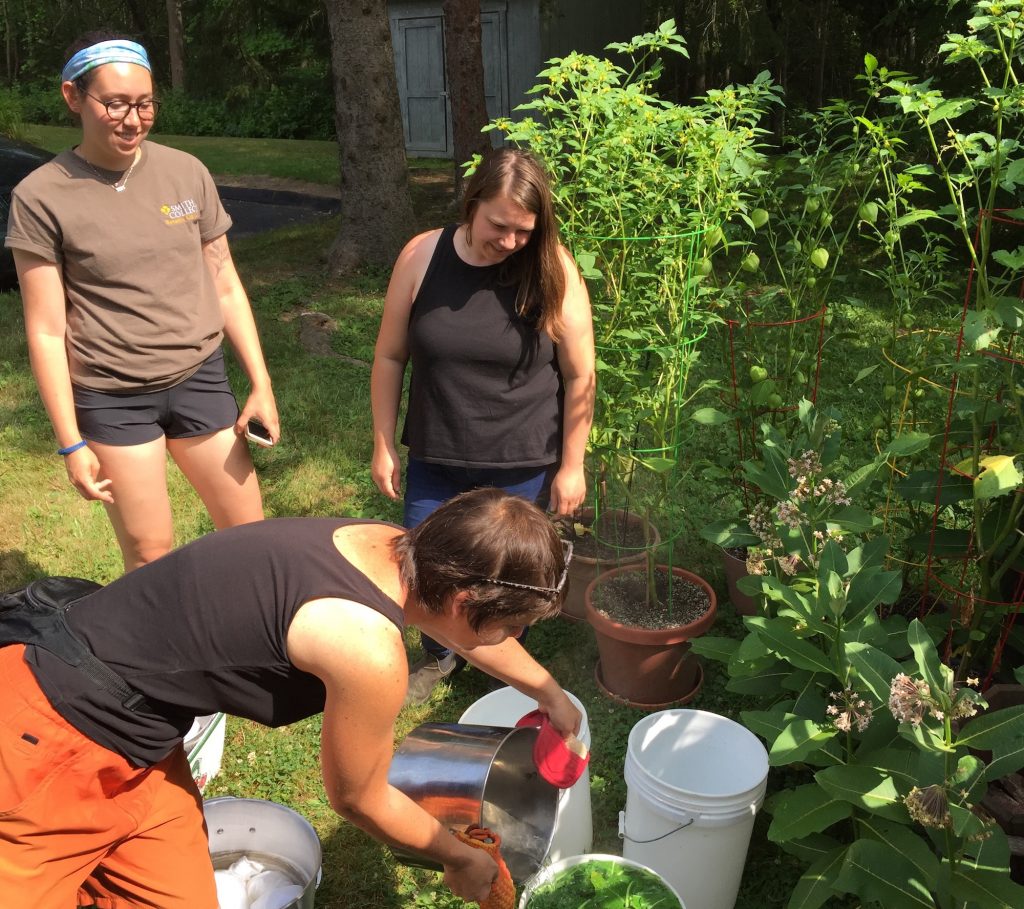
On July 10th, the day I ran the woad vat, Sarah Loomis, Manager of Education, and a student intern named Hannah came to help out and do the photo-documentation for the exhibit.

We harvested the woad together at Bramble Hill Farm around 8 am, since it was going to be a hot day. We cut about four and a half pounds of leaves. I estimate it was half from bolted plants and half from plants that hadn’t bolted, but I didn’t separate them.

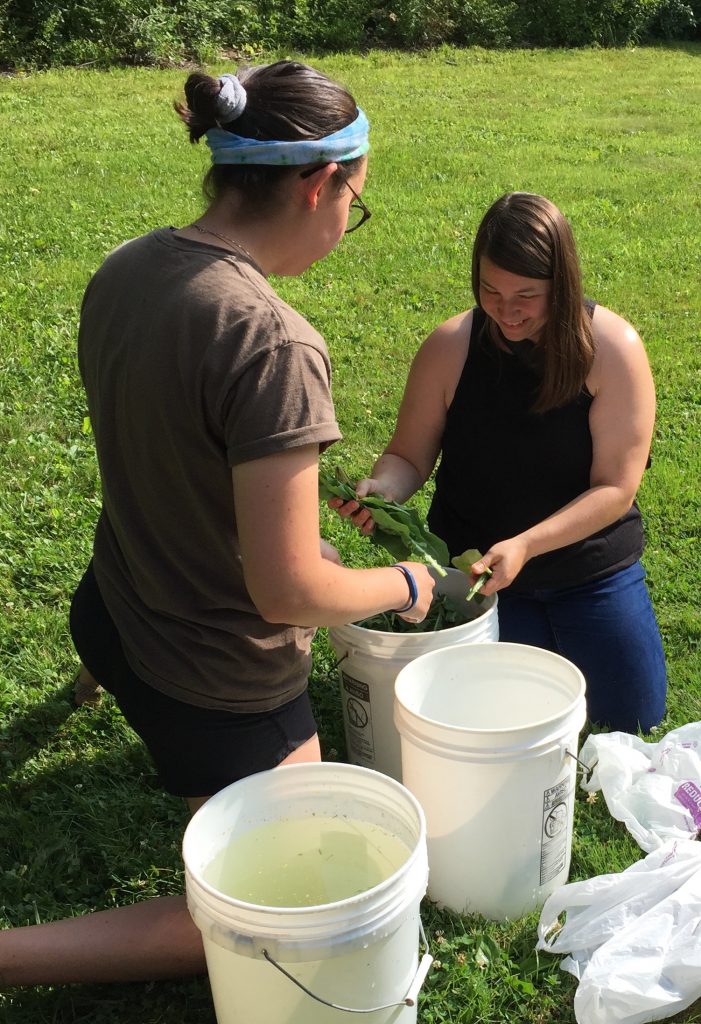
Here they are washing and shredding the leaves while I ran around heating up pots of water:

Once the water boiled, I did my usual routine of pouring just-boiled water into the five gallon bucket full of leaves. I fill it right up to the rim with just-boiled water, and press on the lid so that there is no additional air at the top of the bucket.

My typical method is to let the leaves soak for 45 minutes with the lid pressed on tightly. Recently I have read that for the maximum color when extracting indigo, it’s better to heat briefly at a high temperature, then cool the bath quickly. I haven’t tried this yet.

When you’re waiting around for 45 minutes you find something else to do. This time of year I commonly string up marigolds to dry, so that’s what we did. Sammycat watched over everything and was her usual charming and attentive self.

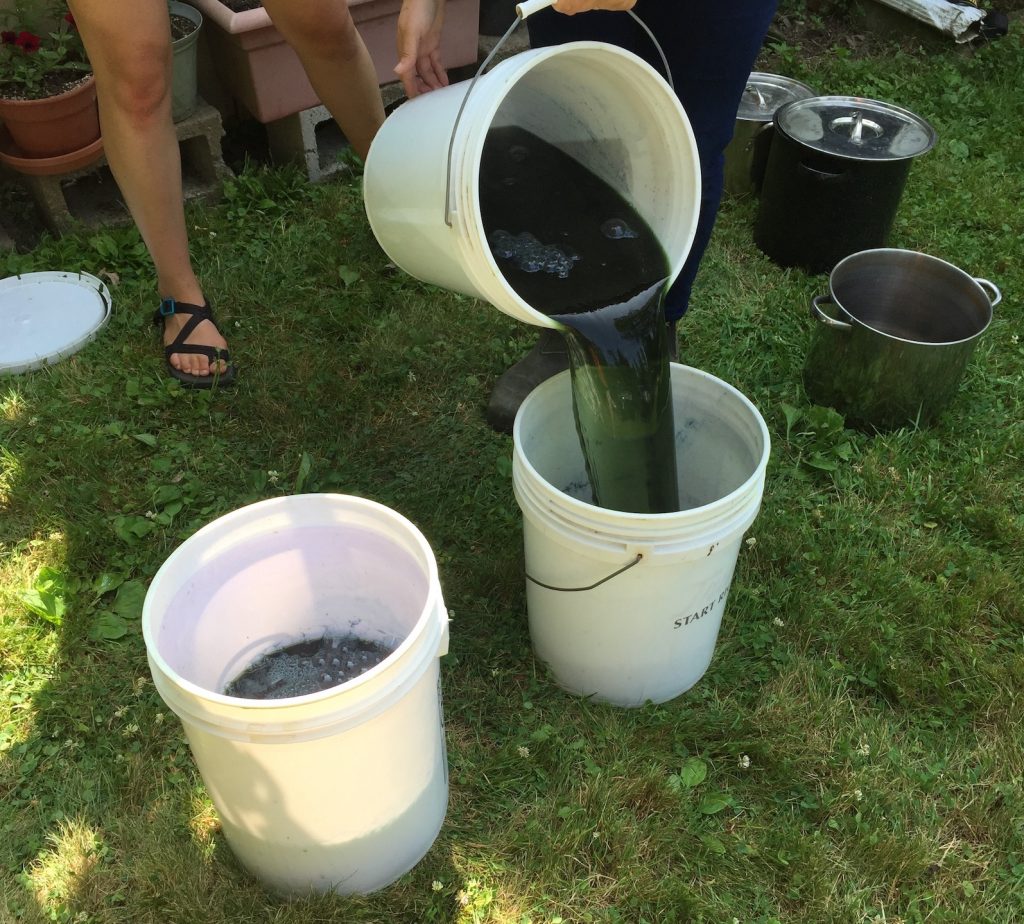
After the leaves extracted, I strained them, then added ammonia to get the liquid to pH 9. Then we aerated the vat. Normally I have to do this process by myself, which is kind of tiring. I pour the liquid back and forth between three buckets for ten minutes or so. It was nice to have help!

I was very excited to see a deep blue color emerge as we were aerating. I have read that second year leaves will give less color than first year leaves, so I was expecting a weaker vat than usual. At first I was optimistic that it would be a strong vat.

For a reducing agent I used RIT Color remover, which contains sodium hydrosulfate. We let the vat reduce for 45 minutes.

It looked pretty good, and the Smith folks were on the clock. I dipped in a length of linen cloth for a very short dip, then a length of silk, so they could see the color change. Linen is on the left, and silk on the right in the image below:

Things looked very typical and blue at first. Yay.

I let the cloth oxidize for a while. But since I usually put in my fiber for much longer dips, I decided to re-dip both the linen and silk several times. Some people recommend letting the fiber oxidize for the same length of time as the dip. Normally I dip a skein or piece of cloth only once per woad vat, and I dip for at least ten minutes. I feel that the color needs a long time to oxidize, and I let the fiber air-dry completely before rinsing and neutralizing. I normally wait until I run another vat to dip a piece of fiber again.

Nevertheless, I re-dipped several times in the same day this time around. Here were the lengths of cloth at 12:09. Silk is still on the right.

And again at 2:29. Fibers are always darker when wet, which is part of what’s going on in these photos. Silk is on the right but it’s wet.

After several dip-and-air cycles, I did not seem to be gaining any additional depth of color. My usual way to test whether a vat is really done is to throw in some wool. Wool will slurp up color like nobody’s business. If the vat is really dead, then the wool will let me know. If not, then I know it’s something quirky with the cellulose.

Behold the totally feeble color on wool skeins.

The weird mustard-yellow skeins were previously dyed with marigolds. The grassier greens were previously dyed with bronze fennel. For some reason marigolds and dahlias often act funky with woad. I will find out more about that some day.

So, I figured the vat was done, and I let the cellulose fibers dry out completely. The next day, I rinsed them with a vinegar solution to neutralize the pH, then a mild laundry detergent rinse, then several rinses in plain water. After the vinegar rinse, the light blue silk turned gray. What?!

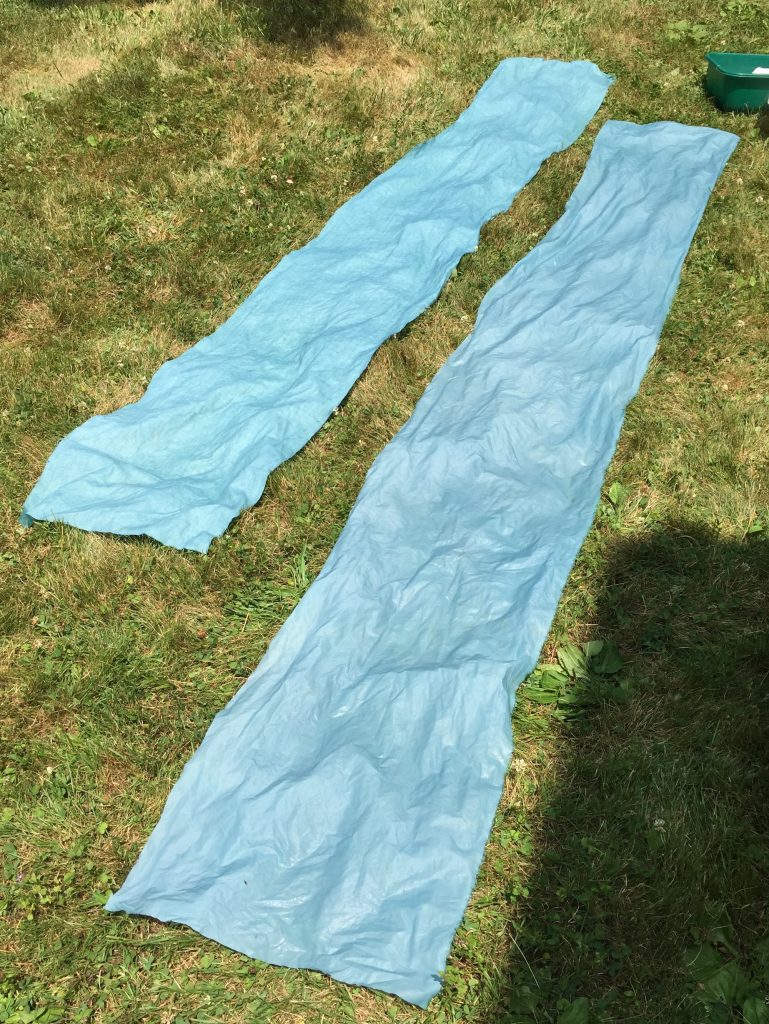
With woad I do not tend to lose a lot of color when rinsing, so this color shift was a surprise to me. After all the rinses, I hung up the cloth to dry and you can see the gray for yourself (silk on the right):

The same week I also ran madder and weld dye baths, which I will write about later. But you can see the pale silk on the line with the other comparatively more vibrant colors (it’s second from the left):

Yikes! I will over-dye the silk later this summer. The dried linen is light, but typical of a woady blue. I feel it is representative of what woad can do on cellulose fibers. Color is almost always lighter on cellulose fibers, even though woad can make very rich, dark blues on wool. The pale color may be due to the weaker vat, due in turn to the reduced color available in the bolted plants. But the dried silk is so pale and gray that I can’t even understand what is going on.

I have been wondering how to think about this gray-silk-bolted-woad thing. It’s a multi-faceted problem. It has made me wonder what the difference is between a “lesson” and an “experience”. Did I learn a lesson about bolted woad? Learning a lesson has a sort of bossy and authoritarian insinuation. “I hope you learned your lesson.” “Let that teach you a lesson.” On a more positive note, it implies a principle or rule that one can refer to in the future to guide one’s actions. If I did learn a lesson, what was it? Don’t bother with bolted woad, at least not on cellulose fiber?

If it was just an experience, how much weight should I give it? I don’t feel like I can ignore it. “Chalk it up to experience” is a comforting saying, but I like to feel that I’ve learned something from my experiences, even if they aren’t a “lesson” per se. Will bolted woad always give disappointing color? Is there more to know about second year woad? Undoubtedly, yes. Is woad just weird with silk? Did the vinegar solution make the silk unhappy for some reason unrelated to woad?

One thing’s for sure, I always seem to find more questions than answers.

What Is Up With My Woad?

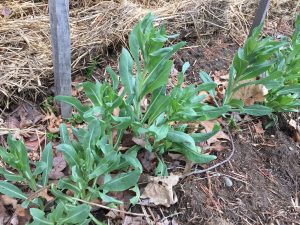
I have been growing woad for many years. I love it. It’s got some enemies, such as cabbage white caterpillars, and can get some diseases, such as clubroot. But mostly it’s easy going and reliable.

The second year woad at the dyeplant garden has been doing just fine. It started to bolt in April:

It got merrily taller:

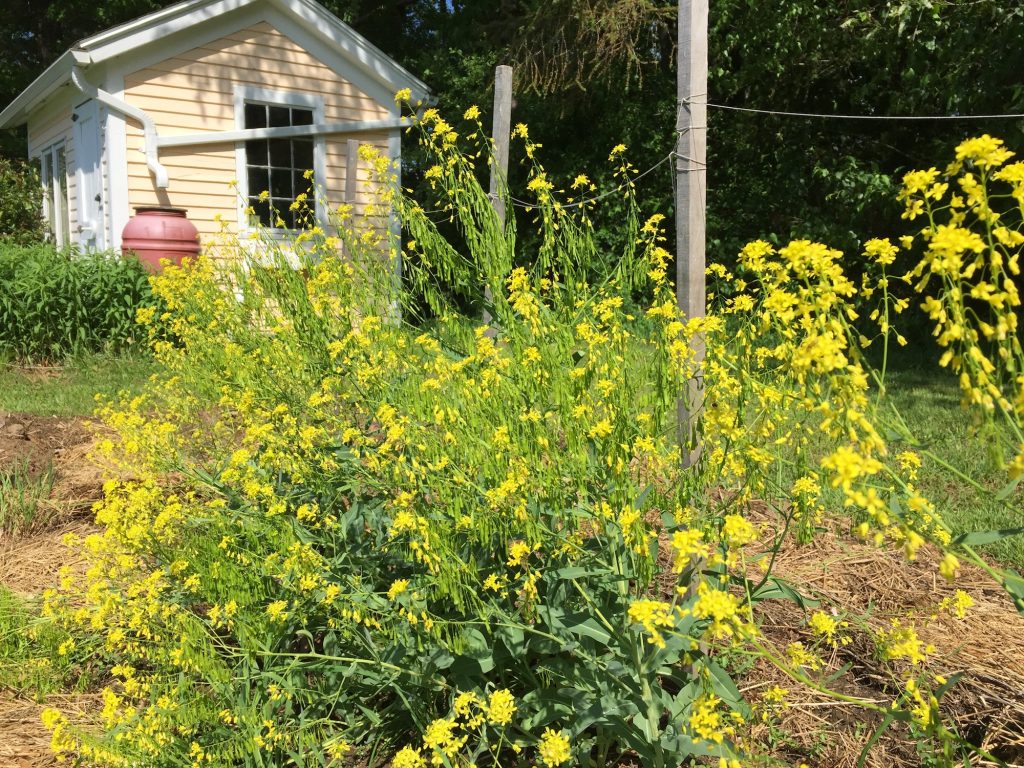
It flowered prettily in May:

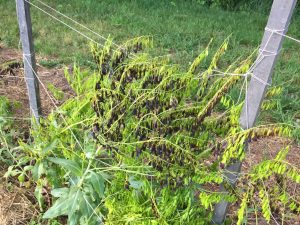
It set lots of seeds, and the seeds are maturing nicely now that it’s June:

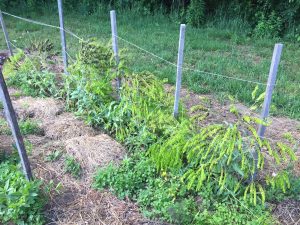
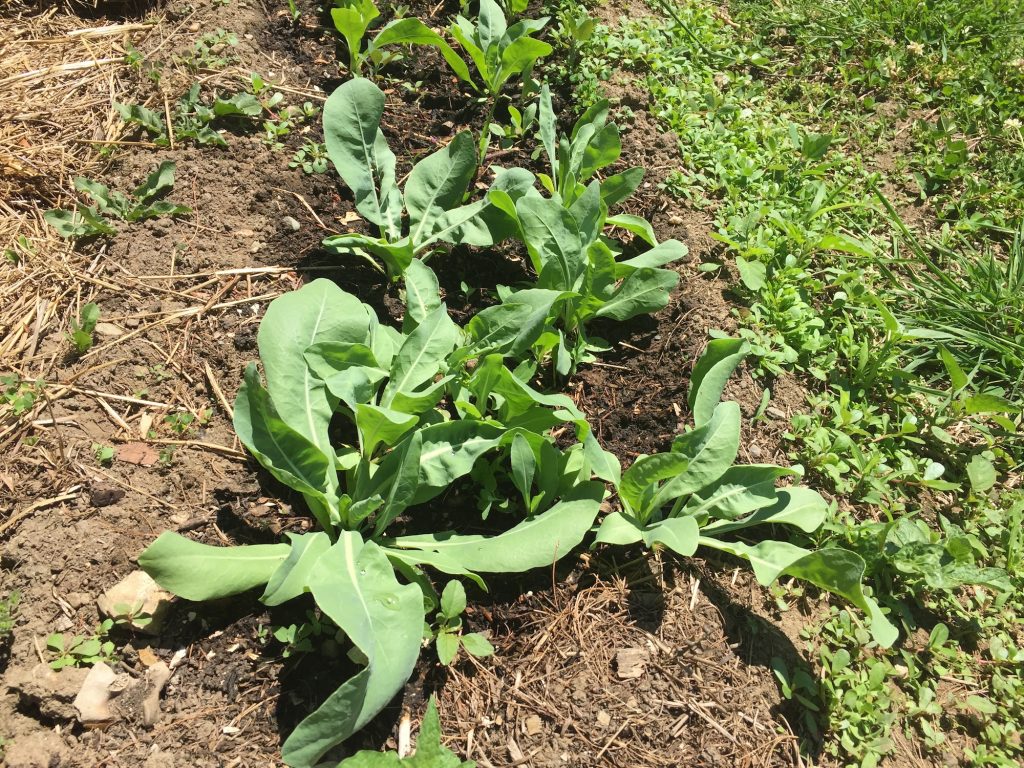
The new woad that I planted this spring started out very well, too. I planted on April 24th. Here’s the bed on June 9th:

Here’s a particularly lush plant on the west end of the bed:

However, I noticed on June 8th that some of the plants were sending up little flower stalks already. Just a few of them, maybe two or three. This happens sometimes, so I made a note of it but I wasn’t too worried.

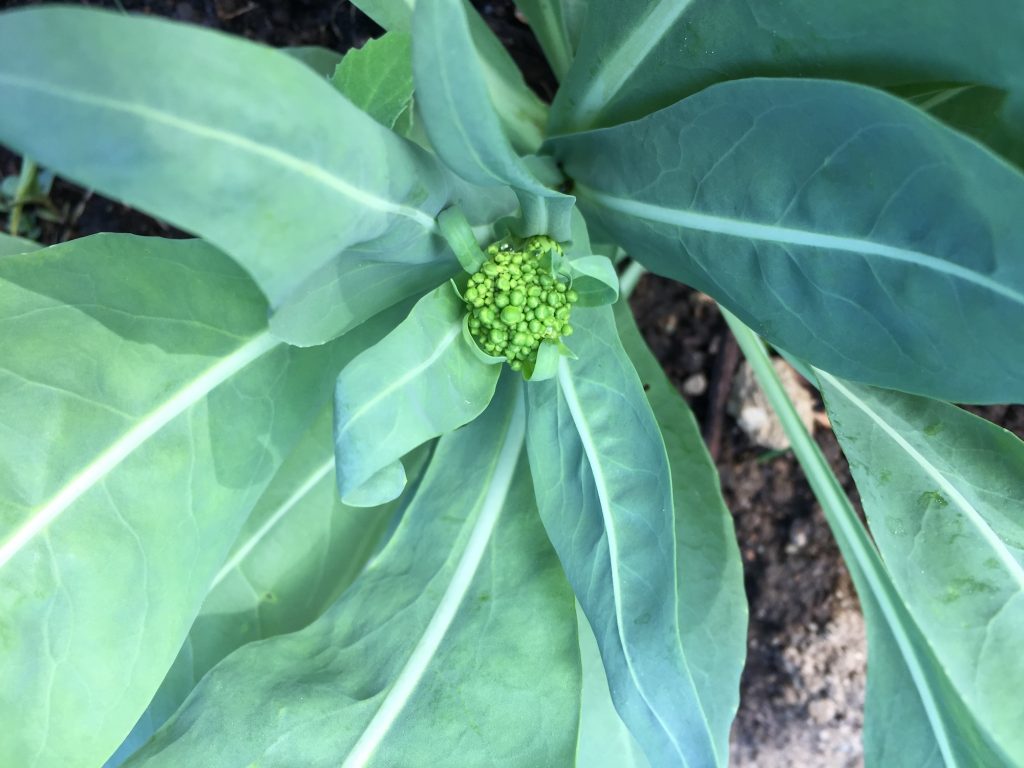
However, when I went to check on things yesterday I was baffled to discover that a lot of the plants have decided to make flowers. You can see that woad is a brassica by the distinctly broccoli-looking buds in this photo:

The plants are still short, but their growth habit is definitely changing. Here’s another view that shows the small leaves clasping the stalk, rather than just laying flat in a basal rosette:

Woad is a biennial and normally doesn’t bloom in the first year, hence my surprise. I have big plans for the woad this year, so I’m a little bit anxious about how this will all turn out.

March in the Dye Plant Garden

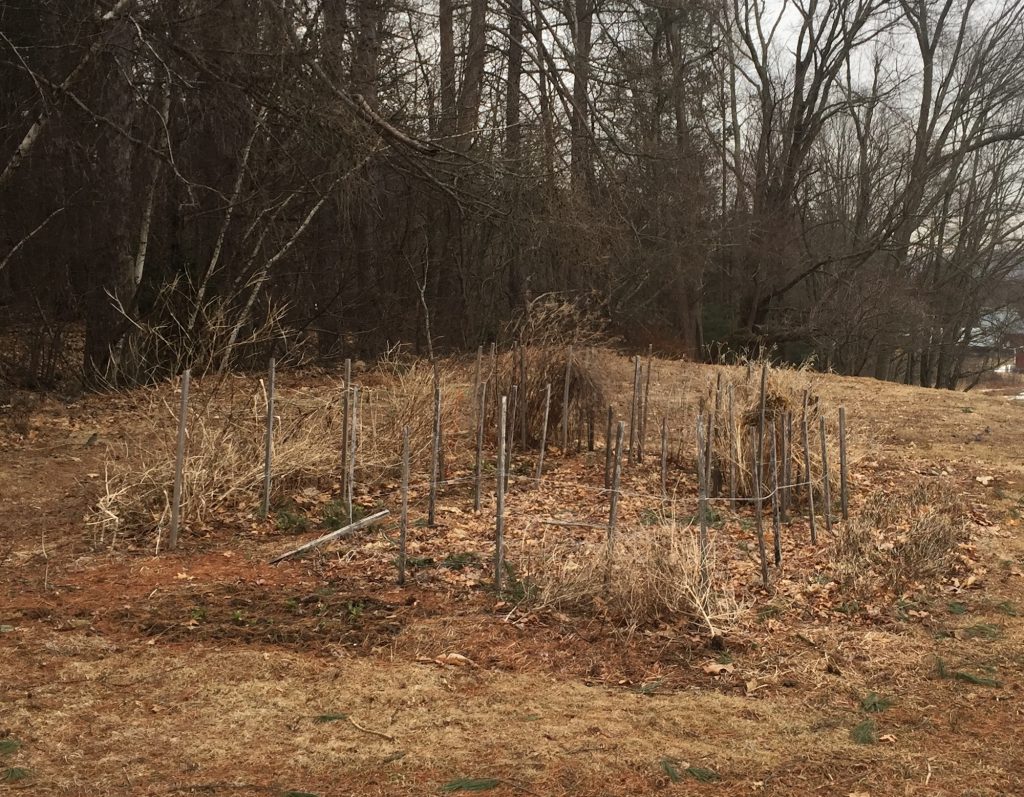
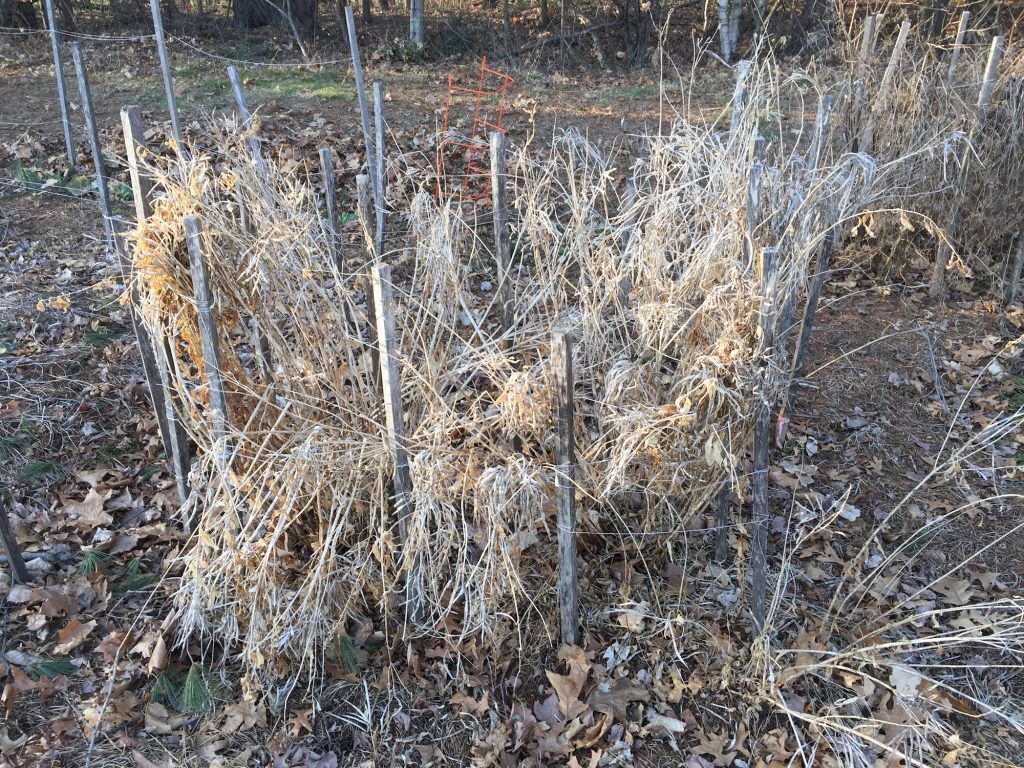
On March 15th I did a little spring cleaning in my school’s dye plant garden at Bramble Hill Farm. Here is the “before” picture:

That morning I pulled up the dead marigolds (bed furthest to right) and orange cosmos (bed furthest to the left).

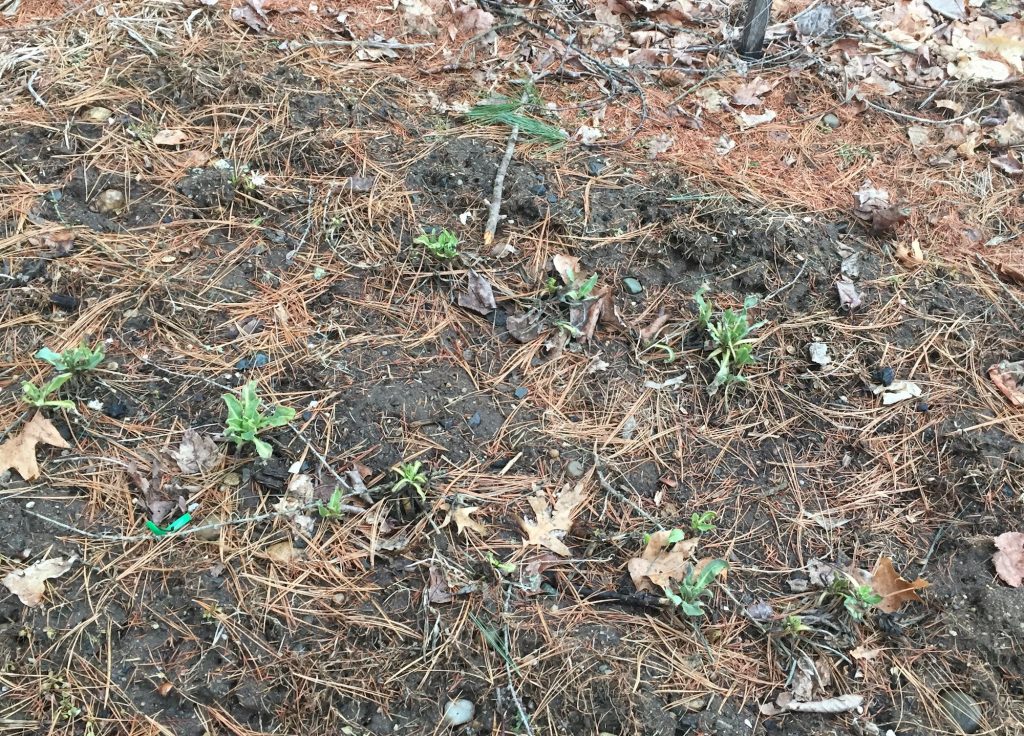
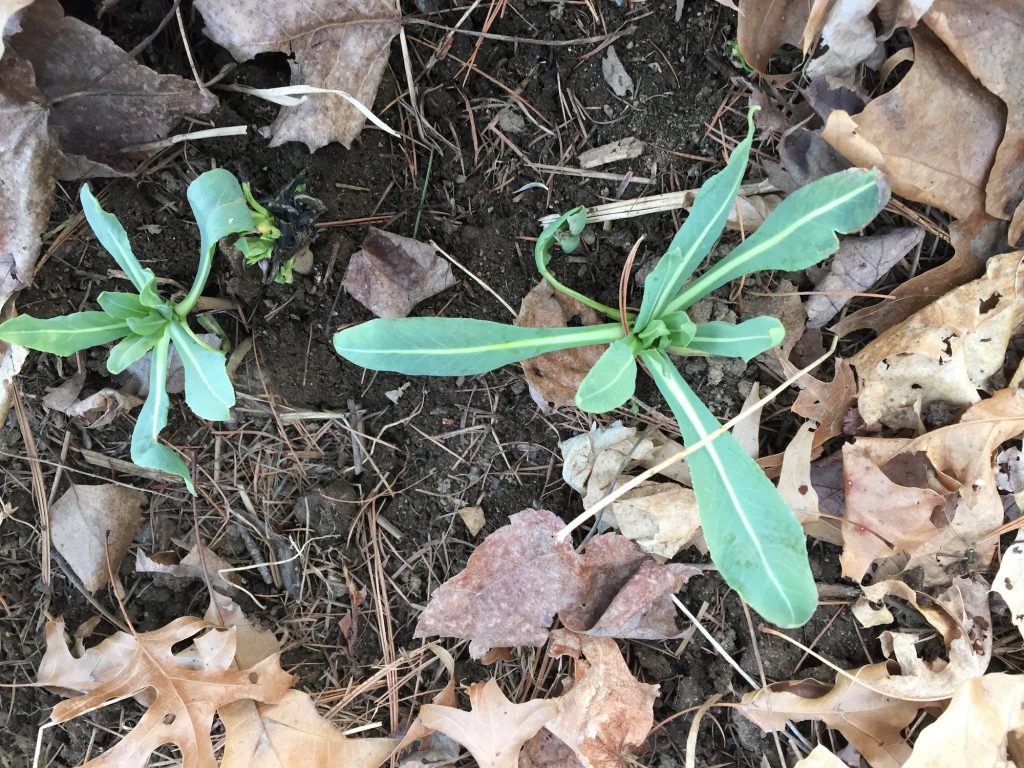
The woad was up, but something had been nibbling it. I suspect rabbits, but I can’t be sure.

I checked back on things on March 27th. I noticed that one of the woad beds was faring a little better than the other (longer leaves) but was still suffering from some chomping:

Here was the bedraggled stand of amsonia on March 27th:

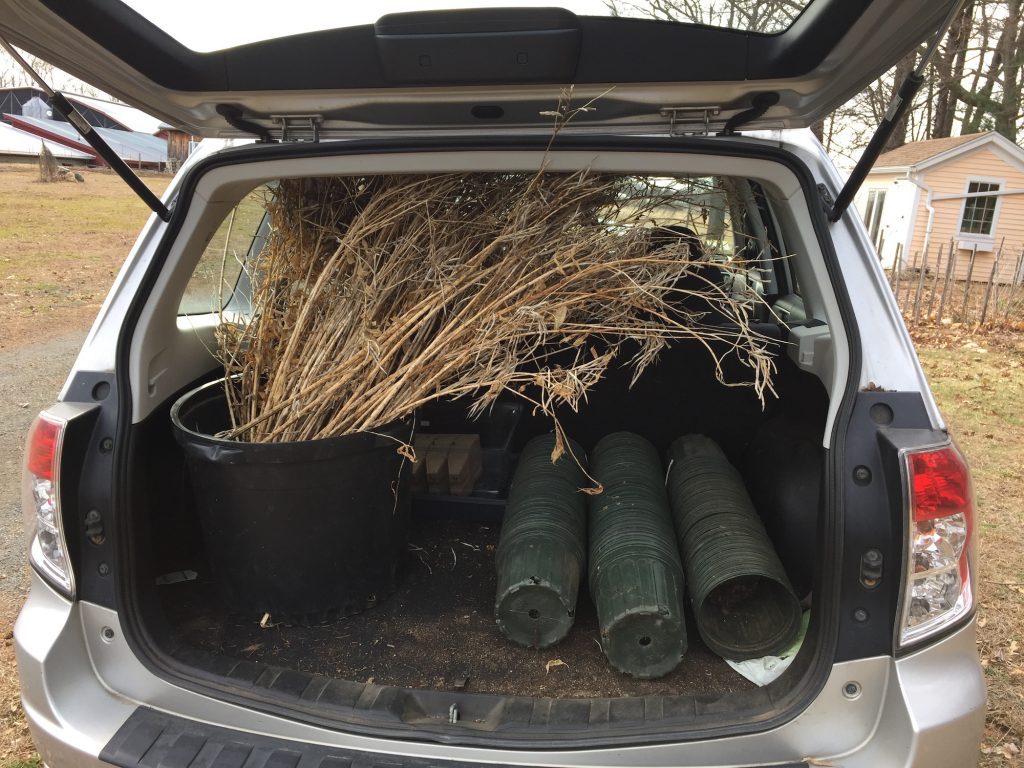
I didn’t get back over there until March 30th. I cut down the amsonia, which I grow because it is a bast fiber plant. Some years I cut it down earlier in the fall or winter, but this fall I obviously didn’t get around to it. Yay, the Amsonia fit in the back of the car. Barely!

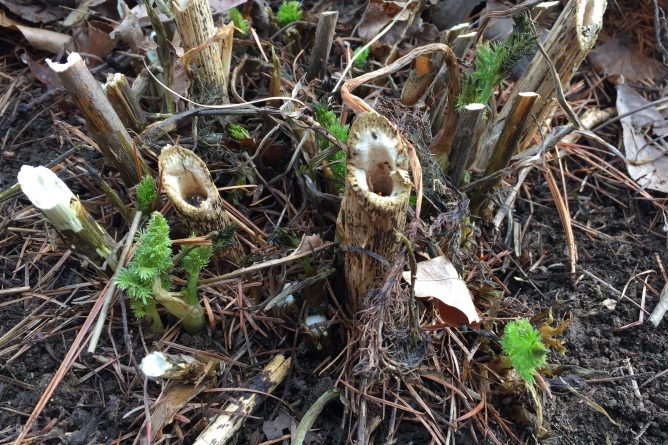
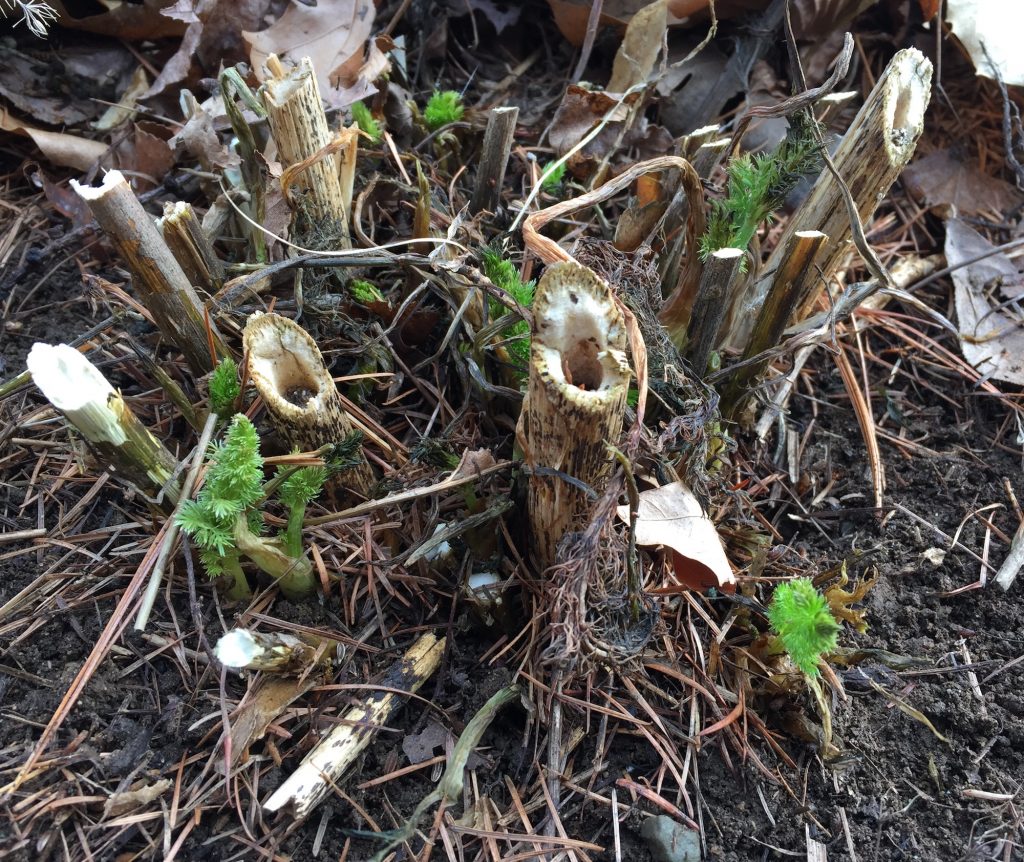
I also cut down the dead bronze fennel, which was not worth saving at that point. Once I cut away the dead stalks and cleared away the fallen leaves, I was excited to see that there was already new growth!

If you bought some of the bronze fennel plants at my plant sale last summer at Sheep and Shawl, check to see if they’re up!

One of the things I love about gardening and dyeing with plants is the way that it requires me to look closely and be attentive. Close up, you can clearly see the new growth. It is eye-poppingly bright and practically shouting its presence. You can also see the architectural ruins of the old stalks, some darker blotches on the fresh fronds, which I think must be frost damage, and so many other intriguing details. At every stage of its growth, the fronds of the bronze fennel are just so soft and feathery.

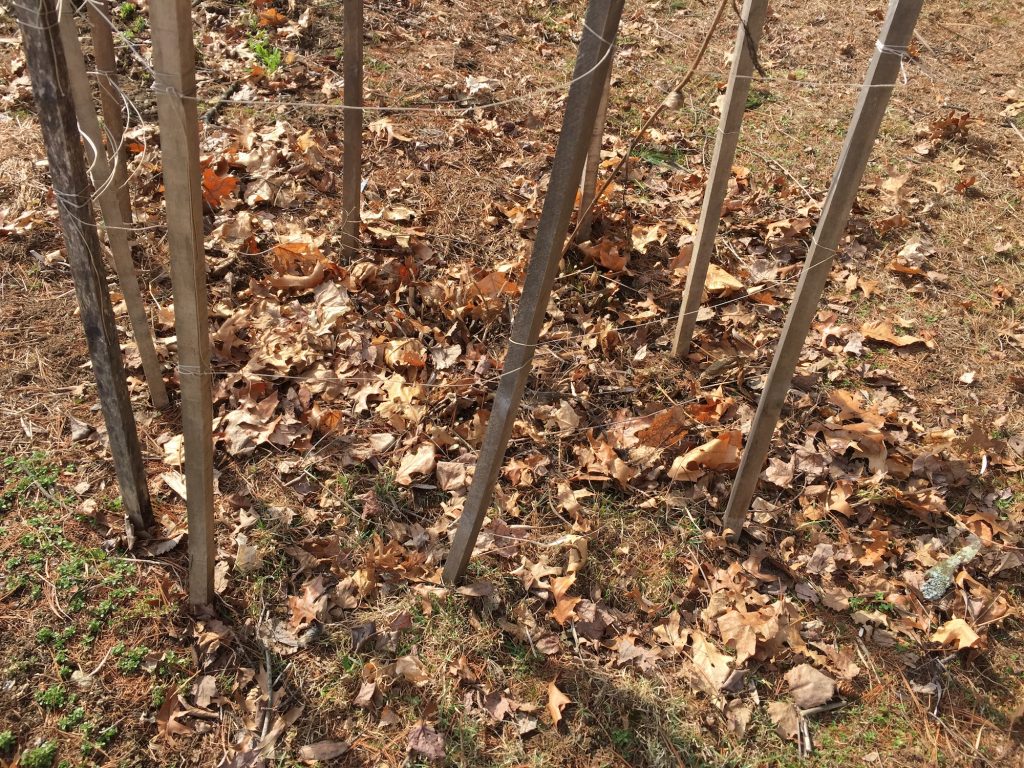
However, from the view point five feet off the ground, there’s nothing that would catch the eye or demand that you stoop to look more closely:

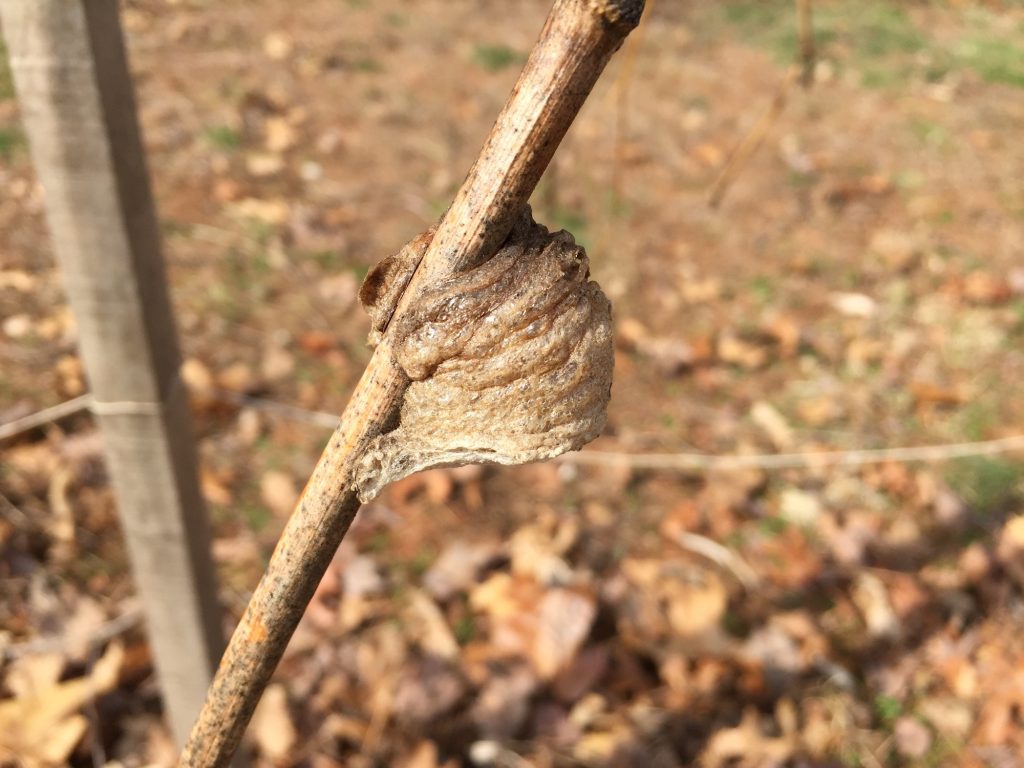
On that last remaining stalk in the bronze fennel bed, I found an egg case. I think it’s another praying mantis egg case (ootheca!) so I didn’t cut it. Here’s the close up:

Welcome, spring!

November 21st 2018 Woad Vat

Yesterday I ran a woad vat! This is worthy of an exclamation point because all day yesterday, I was sure that it was the latest date I had ever run a woad vat.

Normally by this time of year, all the dye plants have been killed by frost and the gardening season is over.

As I started writing this post, I decided to consult my records regarding late-season woad vats. It turns out I was wrong about the latest date of my woad vats in years past. Here’s the proof:

Continue reading “November 21st 2018 Woad Vat”

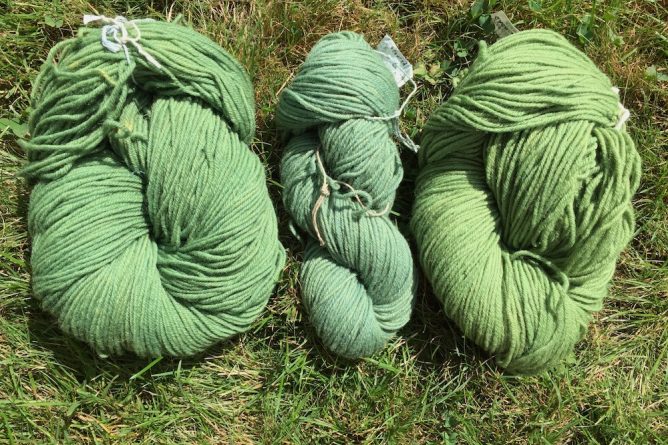
Green Yarn

This has been an extremely prolific year for Queen Anne’s Lace, also known as wild carrot or Daucus carota. It is absolutely everywhere! (12/30/2023 Updated link, since New England Wildflower Society changed their name to Native Plant Trust.)

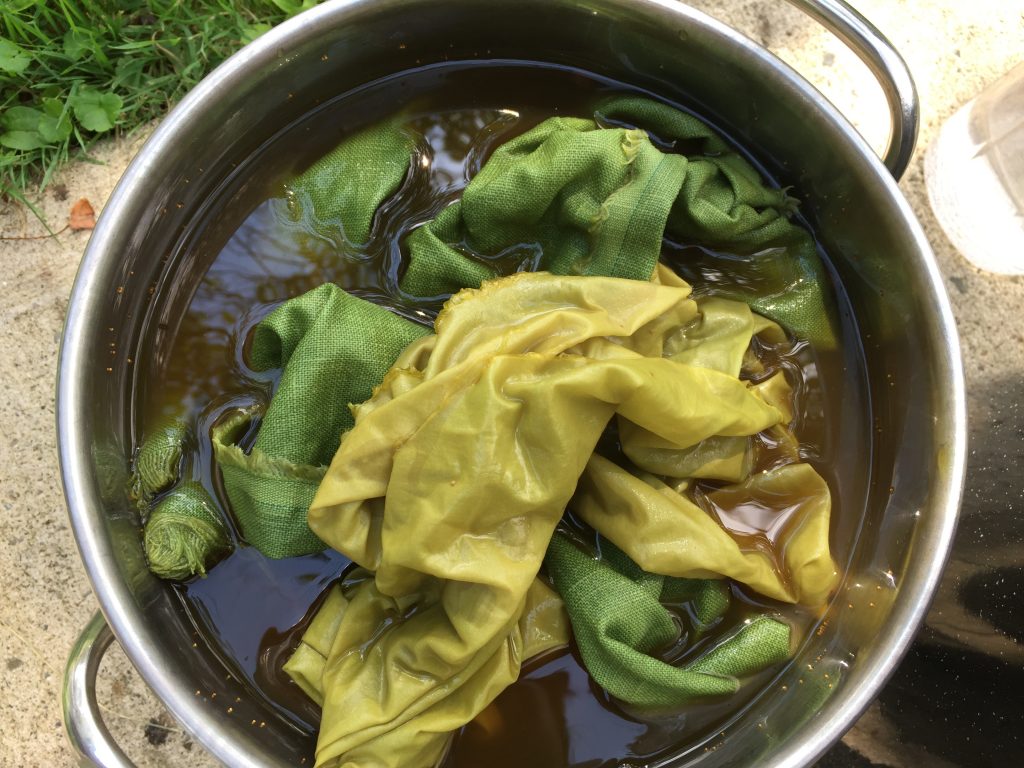
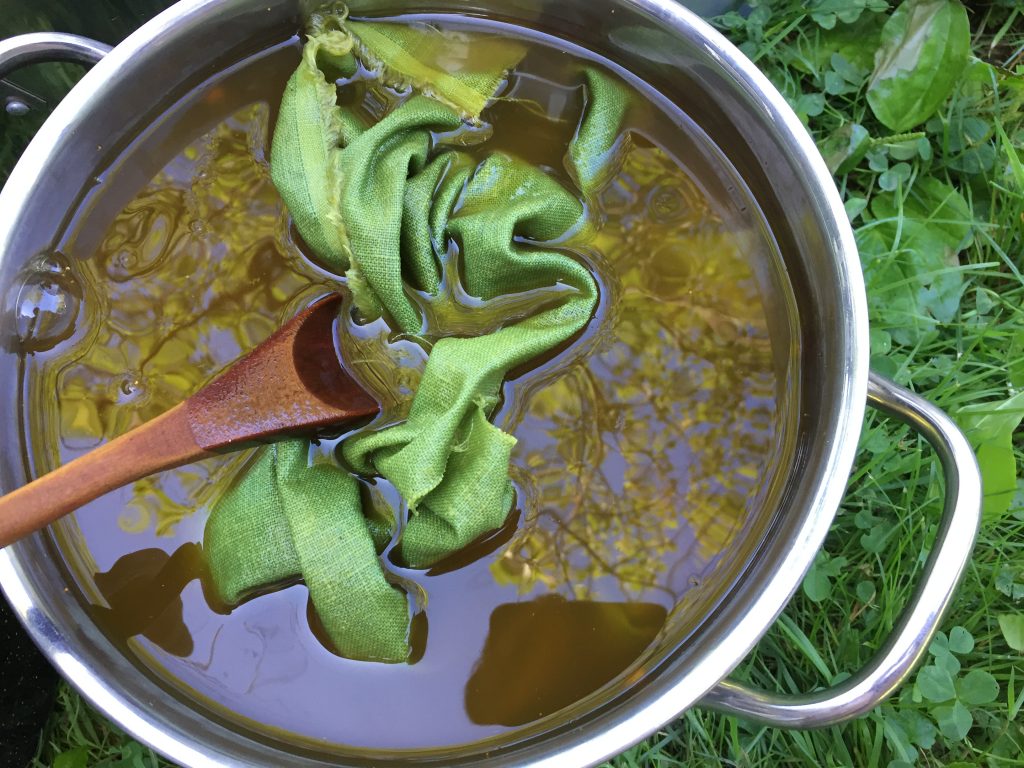
Back in July I ran two dyebaths with fresh Queen Anne’s Lace flowers. Since it’s so abundant, I decided to just use the flowers this time, though you can use the whole plant. For the first dyebath, I had no trouble collecting 30 oz. of flowers from various spots around Amherst, including the sides of parking lots, the side of the road, and next to bus stops.

The flowers are incredibly fragrant and sticky, and consequently they host a huge range of insects. When you pick the flowers, all the insects come along, too. This fact gave rise to a new house-hold rule:

I weighed the plant material outdoors! I also made the first dyebath outside on the portable electric stove outdoors. We had some rainy weather after that, so I made the second dyebath indoors using 24 oz. of flowers that I picked in Hadley. Continue reading “Green Yarn”